I just love the look of Roman shades, like the ones in the little boys’ room, which I trimmed in ribbon.
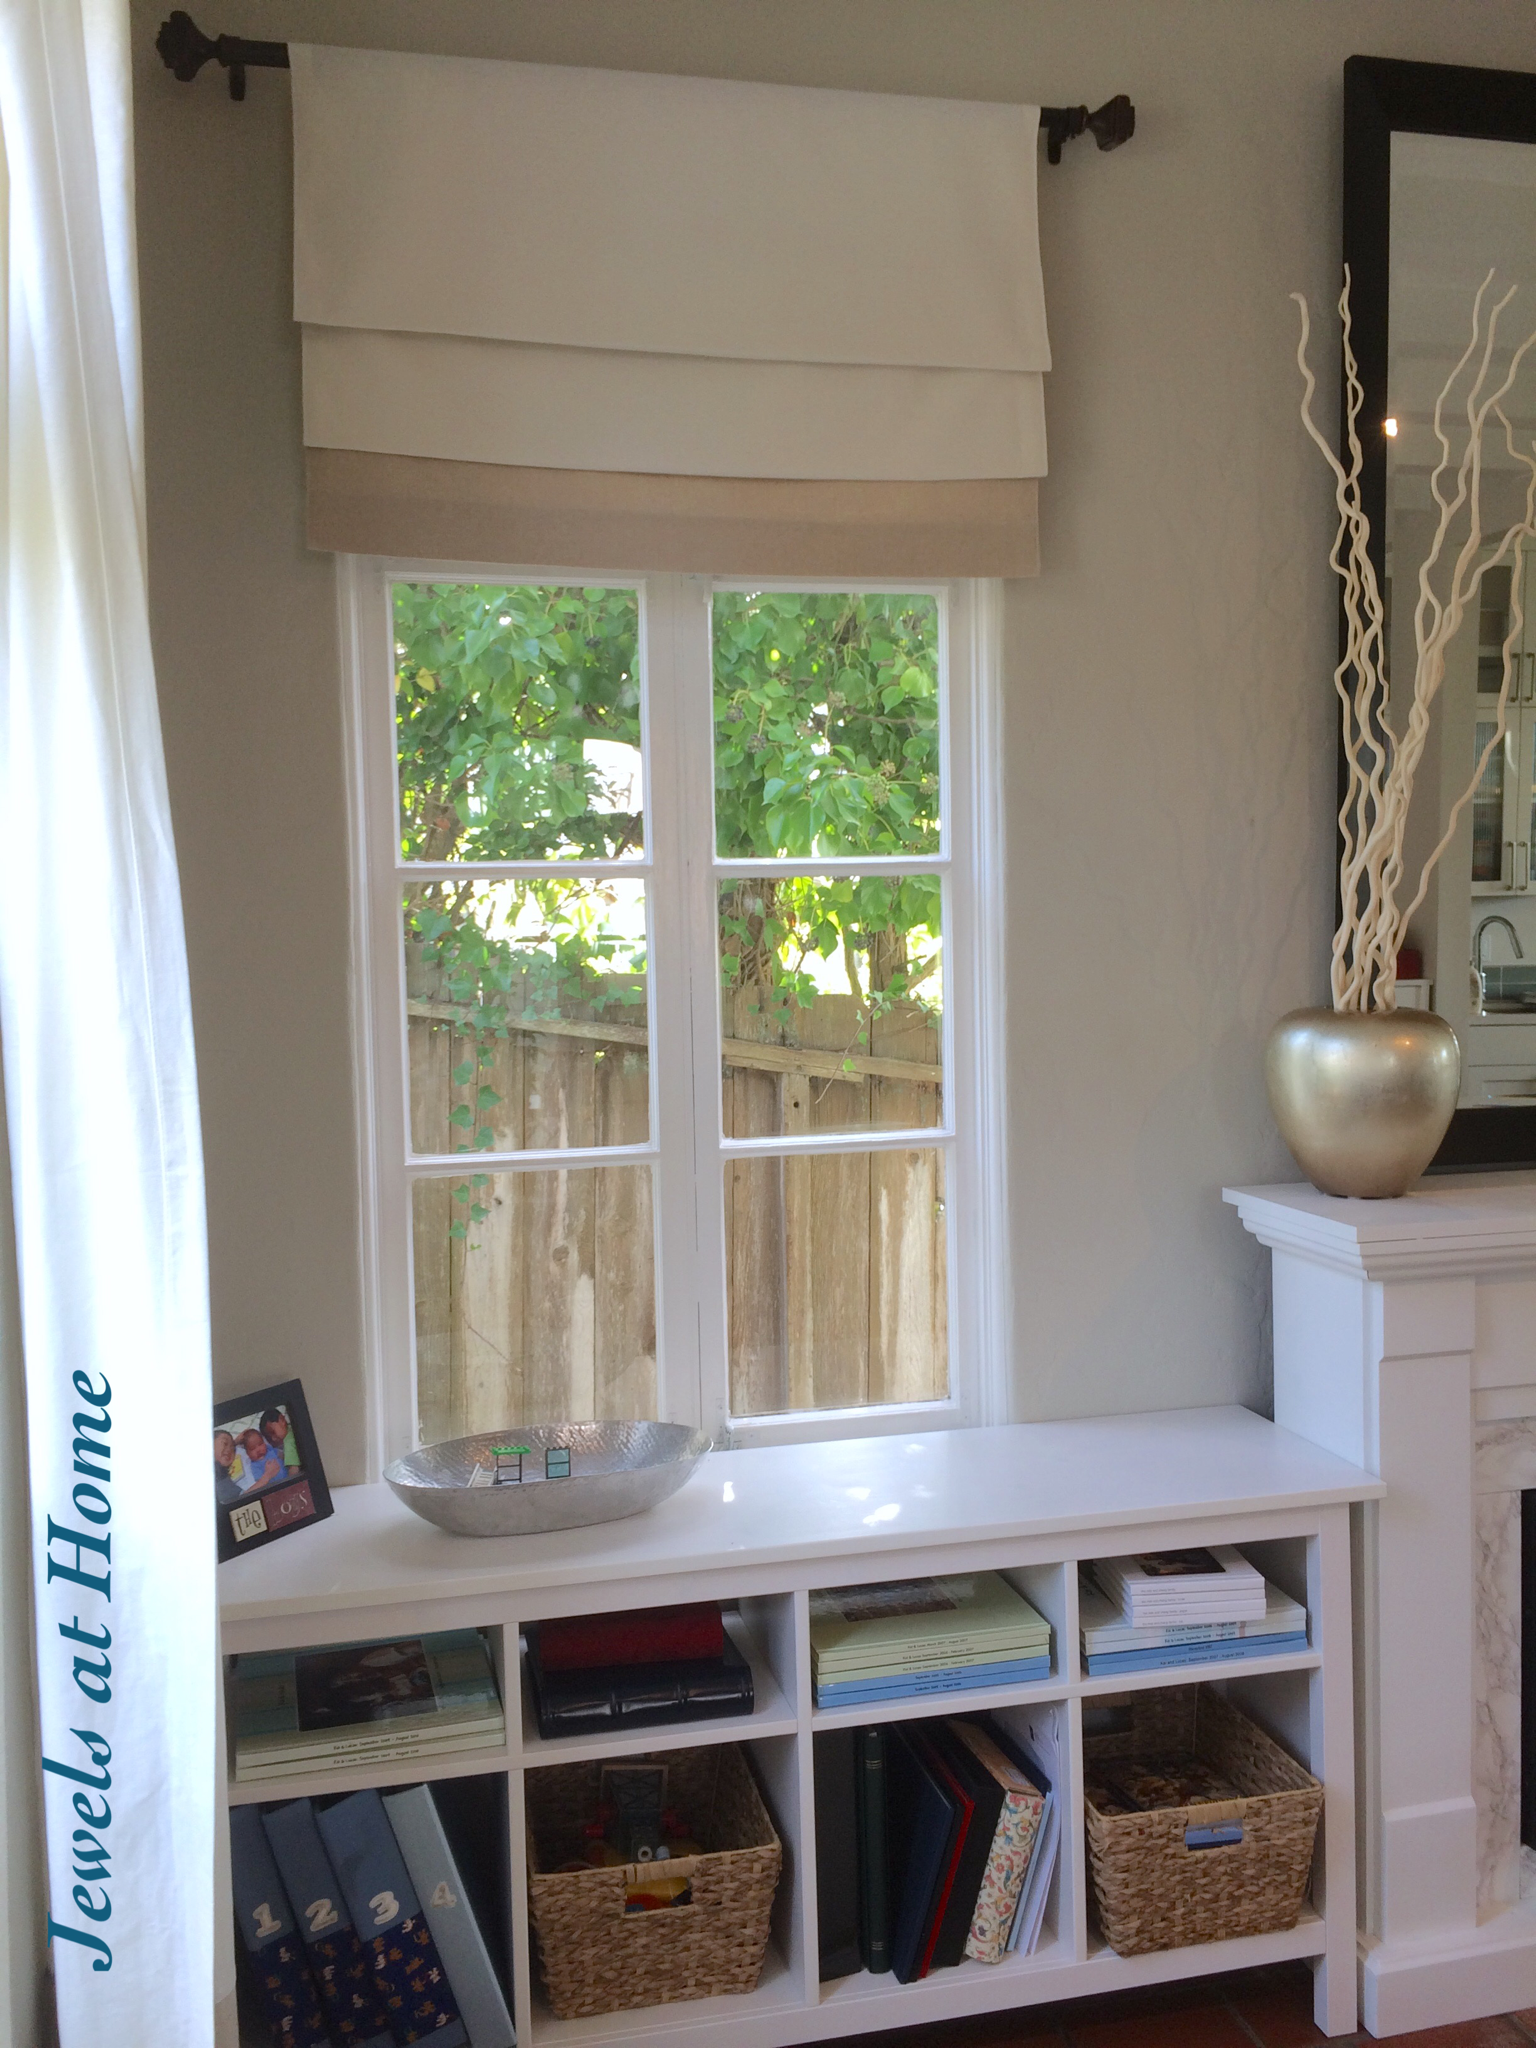
We needed those functional shades for the bedroom, but in other places, a fixed shade works just as well, like this one in our master bath. For our updated family room, I wanted the look of Roman shades, but I didn’t need the function. These new shades I made are fixed, meaning you can’t raise or lower them. It works for our location, since the windows face a private area and are shielded from direct sun by greenery.
To make my decorative shades, I adapted this tutorial from Kate aka Centsational Girl.
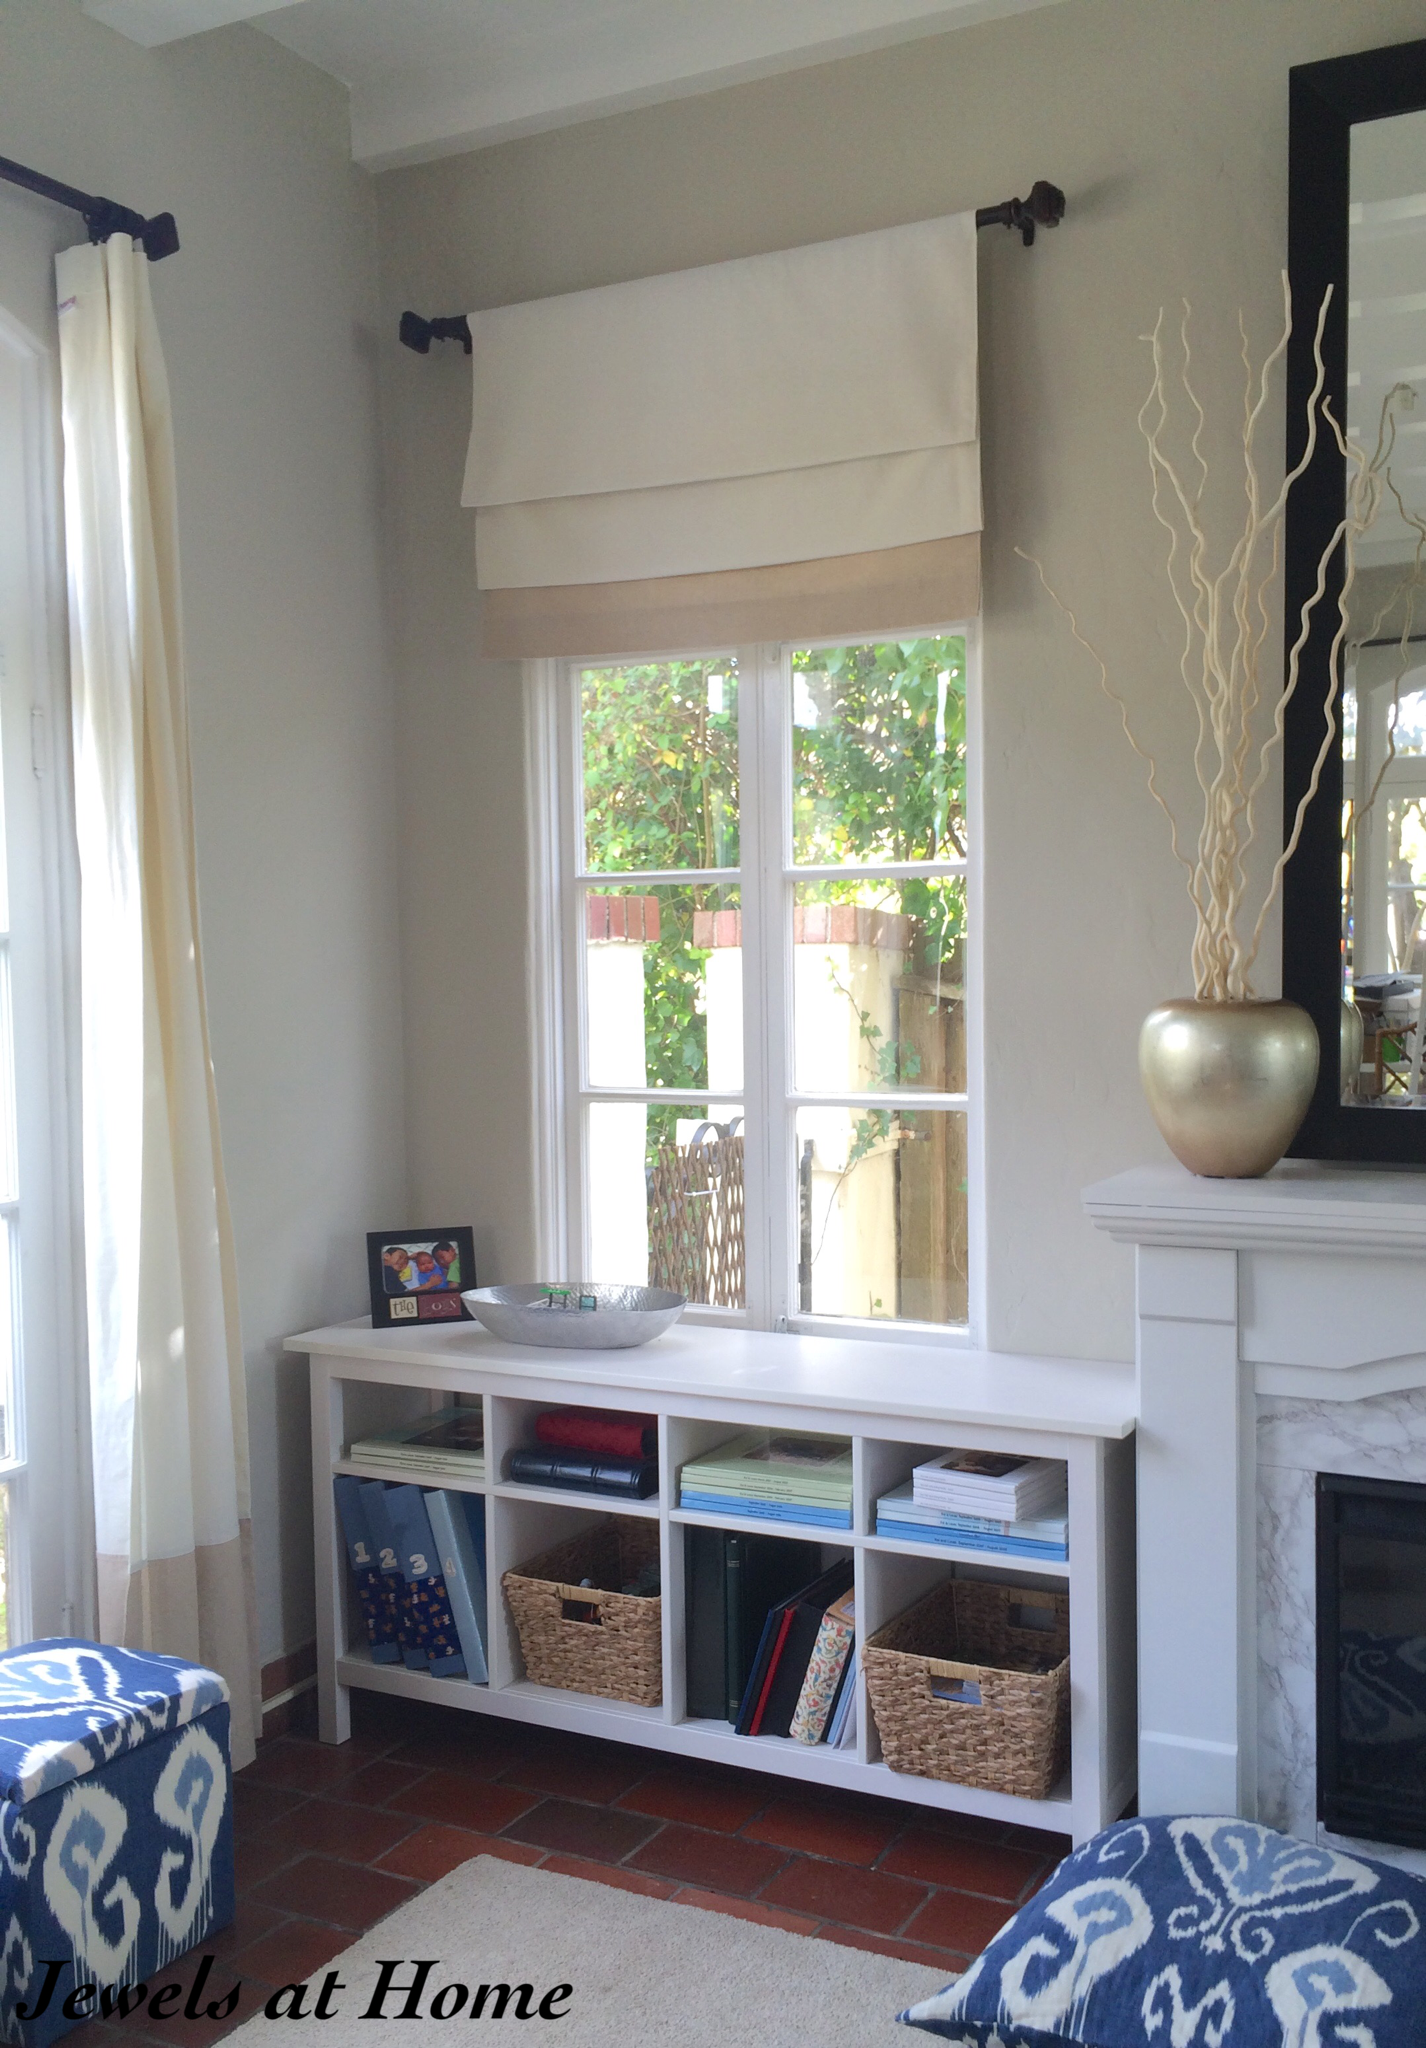
These instructions are for making shades from existing curtain panels I had. Kind of long story, but I used to hang floor-length panels at these windows, and with the new built-ins (so much anticipation! I will show them to you soon!), the panels don’t fit, so these fixed shades are the perfect solution. The other windows in this room are actually tall French doors, so the new shades make these windows look like they’re much taller and match the height of the doors.

I started with curtain panels that were 45″ wide x 95″ long, and I made finished shades that are 24.5″ high and 39″ wide.
First, I cut off the hems on the sides, to give a panel that is 41″ wide and unfinished on the sides. I ironed a 1″ hem along each side.
I then folded the panel in half lengthwise, so I had a 47.5″ high doubled panel. I sewed the back and front together on three sides, leaving about 2″ open at the top, which creates a sleeve to hang on the curtain rod.
Next, I figured out where I wanted my folds and marked these with chalk. I stitched the front and back pieces together at the top of the folds, where it would not be visible. For my shades, this was at 10 1/2 inches and 27 1/2 inches from the bottom.
I tacked the folds in place by hand-stitching at the sides and roughly every 7″ along the back.
Finally, I slipped the new shades onto our curtain rods, and there they are! (I wish I had made them a smidgen wider, to fill the curtain rod, but I’m not going back…).

“Jewels”

So cute! I’ve been looking for a tutorial for months, and this one seems to be the most straight forward. Can’t wait to try!!
I hope your project goes well! This was not difficult, but it took a long time, because there is a lot of hand sewing. Julie
Hello – was curious if would be possible to make these where they are functional? Thanks
Hi! The process for making functional shades is quite different – these ones are just for decorative purposes. A traditional functional Roman shade is quite advanced and requires a lot of specialized parts. You might be better off buying one. I have seen tutorials posted where people adapt a regular mini-blind shade to a Roman shade, and that is probably less complicated, but I haven’t tried it yet! Let me know if you find a project that works for you! Julie