My two older boys went to college on the opposite side of the country. I missed them, but a silver lining has been the connections they built with our extended family. When we were gathered for my oldest’s graduation, I … Continue reading
My two older boys went to college on the opposite side of the country. I missed them, but a silver lining has been the connections they built with our extended family. When we were gathered for my oldest’s graduation, I … Continue reading

Sometimes, milestones are measured in unusual ways. I know my kids are getting big, because it’s finally possible to take a picture of JJ’s room that is not a total disaster! We (I) were focused on finding a new house … Continue reading
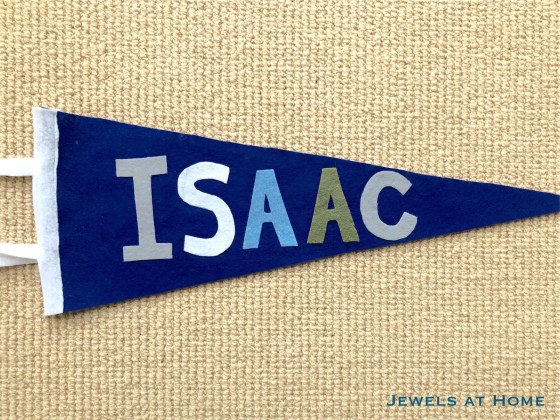
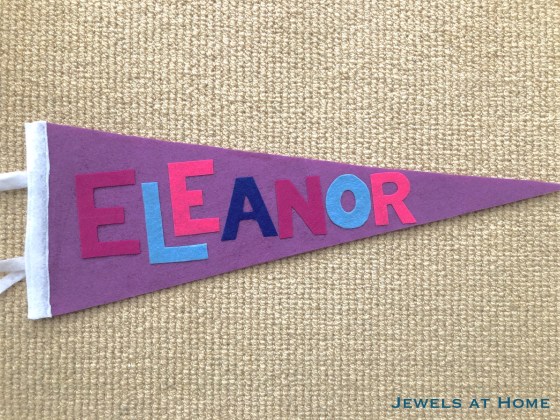
I recently made these vintage-style pennants to celebrate special places in our family. It was so fun that I went on to make personalized name pennants for my nephew and niece.

Here’s what you’ll need:
Here’s how to do it:
Here’s how the pennants turned out. I love all the color variations!
Julie aka “Jewels”

I’m here to share my latest project and also ask for your help! Here’s a felt wreath I made for Christmas decorating, and I really, really love it – but I don’t know where to display it, especially since it … Continue reading

I’ve channeling all the cozy winter feels for this holiday season (even if the California weather has other ideas!) To create a comfy atmosphere, my first project of the season was sewing these pillow covers from old sweaters. (More on … Continue reading
About once a year, my friend Ariana (of Act 2 Decor) and I get up early go to the Alameda Point Antiques Fair to browse and look for treasures.
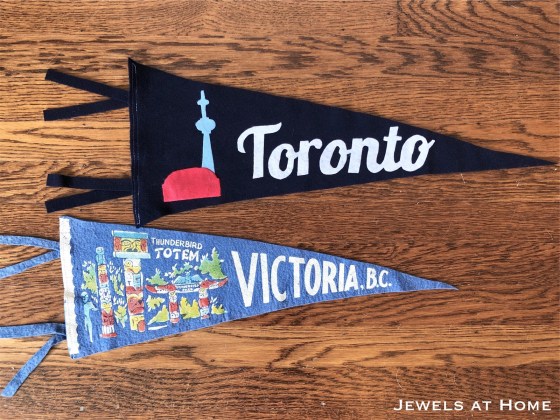
I’ve been working hard to clean out the house this year, so I kept my shopping restrained, but I was looking for a vintage felt pennant to finish up a new gallery wall in JJ’s room. I found the perfect piece, and it was definitely meant to be, because it was sold by the family of a former coworker!
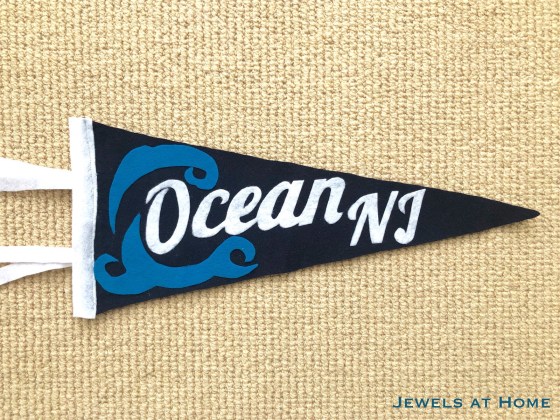
When I got home, I was inspired to make some more pennants of my own. I made one for my home town, Toronto, and one for my sister-in-law’s family in New Jersey.
Here’s what you’ll need:
Here’s how to do it:
Create a template for your pennant – mine is on two sheets of scrap printer paper. It is 7.5″ high x 21″ long.
Cut out the pennant from a large piece of felt
I sketched the images freehand in reverse on the paper side of the Heat ‘n Bond
For the script lettering, create a word processing document, print out the words, and trace them in reverse onto the paper side of the Heat ‘n Bond

Choose your felt colors for the letters and design and fuse Heat ‘n Bond to one side

Cut out your letters and designs
Arrange on the pennant and iron in place
Cut strips of felt for the binding (optional) and ties and sew in place
Here are my finished pennants. I should make one for San Francisco next!

Here’s a picture together with my vintage find:
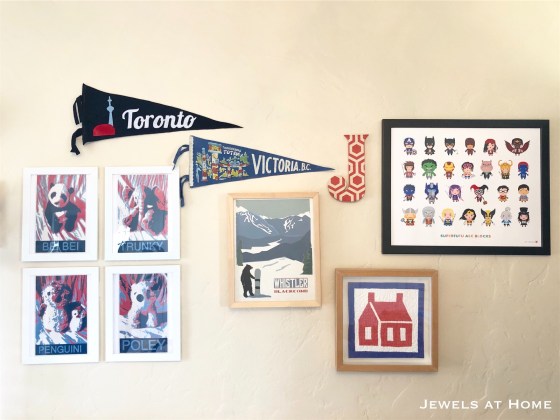
And here’s how JJ’s new gallery wall came together!
I had so much fun! What city do you want to celebrate and what image would you use?
Julie aka “Jewels”
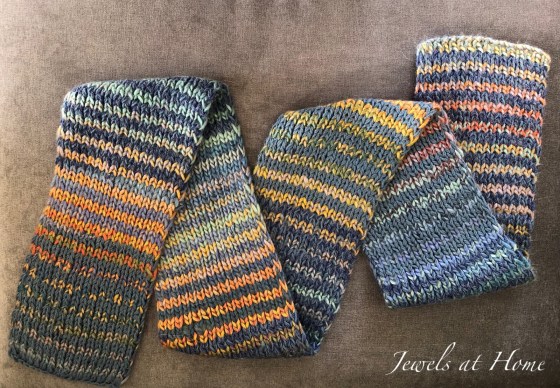
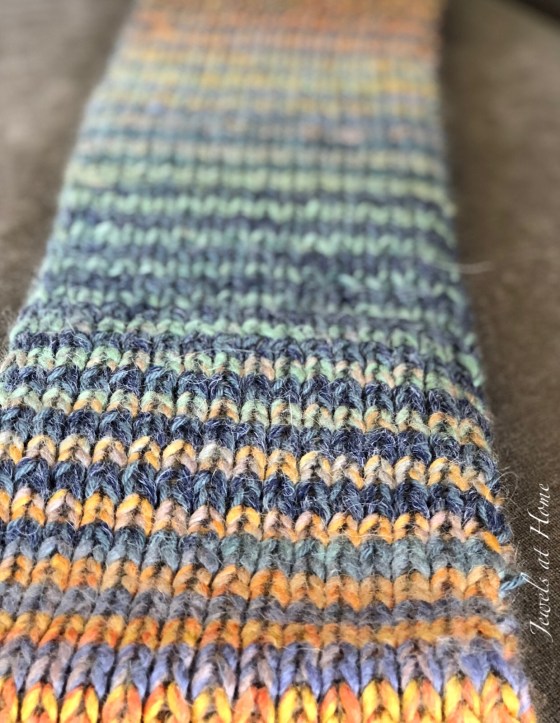
This beautiful scarf has been shared by many knitters. It’s a simple pattern where the yarn does the hard work. Originally made with Noro yarns, I tried it using some yarn I already had.
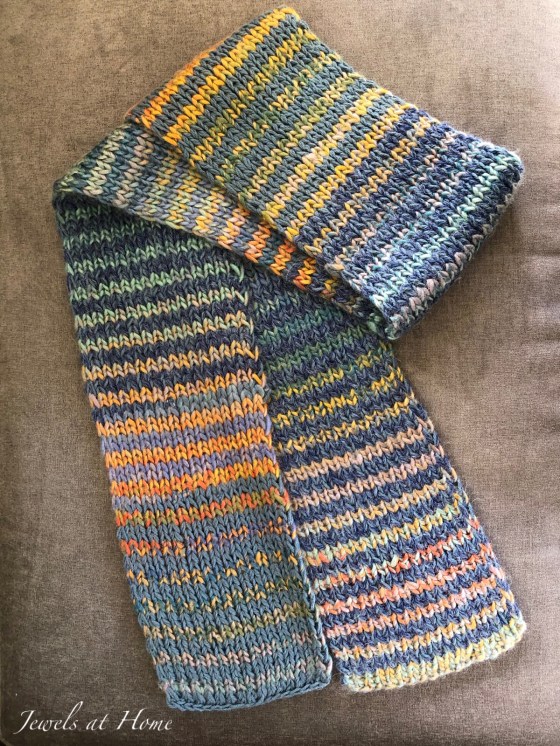
The concept is simple – two colorways of self-striping yarn alternating every two rows. The ever-changing combination is mesmerizing and beautiful.
How to do it:
This scarf is addictive to knit, because each section comes together in a unique pattern. It’s also very photogenic!


Warmly 😉,
“Jewels”

Yup, I have become one of those people who does a themed Christmas each year. I am still not sure if this is a sign of greatness of madness! While I admit to having accumulated many boxes of decorations, I … Continue reading
It’s officially winter and a good time to bundle up in style.

I knit these Hudson Bay-inspired caps in chunky wool yarn which makes them quick and cozy!

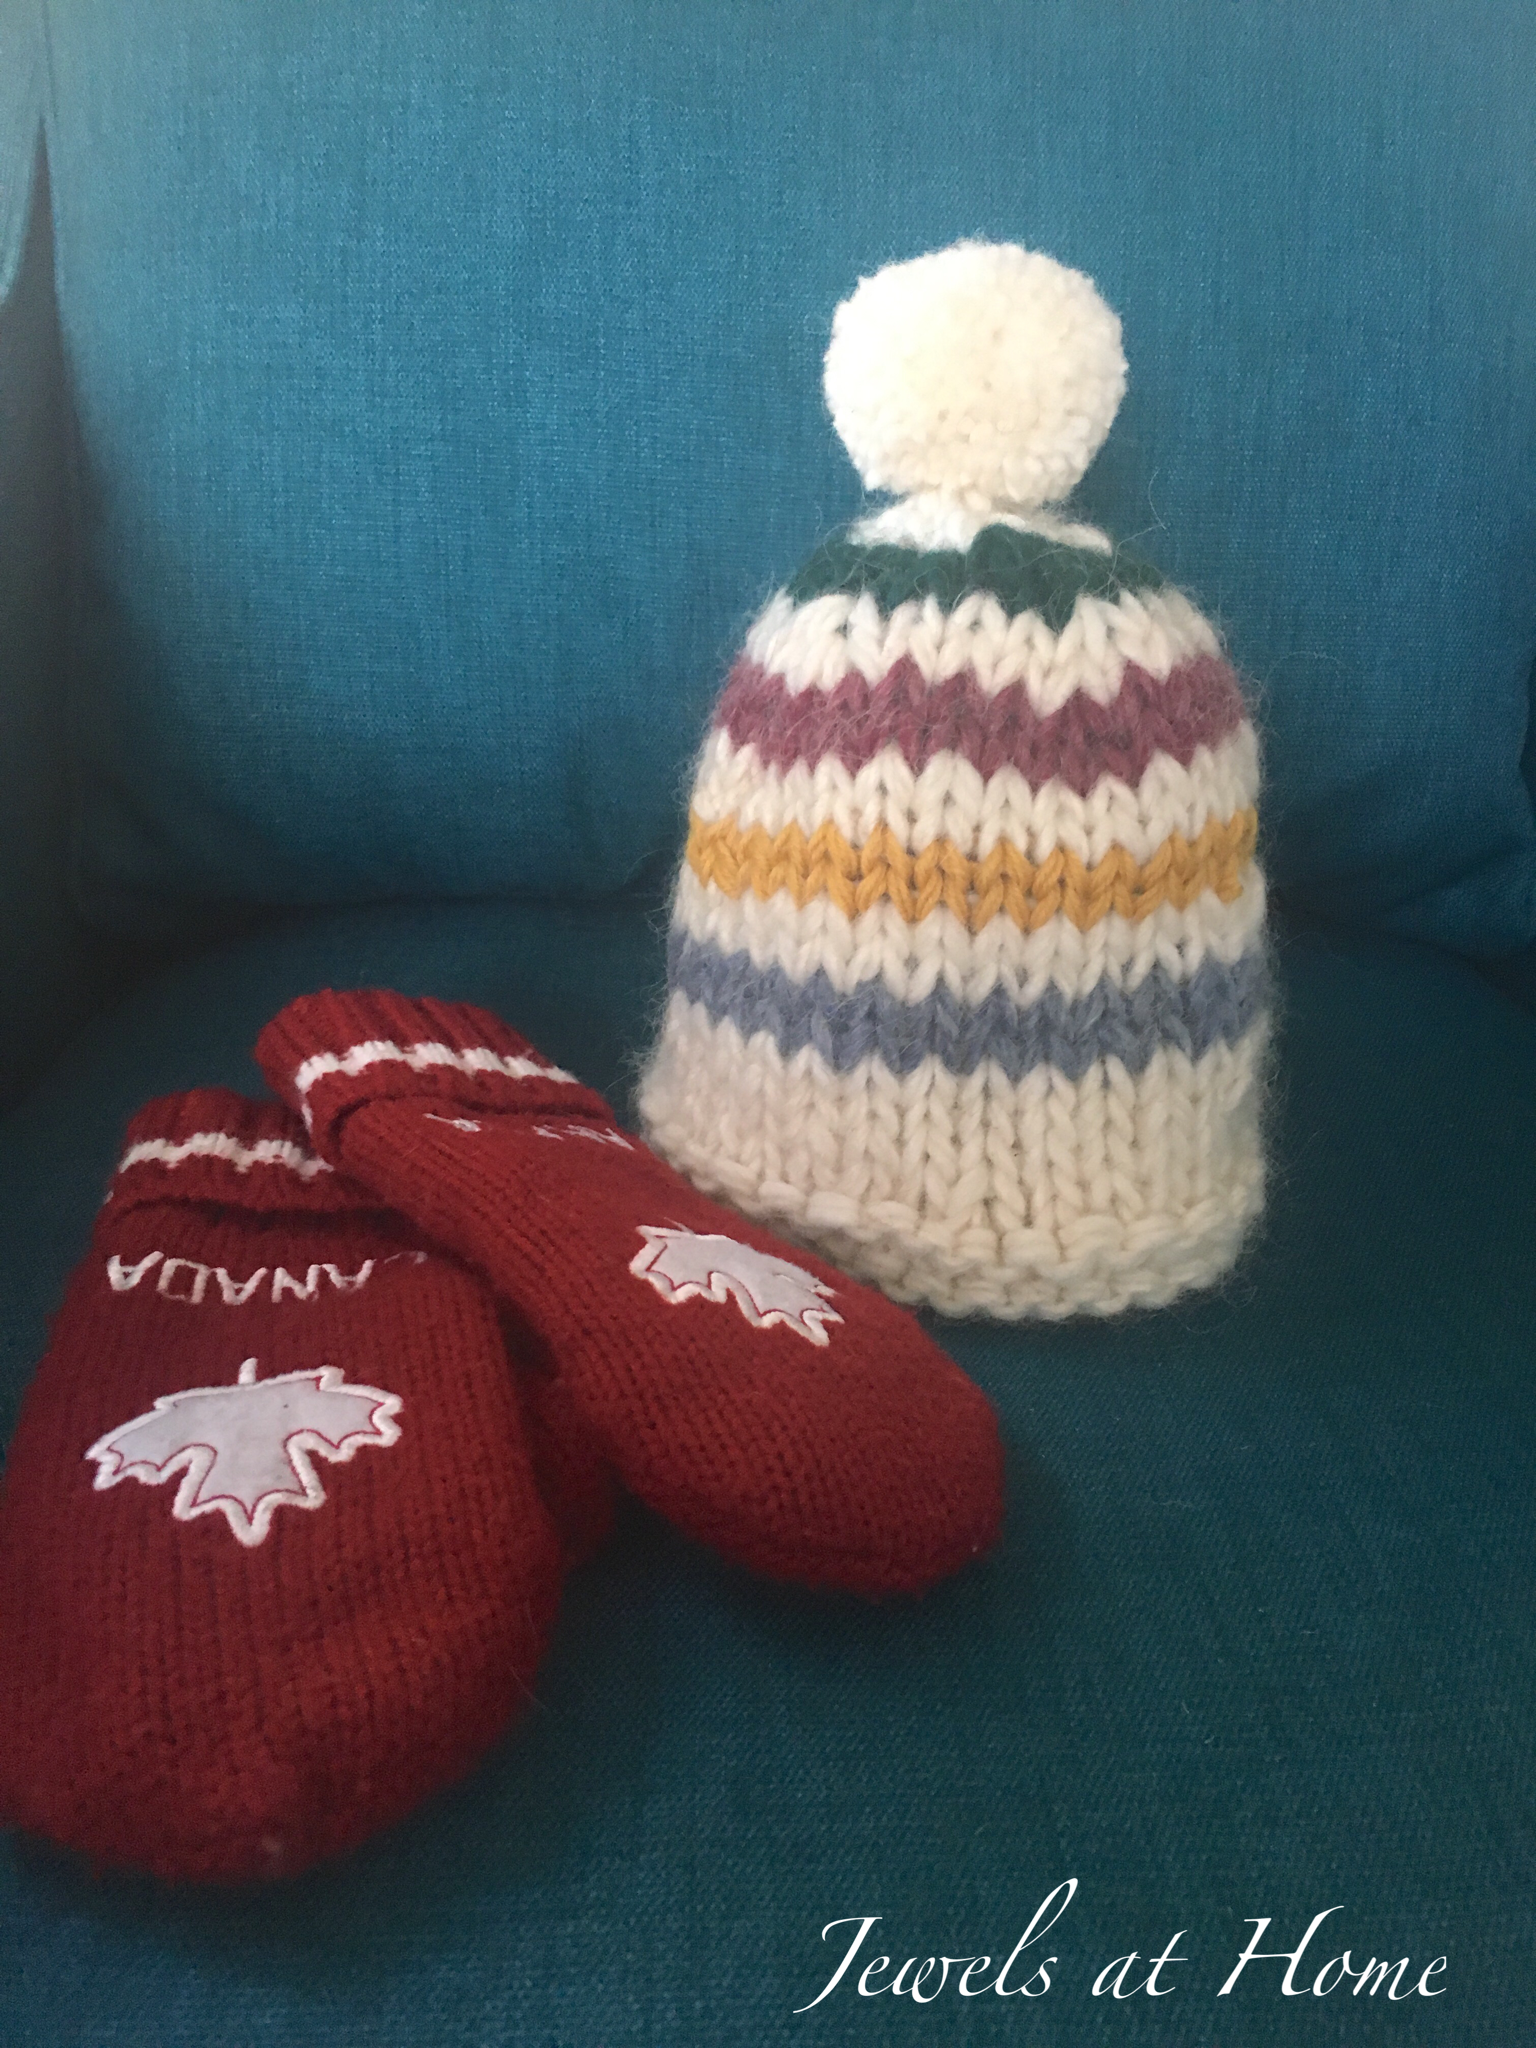
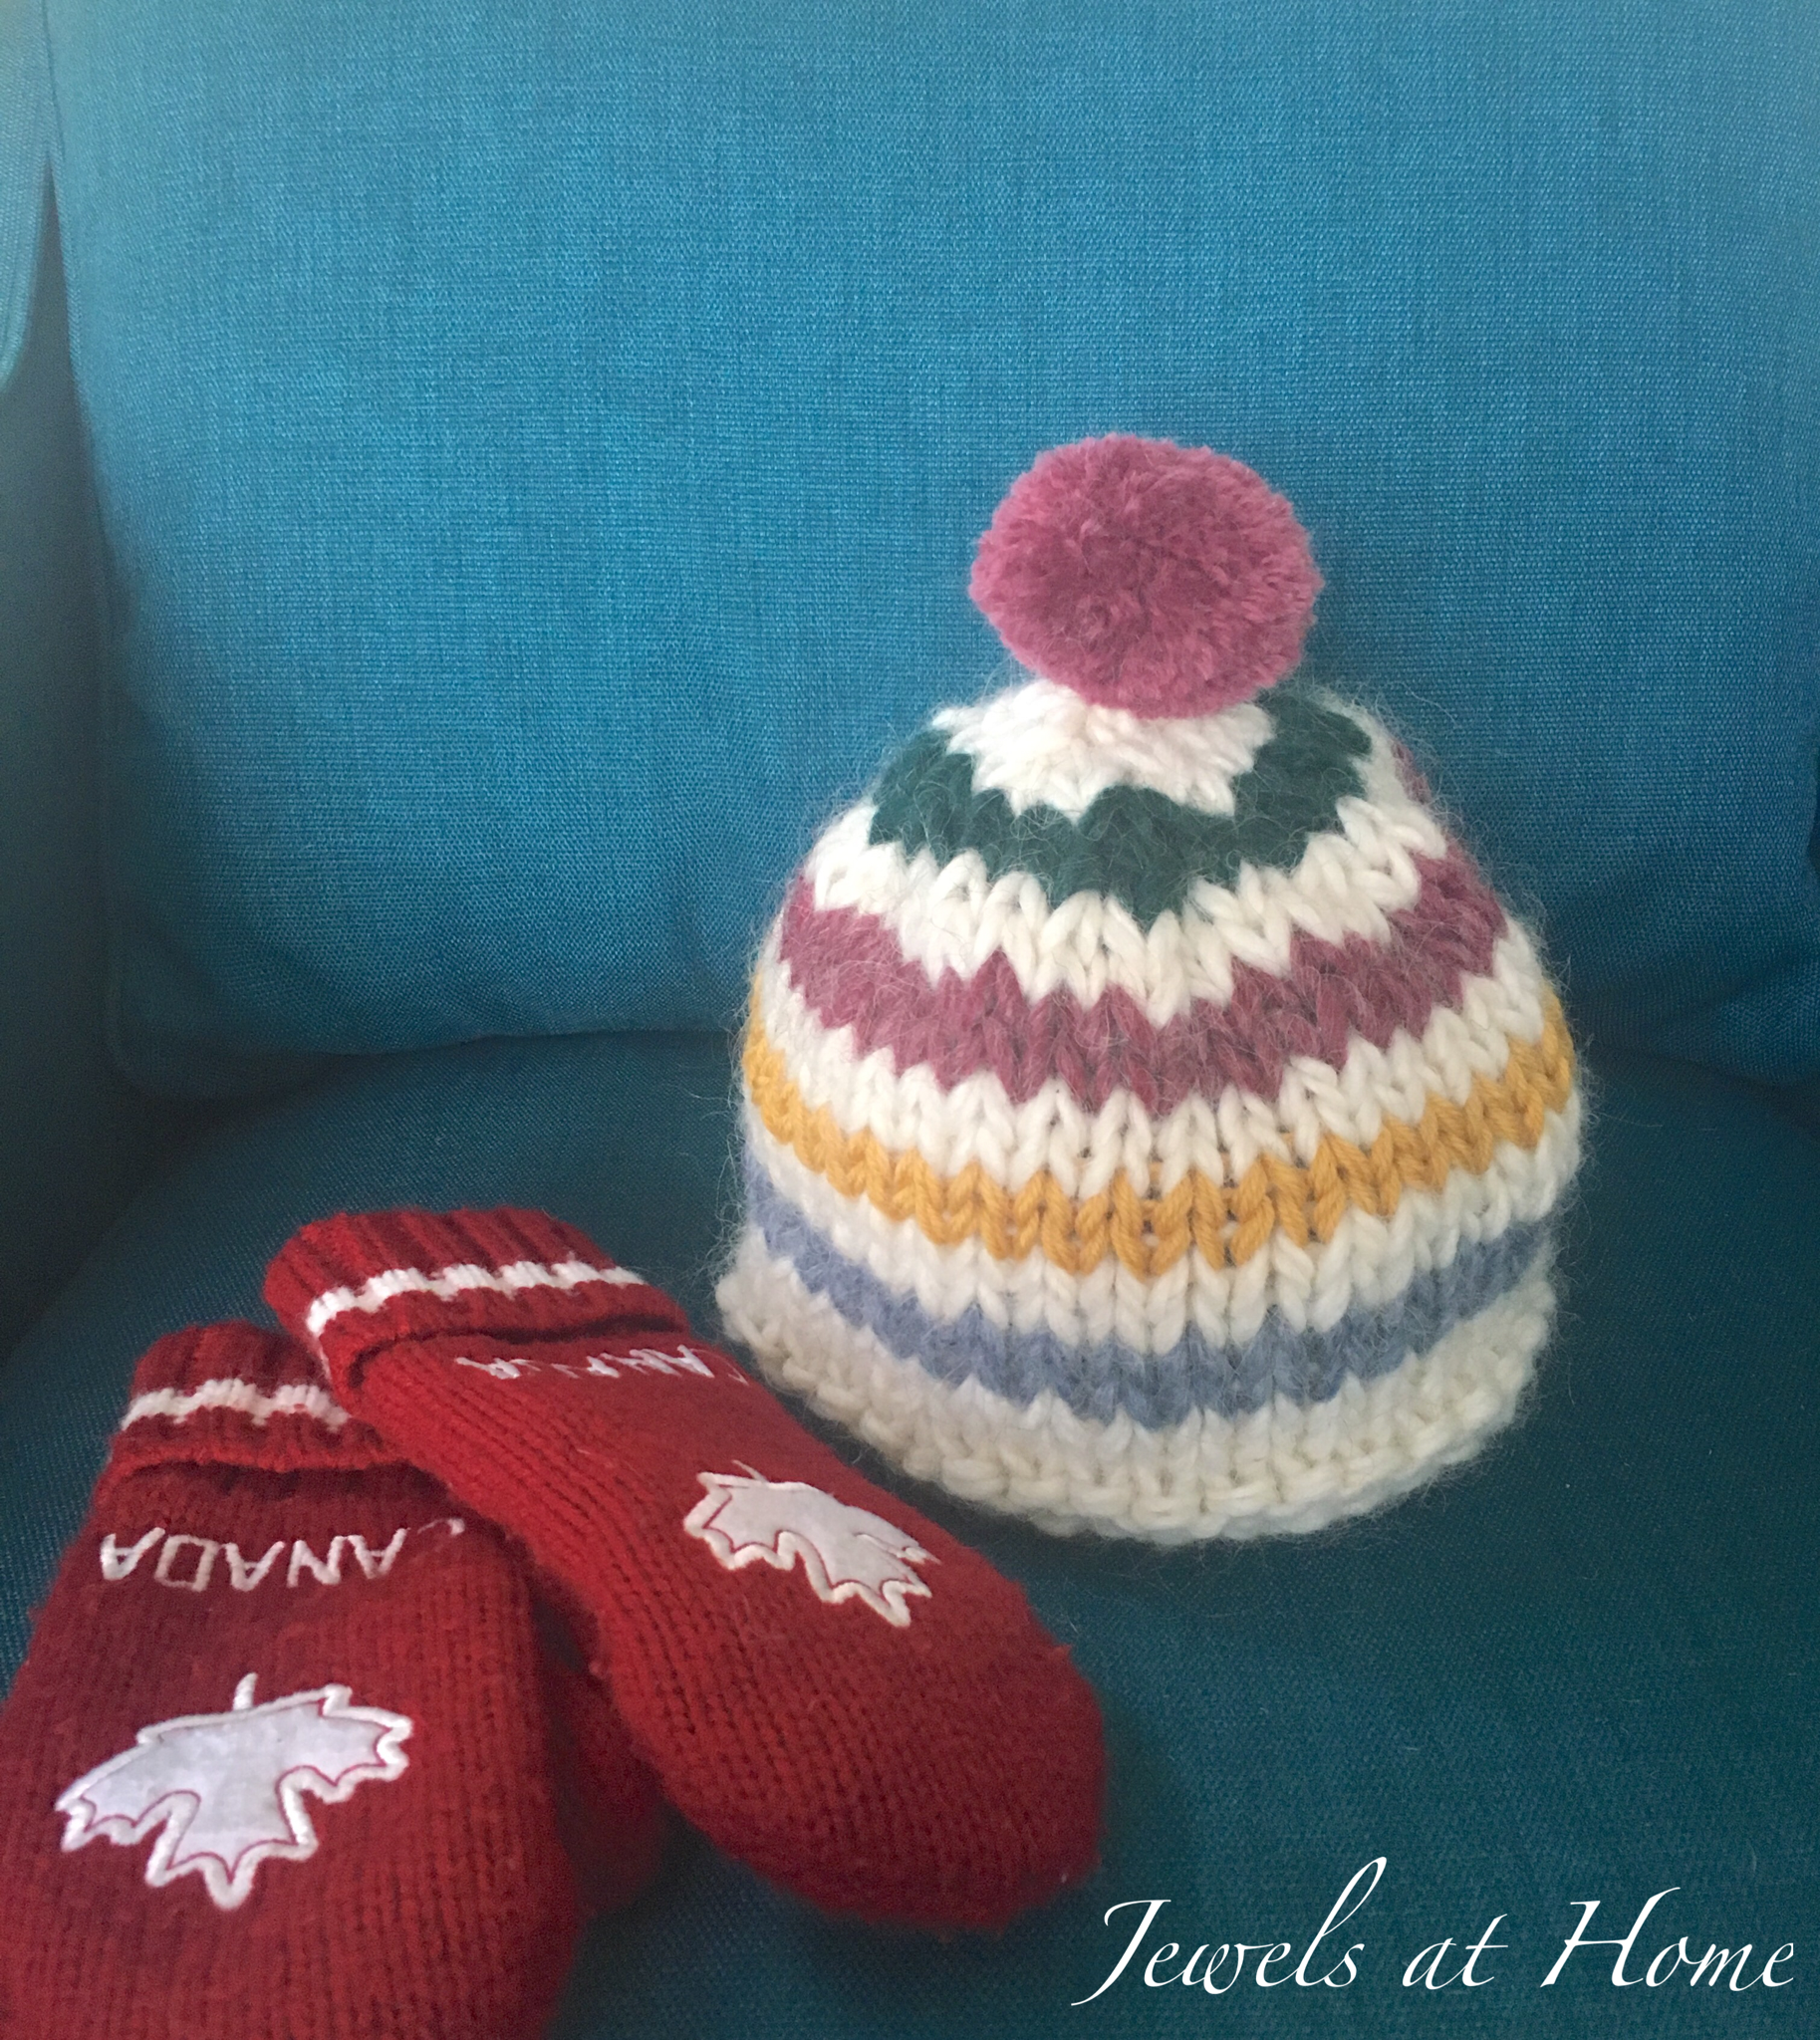
Stay warm out there, eh?!
“Jewels”
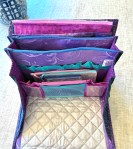
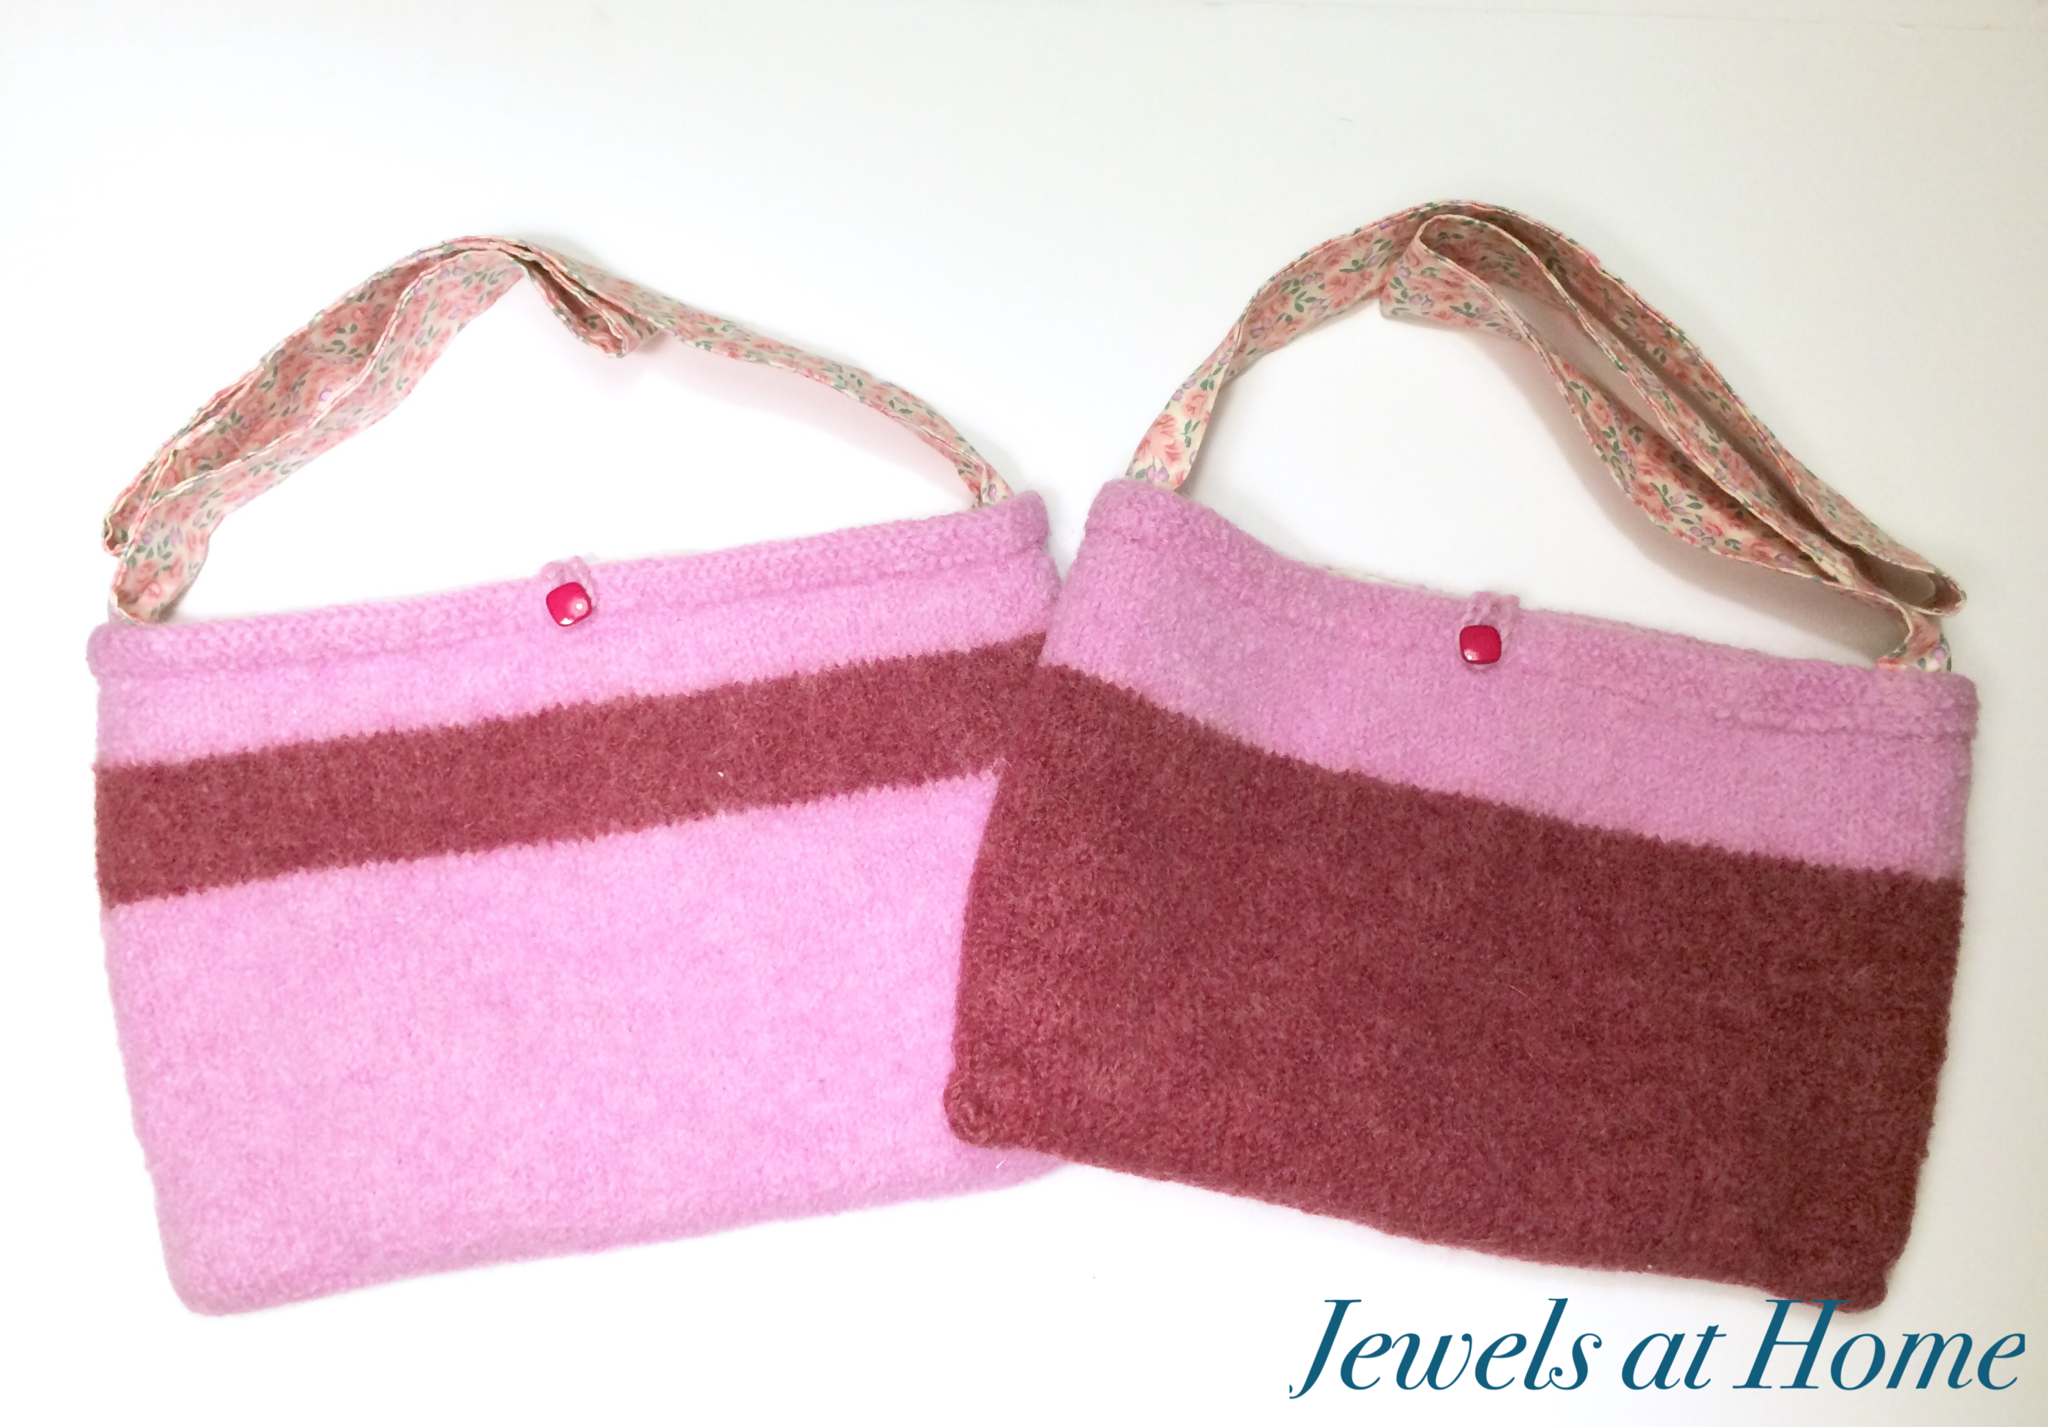
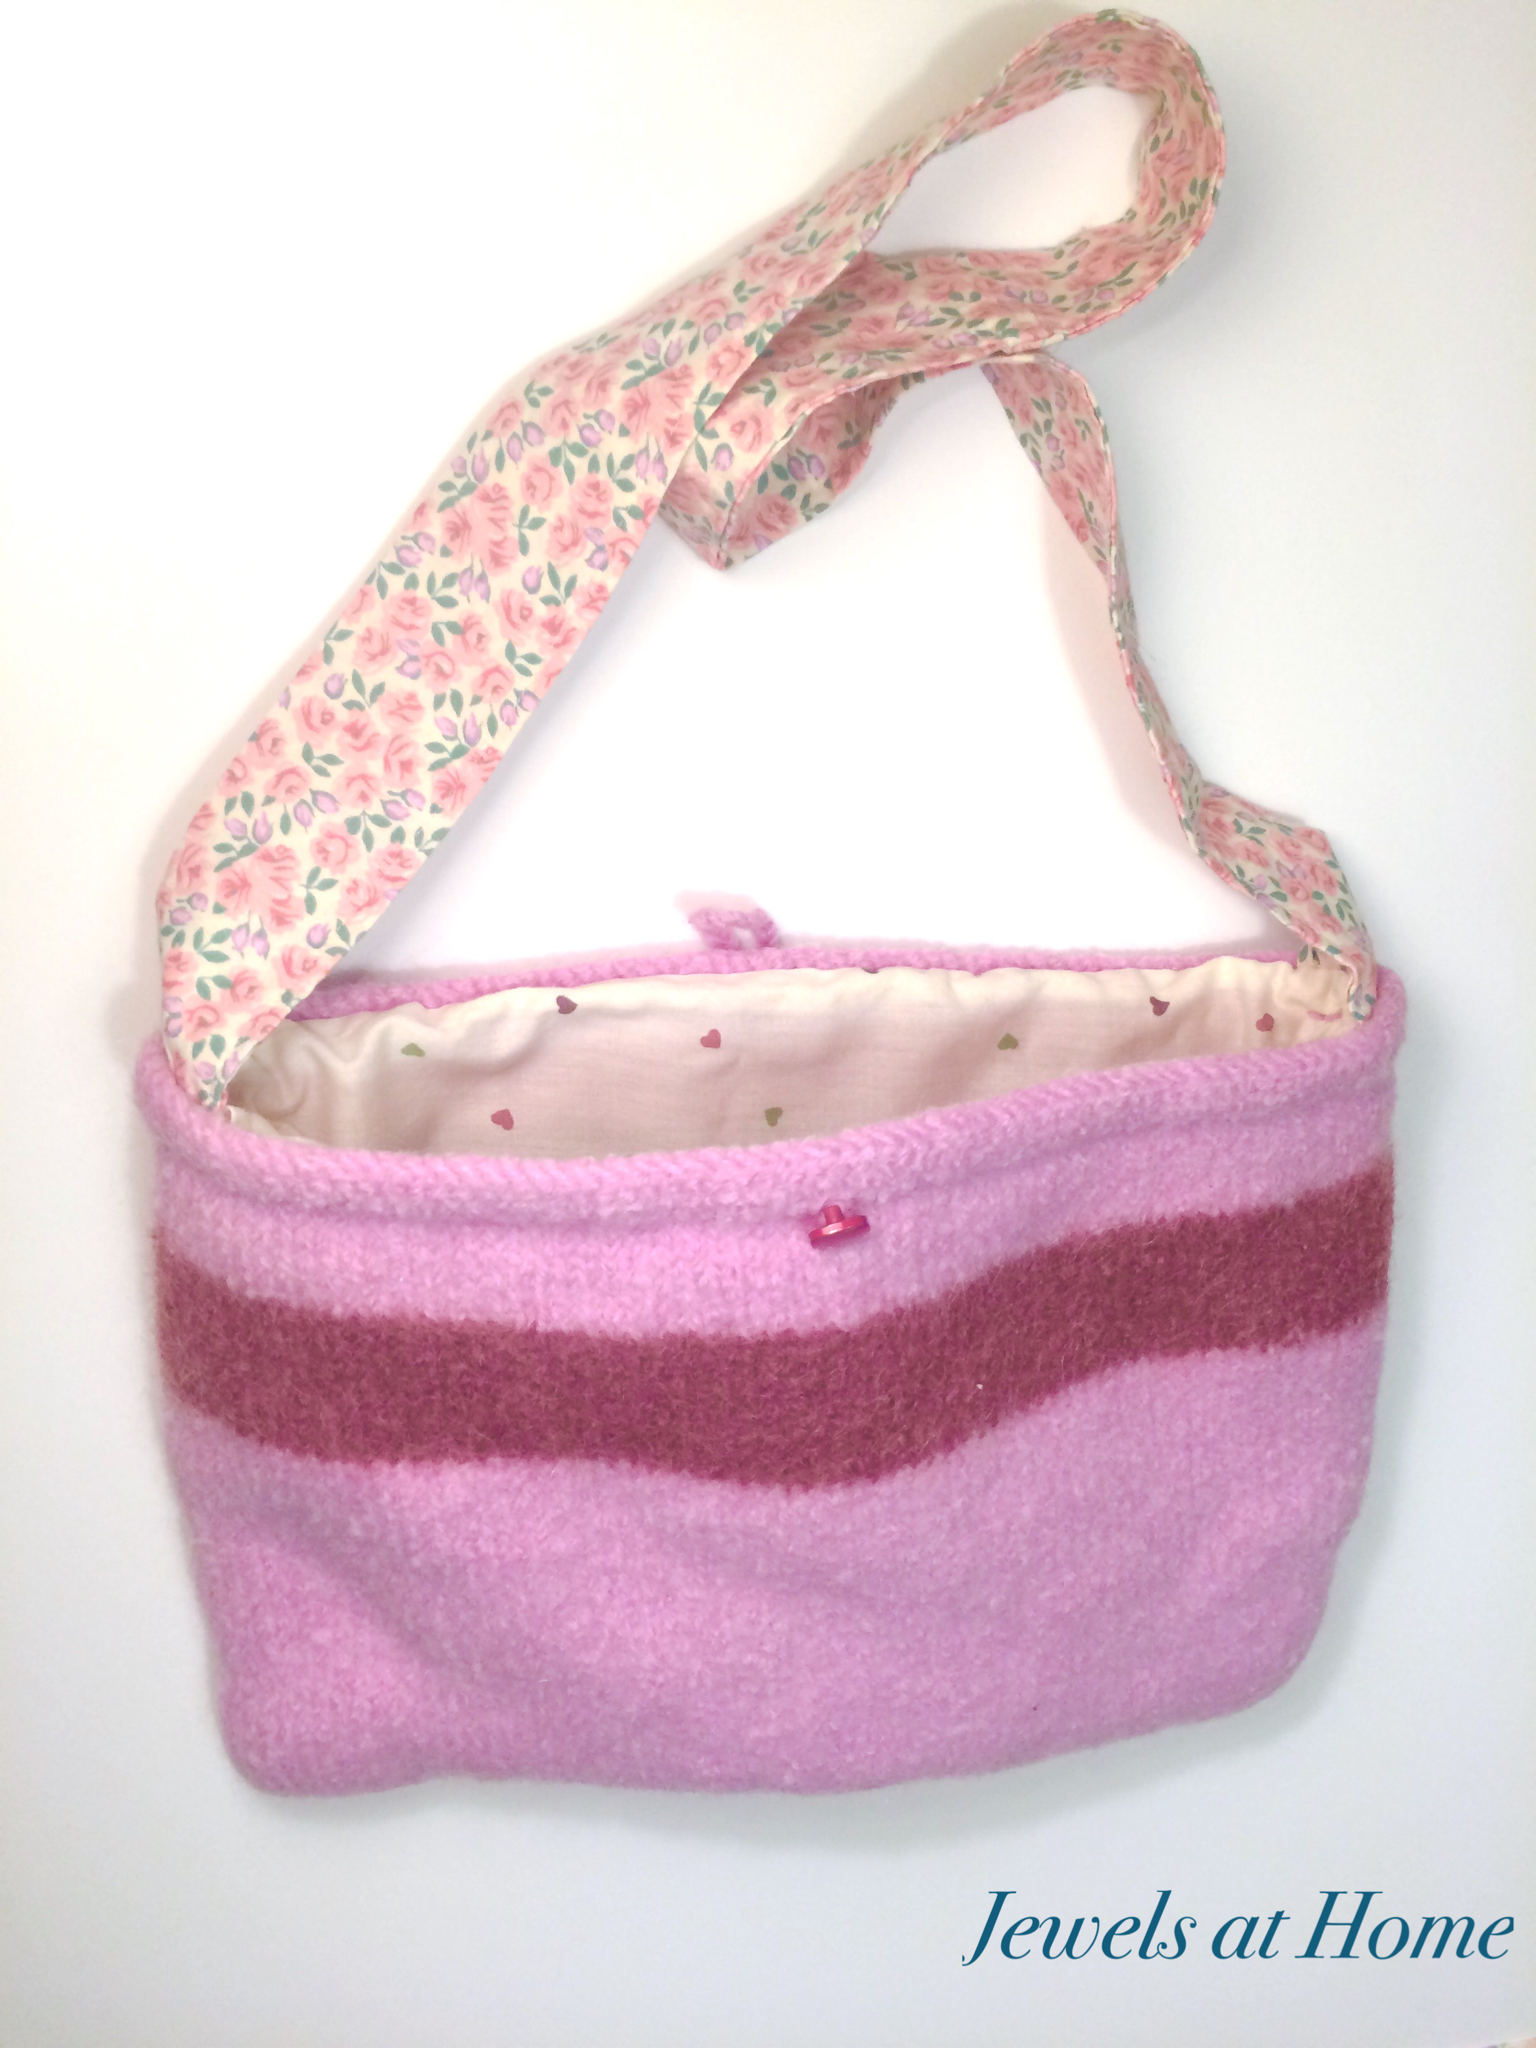
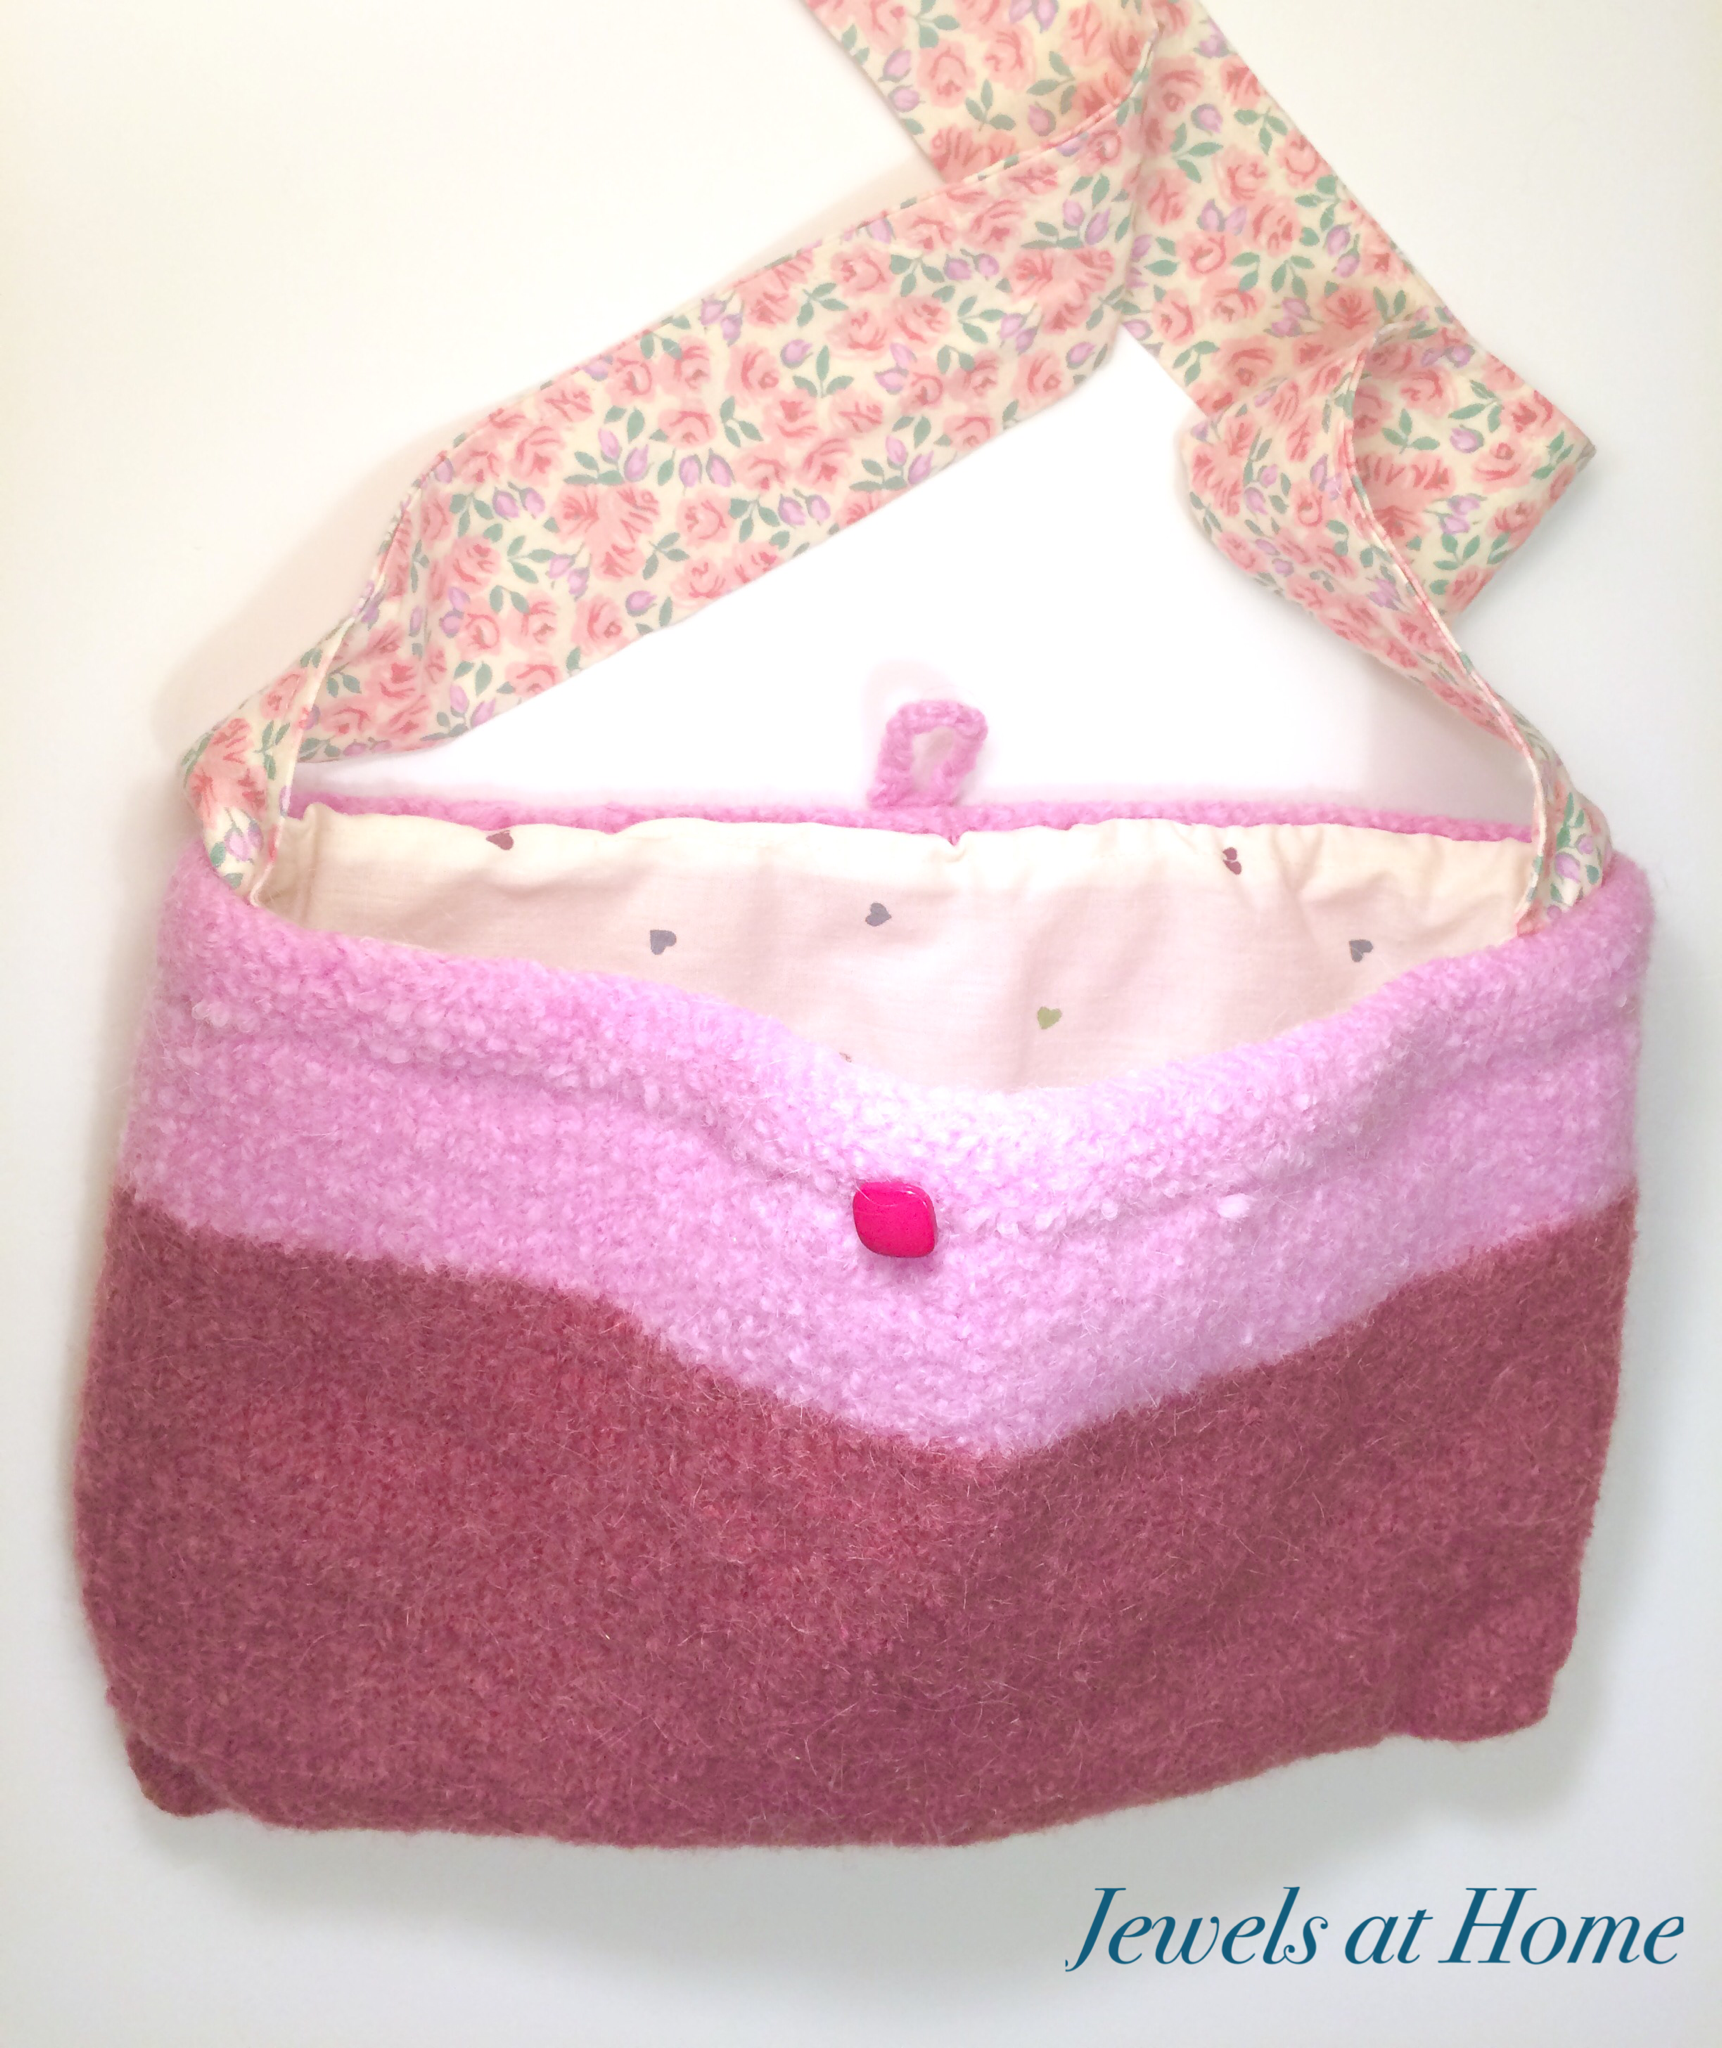
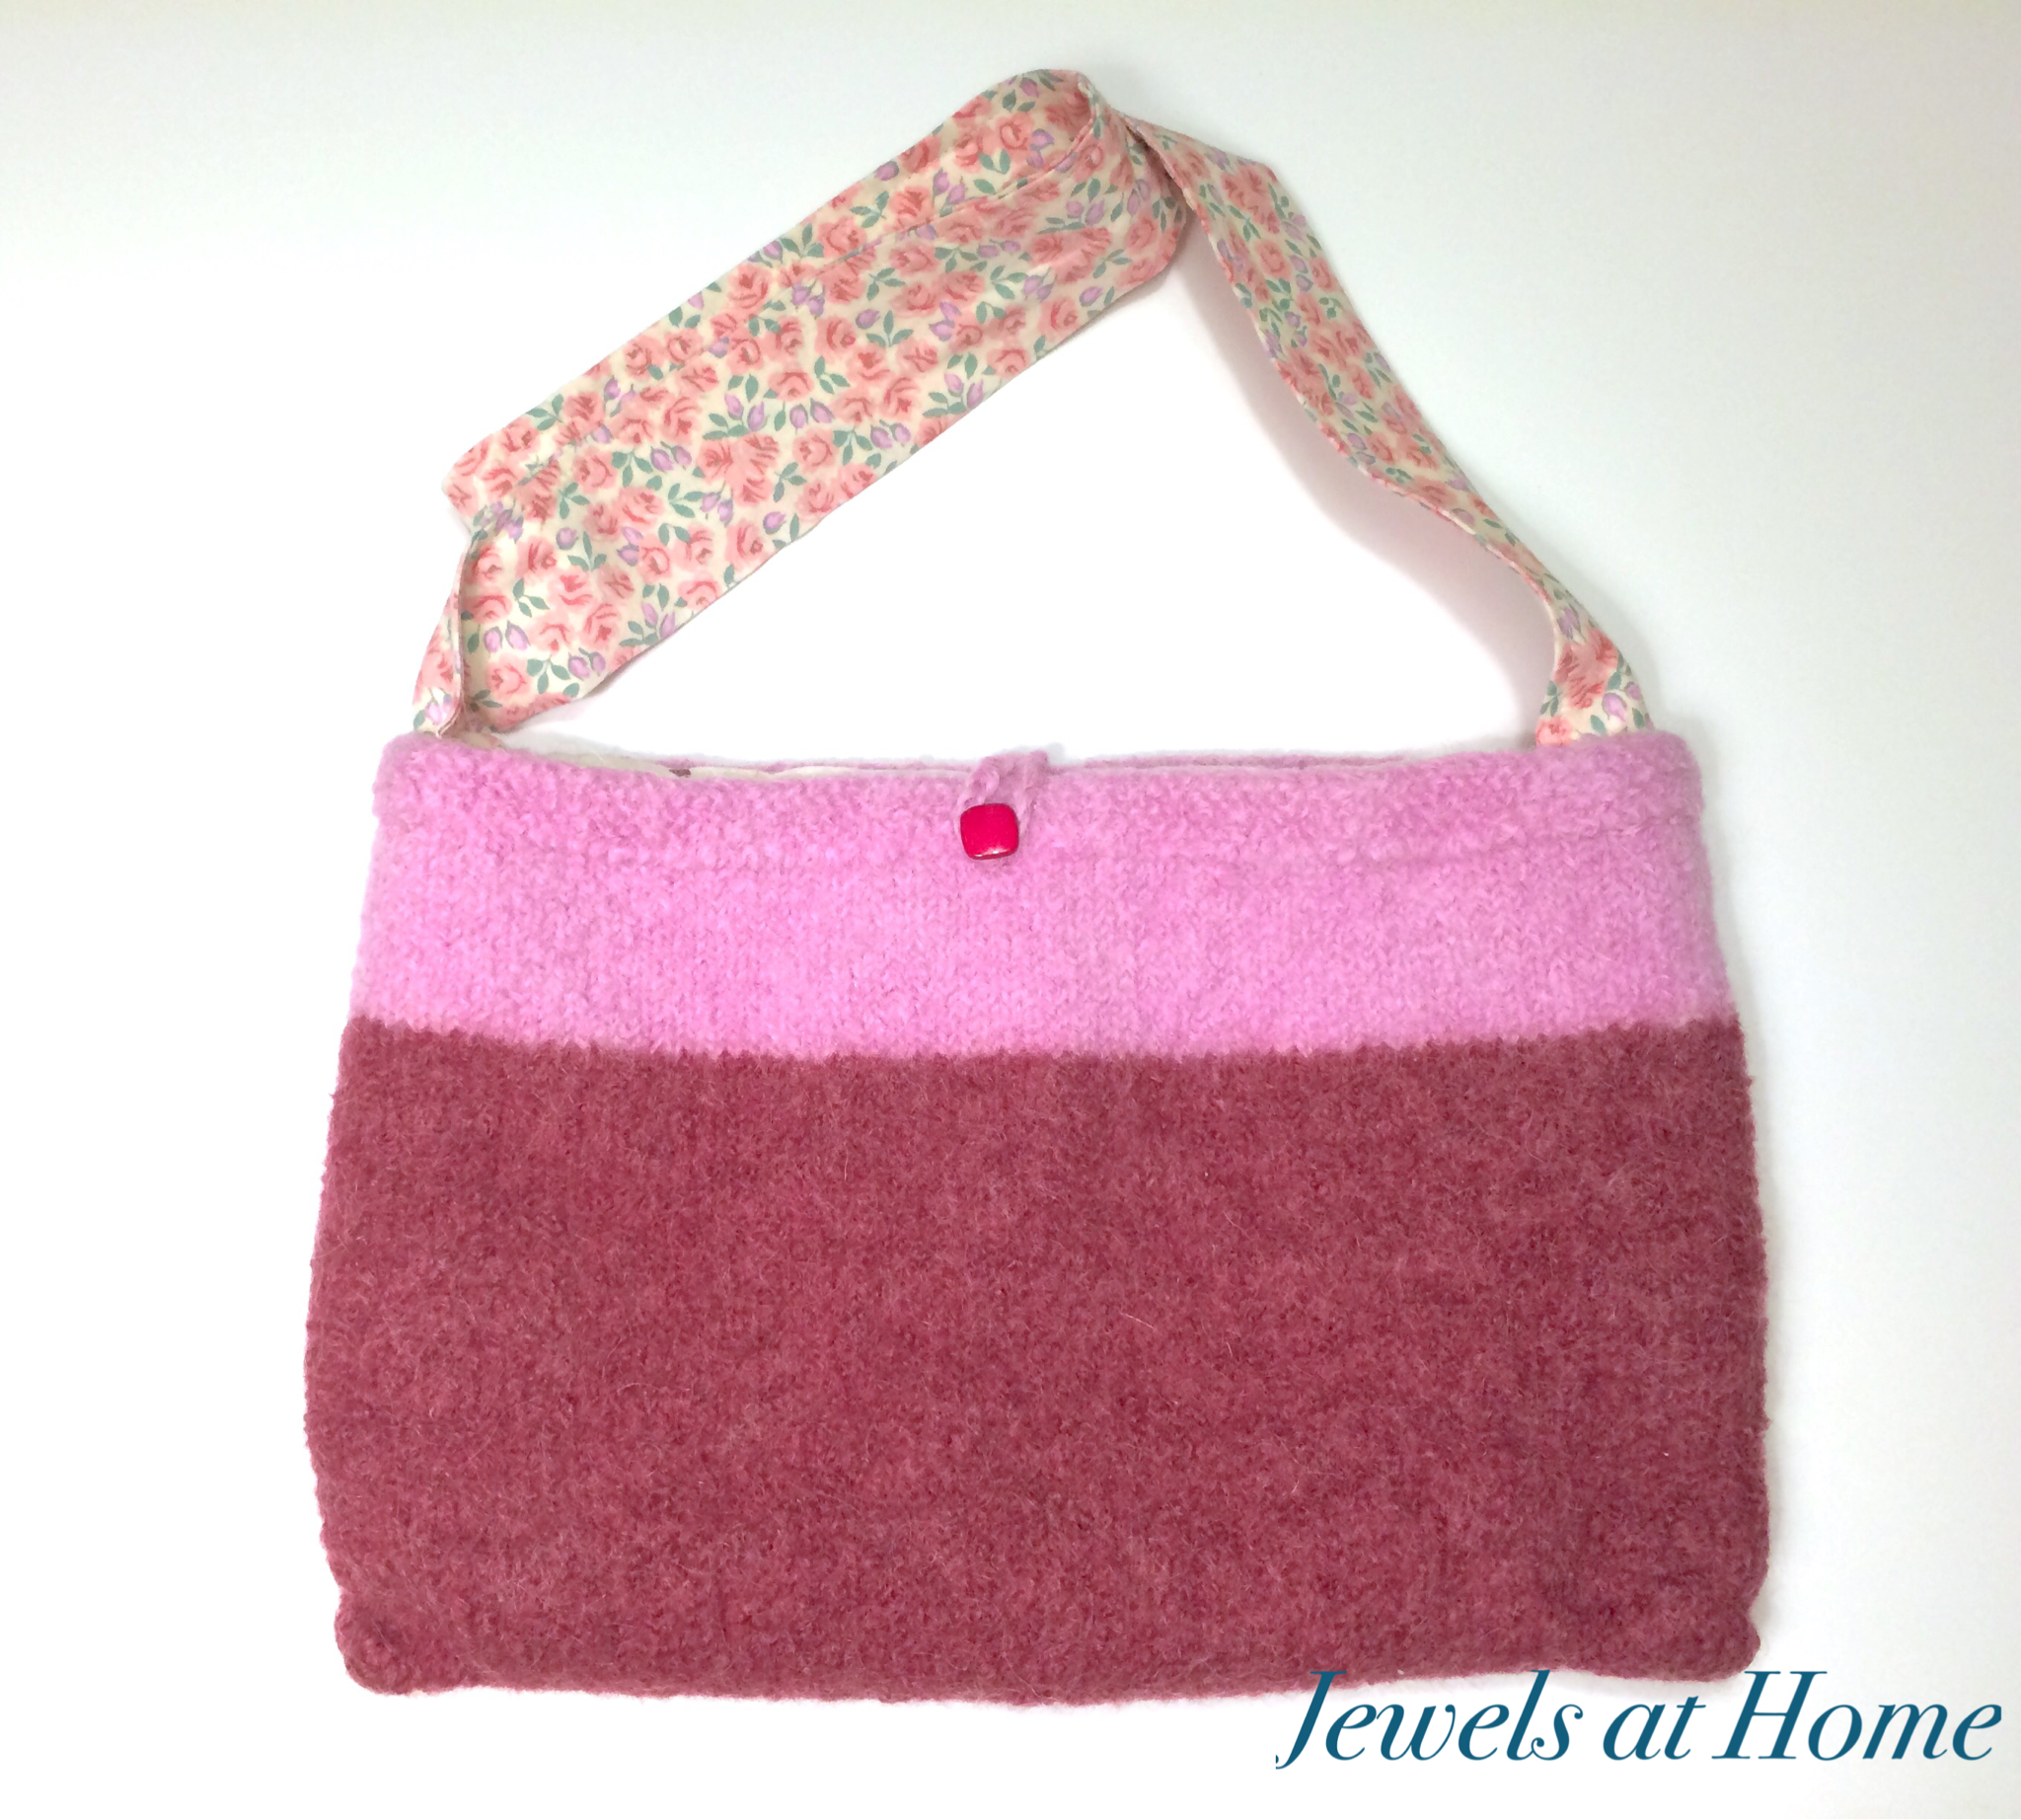
Okay, so these were supposed to be for my nieces’ birthday this year, but I wasn’t done in time. That’s alright, because it’s even better to give them the purses in person while they visit us for the holidays!
The concept is similar to the striped felted purse I made for myself, so you can read more detailed instructions there. I somehow managed to forget that the felting shrinks more in length and width, so the purses ended up a bit stouter than I intended, but I think they will work out. I added a little button and loop closure this time. I also made the straps out of fabric, rather then knitting and felting them, because I find the strap on my purse a bit scratchy. I think I’m going to go back and line my strap with some fabric.
Other than that, I’m very happy with how the purses turned out. It was fun to put some contrasting fabric inside, and I hope the girls have a lot of fun with them!


“Jewels”
