We are having a real baby boom in my “work family”! I started a tradition of making quilts for the new babies on our team, and there are a lot! I’ll share some of the past designs at the end … Continue reading
We are having a real baby boom in my “work family”! I started a tradition of making quilts for the new babies on our team, and there are a lot! I’ll share some of the past designs at the end … Continue reading

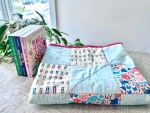
In the past few years, I’ve started a tradition of making quilts for the new babies among our friends… and I have been busy! I strive for patterns that are fun for a little one, but something that they can … Continue reading

Sometimes, milestones are measured in unusual ways. I know my kids are getting big, because it’s finally possible to take a picture of JJ’s room that is not a total disaster! We (I) were focused on finding a new house … Continue reading
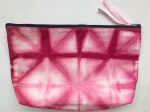
Are you looking for some DIY gift ideas? I had so much fun making the shibori-dyed zipper pouches for holiday gifts a few years ago that I decided to do this project again this time with larger pouches. The small size … Continue reading

My work family is getting ready to welcome the fourth baby this year! I decided to change it up from the rainbow scrap quilts, and I thought this Swiss cross pattern would be a great fit for Caitlin’s style. I … Continue reading
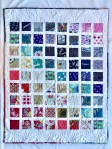
There’s a mini baby boom going on in my work family. For our last work baby boom, I made these “stacked coins” quilts. Looking for a new pattern, I adapted a rainbow sampler quilt pattern into a simpler rainbow scrap … Continue reading
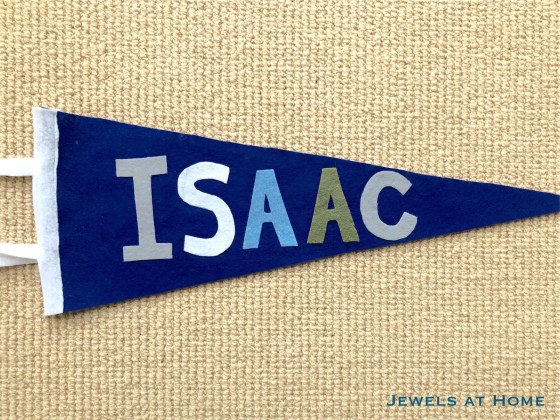
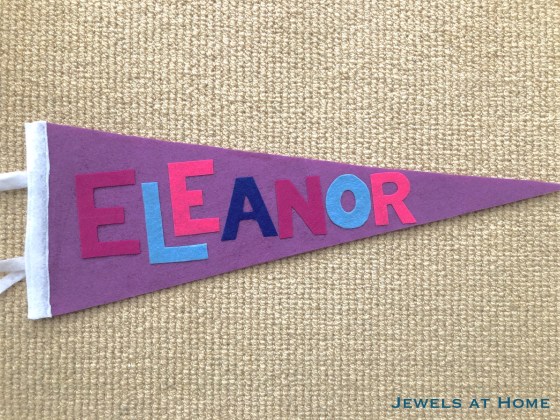
I recently made these vintage-style pennants to celebrate special places in our family. It was so fun that I went on to make personalized name pennants for my nephew and niece.

Here’s what you’ll need:
Here’s how to do it:
Here’s how the pennants turned out. I love all the color variations!
Julie aka “Jewels”
About once a year, my friend Ariana (of Act 2 Decor) and I get up early go to the Alameda Point Antiques Fair to browse and look for treasures.
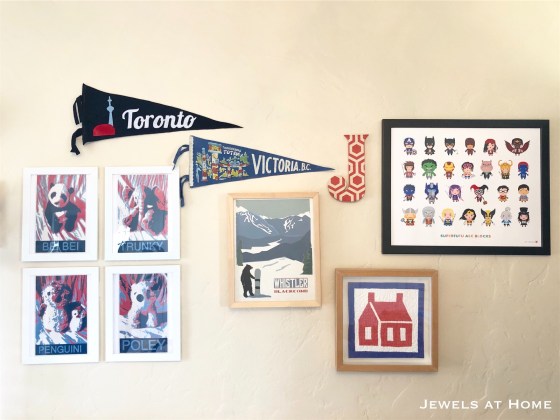
I’ve been working hard to clean out the house this year, so I kept my shopping restrained, but I was looking for a vintage felt pennant to finish up a new gallery wall in JJ’s room. I found the perfect piece, and it was definitely meant to be, because it was sold by the family of a former coworker!
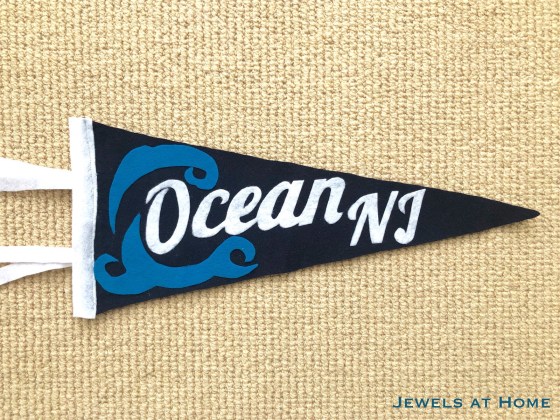
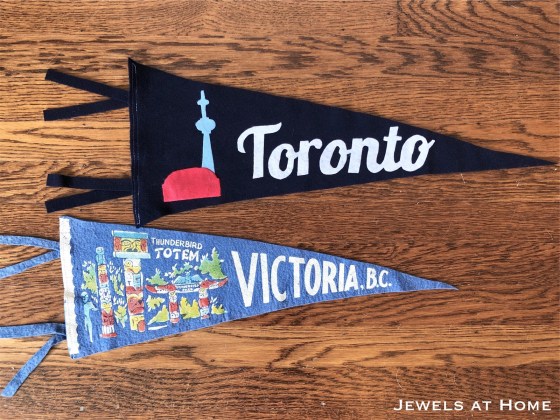
When I got home, I was inspired to make some more pennants of my own. I made one for my home town, Toronto, and one for my sister-in-law’s family in New Jersey.
Here’s what you’ll need:
Here’s how to do it:
Create a template for your pennant – mine is on two sheets of scrap printer paper. It is 7.5″ high x 21″ long.
Cut out the pennant from a large piece of felt
I sketched the images freehand in reverse on the paper side of the Heat ‘n Bond
For the script lettering, create a word processing document, print out the words, and trace them in reverse onto the paper side of the Heat ‘n Bond

Choose your felt colors for the letters and design and fuse Heat ‘n Bond to one side

Cut out your letters and designs
Arrange on the pennant and iron in place
Cut strips of felt for the binding (optional) and ties and sew in place
Here are my finished pennants. I should make one for San Francisco next!

Here’s a picture together with my vintage find:
And here’s how JJ’s new gallery wall came together!
I had so much fun! What city do you want to celebrate and what image would you use?
Julie aka “Jewels”

Every year, I make a handmade holiday gift for my coworkers and our kids’ teachers. I love bringing them into school and the office and spreading joy! I’ll list all the past ones at the bottom, so you have more … Continue reading
I’m really excited to be a Guest Participant again in the One Room Challenge! This is a great way to get inspiration and motivation for your home. This spring, I re-decorated our boys’ bathroom. For this fall’s challenge, I’m transforming our teen’s bedroom. His new space is inspired by an industrial loft, with an exposed brick wall and other great features! Thanks for following along!
![]()
Recap:
This week, I’m so excited to show you the lighting projects for this space. These are both moderately easy DIYs, and that’s exactly what I need right now with everything else going on at home and work!

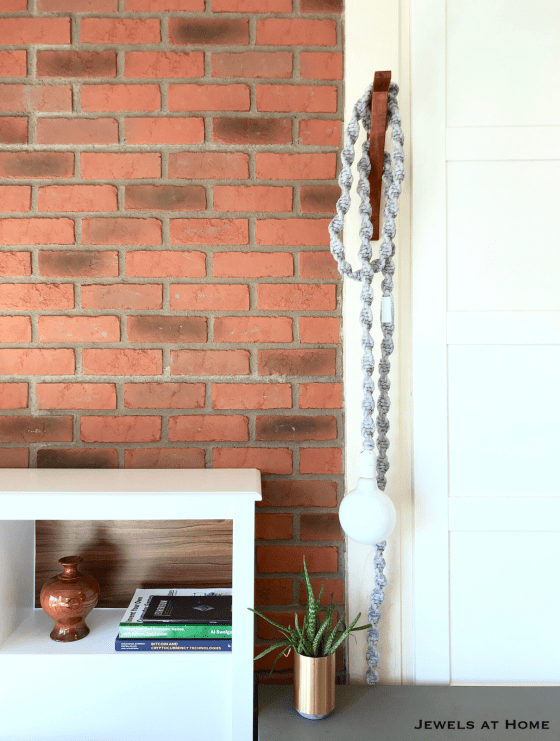
Macrame Cord Hanging Lamp:
TOTALLY in love with this project. More details, including materials and instructions, in this post. For now, just enjoy the pictures!


Stenciled Drum Pendant Lamp Shade:
This is actually one of the first projects I did, when I started blogging. The detailed instructions are in the original post. This room used to be my craft room, so I gave myself some license to use more feminine touches. Kai’s not picky, but I did want to update this lamp for him. I originally thought I might be able to just change the shade, but it was fixed in place. While changing out the light bulbs, I realized that the room looked a lot brighter – and the light looked a bit less feminine – without the bottom glass and finial, so I left it that way for a little update.
Here’s an earlier before-and-after of the light.

And here’s how it looks without the bottom finial and with some fun Edison-style bulbs inside.


Oh, and one more look at my friend the macrame cord light…
Not sure what I’ll tackle this coming week. The answer might be nothing, because I’m co-hosting a big crazy birthday party this weekend…
A huge thank you to Linda for creating the One Room Challenge community, and high fives to all my fellow bloggers whose hard work and creativity were great inspirations! Be sure to go back to the One Room Challenge page to check out all the other projects!
Julie aka “Jewels”
