My two older boys went to college on the opposite side of the country. I missed them, but a silver lining has been the connections they built with our extended family. When we were gathered for my oldest’s graduation, I … Continue reading
My two older boys went to college on the opposite side of the country. I missed them, but a silver lining has been the connections they built with our extended family. When we were gathered for my oldest’s graduation, I … Continue reading
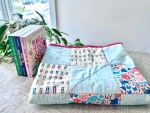
We are having a real baby boom in my “work family”! I started a tradition of making quilts for the new babies on our team, and there are a lot! I’ll share some of the past designs at the end … Continue reading

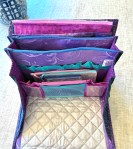
I dressed up this wooden desk organizer to create some pretty storage in my kitchen. You could use it for a bathroom, office or craft space also! I love tea – and throwing tea parties – so this is perfect … Continue reading

A few years ago, I made an accordion album to hold photos for my dad. Now, here’s a more dressed-up version that I made as wedding cards from our work for two coworkers who are both getting married this summer. … Continue reading

Making these decorative paper storage boxes makes me so happy! Like many of my other creations, it started by seeing something beautiful and wondering “how could I make that?!” In this case, it started by seeing these gorgeous Antoinette Poisson … Continue reading
YEARS ago, I bought a cute zipper pouch ages ago at a Signatures craft fair in Toronto. The size is perfect for sunglasses, lip gloss, hair ties, ear buds, or other little items you want to corral in your purse. Since I recently conquered my fear of zippers when I made the box cushion covers for my new chairs, I decided to try making some of these little pouches myself. It’s such a fun project to use small scraps of fabric and combine colors and patterns.
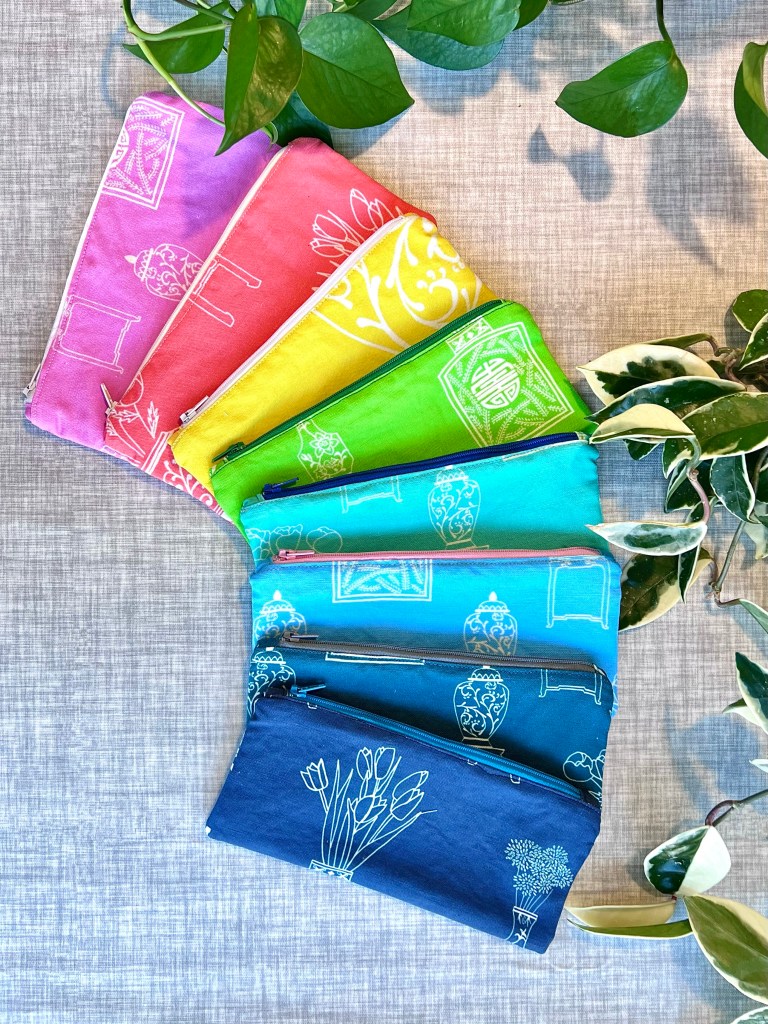
I followed the instructions from icansewthis, which lays out the steps very clearly. The dimensions for this pouch use 4.5″x9″ rectangles to make a finished size of approximately 4″ x 8.5″
Here’s what you’ll need:
I made pouches from vintage kimonos, favorite scraps, and also some of fabrics I designed myself. If you want to check out my fabric collection, here’s my shop on Spoonflower. You can have have fun mixing and matching zipper colors and linings!


Happy sewing !
Julie AKA “Jewels”

In the past few years, I’ve started a tradition of making quilts for the new babies among our friends… and I have been busy! I strive for patterns that are fun for a little one, but something that they can … Continue reading

My collection of plates and tea cups started when I threw a tea party baby shower for my friend, Nicola, a whole decade ago! Over the years, I have added more treasures to my collection, and I love the stories … Continue reading

A couple of years ago, shortly after everything shut down at the beginning of the pandemic, I got back into sewing. A lot. It kept me busy and feeling productive and was a great outlet, while making pretty things for … Continue reading
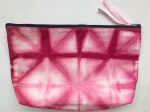
Are you looking for some DIY gift ideas? I had so much fun making the shibori-dyed zipper pouches for holiday gifts a few years ago that I decided to do this project again this time with larger pouches. The small size … Continue reading
