
You know how much I love decorating for Christmas and the winter holidays! This year, I spied a great tutorial for a DIY mantel garland from Erin Zubot Design. Erin has made an incredible home, and she is a fellow … Continue reading
You know how much I love decorating for Christmas and the winter holidays! This year, I spied a great tutorial for a DIY mantel garland from Erin Zubot Design. Erin has made an incredible home, and she is a fellow … Continue reading

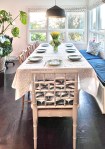
I dressed up this wooden desk organizer to create some pretty storage in my kitchen. You could use it for a bathroom, office or craft space also! I love tea – and throwing tea parties – so this is perfect … Continue reading

I don’t do that much seasonal decorating (except for my very over-the-top Christmas decorating, of course!). Maybe, it is because San Francisco does not have traditional seasons? Anyway, after our cool and wet winter, I really felt like celebrating Spring … Continue reading

I love treating myself to real fresh flowers, but sometimes, we all need the low-maintenance burst of color that comes from “silk” flowers. I have a few favorite tips to create arrangements that look almost as good as the real … Continue reading

You know how much I love a good furniture makeover! Sometimes, it’s about a dramatic transformation, like this mid-century dresser, these stenciled nightstands, or my Thomasville faux bamboo bar cabinet. Other times, you just need a few changes to transform … Continue reading

My collection of plates and tea cups started when I threw a tea party baby shower for my friend, Nicola, a whole decade ago! Over the years, I have added more treasures to my collection, and I love the stories … Continue reading
A lot of people groan when they think about moving, and while I plan to stay put for many years to come, I actually love the excitement and challenge of arranging a new space. I’ve had a lot of fun … Continue reading
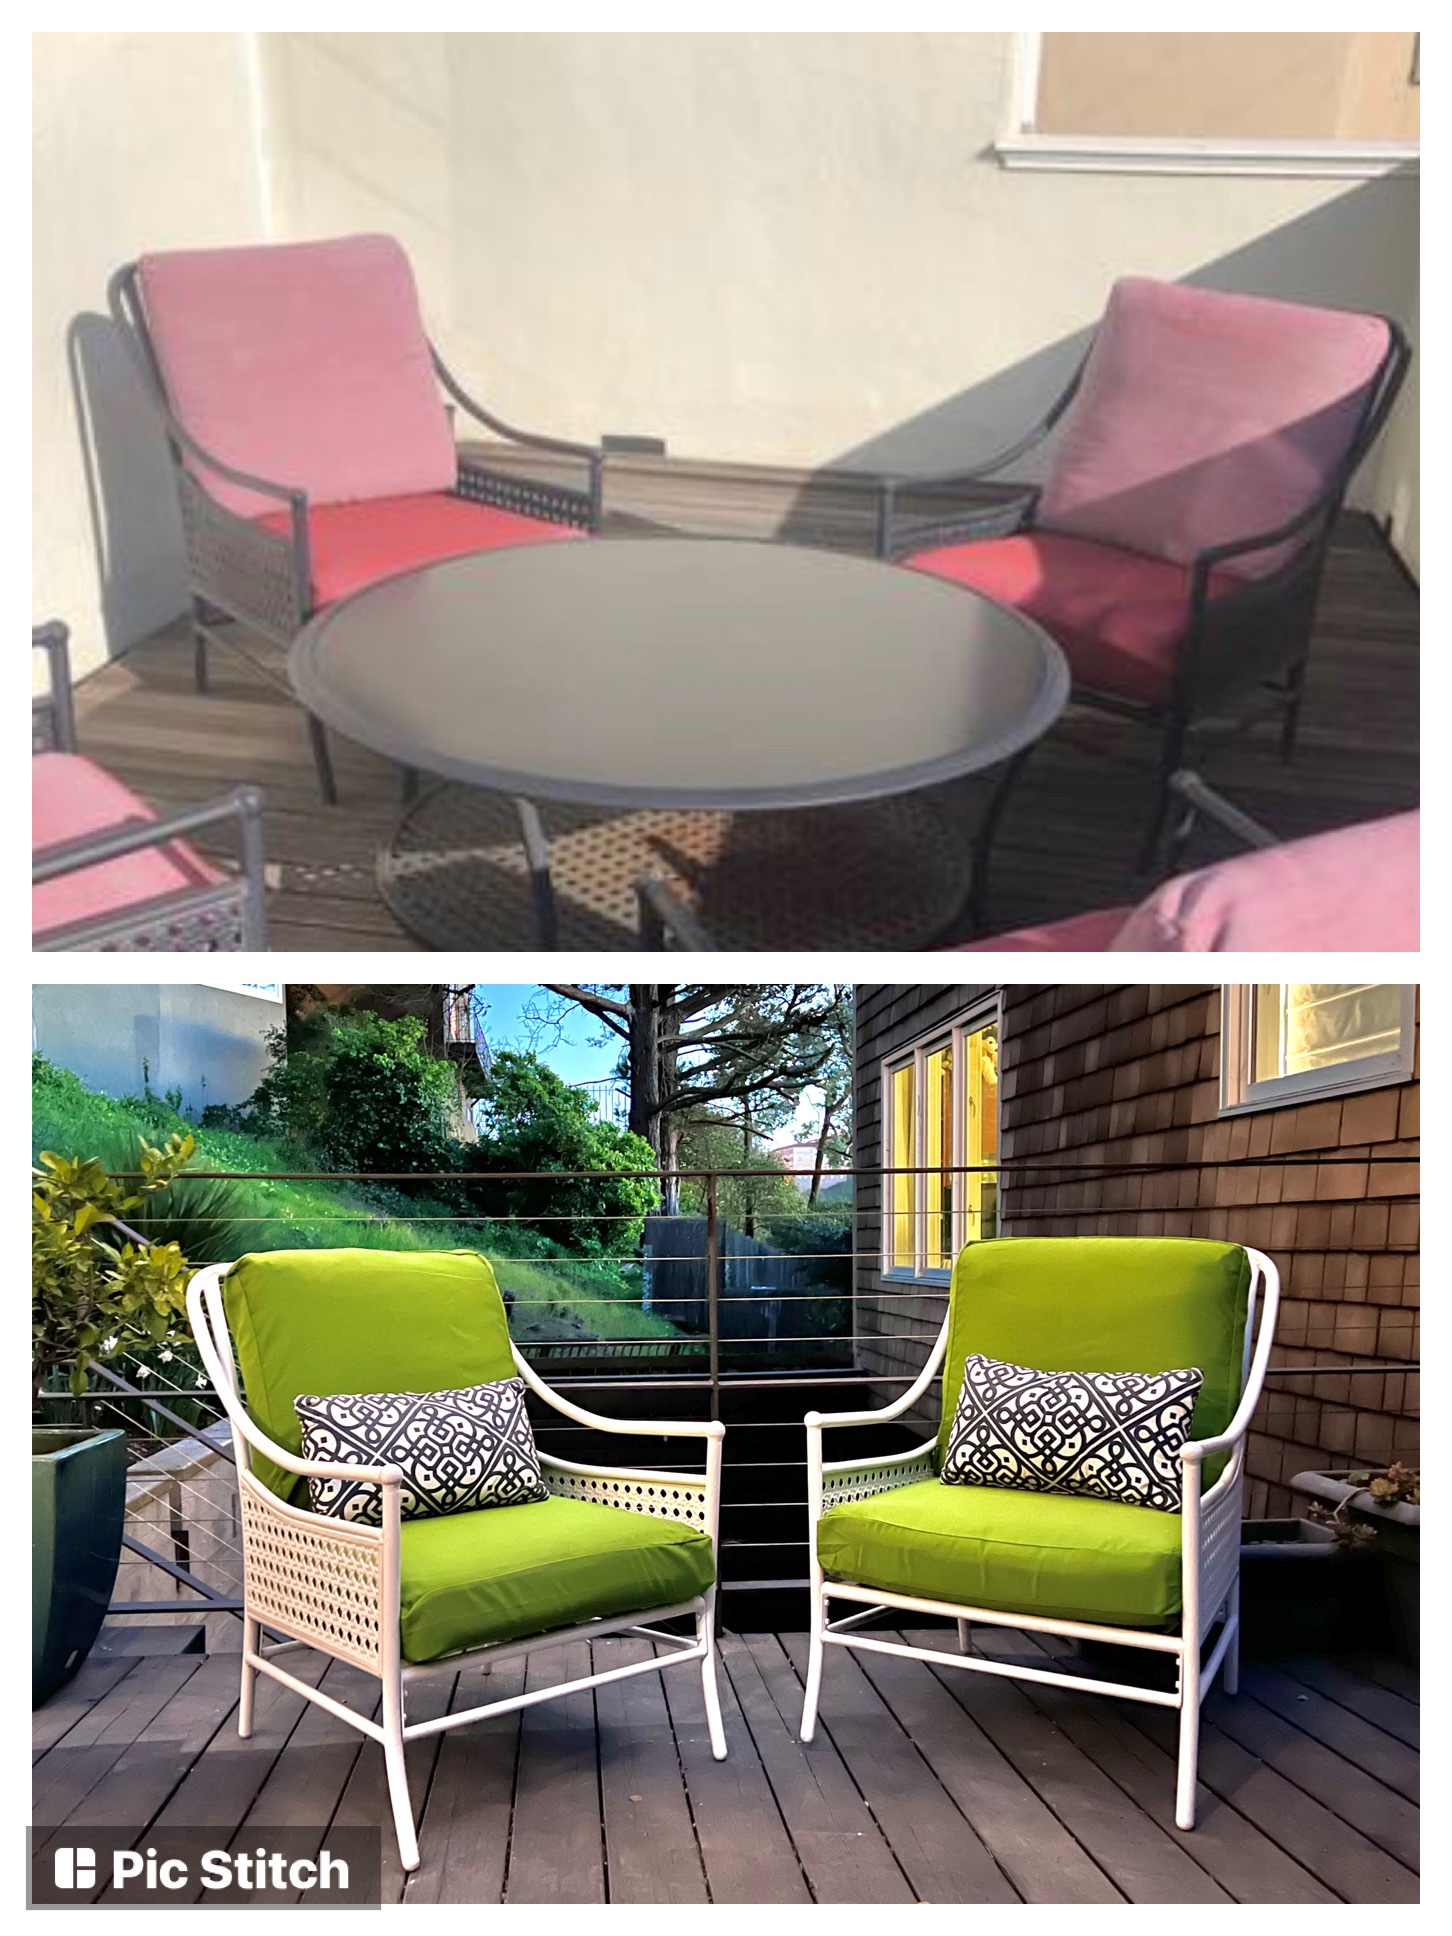
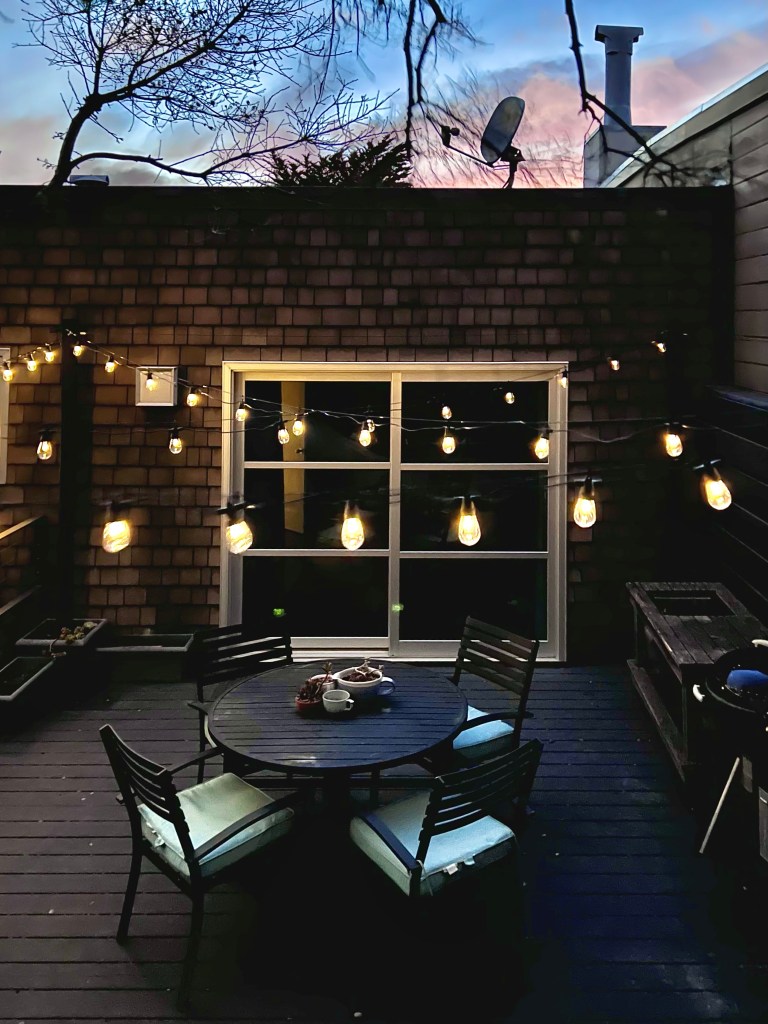
I am so excited for our new patio space and have already enjoyed time out here eating lunch, reading, or catching up on some work. I started looking for some lounge chairs, but I couldn’t quite find what I wanted – or more accurately, what I wanted was way too $$$. But this story has an happy ending! I found these used chairs and made them over for $ to complete our patio space!
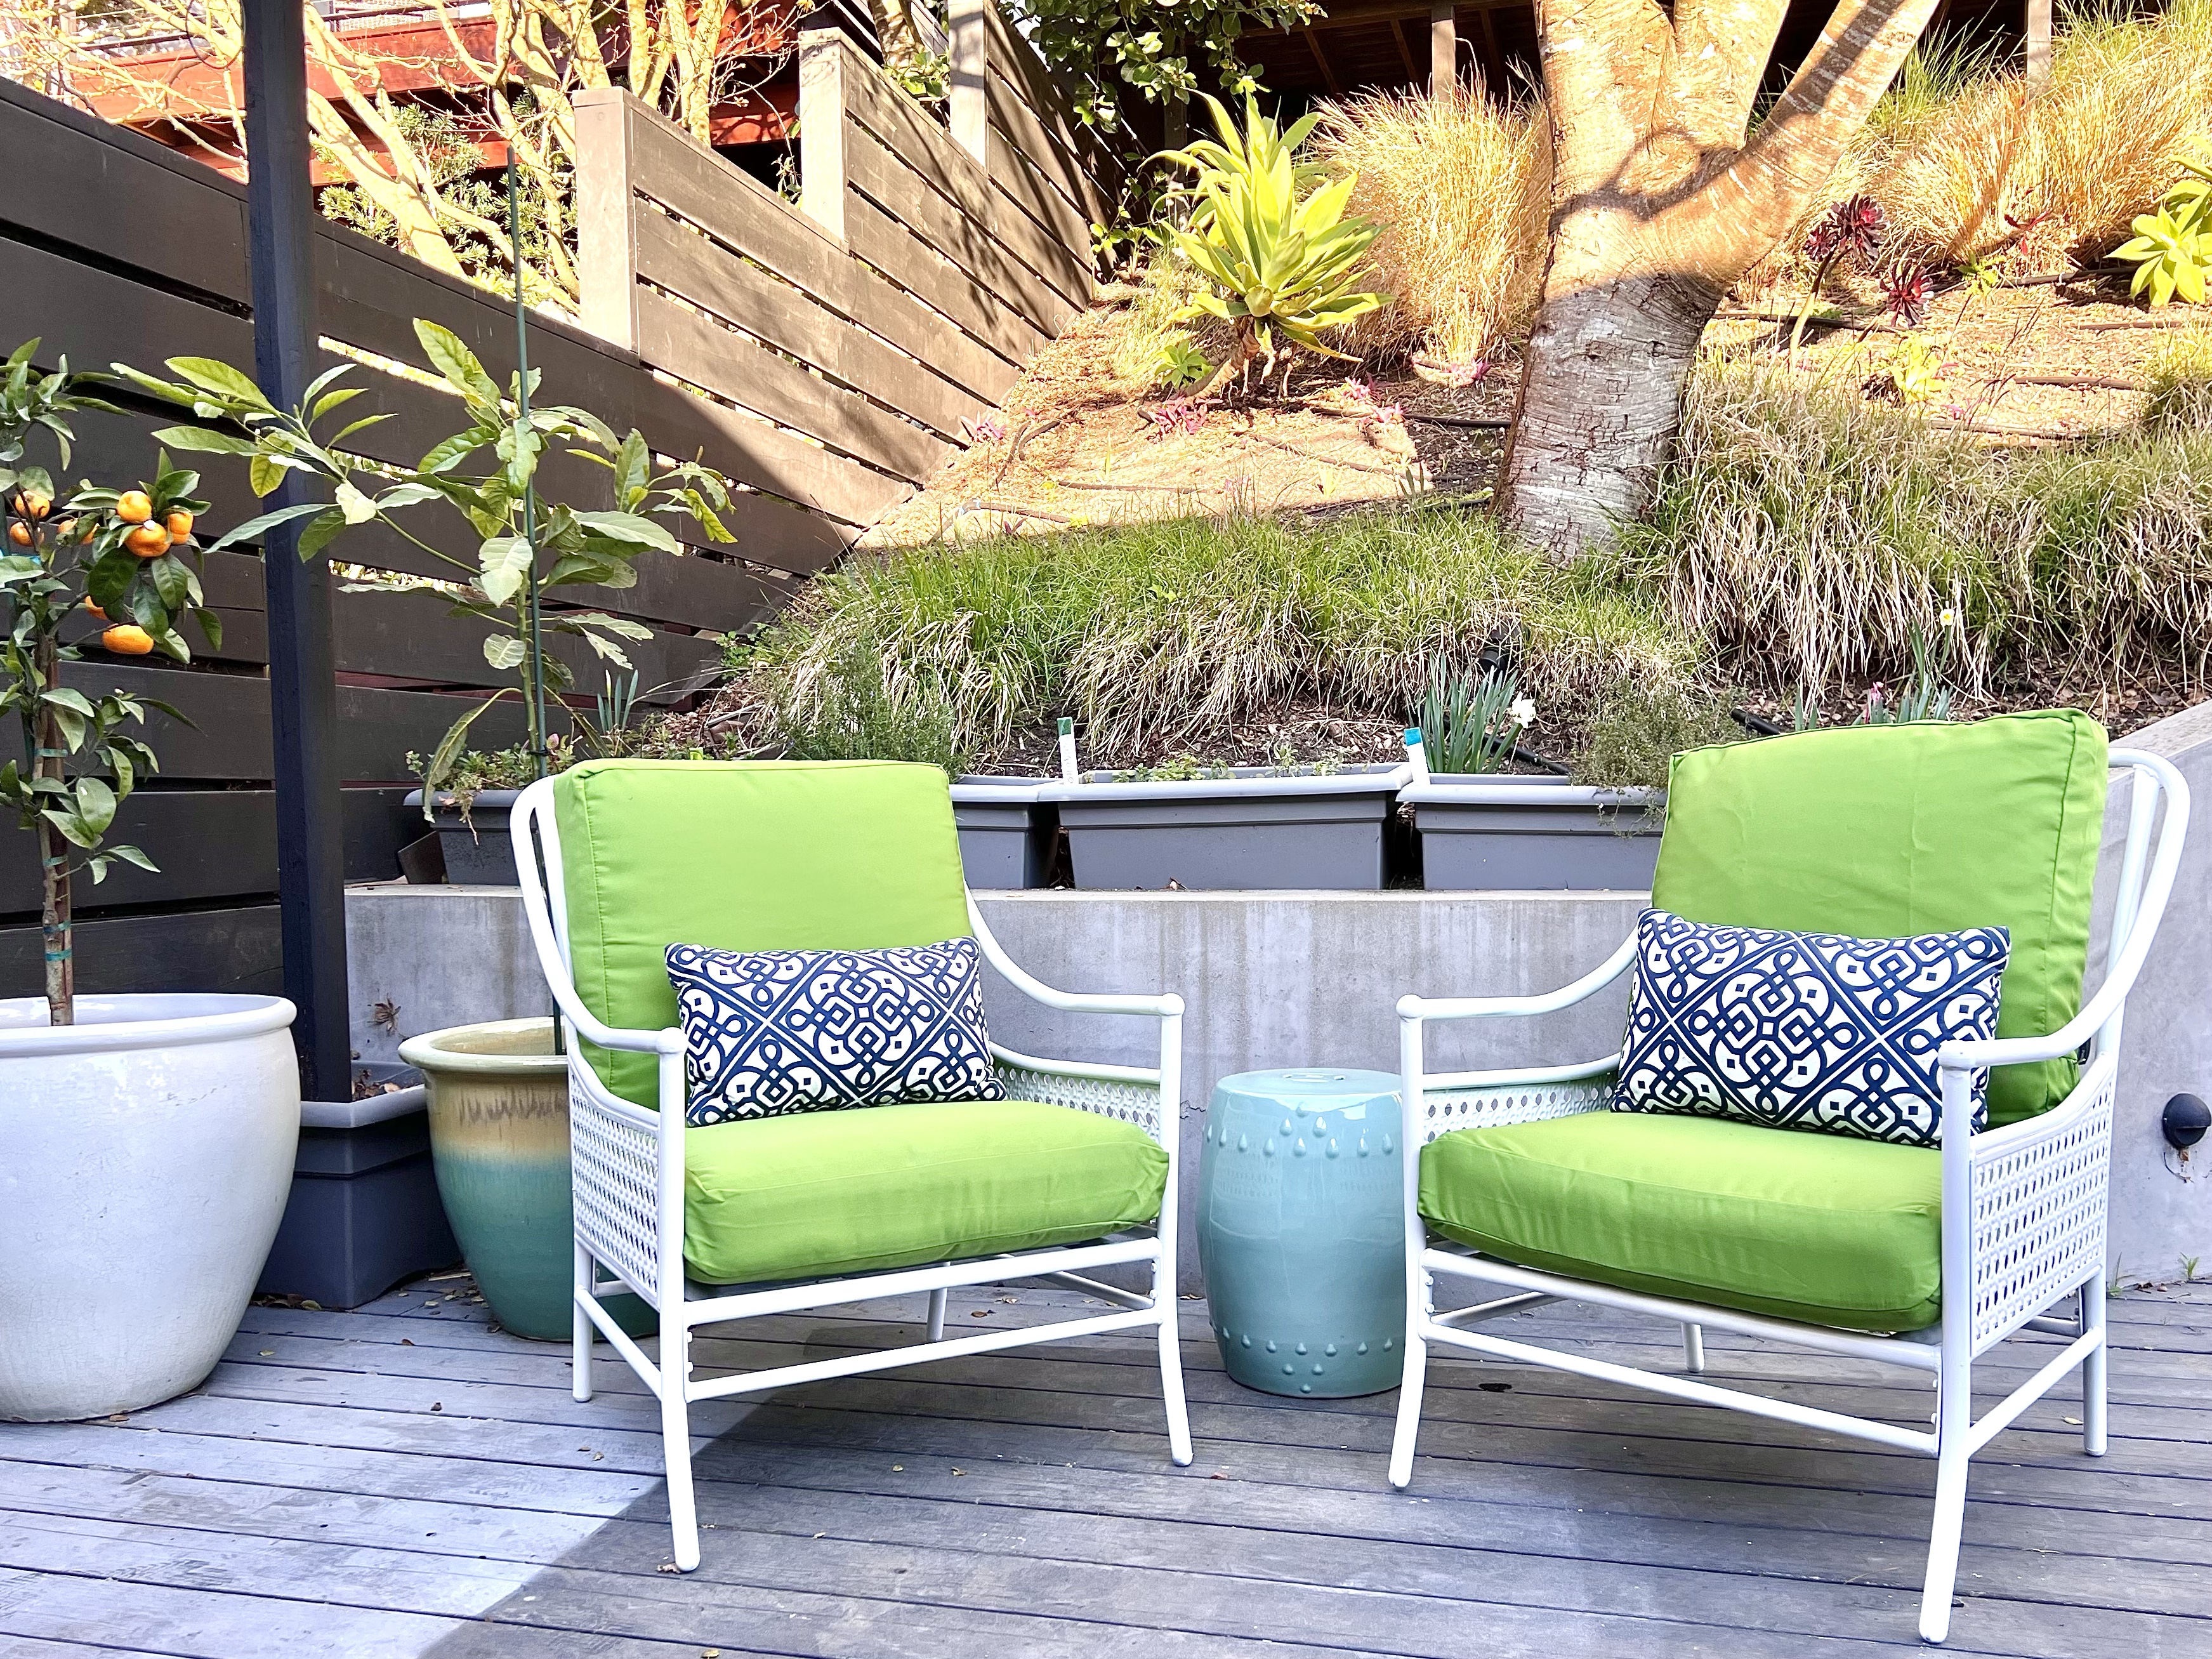
It’s no secret that I love anything with the look of cane or faux bamboo and also that I have a weakness for Craigslist finds! I spotted this set on Craigslist for $50, and when I showed up, the woman said I could have it for free. She also let me take the chairs without the table, so my karma of giving things away when we moved last year came back to me! I also picked up the chairs near my old neighborhood hardware store, so I stopped by to get some supplies and painting tips.
Here’s how to do it:
Here are some more pictures of our “new” chairs.


I feel they came pretty close to my inspiration pics, and all with the satisfaction with saving some money and a good DIY!


Everyone loves a good before and after pic:
I look forward to many more hours enjoyed out here with friends, family, or curled up with a good book!
Julie AKA “Jewels”
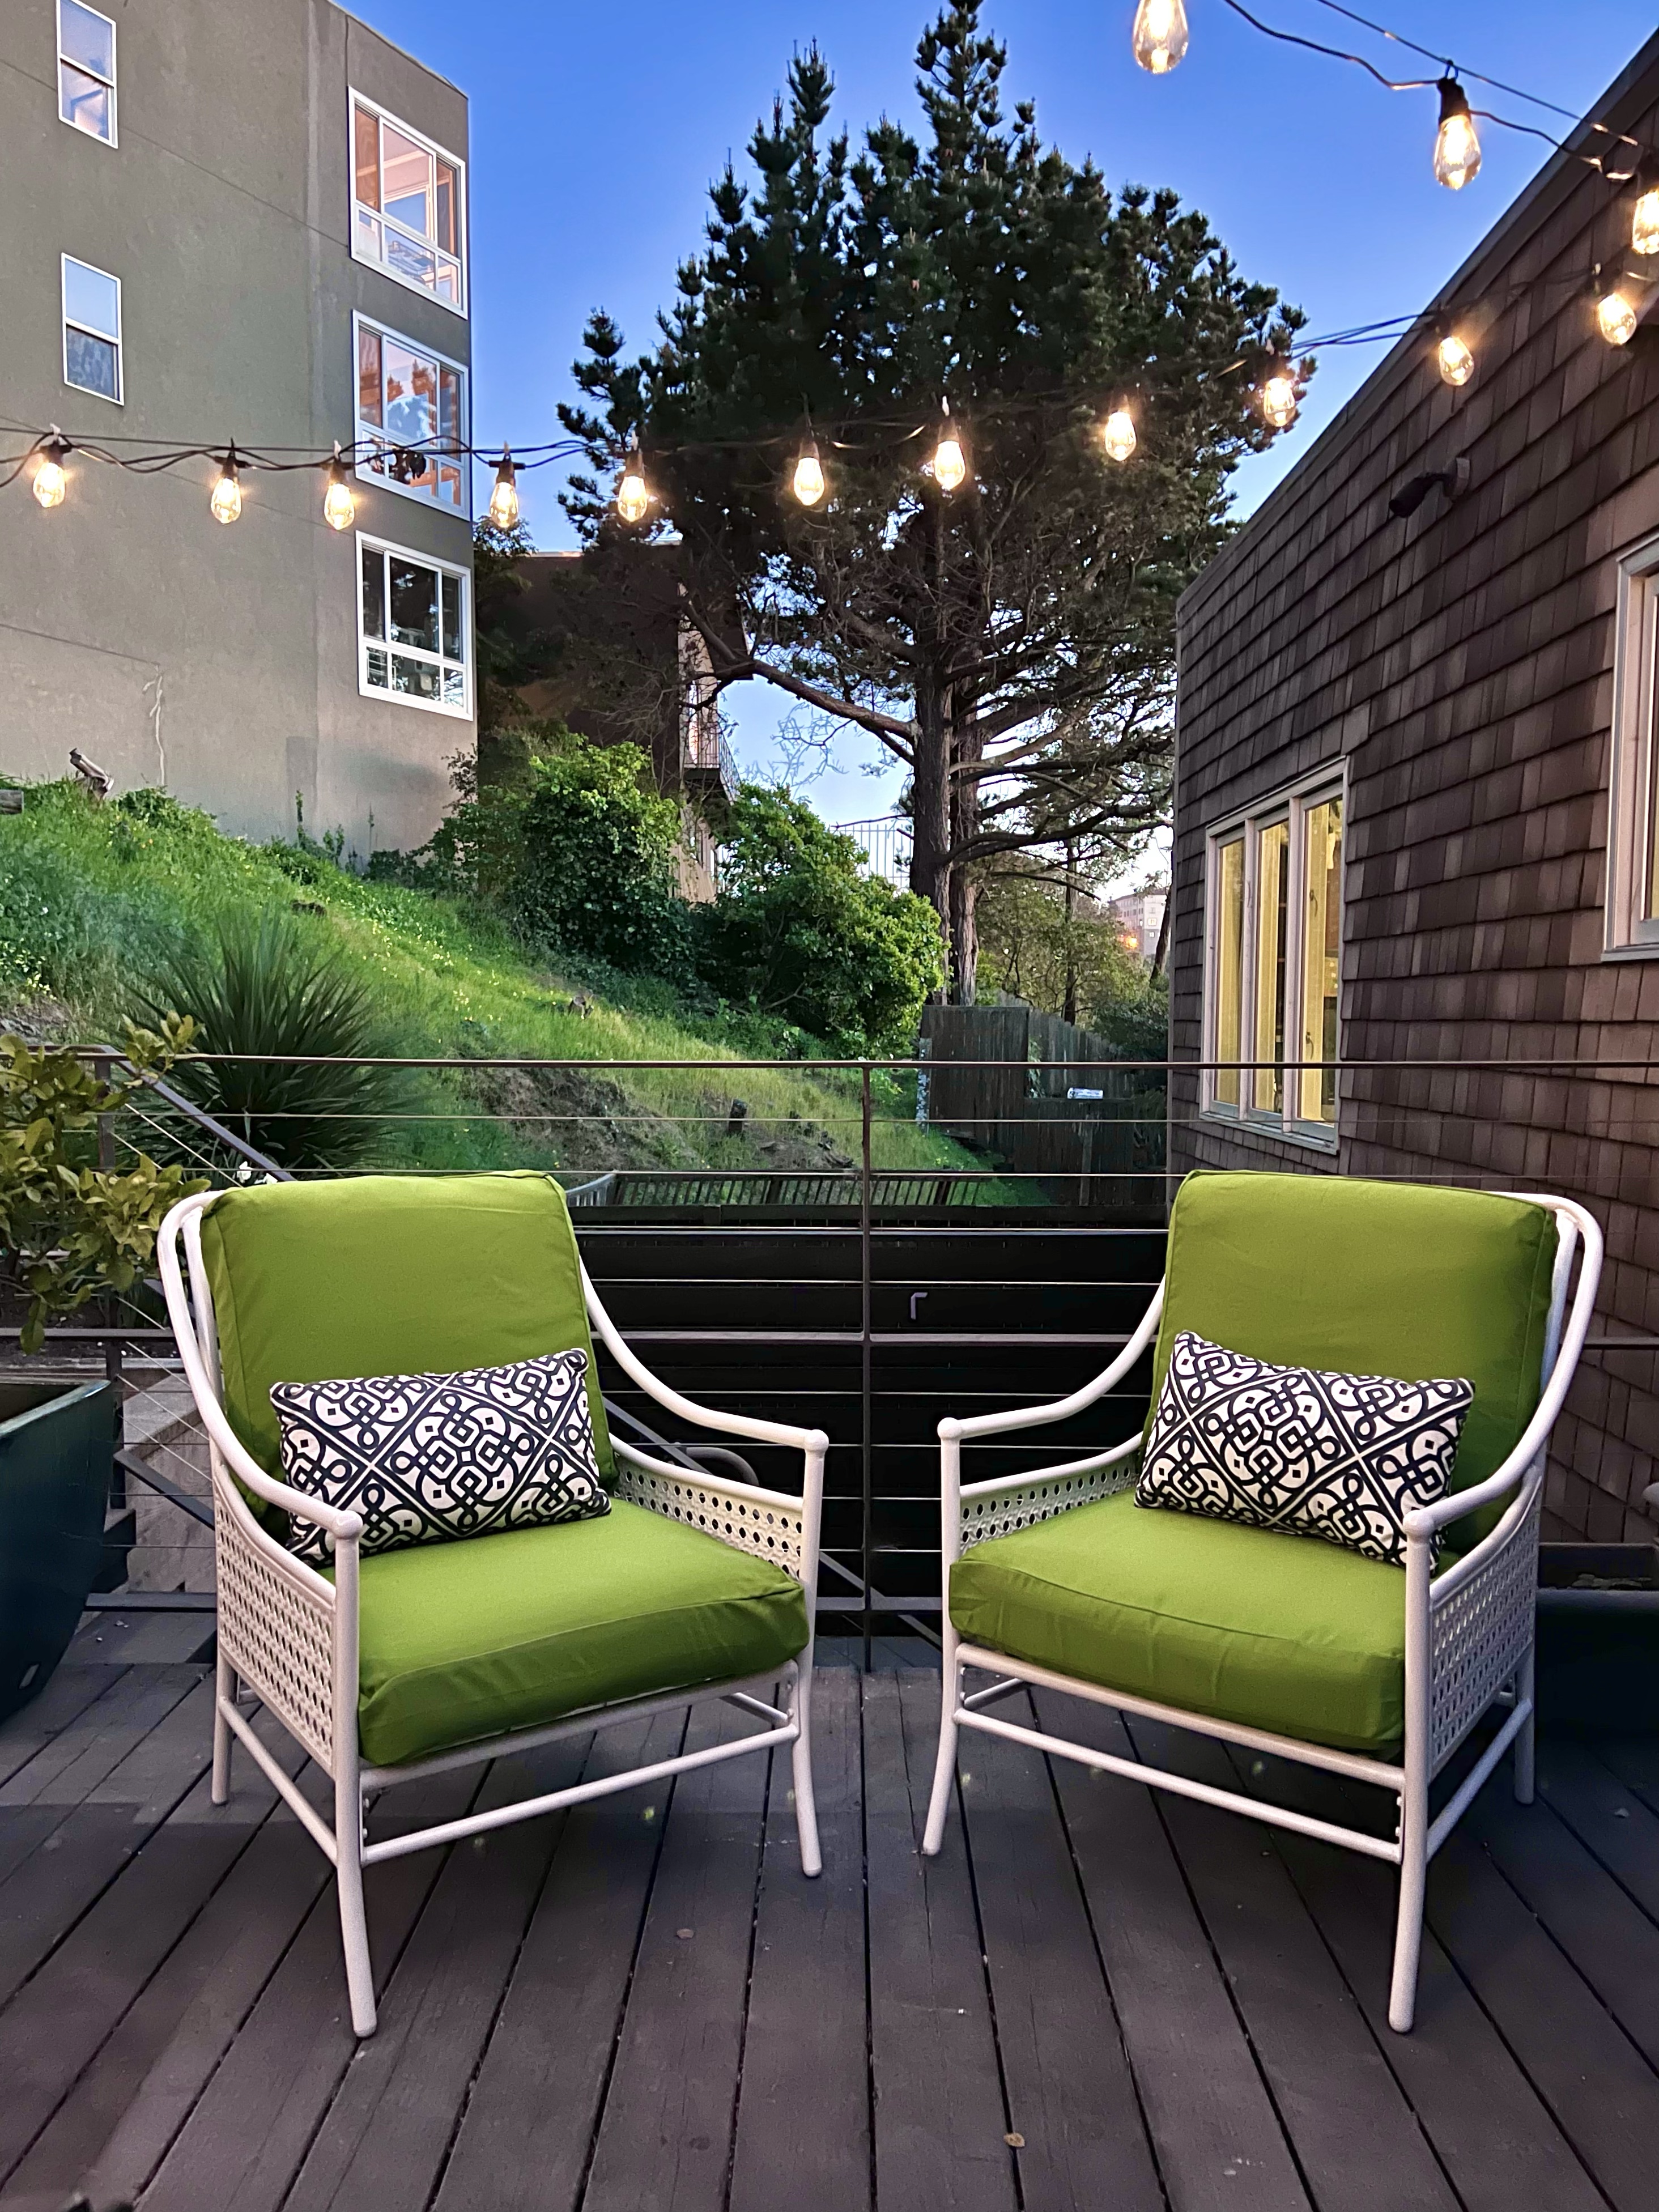
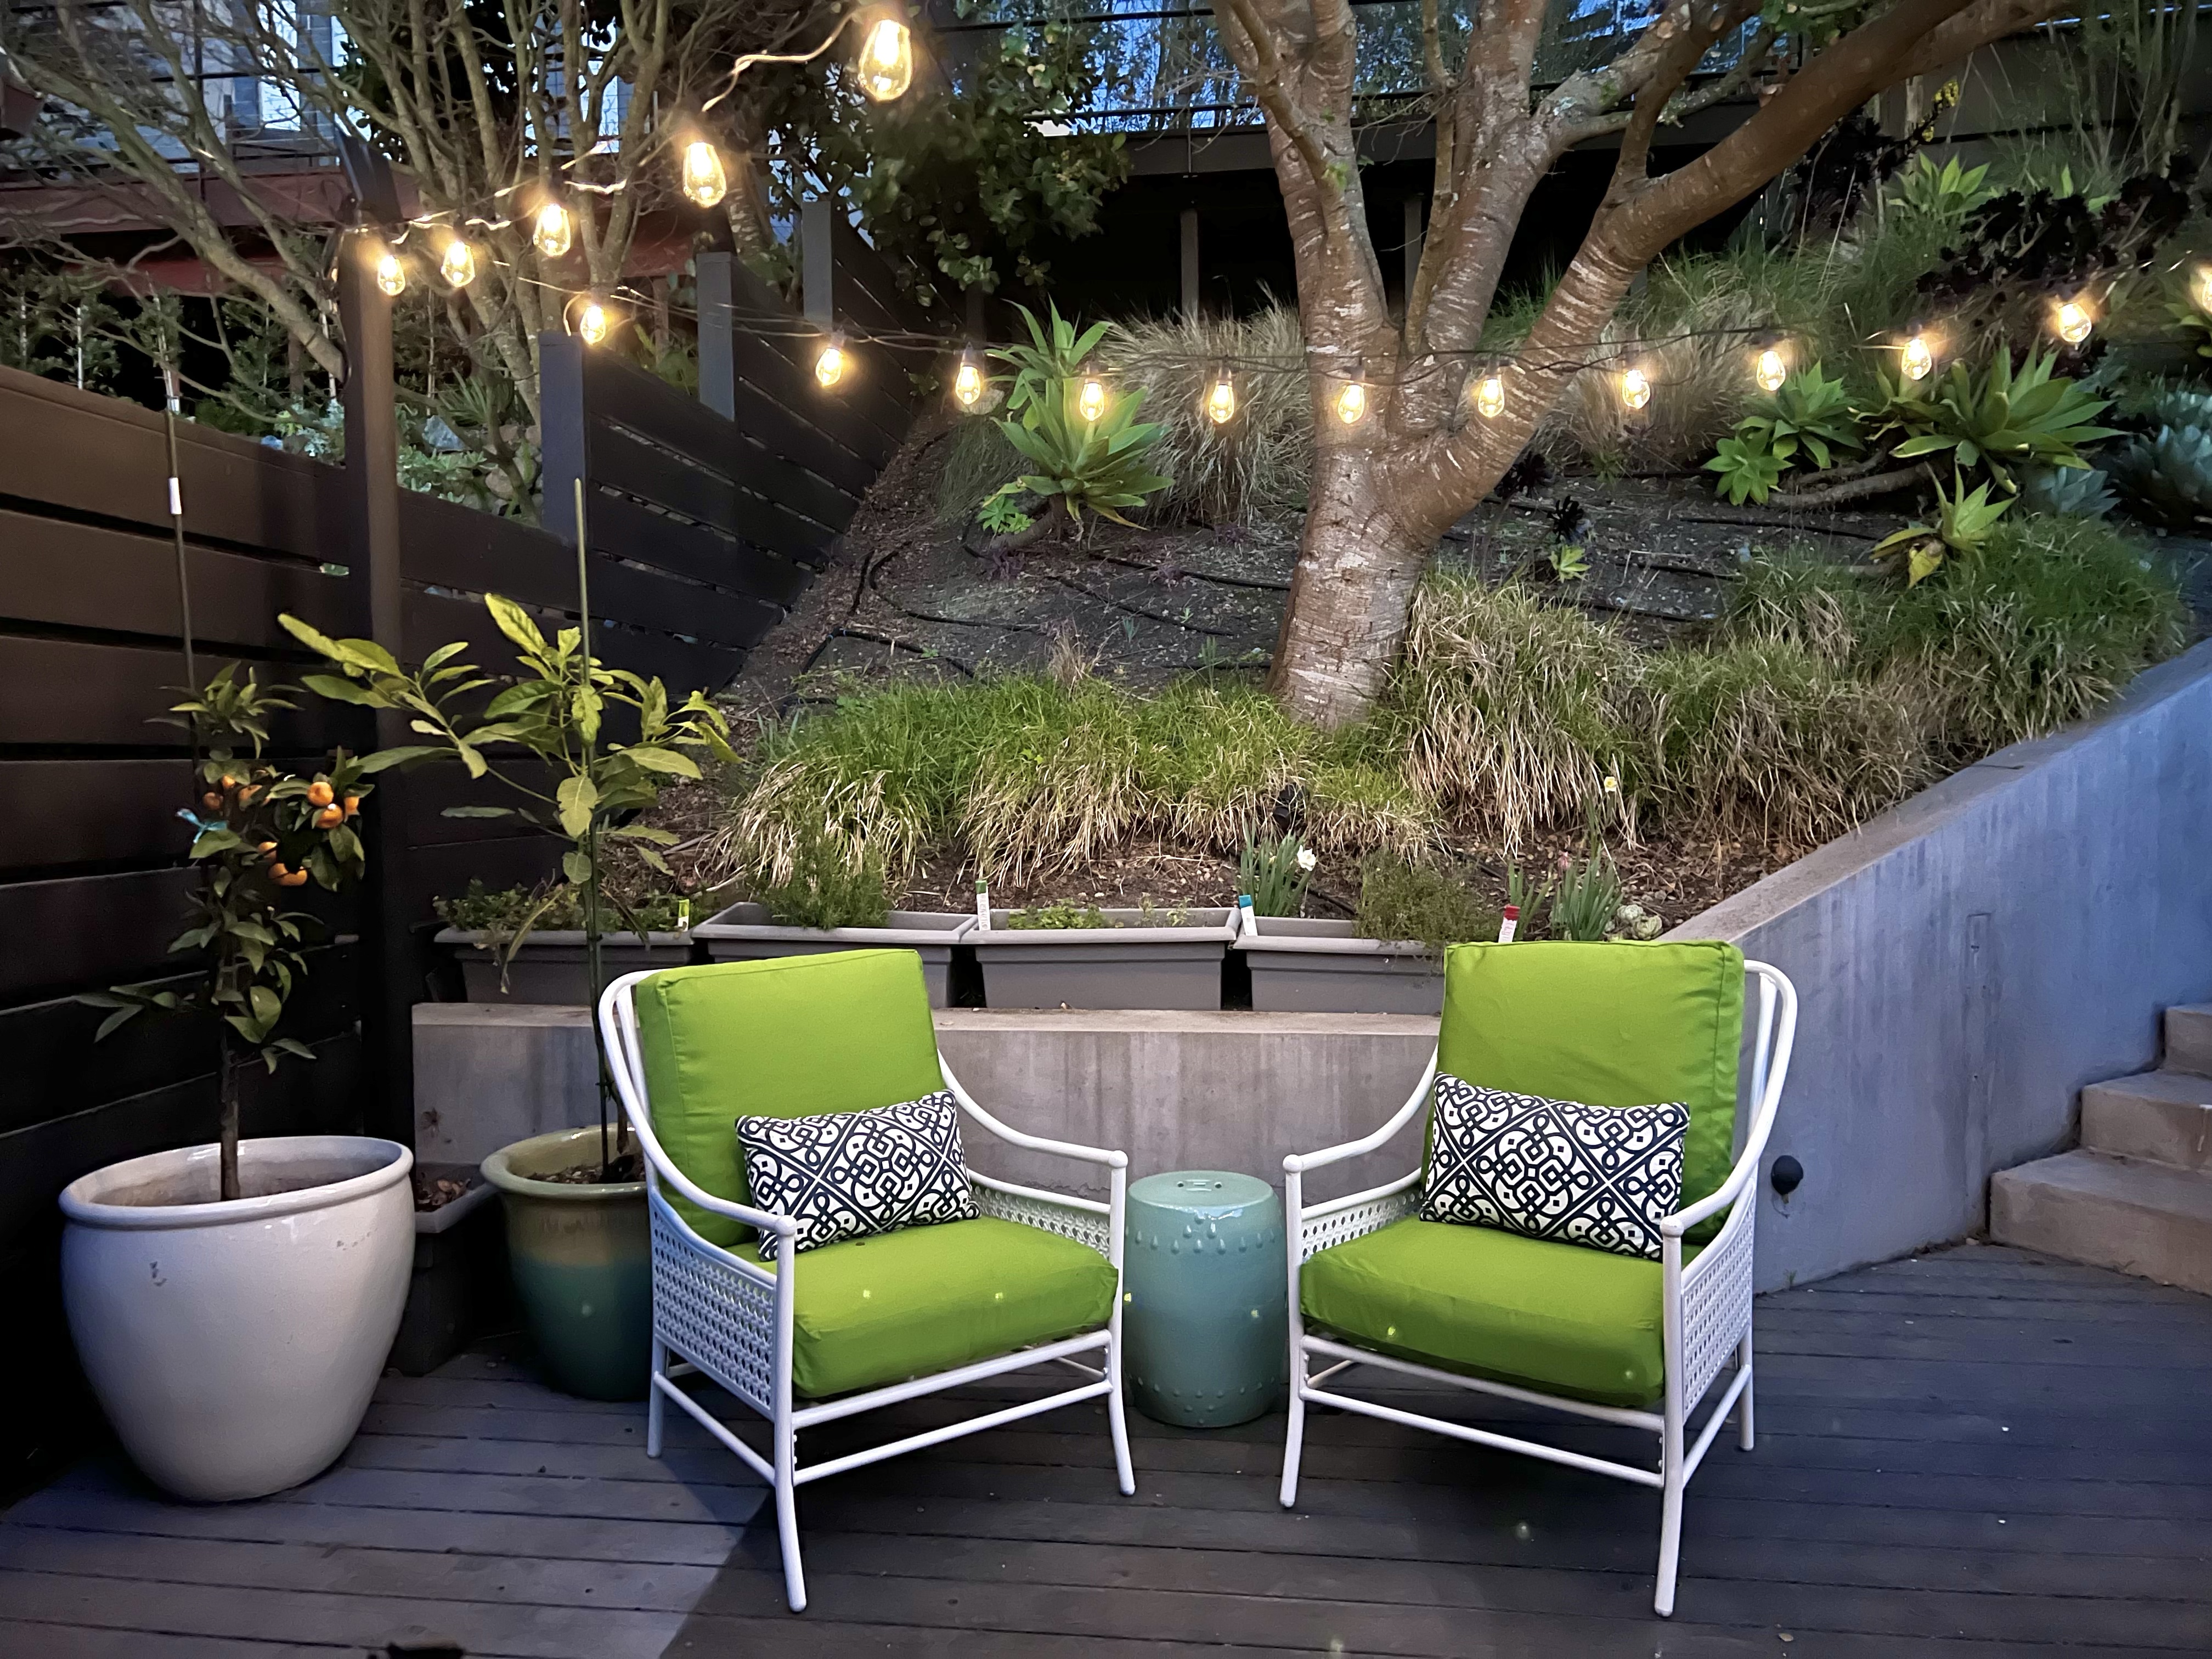
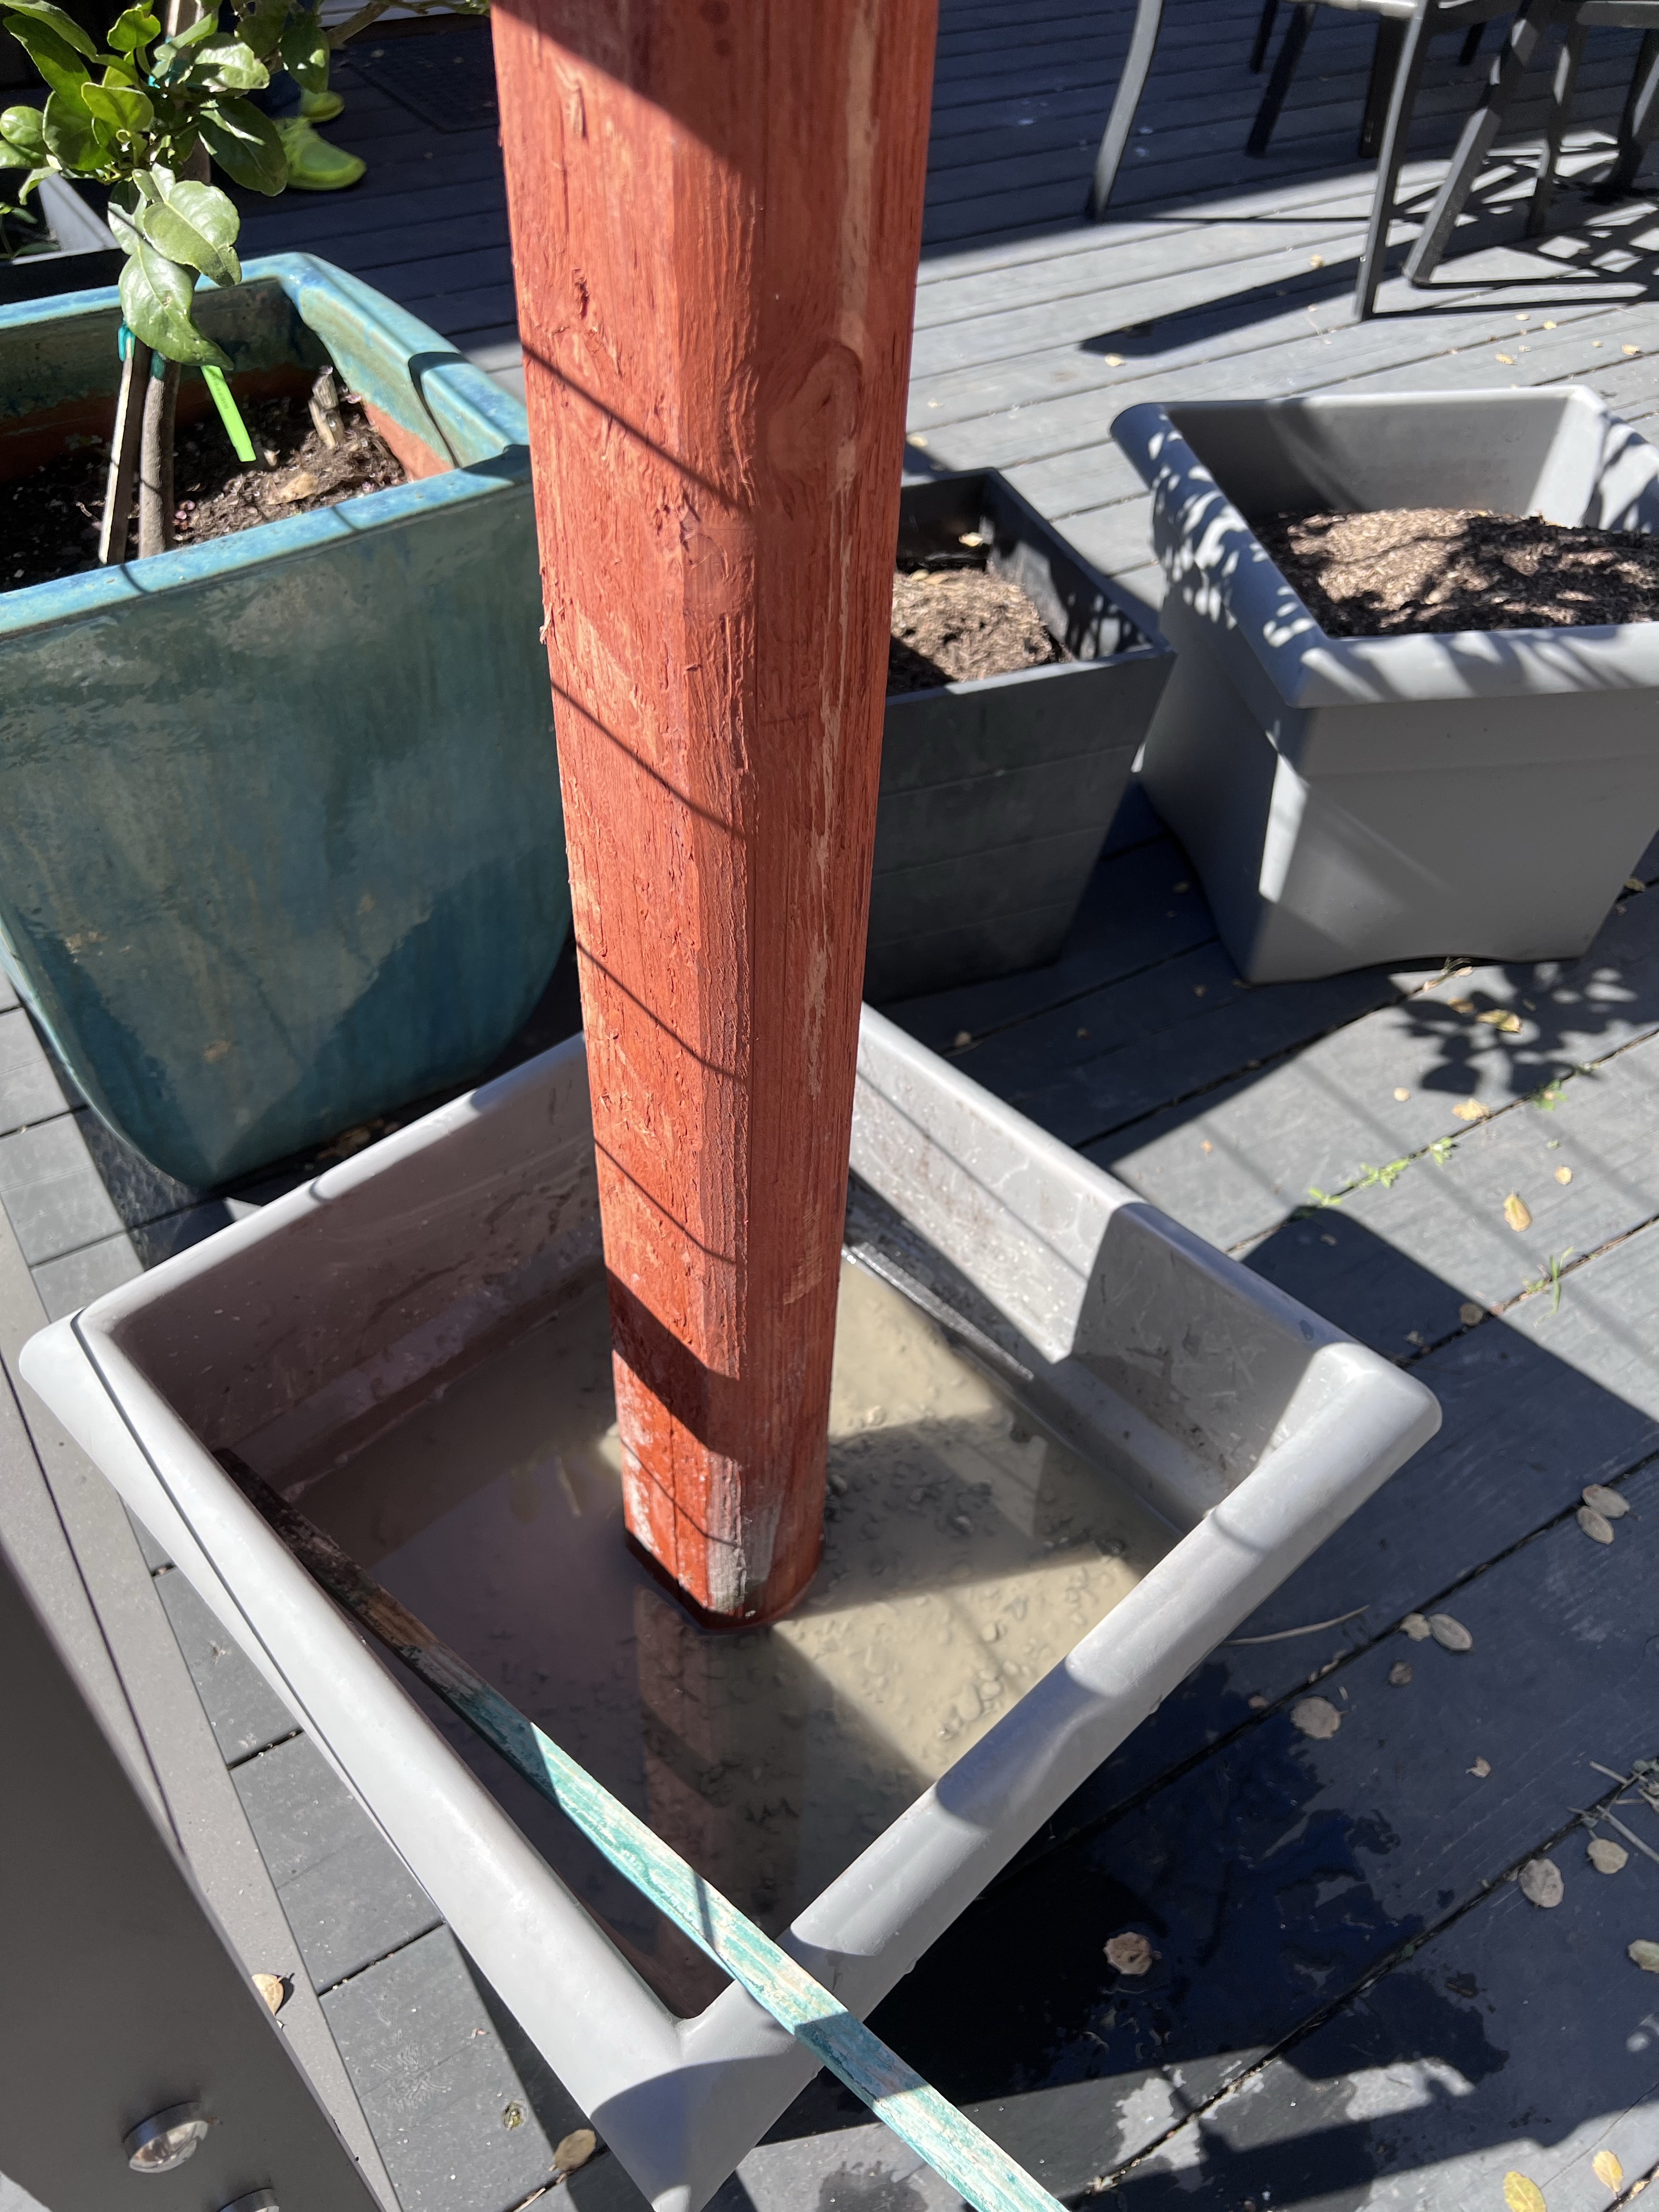
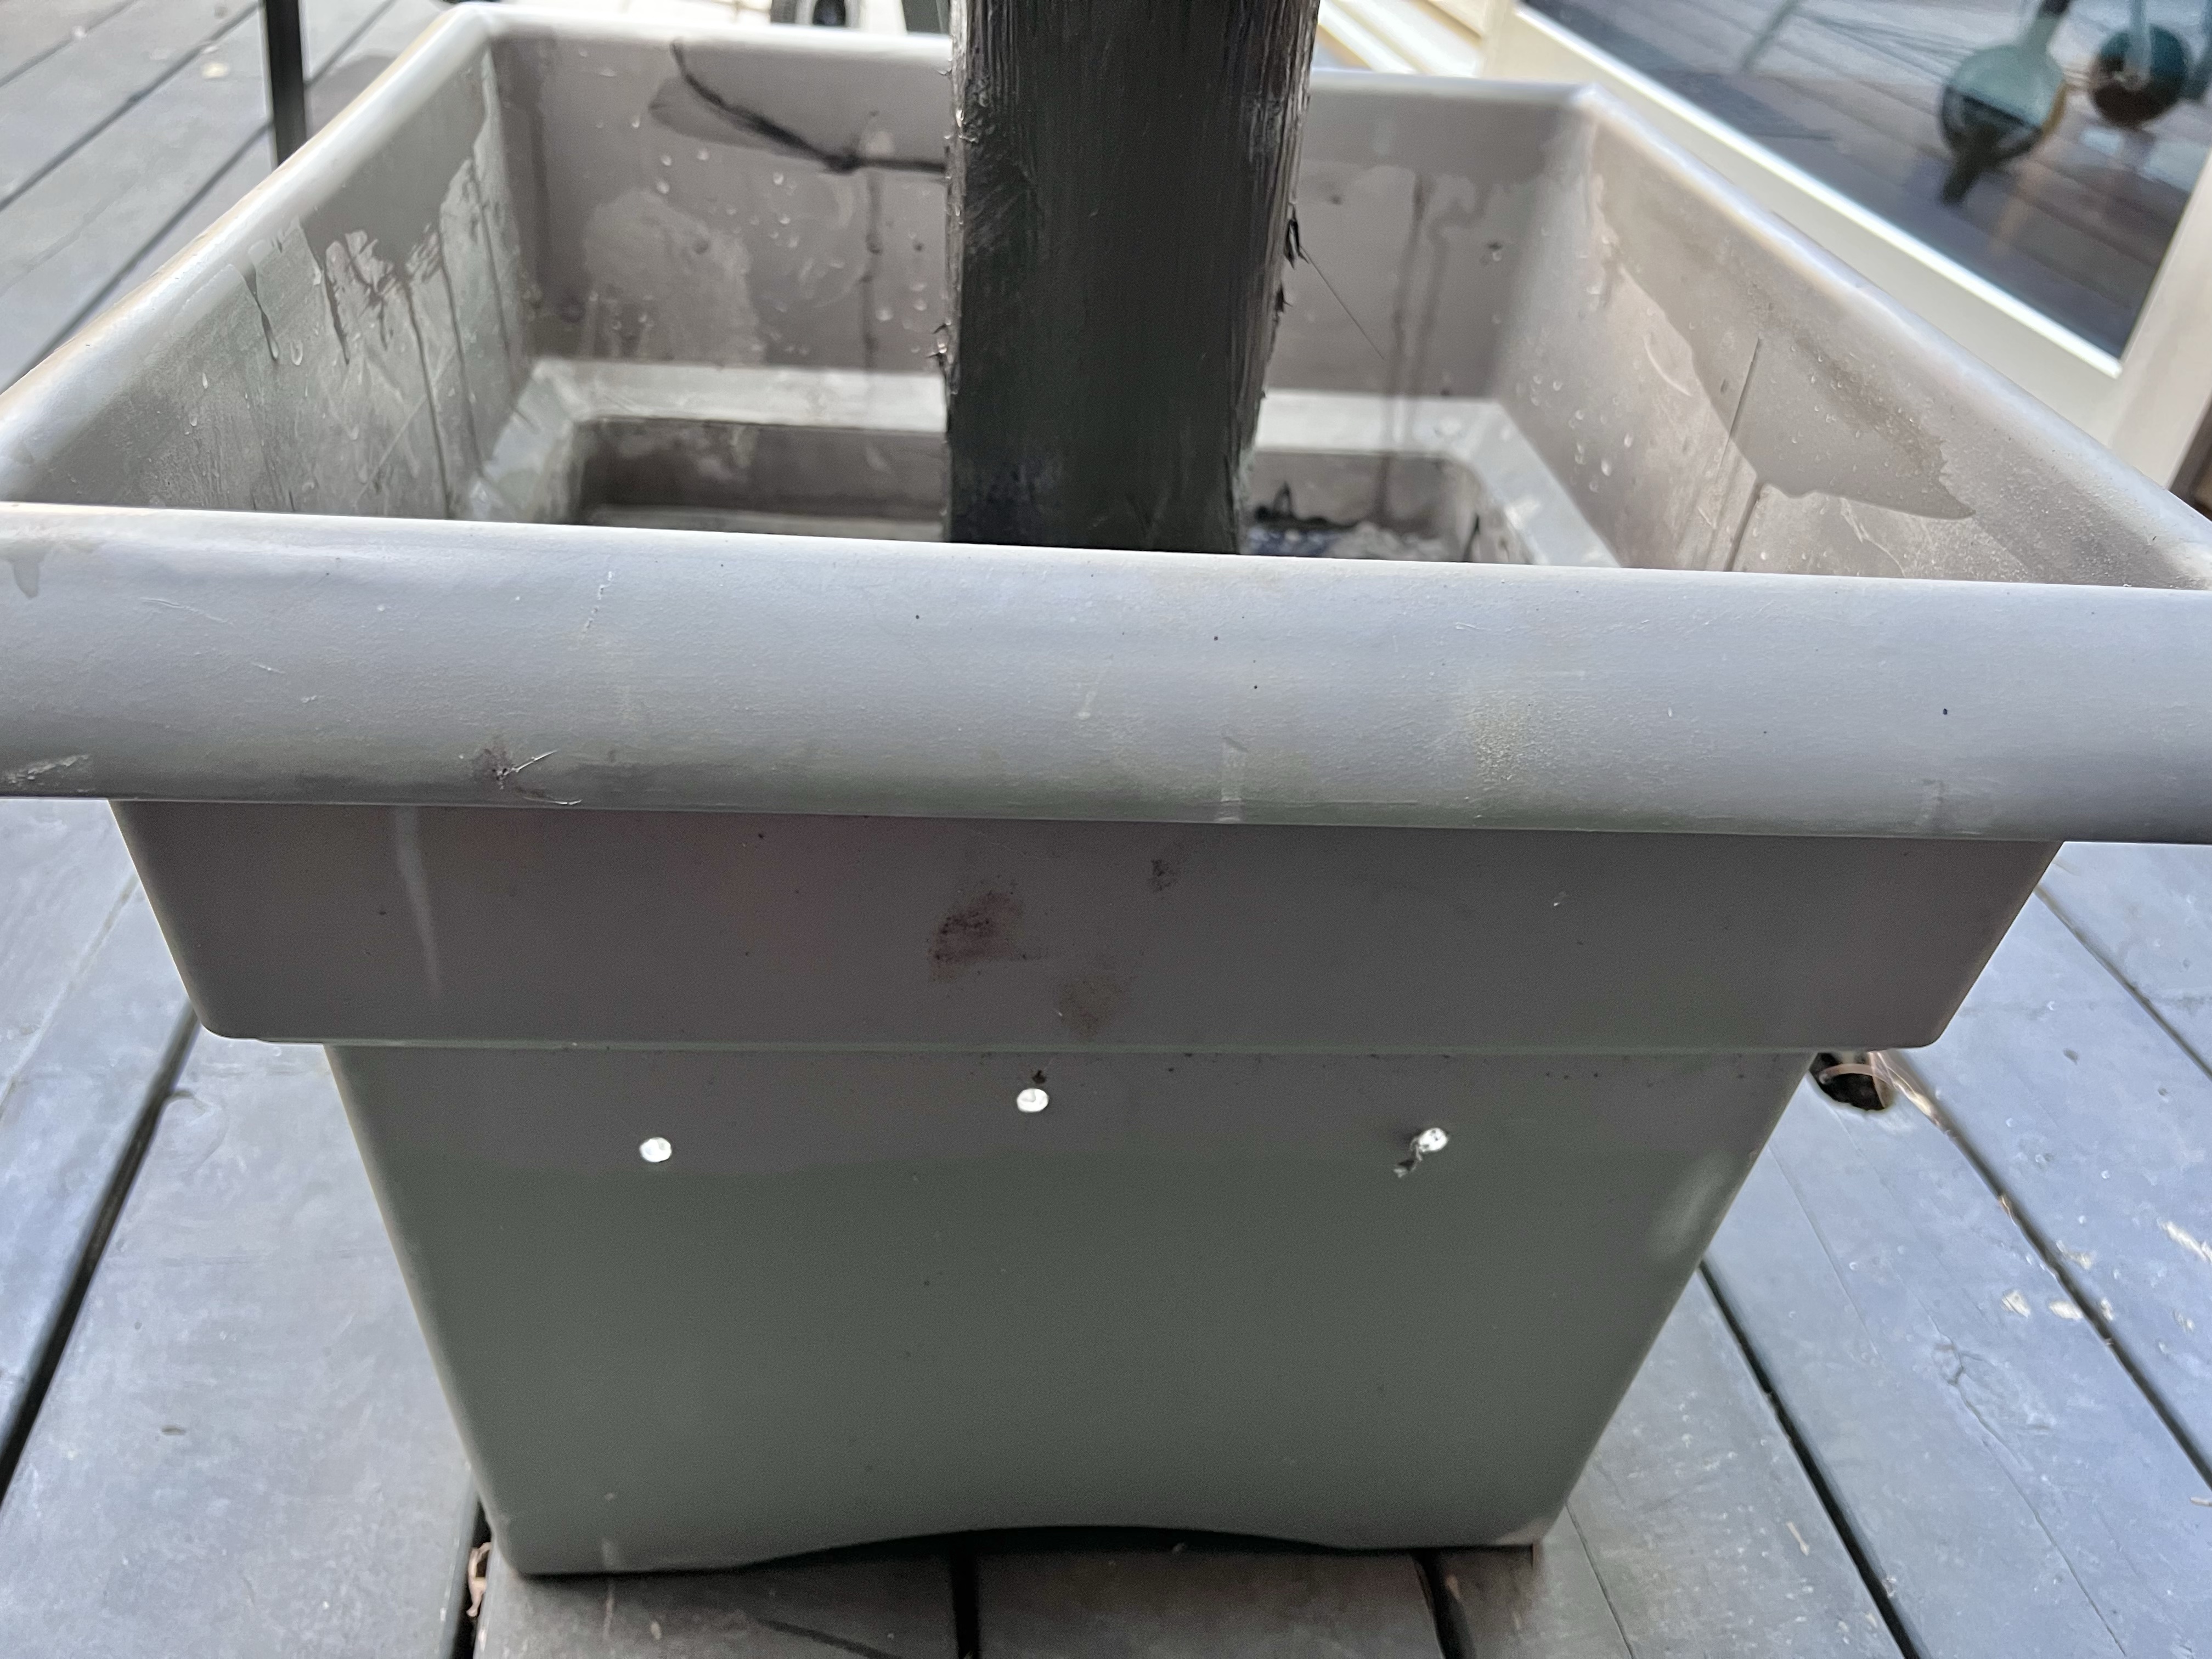
I have been in love with patio string lights for so long. Unfortunately, our last house didn’t really have a respectable outdoor entertaining space, but our rental house last year and our new house both have great patio spaces! I have been waiting to do this project creating posts to hang our lights, and I am so excited that we finally did it! It’s not hard (you do need some muscles!), and I am excited to share the how-to and our results!

Here’s what you’ll need:
Here’s how to do it:

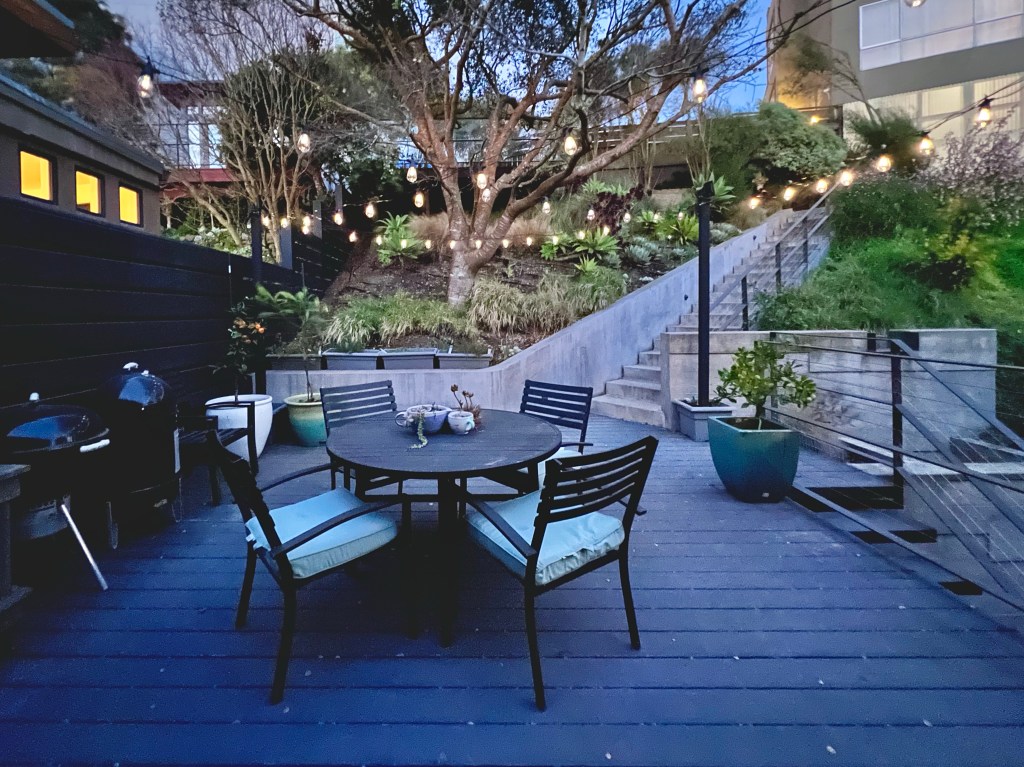
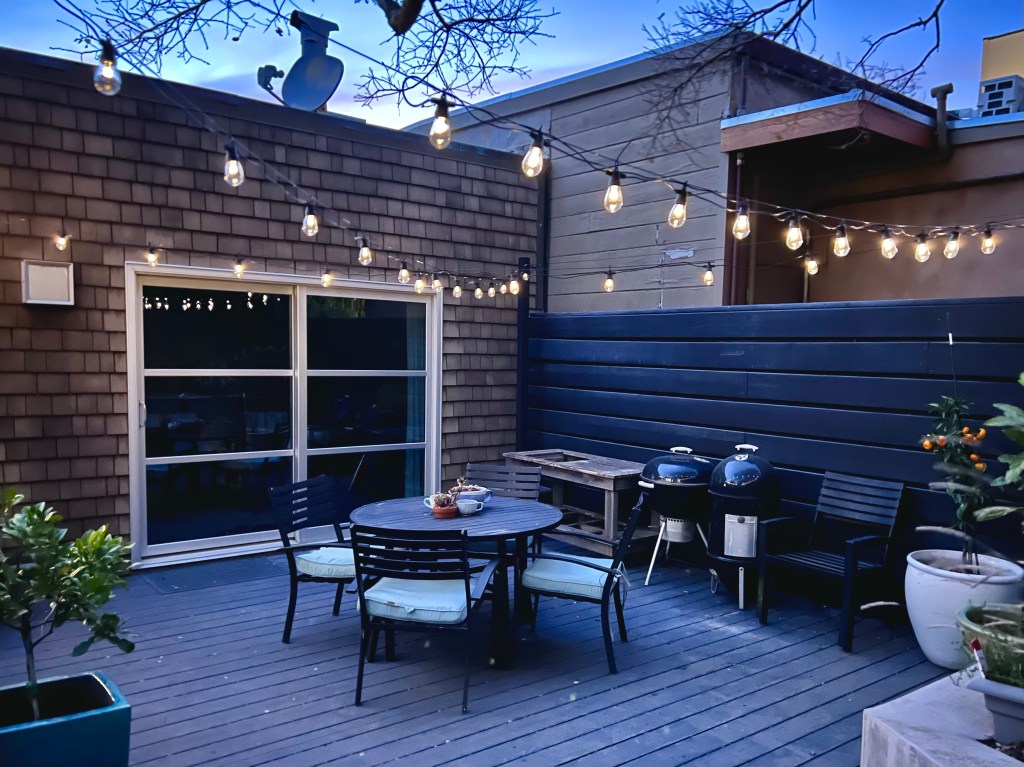


Of course, we had a warm spell last week and it’s cooled off again, so we’ll have to wait a bit longer to hang out here!
Julie AKA “Jewels”

My brain has a tendency to look at furniture and think, “What else could this be?” Our family has been on a journey this past year – we wanted to move houses, and logistically, it worked best for us to … Continue reading
