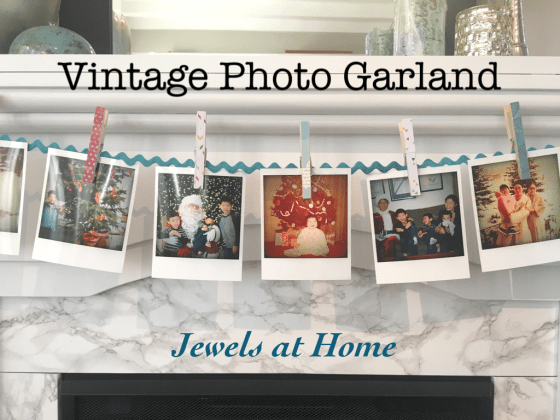
Steve took our two older boys on a camping trip this weekend. I wanted to surprise them all with a few little projects when they got home, so this is what I did for the boys’ room. They have lots of pictures, cards, and art that collect in little piles, and I wanted to make a place for the boys to display and enjoy them.
The boys’ room has a huge wall of closets that made the perfect blank slate for this project. The closets, by the way, are amazing. This is a favorite trick of the design-build team that did our renovation – they take Ikea Pax closets and frame them with drywall, for inexpensive built-in closets. Since all the parts are pre-cut, the cost is a fraction of custom cabinetry, and Ikea has tons of options for customizing the insides to maximize storage. We were able to eliminate the boys’ dressers completely, since all their clothes fit inside the closets, with plenty of room to spare for other storage. I chose the Bergsbo closet doors, which match our paneled doors well (Steve commented the other day, “Hey, our closet doors go really well with our regular doors.” Yeah, honey, do you think that was an accident?). I added these 10″ square bar pulls for a clean, contemporary look.

Ikea Pax wardrobes used as built-in closets.
To make the magnet boards, I started with these 11.5″ square magnetic white boards . They cost half of most of the others I saw. You can’t pick the colors (I got three white and three different colors), but that was okay, since I wanted to paint them anyway. I sacrificed the dry erase function when I painted them, but I actually find dry erase stuff a bit creepy with all the black dust the markers make when you wipe it off. Finally, I will say that they are a bit lightweight (tin wrapped around cardboard), but mine arrived in overall very good condition, and again, it worked well for me, because I wanted to mount them on the doors, so the lighter weight was perfect.
Painting the racing stripes:
- sand the boards lightly, including the sides, with a fine sandpaper
- spray a coat of primer over the whole board, including the sides. I used white primer, which made the next step easier.
- spray a band of white (or your choice of color) about 3 inches from the top. This may take a few coats for good coverage. Let it dry thoroughly, even overnight.
- Using a ruler and painter’s tape – I used 1.5″ wide designed for delicate surfaces, tape over the white area. I placed the bottom of my tape 4″ from the top of the board. (top left picture below)
- Spray a band of red (or a color of your choice) above the tape. Again, this will take a few coats and should be thoroughly dry before moving to the next step. (top middle picture below)
- Using the ruler, place painter’s tape 1.5″ from the top of the board, so that you are masking off a 1″ band of red. (top right picture below)
- Spray the whole board with grey. (bottom left picture below)
- Peel off the tape and spray your finished product with a couple of coats of clear paint. (bottom right picture below)

Tutorial: painting racing stripes on a magnet board.
Here’s a close-up view of the finished board:

Magnet board with racing stripes.
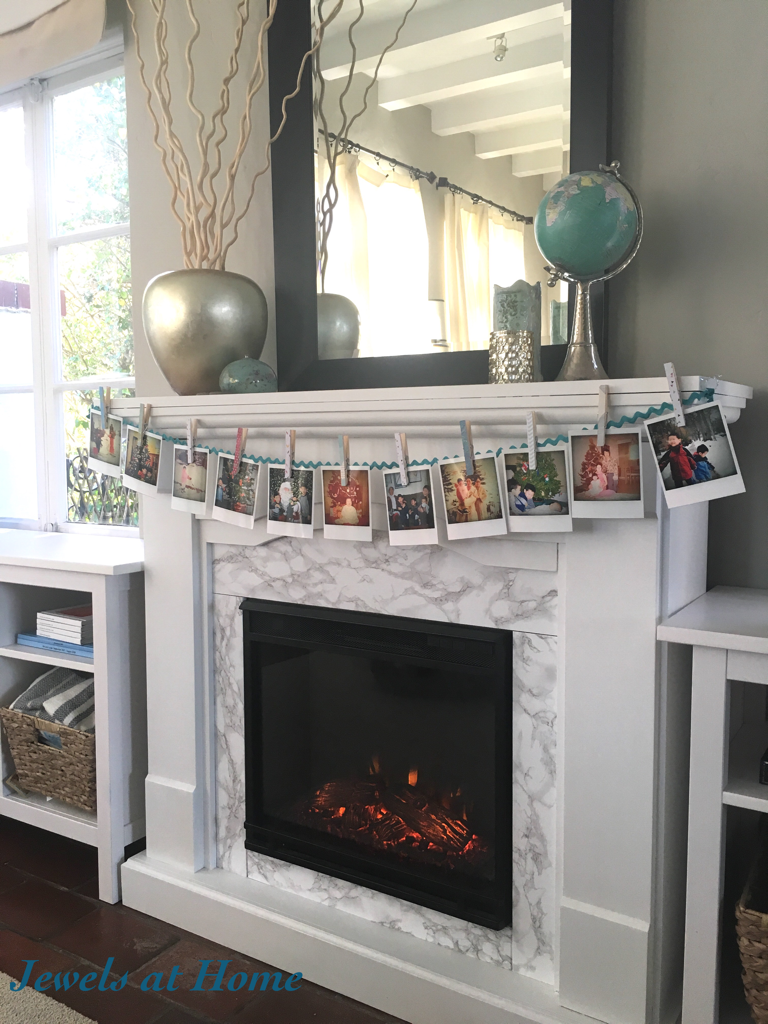
And here’s how the boards look in the boys’ room:


The boys were very excited to see their new magnet boards, when they got home. Here’s how our 6 year-old personalized his board, with Pokemon cards and Ninjago Lego figures.

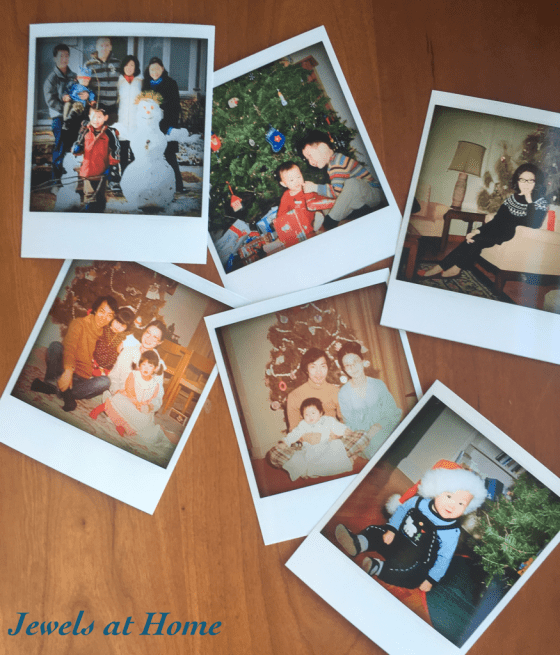
I was looking for pictures to put up on the boards this afternoon and found this photo from 2007 of our older boys with our old dog, Cooper. He looks so big in the picture, but it’s only because they were so small! We miss you, Coops.

And what did I do for Steve (and myself)? We were overdue for some new reading lamps for our nightstands. Our toddler, who stayed home with me – we hope to make it camping next year! – didn’t mind going out to Marshall’s for the lamps, especially since we also found some new fruits for his play kitchen. He was “feeding” them to me all weekend, and he cracked up every time I “ate” the lemon and made a sour face.

New bedside lamps on the nightstand. “His” side.

New bedside lamps on the nightstand. “Her” side.
Well, I’m very happy to have Steve and the older boys back home. It was just a day and a half, but I missed them so much. I guess, I’m used to a full house these days.
“Jewels”