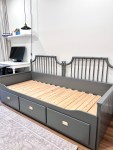
Week One: Urban Boutique Bedroom Construction and Inspiration Week Two: “If These Walls Could Talk” Gallery Wall Week Three: Urban Boutique Bathroom Week Five: Faux Bamboo IKEA Hack Daybed The Spring One Room Challenge has been just the motivation I … Continue reading →
I’ll call this week to be the “telephone hold music” of the One Room Challenge – I am excited to share our new bathroom. I can take credit for the design, but not the construction. There’s also a small DIY project in there! In the meantime, I promise I am working away on other projects for decorating our new bedroom addition, including a custom daybed.
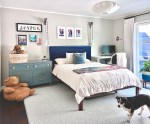
As a reminder, this season’s project is a bedroom and bathroom addition we built last year. It’s going to be a space for our oldest, when he’s home, and also serve as a guest room or lounge!
It’s fun to see how my vision for this room evolved. In the original “mood board,” I was going with my classic blue-and white look, but you could tell that I was already thinking about how to bring in some green.
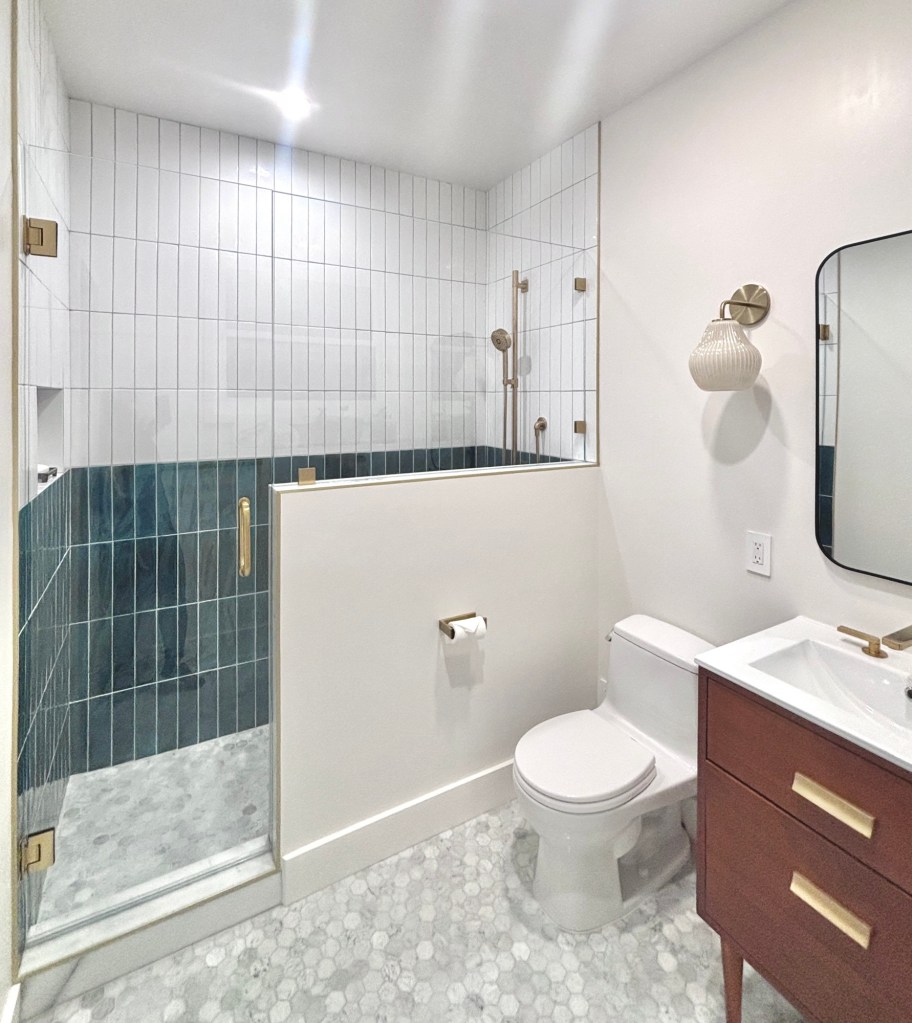
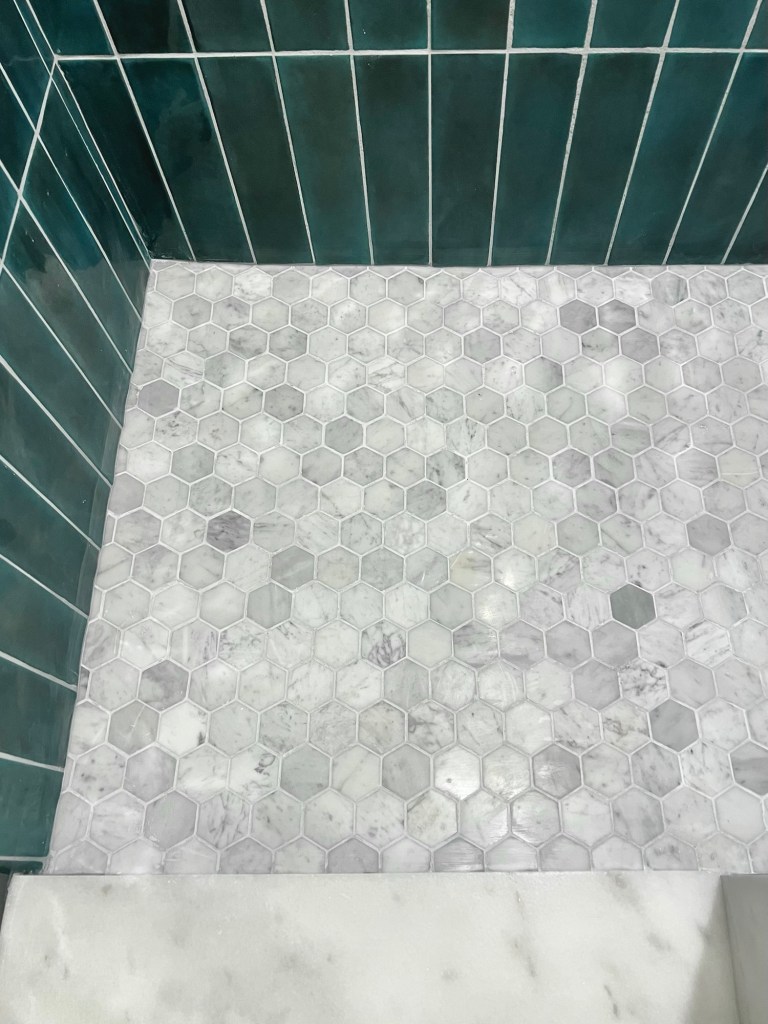
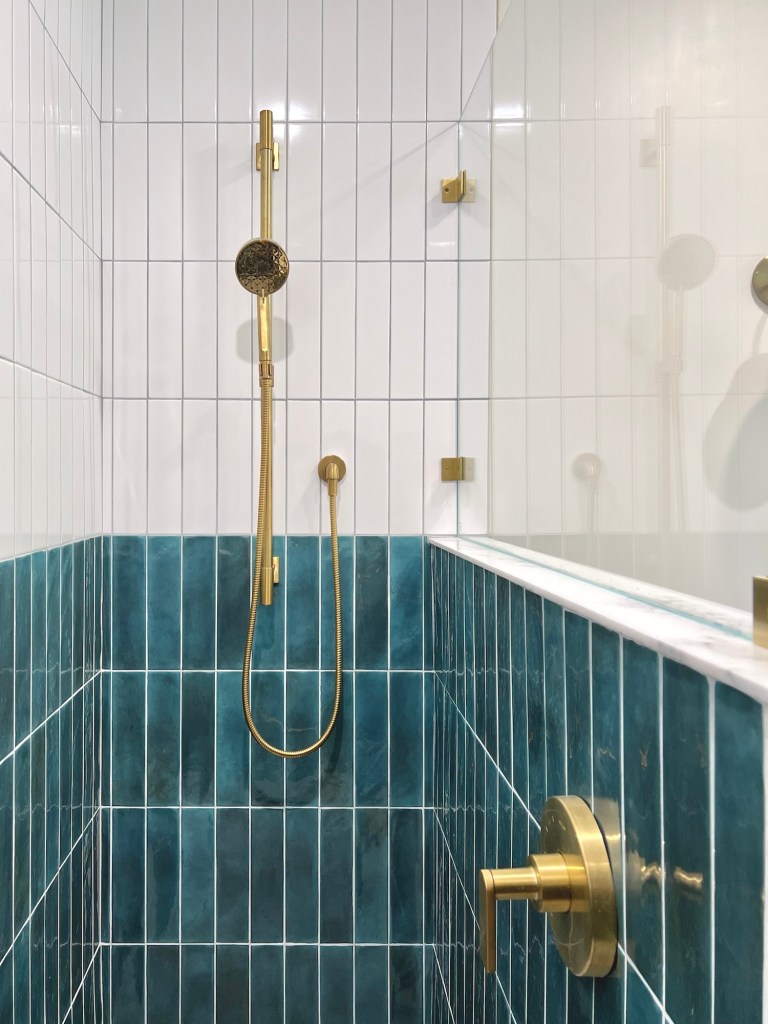
Over time, while we were waiting and waiting for building permits, my plan evolved to be more modern and more green. One of my major inspiration spaces was the Woodlark Hotel in Portland, where we enjoyed a stay a few years ago. From that space (left picture below). I was inspired by the elongated subway tile, stacked vertically, the mix of white and dark green tile, and a mix of black metal and antique brass. This led to my final design (right picture below):
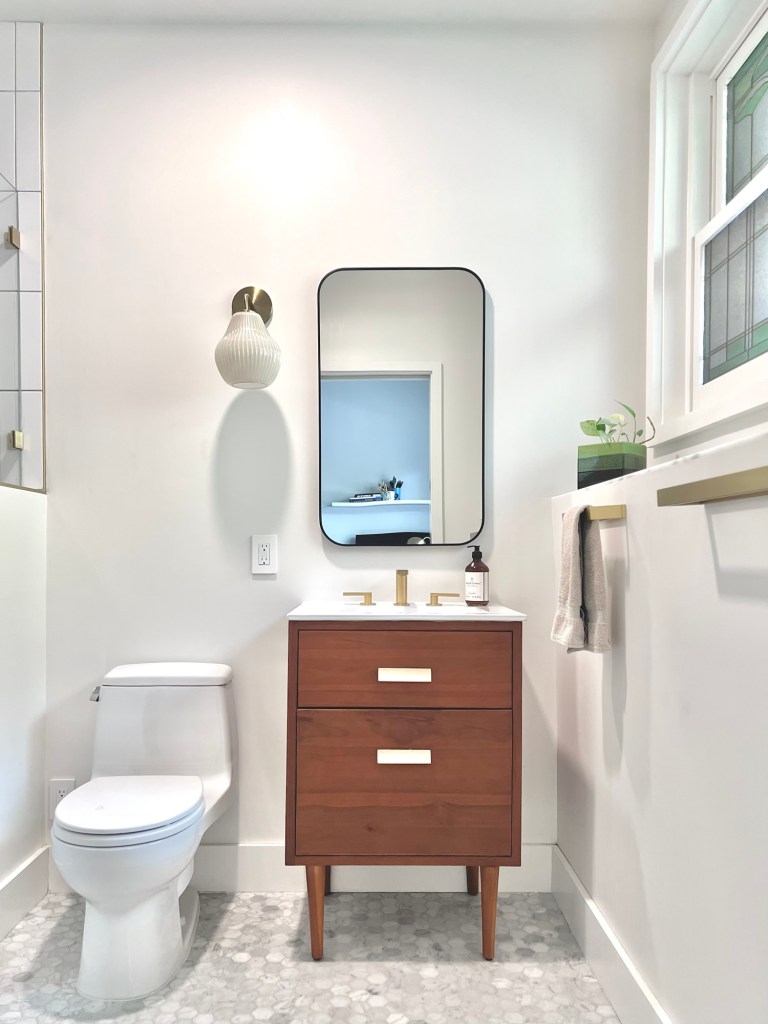
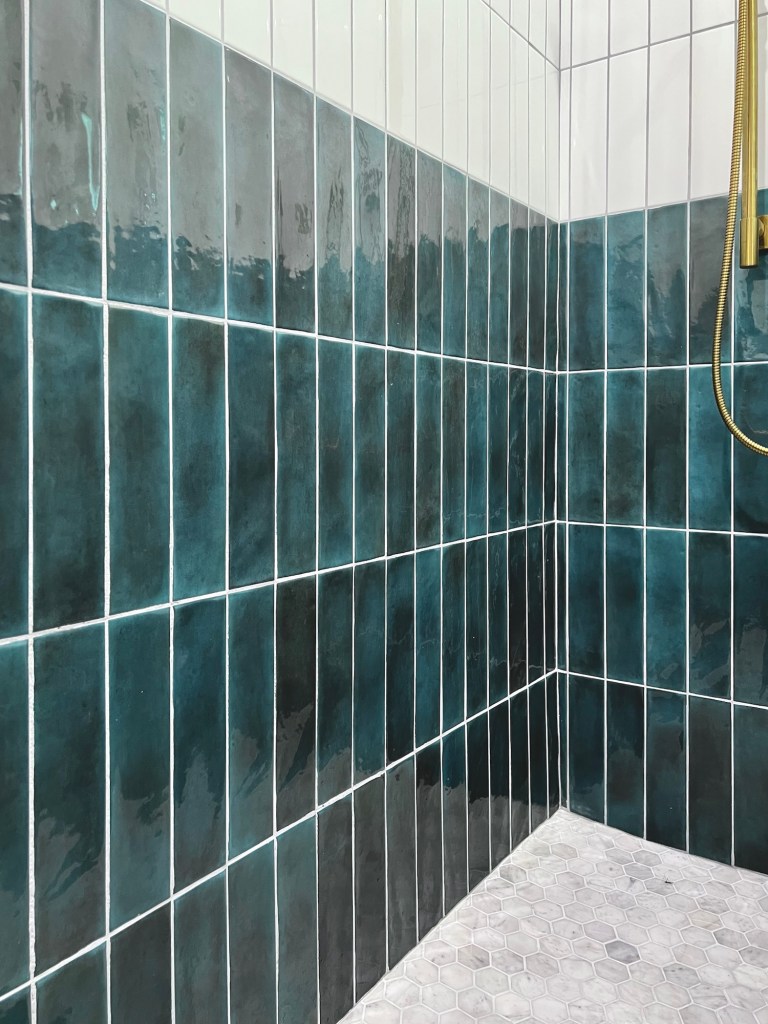
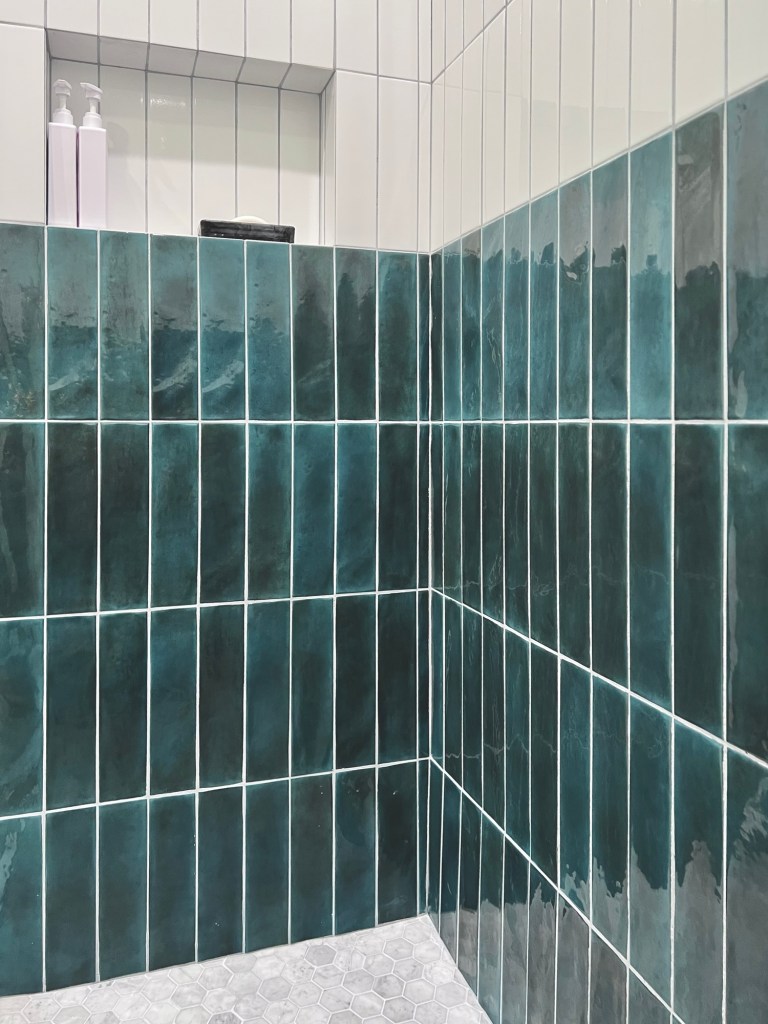
And here’s how the room turned out!
This tile combination makes me so happy!
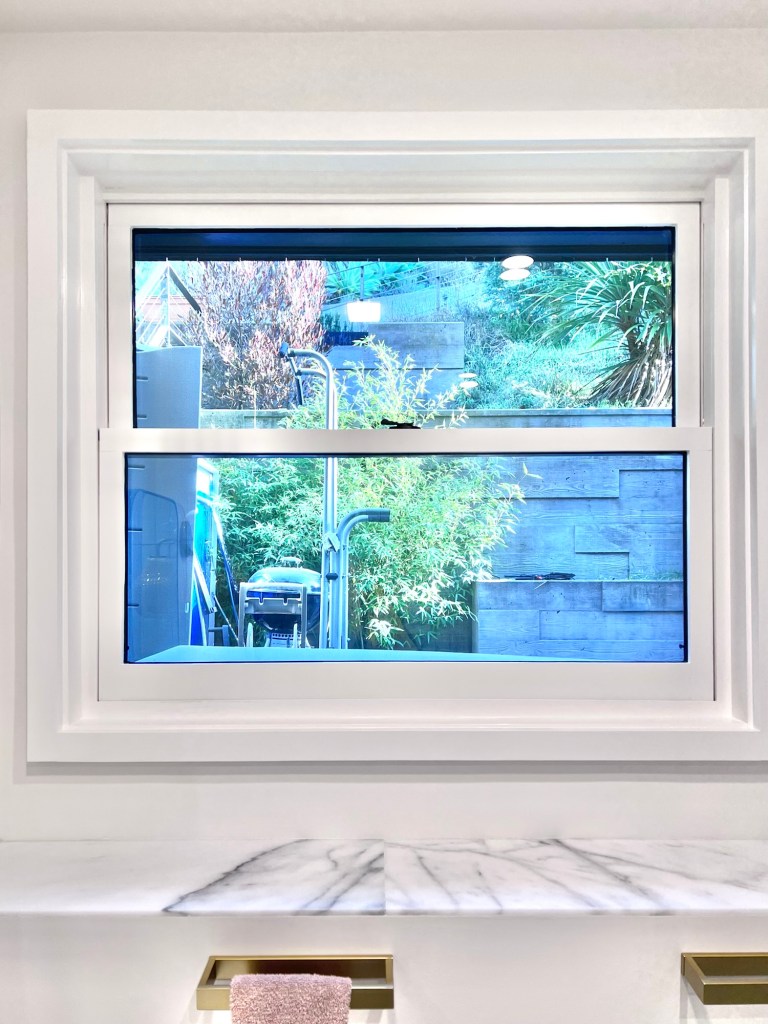
While I left the bathroom construction to our contractor, I did add a DIY touch with the window glass film. There are so many options for window film, so you can have fun browsing for your own favorite. The one that spoke to me for our space is the gingko-themed stained glass from Asgerart on Etsy. It was easy to apply and adds style and much-needed privacy to our little bathroom! To fit our windows, I used two panels side-by-side.
Hope to show you more progress in the bedroom soon! In the meantime, you can see all the other fun room transformations on the One Room Challenge website!
Week Two: “If These Walls Could Talk” Gallery Wall
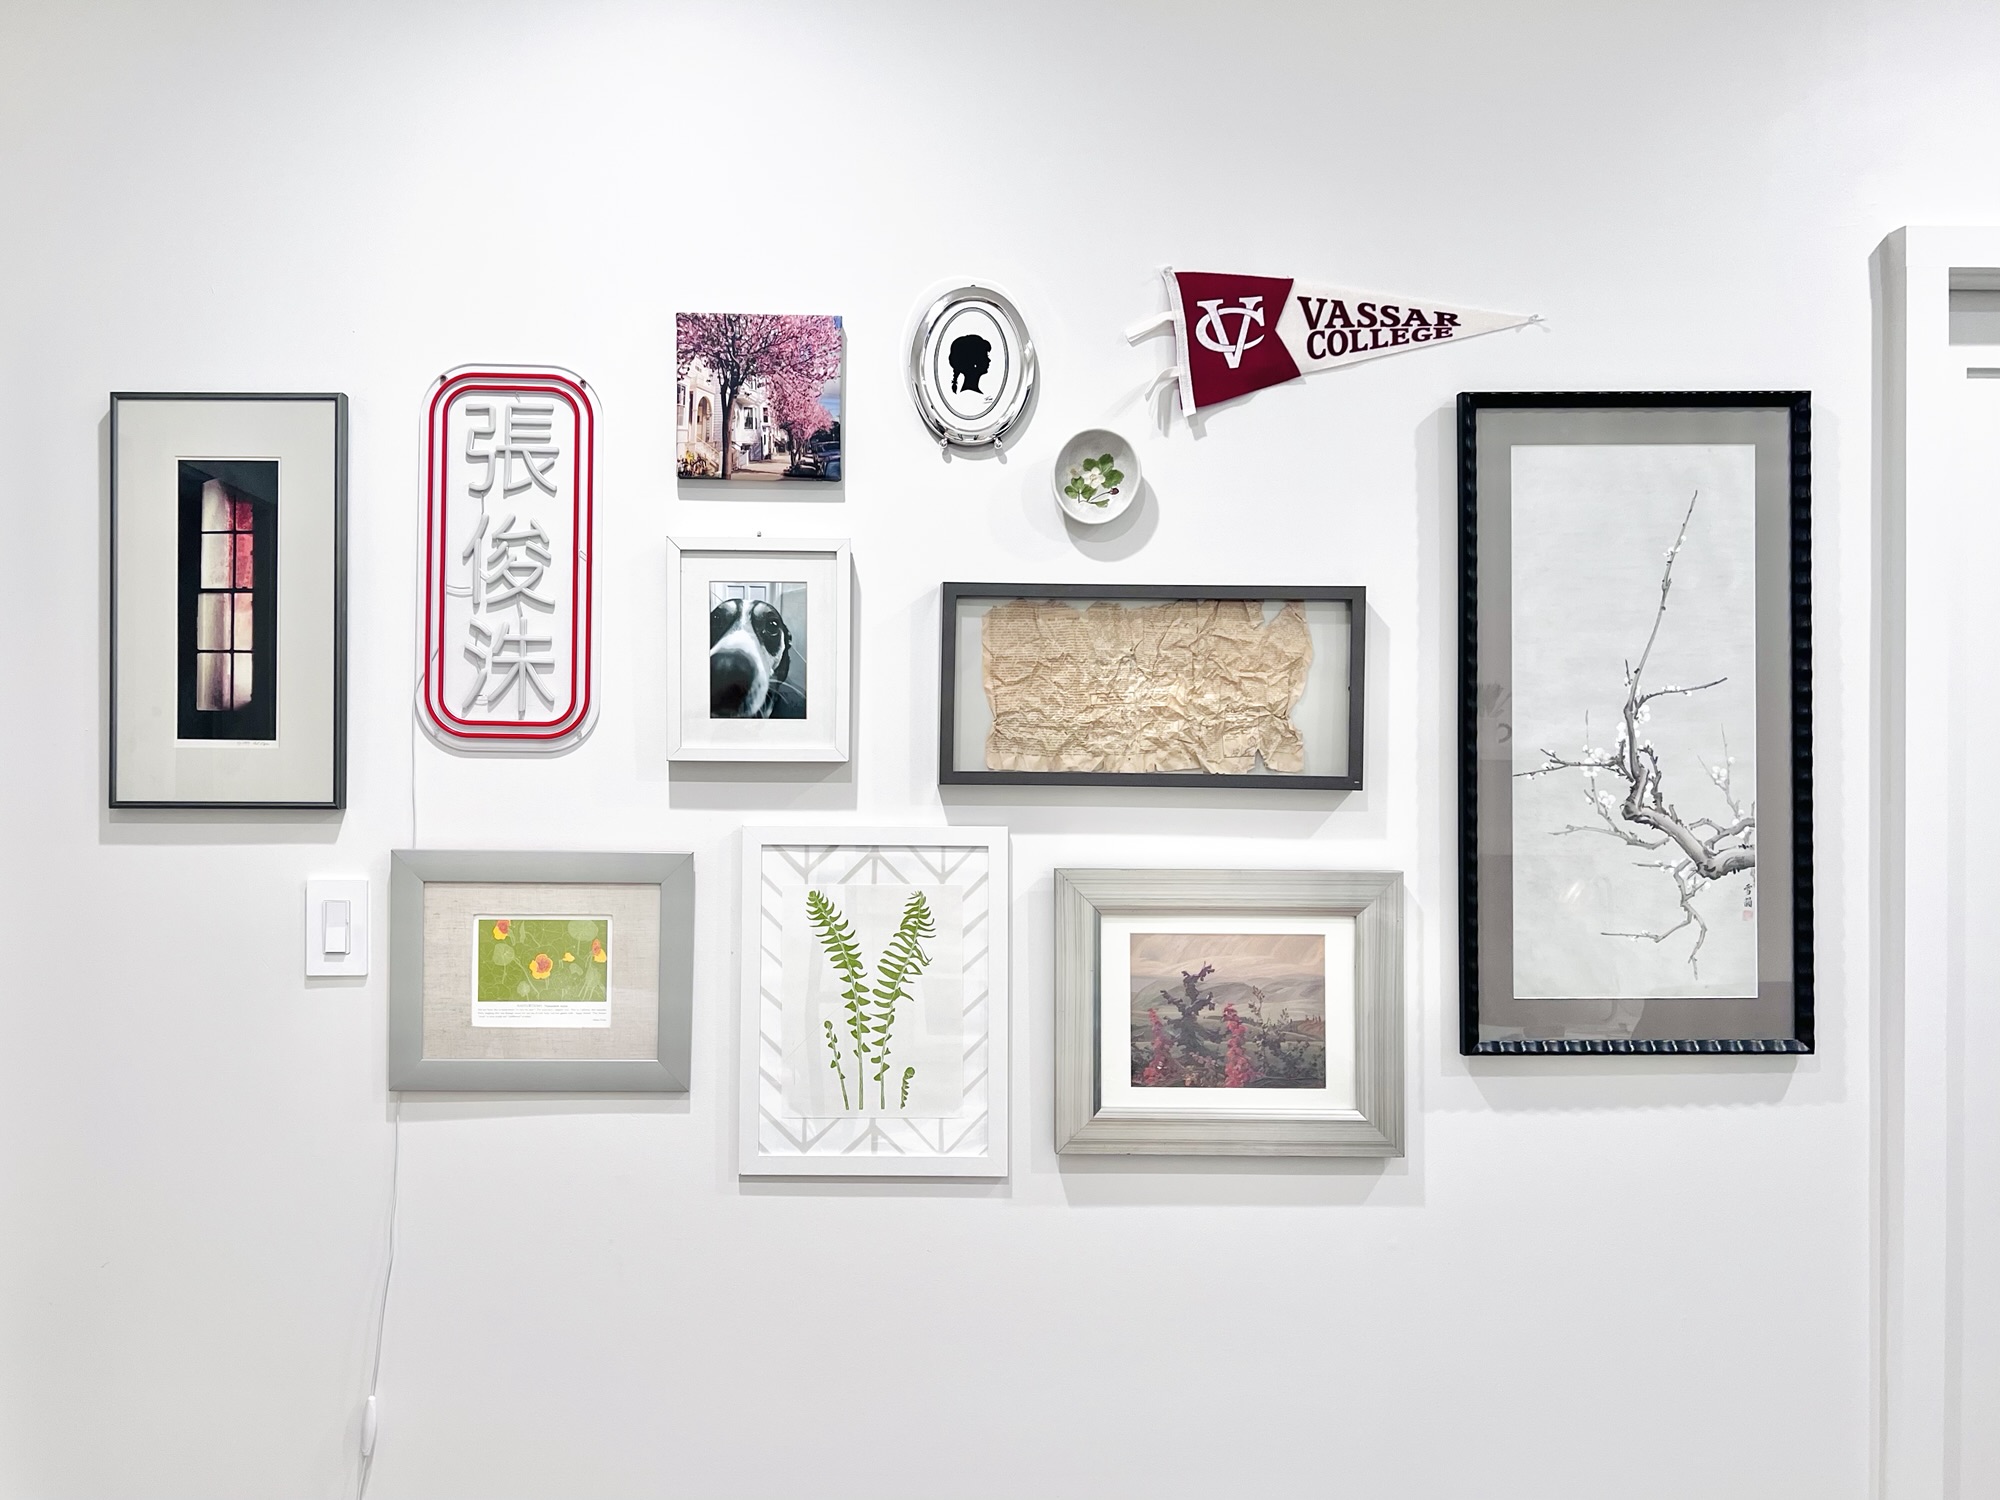
I seriously love the One Room Challenge. It’s just the motivation I need to finish off projects. I’ve been puttering away preparing the gallery wall in our new bedroom, and with this week’s progress update launching, I got the energy to finish hanging everything after work today!
As a reminder, this room is bedroom addition we built last year. It’s going to be a room for our oldest, when he’s home, and also serve as a guest room or lounge! It’s a petite space, but I had big plans for this wall, and I really feel like it opens up the room!
If you are looking for tips for your own gallery wall, here are some ideas to consider:
let an overall impression guide you – my inspiration spaces contained art that felt light, with large white mats or lots of negative space.
Consider a theme – I chose items that represent the outdoors, wanting to make this narrow space feel more open
choose items with meaning -these walls can talk, because every item here has a story behind it!
for a collected look, mix multiple types of art, such as paintings, photographs, prints, and three-dimensional objects
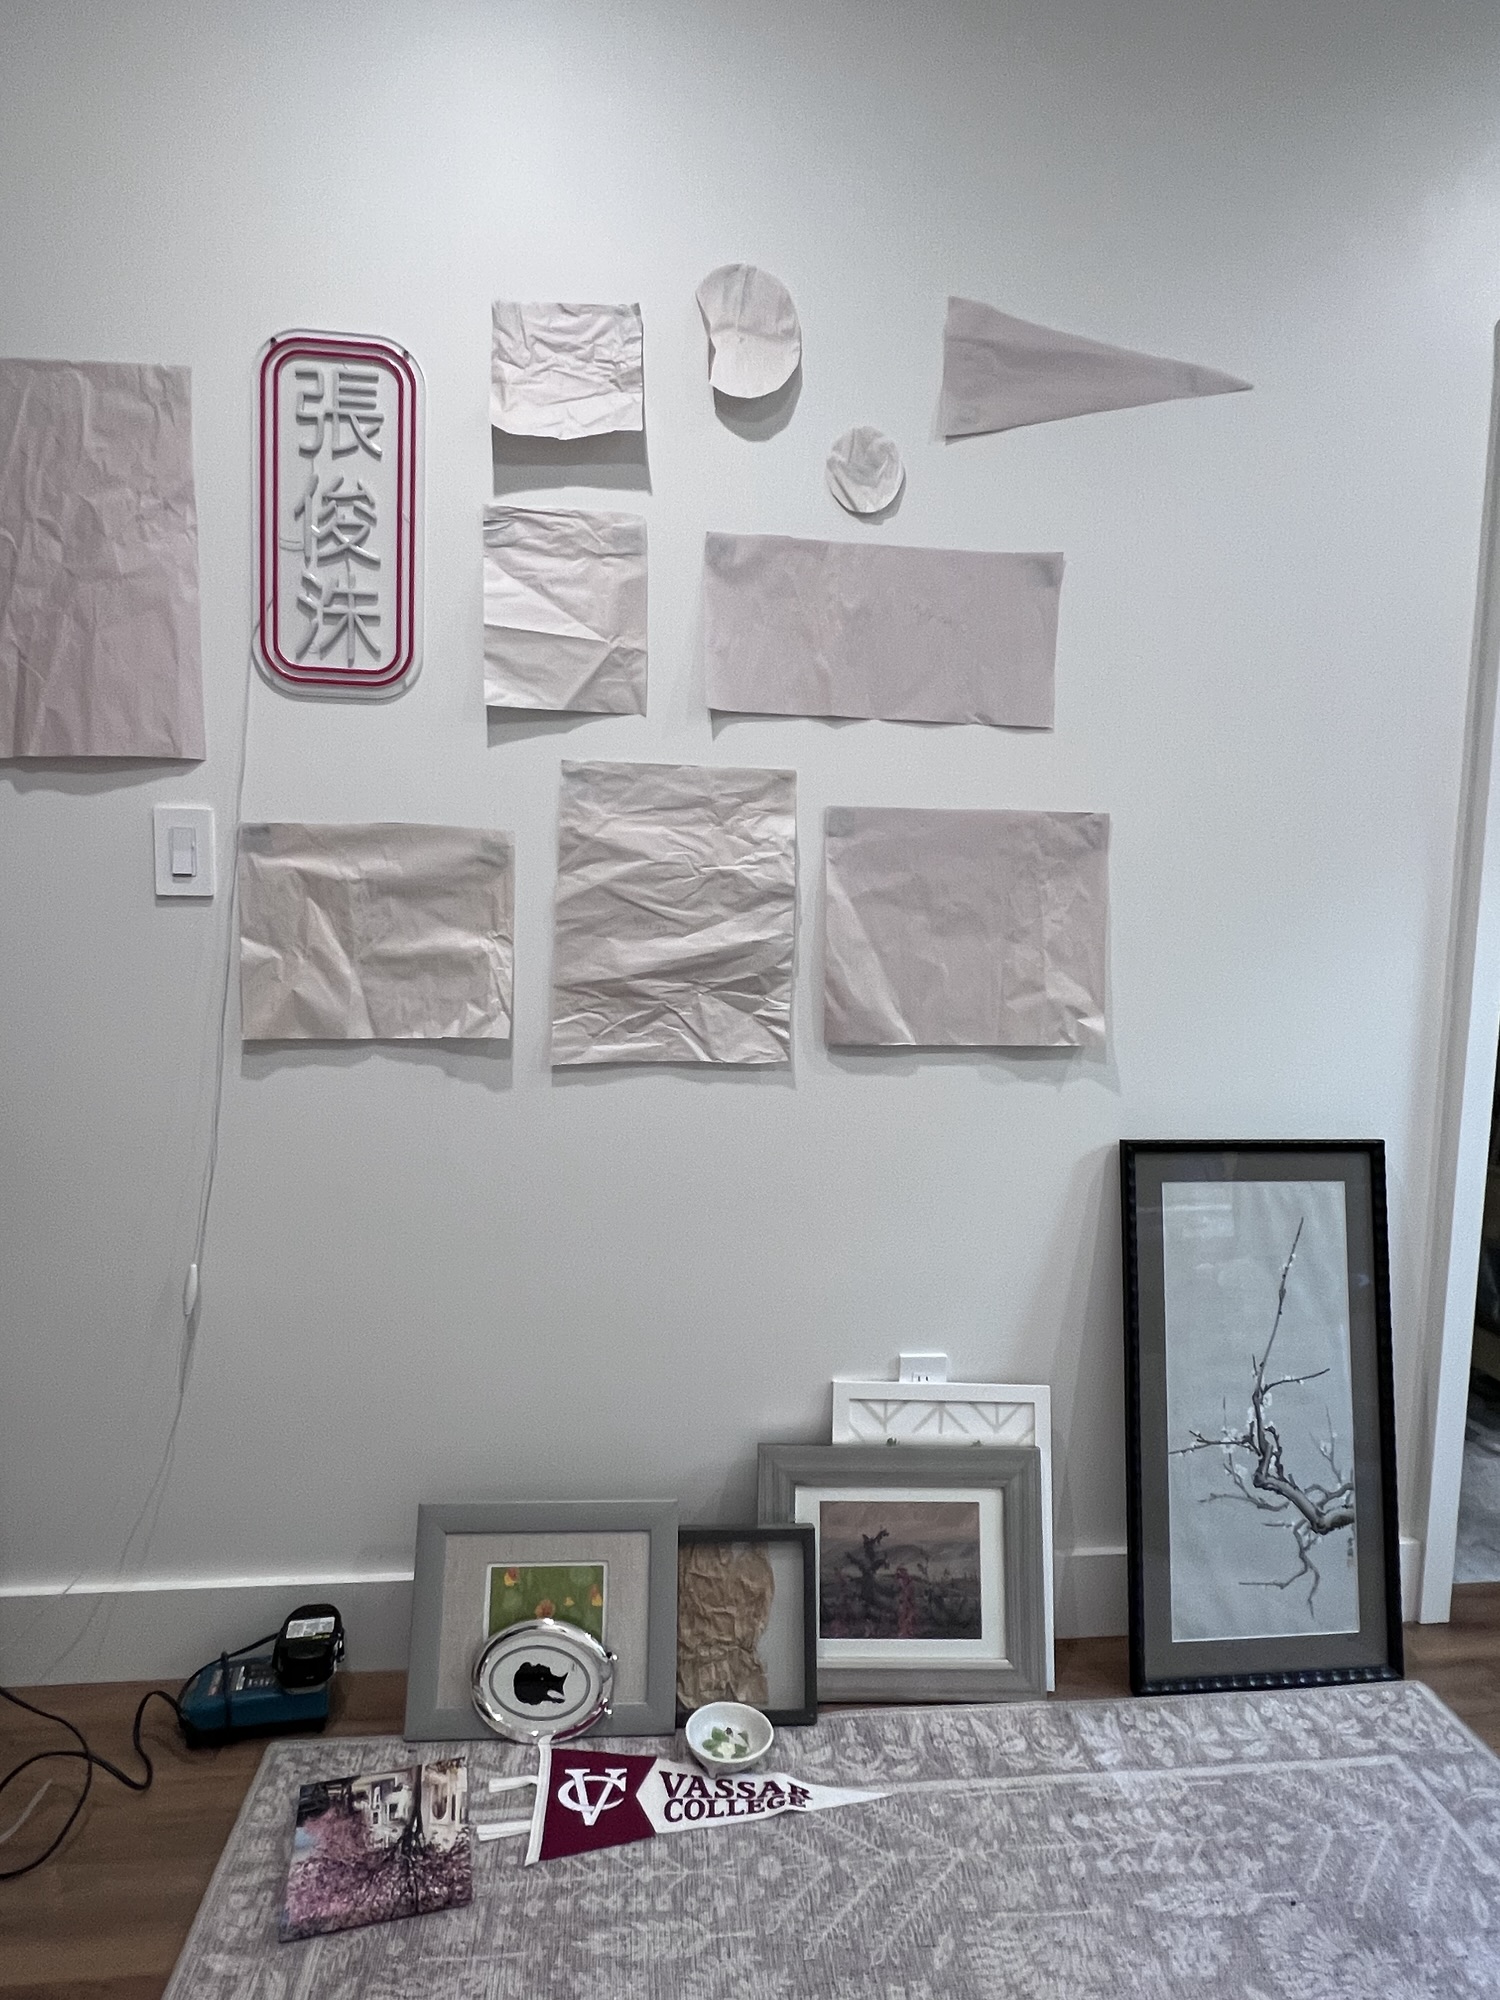
Use paper cutouts of your items to help you design the layout
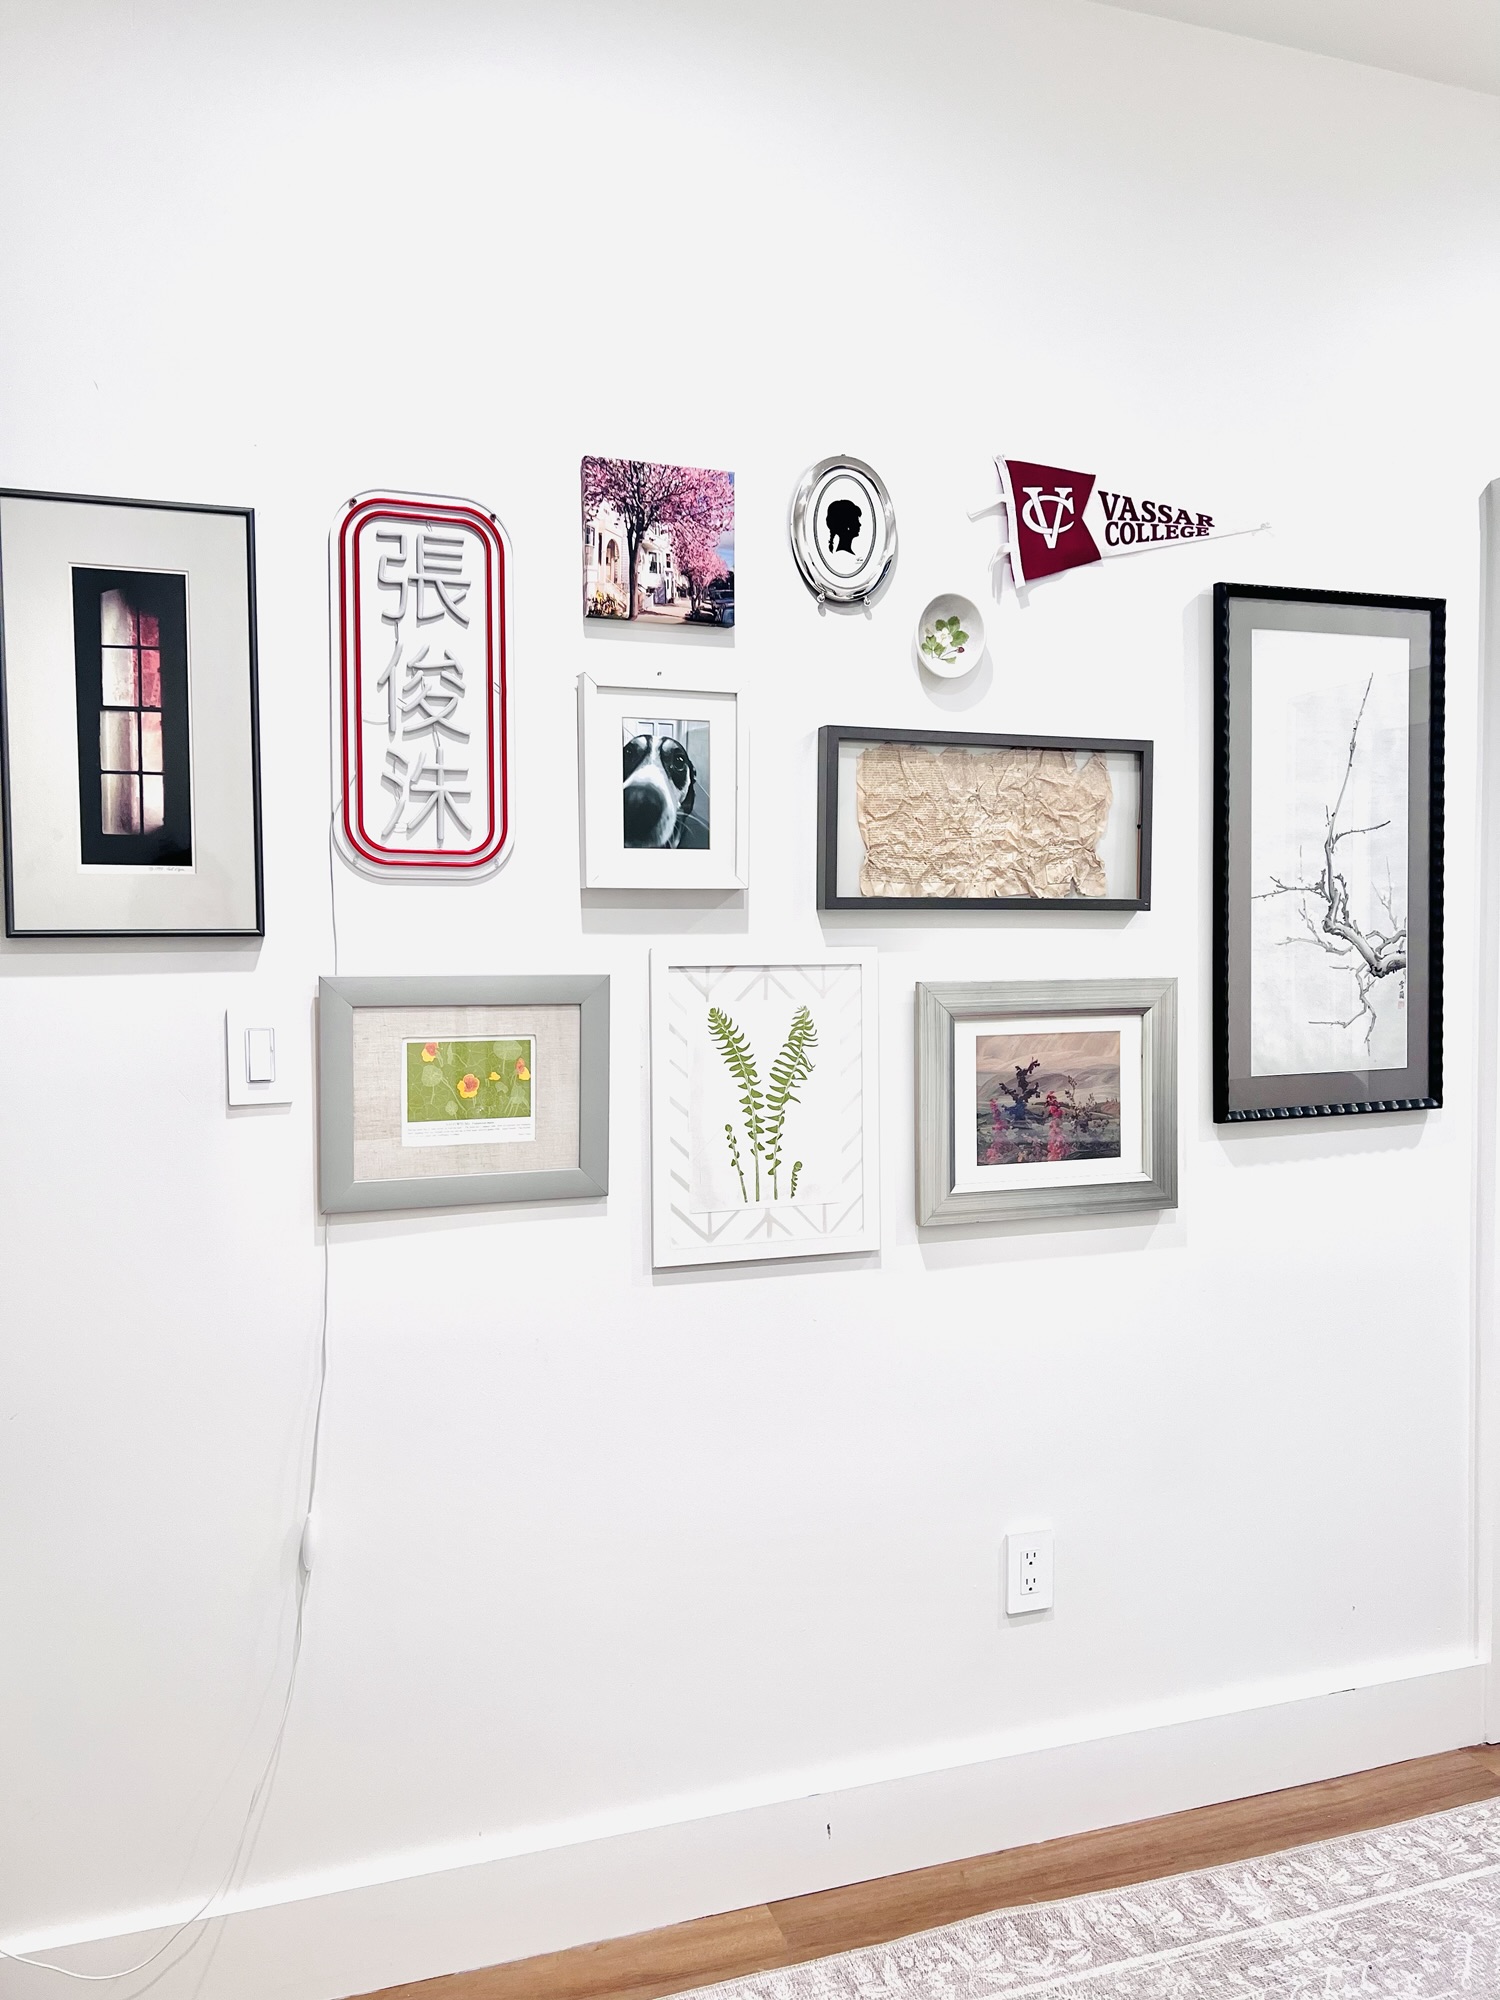
Here’s a before-and-after look at the space:
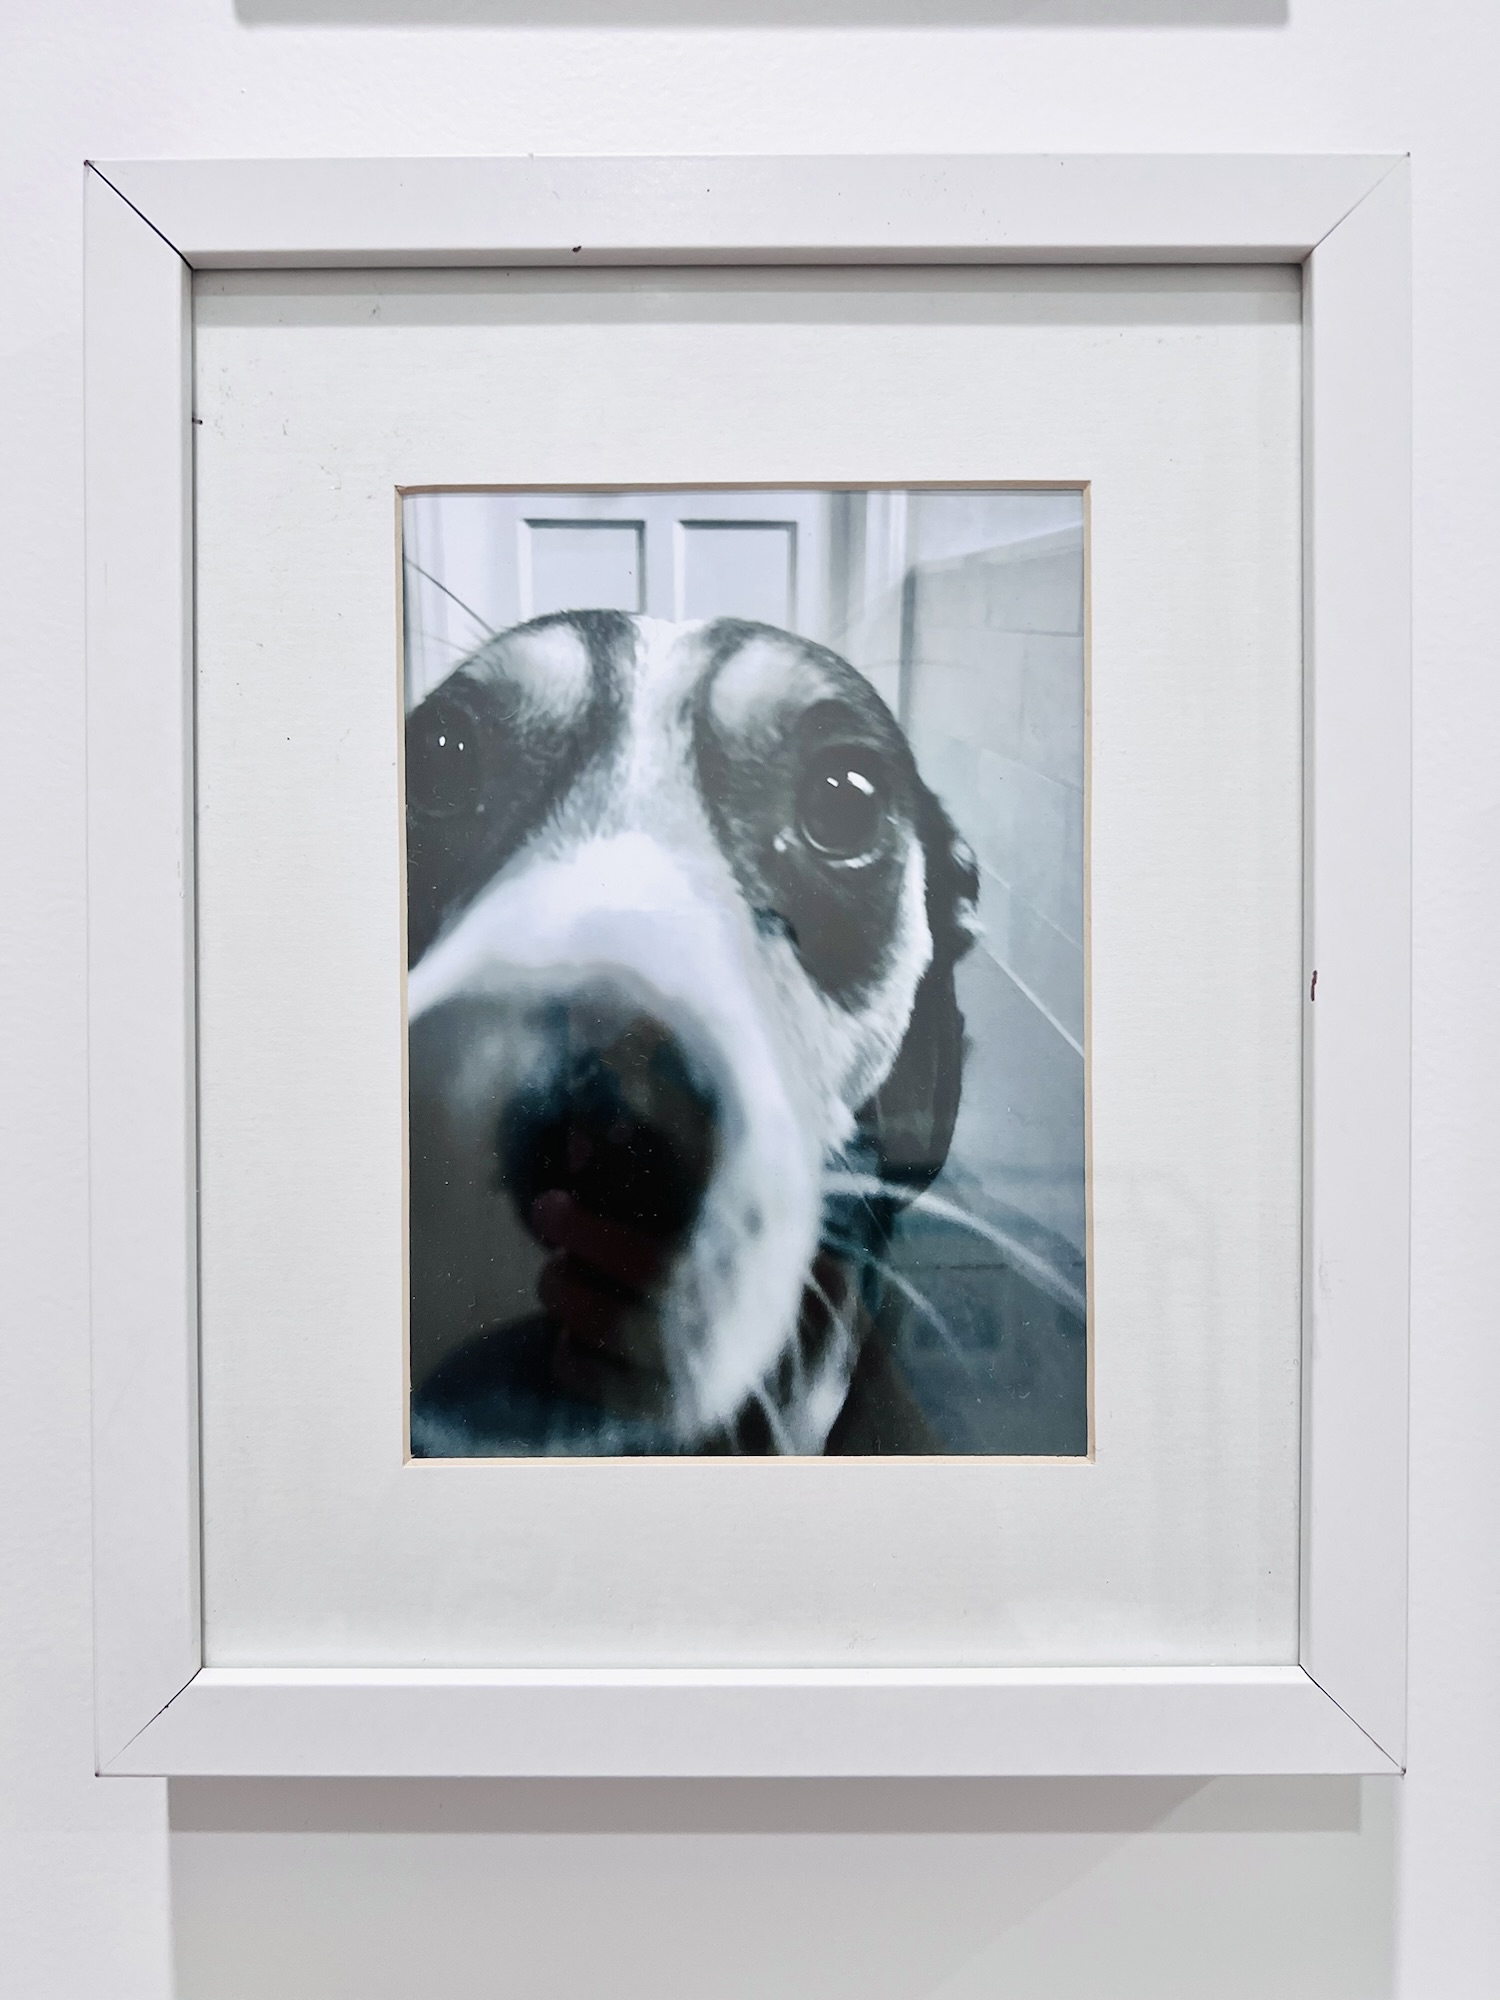
This collection includes a DIY fabric-covered picture mat and a photo I took of Finn and printed at the local drugstore.
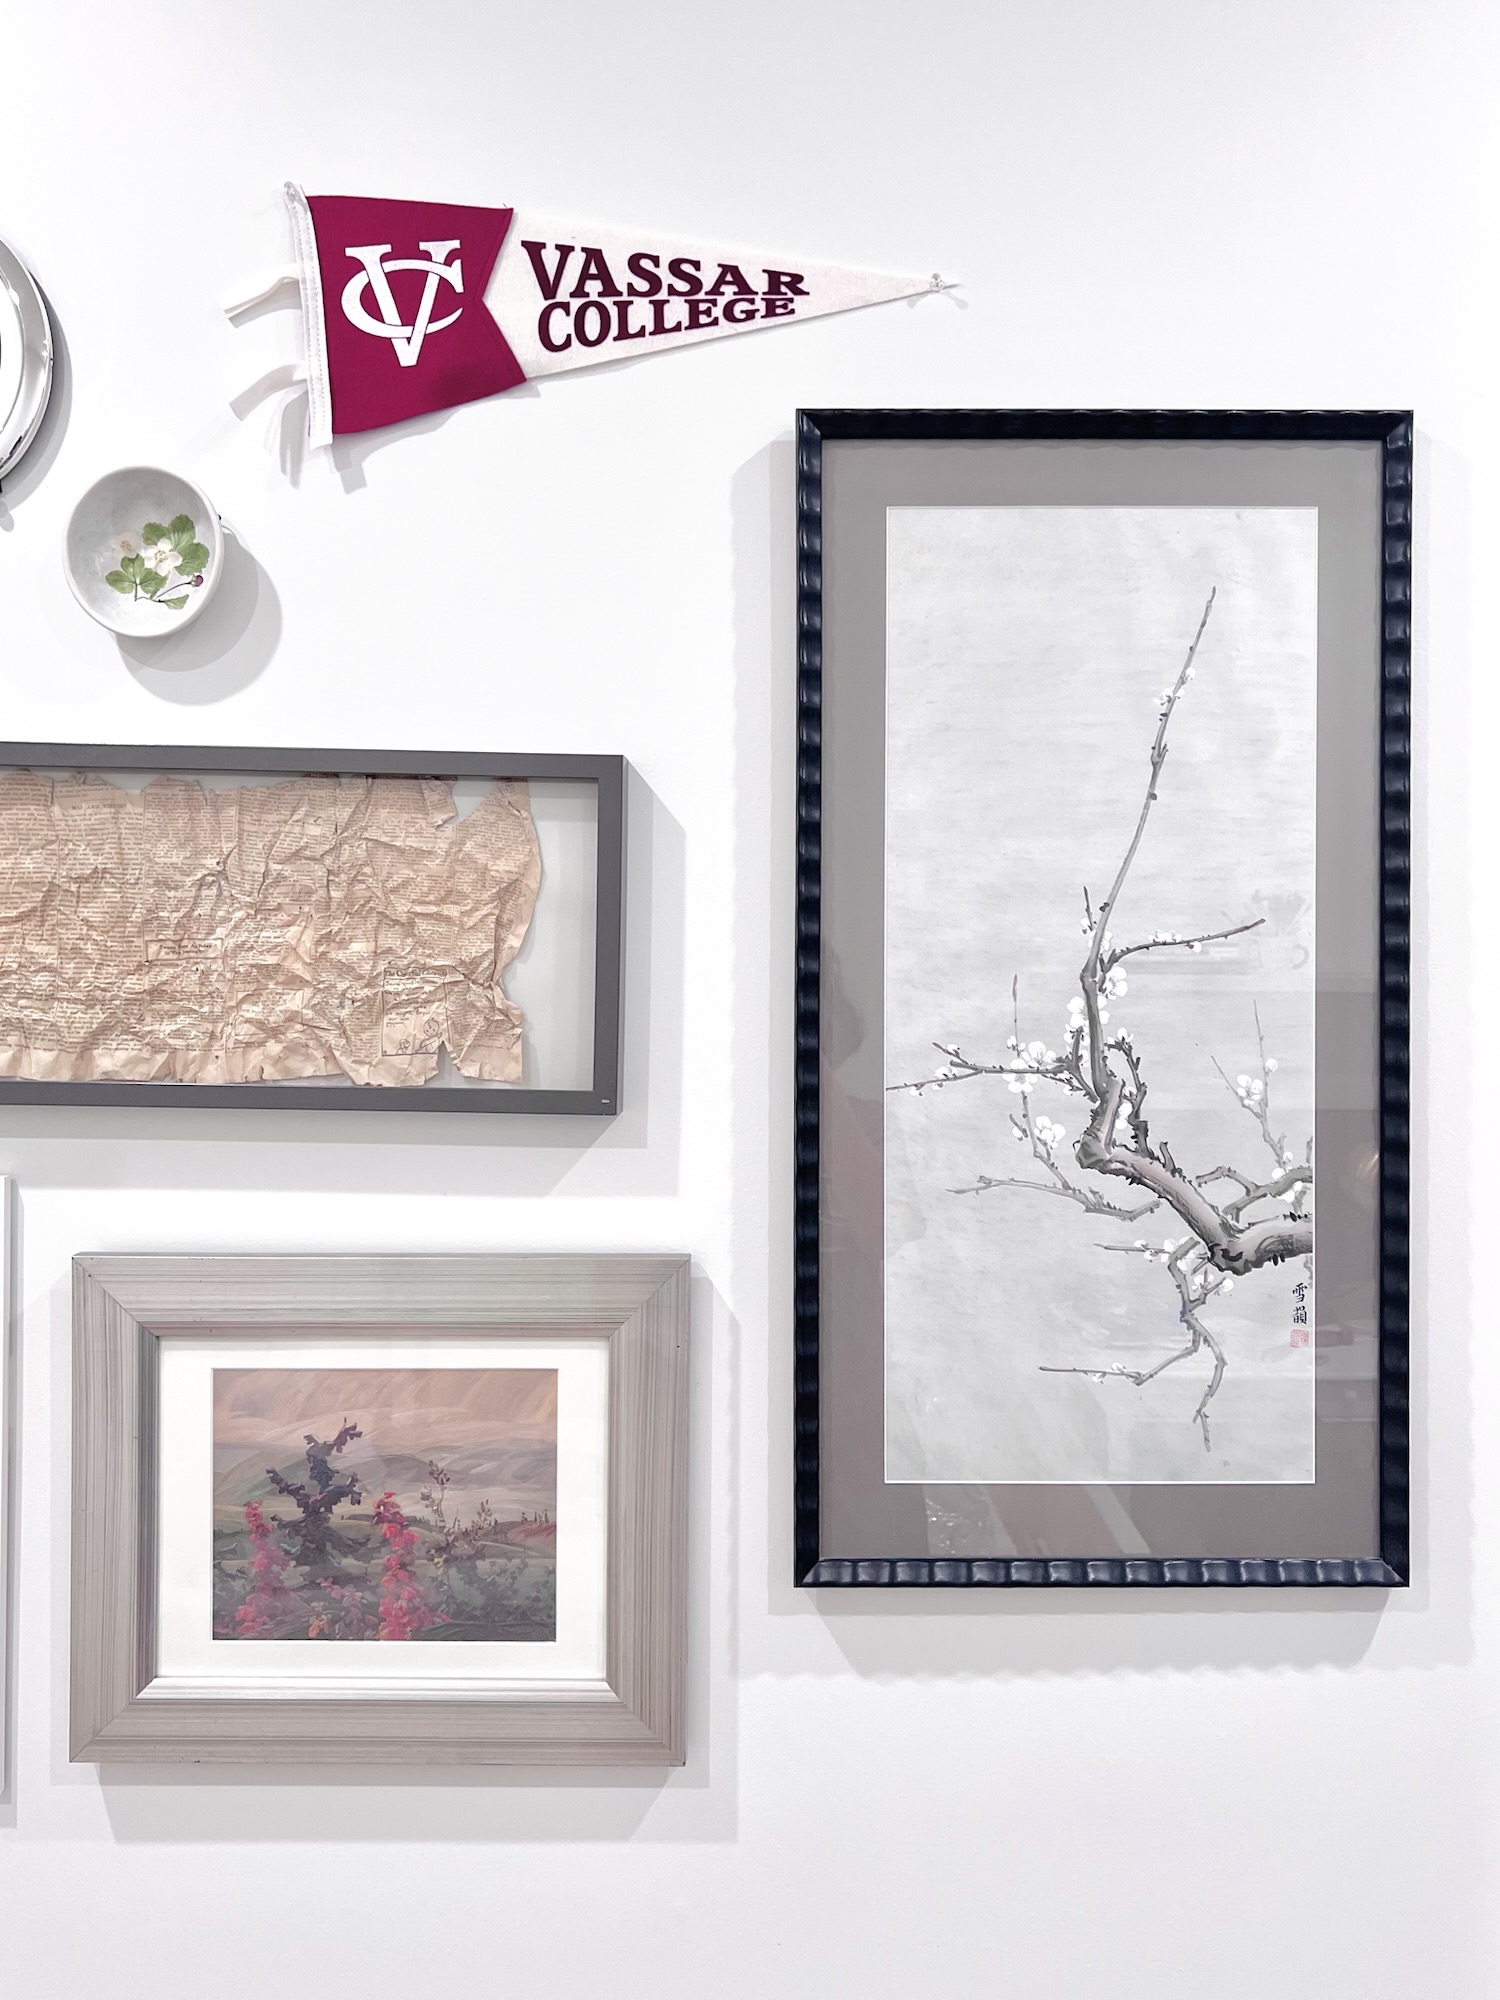
As I said, these walls can talk! Clockwise from left, a photograph taken from Fort Point, under the Golden Gate Bridge, that Steve and I bought at an art fair ~25+ years ago; an LED sign with my son’s name that my sister sent from Hong Kong; a small canvas print of a photo I took, featuring spring blossoms and Victorian houses; photo of Finn I took and printed; nasturtium print by Henry Evans calendar under a DIY fabric mat. My friend Penny gifts me a Henry Evans calendar every Christmas!
More treasures: paper silhouette cut-out from the Canadian National Exhibition when I was a child; strawberry ceramic bowl I bought at an art fair with a friend ~25 years ago; Vassar College pennant for my oldest; 1924 newspaper found in the walls of our last house; replica Group of Seven Canadian landscape painting my parents got on an Air Canada flight ~30 years ago; fern print from another Henry Evans calendar.
Last of the treasures: a beautiful branch painting by my mom ❤
I’m working away on some other projects that I hope to share with you soon! In the meantime, you can see all the other fun room transformations on the One Room Challenge website!
You know how much I love faux bamboo furniture! My collection includes these Chippendale chairs and this Thomasville dresser-turned-bar cabinet. When I recently acquired an older bookcase, which I chose for its solid wood construction and low price, I noticed … Continue reading →
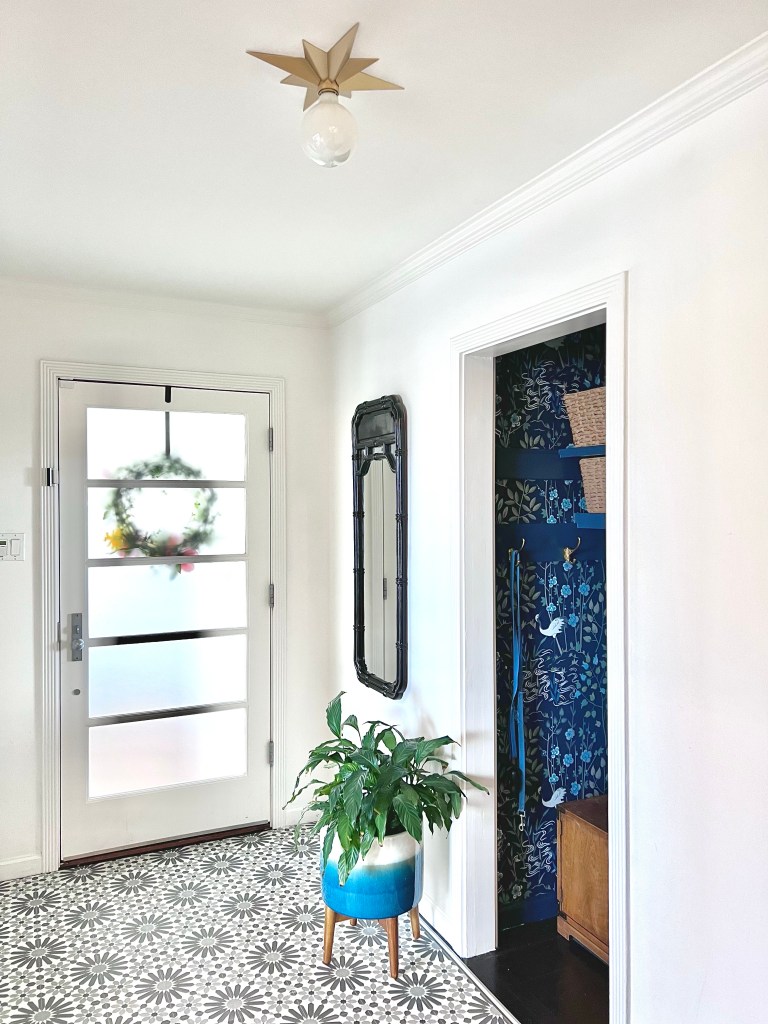
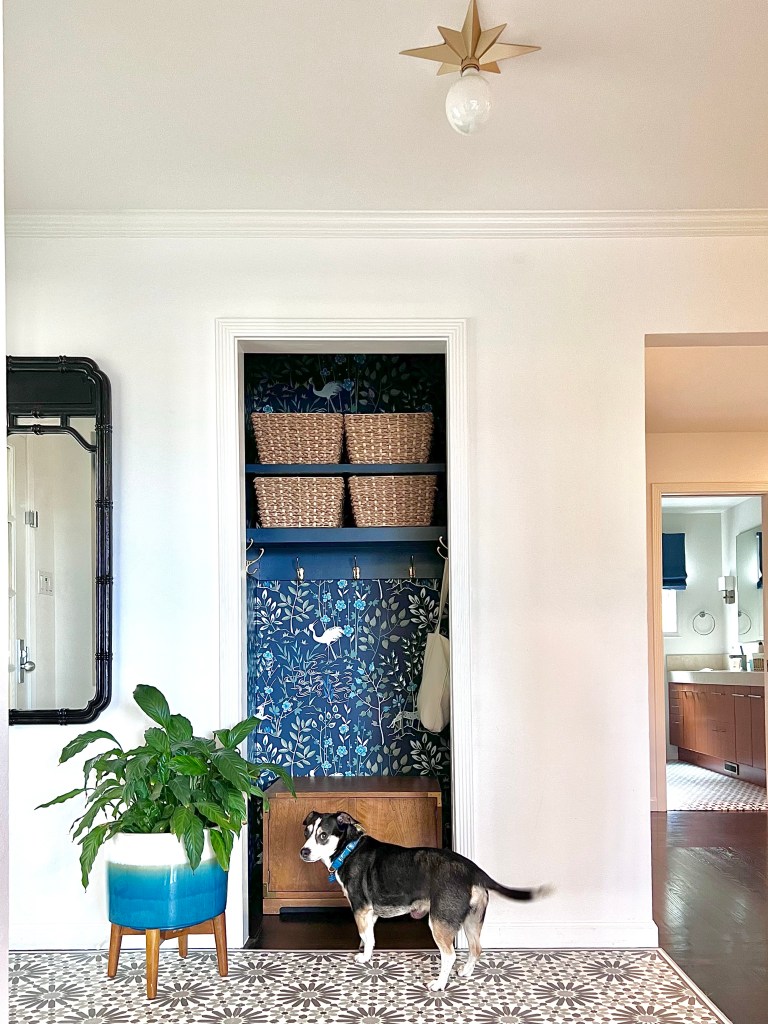
It’s hard to top last week’s Mini Mudroom reveal. The conversion of our standard entry closet in to an eye-catching and functional focal point was a real thrill (True, I don’t get out much!). This week’s project for our foyer makeover was changing out the bland ceiling fixture for something that makes a statement!
Our space is small, and the ceilings are only 8.5′ high, so I was looking for a modest flush mount fixture that would add some character to our entry. Here are the beauties that made the short list:
I ended up choosing the simple Gold Star Light Fixture, and I paired it with an oversized bulb (affiliate links). It’s not quite as elegant as the inspiration from Ballard Designs, but it’s definitely added style to our little entry way!
I’m going to add some finishing touches and take some more pictures to share for next week’s grand finale! In the meantime, head on back to the One Room Challenge site to see some more room transformations!
My collection of plates and tea cups started when I threw a tea party baby shower for my friend, Nicola, a whole decade ago! Over the years, I have added more treasures to my collection, and I love the stories … Continue reading →
A lot of people groan when they think about moving, and while I plan to stay put for many years to come, I actually love the excitement and challenge of arranging a new space. I’ve had a lot of fun … Continue reading →
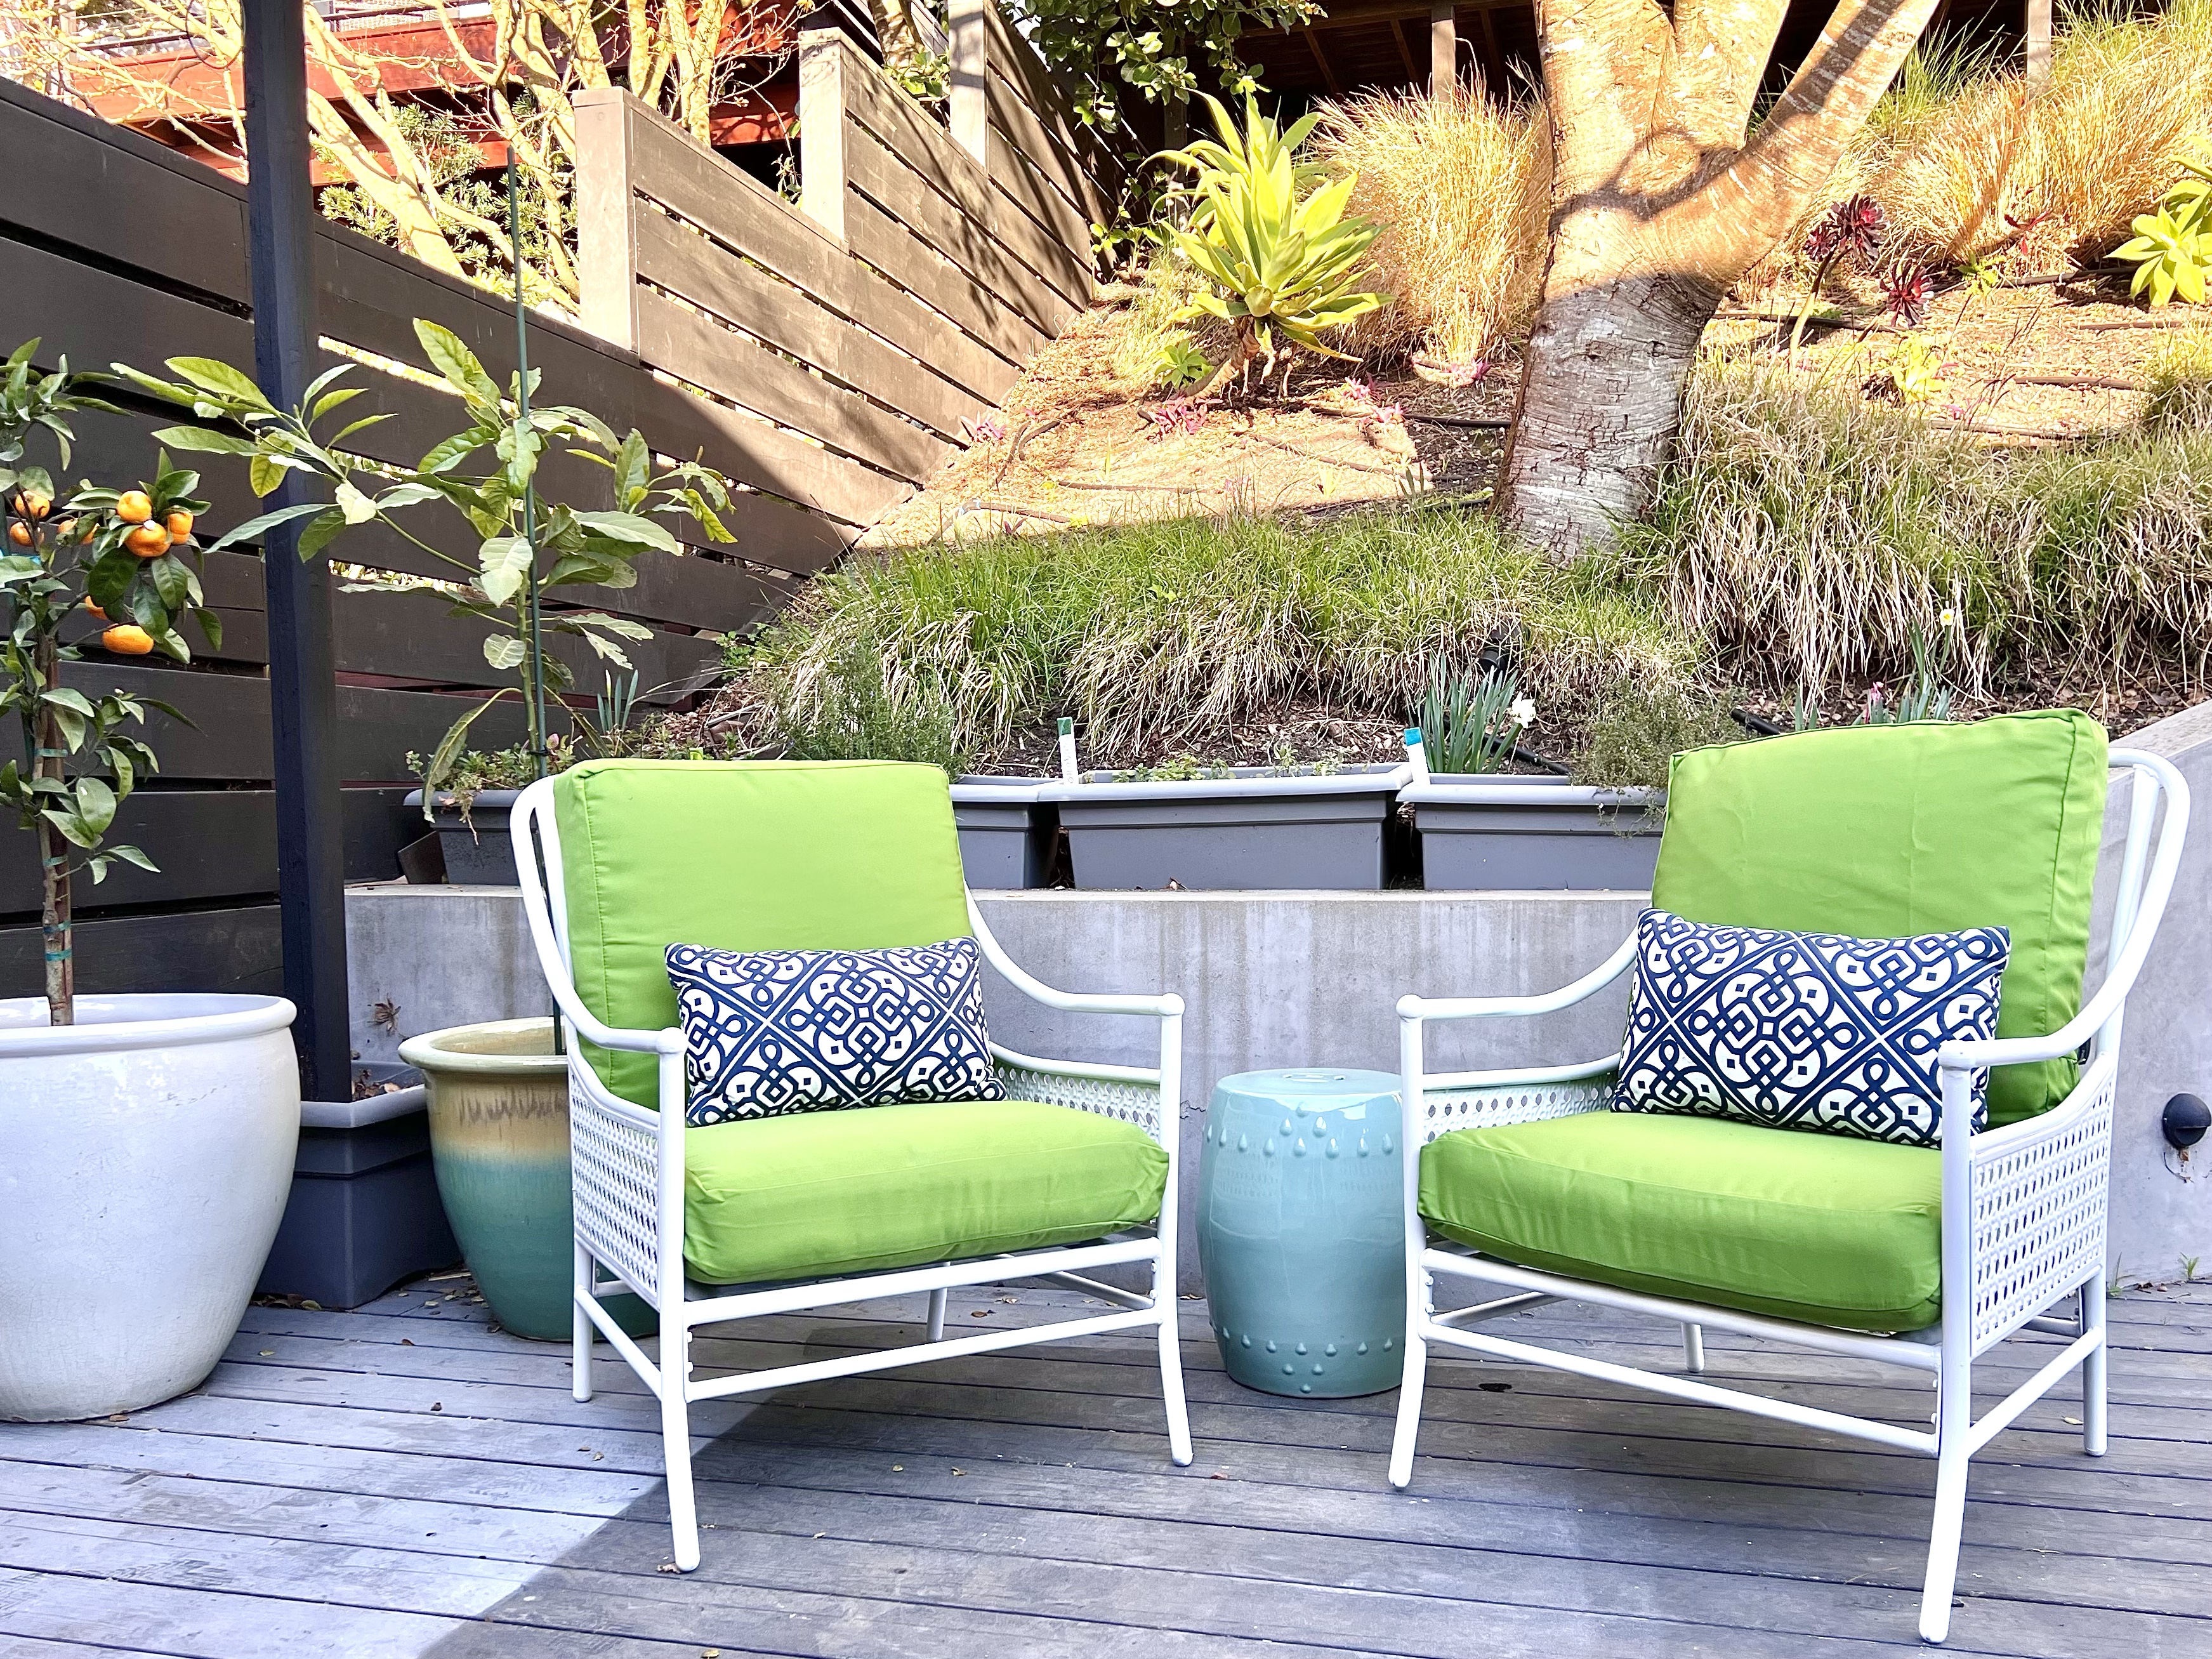
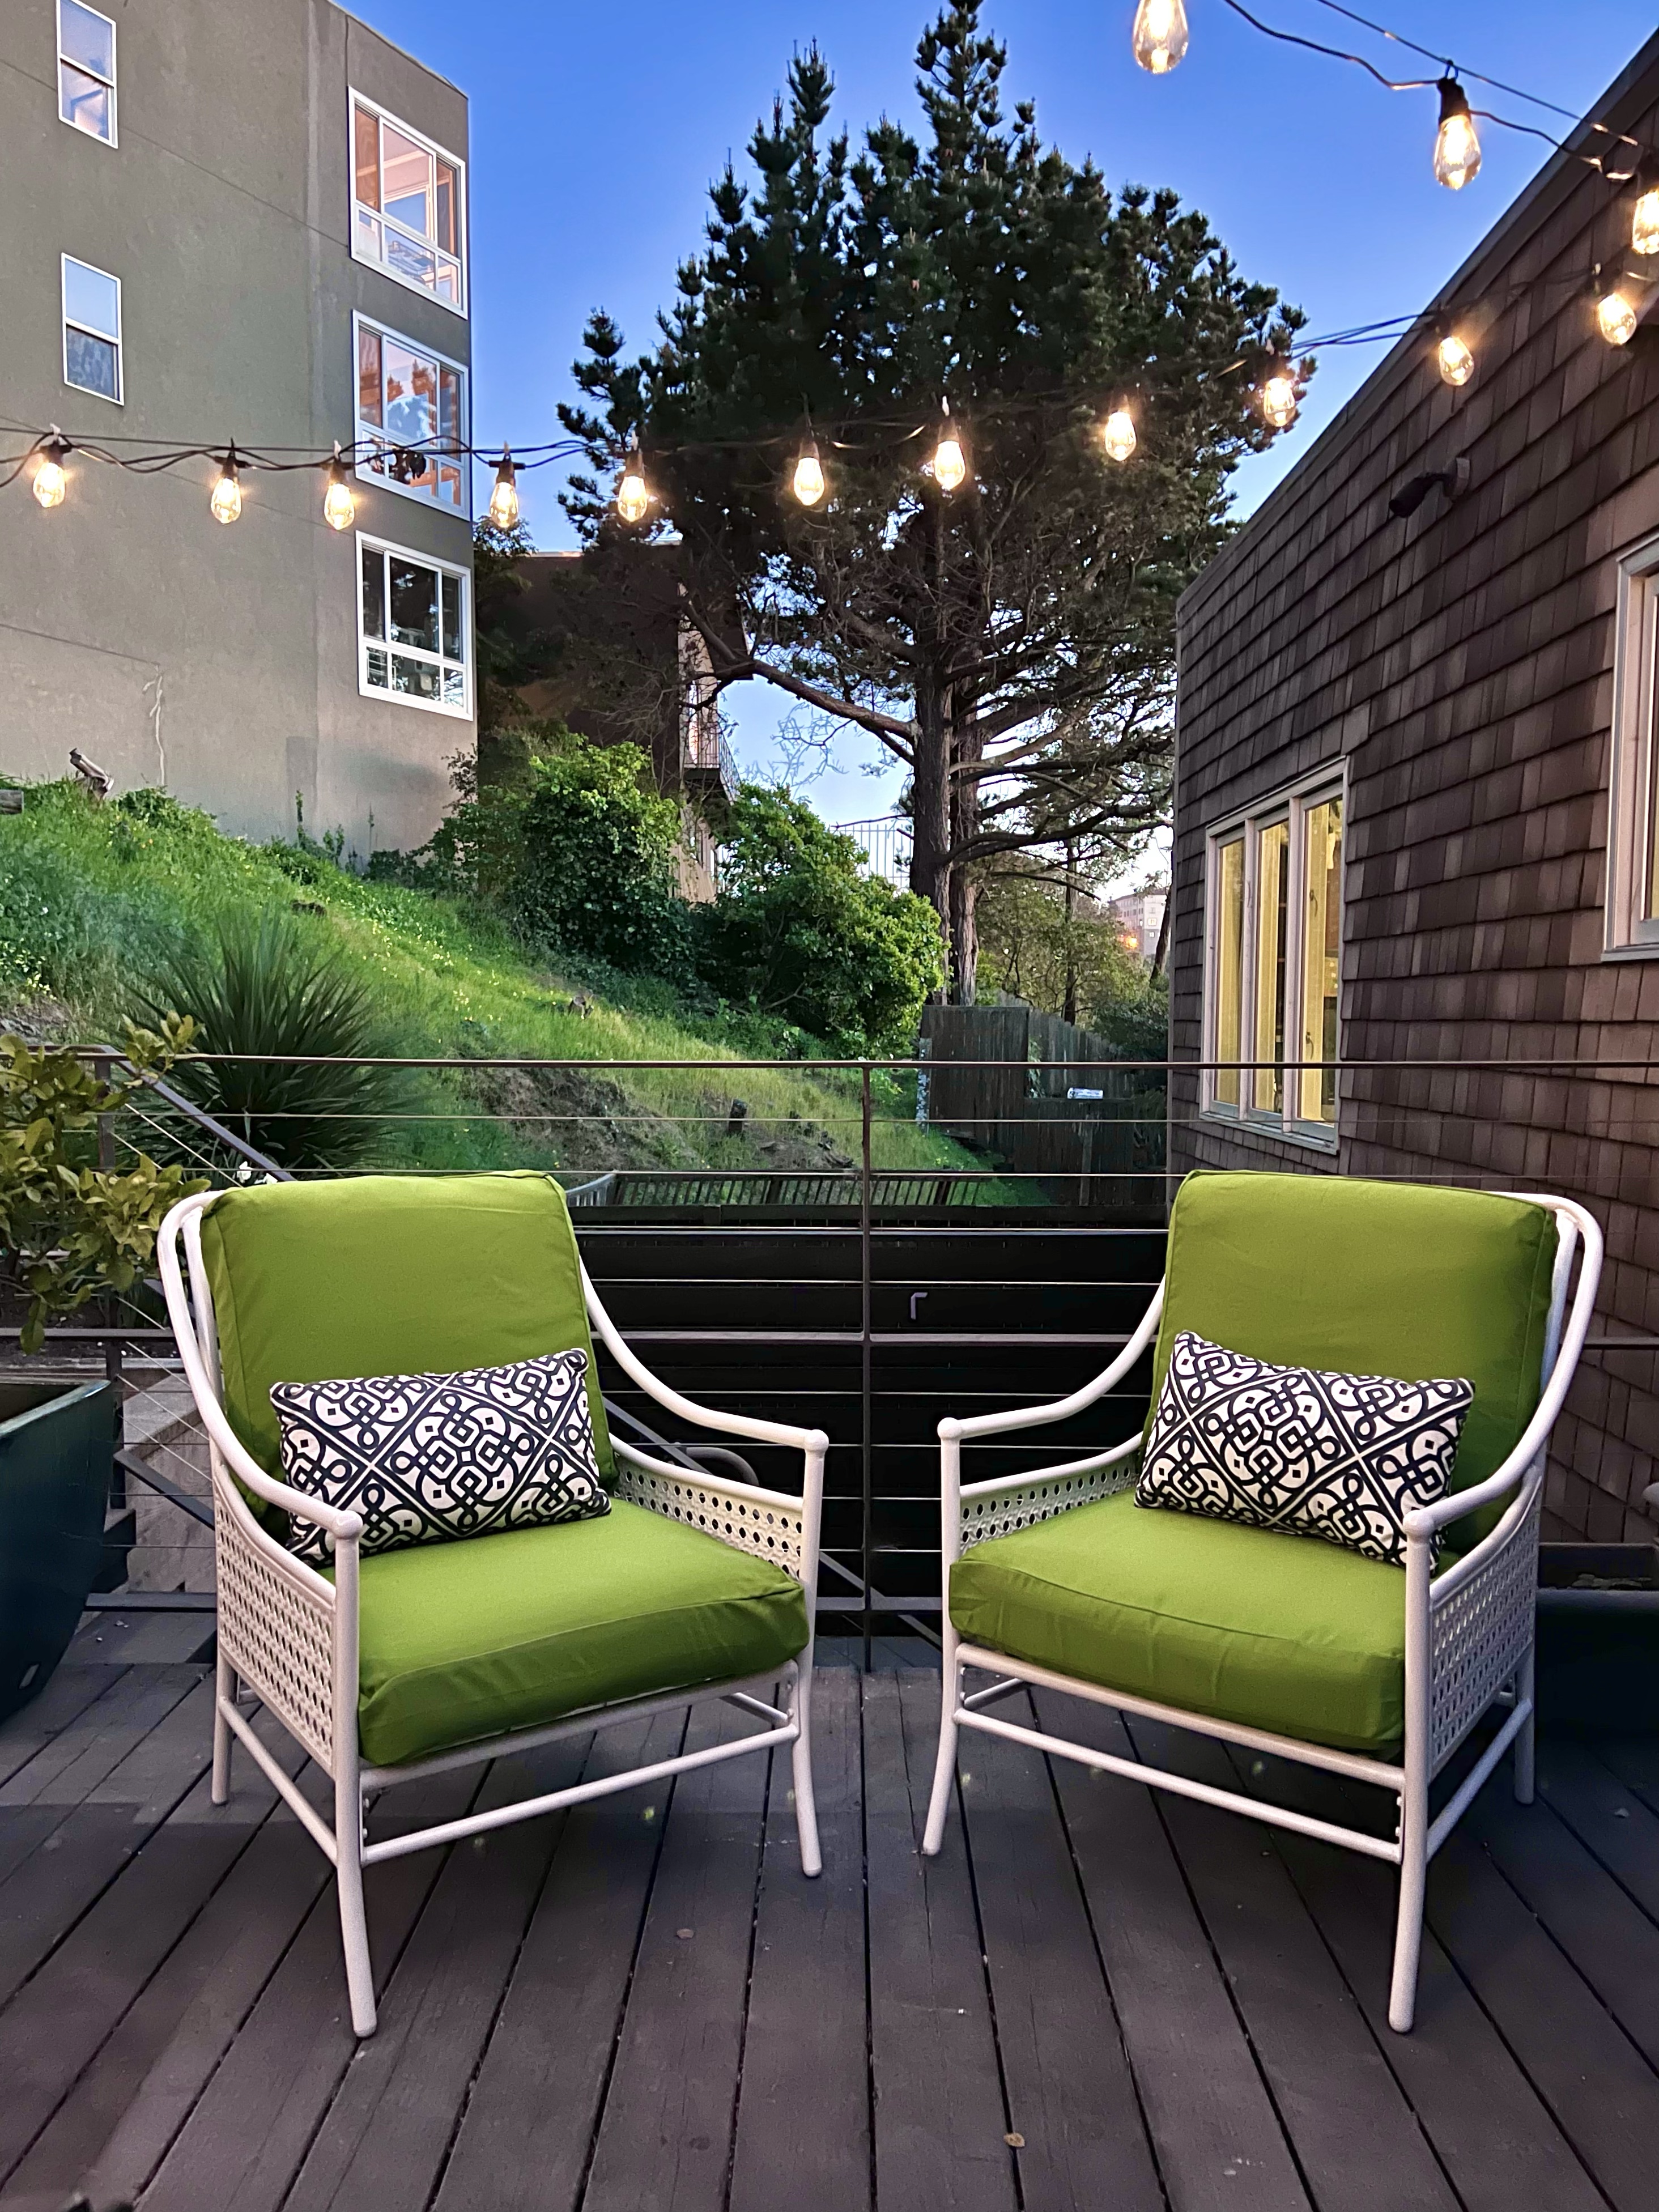
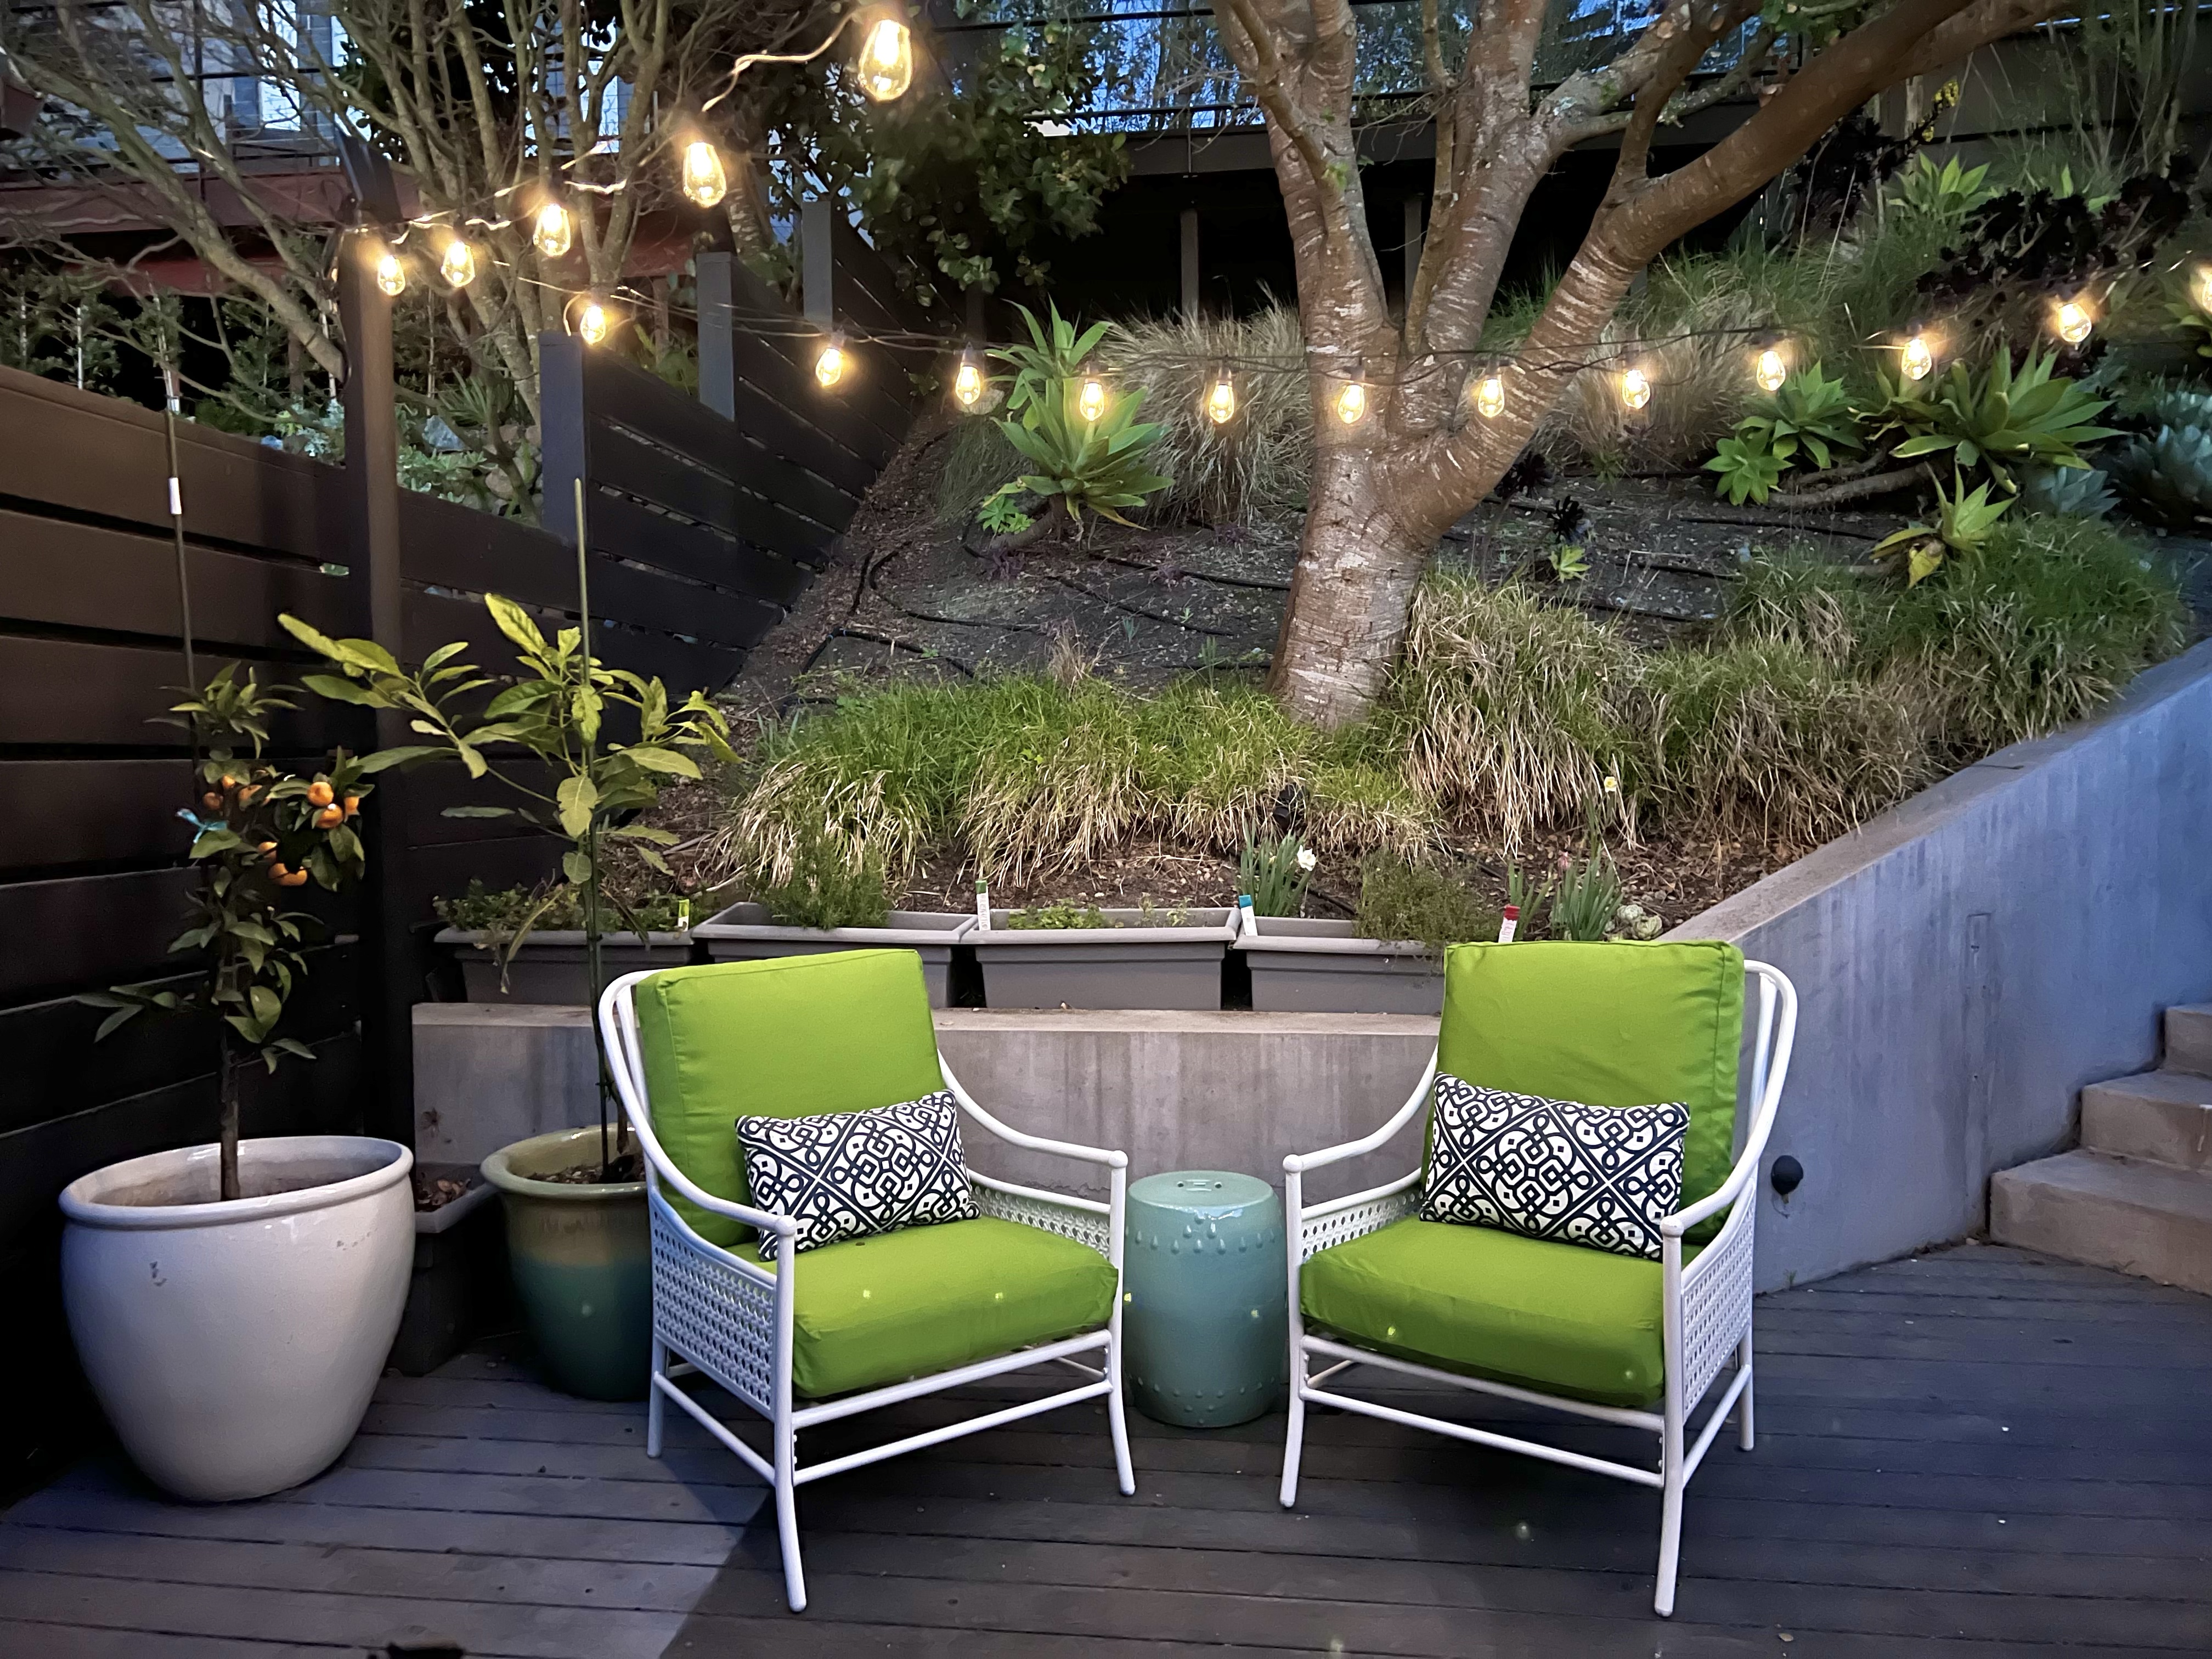
I am so excited for our new patio space and have already enjoyed time out here eating lunch, reading, or catching up on some work. I started looking for some lounge chairs, but I couldn’t quite find what I wanted – or more accurately, what I wanted was way too $$$. But this story has an happy ending! I found these used chairs and made them over for $ to complete our patio space!
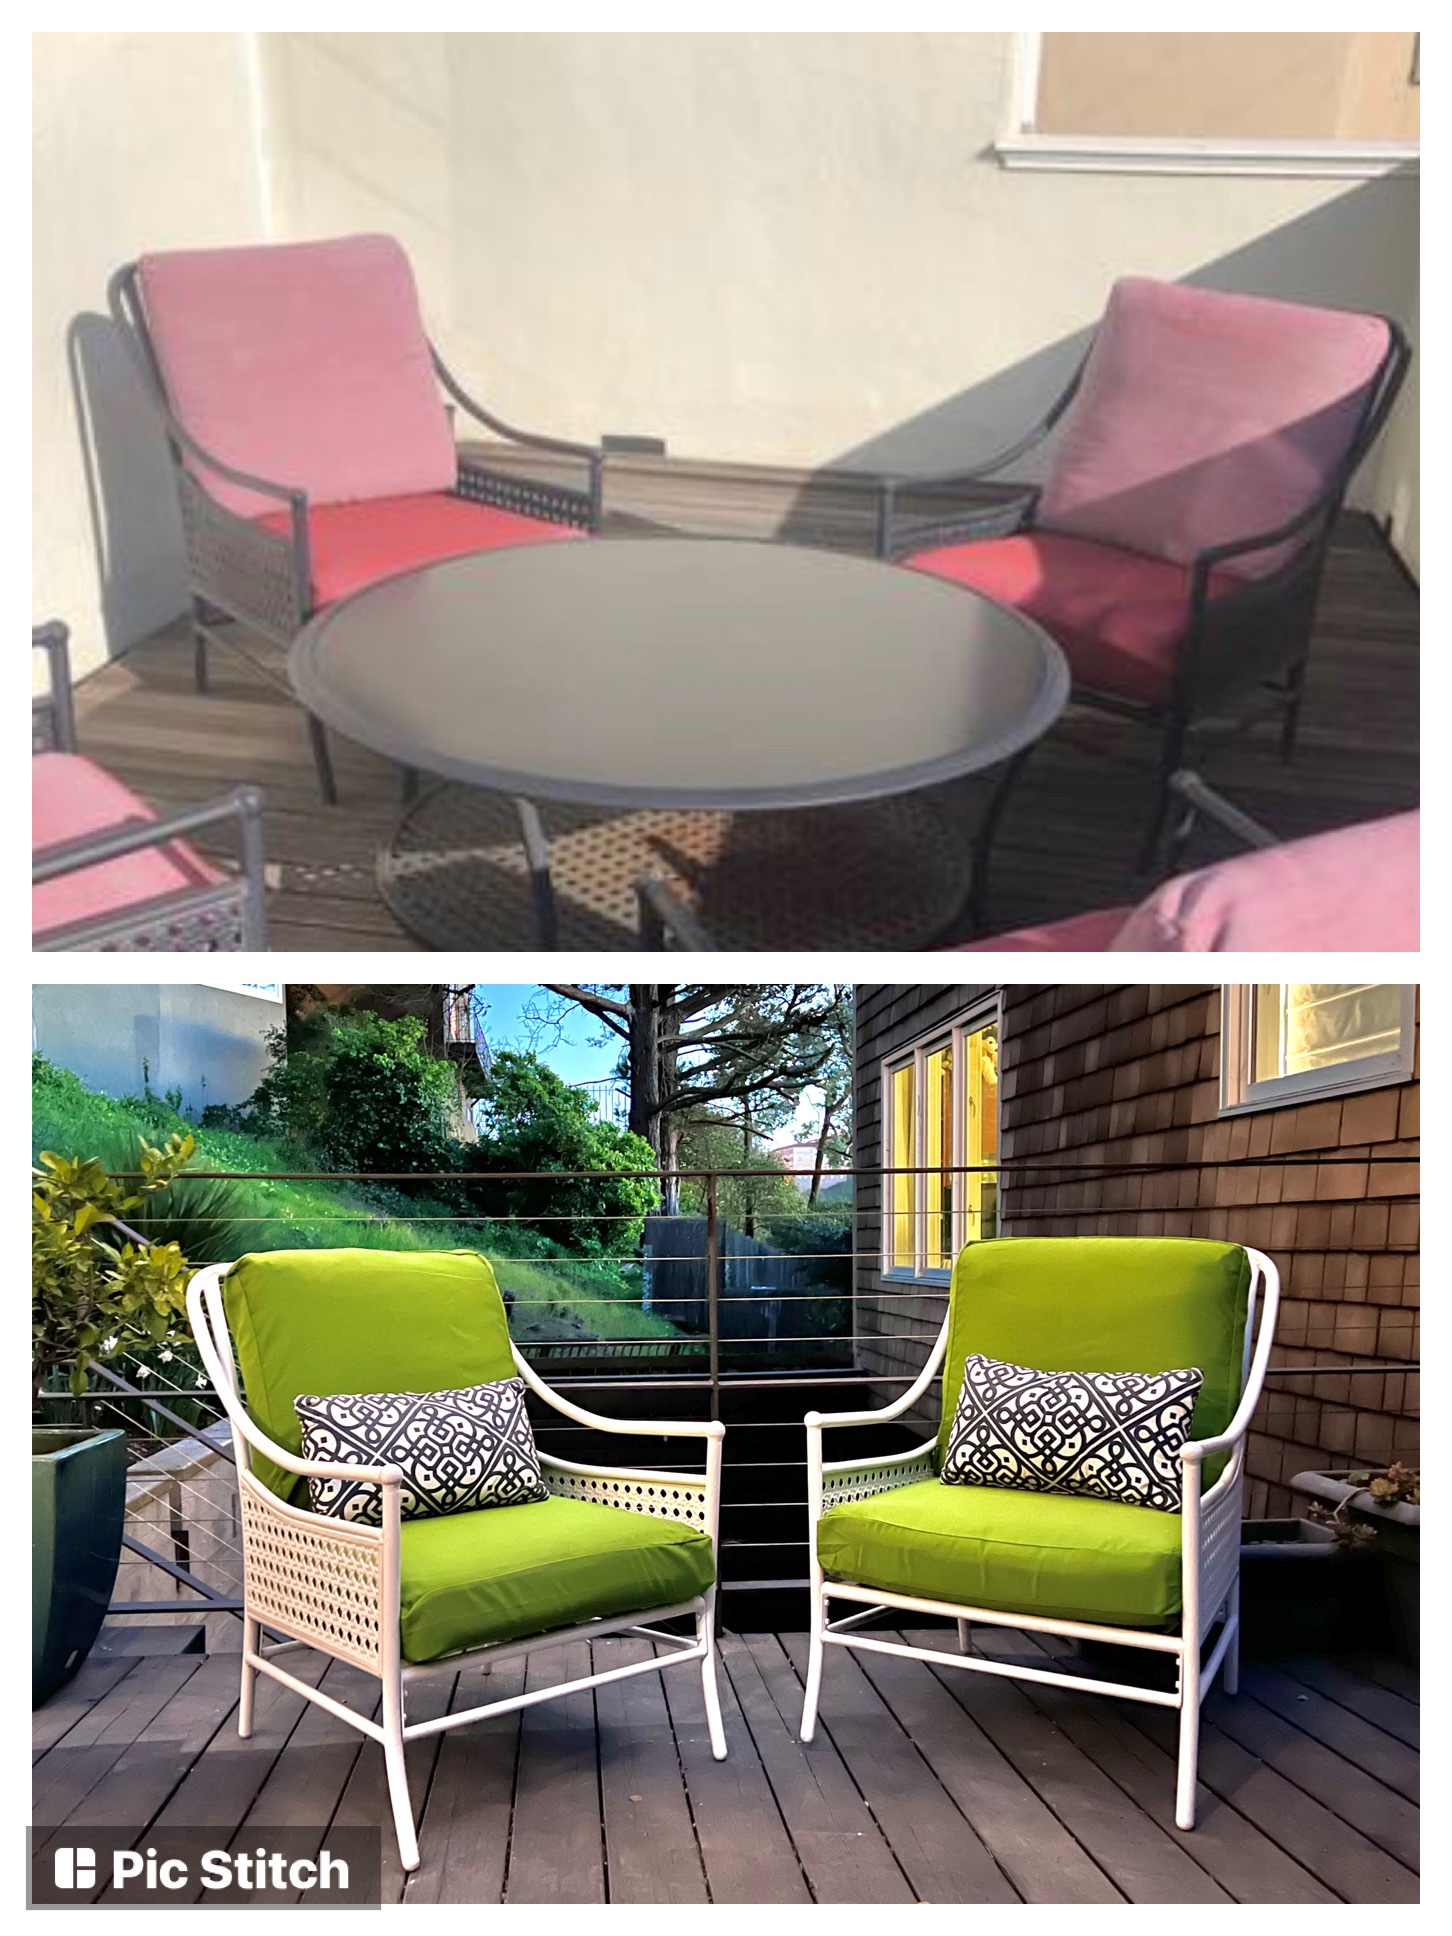
It’s no secret that I love anything with the look of cane or faux bamboo and also that I have a weakness for Craigslist finds! I spotted this set on Craigslist for $50, and when I showed up, the woman said I could have it for free. She also let me take the chairs without the table, so my karma of giving things away when we moved last year came back to me! I also picked up the chairs near my old neighborhood hardware store, so I stopped by to get some supplies and painting tips.
Here’s how to do it:
I started by cleaning off as much rust as possible. I used an old screwdriver, sandpaper, and steel wool
I prepped the chairs with deglosser and metal primer
I then finished them off with white gloss spray paint
The cushions were in decent condition, just faded, so I found these new slipcovers to freshen them up!
Here are some more pictures of our “new” chairs.
I feel they came pretty close to my inspiration pics, and all with the satisfaction with saving some money and a good DIY!
Everyone loves a good before and after pic:
I look forward to many more hours enjoyed out here with friends, family, or curled up with a good book!
Sometimes, milestones are measured in unusual ways. I know my kids are getting big, because it’s finally possible to take a picture of JJ’s room that is not a total disaster! We (I) were focused on finding a new house … Continue reading →
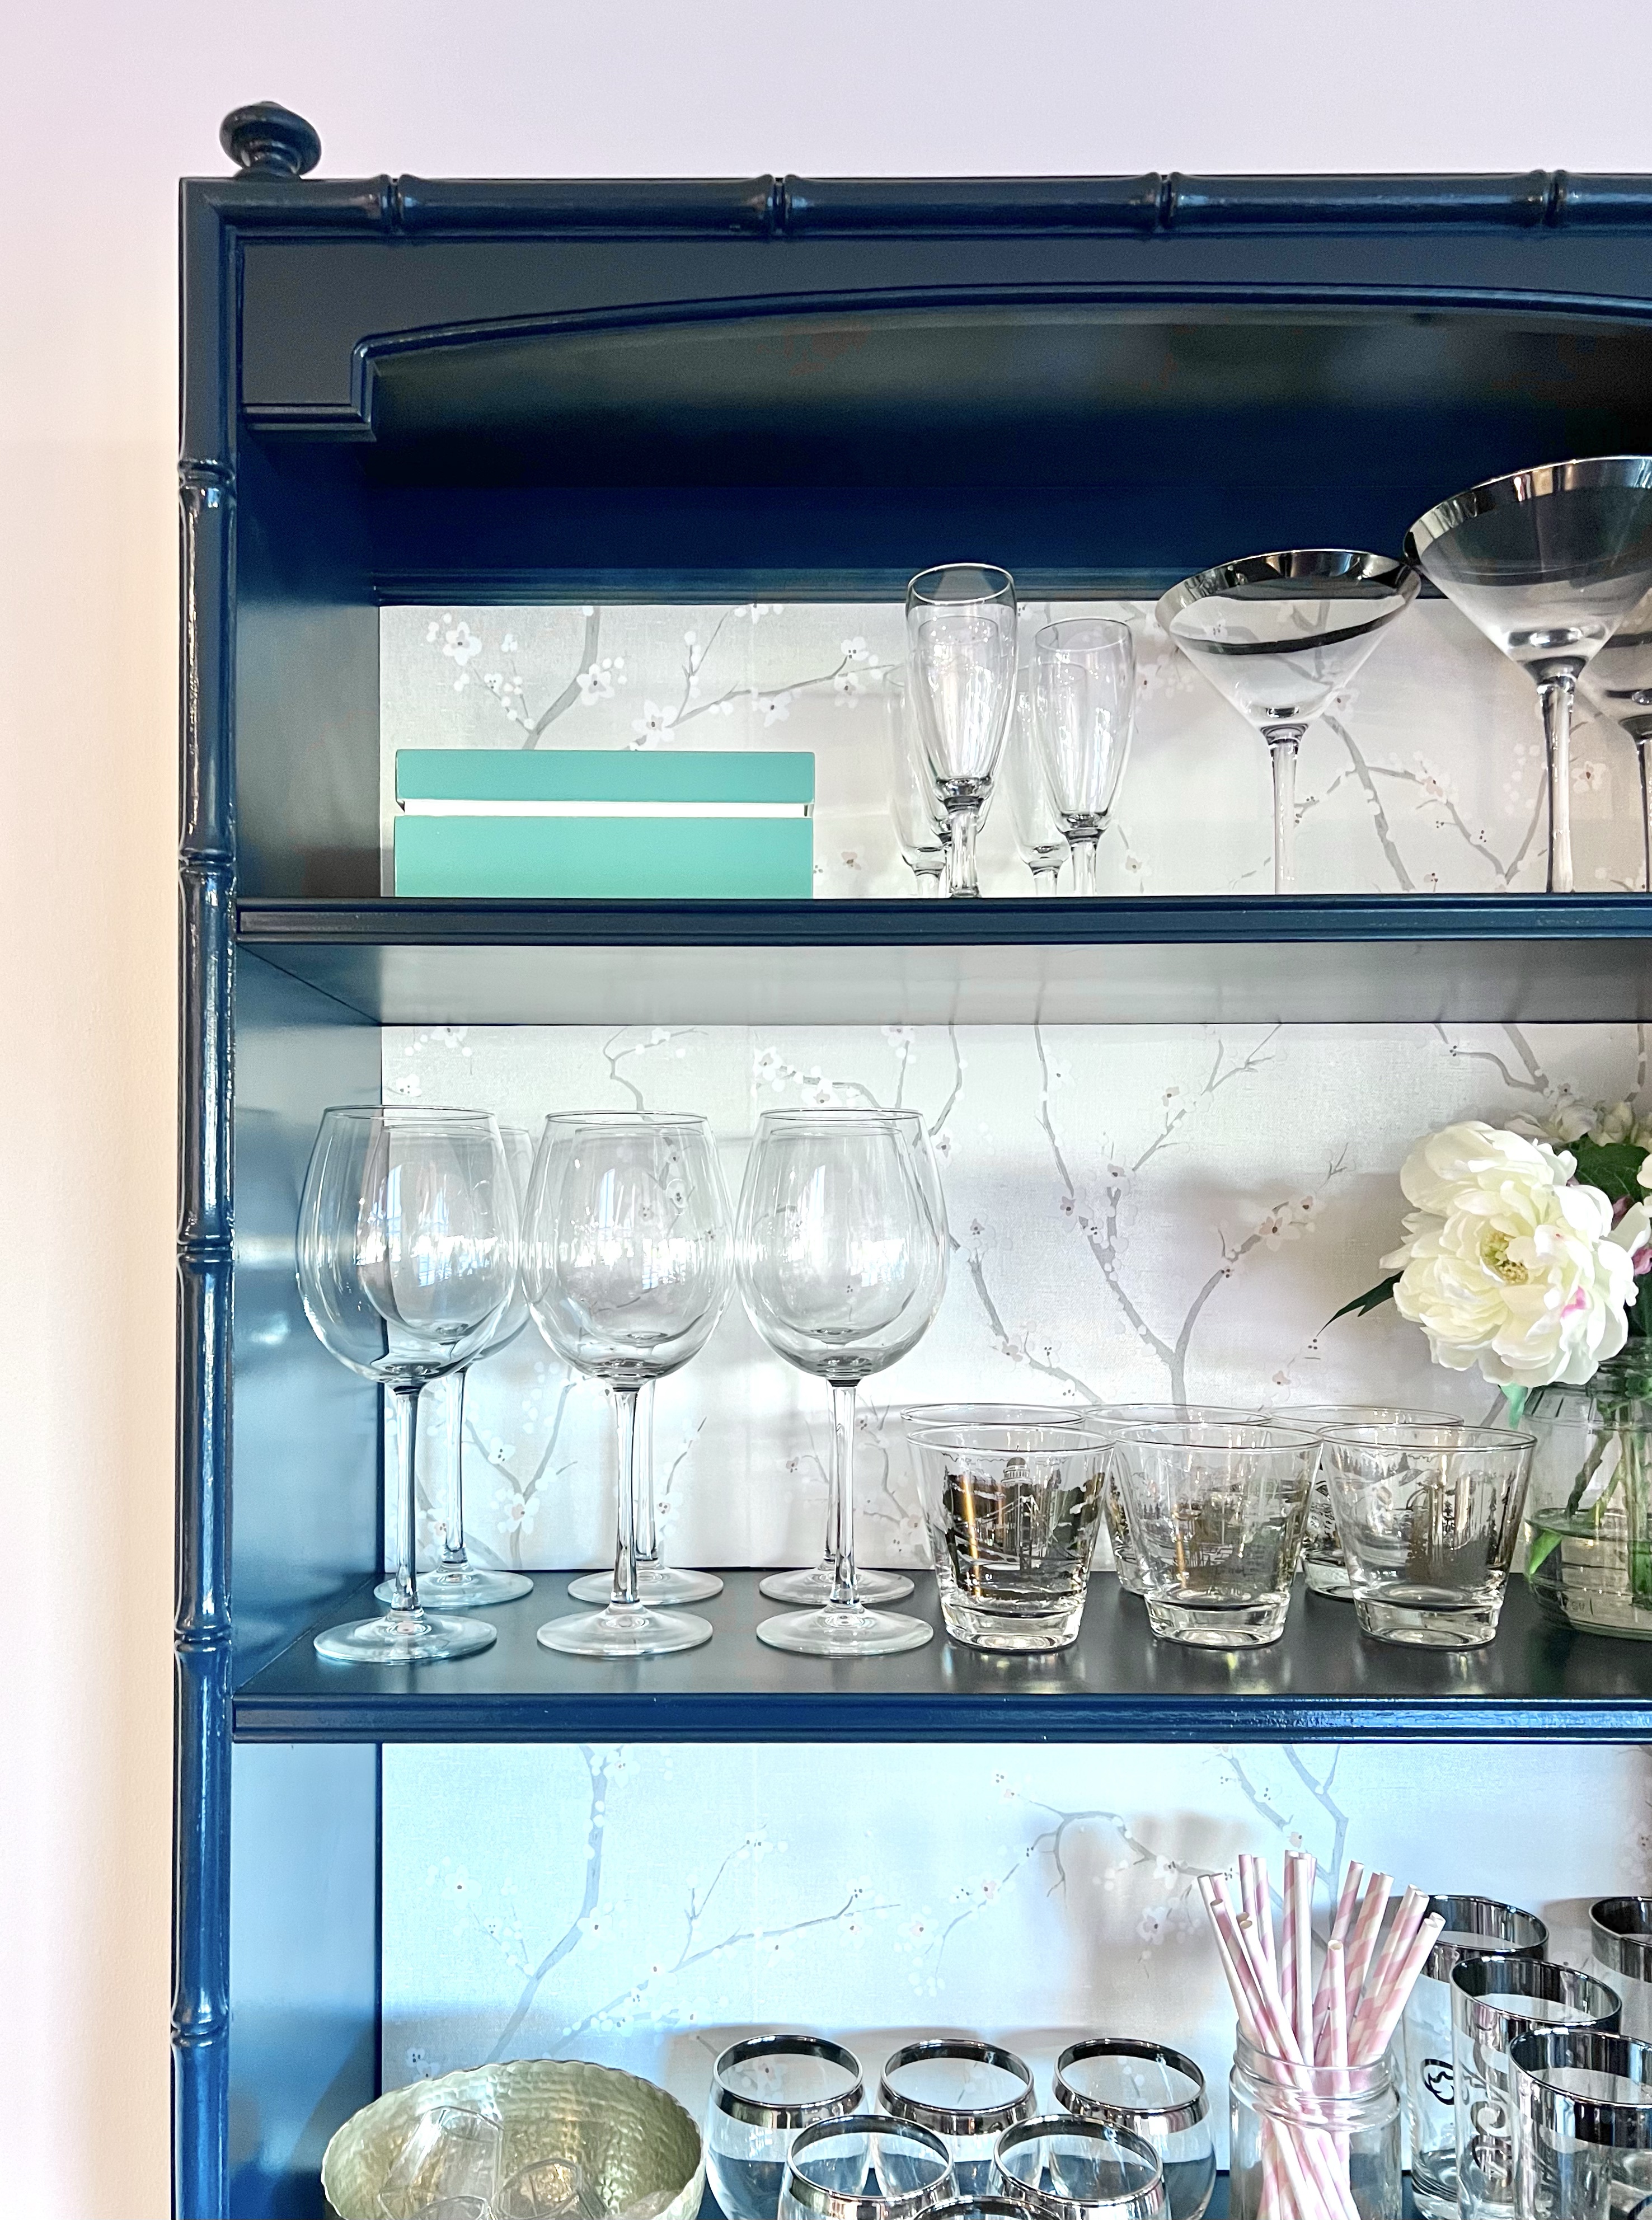
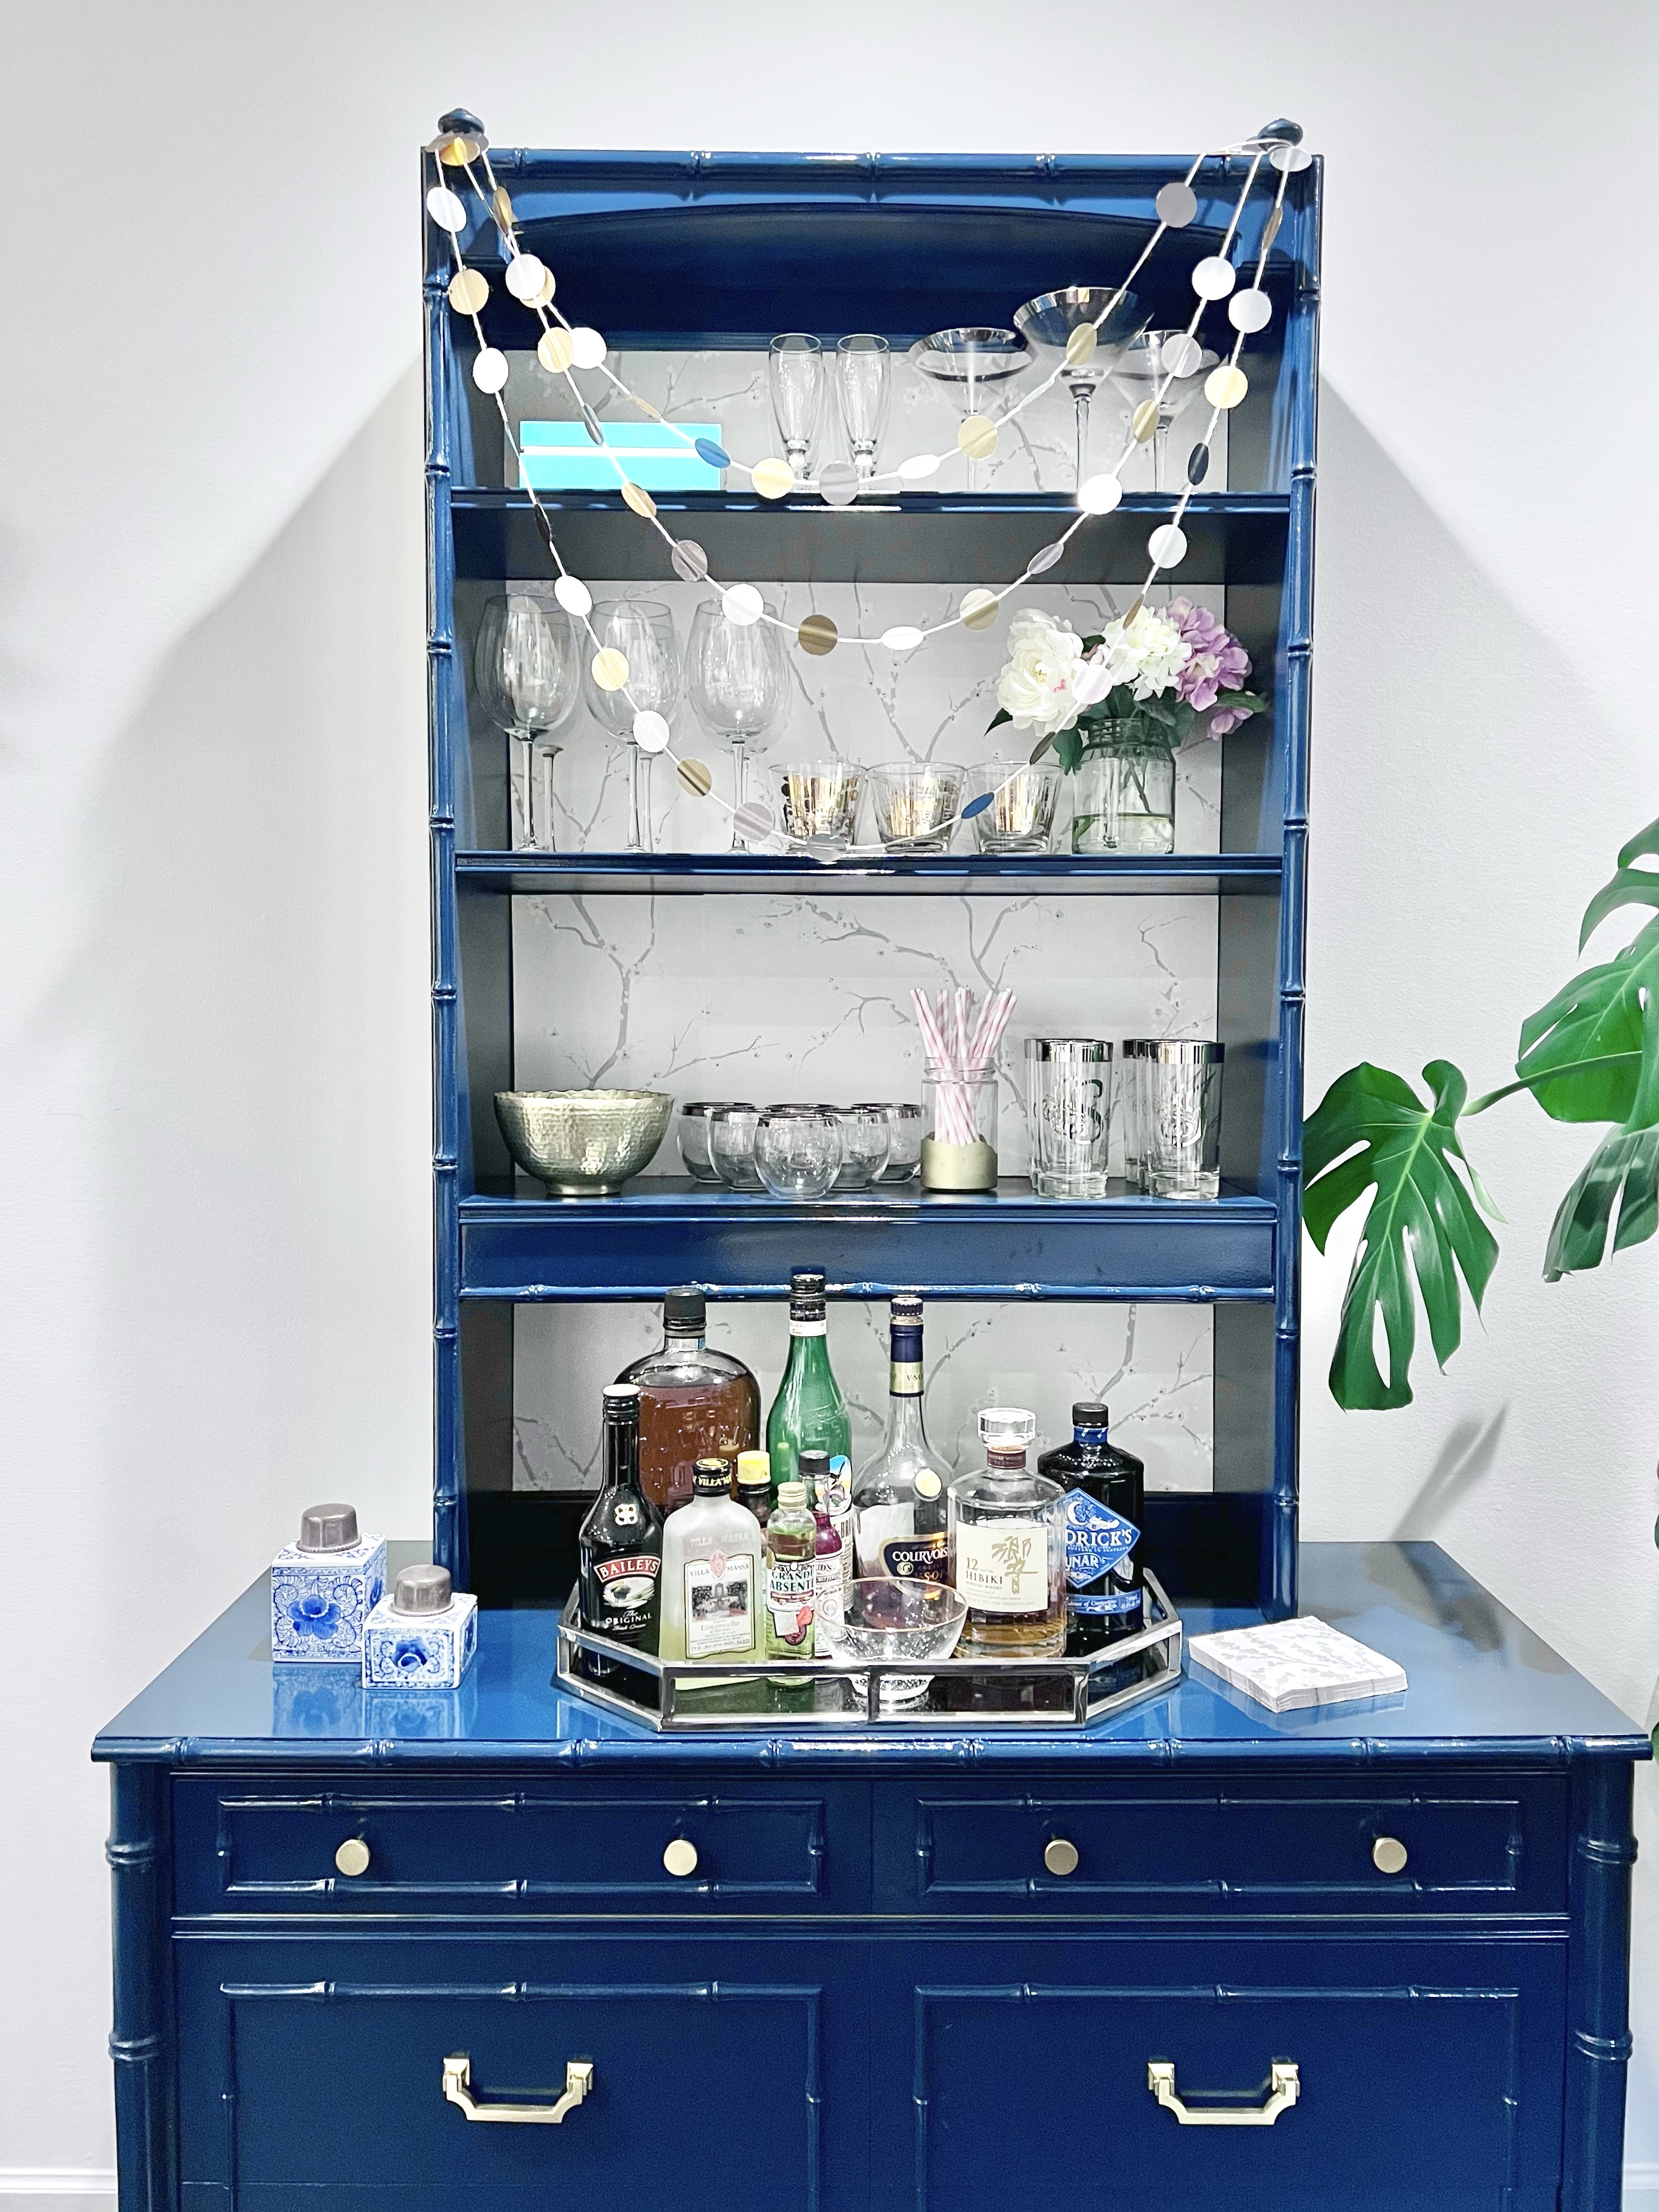
Remember when I told you that painting a vintage mid-century dresser was on my DIY bucket list? I love how that first project turned out. And then! When I was moving and definitely should not have been accumulating more stuff, I found something I couldn’t resist: a Thomasville faux bamboo bedroom set for free on Craigslist! This included a twin bed frame and a little desk and dresser. The desk had a bookcase hutch, which I put on top of the dresser to make a hutch/ bar for our dining room.
As needed, new hardware or metallic spray paint for your old hardware
If you need new holes for your hardware, some filler material for the old holes
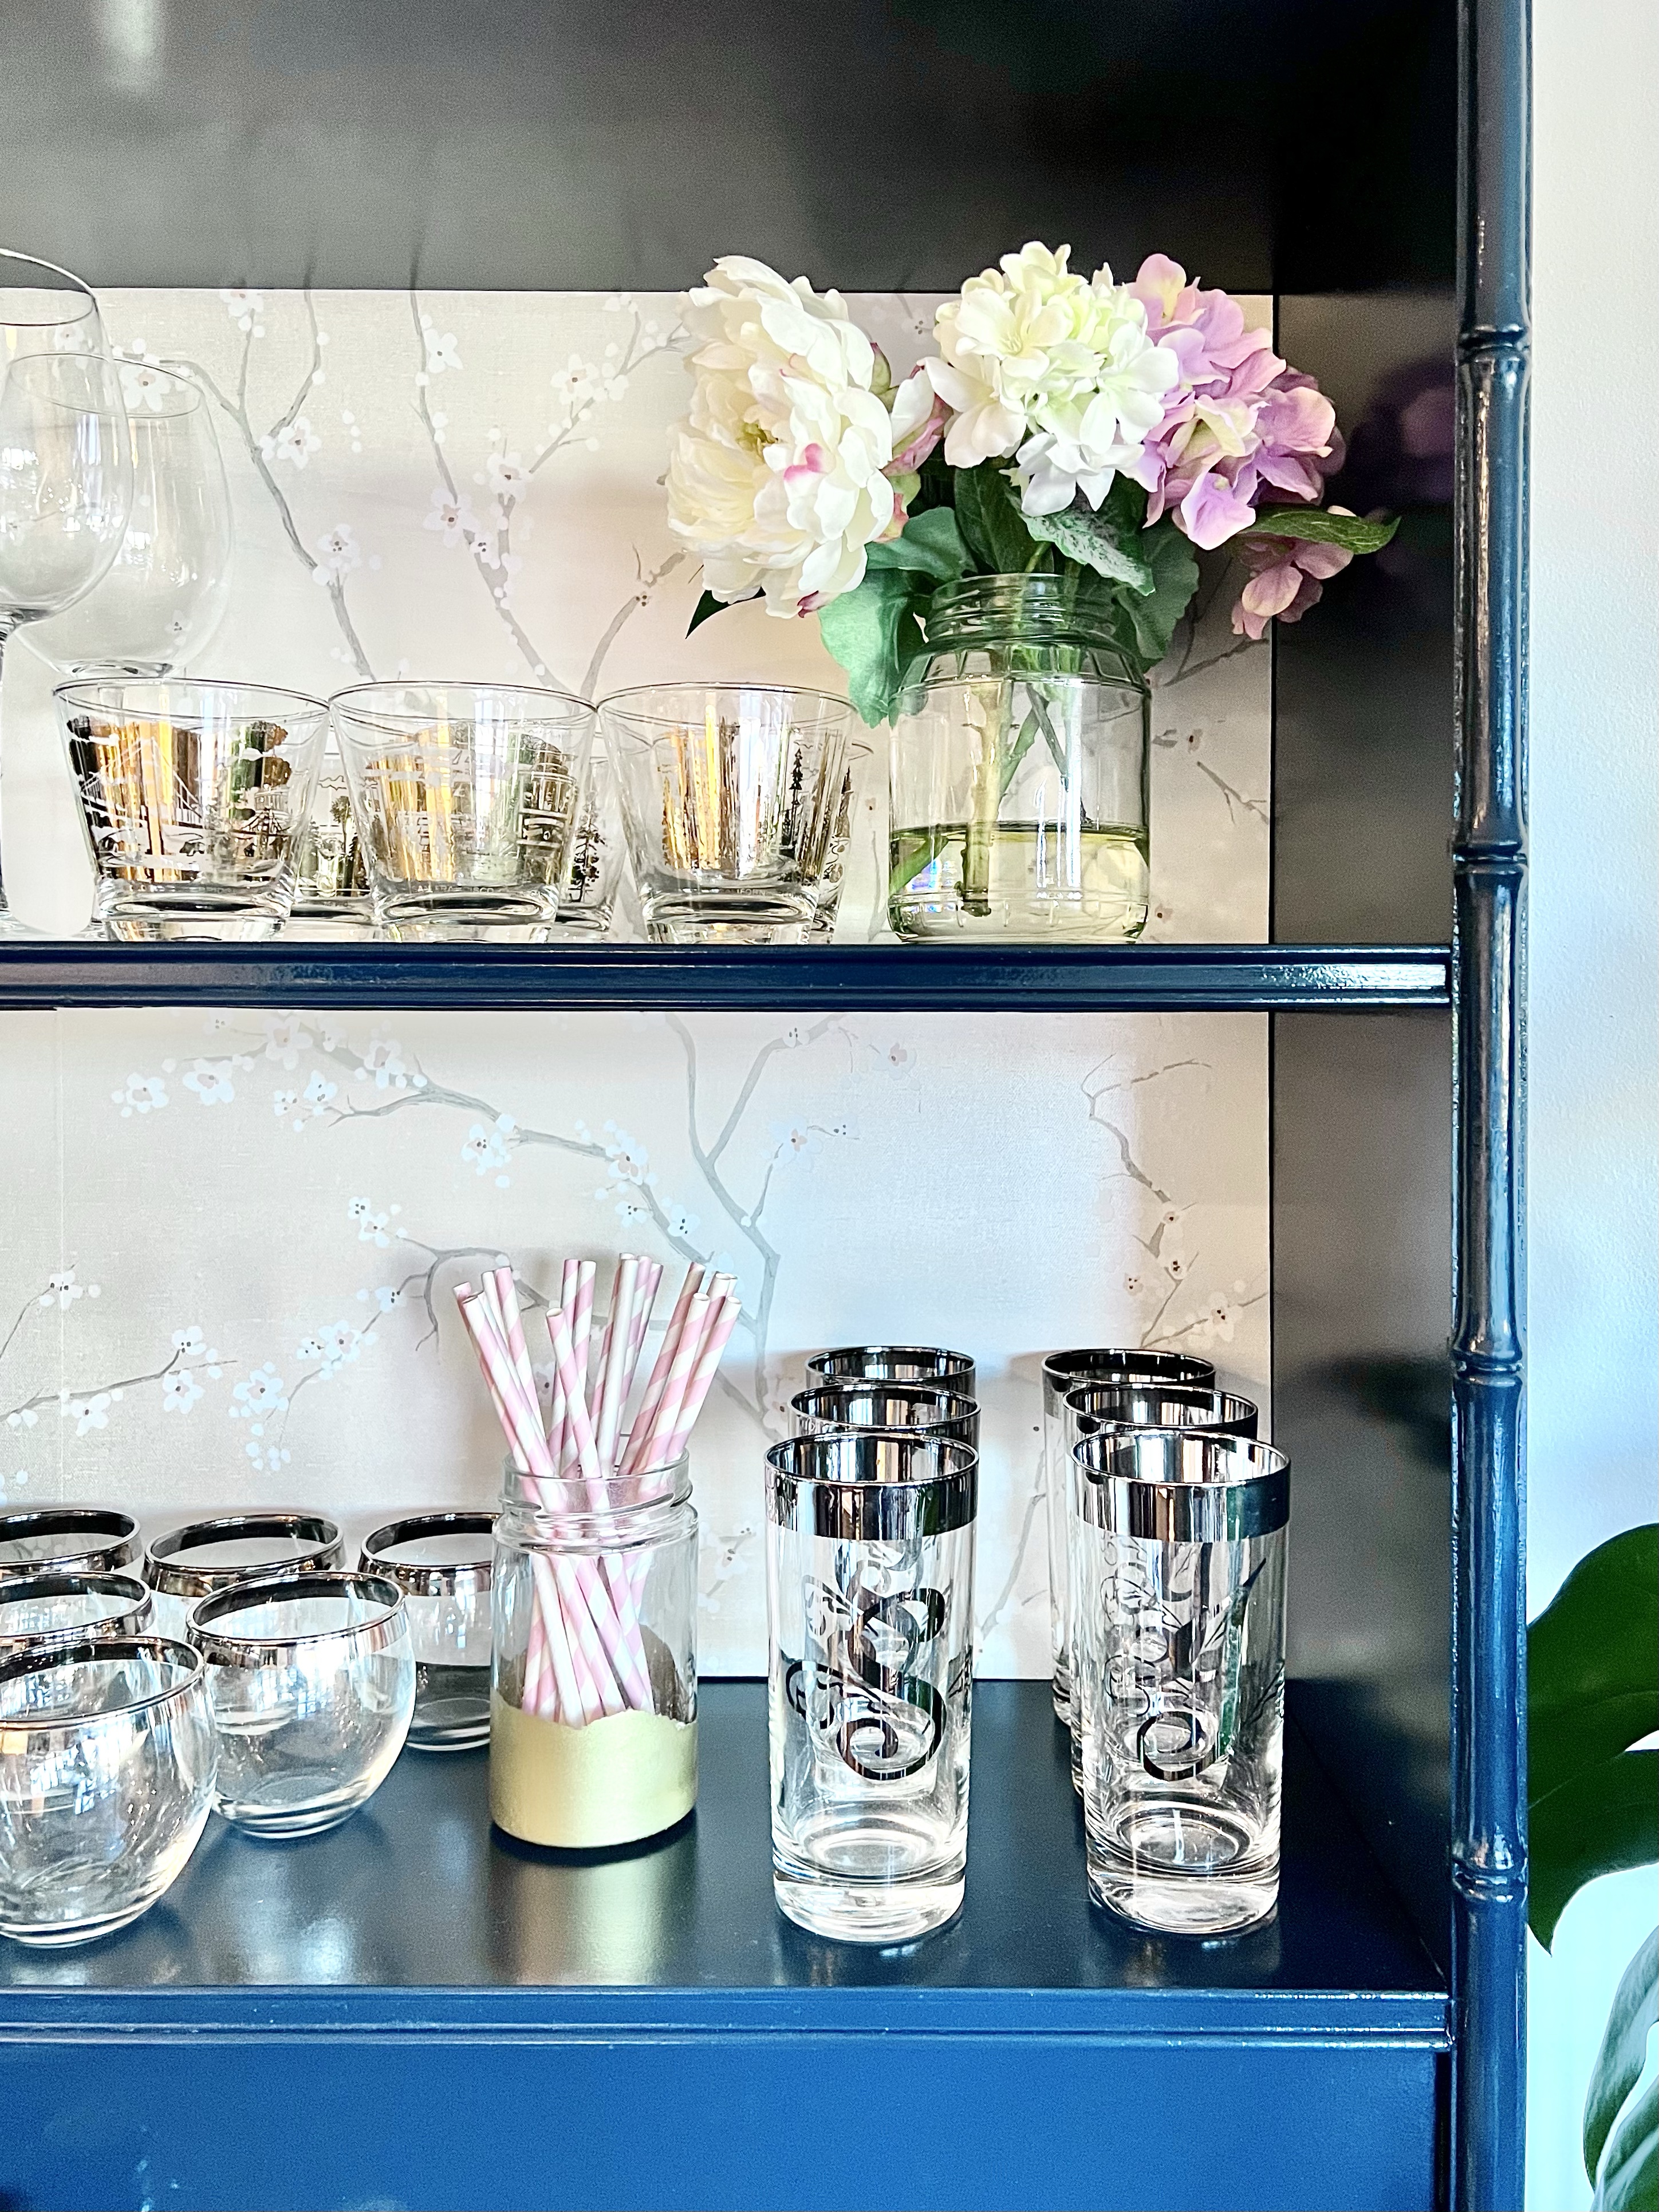
Wallpaper for the back of your hutch. This Cherry Blossom Peel and Stick wallpaper had everything I wanted – a pretty design that was subtle enough to not be too busy when the shelves were filled, and a little bit of sheen.
Hardware to attach the hutch and anti-tip hardware, especially if you live in earthquake country, like we do
Here’s how to do it:
Clean off dirt and dust
Remove hardware
If you are changing hardware, fill in the old holes and drill the new ones
Sand the surface lightly with fine grit sandpaper
Wipe with surface with deglosser such as Gloss-off or TSP
Apply the primer and let it dry thoroughly overnight
Sand lightly with 400 grit sandpaper and wipe off dust with a lint-free rag
Apply the spray lacquer – Amy Howard has some videos on YouTube with details on how to use this product. Overall, I really like it, but it is a bit finicky. Luckily, the little imperfections aren’t noticeable now that it is inside and decorated.
I let the lacquer cure for a week in the garage, and then I applied the wallpaper to the back of the bookcase
The last steps were to put the hardware back on, secure the hutch to the dresser and add anti-tip hardware to the top of the whole thing
Here are the cool details from the back of my dresser – it is 55 years young!Before and after!
This new dining room bar is the perfect place to display our collection of vintage bar glasses. I collected them back when we threw a Mad Men party, and I still love them all!
The days off for New Year’s allowed me to finish this project, so of course, I decorated for our at-home countdown to the New Year!
There is still the bed frame, a little corner desk, and some mirrors that came with the bedroom set. It was a silly indulgence to bring them all home, but I still hope to find a home for them some day somewhere!