I’m always amazed at how easy it is to beautify a bookcase by decorating the back. There are lots of great examples out there of using paint, wallpaper, wrapping paper, or fabric.
In my most recent project, I wanted to add some color and personality to our baby/ toddler’s room. I was thinking of a solid red background for his shelves, but then I lucked out and stumbled upon this fun graphic paper from nineteenseventythree.com. At four dollars a sheet, I was able to cover the entire back of the bookcase for twenty dollars and have some gorgeous paper leftover for cardmaking or another art project. The company is based in Britain, but I found the paper at a local store, Lavish, in Hayes Valley.

Graphic red and white wrapping paper lining a nursery bookcase.
For our first’s nursery, I spray-painted the backs of old white Ikea bookcases with blue, masking off some white “stripes” with painter’s tape, and I loved that effect, too. I was able to take the back piece off to paint, which made it a lot easier. I never took a picture of the furniture specifically, so you will have to make do with a baby pic and the shelf in the background.

Blue and white stripes painted on back of nursery bookcase.
I think the nursery projects were my favorite results, but I’ve also experimented downstairs with our living room and kitchen storage. I went through a die-hard Arts and Crafts phase, when we bought a lot of very heavy wood pieces in that style. I still love these bookcases for their classic look and incredible quality, but I wanted to brighten them up for our current decor. I chose Imperial Trellis wallpaper in Silver by Schumacher for its gorgeous classic pattern and the glow of the silver. It’s pricey, but you need so little for a project like this that I bought a single (well, it comes as double, though you can find it sold as a single with a cutting fee) roll for this project and one wall in our powder room, and I will still have some left over. I have to say that the effect was not as dramatic as I hoped, because they are still very dark and heavy, but I think it’s a move in the right direction, and I couldn’t bear to paint or alter the shelves in any other way.

Imperial trellis wallpaper in silver. (The bookcase styling needs some more work.)
Finally, I also applied some fabric to the back of some glass-front shelves in our kitchen. I got the idea, because I felt that our white bowls, cups, etc. were just “disappearing” visually in the white cabinets, so I wanted to add some color for a backdrop. It was a quick fix using fabric scraps from another project, but I think it’s an improvement!

Green print fabric lining display cabinet in the kitchen.
Mounting tip: In the past, I have used 3M mounting strips of various kinds for attaching fabric or paper to the back of a bookshelf. With the wrapping paper project, I was eager to get started and didn’t have time to run to the store, so I just used blue painter’s tape, and it worked fine. Since the wallpaper came in small sheets, I also used tape on the back to join the pieces as I applied them. If you are using a heavier material – such as fabric or wallpaper – or a material that you want to preserve, the 3M strips are stronger and photo-safe (not that these are photos, but I assume that means they are not acidic, etc.). I definitely wanted the photo-safe for mounting on our Arts and Crafts style bookcases, for example. However, the blue painter’s tape is an easy and inexpensive tool, if you’re in a hurry and hanging something light and not-too-valuable.
More favorite papers:
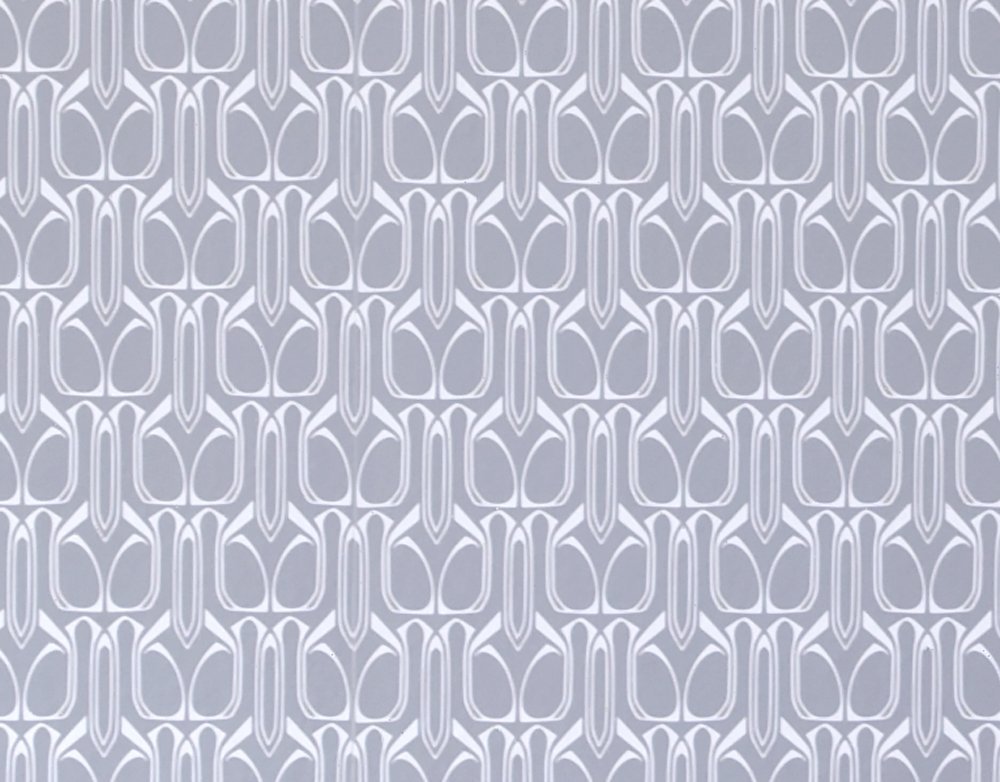
Tempaper Self-Adhesive Gio Temporary Wallpaper in Silver
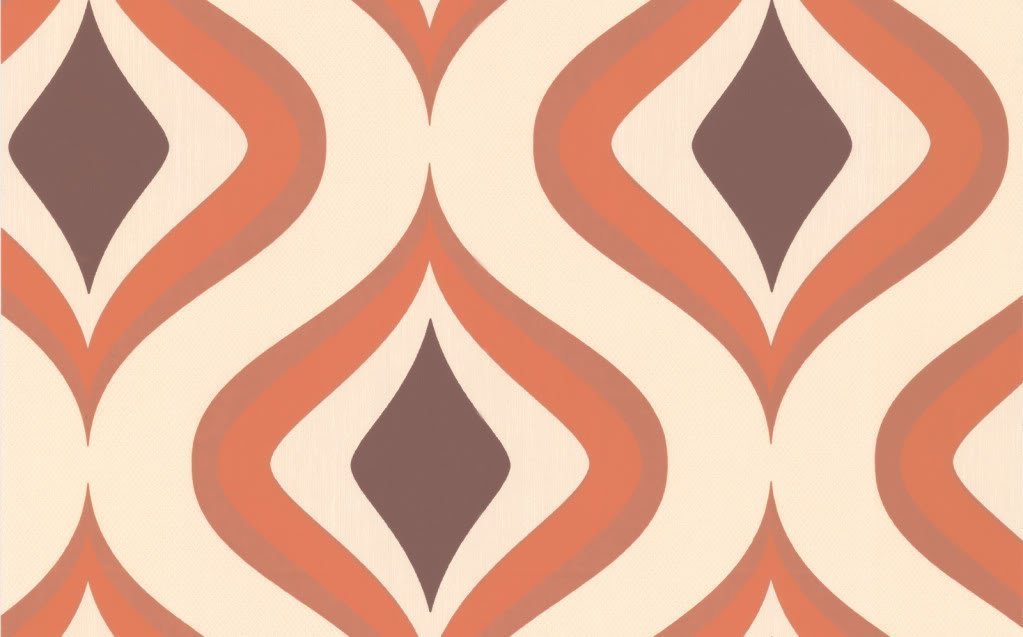
Graham & Brown Trippy Wallpaper in Orange

York Wallcoverings Silhouettes Fretwork Trellis Wallpaper, Mint Green/White
Hope you enjoy making your furniture look outside-the-box by decorating inside it!
“Jewels”
This post is shared at:


