I’ve been decorating our new bedroom addition for this spring’s One Room Challenge. It’s a small room, so I used a lot of creative tips to make the most of the space! Here’s a round-up of the strategies to help … Continue reading
I’ve been decorating our new bedroom addition for this spring’s One Room Challenge. It’s a small room, so I used a lot of creative tips to make the most of the space! Here’s a round-up of the strategies to help … Continue reading

The Spring One Room Challenge has been just the motivation I need to decorate our bedroom addition! And the most important project is, of course, the bed! I love customizing furniture – remember my DIY built-in shelves or the DIY … Continue reading
I’ll call this week to be the “telephone hold music” of the One Room Challenge – I am excited to share our new bathroom. I can take credit for the design, but not the construction. There’s also a small DIY project in there! In the meantime, I promise I am working away on other projects for decorating our new bedroom addition, including a custom daybed.
As a reminder, this season’s project is a bedroom and bathroom addition we built last year. It’s going to be a space for our oldest, when he’s home, and also serve as a guest room or lounge!
It’s fun to see how my vision for this room evolved. In the original “mood board,” I was going with my classic blue-and white look, but you could tell that I was already thinking about how to bring in some green.

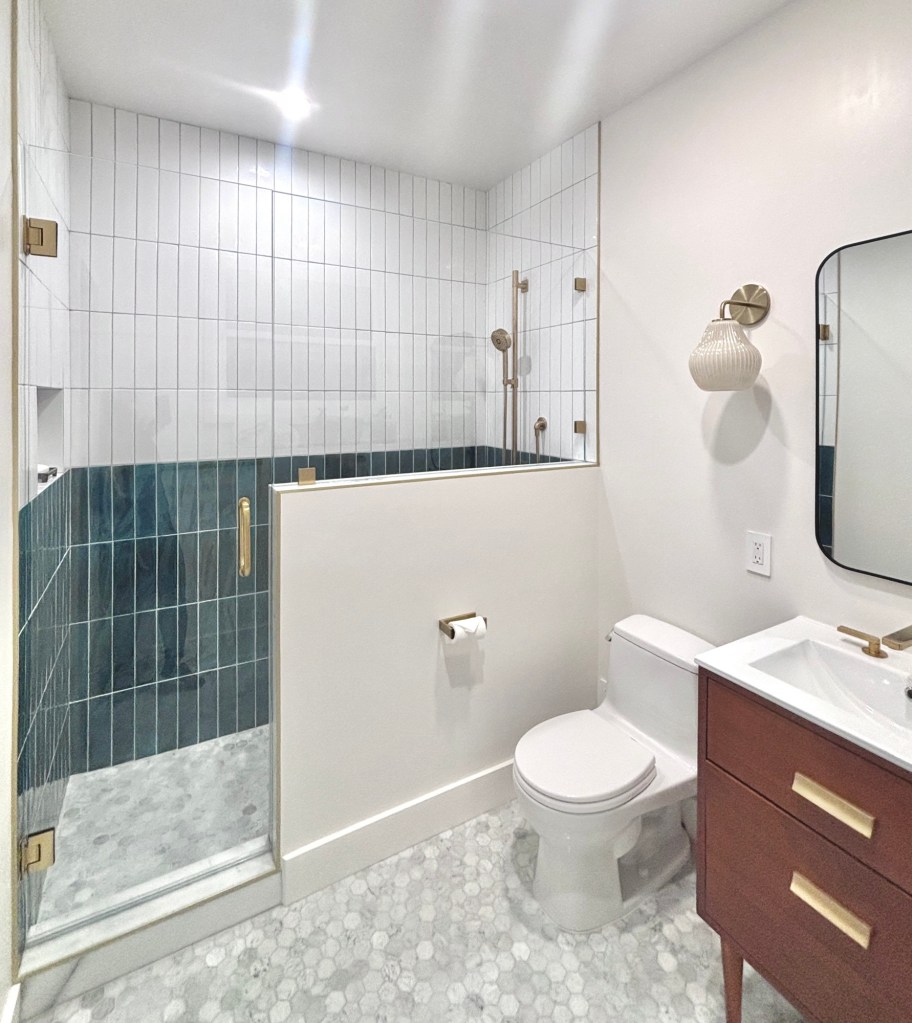
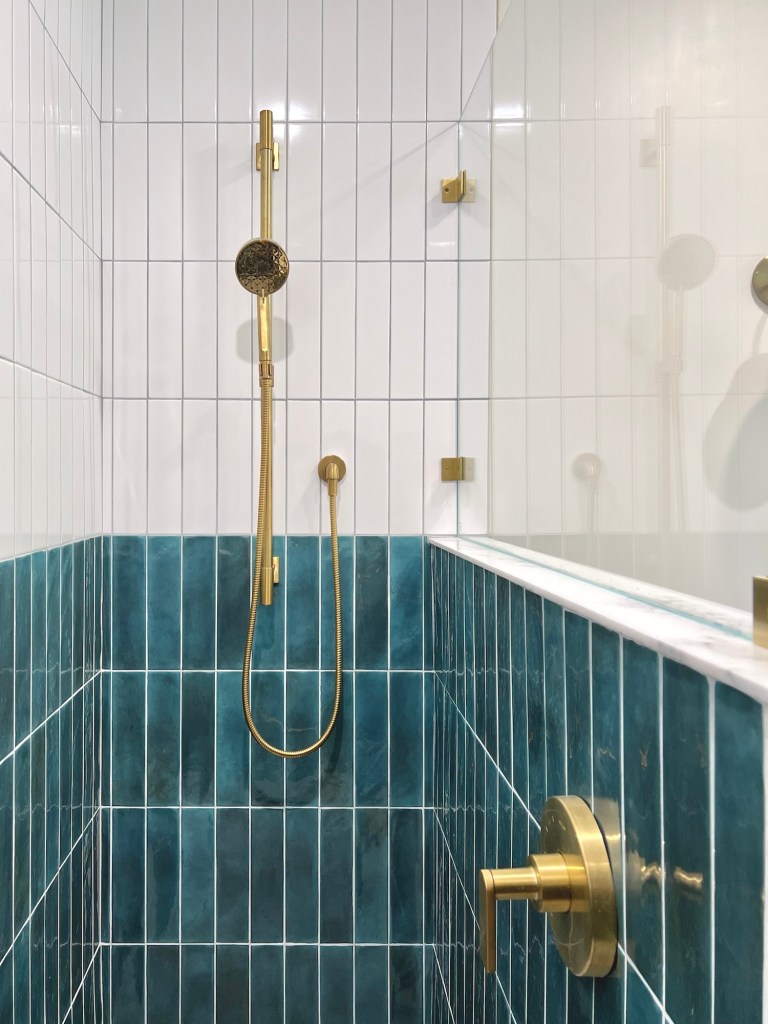
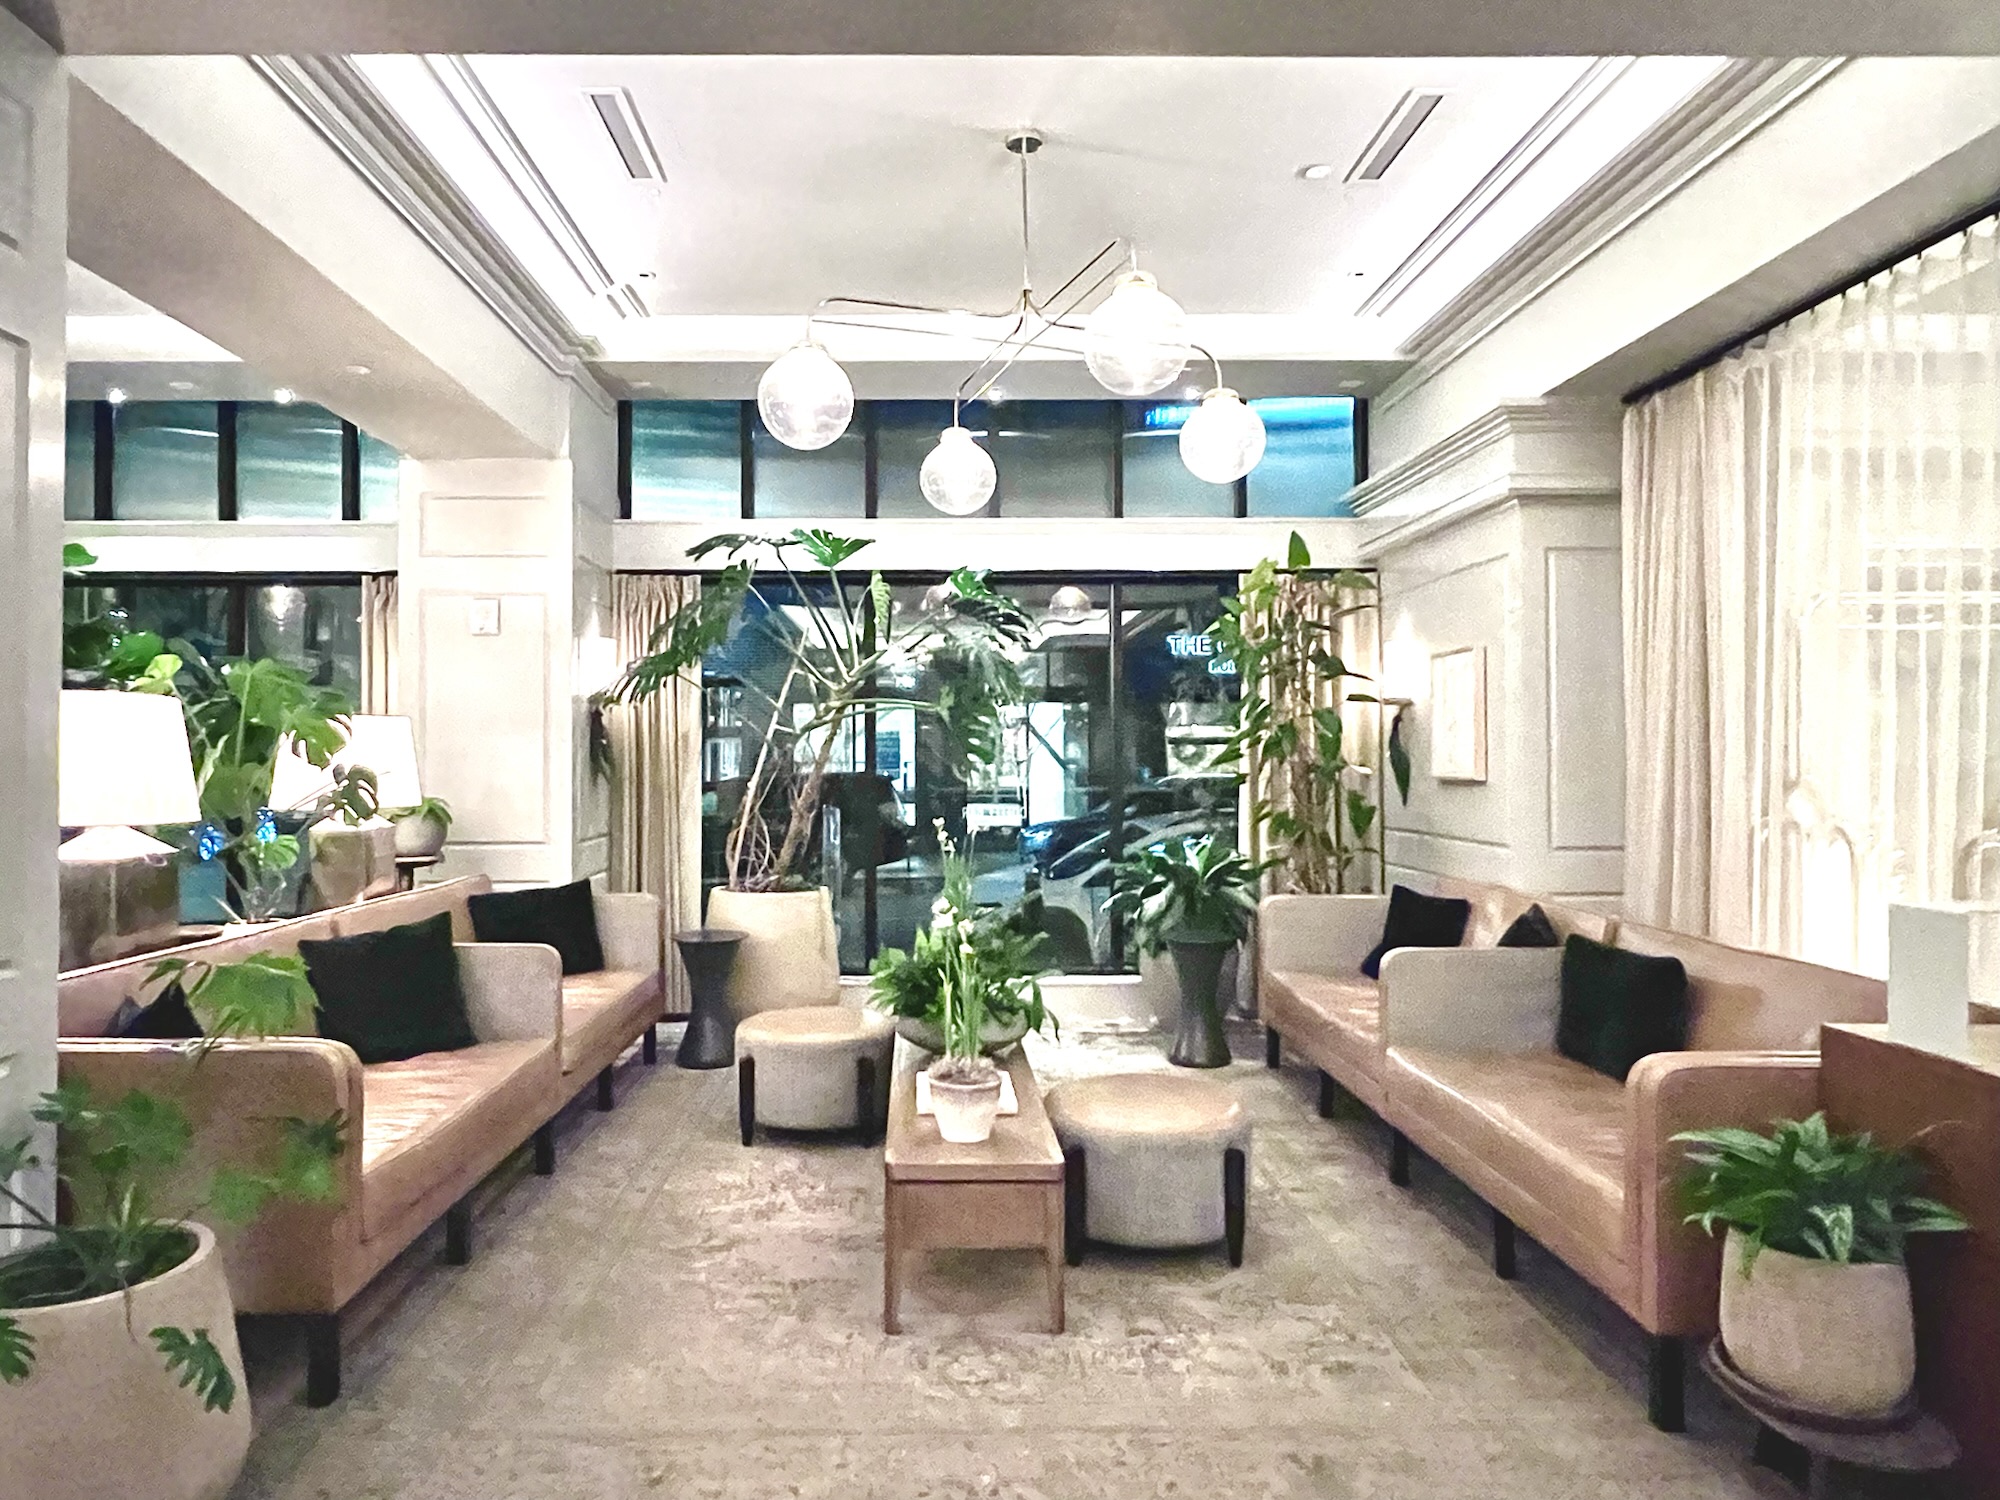
Over time, while we were waiting and waiting for building permits, my plan evolved to be more modern and more green. One of my major inspiration spaces was the Woodlark Hotel in Portland, where we enjoyed a stay a few years ago. From that space (left picture below). I was inspired by the elongated subway tile, stacked vertically, the mix of white and dark green tile, and a mix of black metal and antique brass. This led to my final design (right picture below):


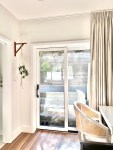
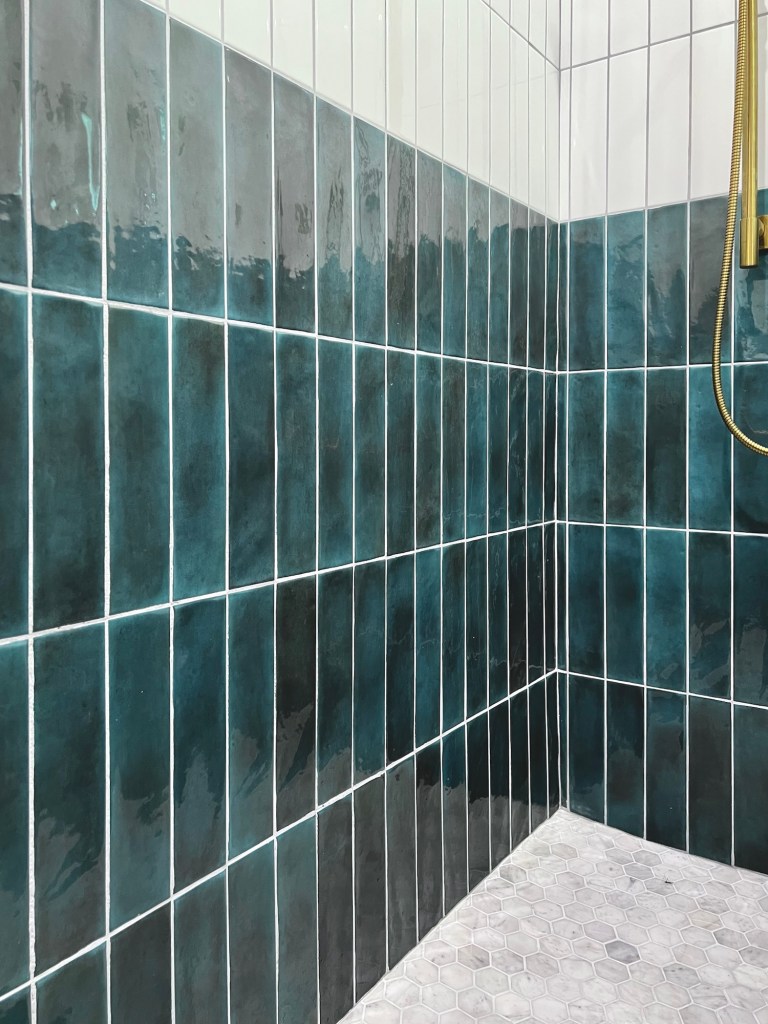
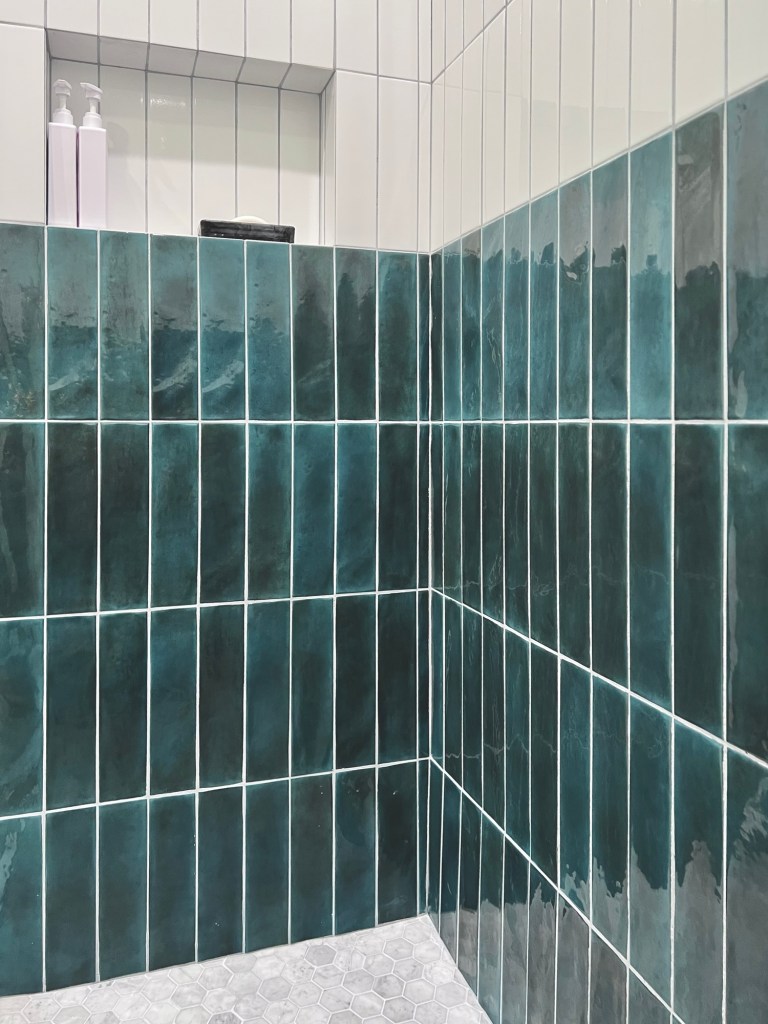
And here’s how the room turned out!

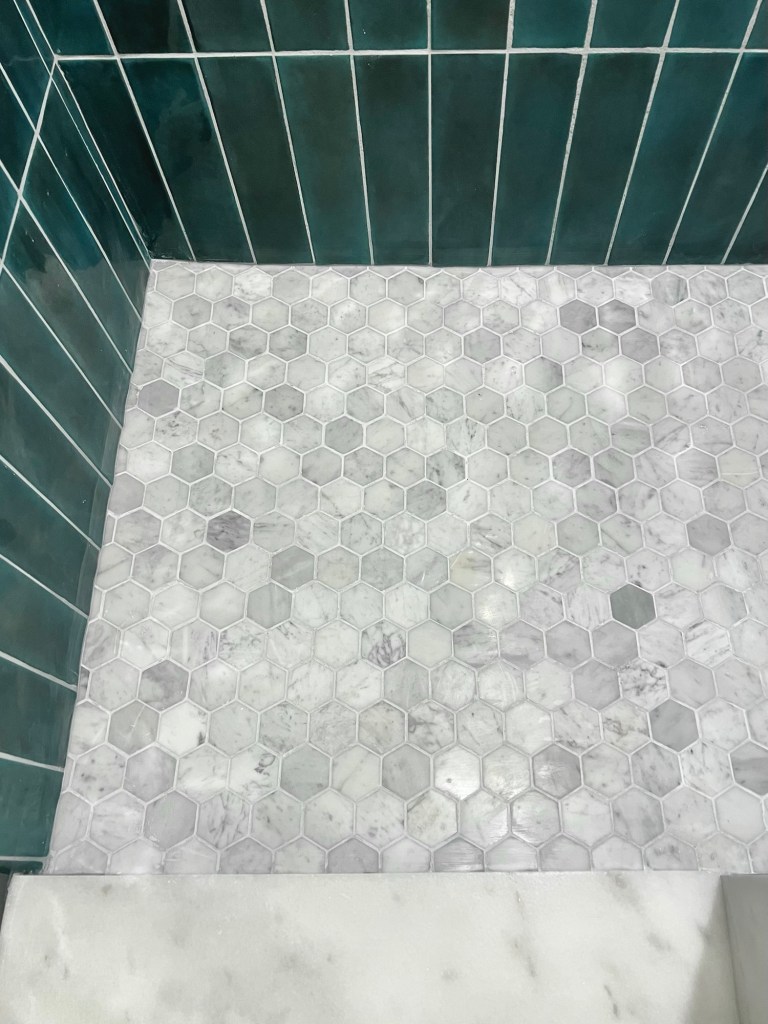
This tile combination makes me so happy!


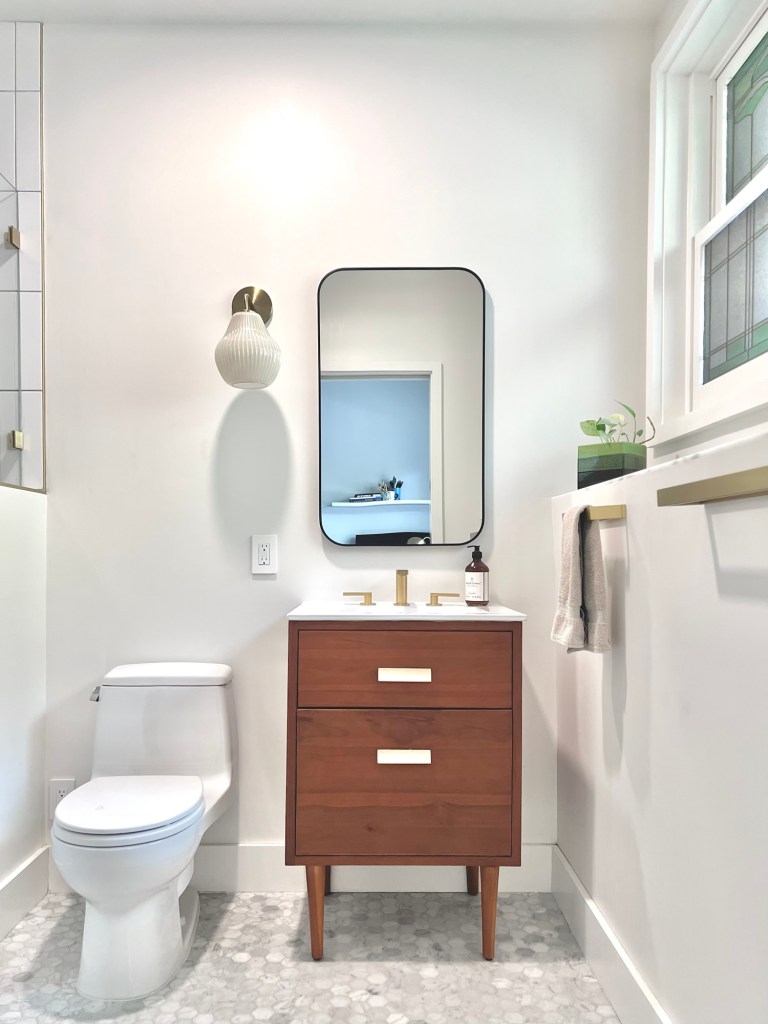
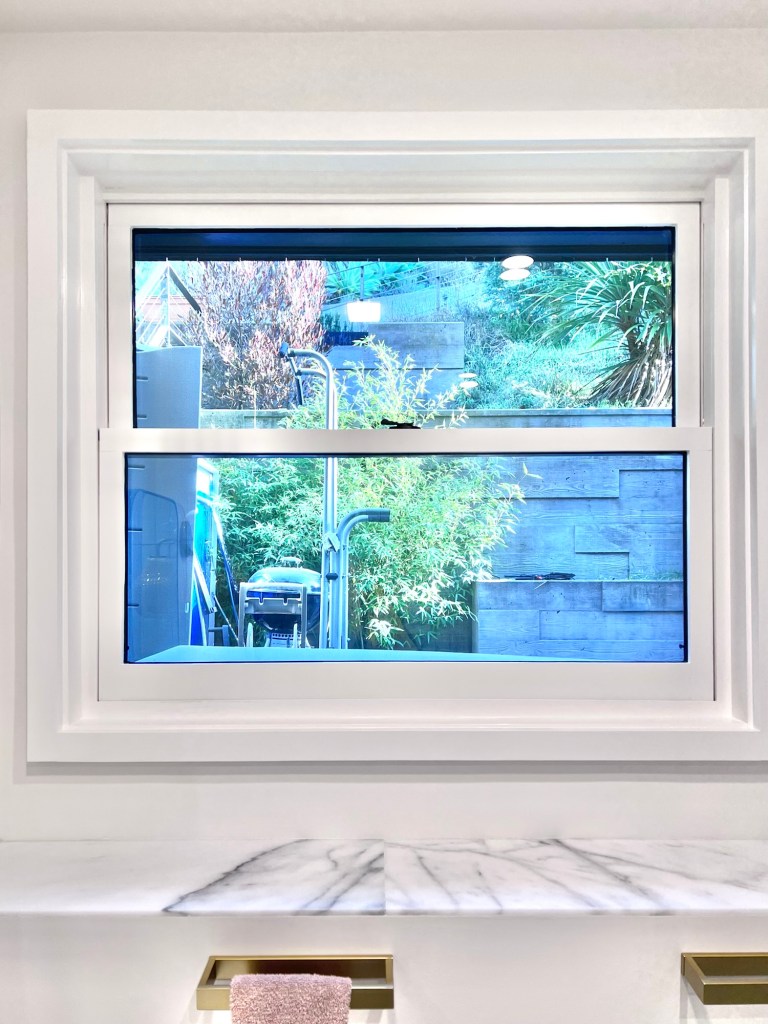
While I left the bathroom construction to our contractor, I did add a DIY touch with the window glass film. There are so many options for window film, so you can have fun browsing for your own favorite. The one that spoke to me for our space is the gingko-themed stained glass from Asgerart on Etsy. It was easy to apply and adds style and much-needed privacy to our little bathroom! To fit our windows, I used two panels side-by-side.


Hope to show you more progress in the bedroom soon! In the meantime, you can see all the other fun room transformations on the One Room Challenge website!
Julie AKA “Jewels”
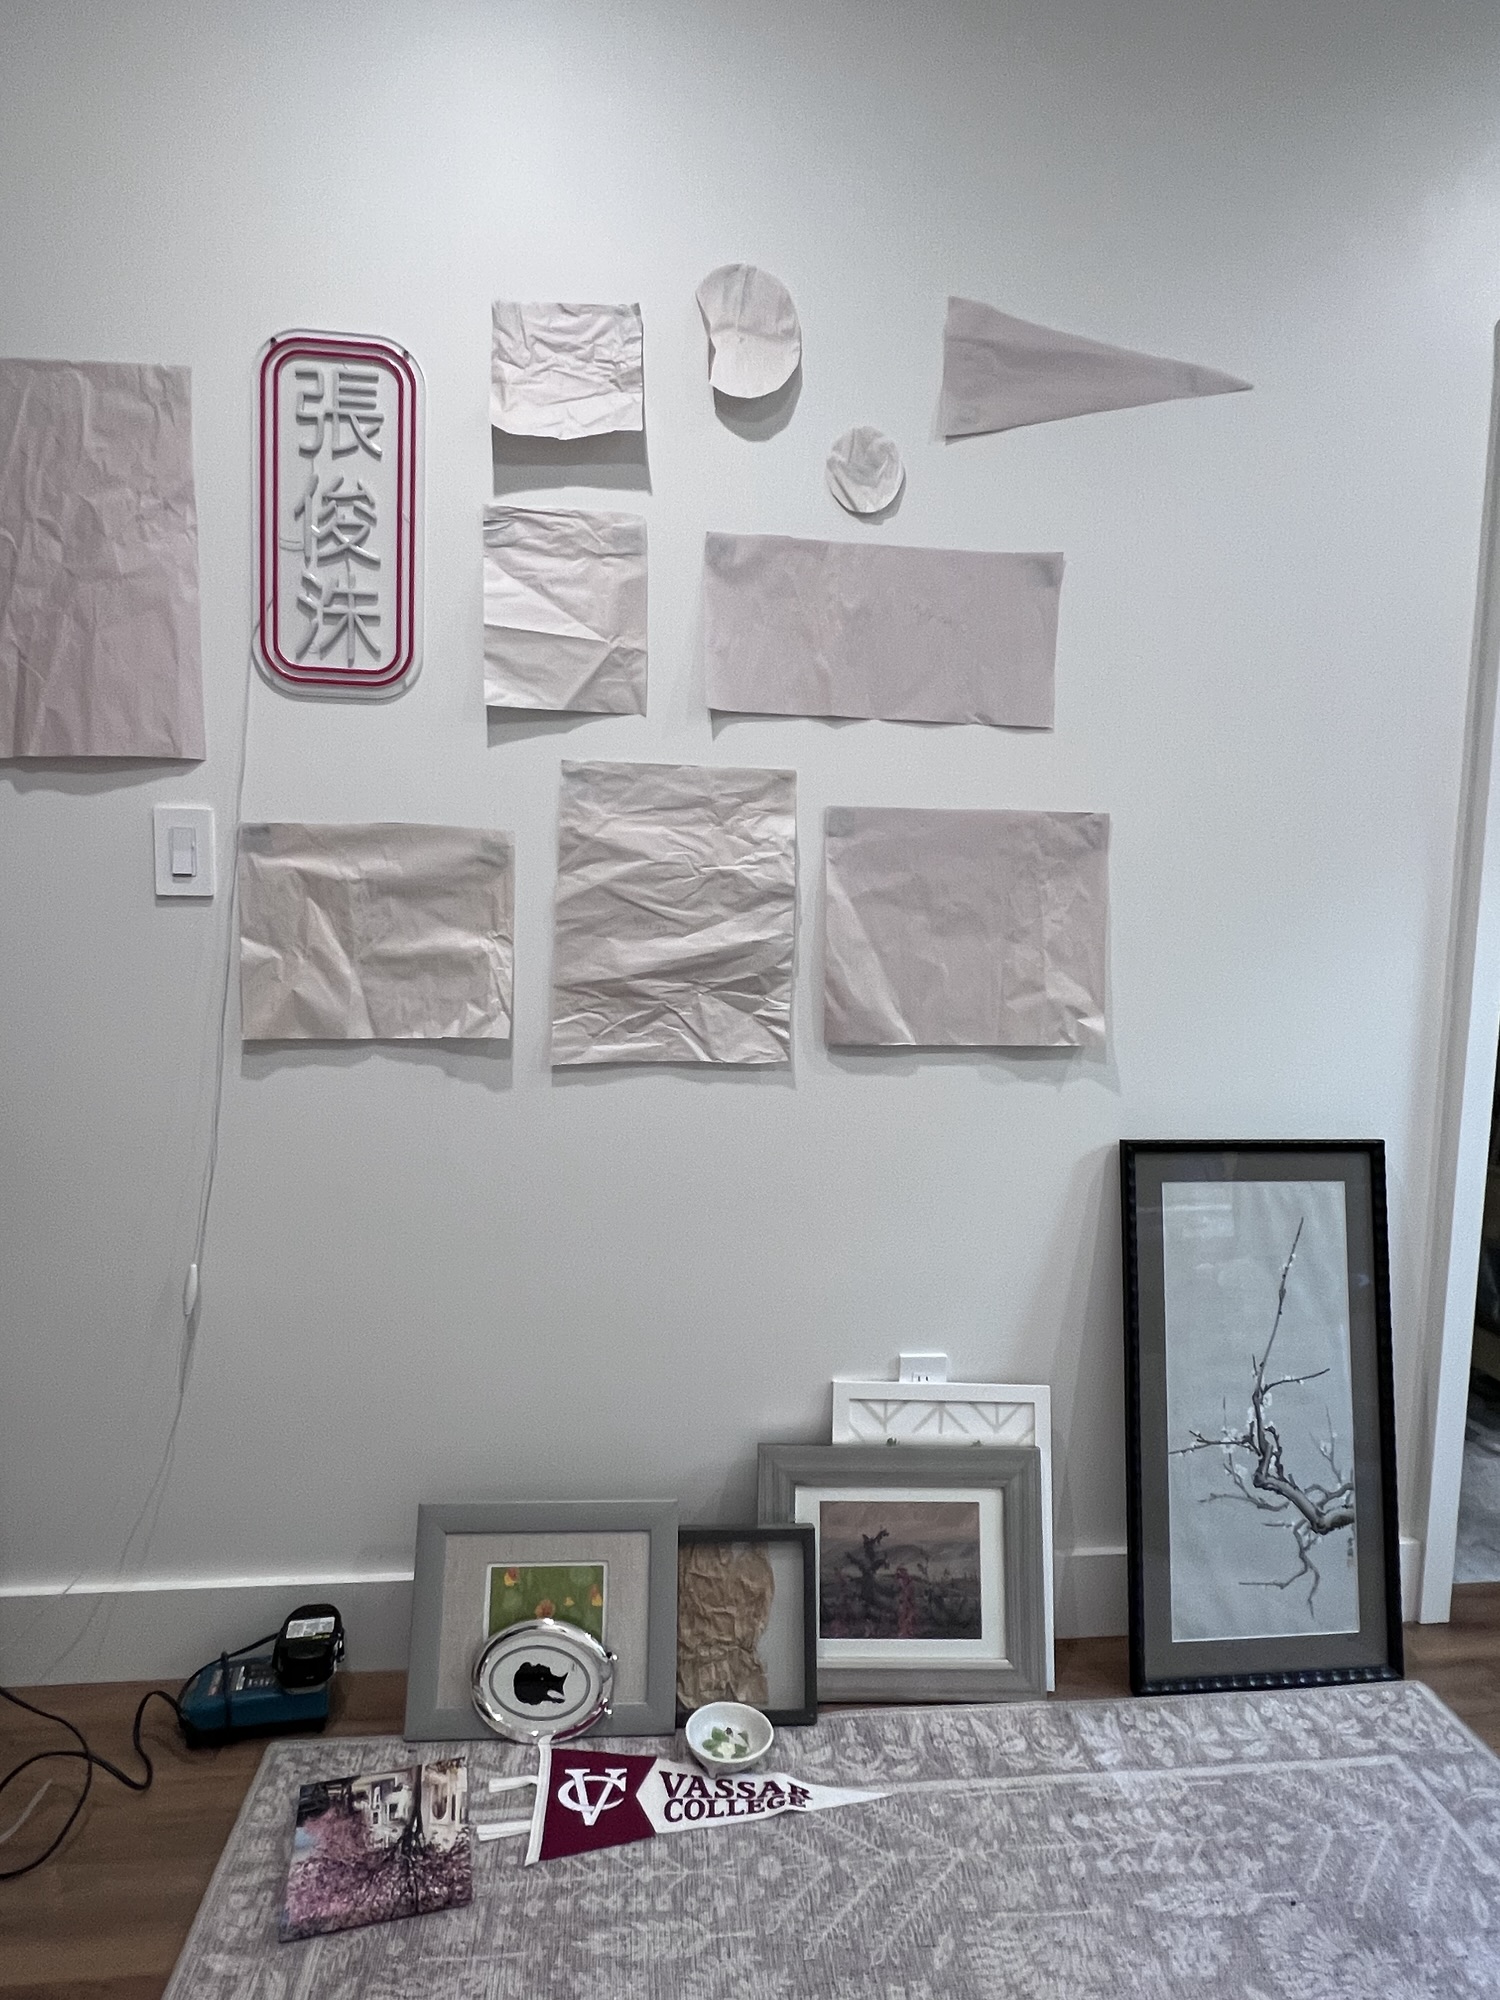
I seriously love the One Room Challenge. It’s just the motivation I need to finish off projects. I’ve been puttering away preparing the gallery wall in our new bedroom, and with this week’s progress update launching, I got the energy to finish hanging everything after work today!
As a reminder, this room is bedroom addition we built last year. It’s going to be a room for our oldest, when he’s home, and also serve as a guest room or lounge! It’s a petite space, but I had big plans for this wall, and I really feel like it opens up the room!
If you are looking for tips for your own gallery wall, here are some ideas to consider:
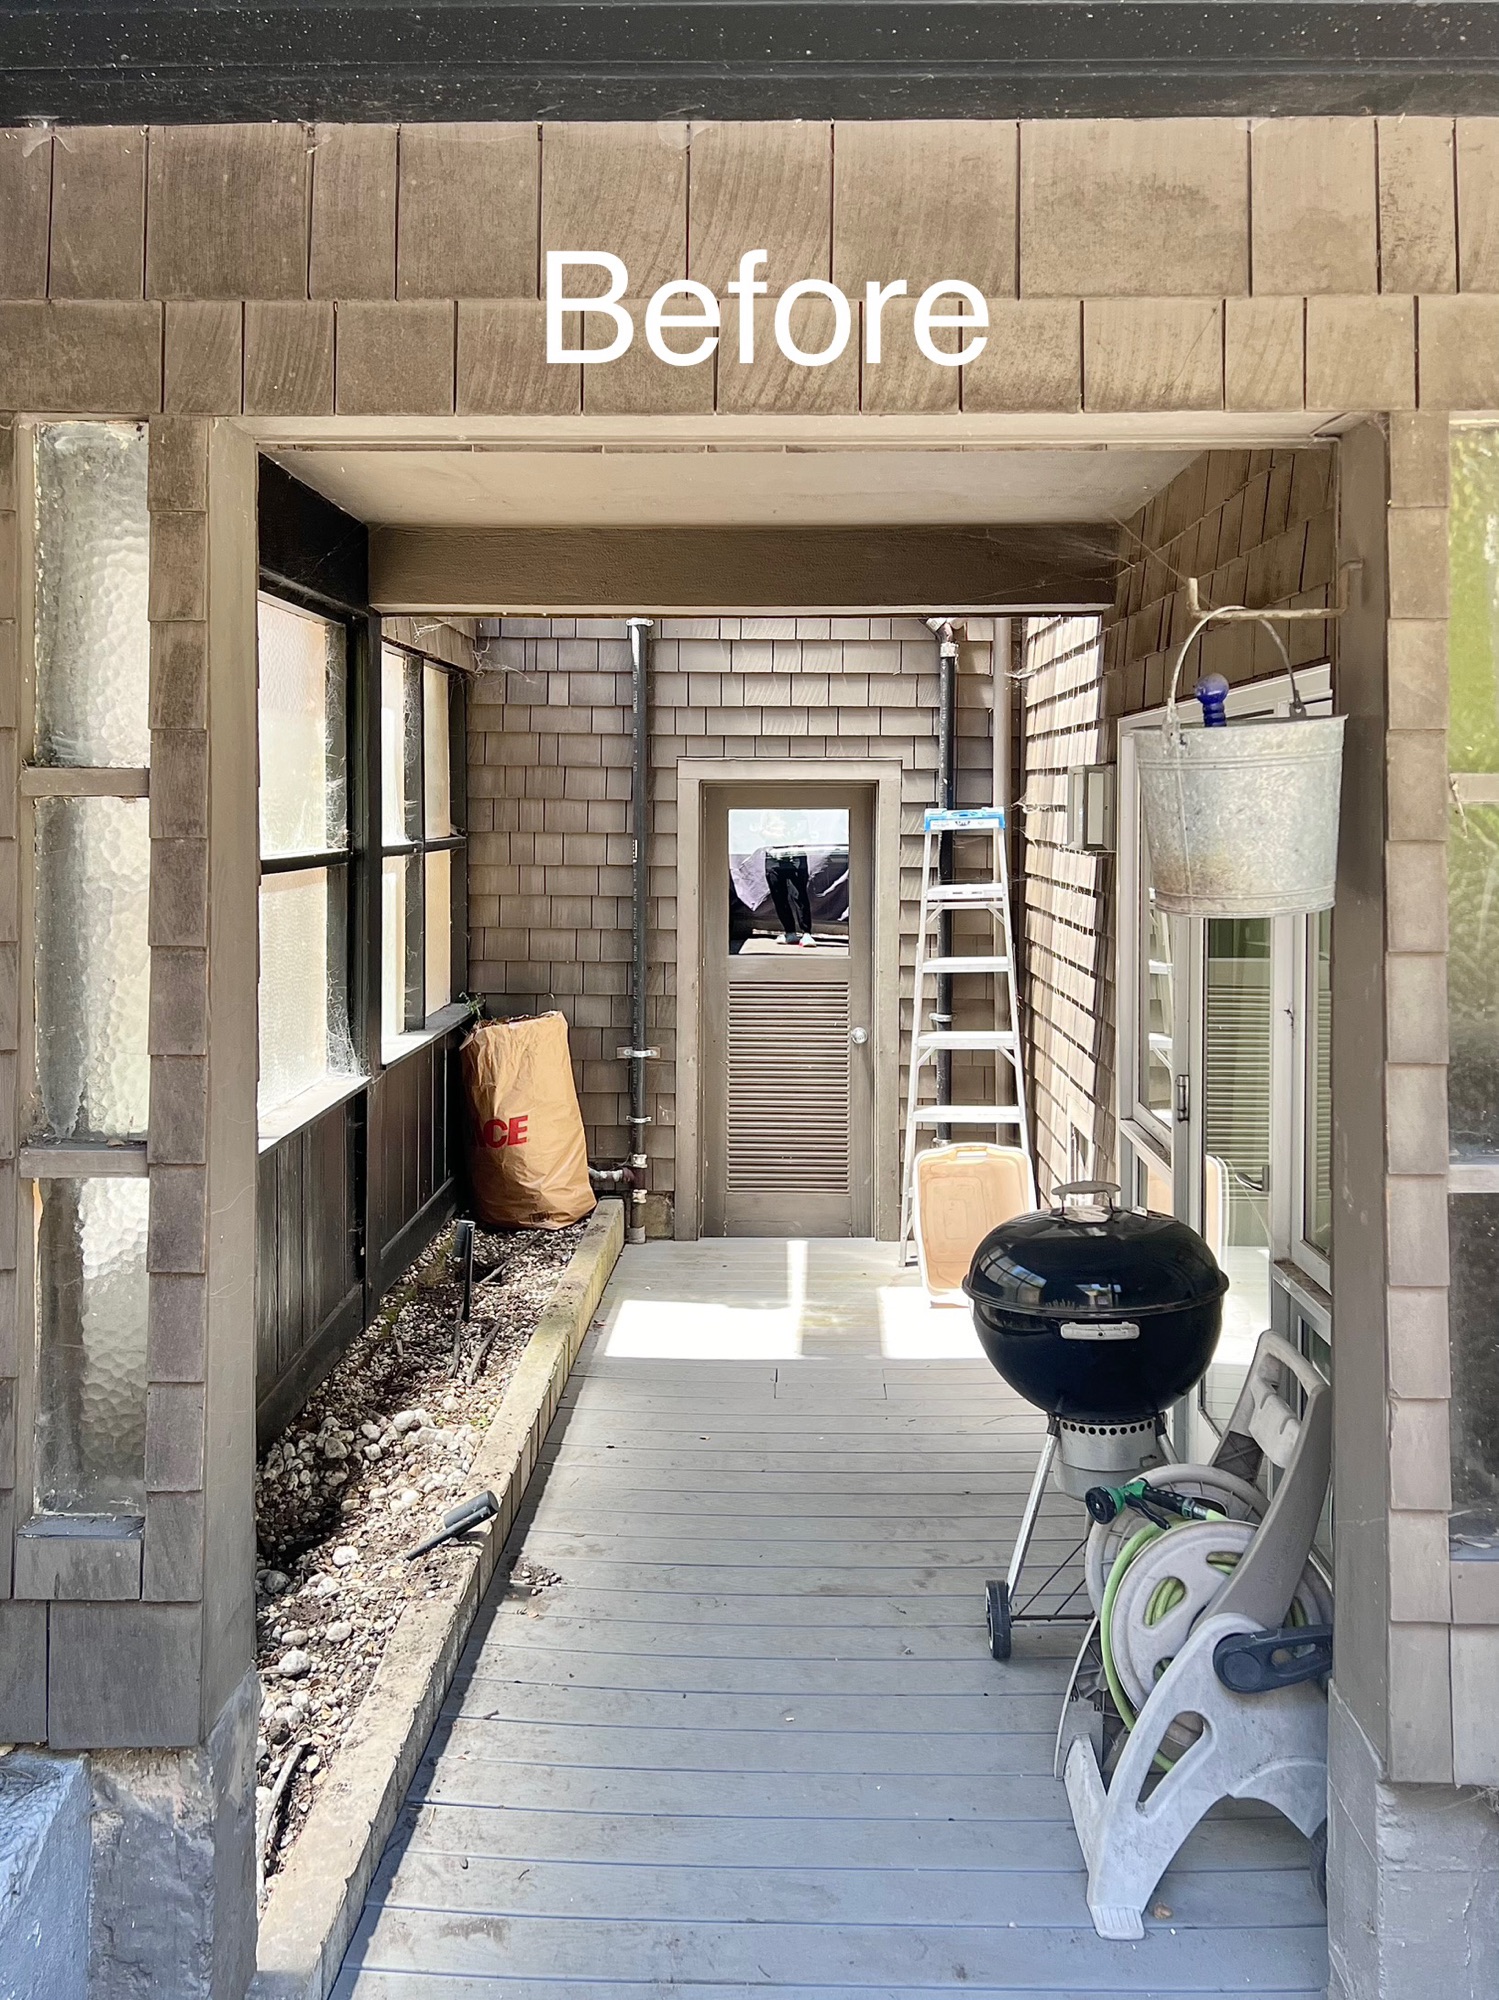
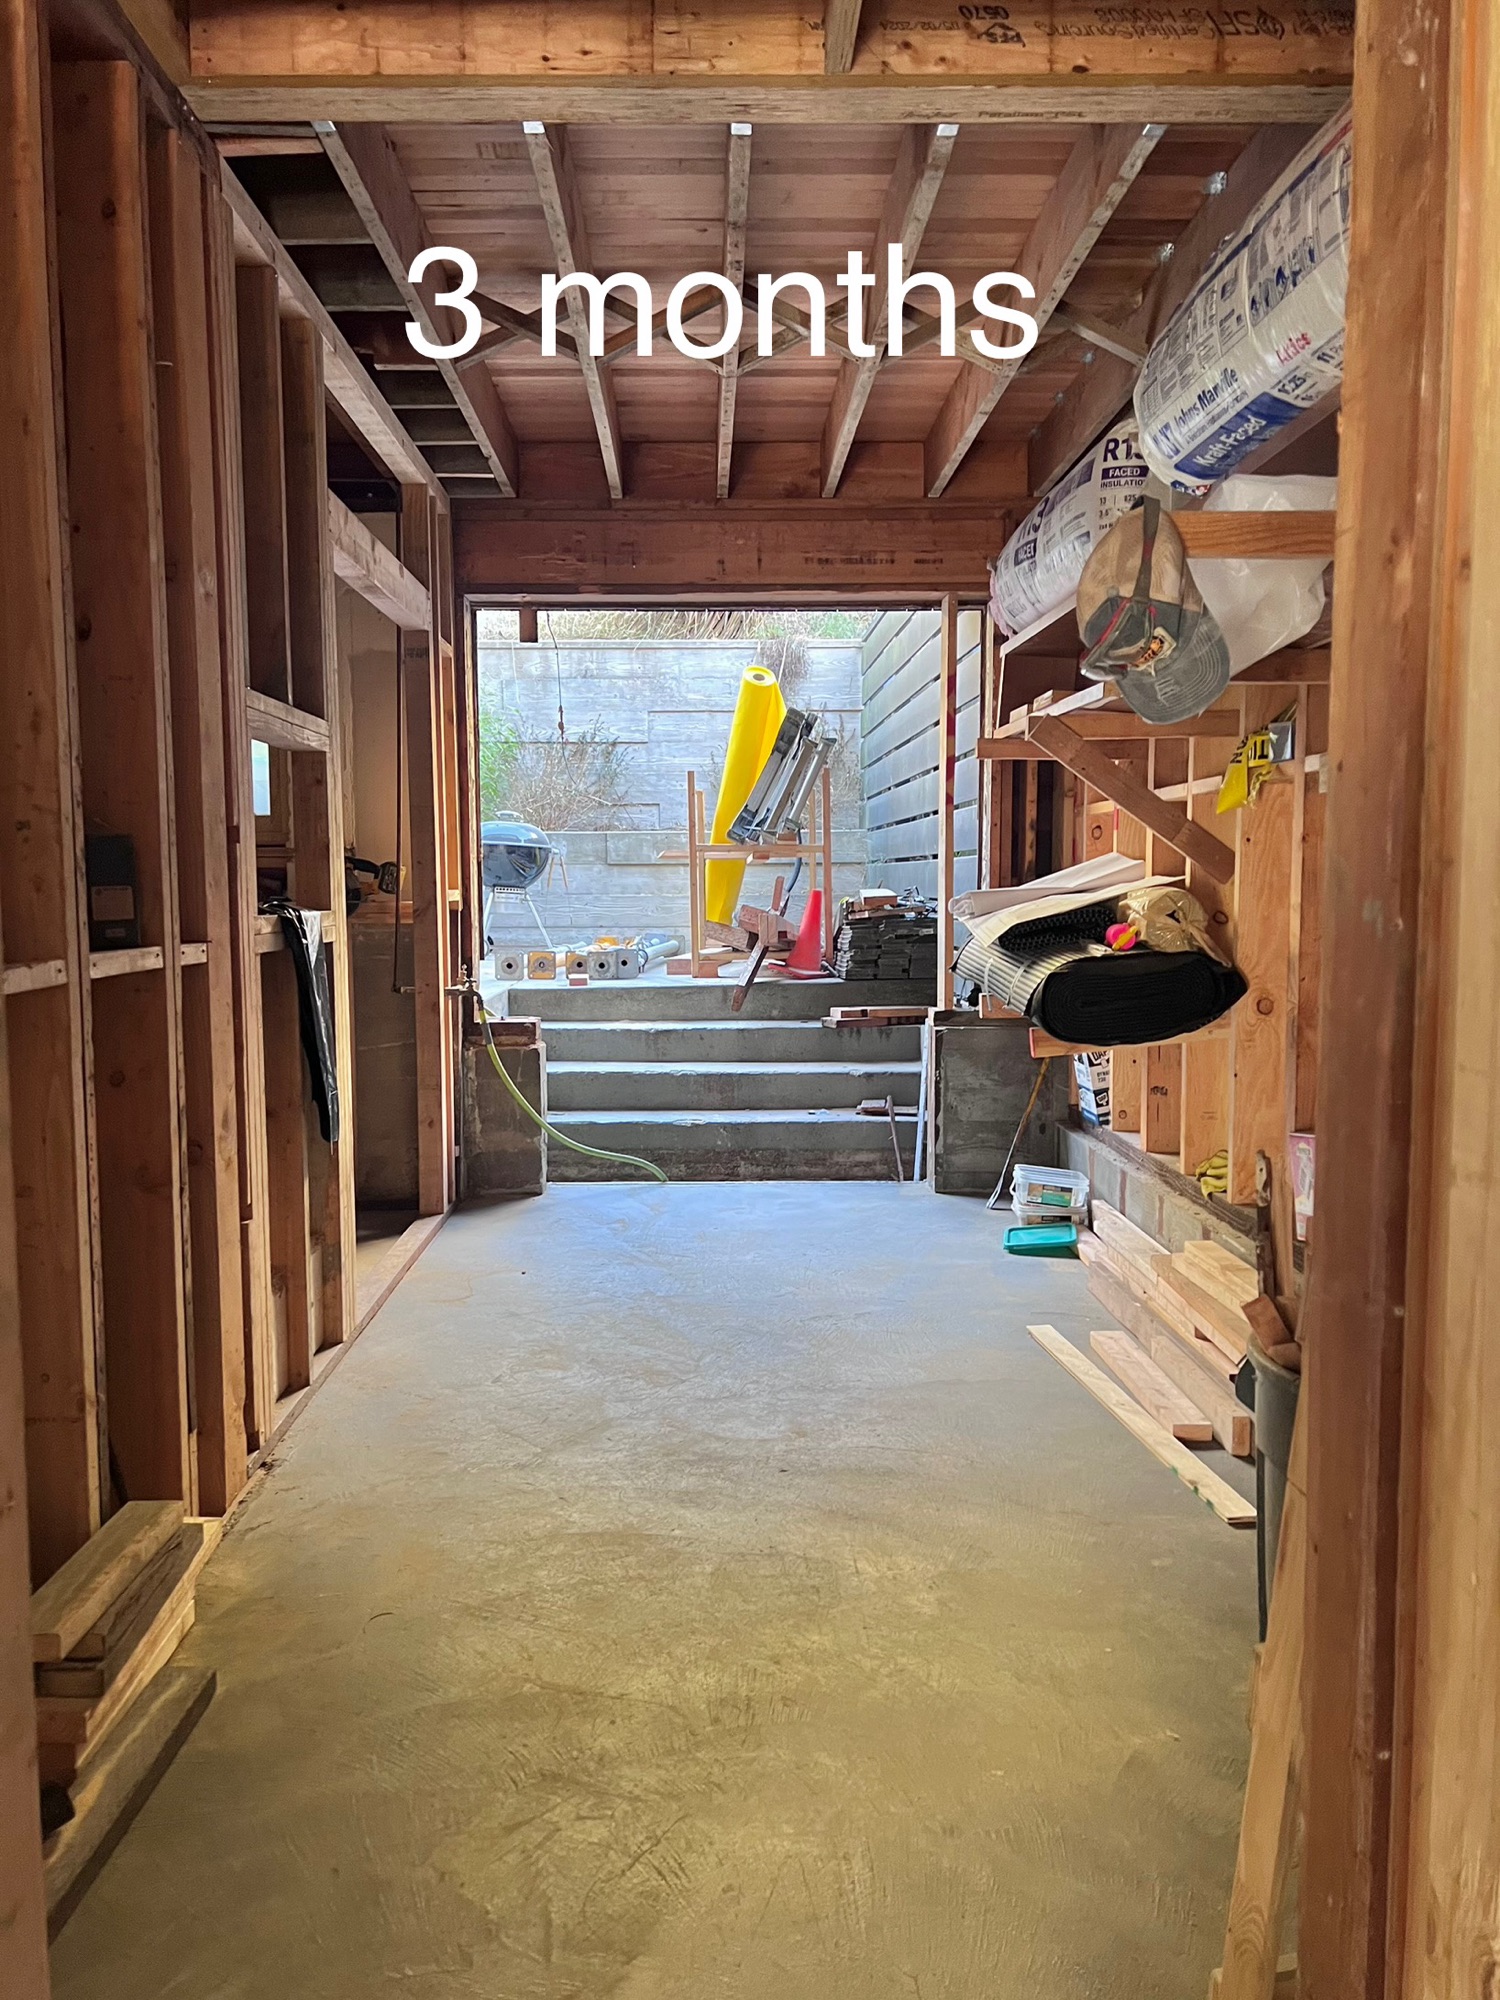
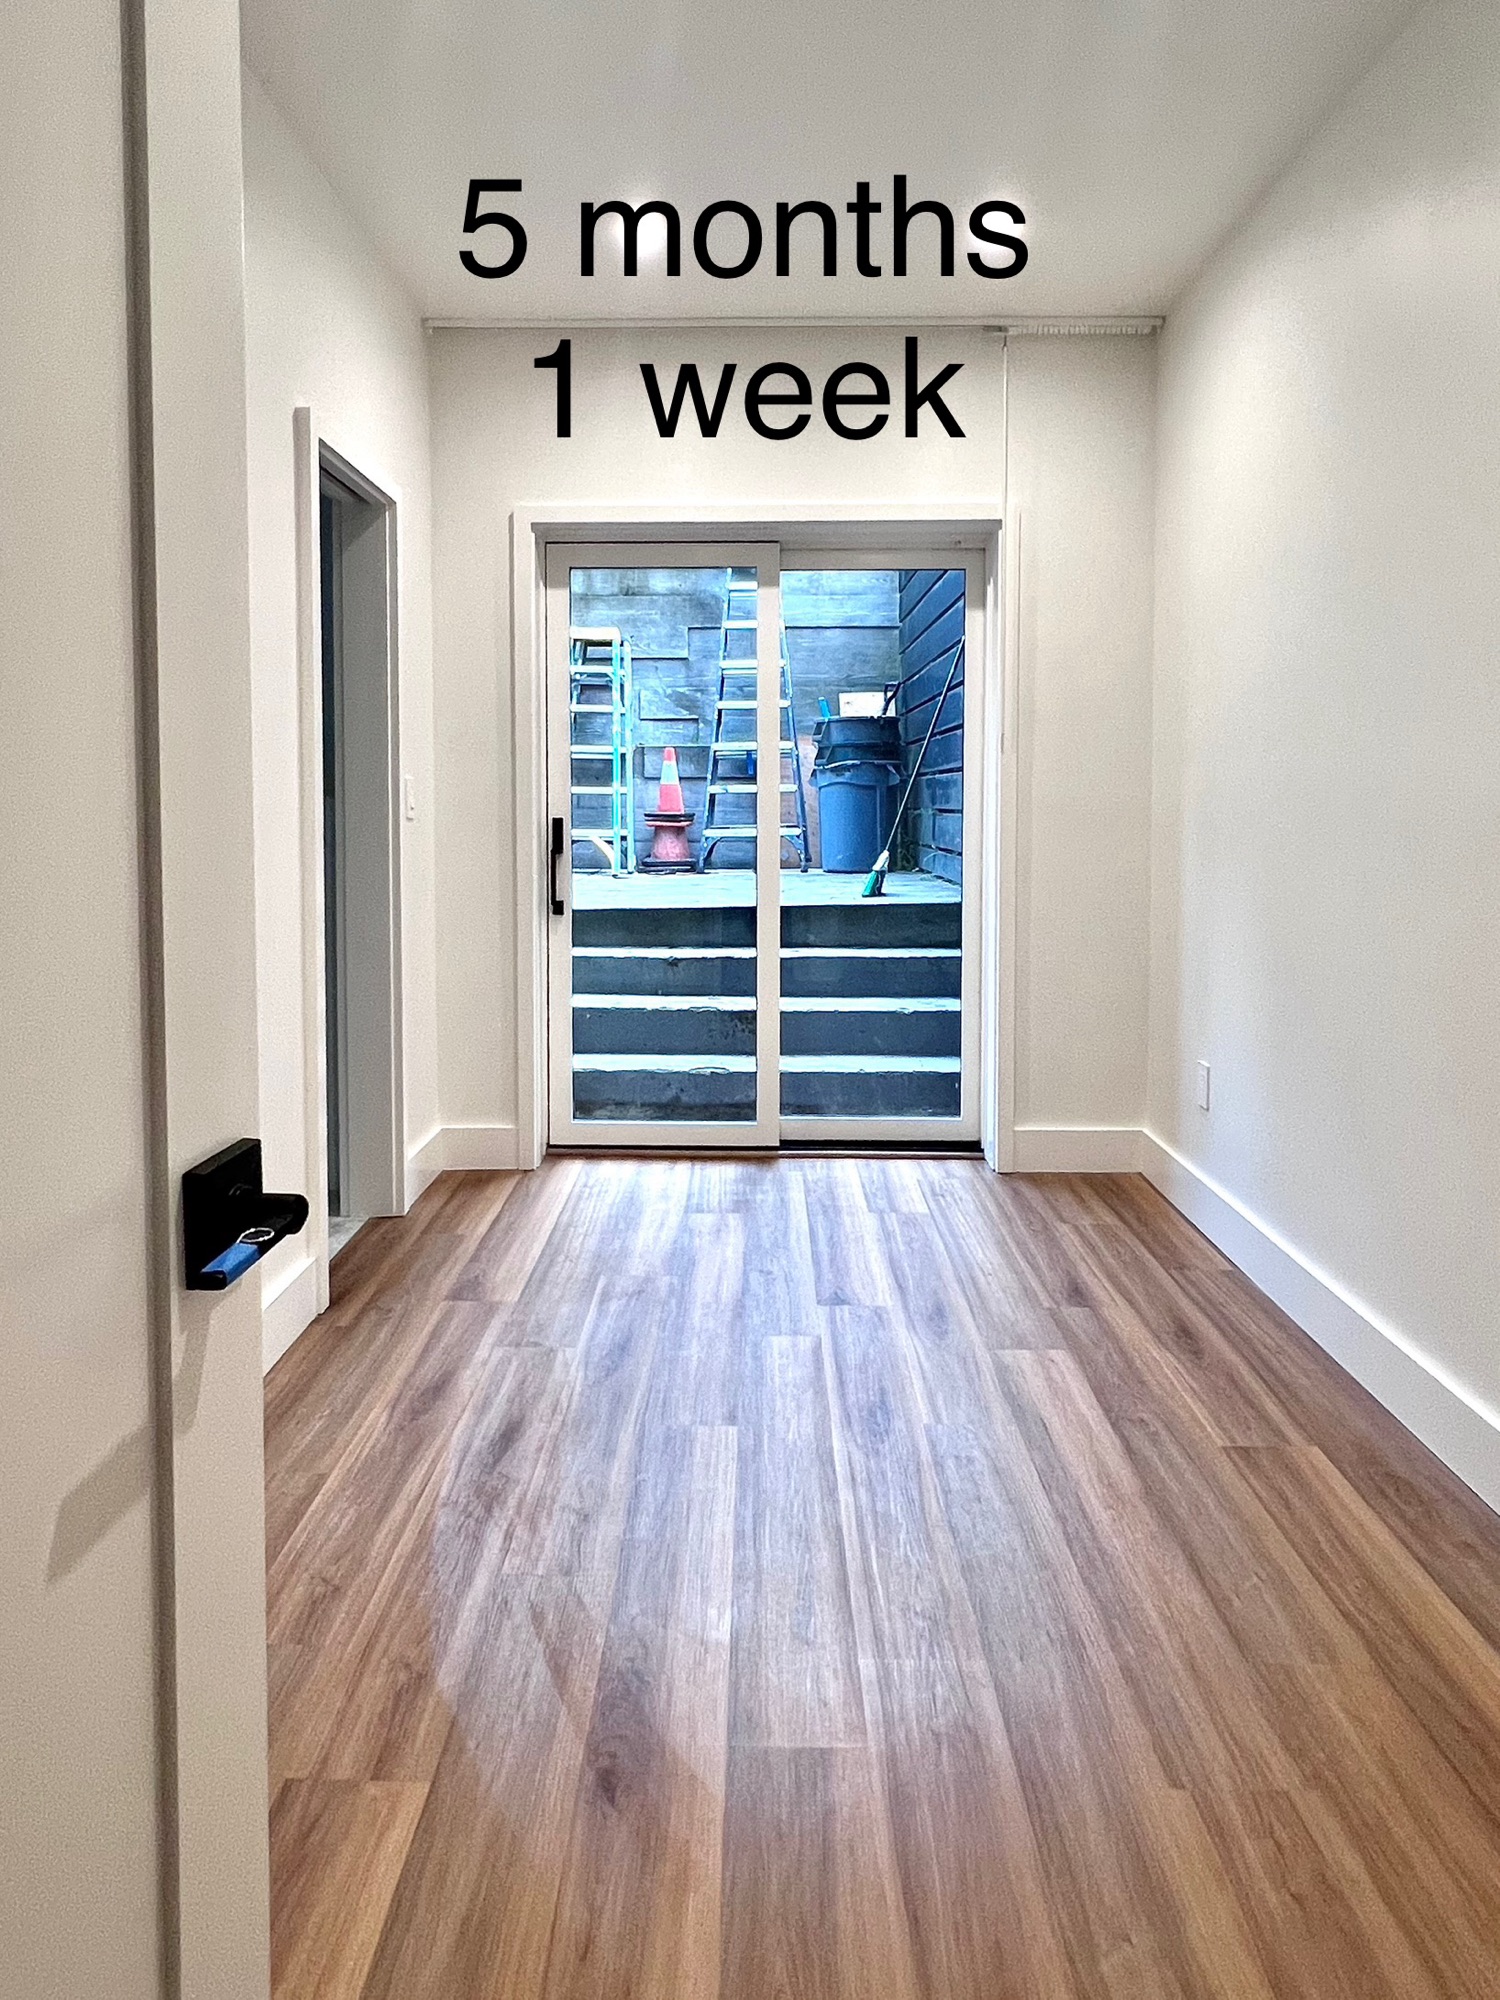
Here’s a before-and-after look at the space:
This collection includes a DIY fabric-covered picture mat and a photo I took of Finn and printed at the local drugstore.

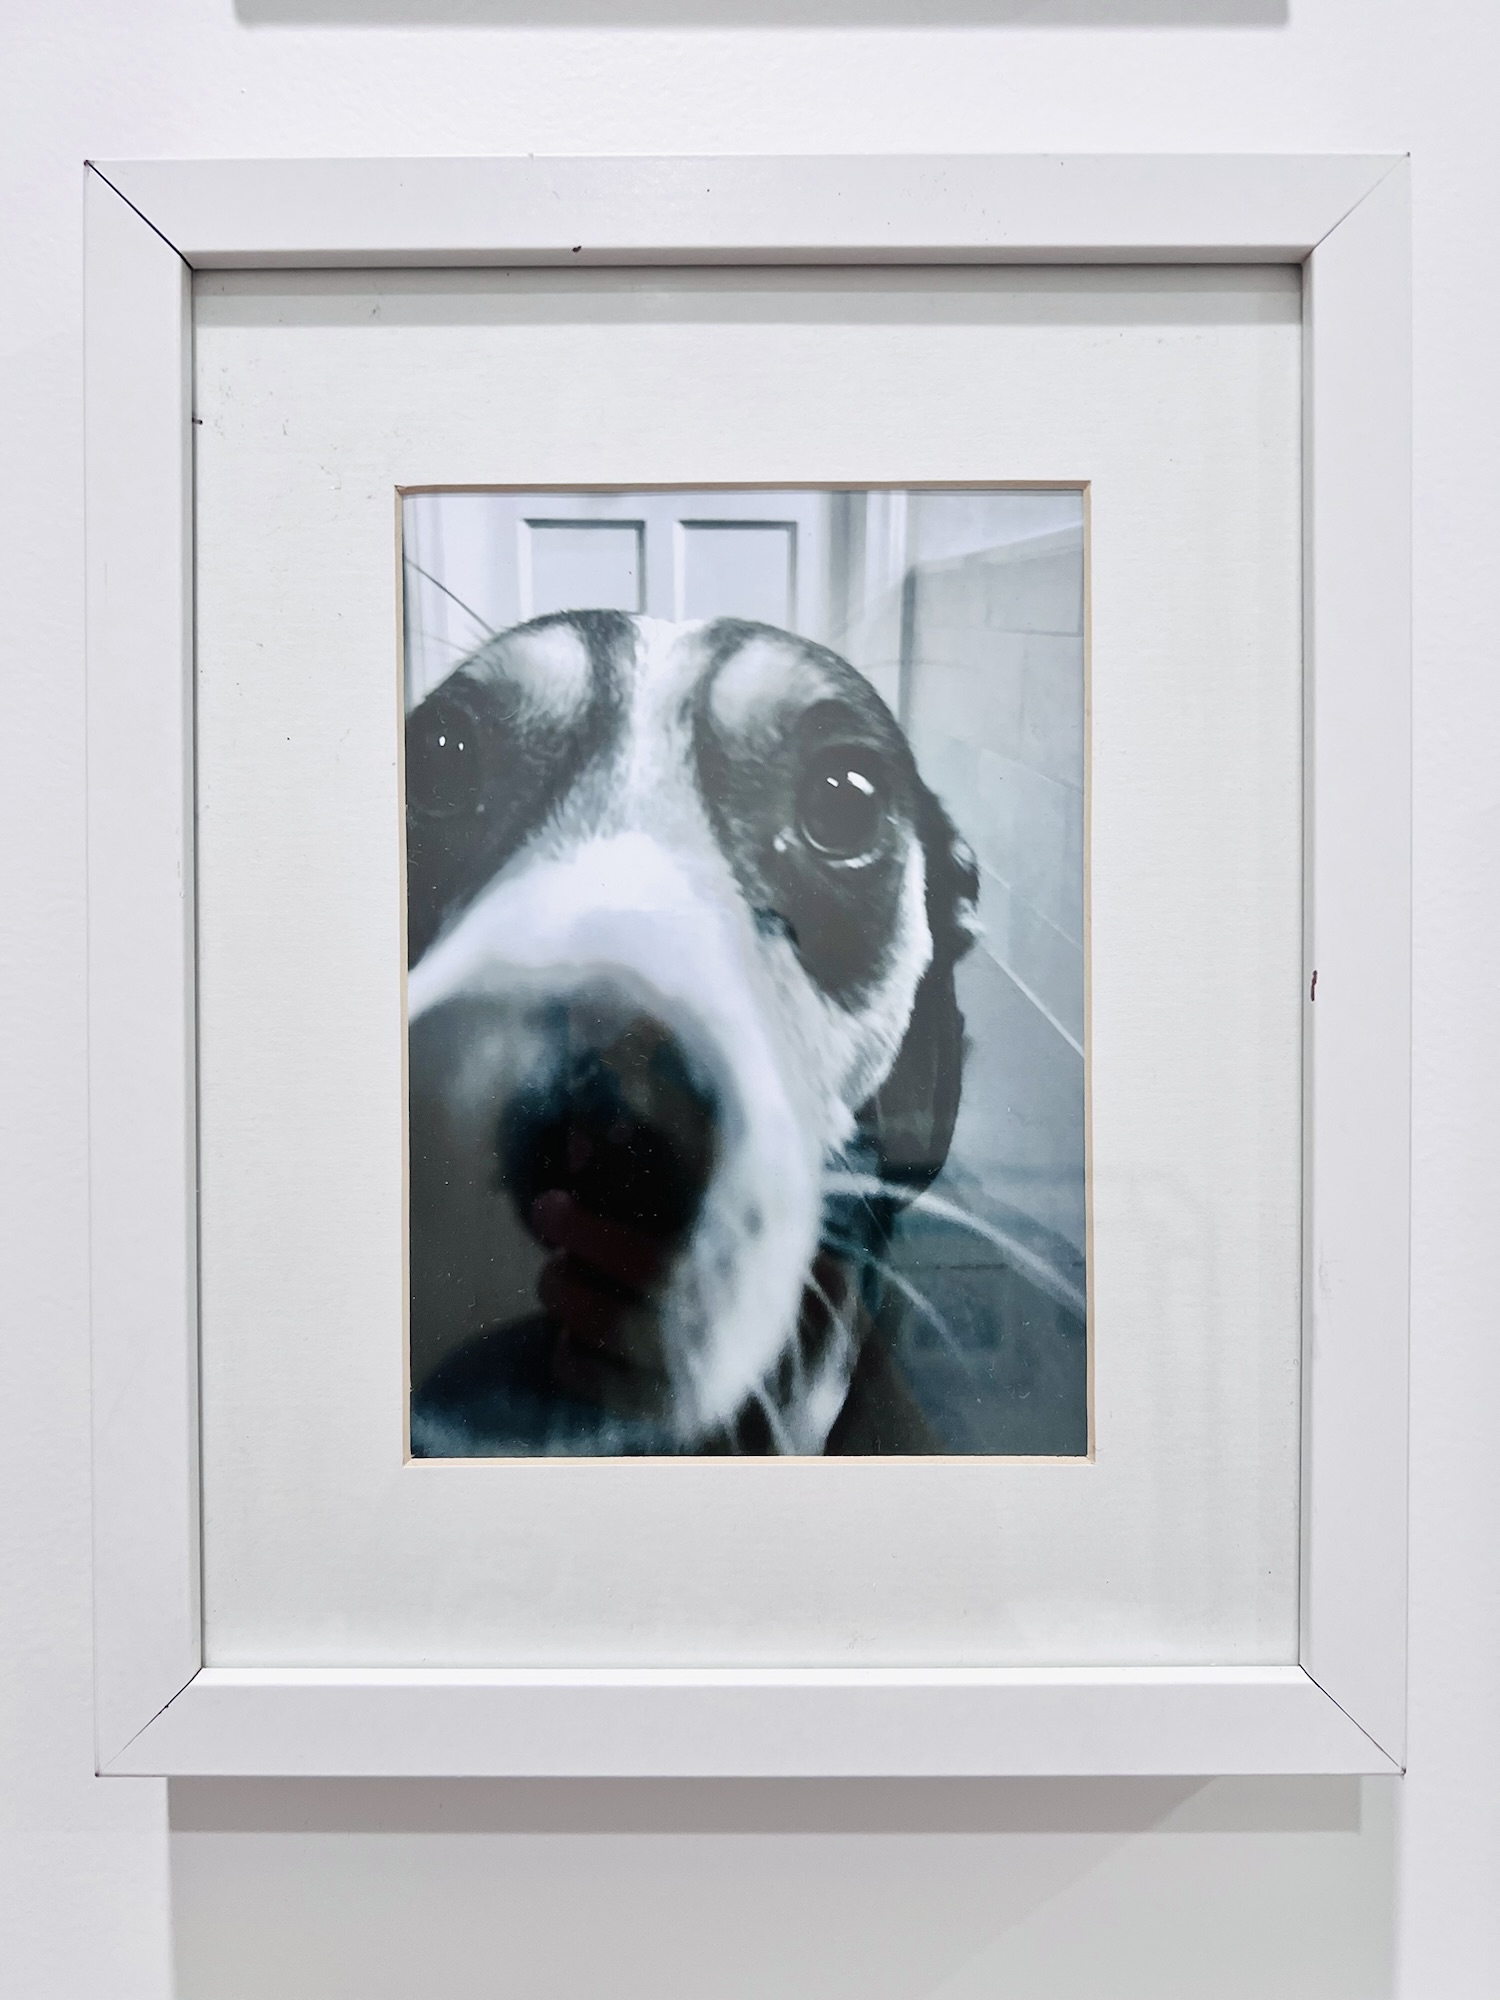
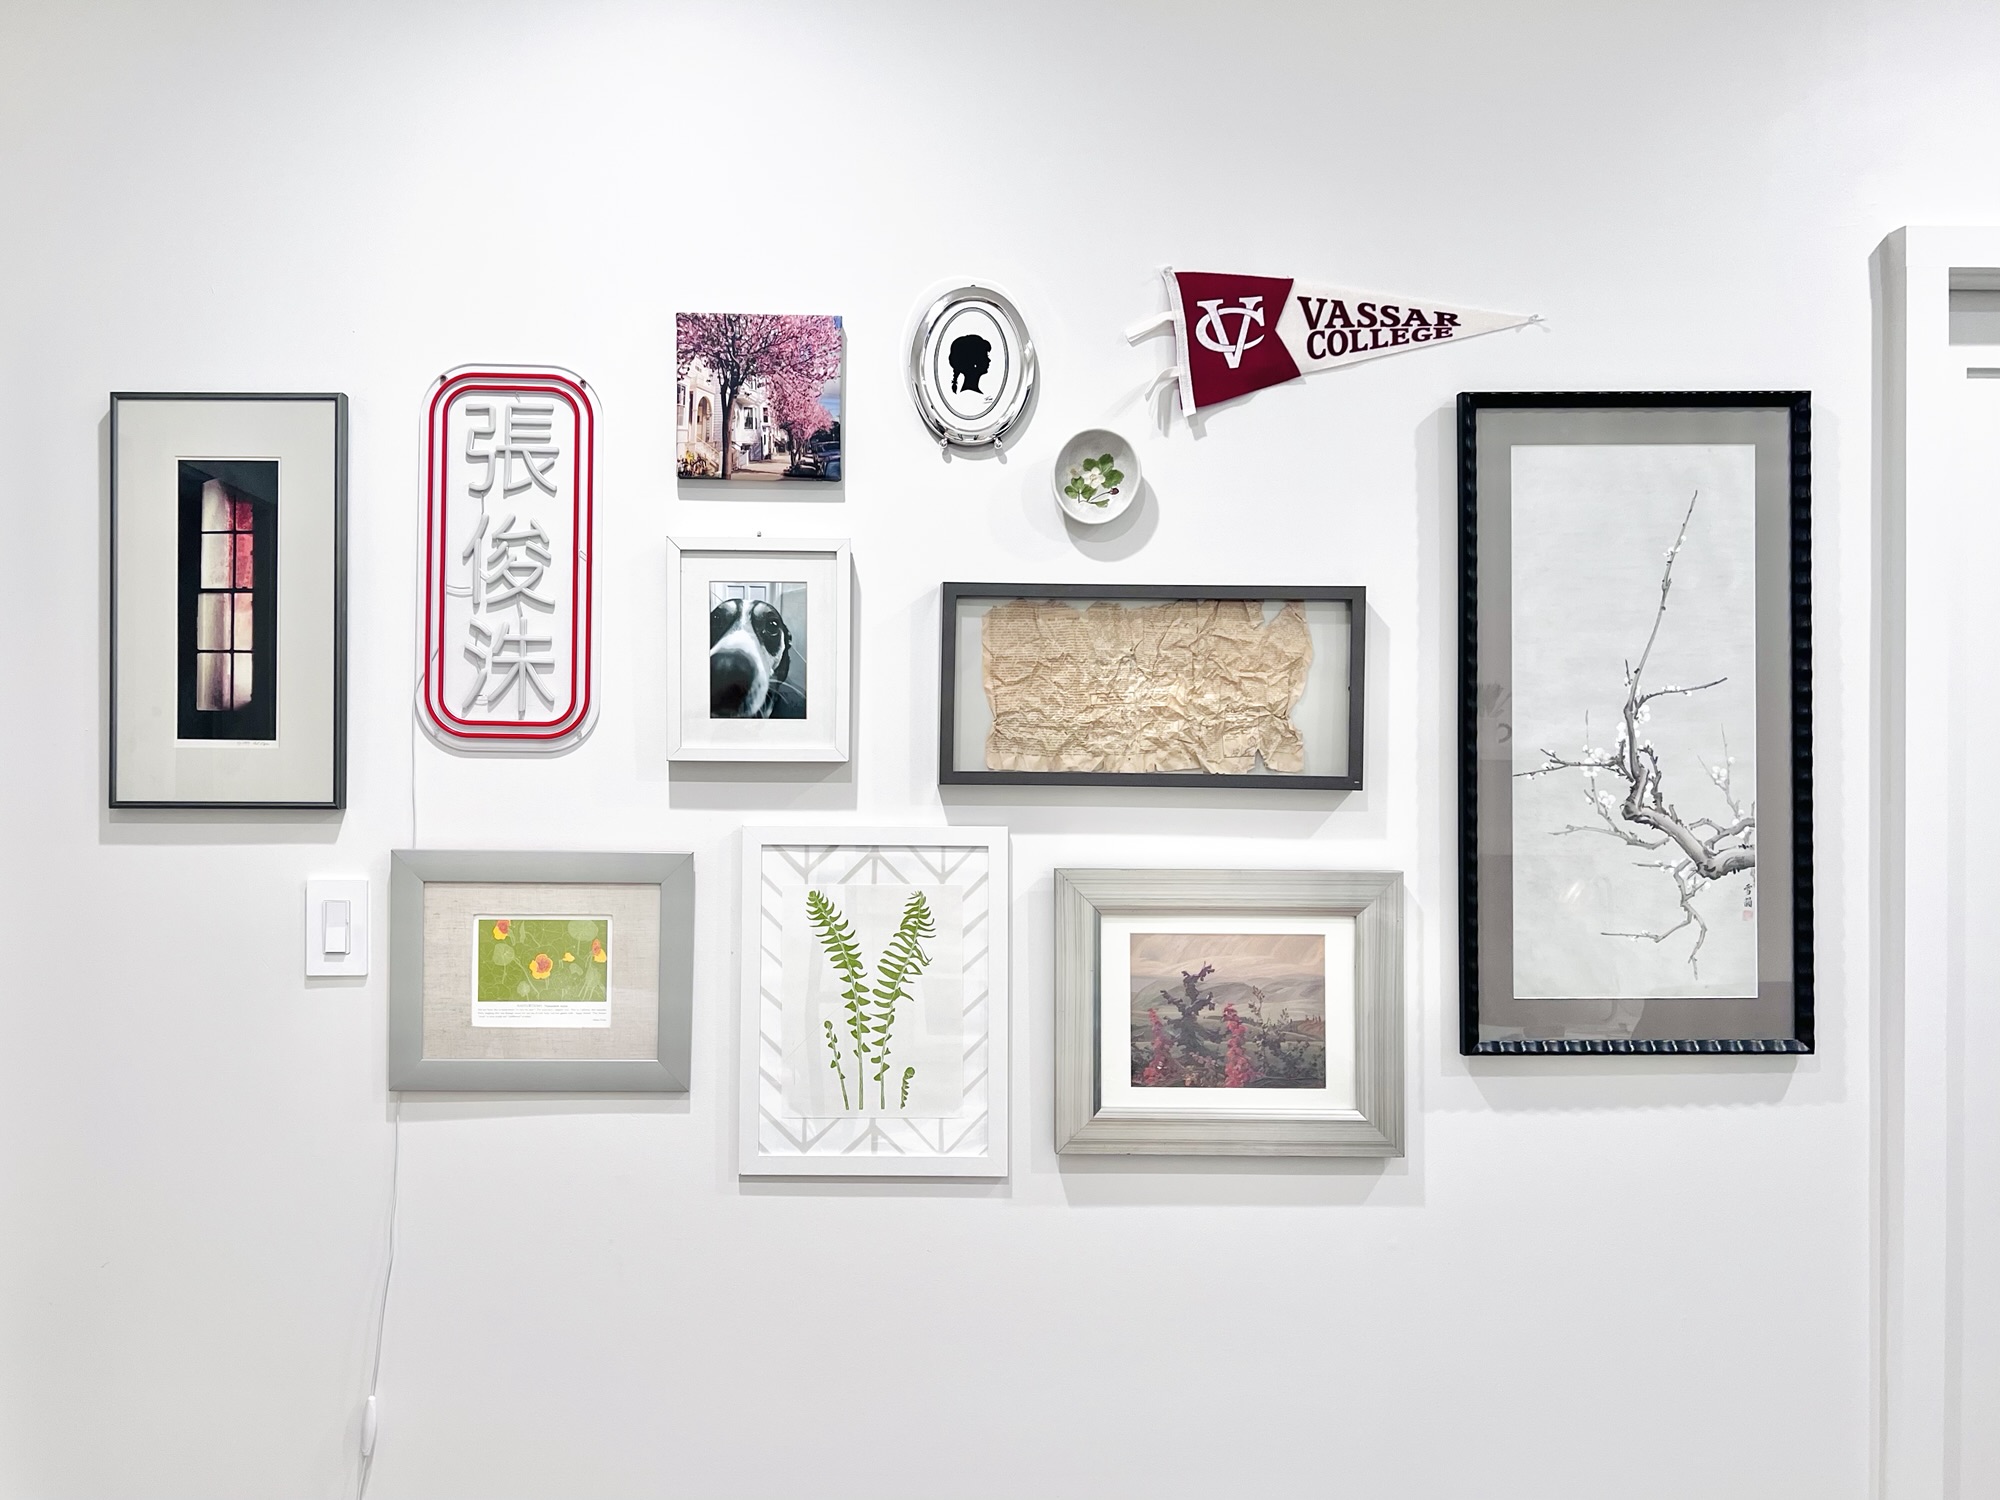
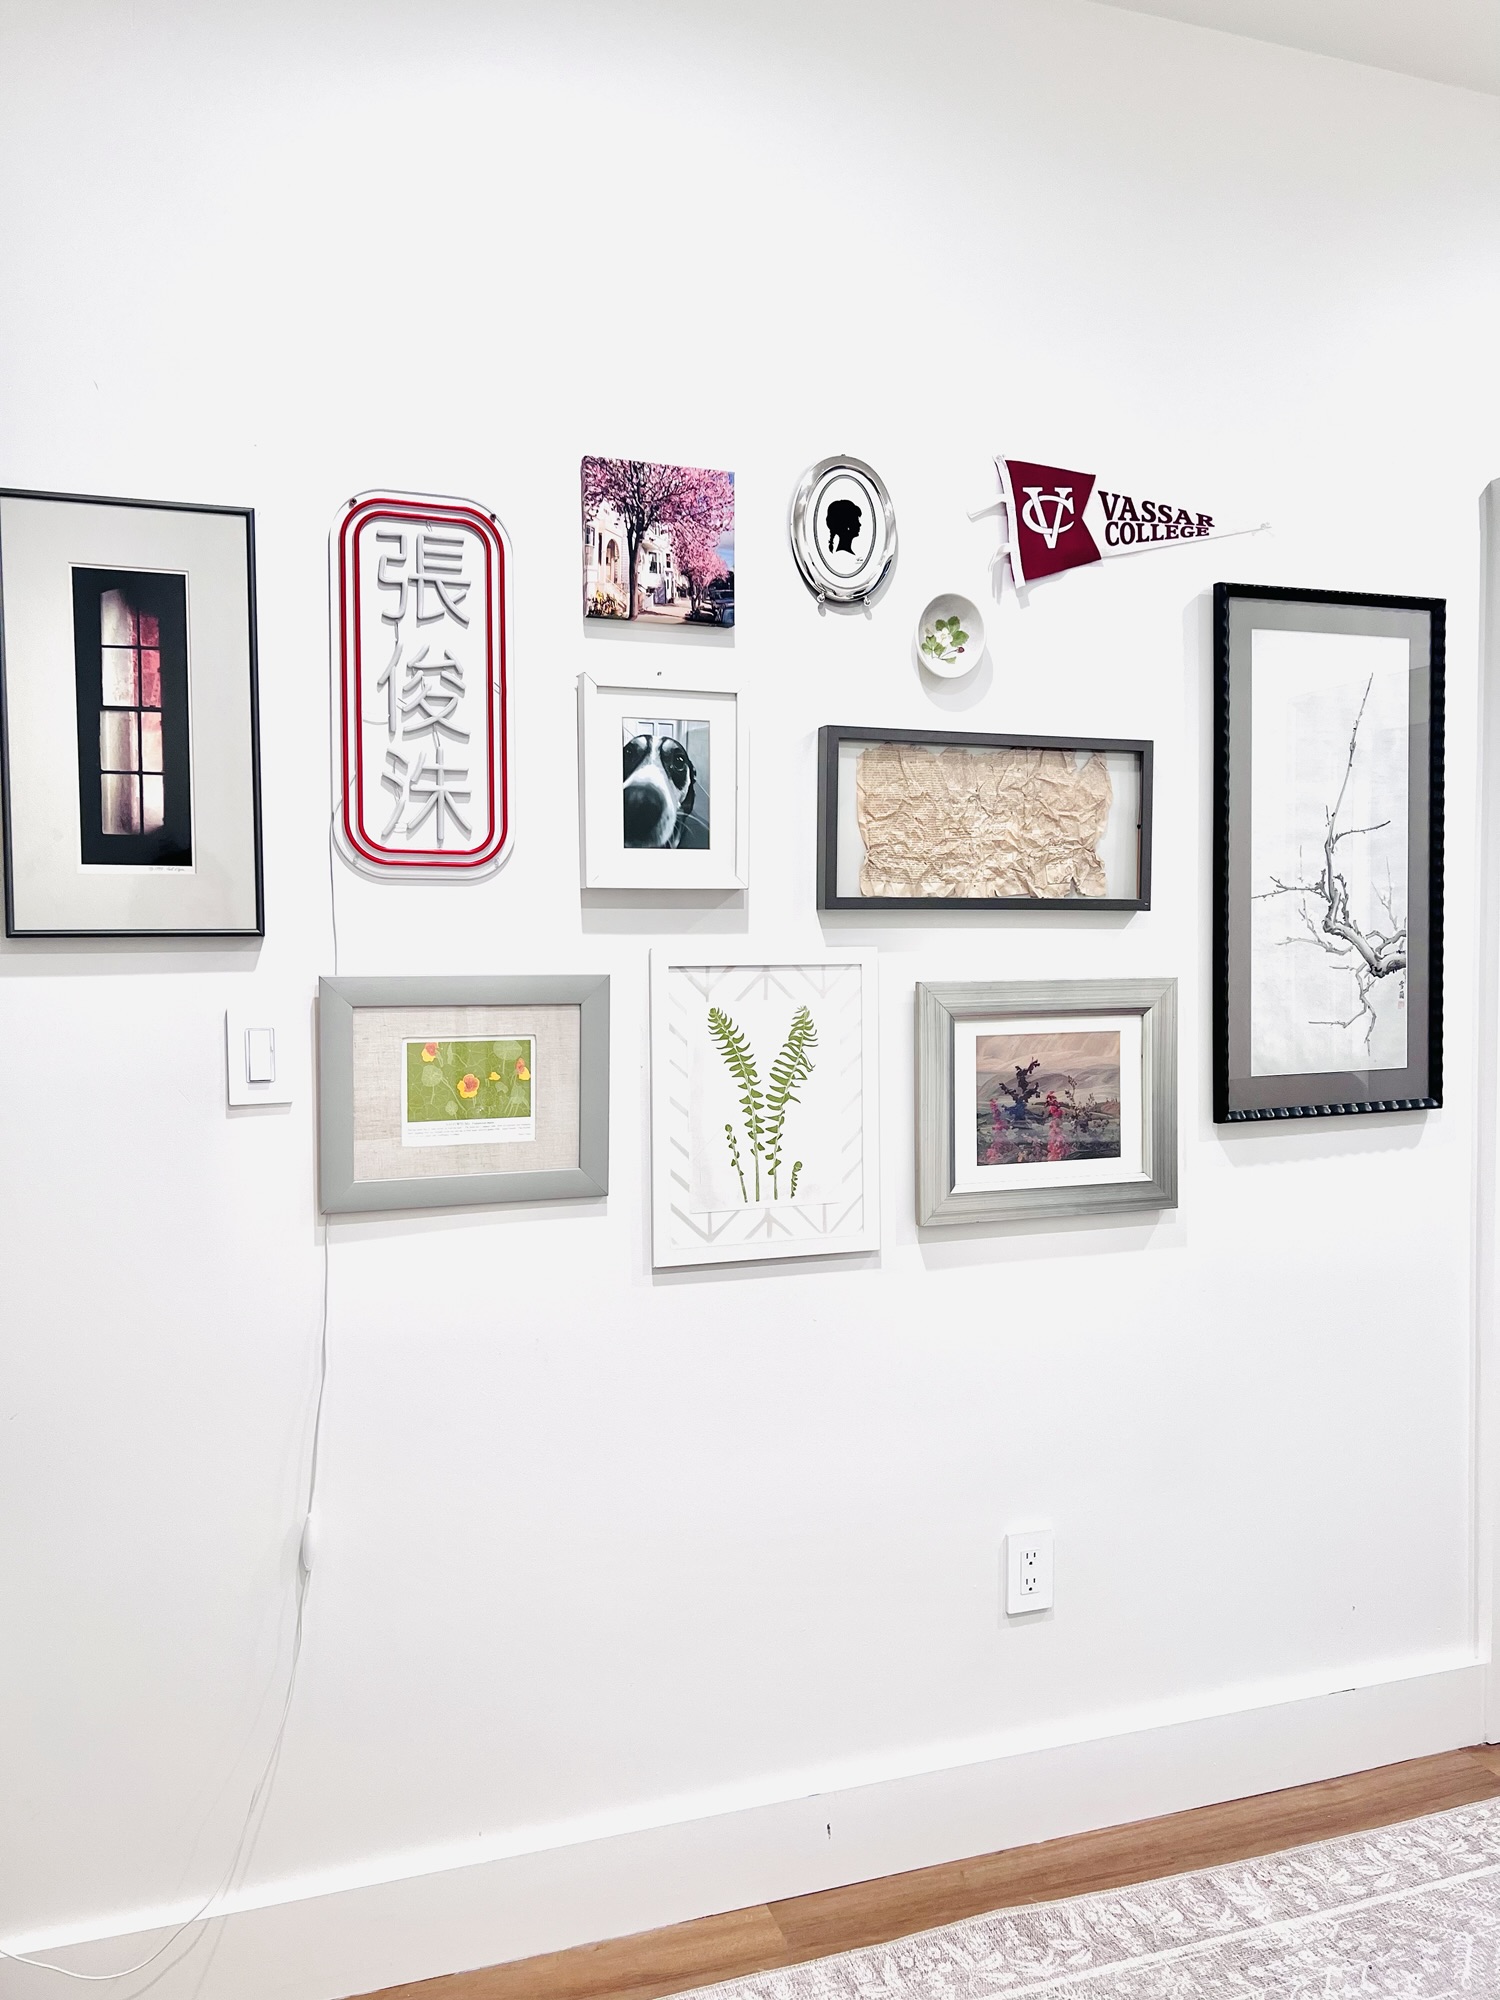
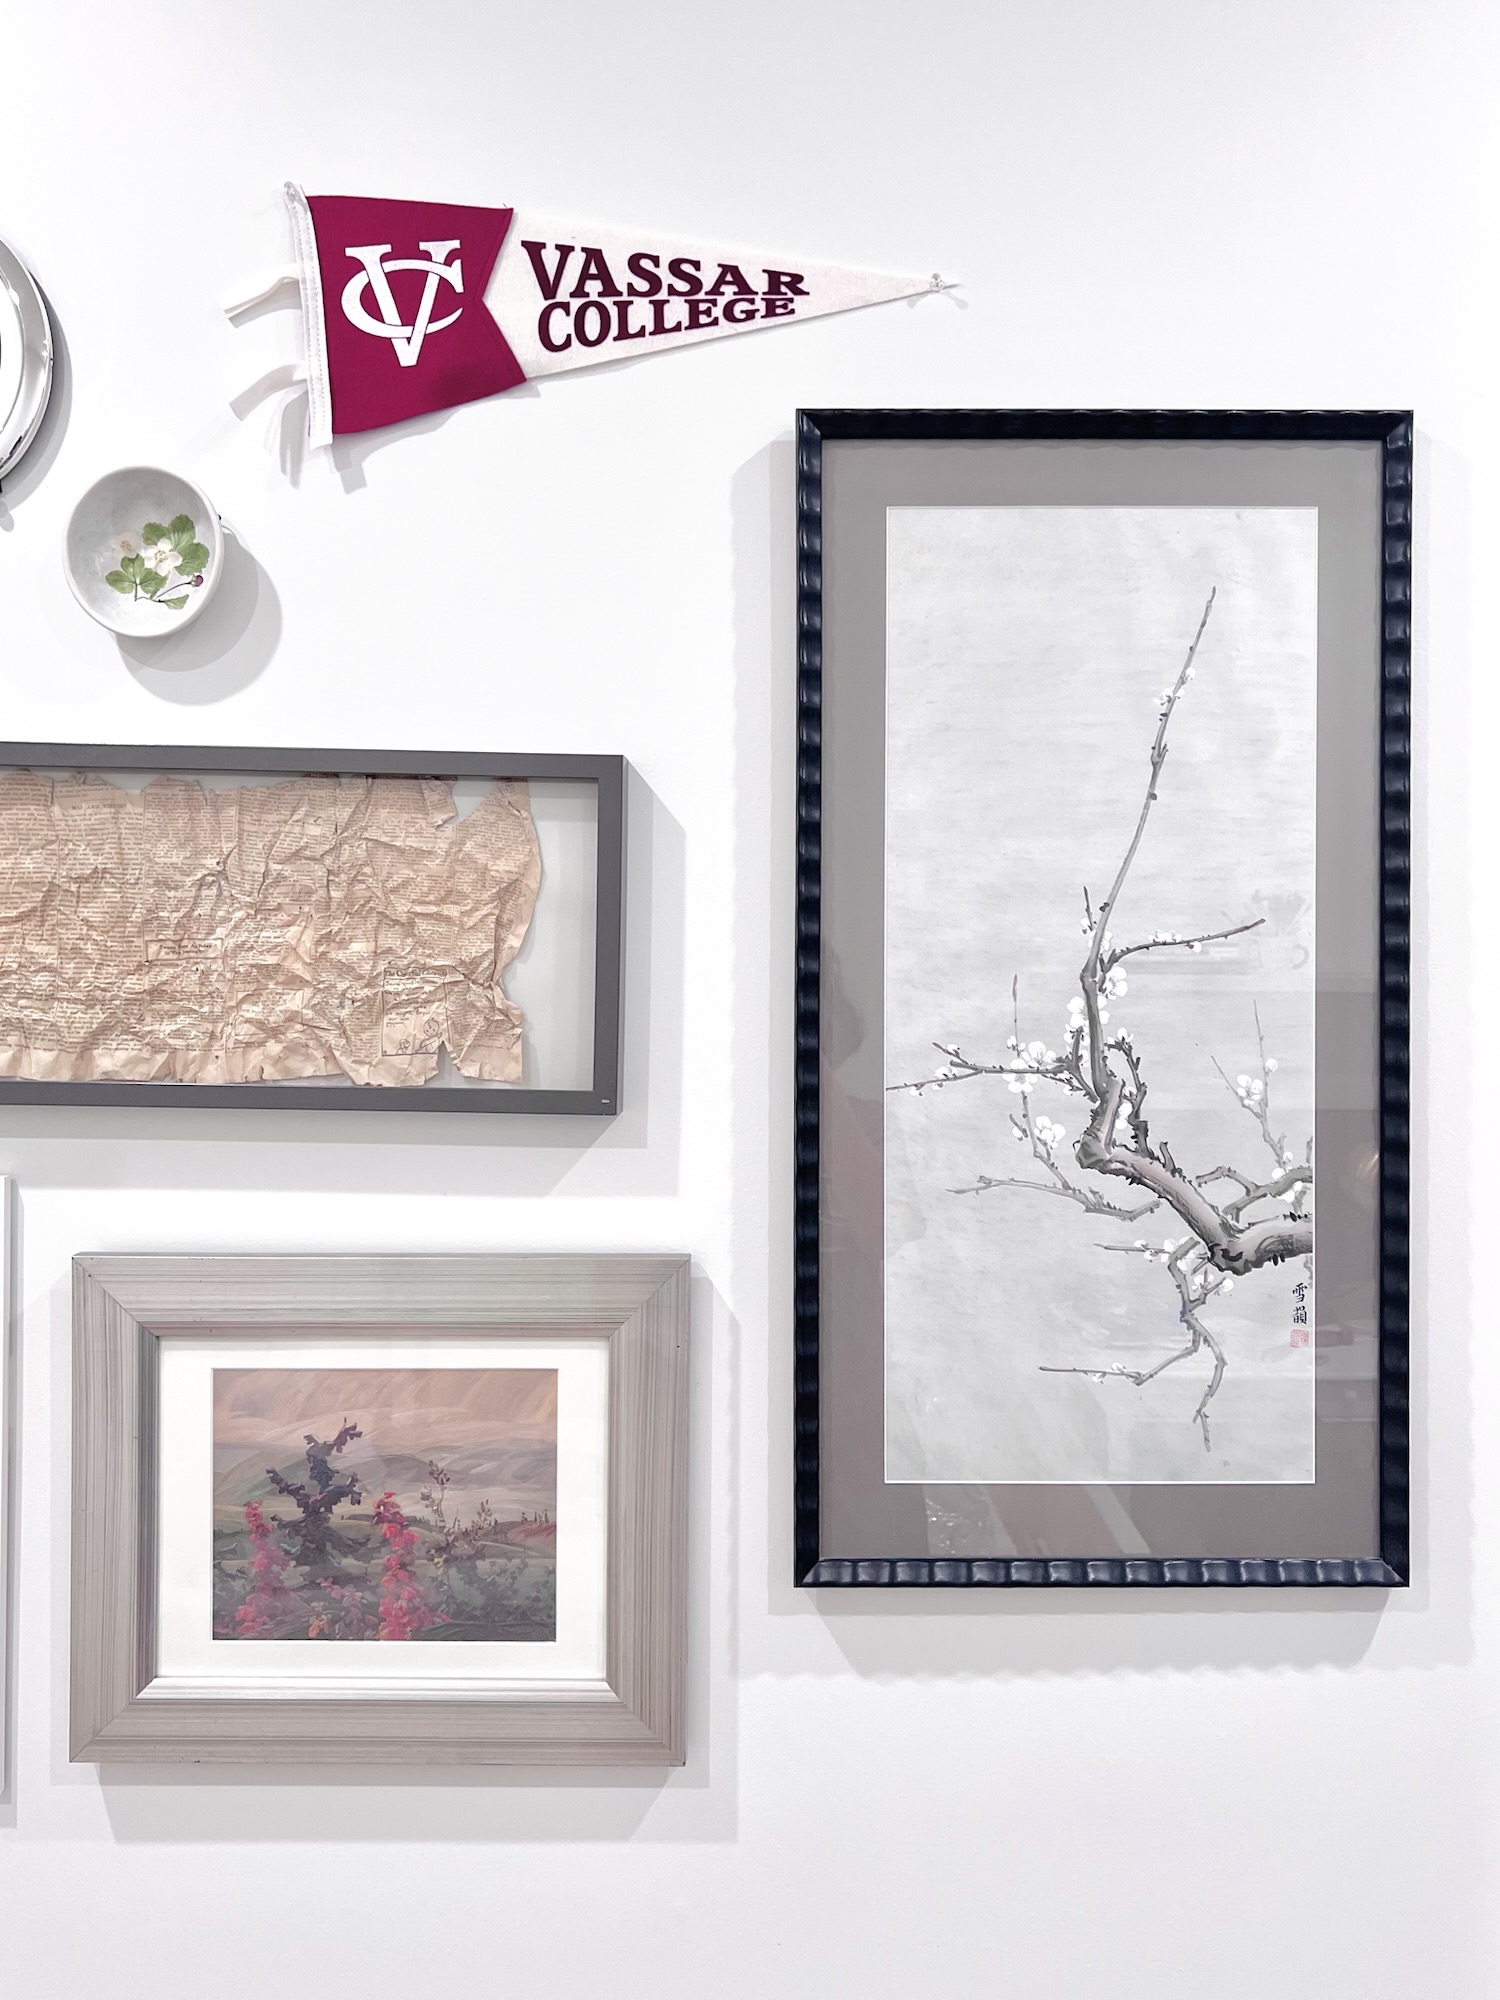
As I said, these walls can talk! Clockwise from left, a photograph taken from Fort Point, under the Golden Gate Bridge, that Steve and I bought at an art fair ~25+ years ago; an LED sign with my son’s name that my sister sent from Hong Kong; a small canvas print of a photo I took, featuring spring blossoms and Victorian houses; photo of Finn I took and printed; nasturtium print by Henry Evans calendar under a DIY fabric mat. My friend Penny gifts me a Henry Evans calendar every Christmas!

More treasures: paper silhouette cut-out from the Canadian National Exhibition when I was a child; strawberry ceramic bowl I bought at an art fair with a friend ~25 years ago; Vassar College pennant for my oldest; 1924 newspaper found in the walls of our last house; replica Group of Seven Canadian landscape painting my parents got on an Air Canada flight ~30 years ago; fern print from another Henry Evans calendar.

Last of the treasures: a beautiful branch painting by my mom ❤
I’m working away on some other projects that I hope to share with you soon! In the meantime, you can see all the other fun room transformations on the One Room Challenge website!
Julie AKA “Jewels”
I seriously love the One Room Challenge. It’s just the motivation I need to finish off projects, and the community is always really positive. I love finding new accounts to follow for inspiration and encouragement! I’ll link my prior ORC projects at the end of this post.
This Spring, I’m going to be decorating a new bedroom addition we built last year. It’s going to be a room for our oldest, when he’s home, and also serve as a guest room or lounge!
I can’t take credit for the construction work, but I will take credit for the inspiration – I very literally had dreams about finding space for just one more room in our house, to accommodate our family of five, with regular visits from my dad. After turning ideas around and around in my head, I figured out that we could enclose a little unused patio and reconfigure the adjacent rooms to make a new bedroom and bathroom. Some of us lived through the months of noise and dust, but you can just enjoy the pictures!

The result is a small bedroom and bathroom that make a big change to how we live in our house. While I couldn’t give our oldest a lot of square footage, I wanted to give him a lot of style and function in this cozy space. I got design inspiration from a lot of places, but my biggest inspirations were Designer Timothy Whealon’s living room featured by New York Social Diary and the Woodlark Hotel in Portland, where we enjoyed a stay a couple of years ago.


When I find a space that really inspires me, I try to describe the key elements, like a recipe, to help me recreate it. And when I am looking at a few spaces, I try to find the common elements that I love. For this project, I was drawn to:
I’m so excited (and nervous!) to tackle this project – hope you’ll follow along!
You can see all the other fun room transformations on the One Room Challenge website!
Julie AKA “Jewels”

You know how much I love decorating for Christmas and the winter holidays! This year, I spied a great tutorial for a DIY mantel garland from Erin Zubot Design. Erin has made an incredible home, and she is a fellow … Continue reading
I seriously love the One Room Challenge. It’s just the motivation I need to finish off projects, and the community is always really positive. I love finding new accounts to follow for inspiration and encouragement! In the spring, I decorated … Continue reading

I had to skip posting week six of the challenge – it took me a long time to put together this desk area, because I was making it up as I went, not to mention all the normal activities of … Continue reading

I love the relaxed feeling of enjoying a meal and good company while lounging on a comfy banquette. I’m so excited that I have finally built our deep dining bench. Now, I have to add the cushions! I could not … Continue reading

The Fall 2023 One Room Challenge is underway! In the spring, I decorated our entryway, including turning our closet into a mini-mudroom. This fall, I am working on our dining room! One element I have been planning for some time … Continue reading
