I love decorating for Christmas, and this year, I wanted to create a white and outdoorsy theme. I love our collection of ornaments from over the years, but just for a change, I only put up the white ones this year, leaving our tree a little sparse.
Thanks to the kids for doing a quick and fun project with me to make some new decorations for our Christmas tree!

I used this DAS Air Hardening Modeling Clay, and it worked fine, but the dried ornaments are quite fragile, so I’m going to try the next round with this AMACO Cloud Clay
. The kids have used it at school, and it seems to be more durable, though it doesn’t look like the shapes come out as cleanly. We’ll let you know!
This project was quick and simple – all you need is some clay, a rolling pin and cookie cutters, and some beads and/or rubber stamps for embellishing the ornaments. Oh yes, and some string for hanging the ornaments. I used embroidery floss.
All the kids were able to do the project pretty much on their own. I did help the younger ones with rolling the clay flat, but even little J did the cookie cutters and beads on his own!
Here are the boys at work:


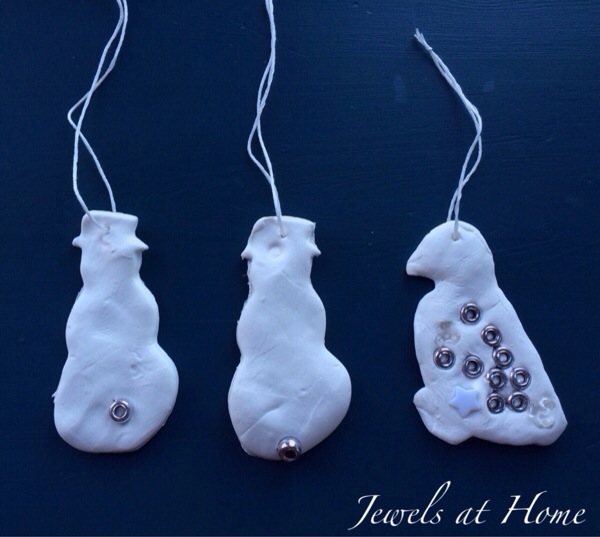
And here are the ornaments we made:

These are the ornaments I made. I used beads and rubber stamps to decorate the clay.

L made the three wise men.. actually, I believe he called them an “army of snowmen”…

Little J made these stars himself! I had to take them away from him as soon as they were done, as he wanted to roll them back into a ball like play dough.

These are K’s ornaments. I like how he tried a lot of different designs.
The tree looks much better now, but I’m hoping to make a few more ornaments to fill it out.


“Jewels”


Pingback: Faux Birch Branches | Jewels at Home
Pingback: White and Woodsy Christmas – 2013 Wrap-up | Jewels at Home
Pingback: Delicate Diy Tree Skirt Ideas For Christmas To Try Asap – Interior Design Ideas