Marble-painted Christmas Ornaments

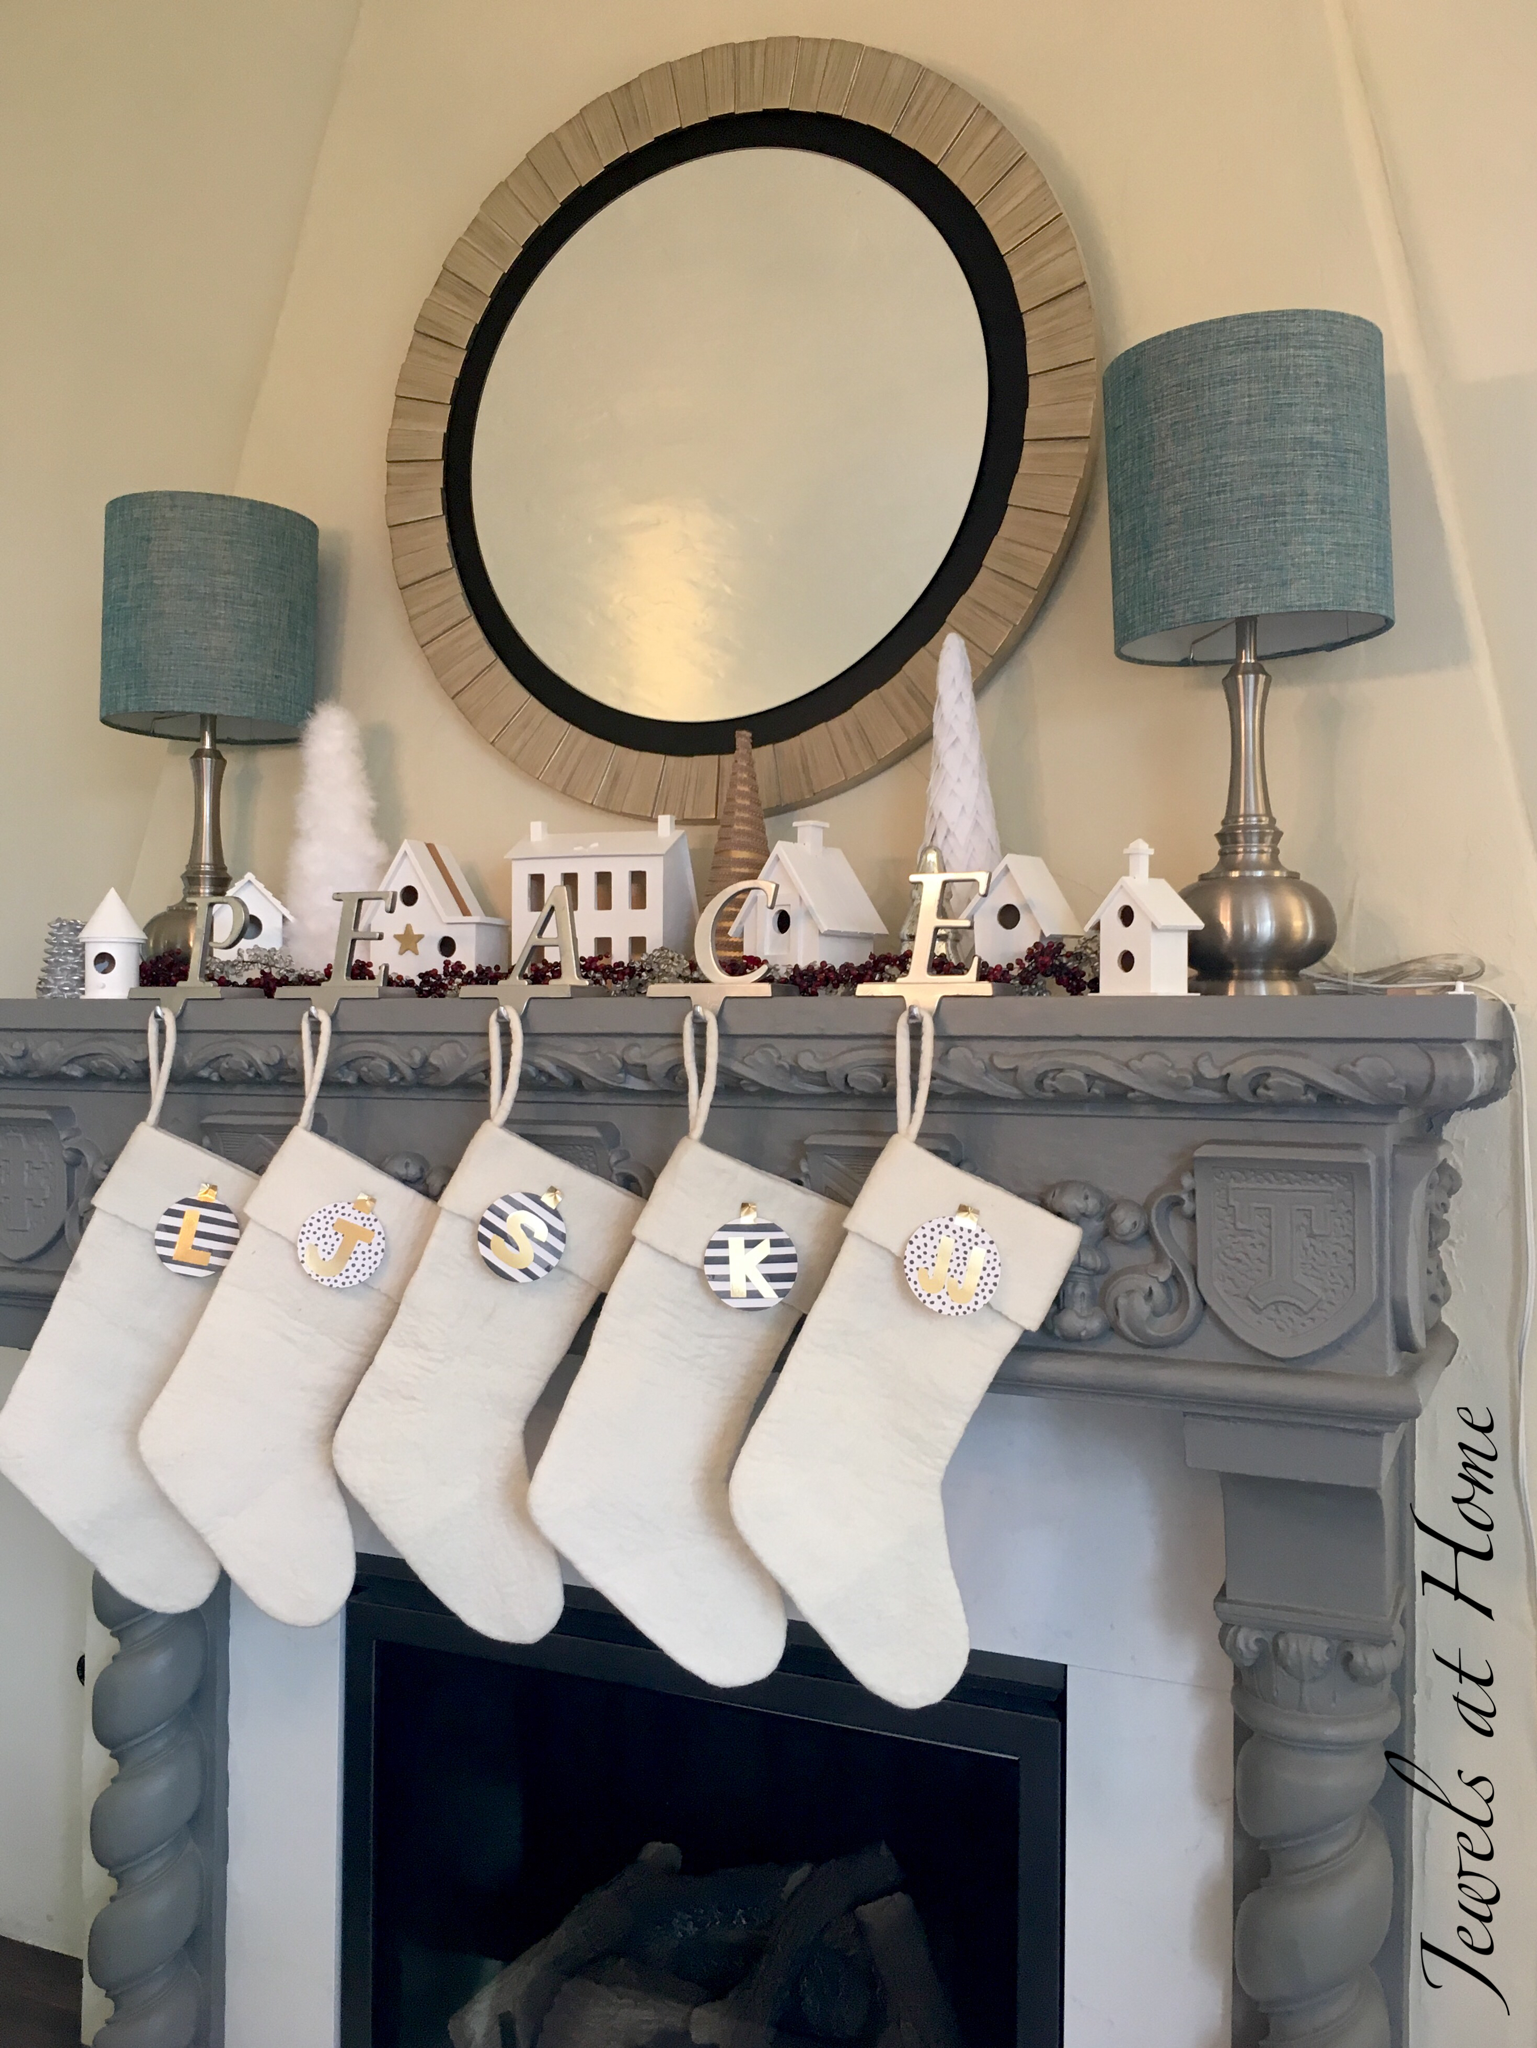
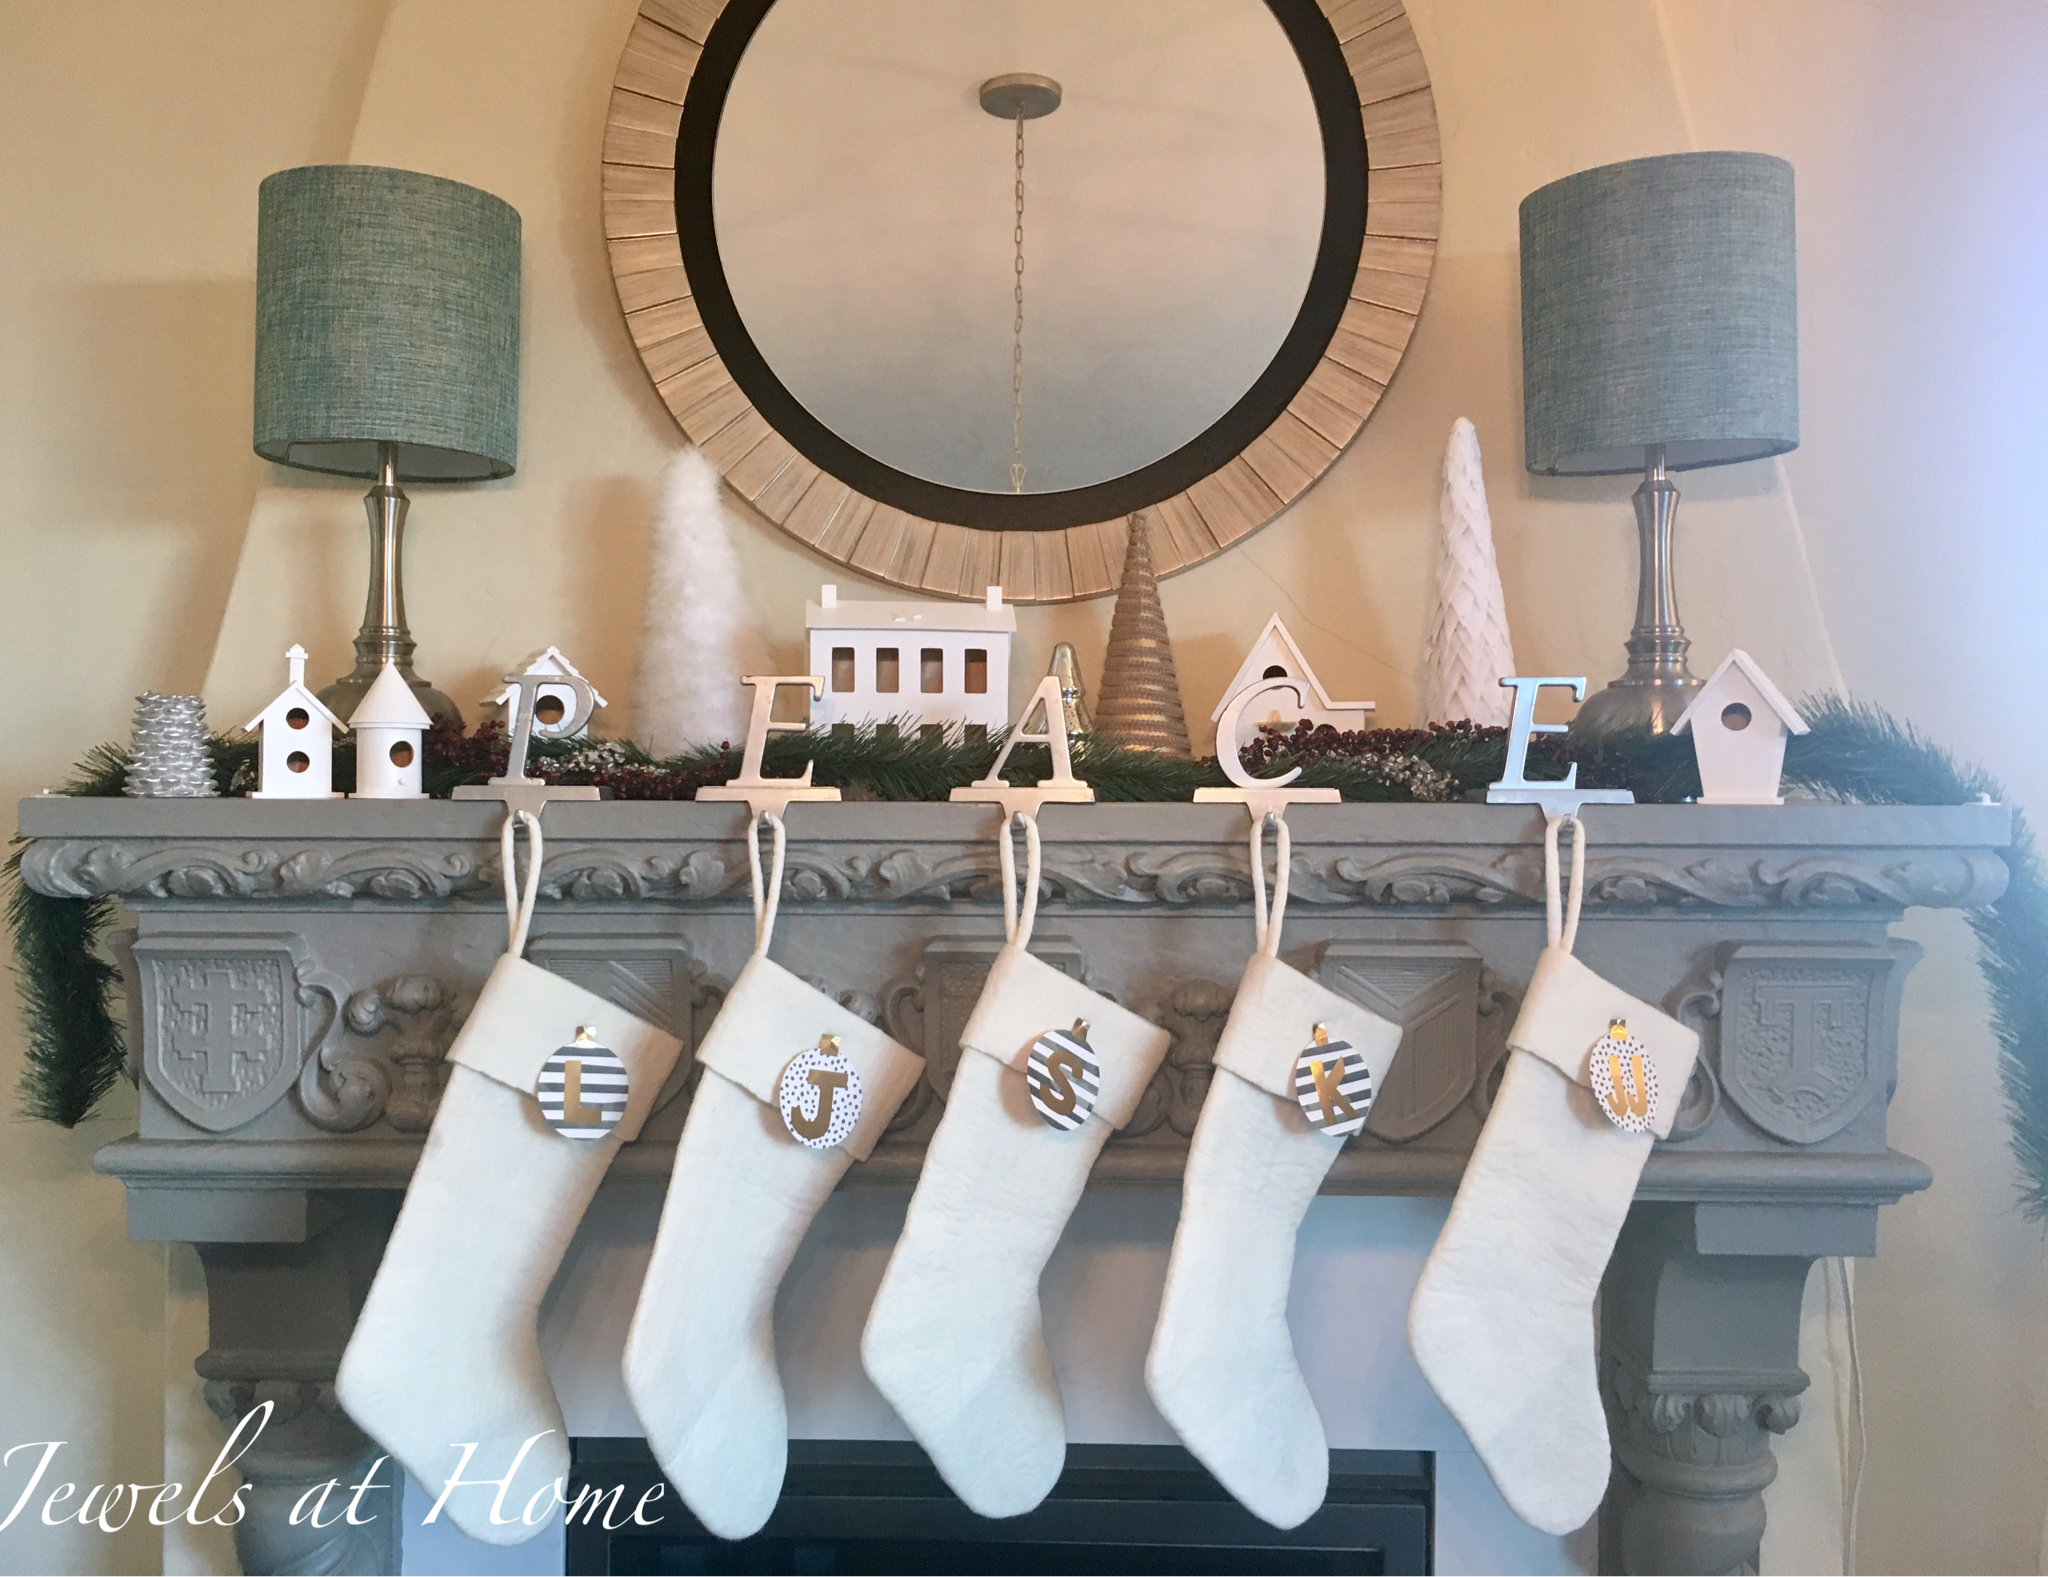
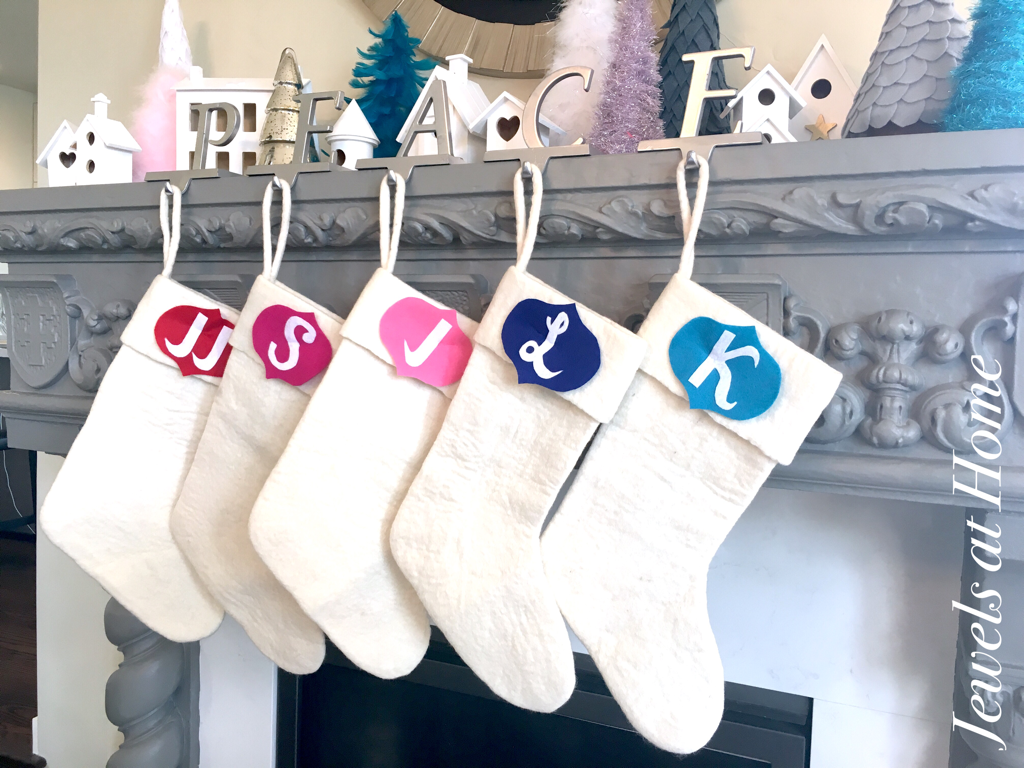
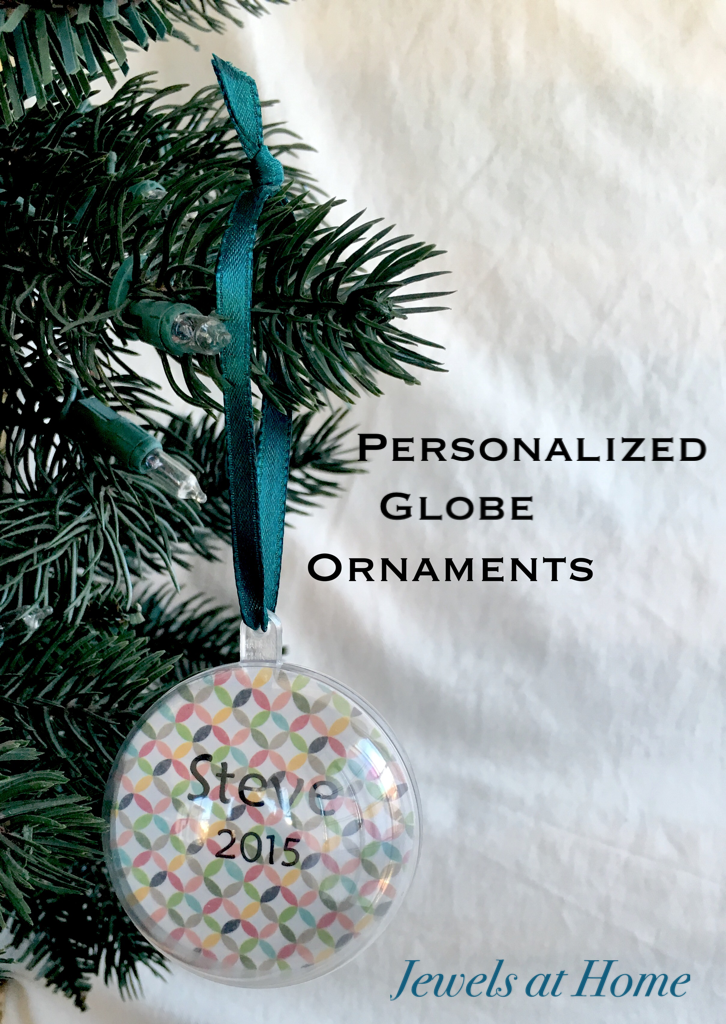
So, with this being a low-key Christmas, I wasn’t sure if I was going to do new craft projects – I mean, other than the pastel Christmas village I made way back in January (dorky!) But blame Pinterest, I got the idea for these pretty marble-painted ornaments!

I used the tutorial from the Creativity Exchange as inspiration, and I adapted it to some clear plastic ornaments I already had.

Here’s what you’ll need:

  • Clear glass or plastic ornaments. I had these two-piece ornaments in the house already, but if you are starting from scratch, this style with the opening at the top will be easier to use and give a more polished finished product
  • Craft paints. You’ll need the most of the white color. I used three different colors for each ornament – white, a color, and a metallic paint
  • skewer or toothpick to mix the colors
  • Ribbon or ornament hanger

Here’s how to do it:

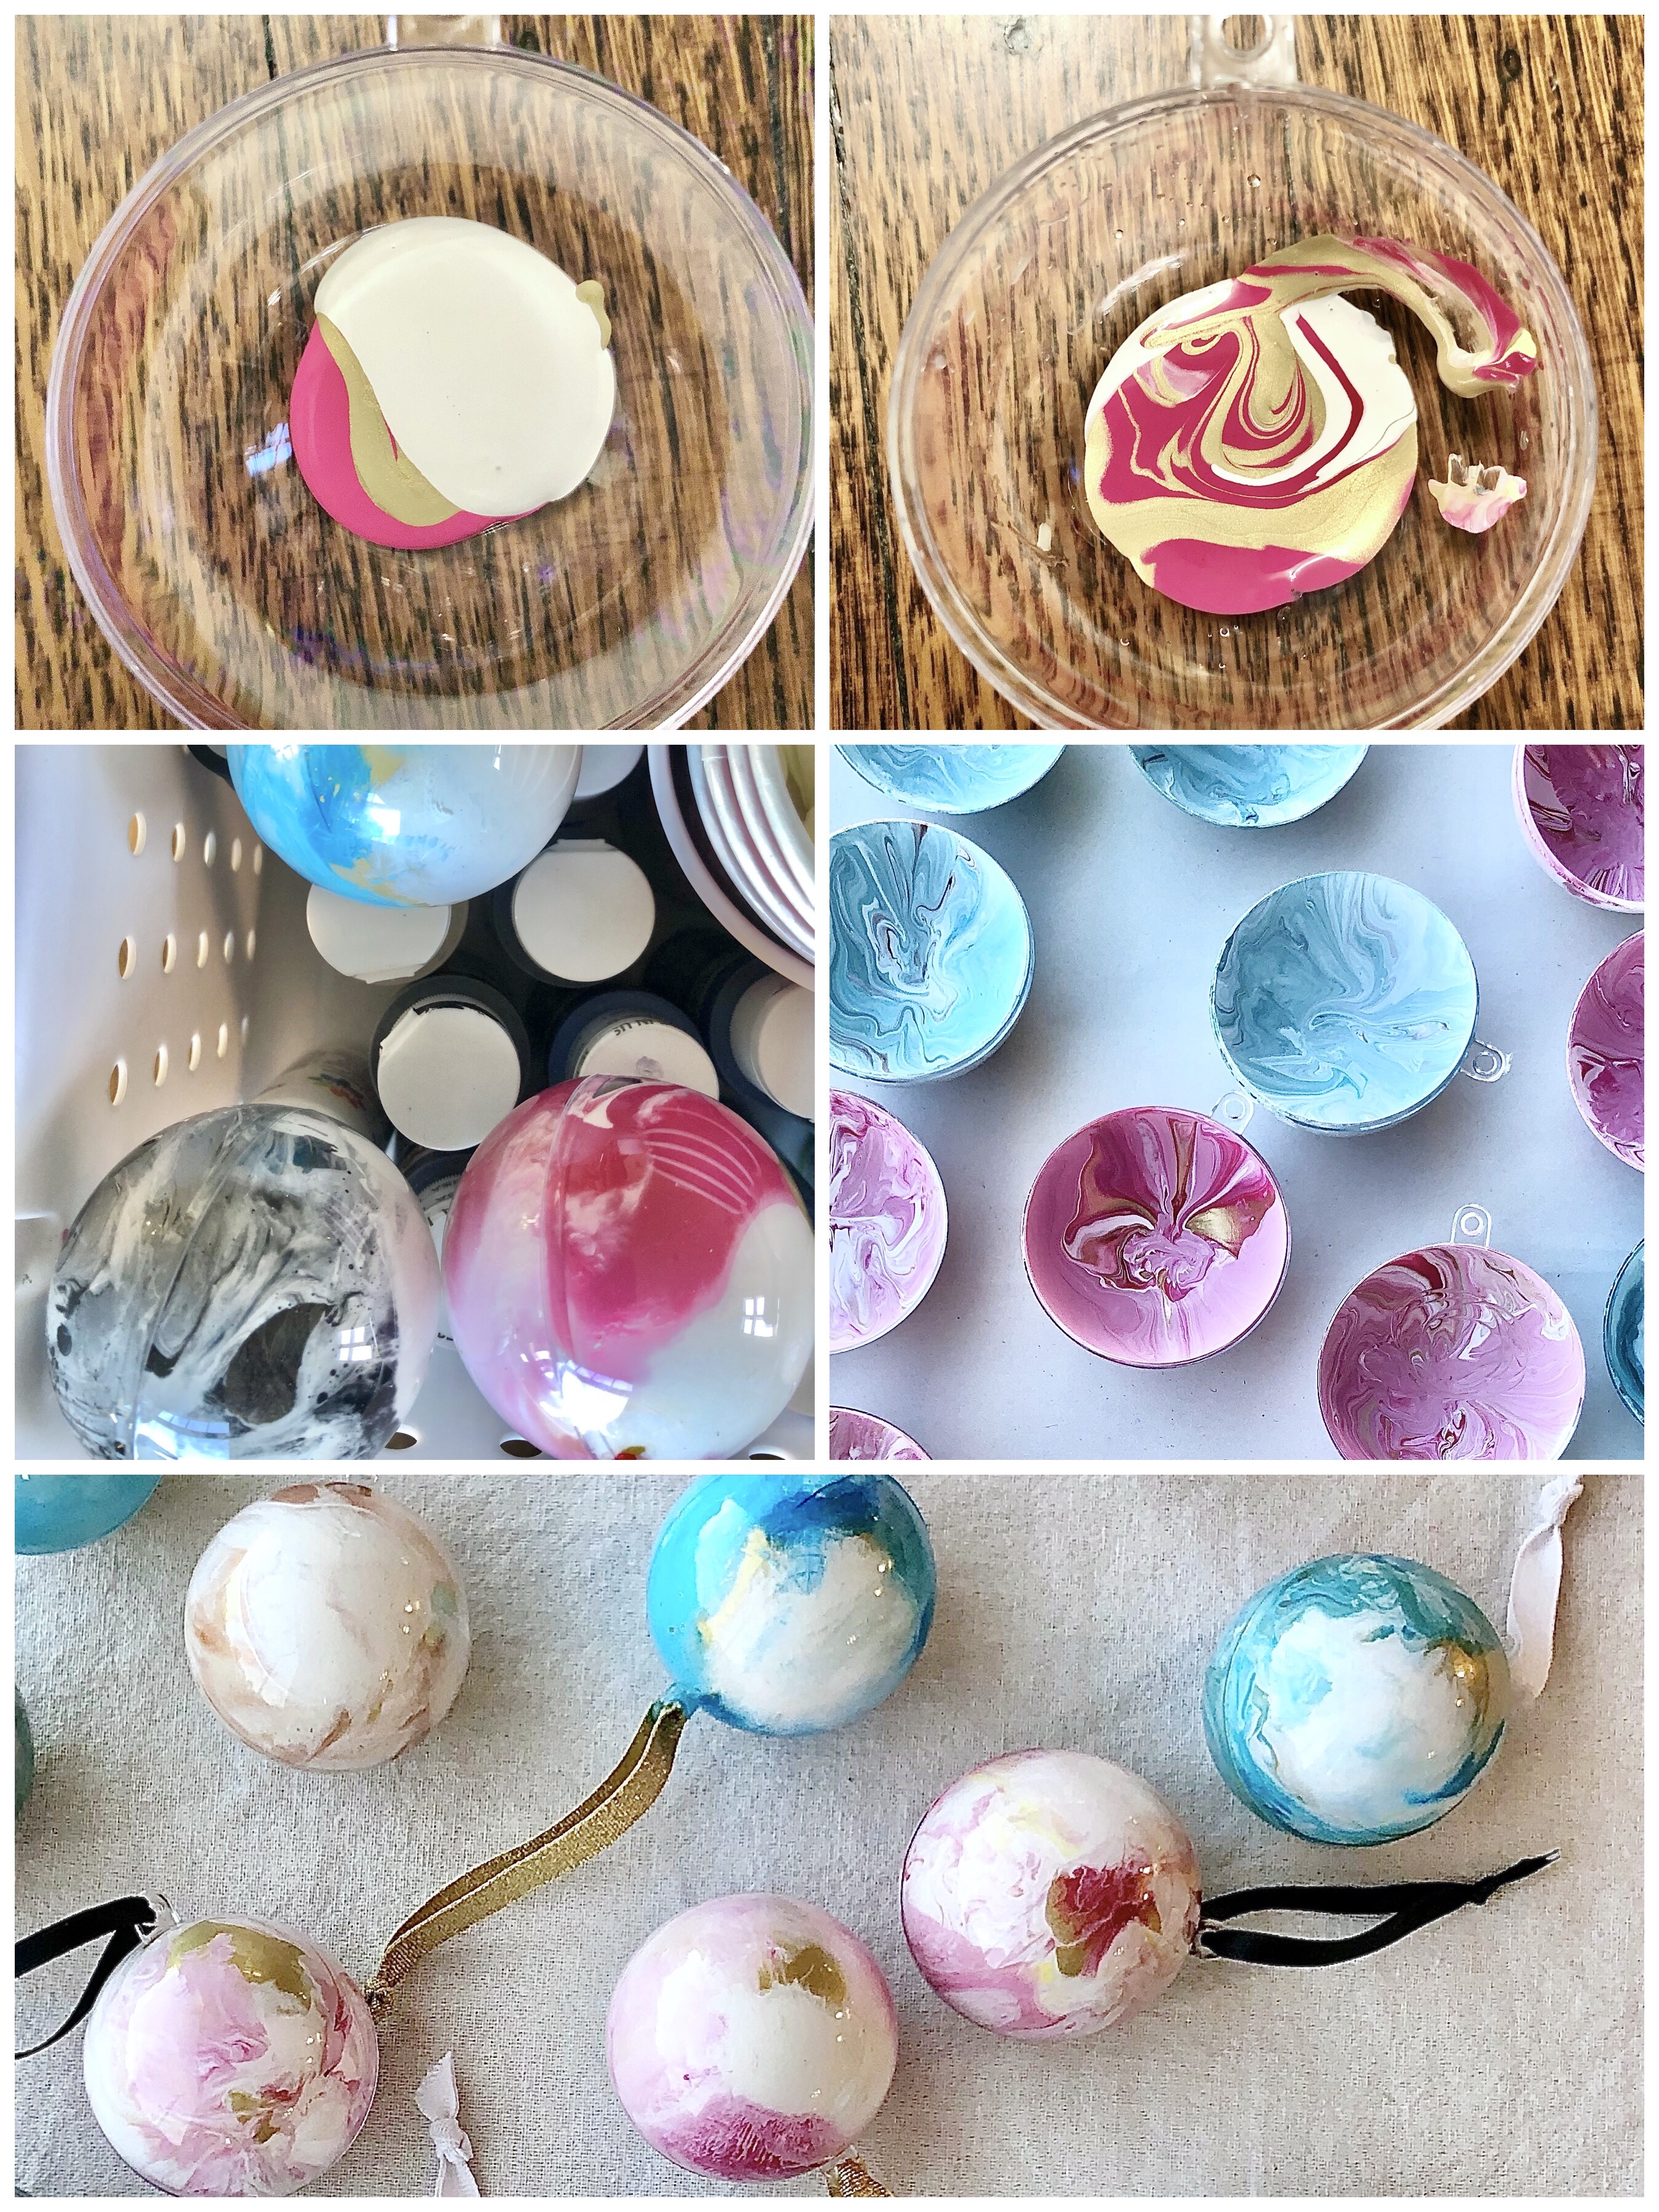
  • Squeeze a small amount of paint into your ornament (I put some in each side of the two-piece ornaments) – mostly white, with a bit of a color and a bit of metallic paint
  • To create flecks of color, you can splatter some paint (mine happened naturally, when I was at the end of a jar of paint, and it came out in small amounts) and let it dry a couple of minutes before starting to swirl the paint
  • Use a wooden skewer or toothpick to swirl the paints gently – don’t overmix, as the colors will continue to marble in the next steps
  • For the two-piece ornaments, I closed the ornament and slowly rotated it to let the paint marble. To let the paint slowly fill the open areas, I rested the ornaments on top of my paint bottles, with the open area at the bottom. For the one-piece ornaments, after rotating a few times, you can rest it upside down over a paper cup to let the extra paint drip out
  • Once my two-piece ornaments were completely painted, I opened them back up to let the paint try, careful to keep the two matching halves together
  • Once your paint is dry, you can reassemble your ornaments and add a hanger!
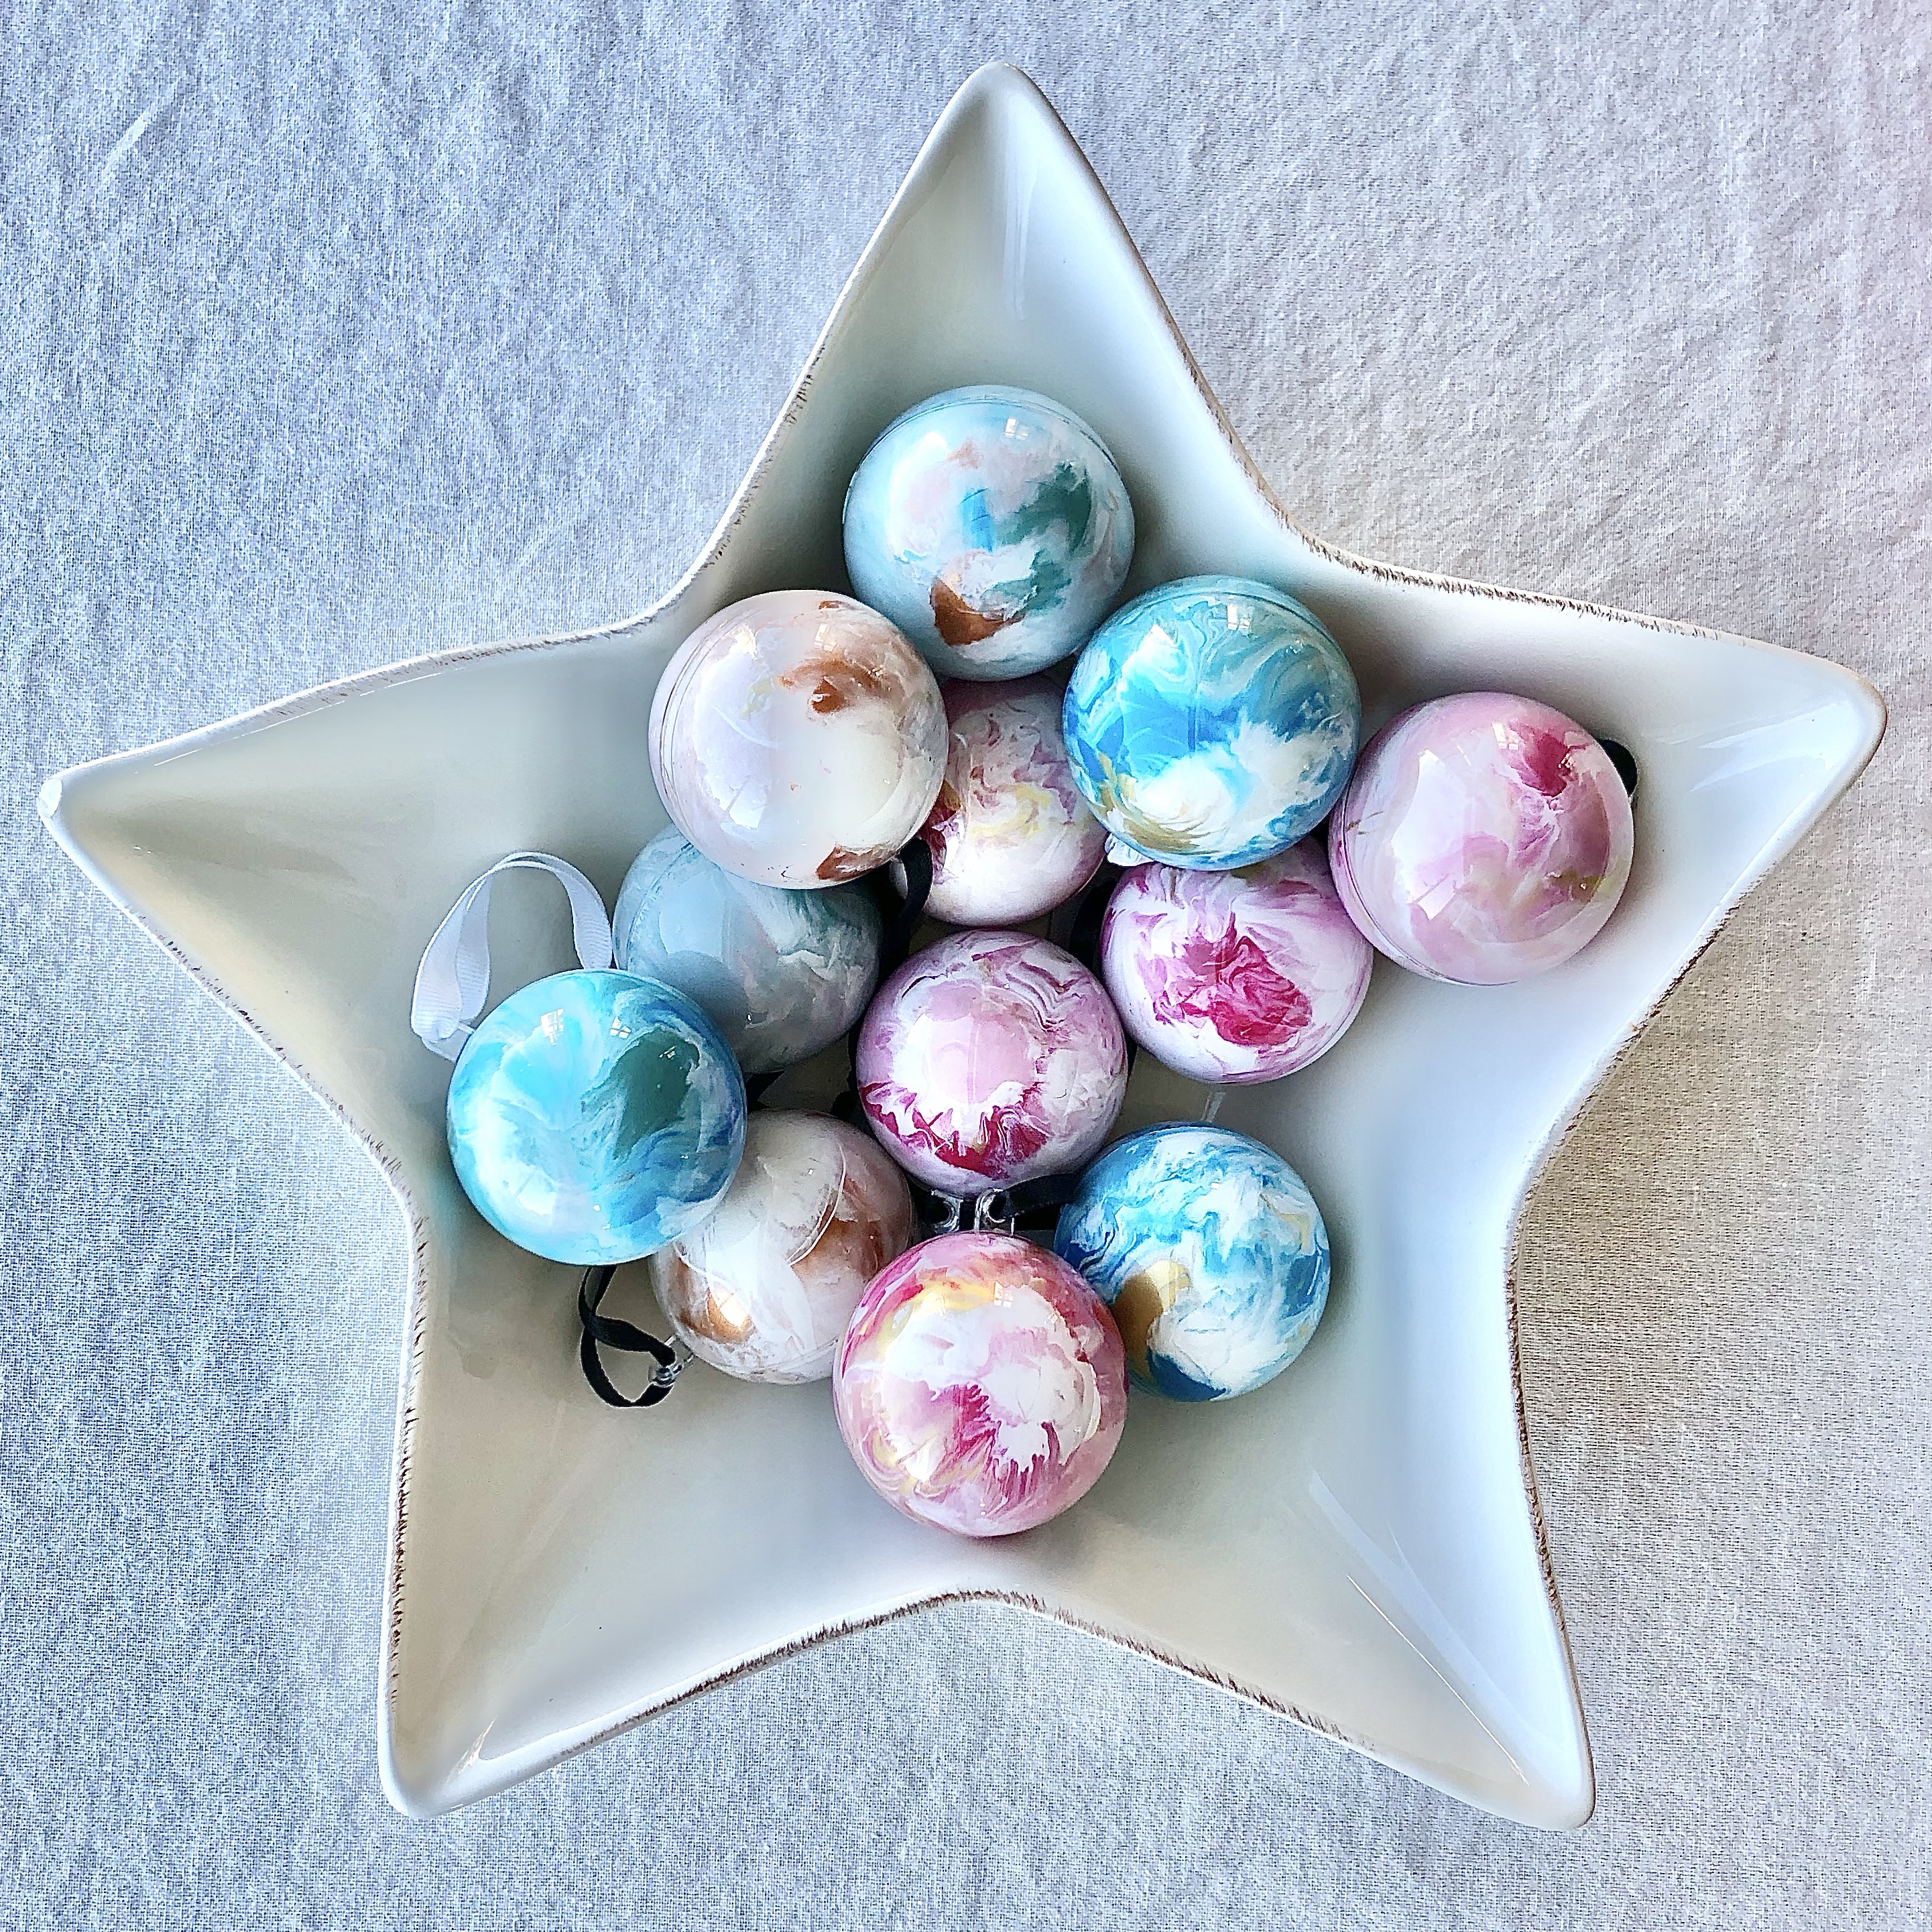
  • I love that this is one of those projects where every result is different, and you can’t go wrong!

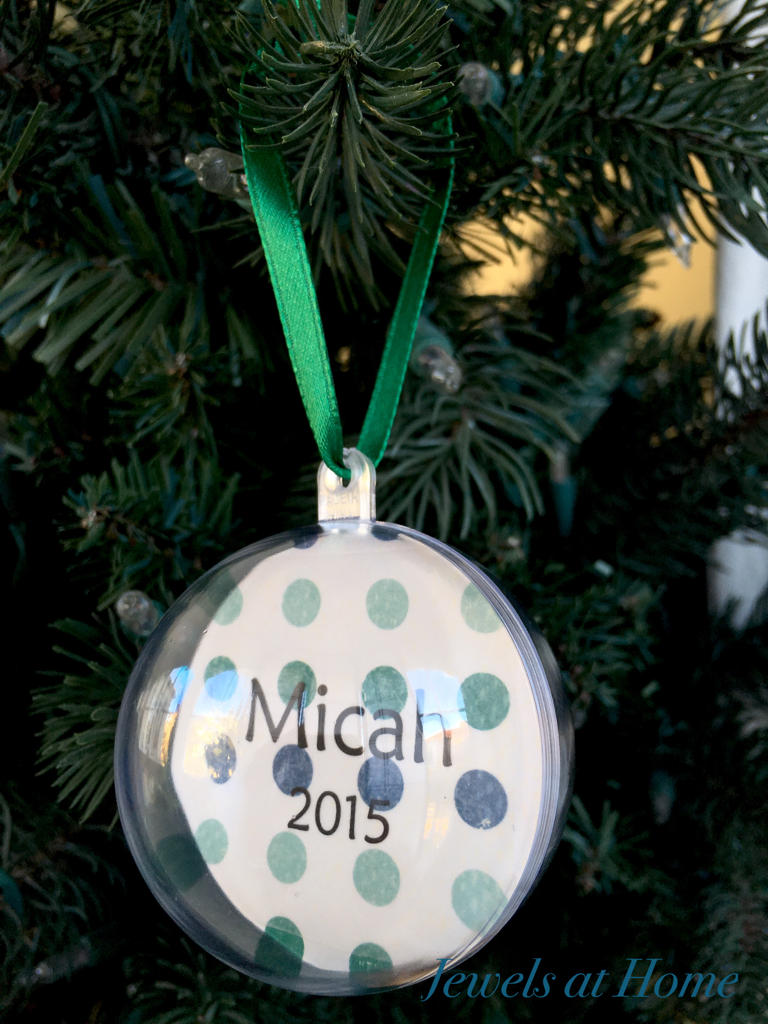
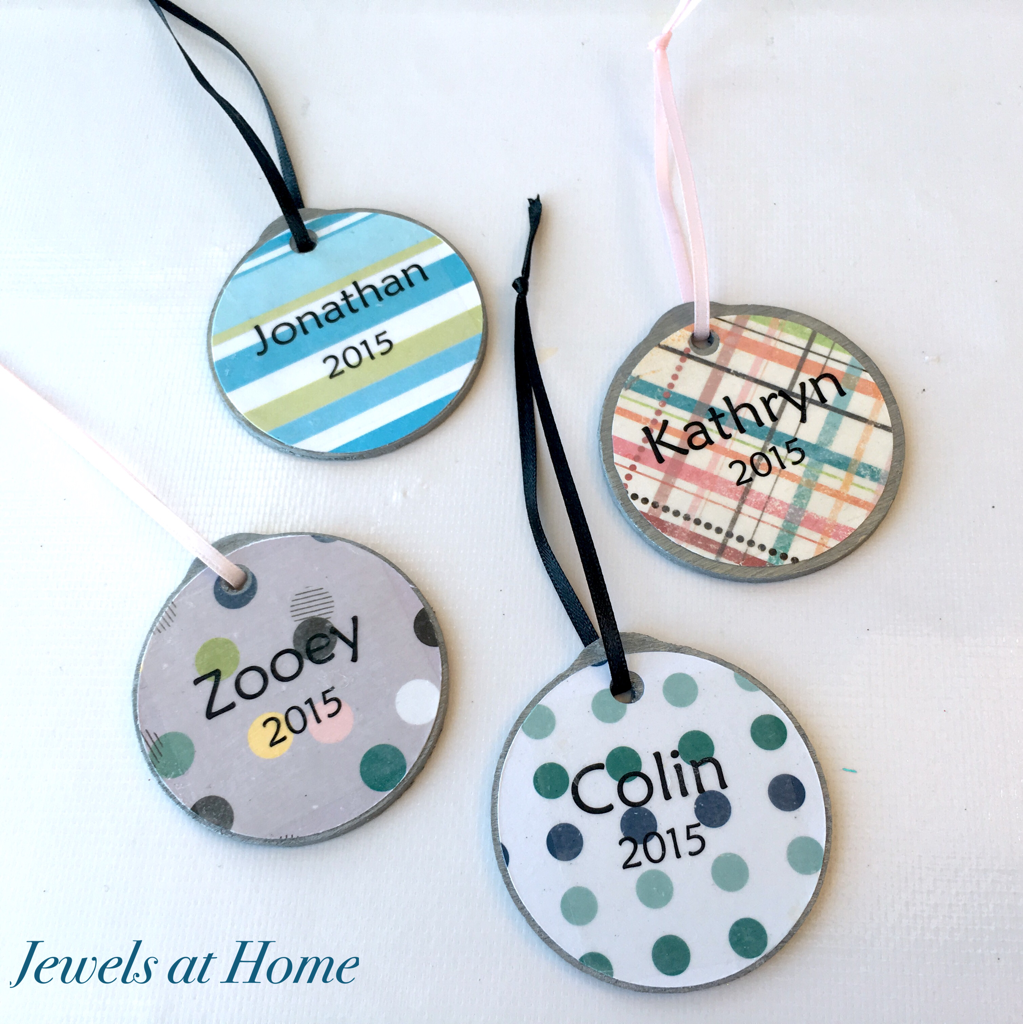
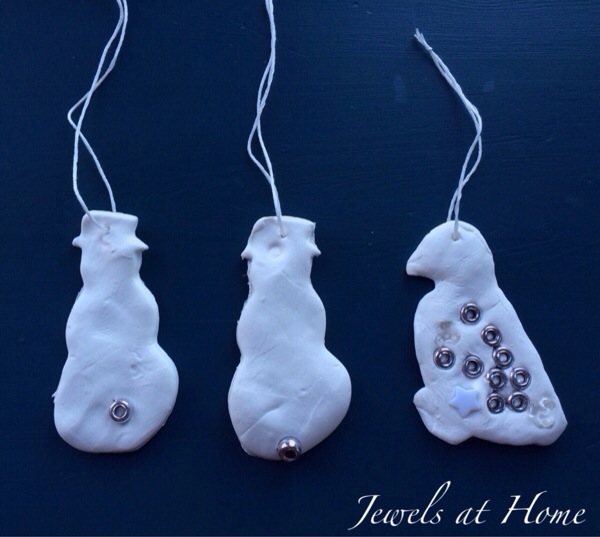
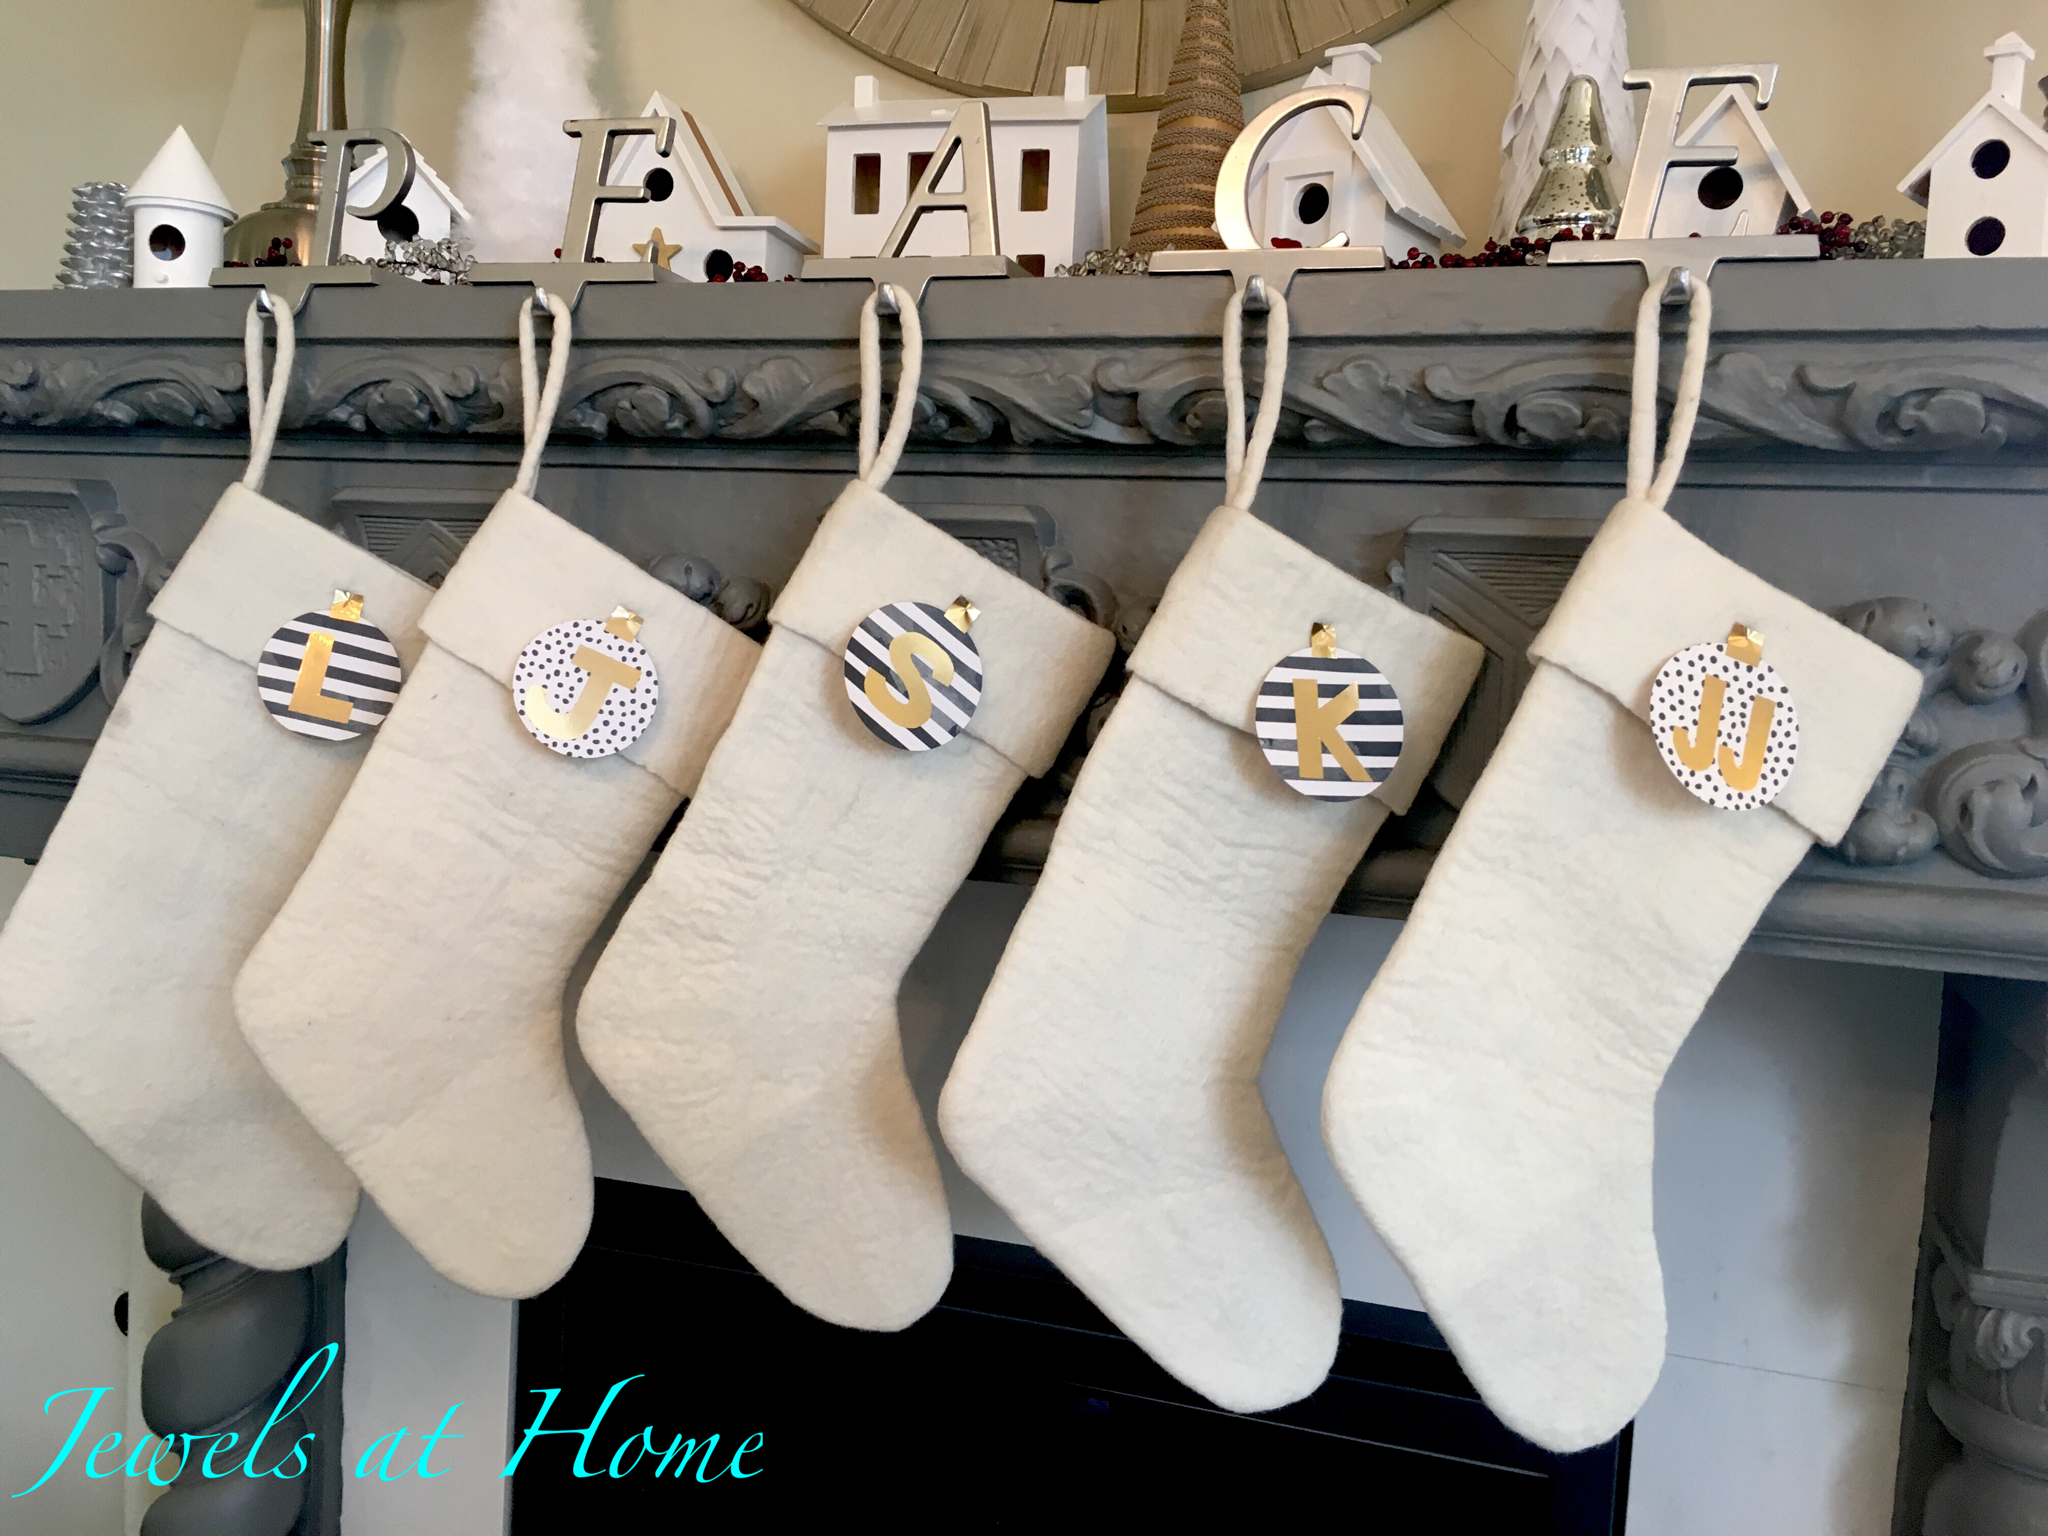
Here are some pictures of the finished ornaments. Looking forward to putting together our pastel-and-metallic Christmas decorations soon!

Julie aka “Jewels”

DIY Hand-Painted Chinoiserie Christmas Ornaments

For this year’s Chinoiserie Christmas, I mostly used decorations I already had from our “white and woodsy Christmas,” with the addition of these hand-drawn ornaments! This post is coming late, because it took me all month to finish these ornaments, … Continue reading

I’m dreaming of a (Blue and) White Chinoiserie Chic Christmas

It has been a busy few months here, but I’m sitting by the fire and finally have a minute to share our Christmas decorations – just under the wire this Christmas Eve. If there were a graph showing how many … Continue reading

Mod Metallic Christmas Mantel

This year’s Christmas is pared-down and pretty (if I don’t say so myself!). Most of our decorations are white, with touches of gold and silver.

I love how our simple white felt stockings from West Elm have fit into all of our Christmas themes, just by changing the ornaments. Here are the links to the past years’ mantels:

And this year, I used scrapbook paper and gold contact paper to make these ornaments that add a bit of gold and glam to our mantel. The stripes and dots make me think of a beautiful Kate Spade look.

And a few more looks at our mantel this year. Like the simple Christmas branch, it came together so quickly, which is a relief this busy season!


Have a cheerful and glamorous weekend!

“Jewels”


Felt Retro Monogram Christmas Ornaments

For the last few years, I have had a different theme for Christmas decorating each year. Of course, that doesn’t mean that I need to change all my decorations! I’ve gotten creative about re-purposing and adapting our ornaments and other decor to fit each theme. When I did my white Christmas two years ago, I bought lovely white felt stockings from West Elm. They worked just as well for last year’s white and red Christmas. For this year’s nostalgic retro Christmas, all I had to do was change out the initials on the stockings.

Felt Retro Monogram Christmas Ornaments | Jewels at Home

I used felt in our Christmas colors of red, pink, and blue and added white felt monograms. I attached them to the stockings with safety pins, so it will be easy to change them again, when needed! It’s amazing how this small project completely transforms the look of our stockings and mantel!

Here’s a look at last year:

Simple white and red Christmas mantel | Jewels at Home

And this year:

Felt Retro Monogram Christmas Ornaments | Jewels at Home

Felt Retro Monogram Christmas Ornaments | Jewels at Home

While we’re enjoying this year’s cheerful nostalgic Christmas, I’m already thinking about themes for the future – Scandinavian Christmas or a metallic Christmas – and it’s good to know I’ll be able to re-use these stockings again!

“Jewels”

Personalized Globe Christmas Ornaments 2015

Every year, I create personalized ornaments for our family and friends. Usually, I keep it simple with some store-bought ornaments that I personalize with markets or fabric paint. Tip: the felt ornaments are great for mailing!

This year, I wanted to make globe ornaments that would fit with our retro mid-century theme and colors of red, pink, and turquoise.

Personalized Globe Christmas Ornaments | Jewels at Home
To make these ornaments, I used

The process is very simple:

  • I started by printing labels with the kids’ names and the year on them. I was able to fit two names on each label and then cut the labels into 2″x 2″ squares.
  • I then cut out and stuck each label onto scrapbook paper and punched out a circle around it. I punched a second blank circle in matching paper and glued them two pieces together.
  • These circles fit perfectly into the ornaments!
  • Add a ribbon for hanging and you’re done!

Personalized Globe Christmas Ornaments | Jewels at Home
Personalized Globe Christmas Ornaments | Jewels at Home  Personalized Globe Christmas Ornaments | Jewels at Home

Personalized Globe Christmas Ornaments | Jewels at Home
Personalized Globe Christmas Ornaments | Jewels at Home Since these ornaments would have been hard to mail, I also made some similar ones that are flat, for our friends who live out-of-town.

Scrapbook Paper Christmas Ornaments | Jewels at Home
“Jewels”

Homemade Clay Ornaments with the Kids

I love decorating for Christmas, and this year, I wanted to create a white and outdoorsy theme.  I love our collection of ornaments from over the years, but just for a change, I only put up the white ones this year, leaving our tree a little sparse.

Thanks to the kids for doing a quick and fun project with me to make some new decorations for our Christmas tree!

Christmas ornaments to make with the kids.  These are simple and beautiful!  Jewels at Home

I used this DAS Air Hardening Modeling Clay, and it worked fine, but the dried ornaments are quite fragile, so I’m going to try the next round with this AMACO Cloud Clay. The kids have used it at school, and it seems to be more durable, though it doesn’t look like the shapes come out as cleanly. We’ll let you know!

This project was quick and simple – all you need is some clay, a rolling pin and cookie cutters, and some beads and/or rubber stamps for embellishing the ornaments.  Oh yes, and some string for hanging the ornaments.  I used embroidery floss.

All the kids were able to do the project pretty much on their own.  I did help the younger ones with rolling the clay flat, but even little J did the cookie cutters and beads on his own!

Here are the boys at work:

Christmas ornaments to make with the kids.  These are simple and beautiful!  Jewels at Home

Christmas ornaments to make with the kids.  These are simple and beautiful!  Jewels at Home

And here are the ornaments we made:

Homemade clay Christmas ornaments to make with the kids.  These are simple and beautiful!  Jewels at Home

These are the ornaments I made. I used beads and rubber stamps to decorate the clay.

Homemade clay Christmas ornaments to make with the kids.  These are simple and beautiful!  Jewels at Home

L made the three wise men.. actually, I believe he called them an “army of snowmen”…

Homemade clay Christmas ornaments to make with the kids.  These are simple and beautiful!  Jewels at Home

Little J made these stars himself! I had to take them away from him as soon as they were done, as he wanted to roll them back into a ball like play dough.

Homemade clay Christmas ornaments to make with the kids.  These are simple and beautiful!  Jewels at Home

These are K’s ornaments. I like how he tried a lot of different designs.

The tree looks much better now, but I’m hoping to make a few more ornaments to fill it out.

Homemade clay Christmas ornaments to make with the kids.  These are simple and beautiful!  Jewels at Home

Homemade clay Christmas ornaments to make with the kids.  These are simple and beautiful!  Jewels at Home

Homemade clay Christmas ornaments to make with the kids.  These are simple and beautiful!  Jewels at Home

Homemade clay Christmas ornaments to make with the kids.  These are simple and beautiful!  Jewels at Home

Homemade clay Christmas ornaments to make with the kids.  These are simple and beautiful!  Jewels at Home

Homemade clay Christmas ornaments to make with the kids.  These are simple and beautiful!  Jewels at Home

Homemade clay Christmas ornaments to make with the kids.  These are simple and beautiful!  Jewels at Home

Homemade clay Christmas ornaments to make with the kids.  These are simple and beautiful!  Jewels at Home

“Jewels”

20131215-125612.jpg

20131215-125622.jpg