Yup, yup, after years of wearing a “brown thumb” badge of honor, I finally fell hard for gardening and house plants about a year ago. As a crazy plant lady, I do, of course, occasionally indulge in buying some new plants and accessories. However, to keep up with my addiction to greenery, I have also tried to get creative with DIY solutions.

I’m going to dive right into the tutorial for these handsome plant stands, and you can find a list of other DIY planter ideas at the bottom of this post.
I read a lot of different tutorials on making mid-century modern plant stands and adapted those ideas to create my own.
Here’s what you’ll need:
- planter
- 1″x1″ wood for the legs – total length of 6 feet
- 3/4″x1.5″ wood for the platform – total length twice the width of the platform + 1 inch
- 4 wooden dowels
- wood glue
- Pocket jig
- drill
- saw
- chisel
- Screwdriver
- 6 wood screws
- Optional: paint, varnish, stain
Here’s how to do it:
- Measure the diameter of your planter, and cut two pieces of 3/4″x1.5″ wood 1/2″ longer than the diameter of your planter. These will be cross pieces that create the platform
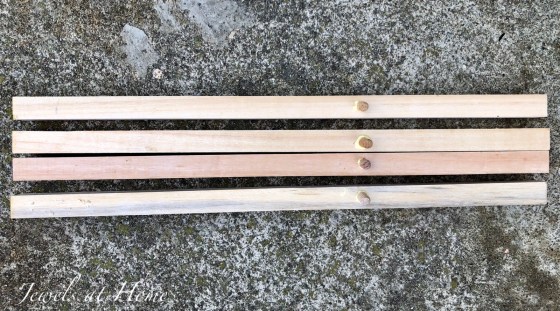
- Cut four pieces of 1″x1″ wood 18 inches long
- Cut a notch in the center of the two cross pieces using the saw and chisel. The notch will face up on one piece and down on the other, so they can connect
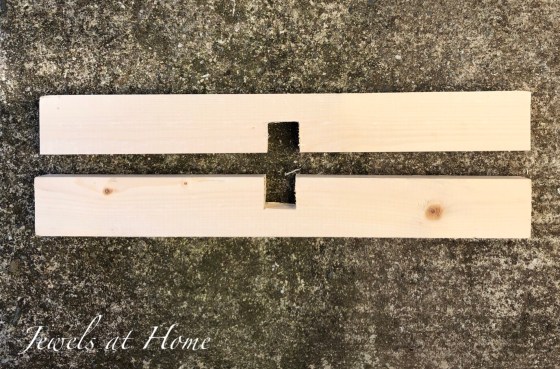
- Using a pocket jig, drill holes in the bottom of the cross pieces, at both ends. Remember that the notch will be on the bottom of one cross piece and the top of the other

- Drill holes into the end of each cross piece for dowels
- On the legs, mark the height you want the support pieces to be and drill a hole in each of the legs for the dowels
- Apply a bit of wood glue to the dowels and insert in the holes in the legs
- Apply a bit of wood glue to the other end of the dowels and insert into the holes on the cross pieces
- Insert screws into the holes created by the pocket jig, and screw into the legs, to help secure the cross pieces to the legs
- Connect the two “H-shaped” pieces by putting the notches of the cross pieces together, and use a wood screw from the top and bottom to help secure the connection
- You can now paint or stain your stand!
I used diluted grey paint to apply a wash to this stand (it’s also built with 3/4″ square wood for the legs):

I used walnut stain on this stand (built with 1″ square wood for the legs):


This was a pretty straightforward project, as long as you aren’t checking my right angles too closely 🙂 I might have to try making some more!
Want more DIY ideas for feeding your plant addiction without breaking the bank? Check out these posts:
- DIY faux marble planters
- DIY faux metallic planters – coming soon!
- Macrame plant hangers
- Ideas for displaying hanging plants
- How to propagate fiddle leaf fig and other plants
Happy building and happy growing!
“Jewels”

Pingback: Kids’ Bath Grows Up – New Lighting and Finishing Touches! One Room Challenge Week 6 | Jewels at Home