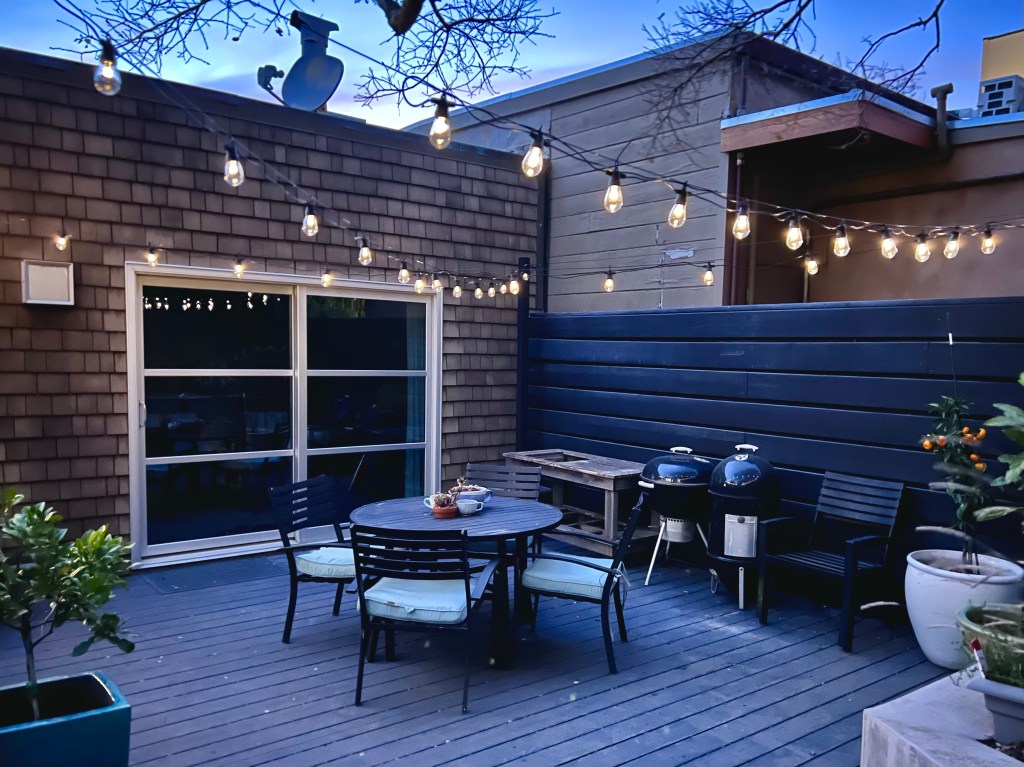
I have been in love with patio string lights for so long. Unfortunately, our last house didn’t really have a respectable outdoor entertaining space, but our rental house last year and our new house both have great patio spaces! I have been waiting to do this project creating posts to hang our lights, and I am so excited that we finally did it! It’s not hard (you do need some muscles!), and I am excited to share the how-to and our results!

Here’s what you’ll need:
- String lights: I love these solar-powered lights
- String light hanging hardware kit
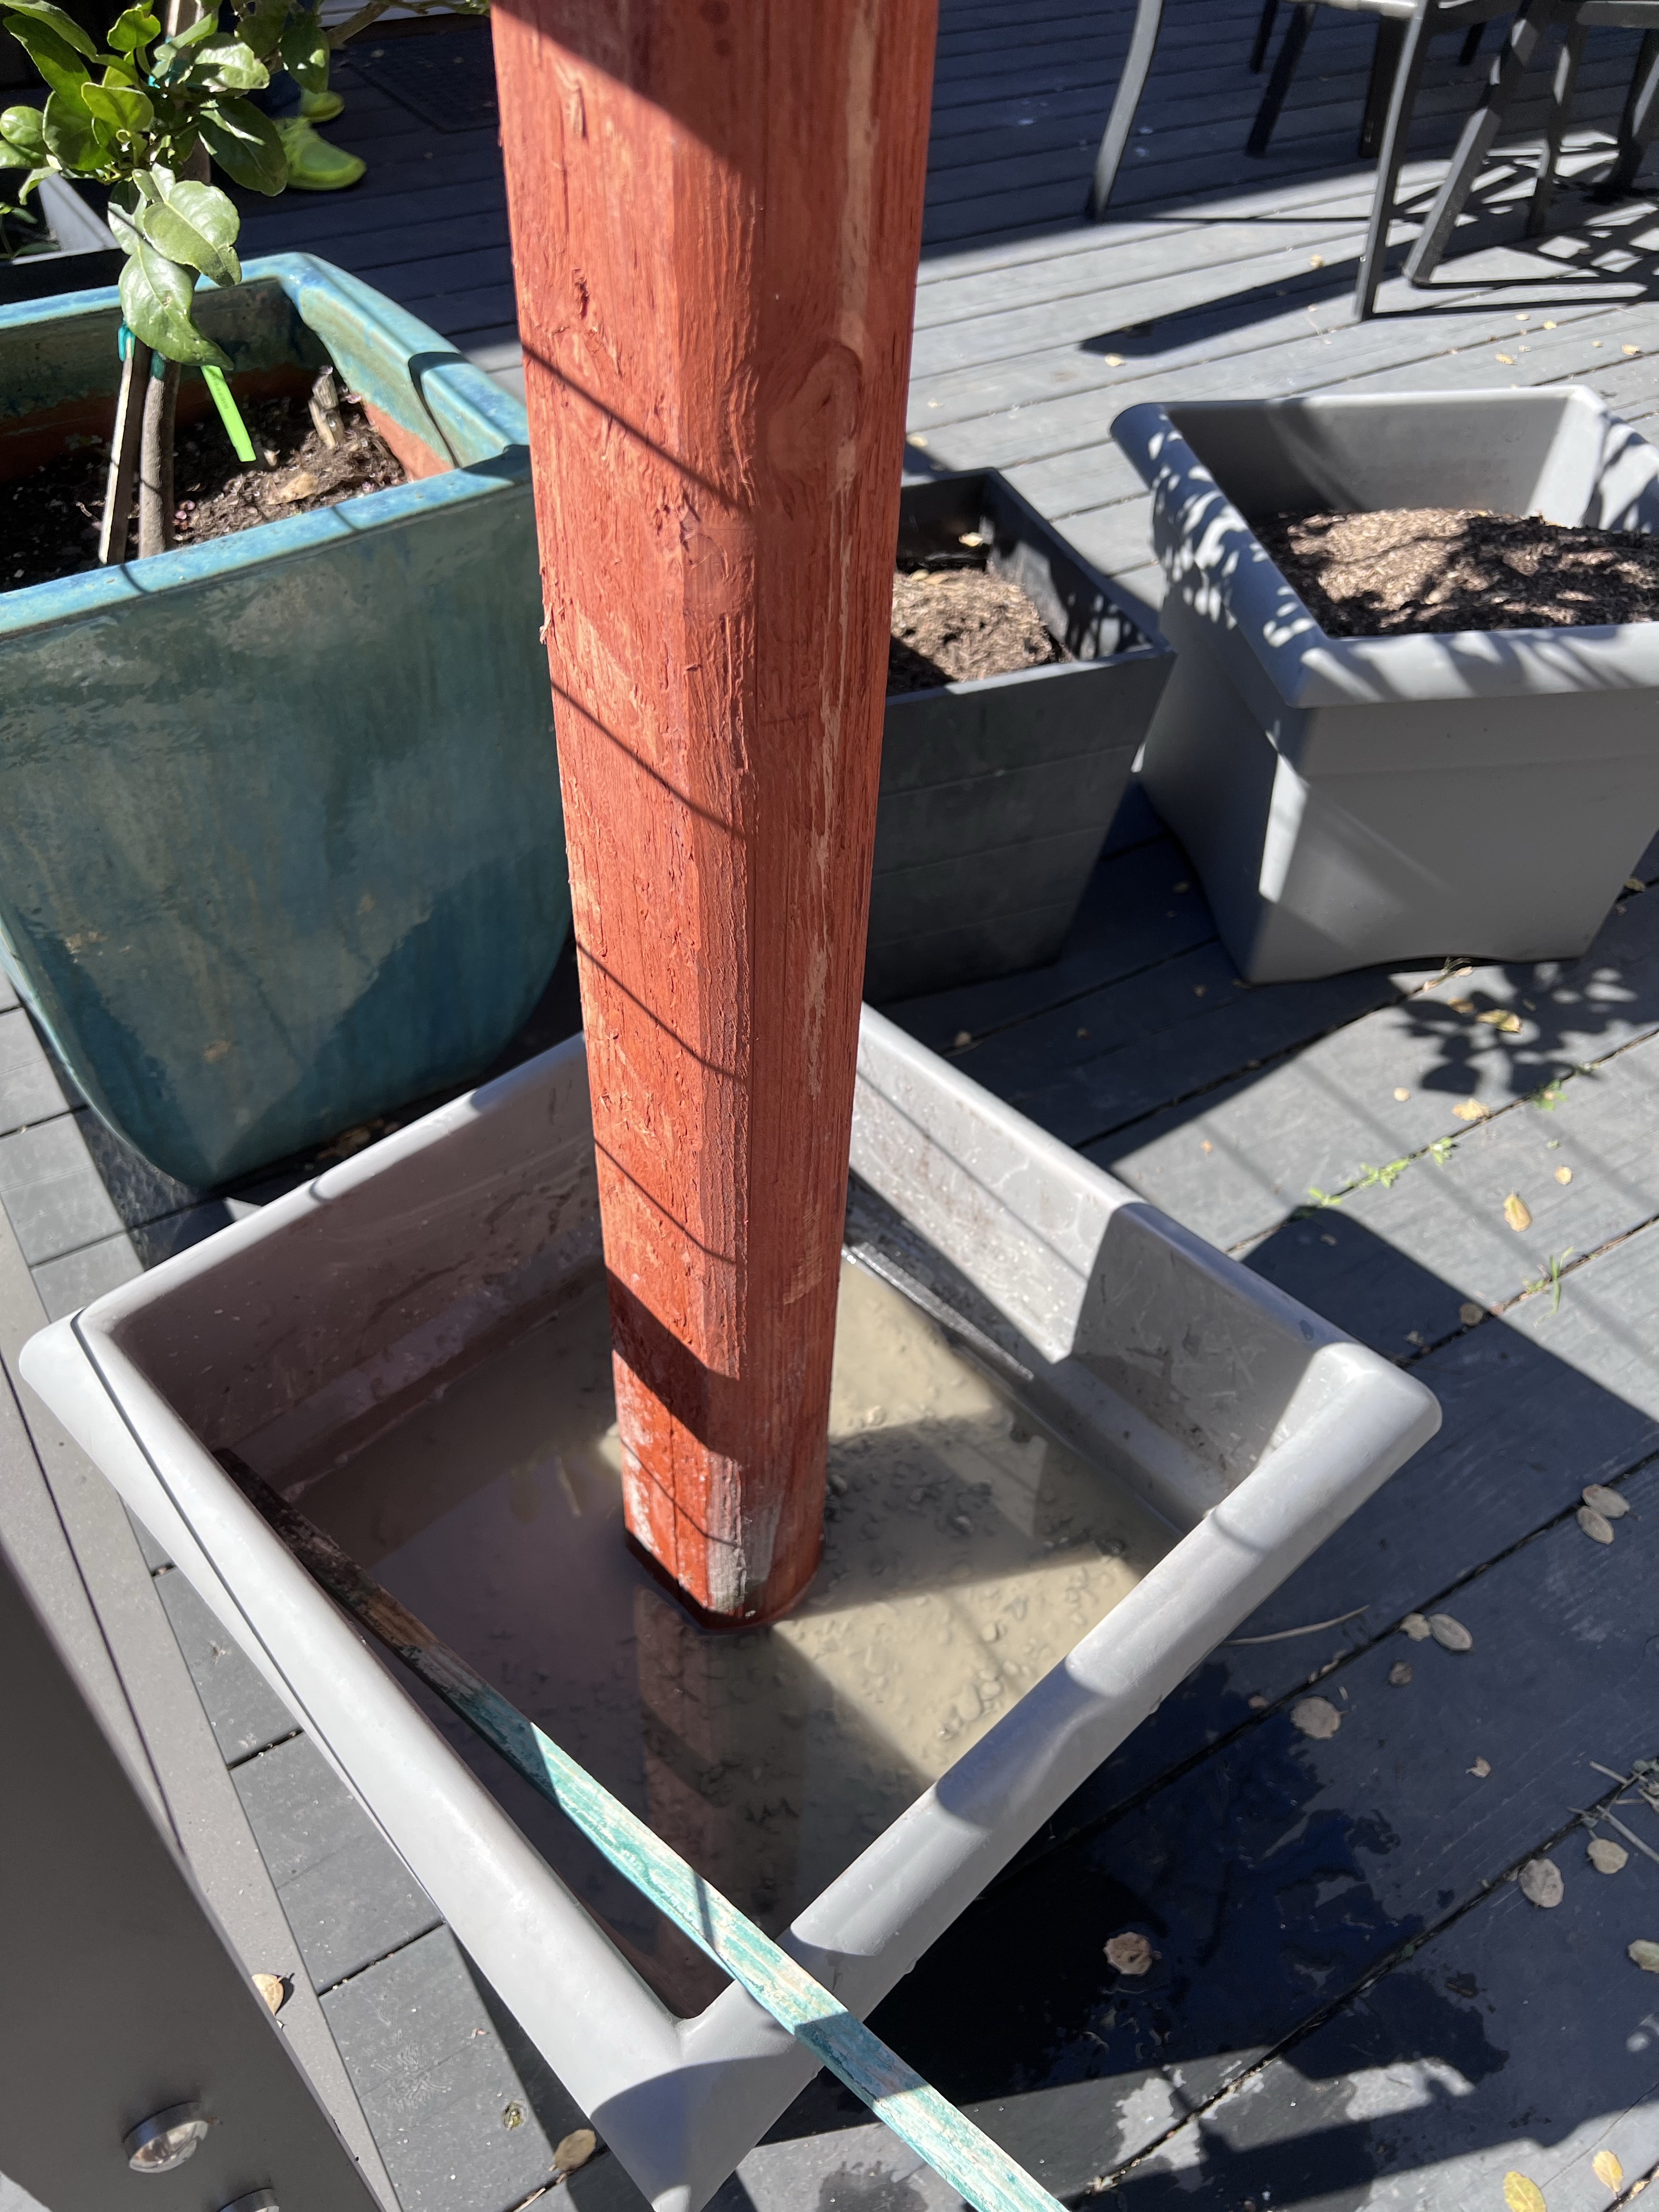
- 8′ Wood posts – I used cedar landscaping lumber that I found at the hardware store. I found them easier to handle than fence posts
- Planters – I used these square plastic planters I already had
- cement mix – I used Quickcrete, which is fast-setting and very easy to use. I used 1.5 bags per planter, but your quantity will depend on the planter that you use
- gravel
- soil
- plants
- Tools: drill, screwdriver, wire cutters, spirit level
- Optional: exterior paint
Here’s how to do it:
- Attach the hanging hardware to the top of your posts
- Place a post in the center of an empty planter
- Pour in the concrete mix and add water according to the instructions
- Use the spirit level to check your post is vertical
- With the fast-setting Quickcrete, we didn’t have to use any extra supports for the post. We did check the level a few times as it set, but it pretty much held in place on its own
- Repeat for the other posts
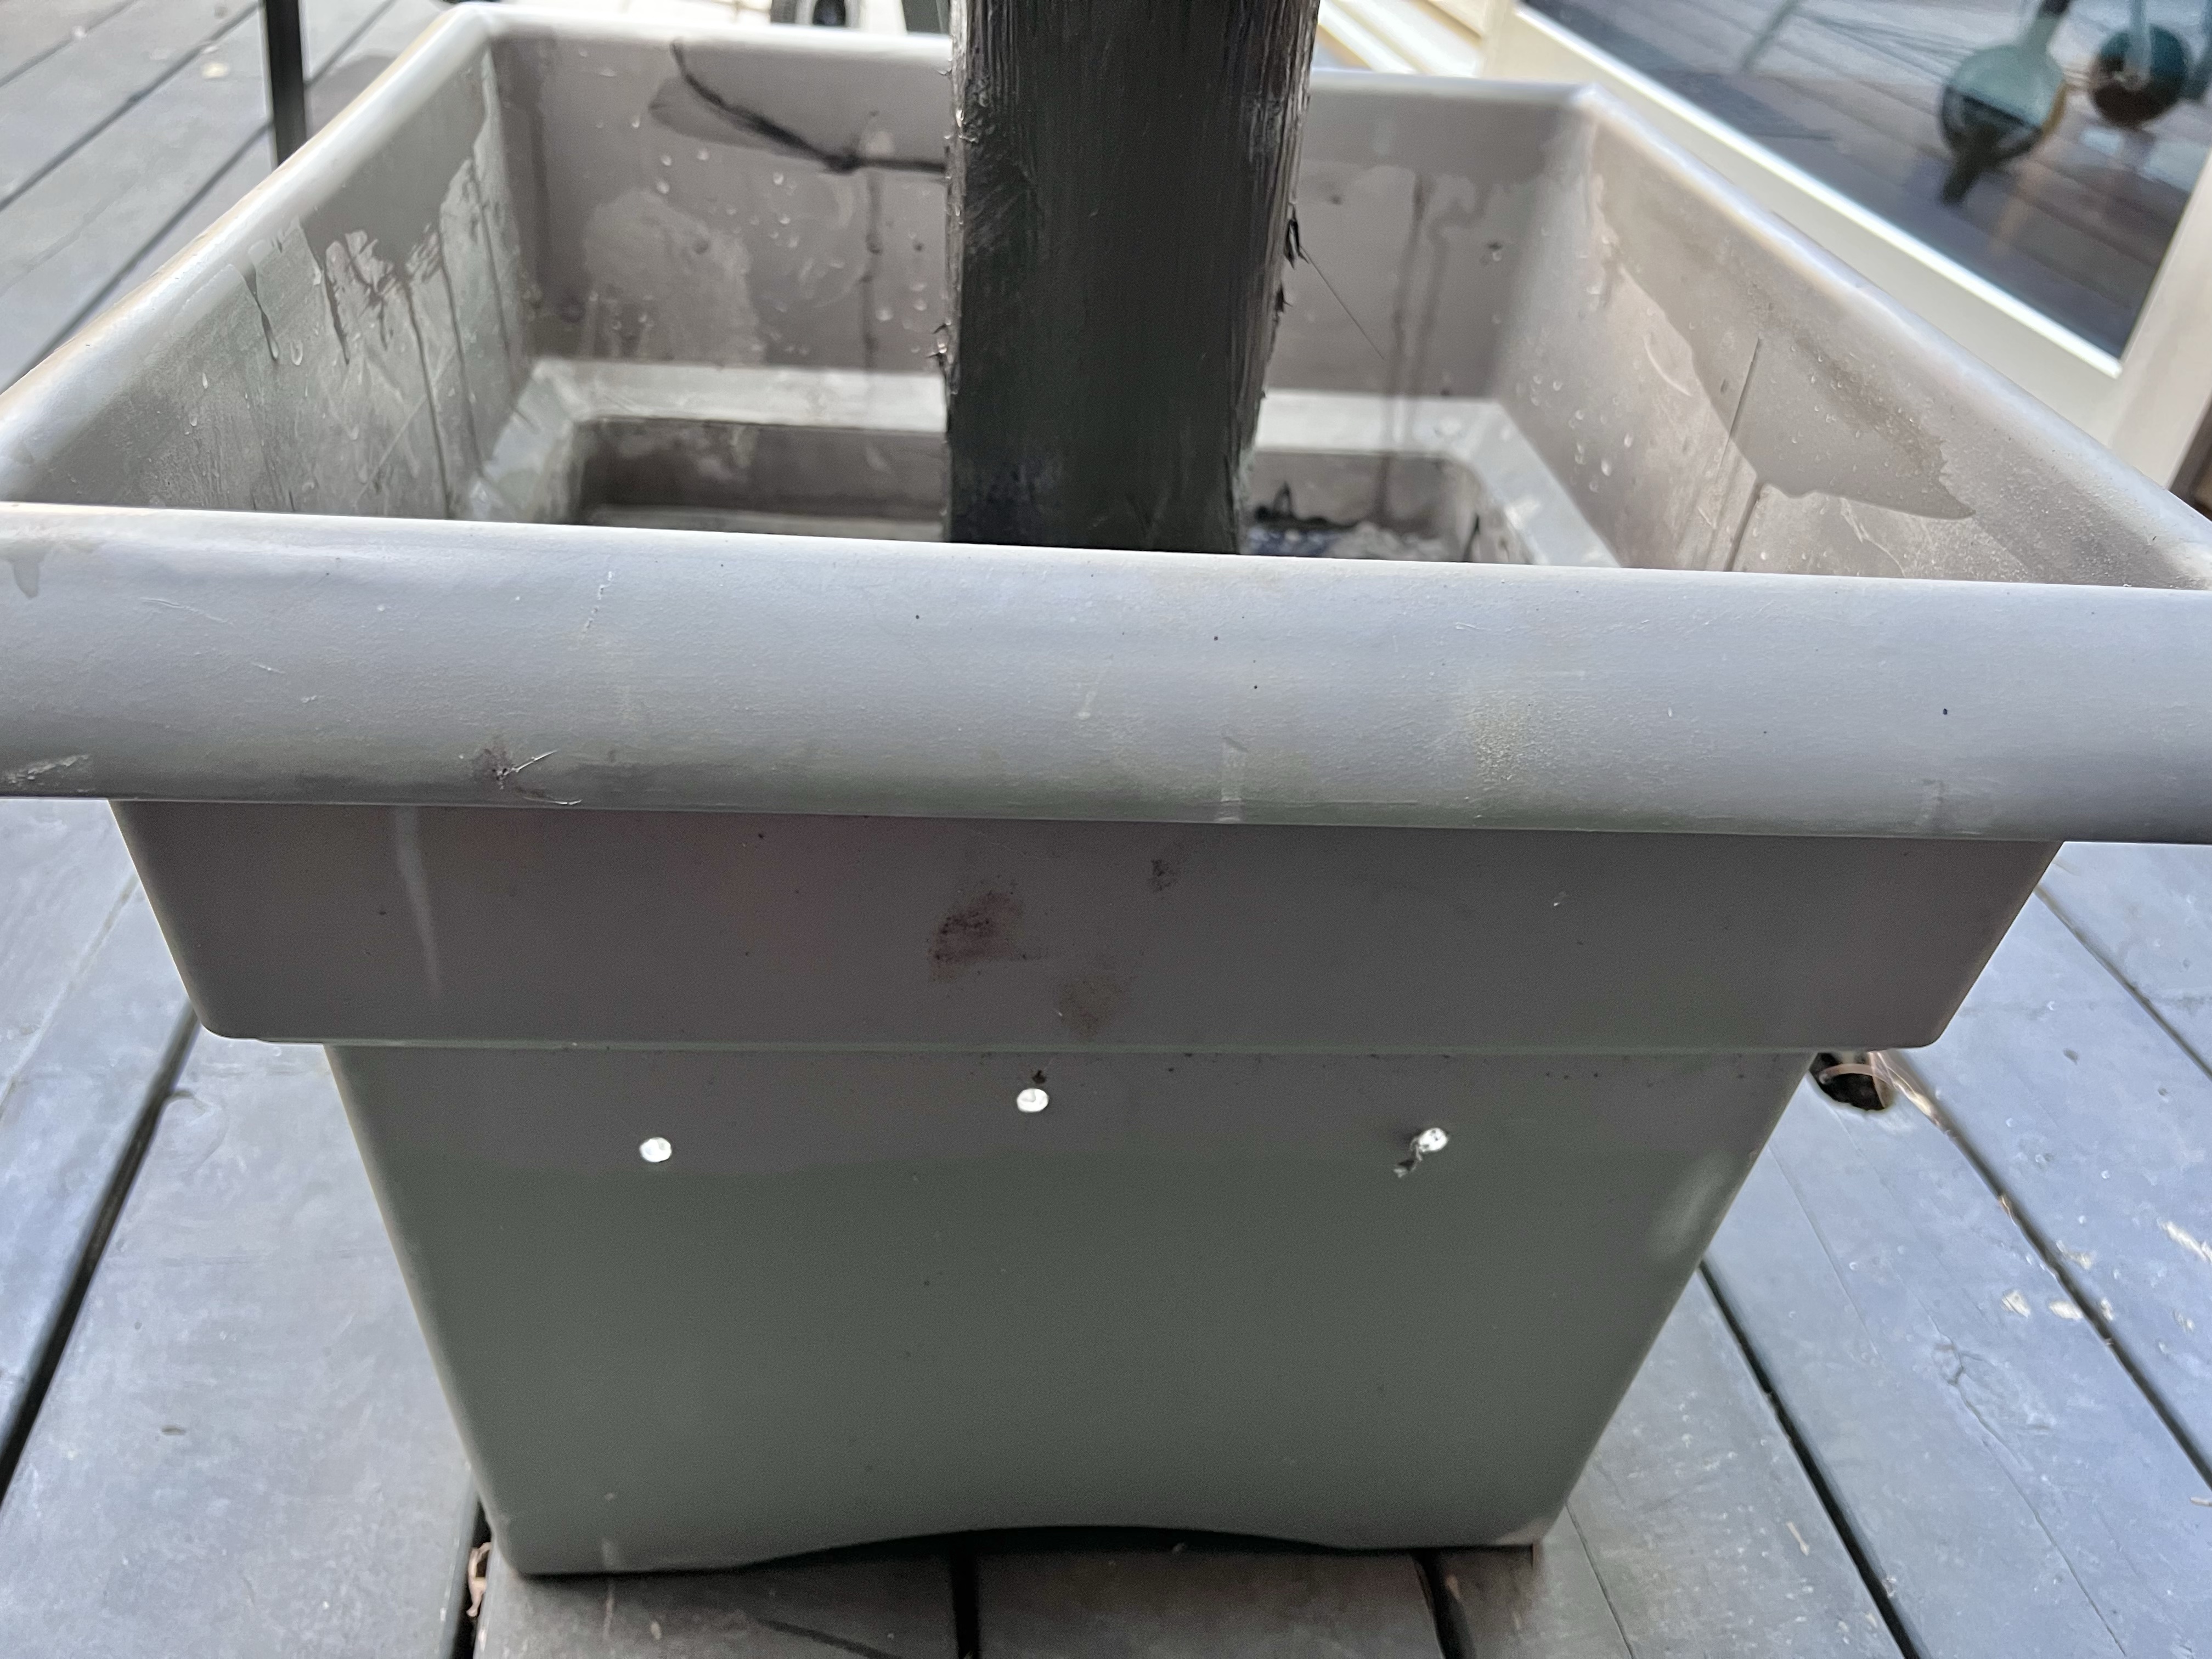
- I painted my posts black to blend into our patio decor
- Drill drainage holes in the planters just above the line of the concrete
- Add gravel, soil, and plants
- Install the patio lights according to the instructions with your hanging kit

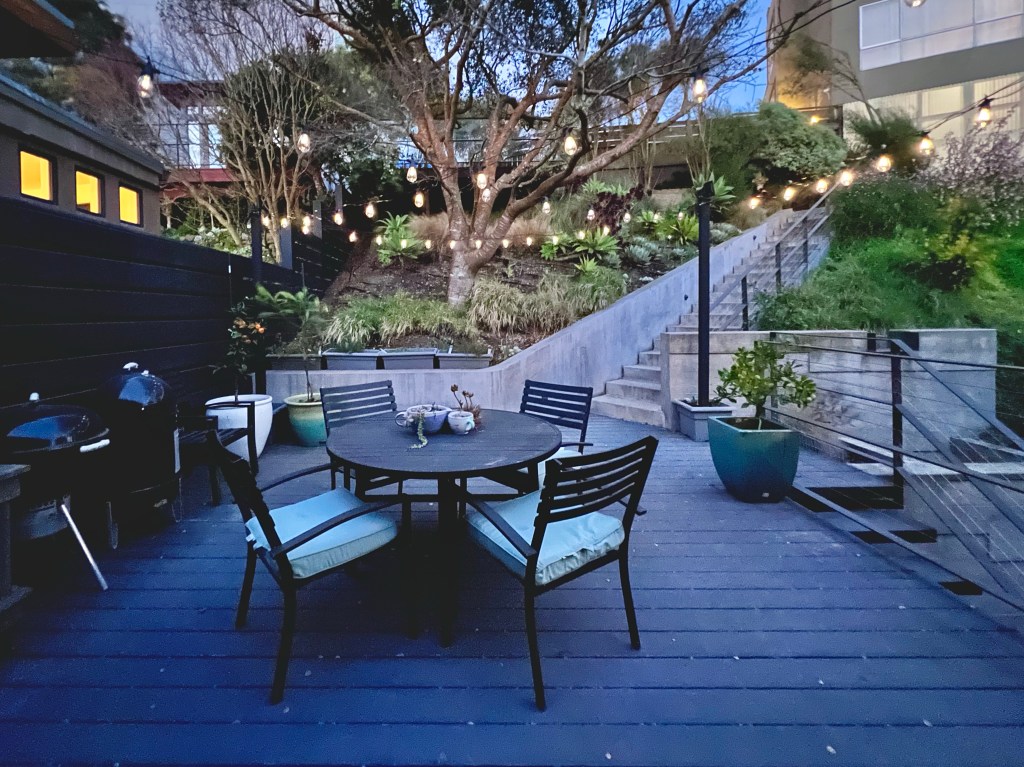


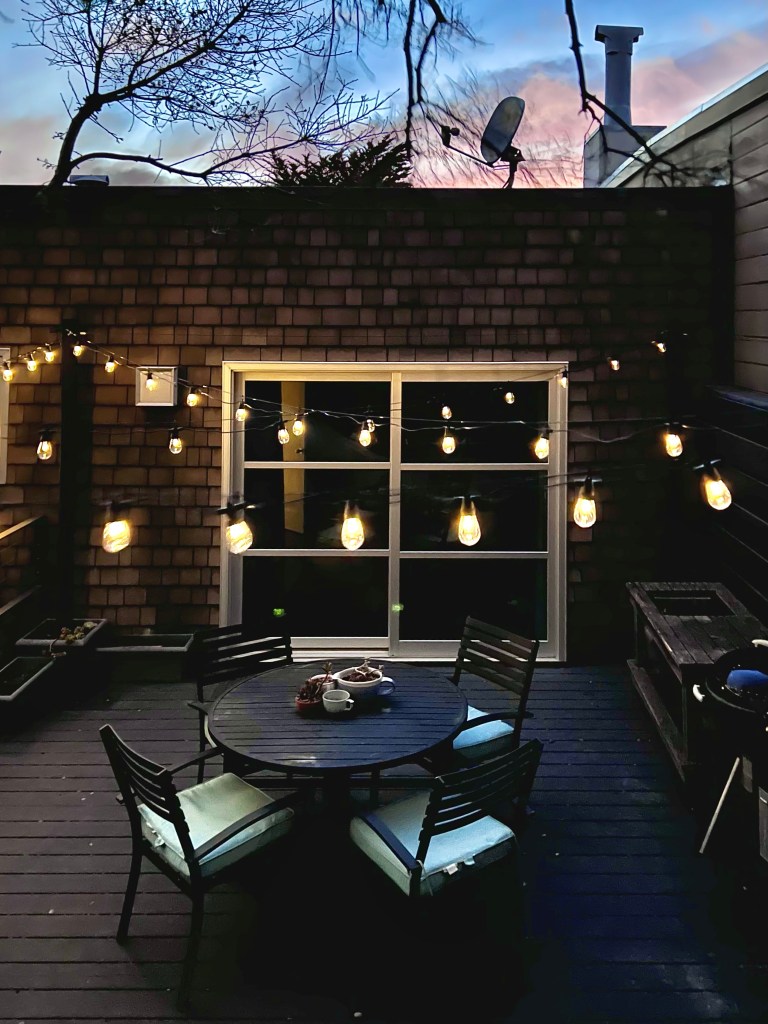
Of course, we had a warm spell last week and it’s cooled off again, so we’ll have to wait a bit longer to hang out here!
Julie AKA “Jewels”
