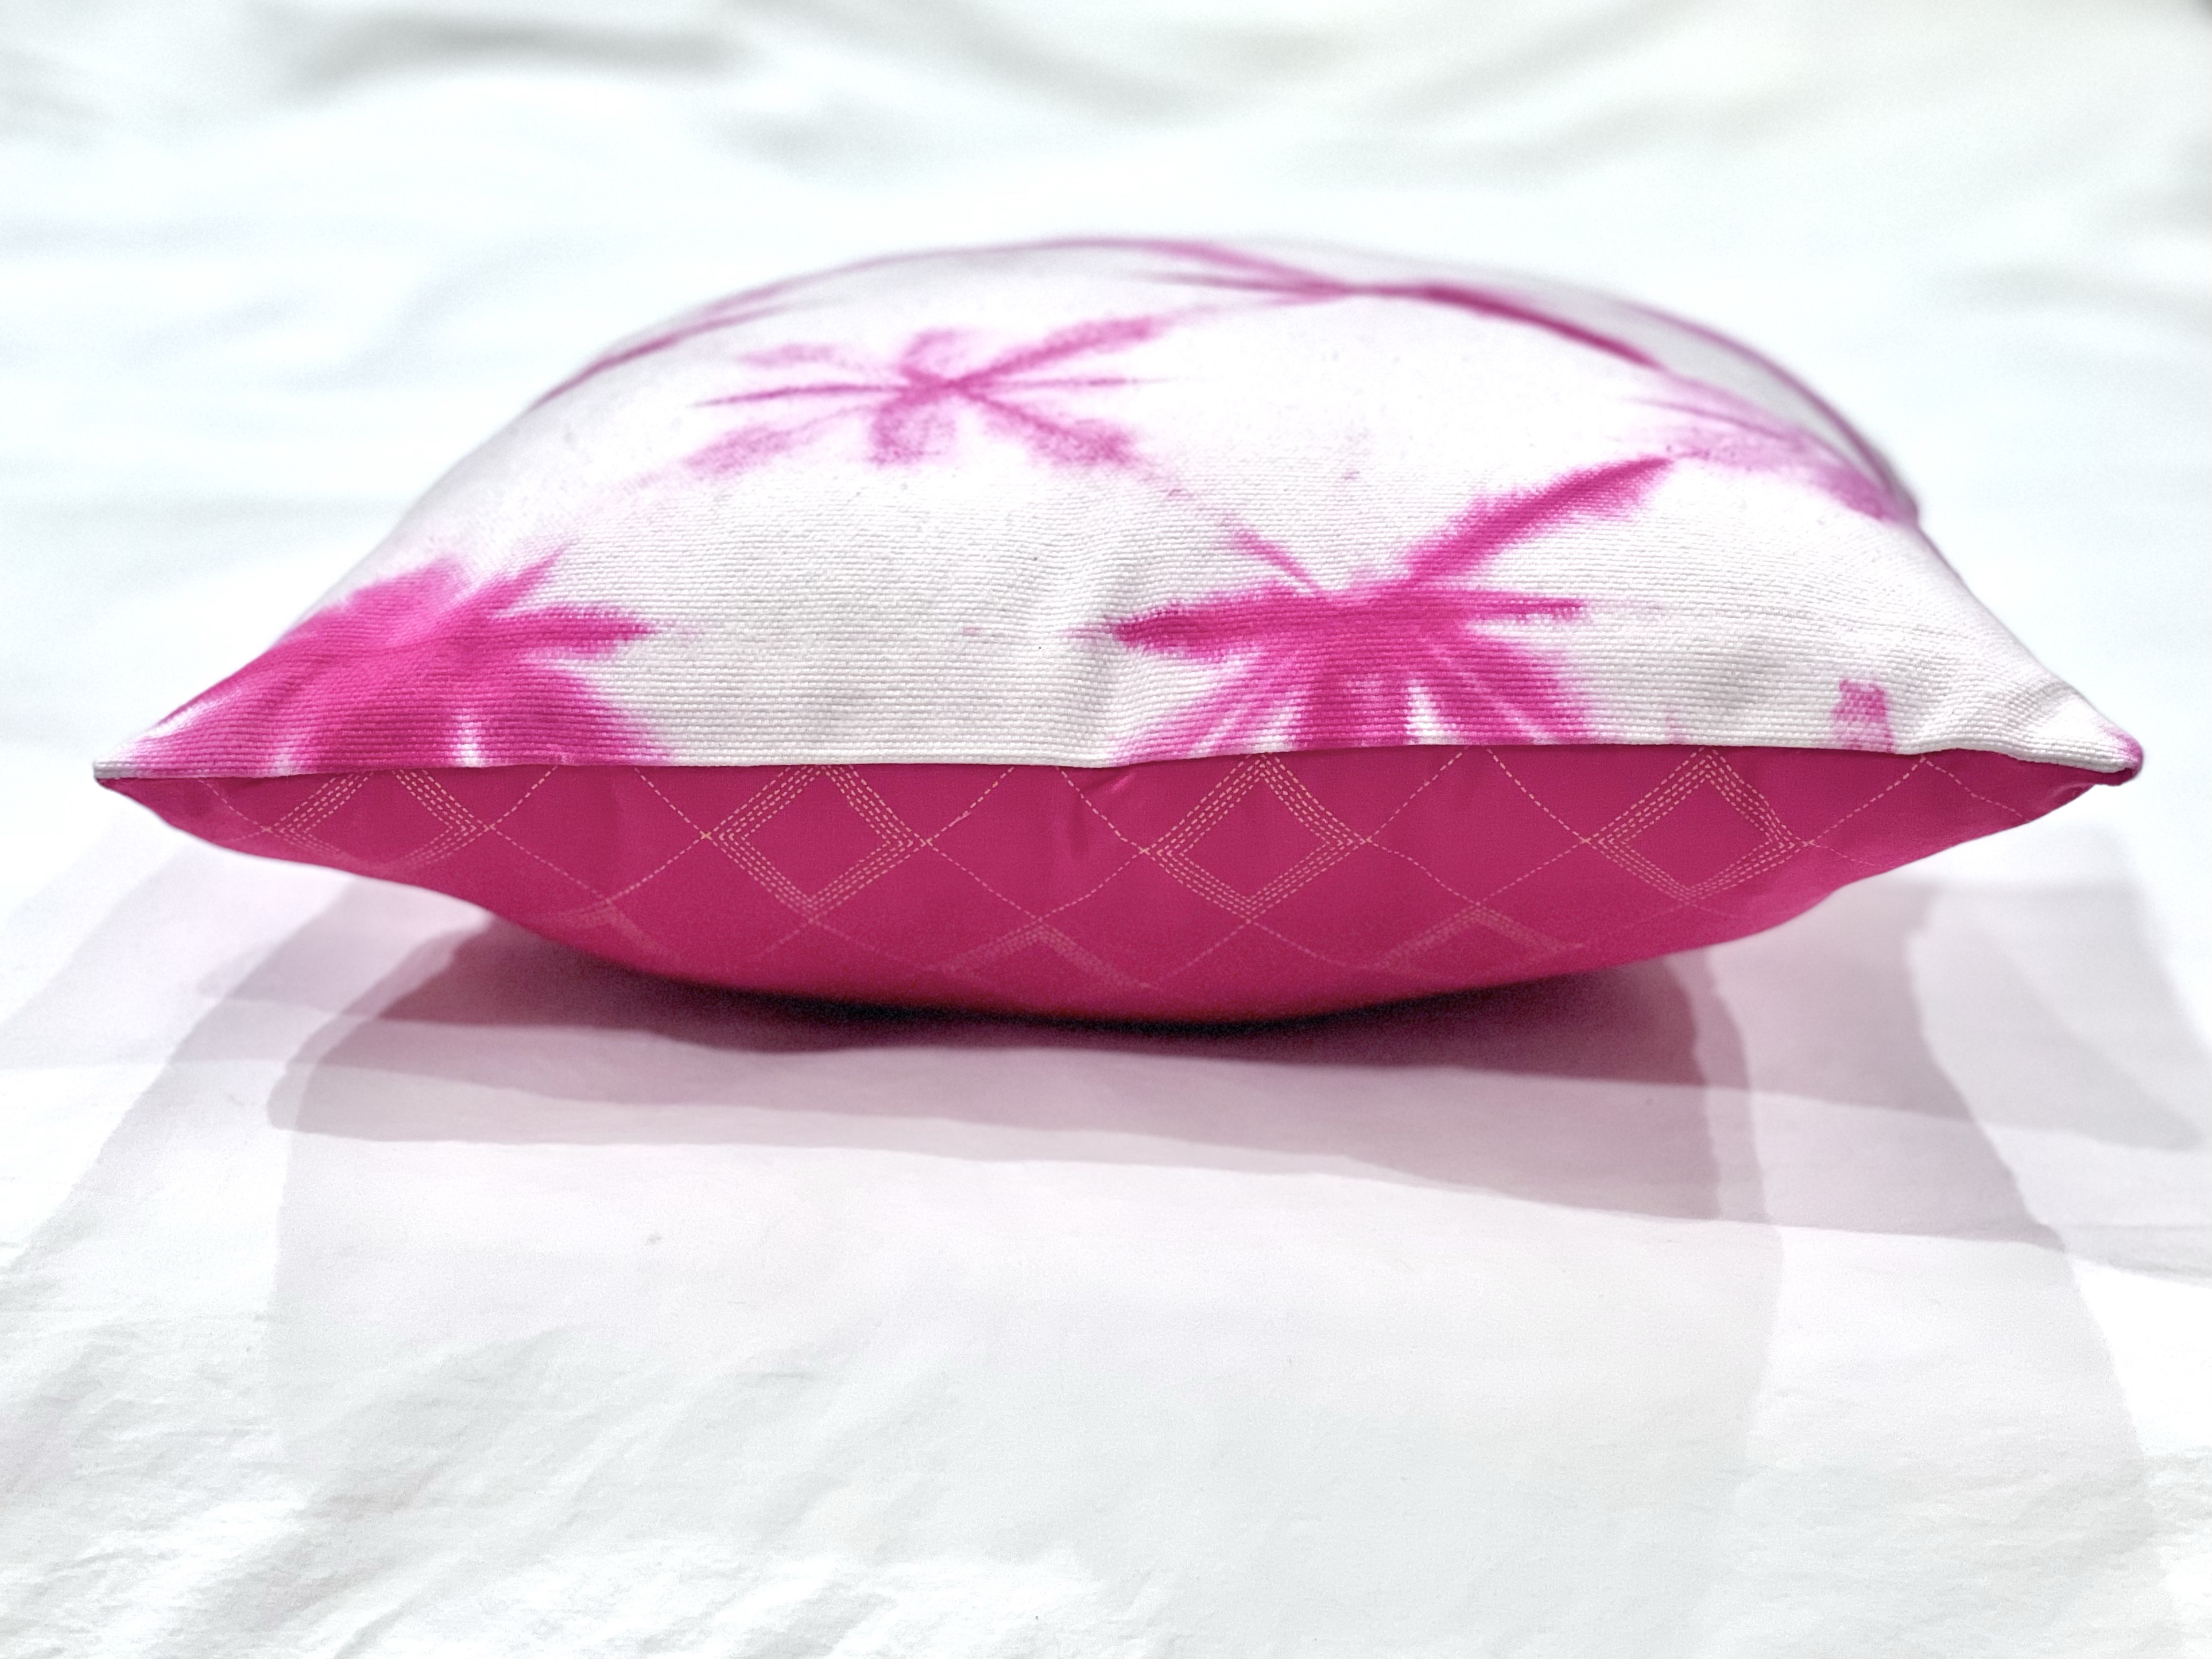
Well, I started gathering inspiration for decorative cushions a while ago and got the nudge – or was that a kick in the pants? – to finish them in preparation for holding my friend’s baby shower at our house. I’m so happy they’re done. It’s amazing how accessories can really complete a room. Can you spot all the throw pillows I added to our bedroom here?

Pillow Forms
At our house, the insides of our cushions come from all over the place: old cushions I wanted to recover, ready-made pillow forms, and pillow forms I made myself.
It goes without saying that you could make pillow forms by sewing a fabric pouch and stuffing it. Here are a couple of other things I’ve done.
- I made some pillow forms from inexpensive sleeping pillows (look at Target or discount stores) cut in half and sewn closed. These turn out to be slightly rectangular, rather than square, but I think that adds some interest and variety.

- For bolster pillows, I use a piece of foam in the center and wrap it in a few layers of batting, before covering it in a plain fabric. This makes a more solid form that will, you know, bolster.

Basic pillow cover
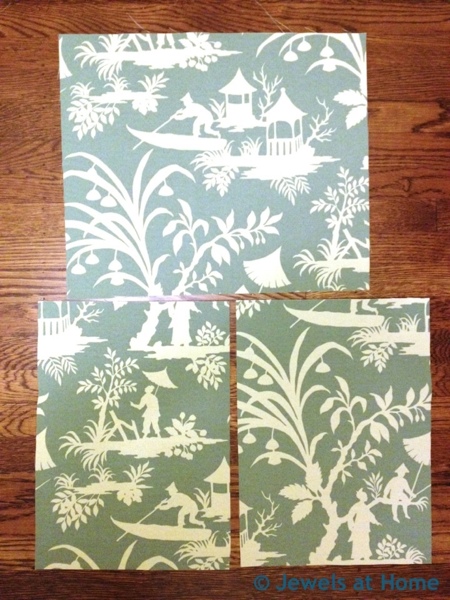
If you have a fabric that makes a statement on its own, a basic pillow is perfect for letting the pattern shine, without making your pillow too busy. That’s what I did with some of this Robert Allen Lake Paradise print that I had left over from reupholstering our dining chairs. This pillow ended up in our foyer and was a great opportunity to tie the entry into the adjacent living-dining room. Here are the instructions for a simple cushion cover.
- Cut the front piece of the cushion about a half inch bigger than your pillow form. You don’t need to allow for the depth of the pillow – it will squeeze in there and give some fullness.
- The back of the pillow is two pieces, each 2″ wider than half the width of your pillow, for example, this pillow is 19″ wide. 19 divided by two is 9.5. 9.5 plus 2 is 11.5, so each half of the back will be 11.5 inches wide
- Finish the center edge of the back pieces by folding under a hem and sewing it down.
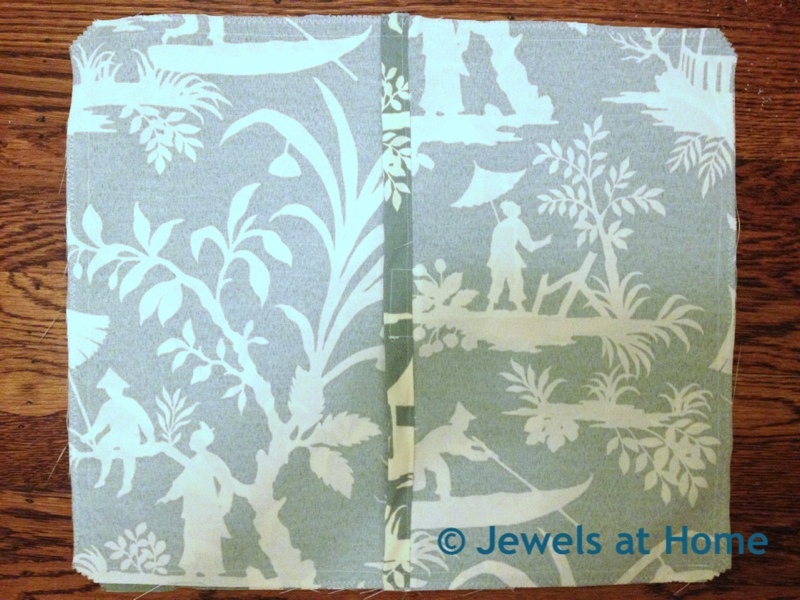
- Attach Velcro to the center of each of the back pieces, on the front of one piece and the back of the other, as shown.
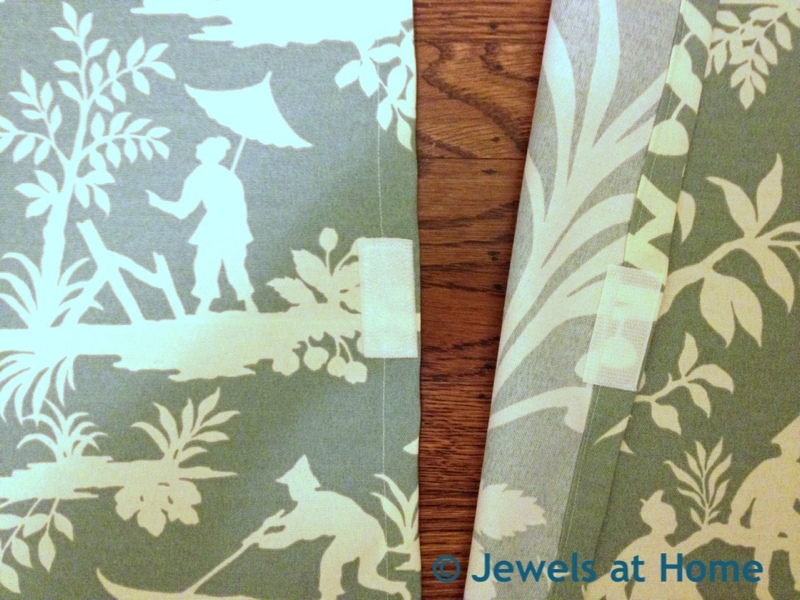
- Close the Velcro and treat back as one piece.
- Lay the back piece on top of the front piece, with the right sides facing each other.
- Sew around all four sides of the pillow with a half inch seam.
- Clip the corners at a 45 degree angle, as shown, to reduce bulk.
- Finish the edges with a zig-zag stitch or serger.
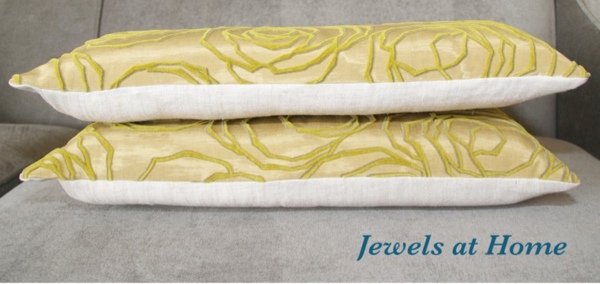
Bolster Pillow Covers
I made these the same way, but I placed the opening towards one end, so it is easier to get the pillow in, especially since these have a foam center and are stiffer than the other throw pillows.
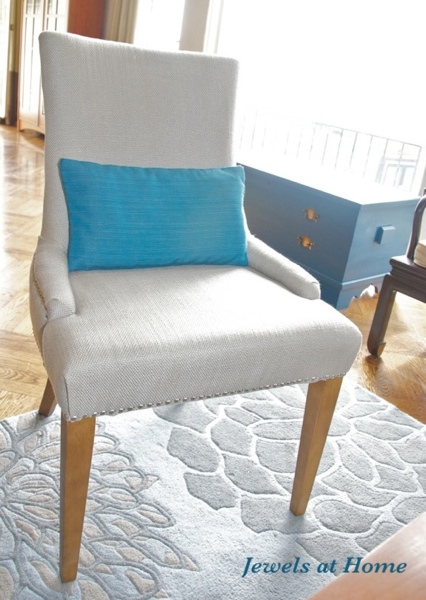
Contrasting back pillow covers
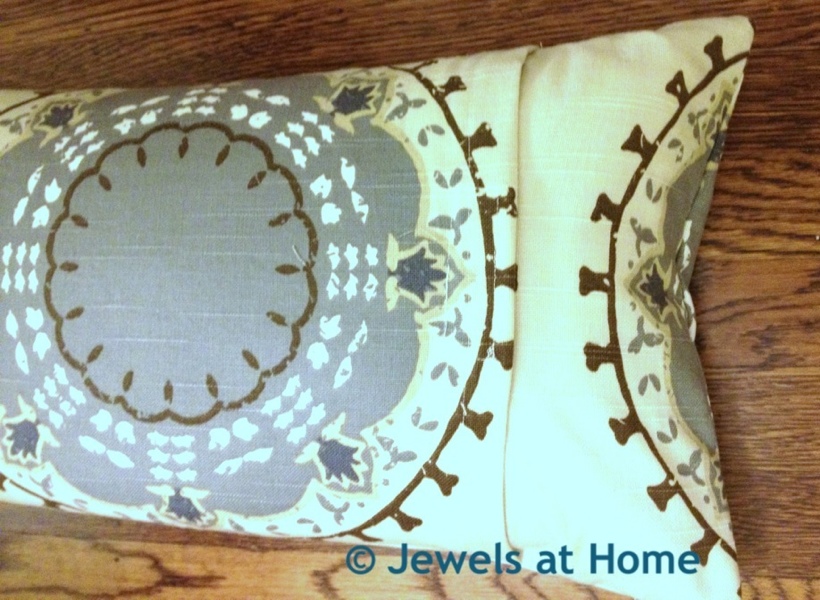
I made these the same way as the basic pillow, but it has a whole new look when you use two different fabrics. Did this deserve its own section heading? I’m not sure.
Room View of New Living Room Pillows


The living room is almost complete. I’m considering adding a ribbon border to these turquoise bolsters. Are they too plain? Or would a ribbon border be too busy?
That’s it for now. I wanted to use more of the creative ideas I had collected, but I still plan to sew some pillows for our guest room-craft studio, so you’ll see more pillows in a post coming up soon.
Hope you’re inspired to do this easy project that adds so much personality and comfort to your room.
“Jewels”

I love the fabric. You did such a nice job. It really brightens the space up.
Thanks, Iris! I love fabric, and pillows are such a great way to show them off. I always get great inspiration over at your blog, too.
Pingback: Bench Made From Chairs | Jewels at Home
Pingback: Living Room Tour | Jewels at Home
Pingback: Pillows for Dressing a Daybed | Jewels at Home
Pingback: Modern Monochromatic Christmas Pillows | Jewels at Home
Pingback: From Simple Stripes to Great Graphic Throw Pillows | Jewels at Home
Pingback: Hudson Bay Stripe Throw Cushions | Jewels at Home
Pingback: The Neutral Pillow Project | Jewels at Home
Pingback: Cozy Sweater Pillow Covers | Jewels at Home
Pingback: A Boy’s Room in Blue Full of DIY Treasures | Jewels at Home