Happy New Year!
I am feel super-stoked about work this year. I have my long-time work “family,” and we have added some strong new staff as well. We are moving to new offices, and I am part of building a new clinic, which is a bit daunting but mostly exciting. To help kick off the new year at work, I decided to make myself a cute laptop sleeve.
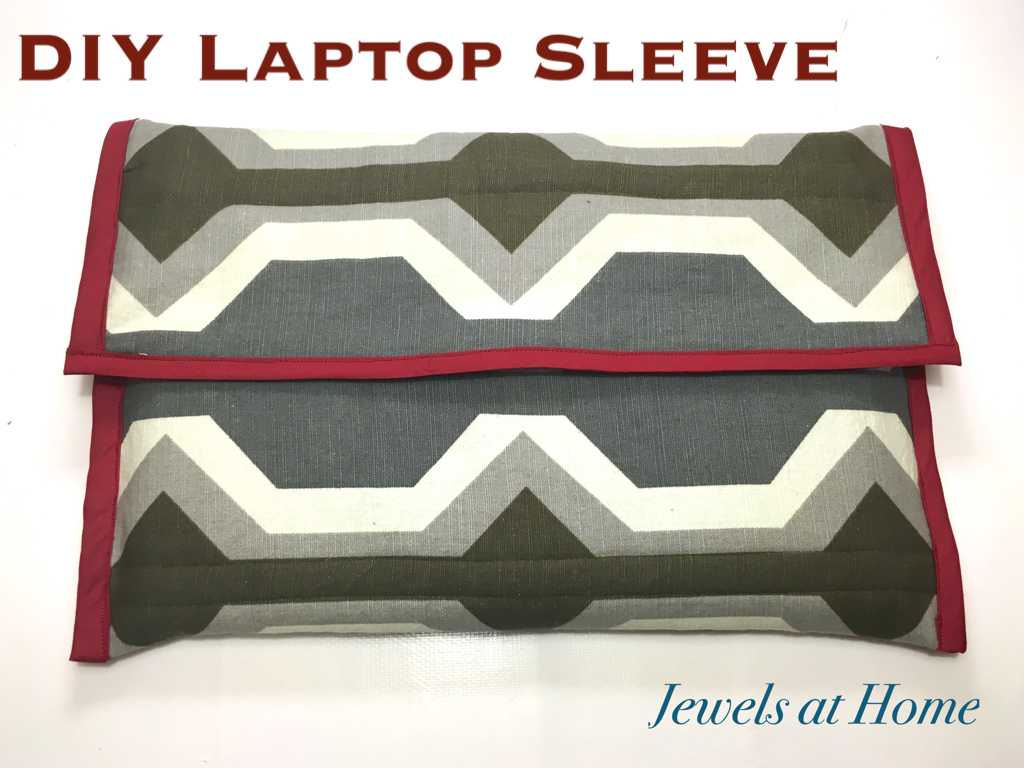
I was inspired by this pattern from Mandi at A Beautiful Mess. I made a few adaptations, like a velcro closure, a sewn-in name tag, and a rectangular flap.
To make your laptop sleeve, you’ll need
- half yard of outer fabric – I used this graphic modern print
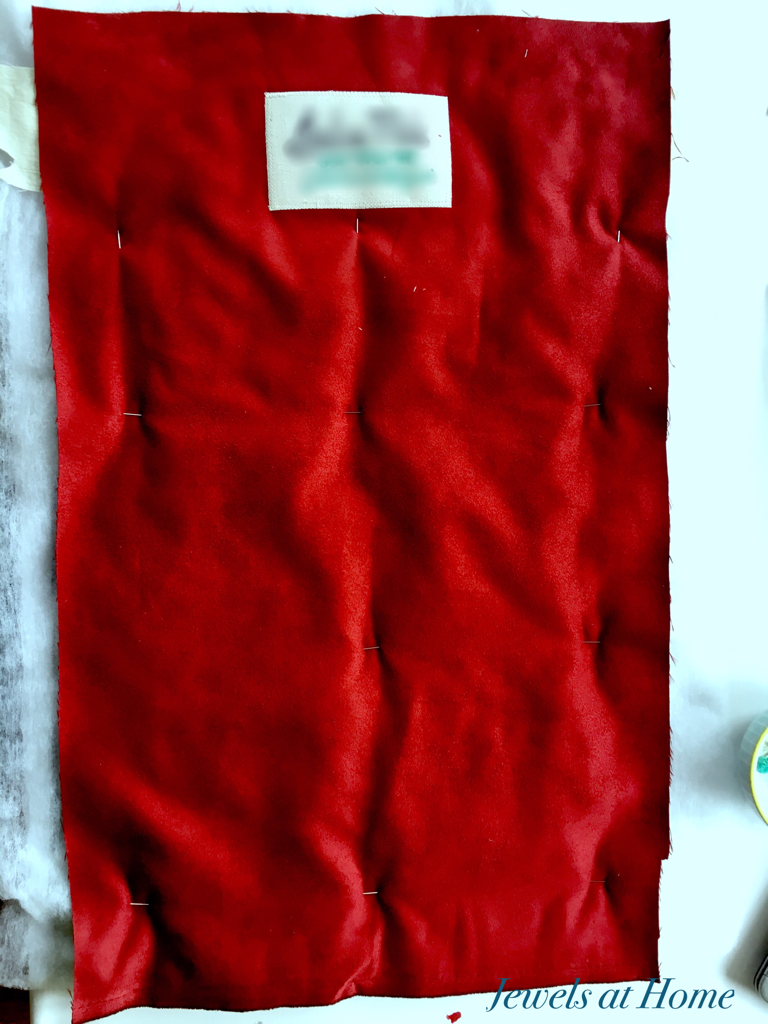
- half yard of inner fabric – I used dark red faux suede for extra protection
- quilt batting
- velcro
- scrap fabric for label and reinforcement
- bias binding – mine matches the red on the inside
Start by cutting rectangles out of all three materials. For the width, the fabric should be 1 3/4 inches wider than your laptop on either side. For the length, wrap the fabric around your laptop and add about 6 inches for the flap. I’m lucky the print on my fabric worked out perfectly to line up… I mean I carefully planned and lined up the pattern on my fabric!
I made a label out of scrap muslin and put my name and contact information on it, in case I should ever be so unfortunate as to lose my laptop by fortunate enough to have someone host find it… I sewed this onto the lining fabric, as show below.

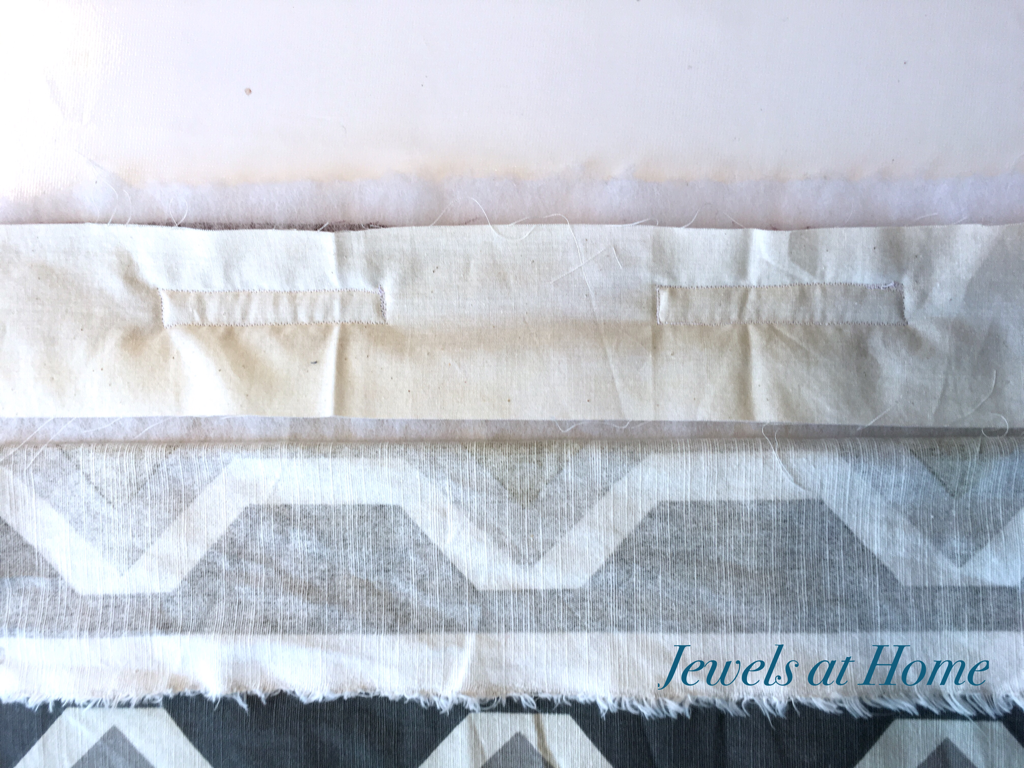
Next, I laid all three layers together and pinned them to keep them in place. I sewed quilting lines through all three fabrics for most of the sleeve, but I did want to sew across my name tag, so for the top section, I used some scrap fabric for backing and just sewed the outside fabric and batting to the scrap fabric, also shown below (folded over).

Next, I added the velcro. For the velcro on the body of the bag, I sewed all the way through, since the velcro is on the outside fabric, and I didn’t mind having stitching on the inside. However, for the velcro on the inside of the flap, I didn’t want the stitching to show on the outside, so I used more scrap fabric for backing, and I sewed the velcro to the inside fabric, batting, and scrap fabric, as shown below.
You can see the sleeve taking shape now! I finished one short end of the rectangle with bias binding (shown bel0w) and folded the entire piece to make the sleeve and trimmed some excess from the sides for a snug fit. I pinned the fabric in place to form the shape of the sleeve.

I sewed the sides together with a zig zag stitch and then added bias binding to the sides of the sleeve and top of the flap.
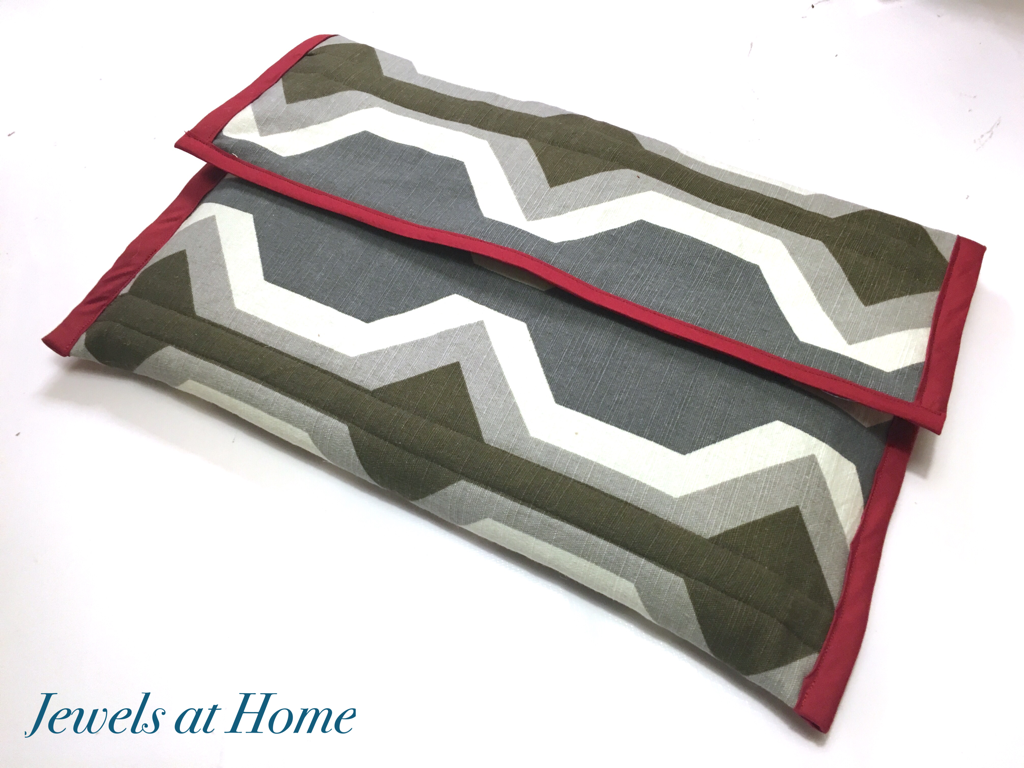
This was a pretty quick and easy project, and I love how it turned out. I think Steve is eyeing the laptop sleeve, and I offered to make one for him, but he does work from home most days and so he has turned me down so far…
Here are some pictures of the finished product!
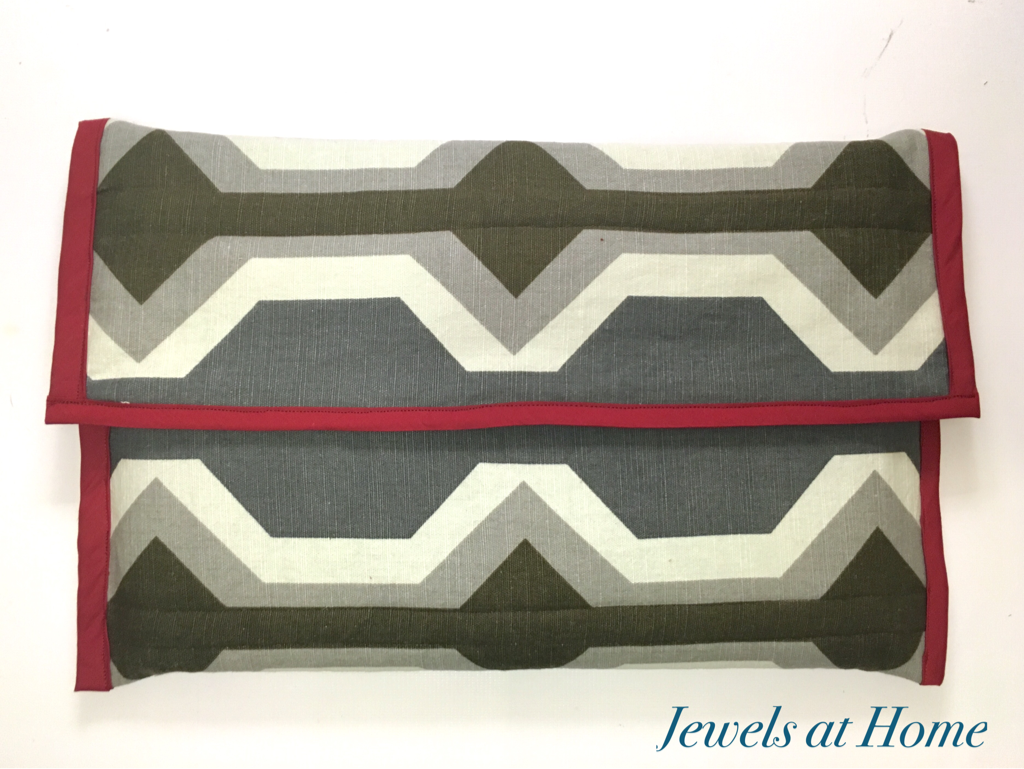
Looking forward to many adventures both at work and “at home” in 2016!
“Jewels”
