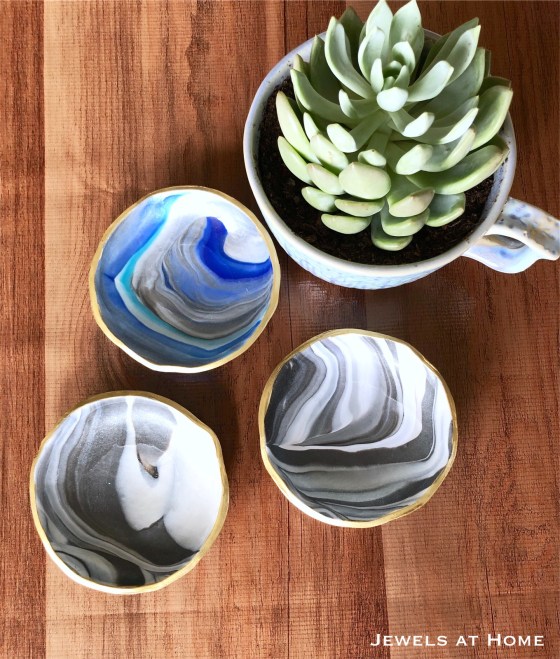
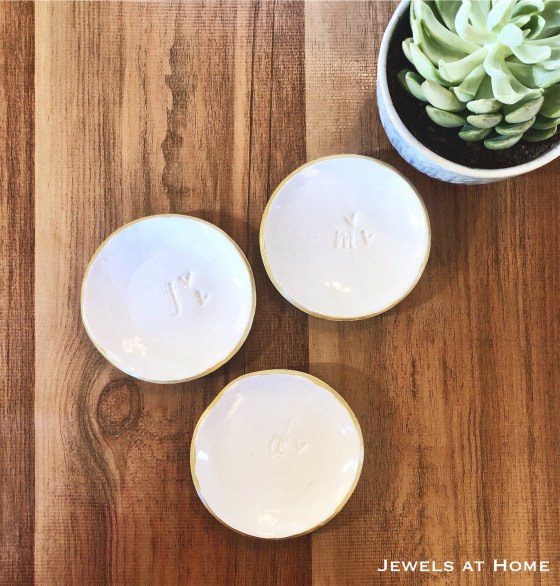
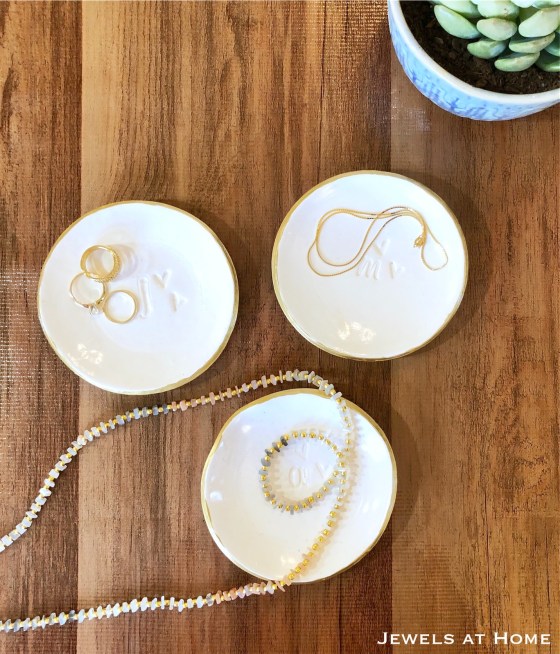
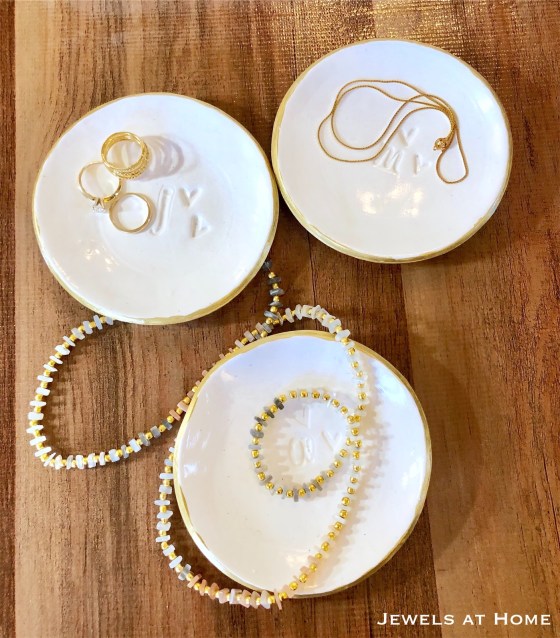
A couple of summers ago, when I was addicted to macrame, I started describing my crafting style as “serial crafting monogamy,” and that was definitely true with these little polymer clay ring dishes! My latest variation is botanical prints! If you want to look back at other versions, check out the stamped white and gold dishes and the marbled clay dishes. I am sharing this post in time for those of you looking for DIY holiday gift inspiration!

Here’s what you’ll need:
- Premo Sculpey in white (approximately 2oz per bowl)
- Rolling pin or smooth glass jar
- Plant cuttings. I used lavender, nasturtium, and crocosmia from our garden
- Parchment paper or wax paper
- Circle to trace (approximately 4″)
- Bowl or other oven-safe mold
- Optional: sandpaper
- Paint brush
- Gold paint
- Paint to color plants
- Clear glossy varnish
Here’s how to do it:
- This white clay collects and shows dust and lint very easily, so try to keep your hands, tools, and work surface as clean as possible
- Using a parchment or wax paper work surface, knead your clay and roll it flat – about 1/4″ thick
- Place your plant cutting and roll over it to make an impression in the clay
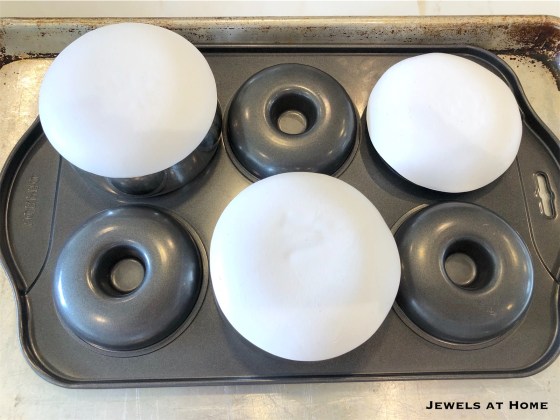
- Place your circle on your mold
- Bake according to the instructions for the clay
- Let it cool, and sand rough edges
- Paint the leaf imprint green and lavender flowers purple
- Paint rim with gold paint
- Coat with clear varnish
This is what the bowls looked like out of the oven, before paint and varnish. I like the matte look, but I suspect they’d get dirty over time.


Next step: paint the flowers, add gold paint to the rim, and finish with clear gloss varnish!


I’ve got at least one more variation I want to try making!
Julie aka “Jewels”