Gifts Made by the Boys

The fact that I’m writing this when it is already Christmas morning in most parts of the world tells you what kind of crazy-busy December we had this year. I’m definitely looking forward to a few days of downtime with the family.

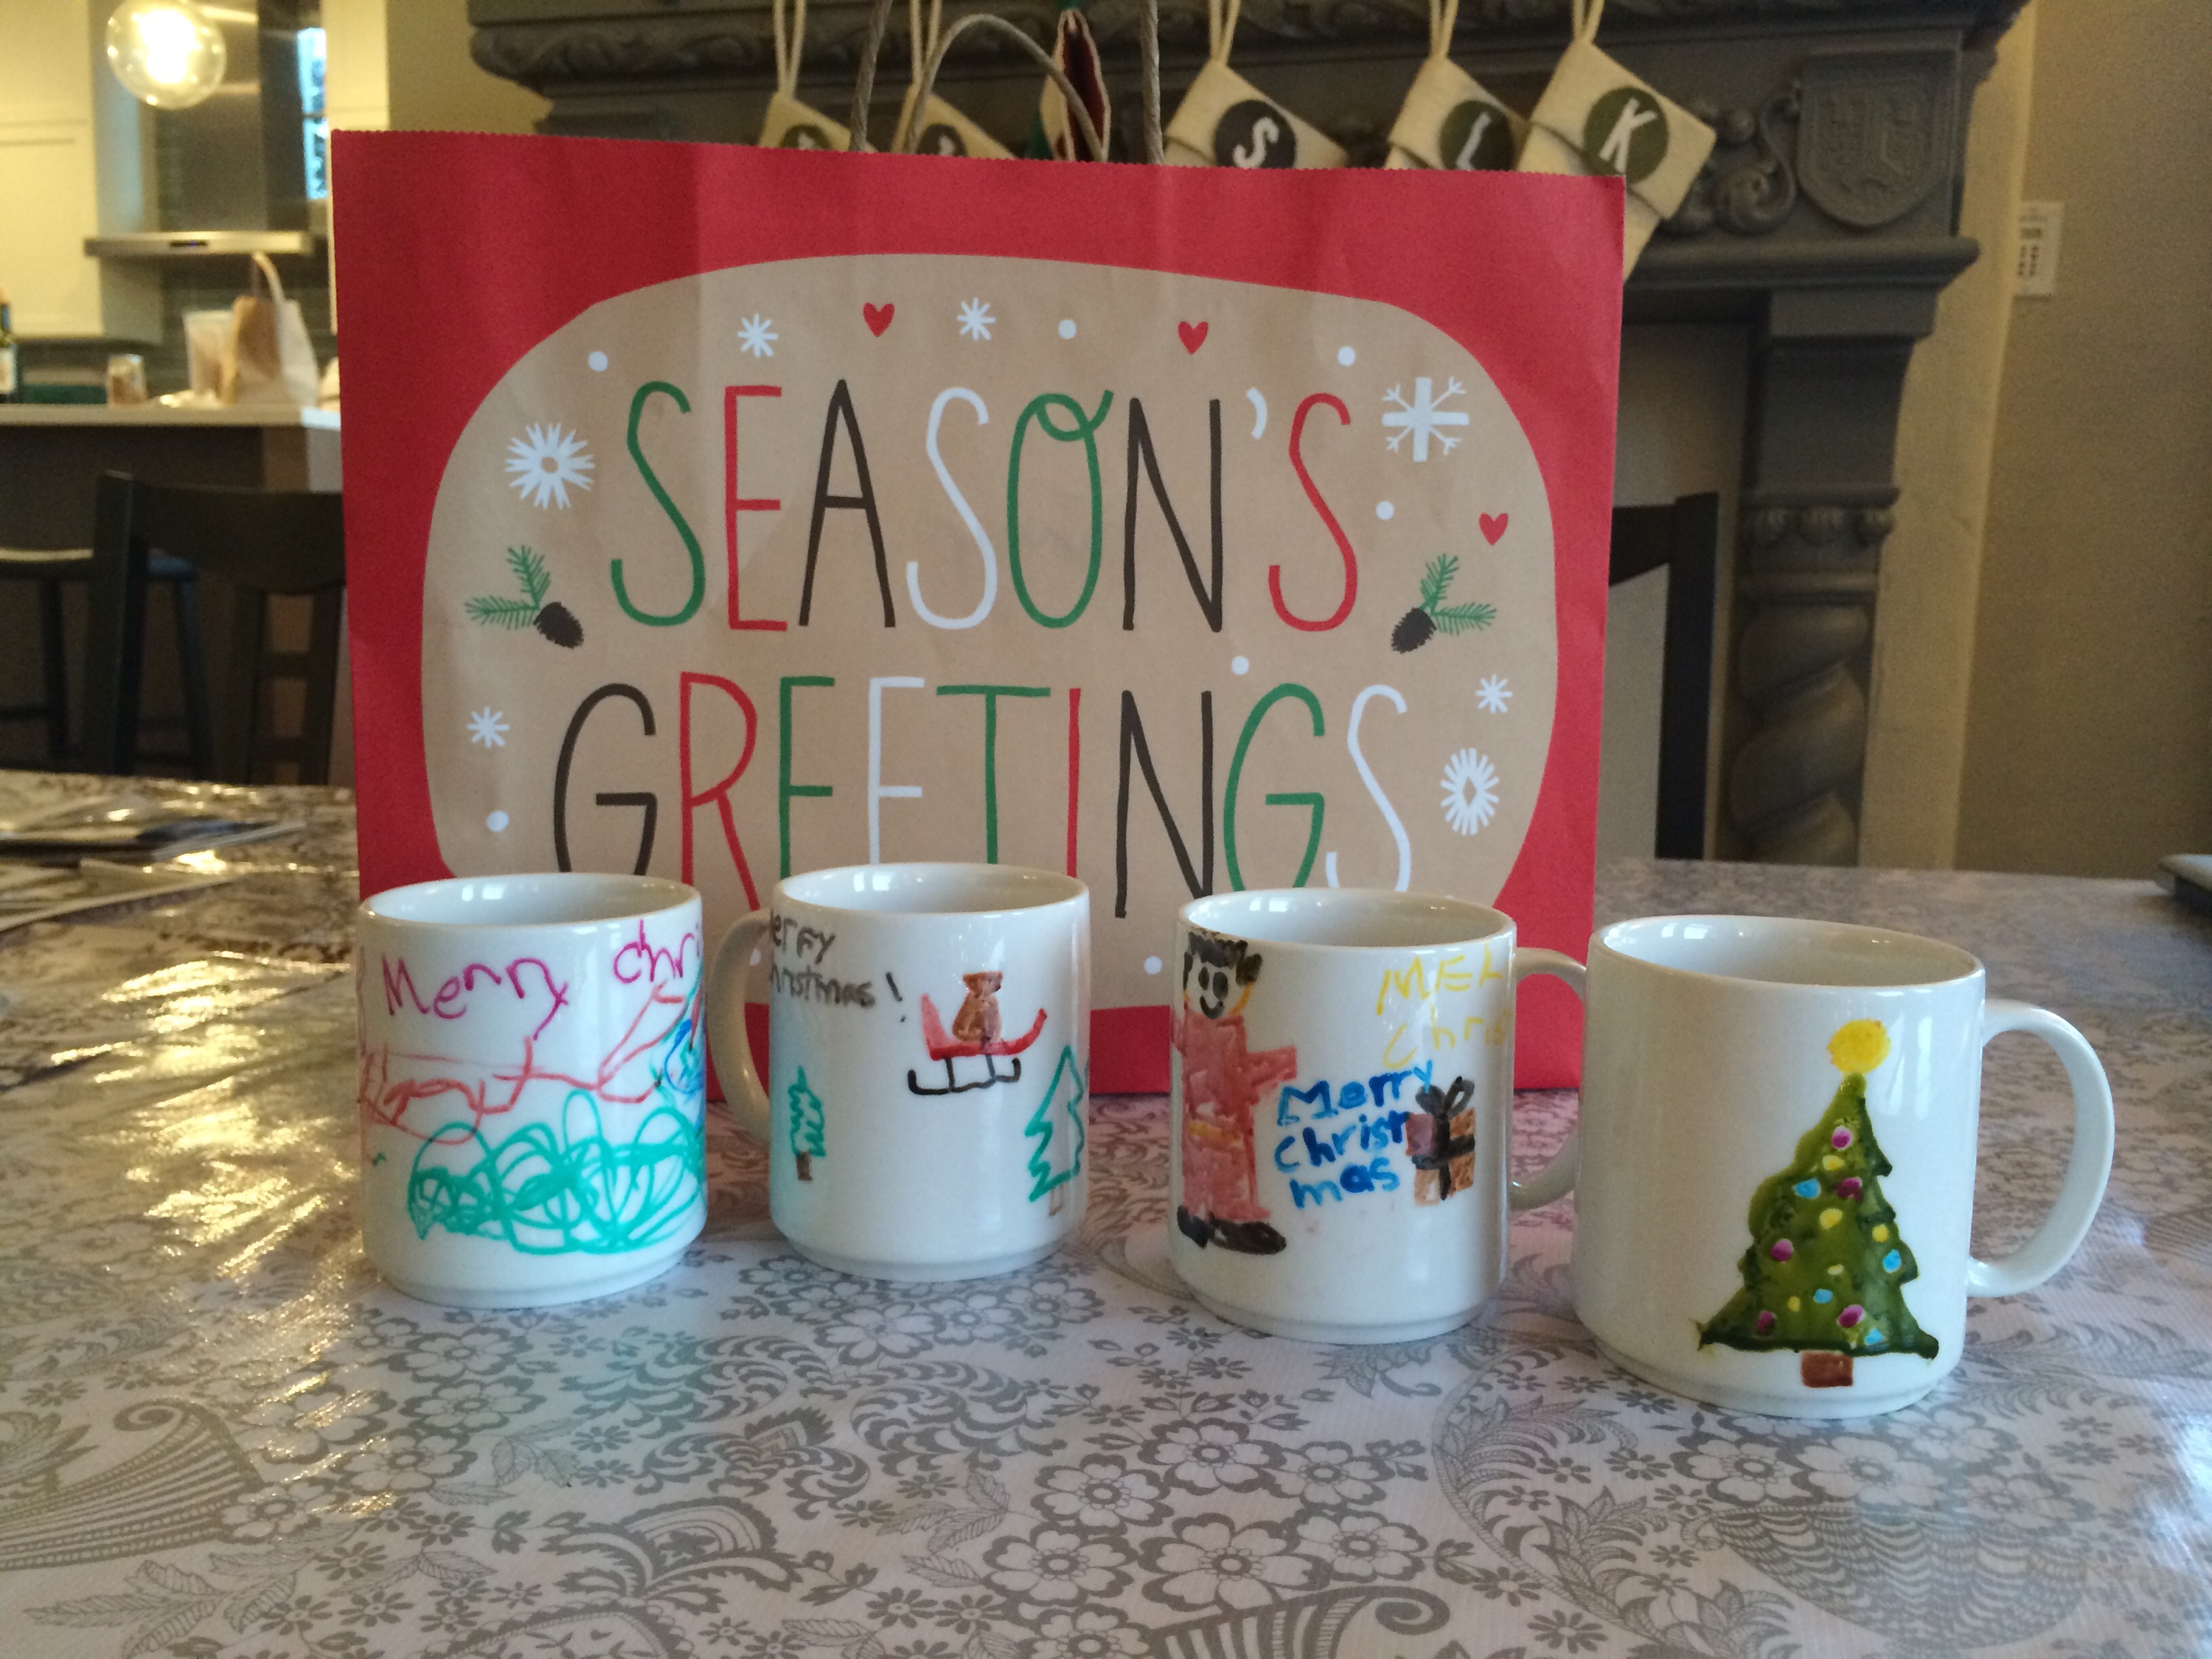
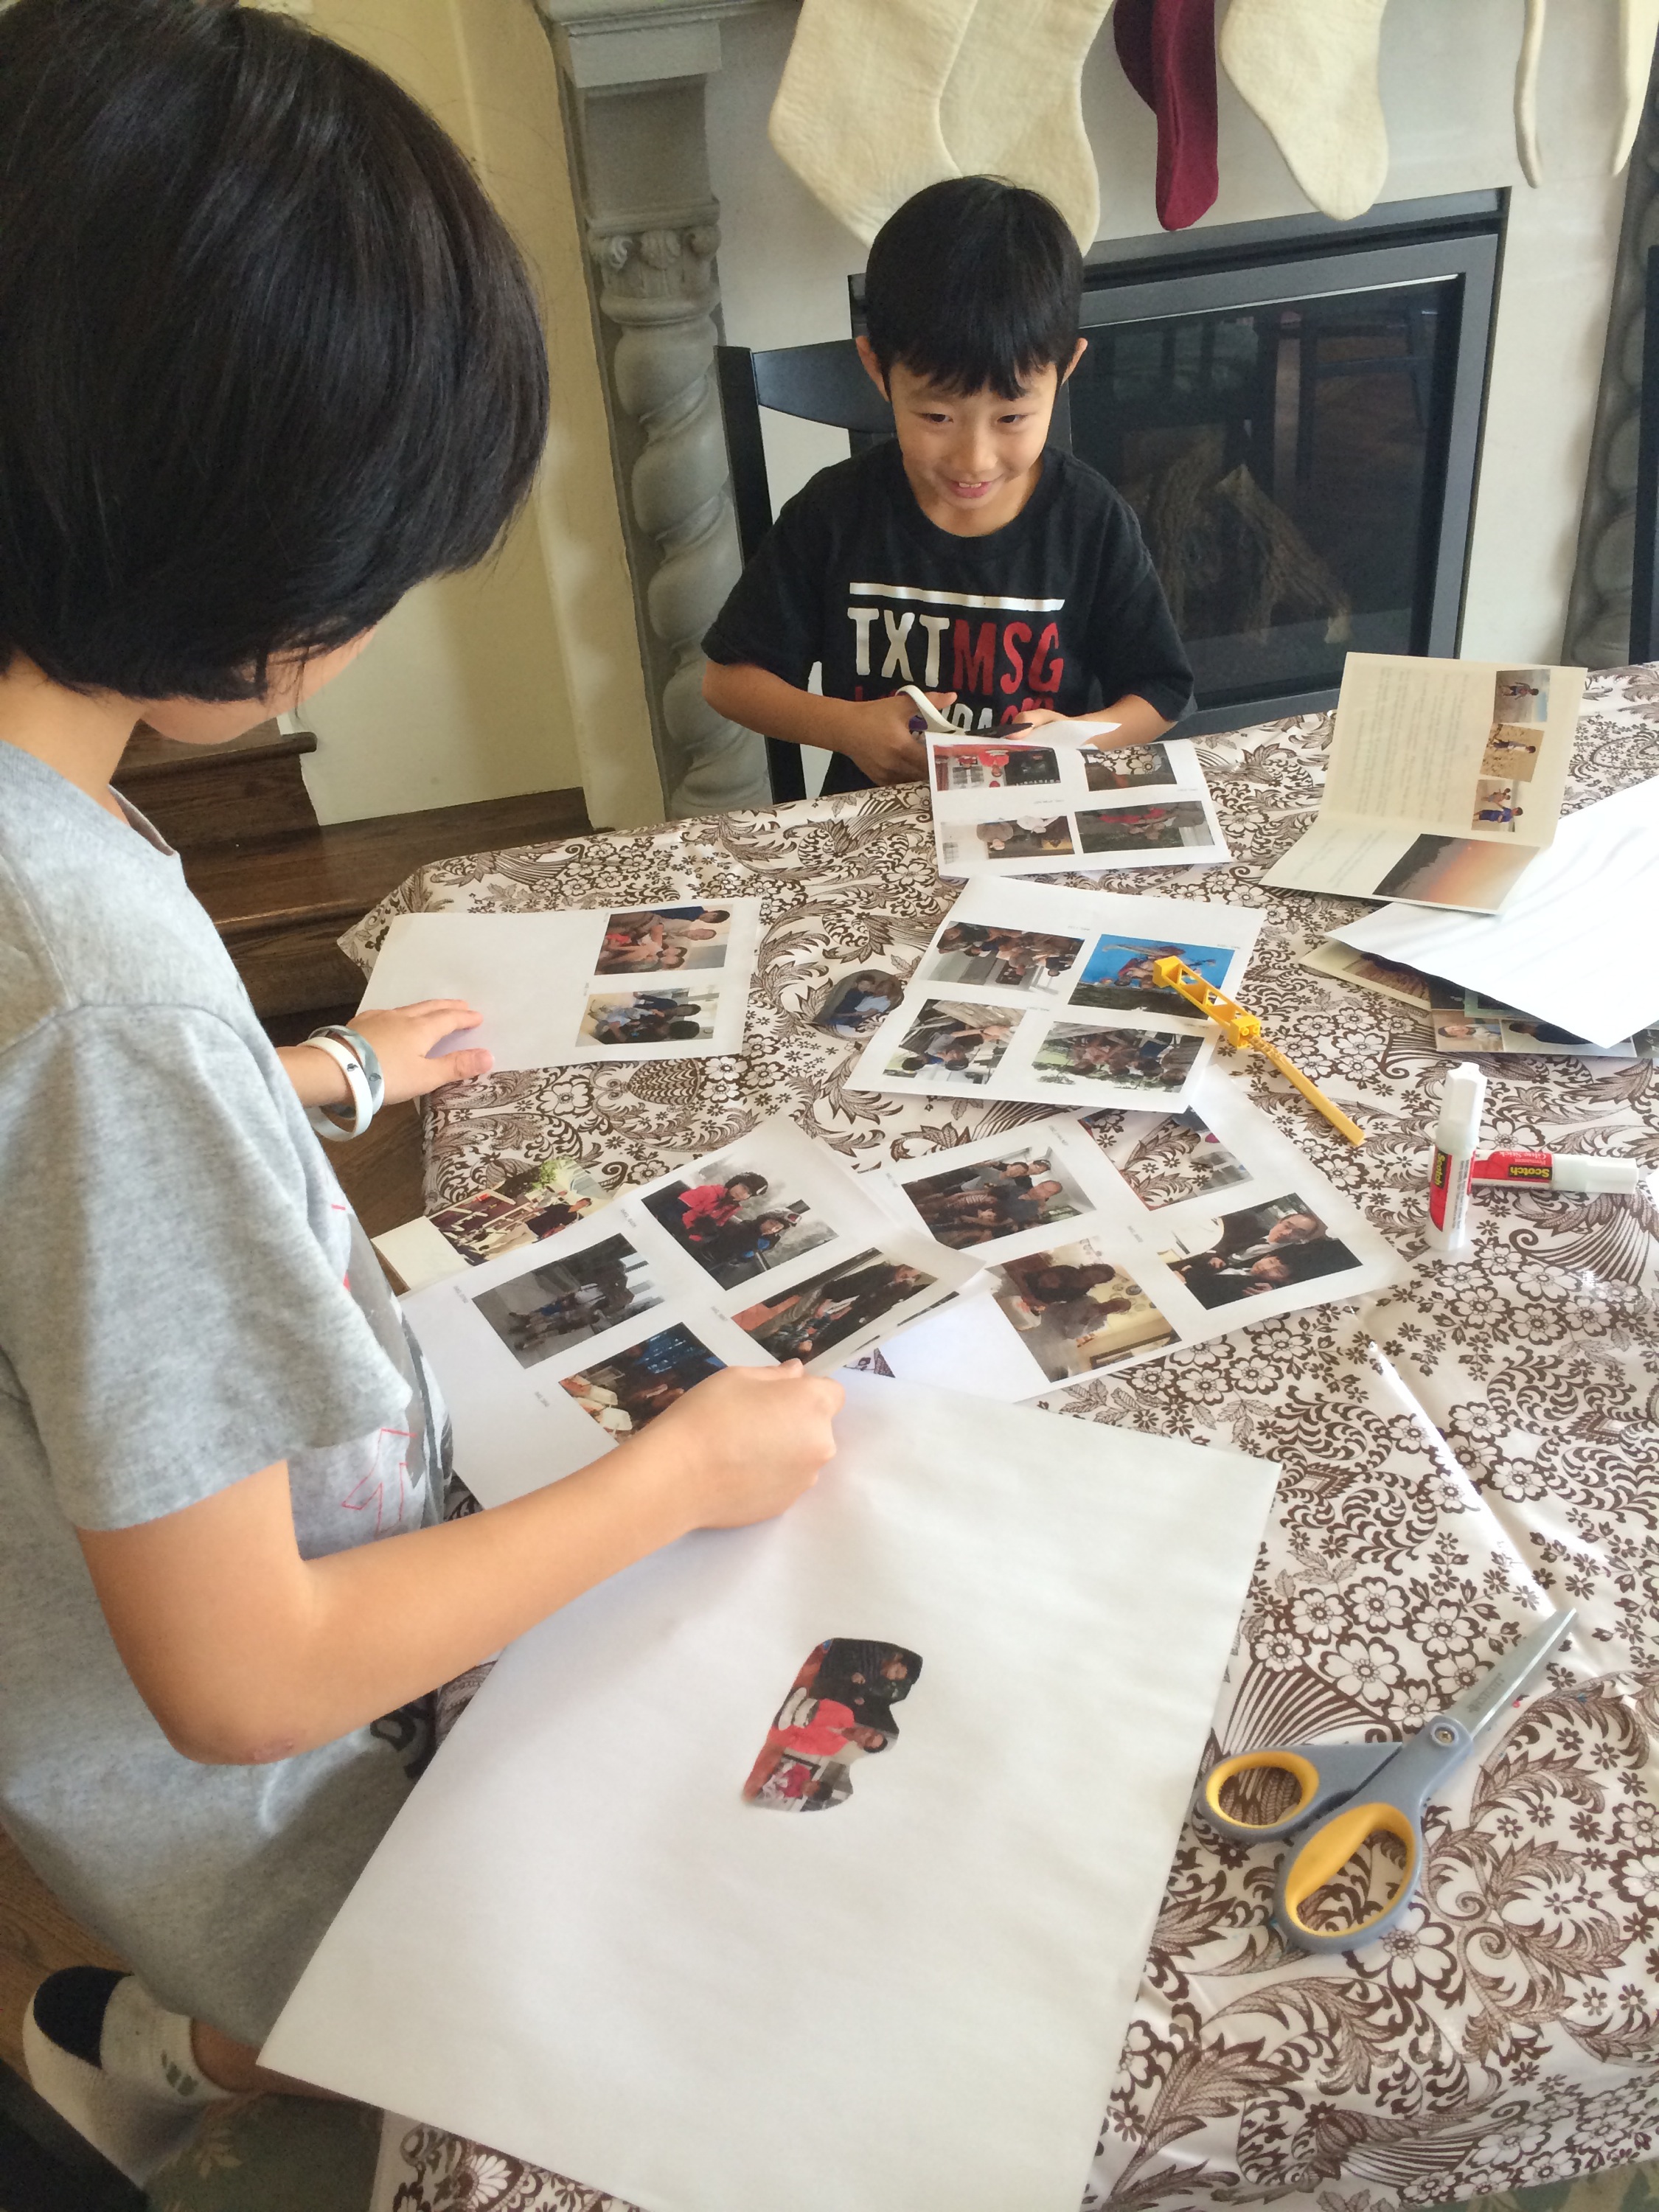
We don’t do a lot of shopping for Christmas. The adults in my family have generally agreed to not exchange gifts, and our kids get so much from their grandparents and aunts and uncles, that at most, we pick up one or two little things for them. However, on the night of December 23, I realized that I really wanted to have something to give to my dad and brother-in-law who are both celebrating Christmas with us this year. There was absolutely no way I was going to go near a mall on Christmas eve, so I wracked my brain and scoured my craft supplies to come up with a few meaningful projects that we could make at home.

We reprised the mugs that we made for Steve’s birthday and Father’s Day last year, and the boys also made these fun picture collages. We enjoyed going through old pictures to find our favorites, and I also added some extra copies of Christmas cards from the last few years. The boys did all the cutting and gluing themselves, as evidenced by the fact that there are duplicates right next to each other and other quirky touches. I think that our family is going to love these!

Gifts made by the kids: Hand-painted mugs | Jewels at Home

Gifts made by the kids: Family photo collages | Jewels at Home

Gifts made by the kids: Family photo collages using old Christmas cards | Jewels at Home

And for me, being able to stay in on December 24 was the best present of all.

Red and White Christmas | Jewels at Home
Merry Christmas!
“Jewels”

Kids’ Art Gallery Frames

My kids’ art projects tend to accumulate in (not so) little plies all over our house. I’m implementing a new system to organize all of it, but more on that later. I would love to have more of their creations up on display, but I get around to it so seldom that the few pieces that are hung are completely outdated. I’ve been looking for a solution that makes it easy to change our our display, and I knew I had found it when I spied these frames with clips from Shanty 2 Chic.

I decided to make mine with fabric, rather than paper, backgrounds. The fabric matches these DIY picture mattes I made. I’ll show you how to make your own!

Change our your art easily with these DIY frames.  Jewels at Home.

Materials:

  • frames – I used NYTTJA frames from Ikea, which are perfect, because the front is plastic that has a protective film on it for packaging. I left the film on, so that if I ever want to use these are regular frames, it will be easy to peel off the fabric.
  • fabric or decorative paper
  • magnetic bulldog clips

Instructions:

  • Take apart your frame and spray the glass (or in this case the plastic) with spray adhesive. I think you could also use a glue stick, if you spread it thinly. (top left picture below)
  • Cut out a piece of fabric (or paper) about 1.5″ wider than your glass in all directions. Lay the glass, adhesive side down, on the back side of the fabric. Cut the corners diagonally, to reduce bulk. (top right picture below)
  • Fold over the fabric and tape it in place securely. (bottom left picture below)
  • Reassemble your frame. (bottom right picture below)

Change our your art easily with these DIY frames.  Jewels at Home.

  • The last steps are to hot glue the bulldog clips in place and add your art! (pictured below)

Change our your art easily with these DIY frames.  Jewels at Home.

Here is the kids’ new art gallery in their room. I can tell already that I will be using these frames a lot! Also pictured are the DIY travel-themed pencil tins I made for them.

Change our your art easily with these DIY frames.  Jewels at Home.

Kids' gallery wall with DIY initials and frames with clips to change art easily.  {Jewels at Home}

DIY  frames with clips to change art easily.  {Jewels at Home}


Next up: I’m getting started on some projects for Christmas!

“Jewels”