Well, I could happily have gone on making trees, after these Christmas trees made with trims and the felt Christmas trees, but I’m exercising some restraint, such as it is, and switching over to making ornaments.
I’ve seen some whimsical animal silhouettes with pretty prints at One Kings Lane and Raredevice.net, and I thought I’d try a DIY version.

Deer silhouette Christmas ornament from Raredevice.net

Reindeer and bird silhouette Christmas ornaments seen at One Kings Lane.
If you’d like to buy something similar for a reasonable price, check out these pretty wood ornaments by Arks and Animals on Etsy.

Wooden animal silhouette ornaments from Arks and Animals on Etsy.
I’m quite tempted by the wood ones, but, I like the prints, so back to the DIY project… The ornament from Raredevice is wood with a printed design (no can do), but the One Kings Lane ornaments are cardboard and paper (can do!!). I tried this with both cardboard and craft foam as the centers. The cardboard cut more neatly than the foam, but in the end, I preferred the foam, because it gave the cut-outs a little dimension and substance. The cardboard ones ended up looking a bit more like gift tags than ornaments.
Materials:
- assorted scrapbook, wrapping, and origami papers
- craft foam (no longer just for kids!) in colors to match your papers or thin cardboard (like cereal boxes)
- Images or templates to trace, such a cookie cutters, stencils, or printed images
- craft knife and scissors – I used both large and small scissors as well as some pattern-edged scissors
- small hole punch
- string or ribbon for hanging
Instructions:
- I used a glue stick to cover both sides of a piece of craft foam with decorative paper.
- I found silhouettes I liked on the Internet and printed them out. A good size for these ornaments is about 3-4″.
- I laid a silhouette over a section of foam and used the scissors and craft knife to cut through the foam and paper. I started with the large scissors to get the general shape and then used the small scissors and craft knife to neaten up the edges and the pattern-edged scissors for adding details, like the feathers on the birds’ wings. Because the foam is flexible, the paper did wrinkle a bit, but I tried to bend it as little as possible. The cardboard bent less, but as I said, I didn’t find the result as substantial.
- I punched a hole in the top and threaded a ribbon… voila!
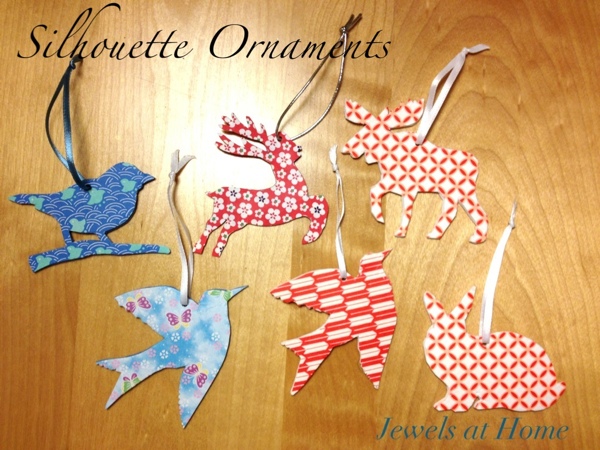
Sweet animal silhouette ornaments decorated with origami paper! In case you are wondering, the reindeer in the top row was made with a cardboard center, and the rest have the foam center.
And here are the new ornaments on our Christmas tree. By the way, if you are in San Francisco, Lowe’s had trees for literally a third the price of the Christmas tree lots. The ambience was somewhat lacking, but it was worth it!
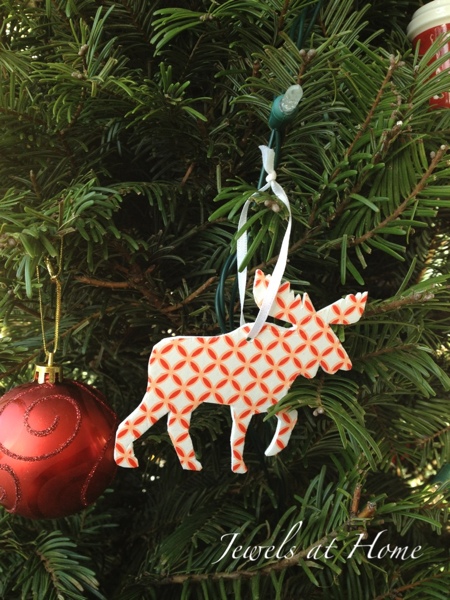
Moose silhouette ornament. O Canada!
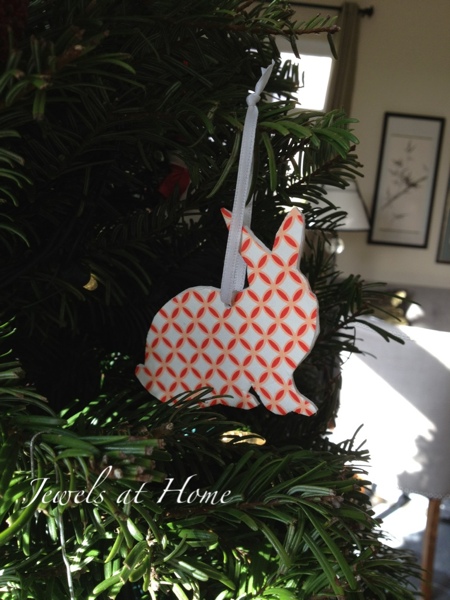
Bunny silhouette ornament. For my sister and little nieces, who were all born in the year of the rabbit!
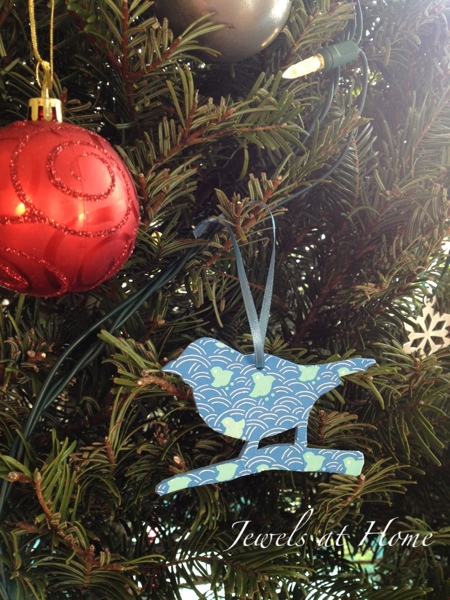
A little blue bird silhouette ornament for our tree.
These ornaments turned out very sweet and were fairly fast to make. They might show up as gifts this season! I also found some homemade ornaments from years past that I’ll post soon.
“Jewels”
I shared this project at:

thanks for the bunnies jewels!!!
Pingback: Home for the Holidays 2012 | Jewels at Home
Pingback: Pillowcase Dresses for Girls | Jewels at Home