- Week One: Elegant and Airy Dining Room Inspiration
- Week Two: Favorite Modern Dining Room Chandeliers
- Week Three: DIY Ribbon Trim Roman Shades
- Week Four: DIY Built-in Dining Room Banquette
- Week Five: DIY Dining Banquette Cushions
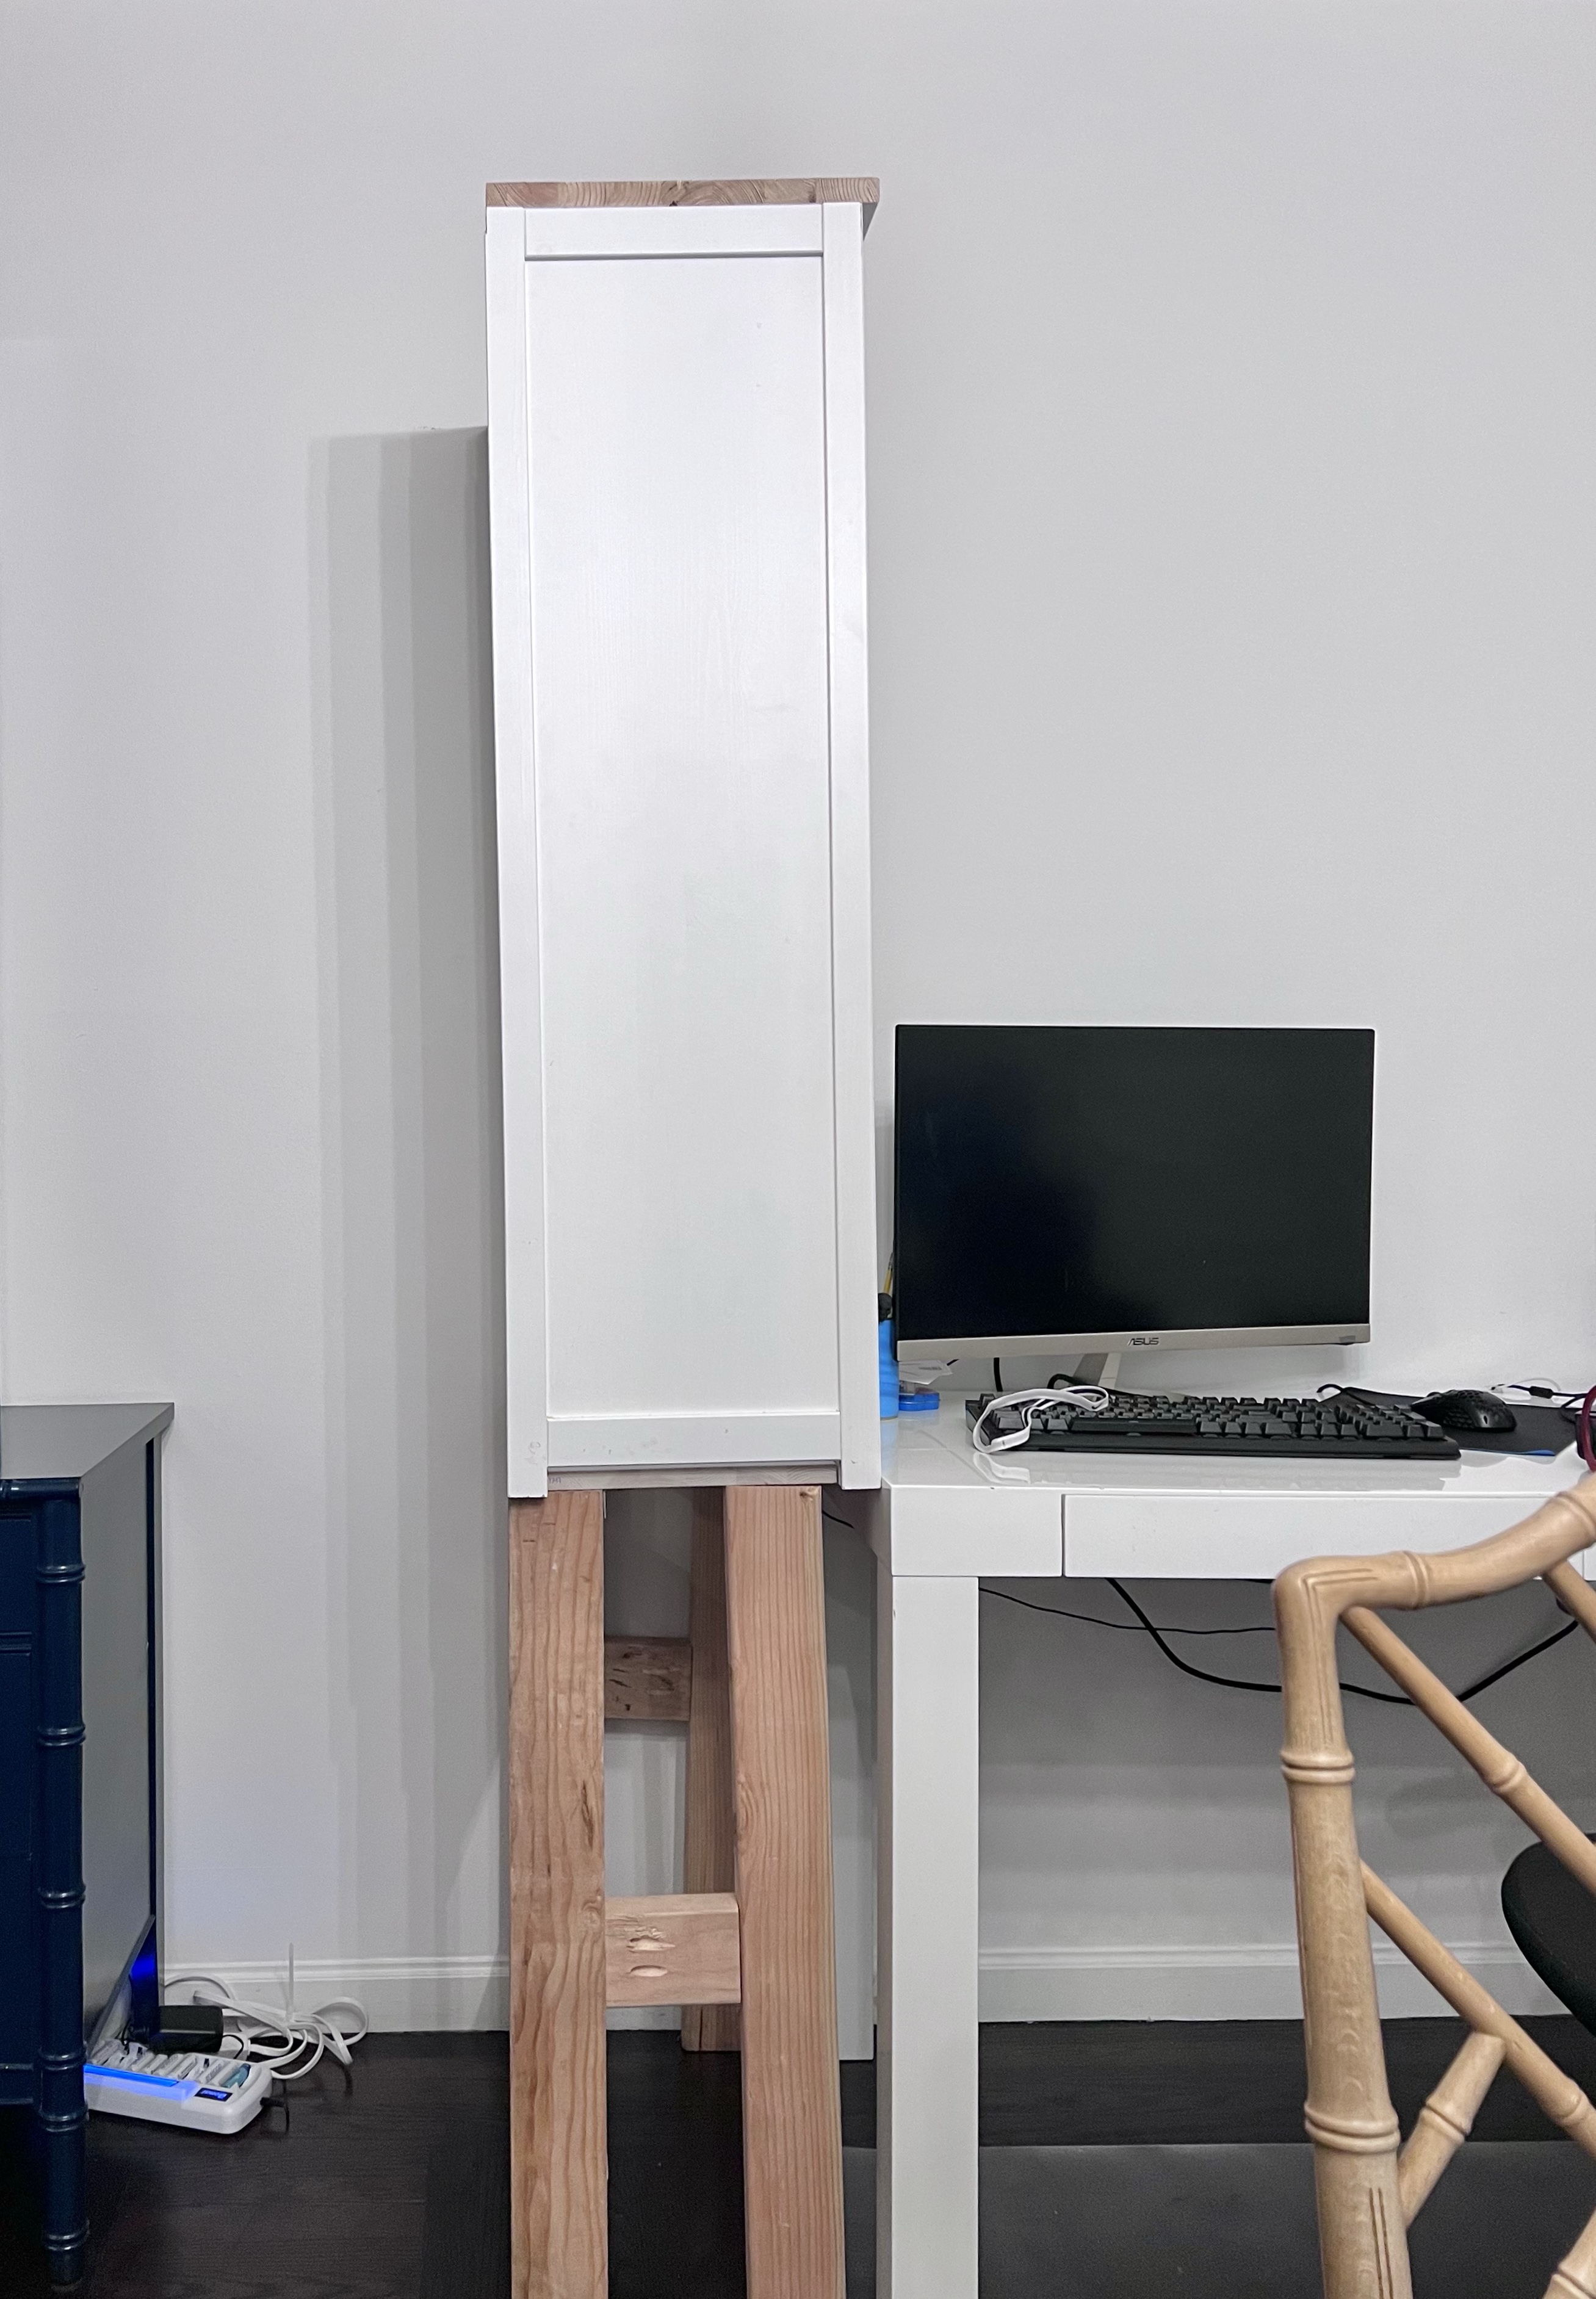
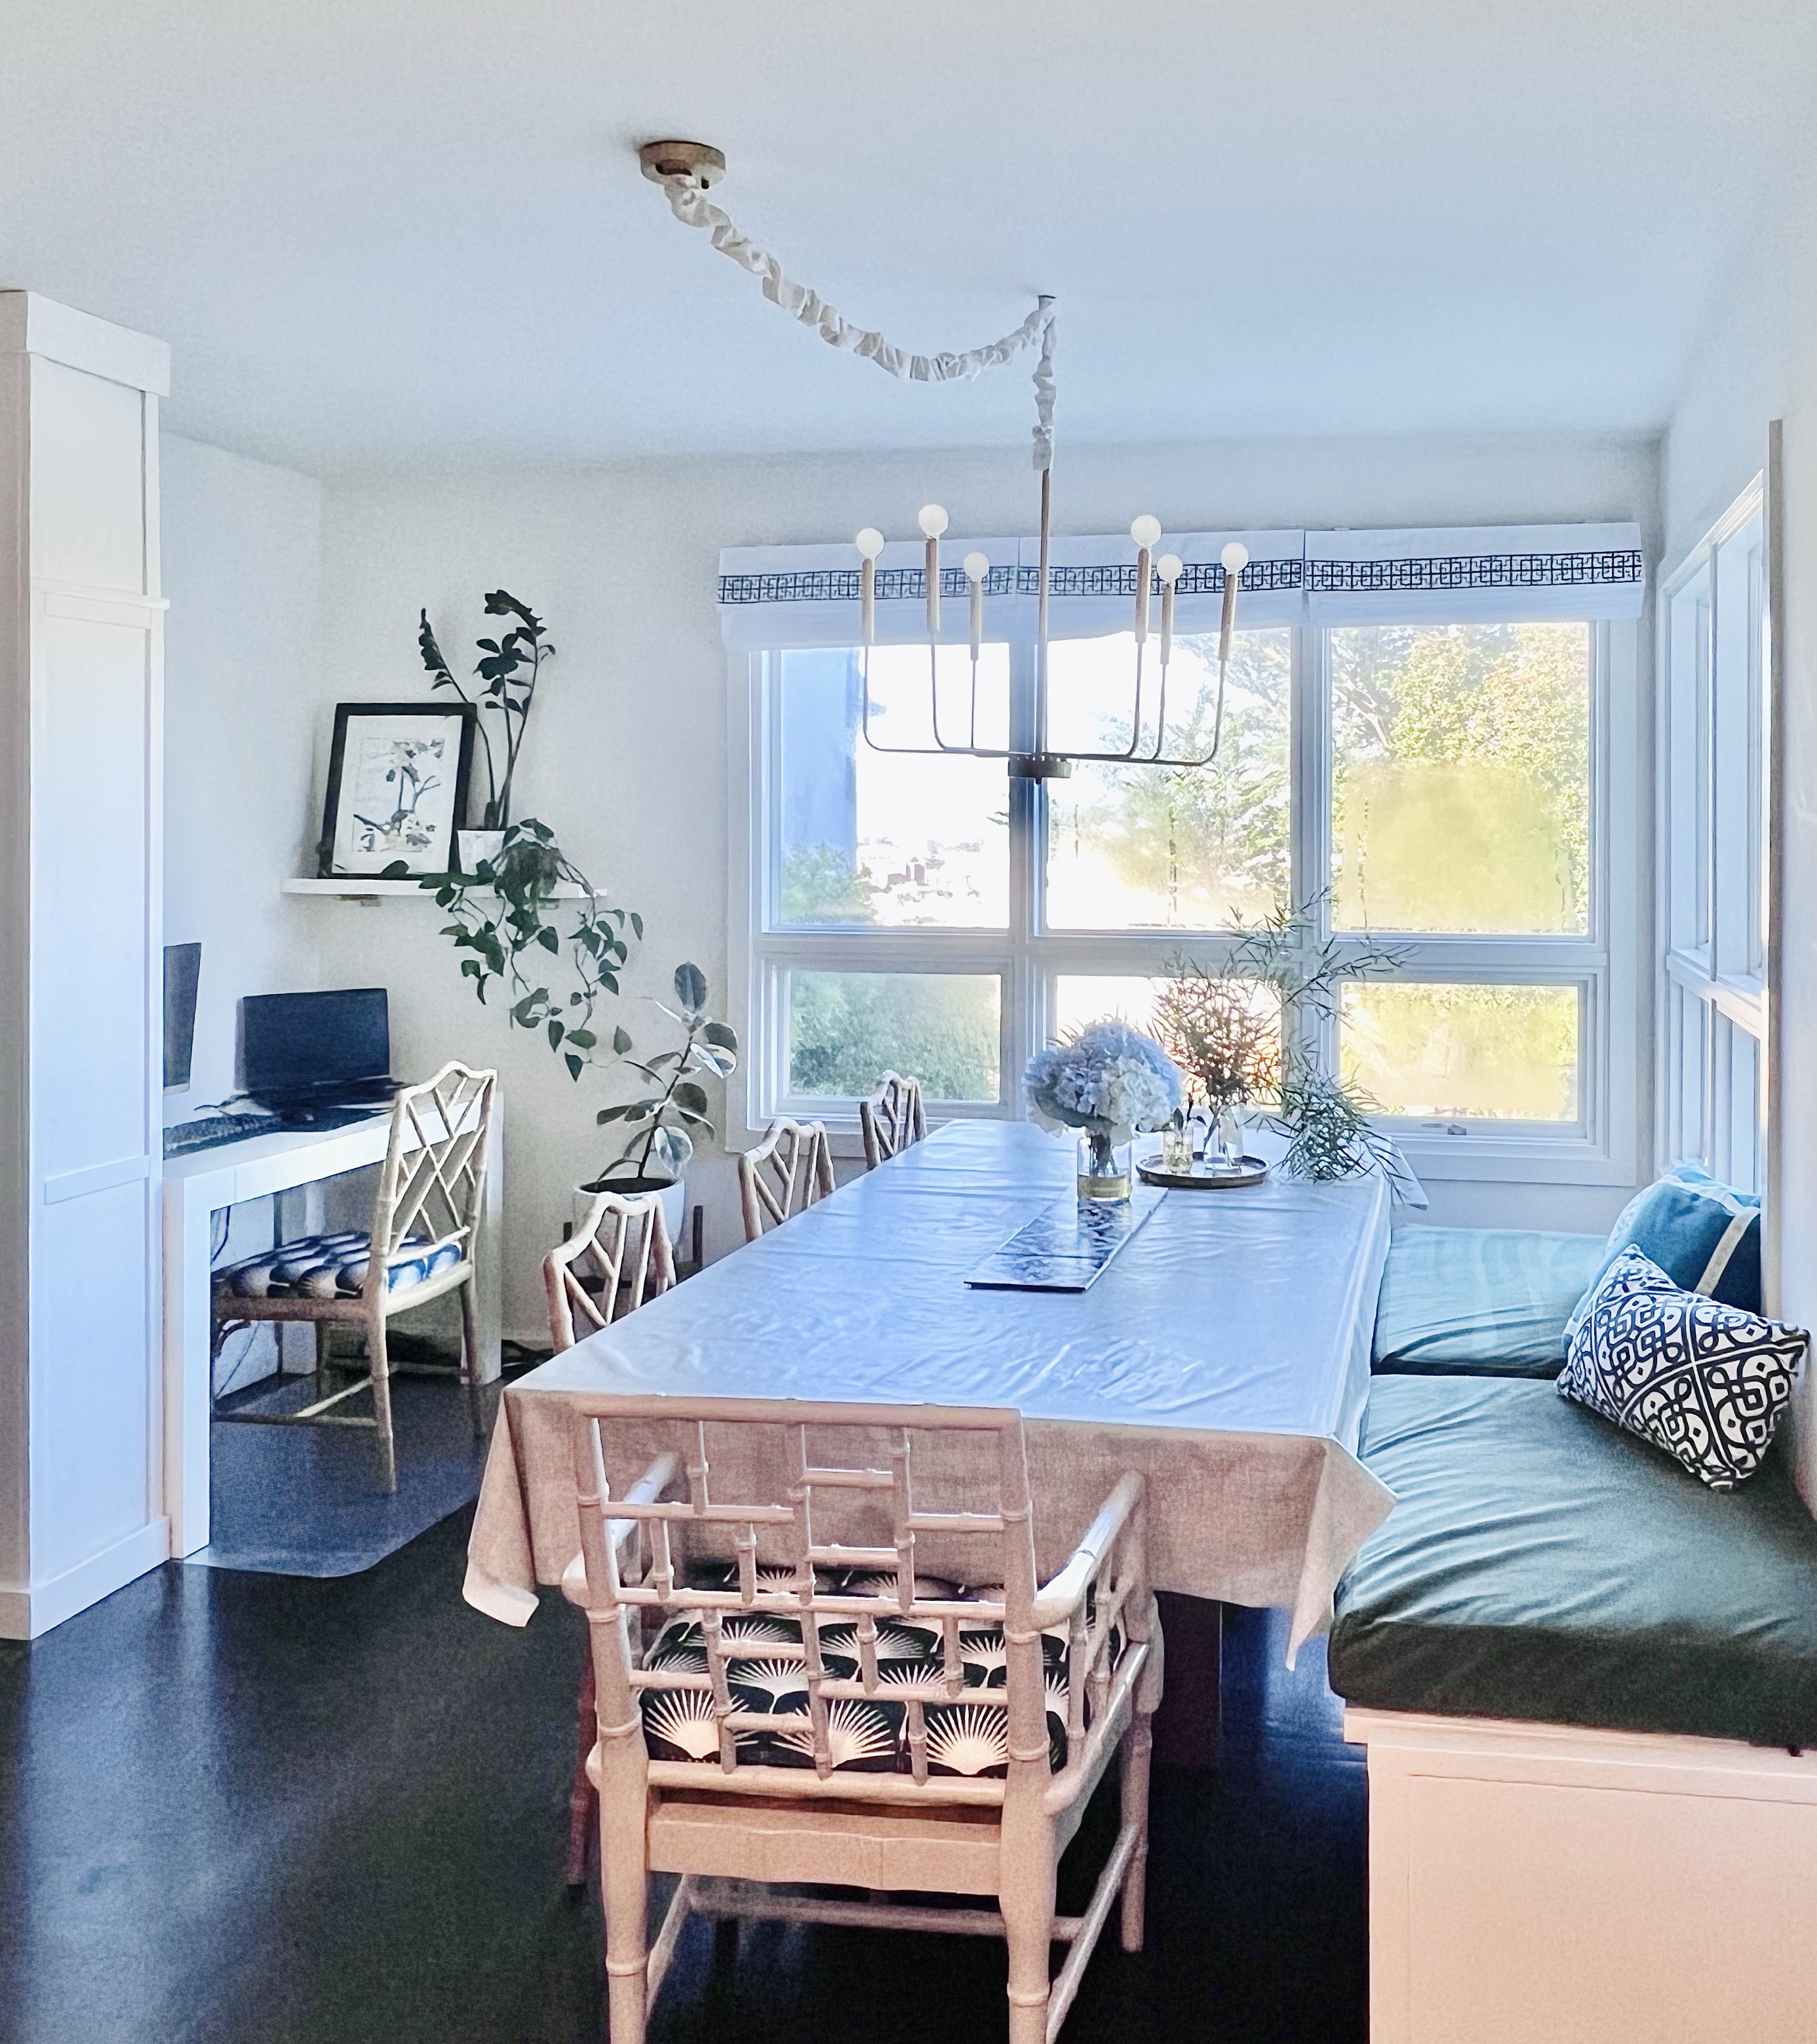
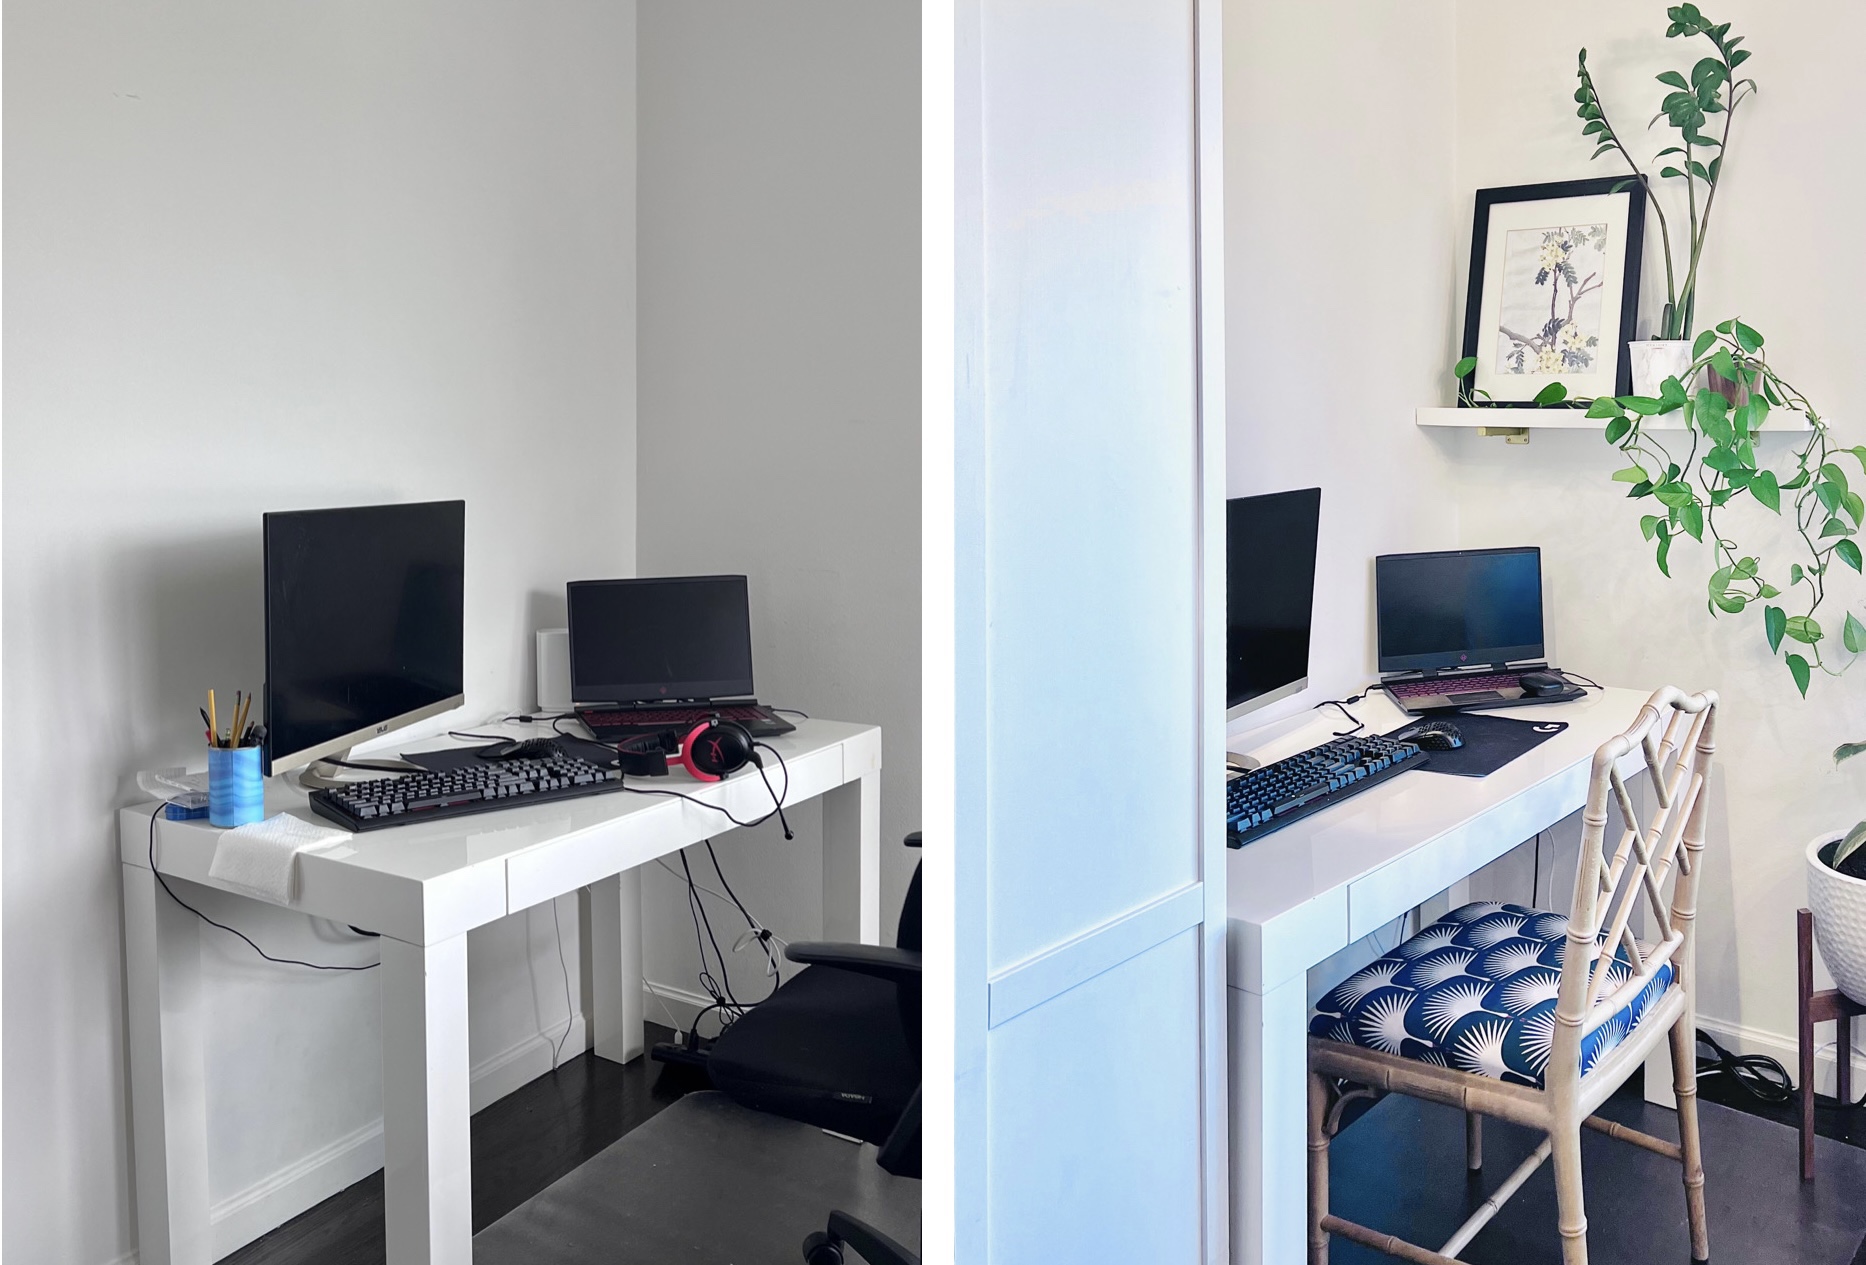
I had to skip posting week six of the challenge – it took me a long time to put together this desk area, because I was making it up as I went, not to mention all the normal activities of life! We have a desk in our dining room for our youngest to do his homework and play his computer games. It feels like the right place to have it, so that we can help him and keep an eye on him. That being said, it’s not the most attractive sight! My goal with this project was to camouflage the desk area and provide some more storage. The several weeks of slow motion building were not very pleasant, but I’m really happy with how it turned out.

I built this room divider using:
- a base to support shelving – designed so the shelving would start at the level of the desk
- Bookcase modified from Ikea Hemnes to a custom width and added extension on top. See this post for ways to build bookshelf extension!
- scrap wood used for baseboard and crown molding
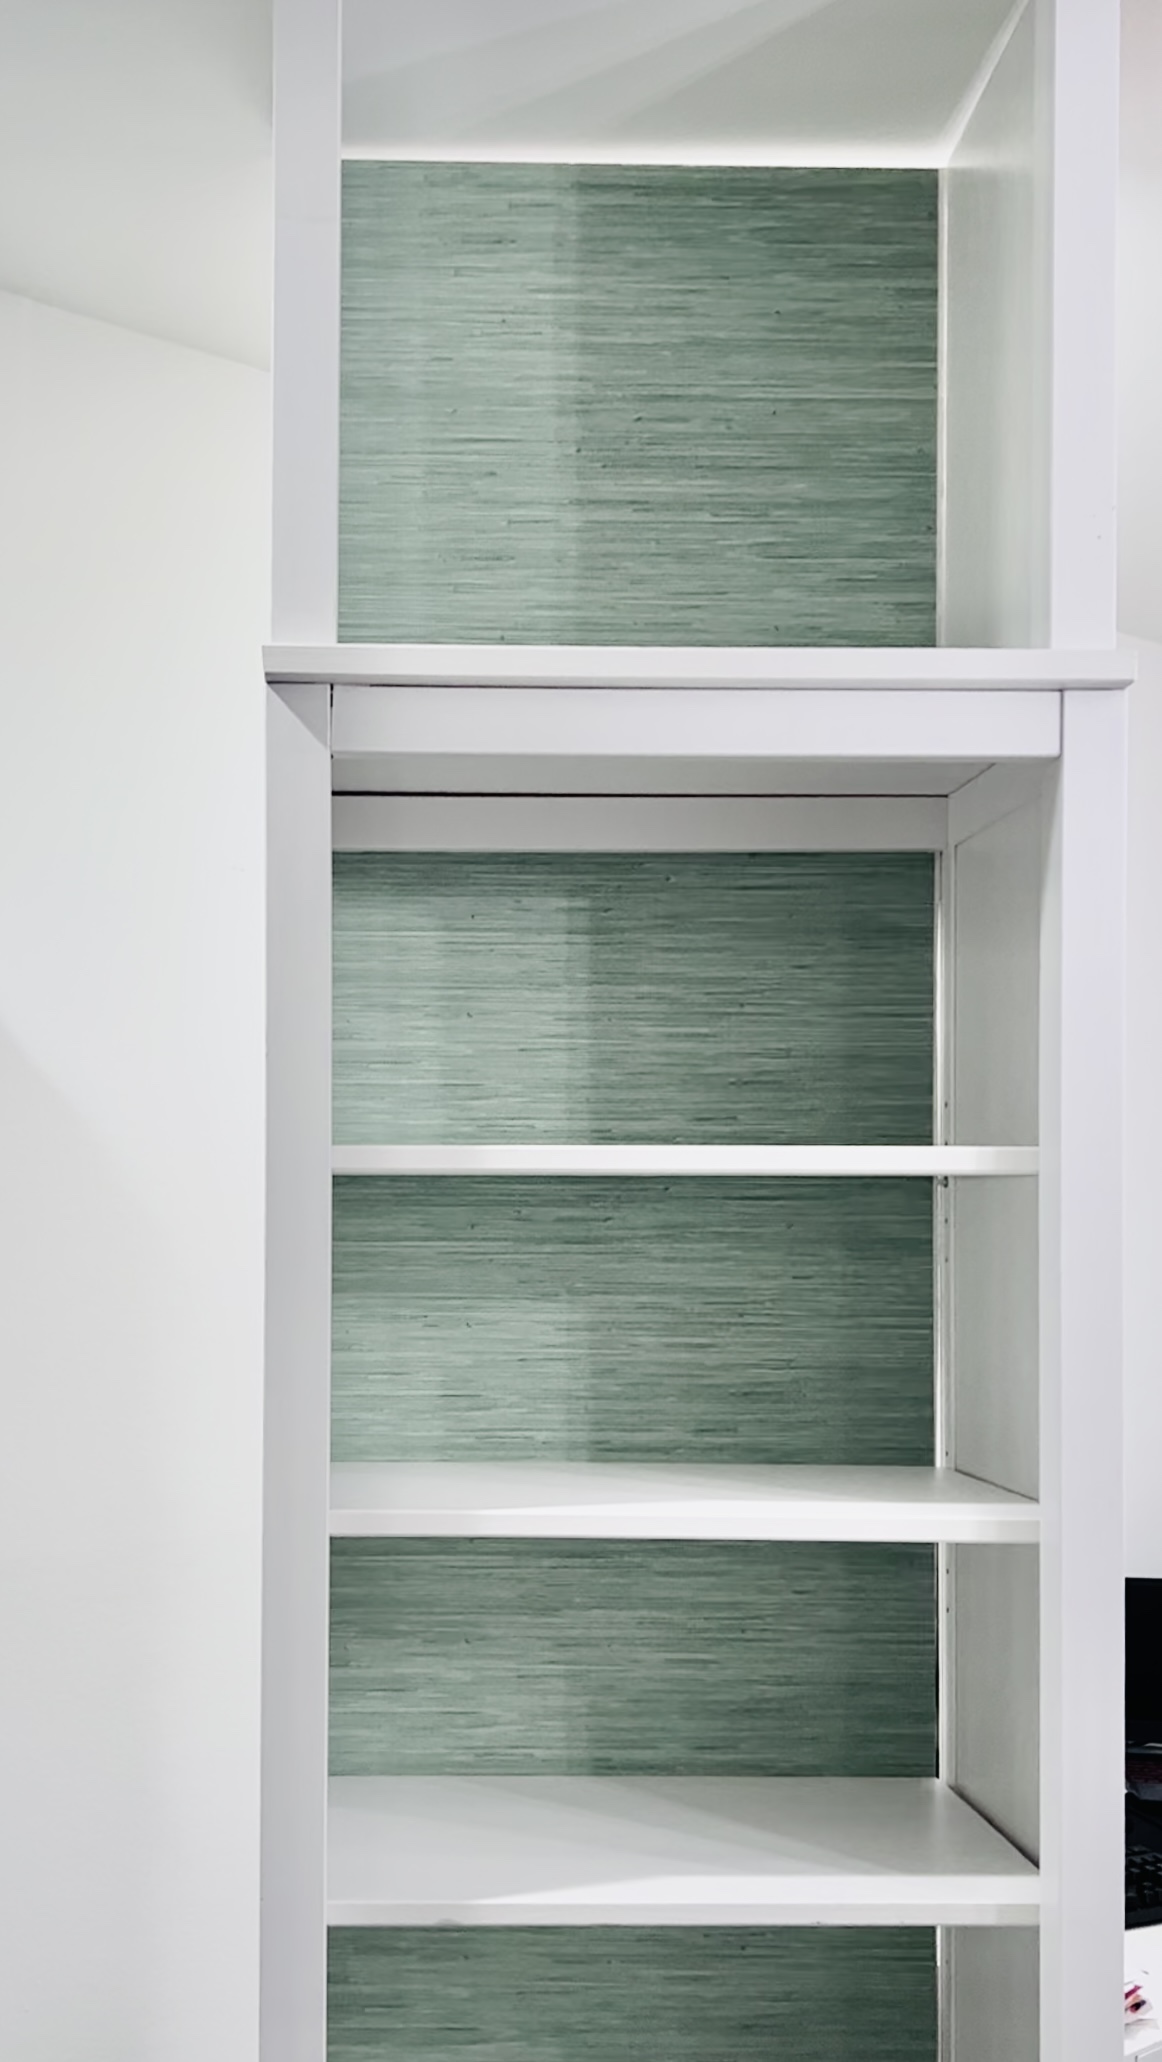
- grasscloth peel-and-stick wallpaper for backing the inside of shelves
Here are some progress shots of this wacky weeks-long build:

I love, love, love this Society Social grasscloth wallpaper. It is very easy to use and looks real, with a matte finish and slight texture. For other applications, I have used this NuWallpaper faux grasscloth paper. I love the look – it’s much more like a patterned contact paper, with no texture. Both are great for different applications. Here’s how the Society Social grasscloth wallpaper looks on the back of this room divider. The first picture shows the construction more clearly, since it is hard to see once installed against the wall and desk.


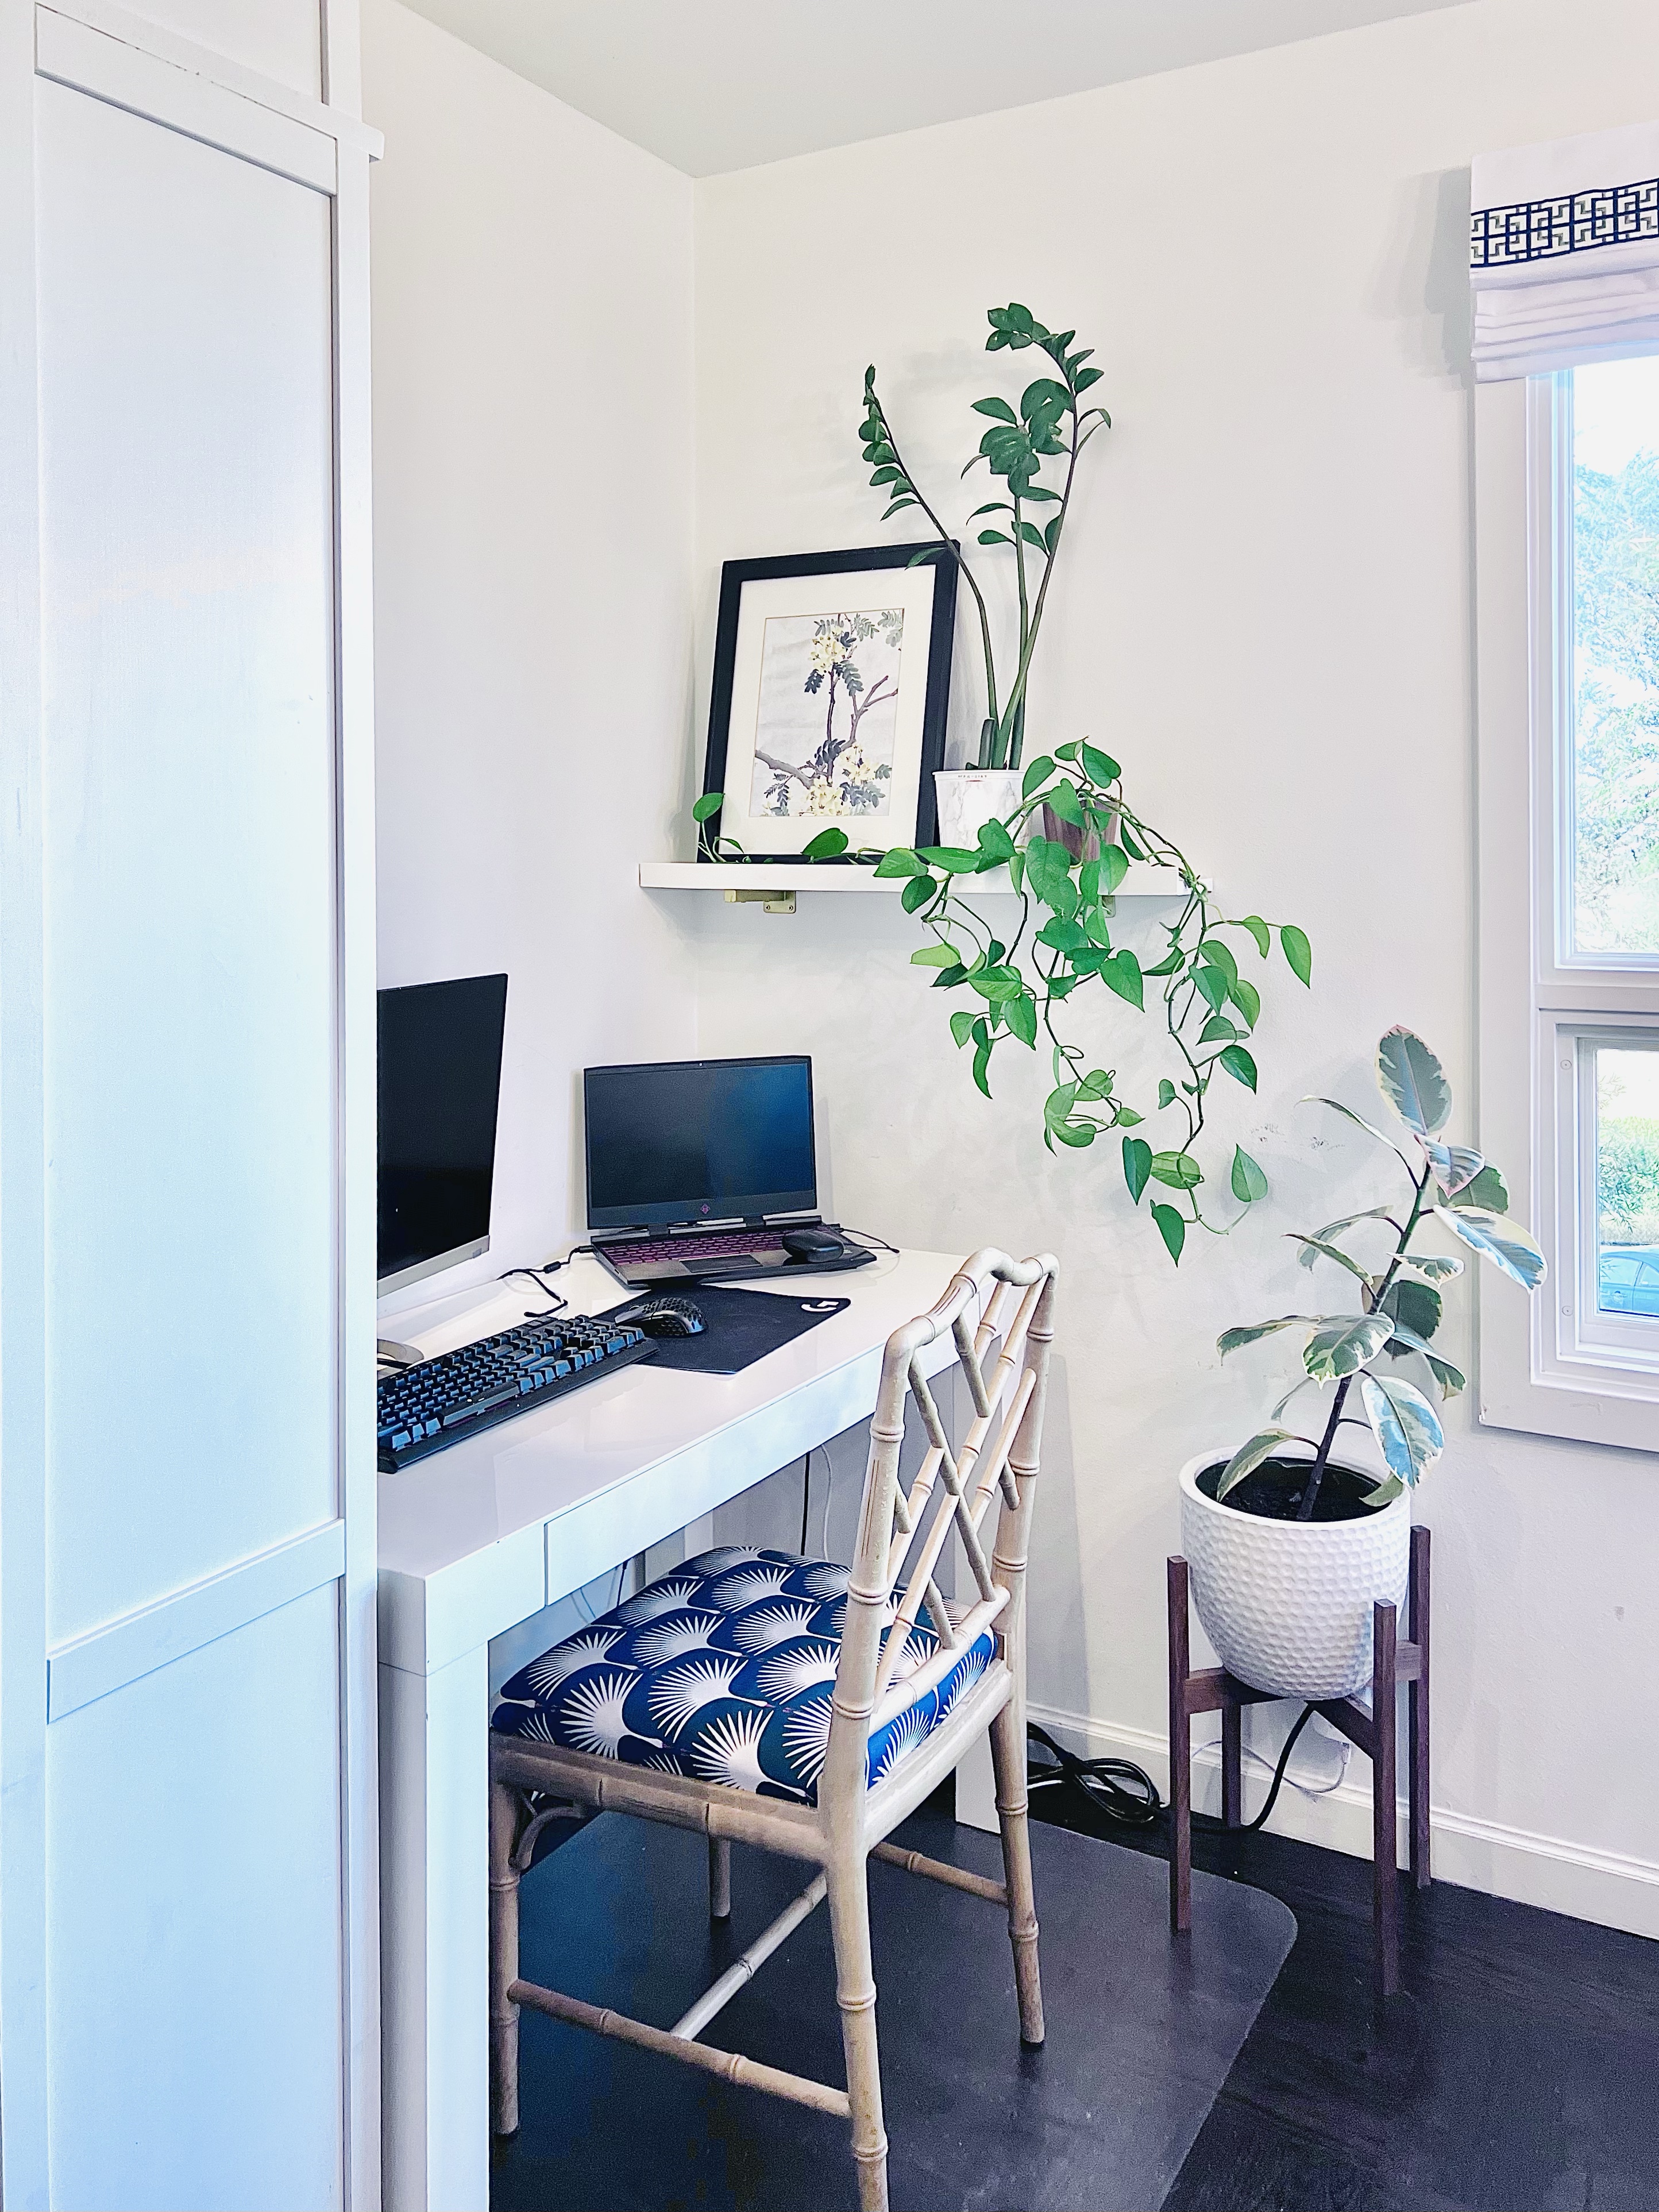
I don’t get a lot of comments, let alone compliments, from my kids for all my crazy DIY projects. I’m grateful that my 13-year-old told me his new space gives him “tranquility.” I can see why!

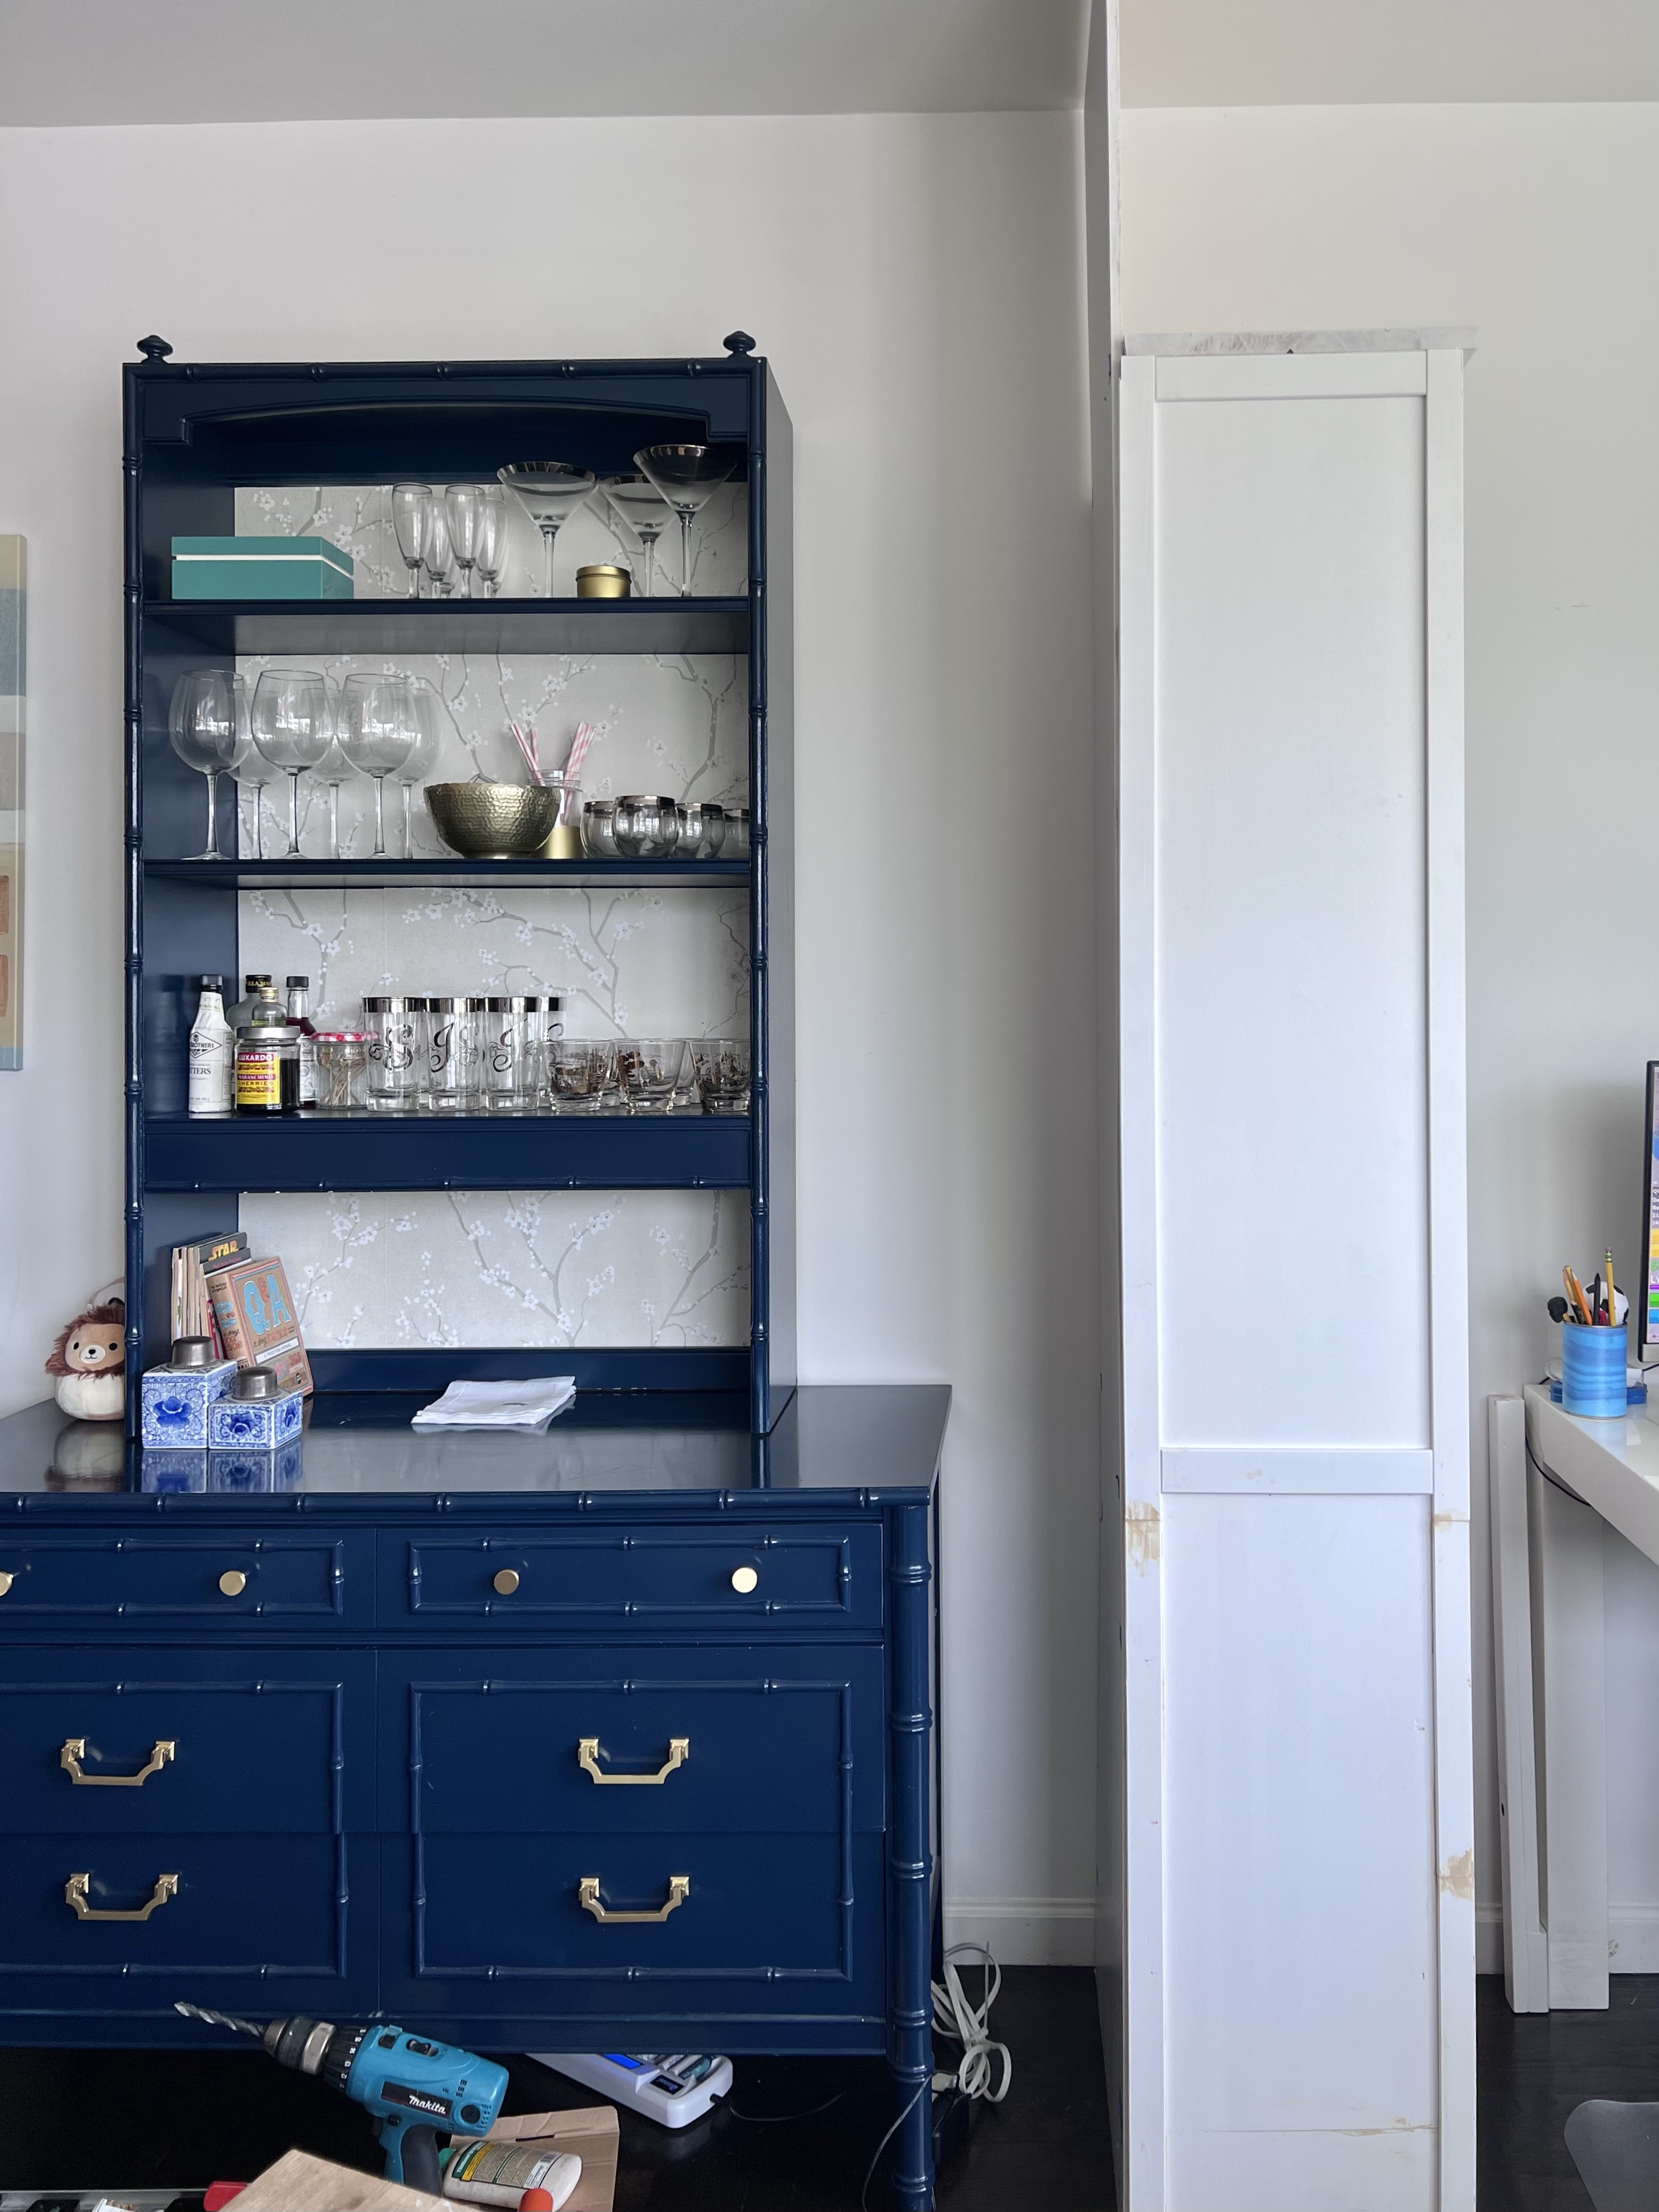
The room is coming together! Not only does the solution disguise the desk; it also makes the whole living room feel more symmetrical.

Before and after!

This project turned out to be worth the wait and effort! I’ll keep posting progress updates on Instagram and a weekly post here with more details! Looking forward to the next steps of this project as well as checking out the other participants’ awesome posts. You can follow the whole event on the One Room Challenge website!
Julie AKA “Jewels”

Pingback: Dining Room Bar and Final Look – Week Eight – Fall 2023 One Room Challenge | Jewels at Home