These little “pillowcase” dresses have been catching my eye for a while. The style is very simple to sew, and the results are so cute! Not to mention that for growing kids, you can’t beat a style that will grow along with them!
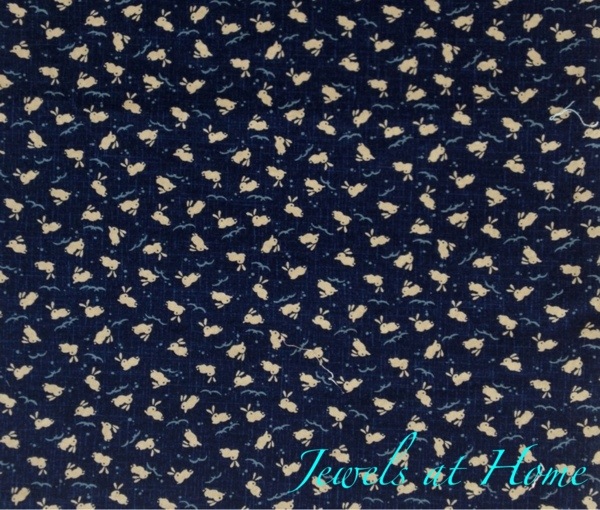
For my birthday, Steve and I went to an amazing fabric store in Berkeley, Stone Mountain and Daughter, and among other treasures, I found this cute Japanese-style rabbit print.
I have a weakness for anything rabbit-themed for my little nieces, who were born in the year of the rabbit. You may remember the custom gift bags and silhouette Christmas ornaments that I made for them.
For the basic pattern, I used this tutorial from the Aesthetic Nest. I did alter the pattern in a couple of ways.
Here’s what you will need to make your own unique designs in size 2T:
- 1/2 yard of 45″ quilting cotton for the main fabric, if the print has no direction or runs across the width of the fabric. You will need 2/3 of a yard, if the pattern runs the length of the fabric.
- 1/4 yard of solid fabric for the tie
- bias binding to match your main fabric
- thread to match your main fabric and tie fabric
Instructions:
- Prewash and iron your fabric
- Fold the main fabric in half and cut into to two pieces that are 18″ wide x 22″ long each. You can see here why they’re called pillowcase dresses. It would be fun to find some pillowcases with a great design for dresses, though the pattern is usually oriented the other direction.
- Cut armholes from the top corners: 4″ from the top and 2″ from the side, as show below:
Next, join the front and back panels using a French seam:
- First, with wrong sides together, sew a 1/4 inch seam along the sides of the dress (top left picture below).
- Iron the seam open, turn the dress inside out, and sew a 3/8″ seam with the wrong sides facing (top right picture below).
- Turn the dress right side out again, and you can see your dress taking shape (bottom picture below)!
To finish off the edges, start with adding bias binding to the armholes. I didn’t get good pictures of this with the dresses, so the picture below is from the pillowcase top I made for myself:
- Open the folded bias binding and line up one edge to the edge of the armhole on the right side. Stitch along the crease nearest the edge.
- Clip the seam allowance in the curve, to allow it to lie flat. Fold the binding to the wrong side and iron the binding flat.
- Sew around the armhole to sew down the binding.
For the neck casing:
- zig-zag the top edges of both panels, unless you were able to line the selvedge up here (top picture below)
- Fold down 1 3/4″ from the top edge and iron (second picture below)
- Fold back up 1/4″, so that you have a 1/2″ casing (third picture below)
- Sew along the bottom edge of the casing and voila (bottom picture below)!
For the bottom hem, fold up 2″ towards the inside of the dress and fold back under 1/4″. Iron and stitch the hem in place.
For the tie, I started with two 3″ thick strips of fabric, each 42″ wide.
- I joined the strips end to end (top left picture below)
- I the folded open the joint and sewed the seam allowances down (top right picture below)
- I finished the tie all the way around by folding under a 1/8″ twice and sewing it down. I didn’t measure this part exactly, but I did put a piece of painter’s tape down on my machine, to make sure I was keeping approximately the same finished width all the way (bottom picture below).
And here are the finished dresses! So cute!
Happy 2nd birthday, girls!
Auntie “Jewels”


