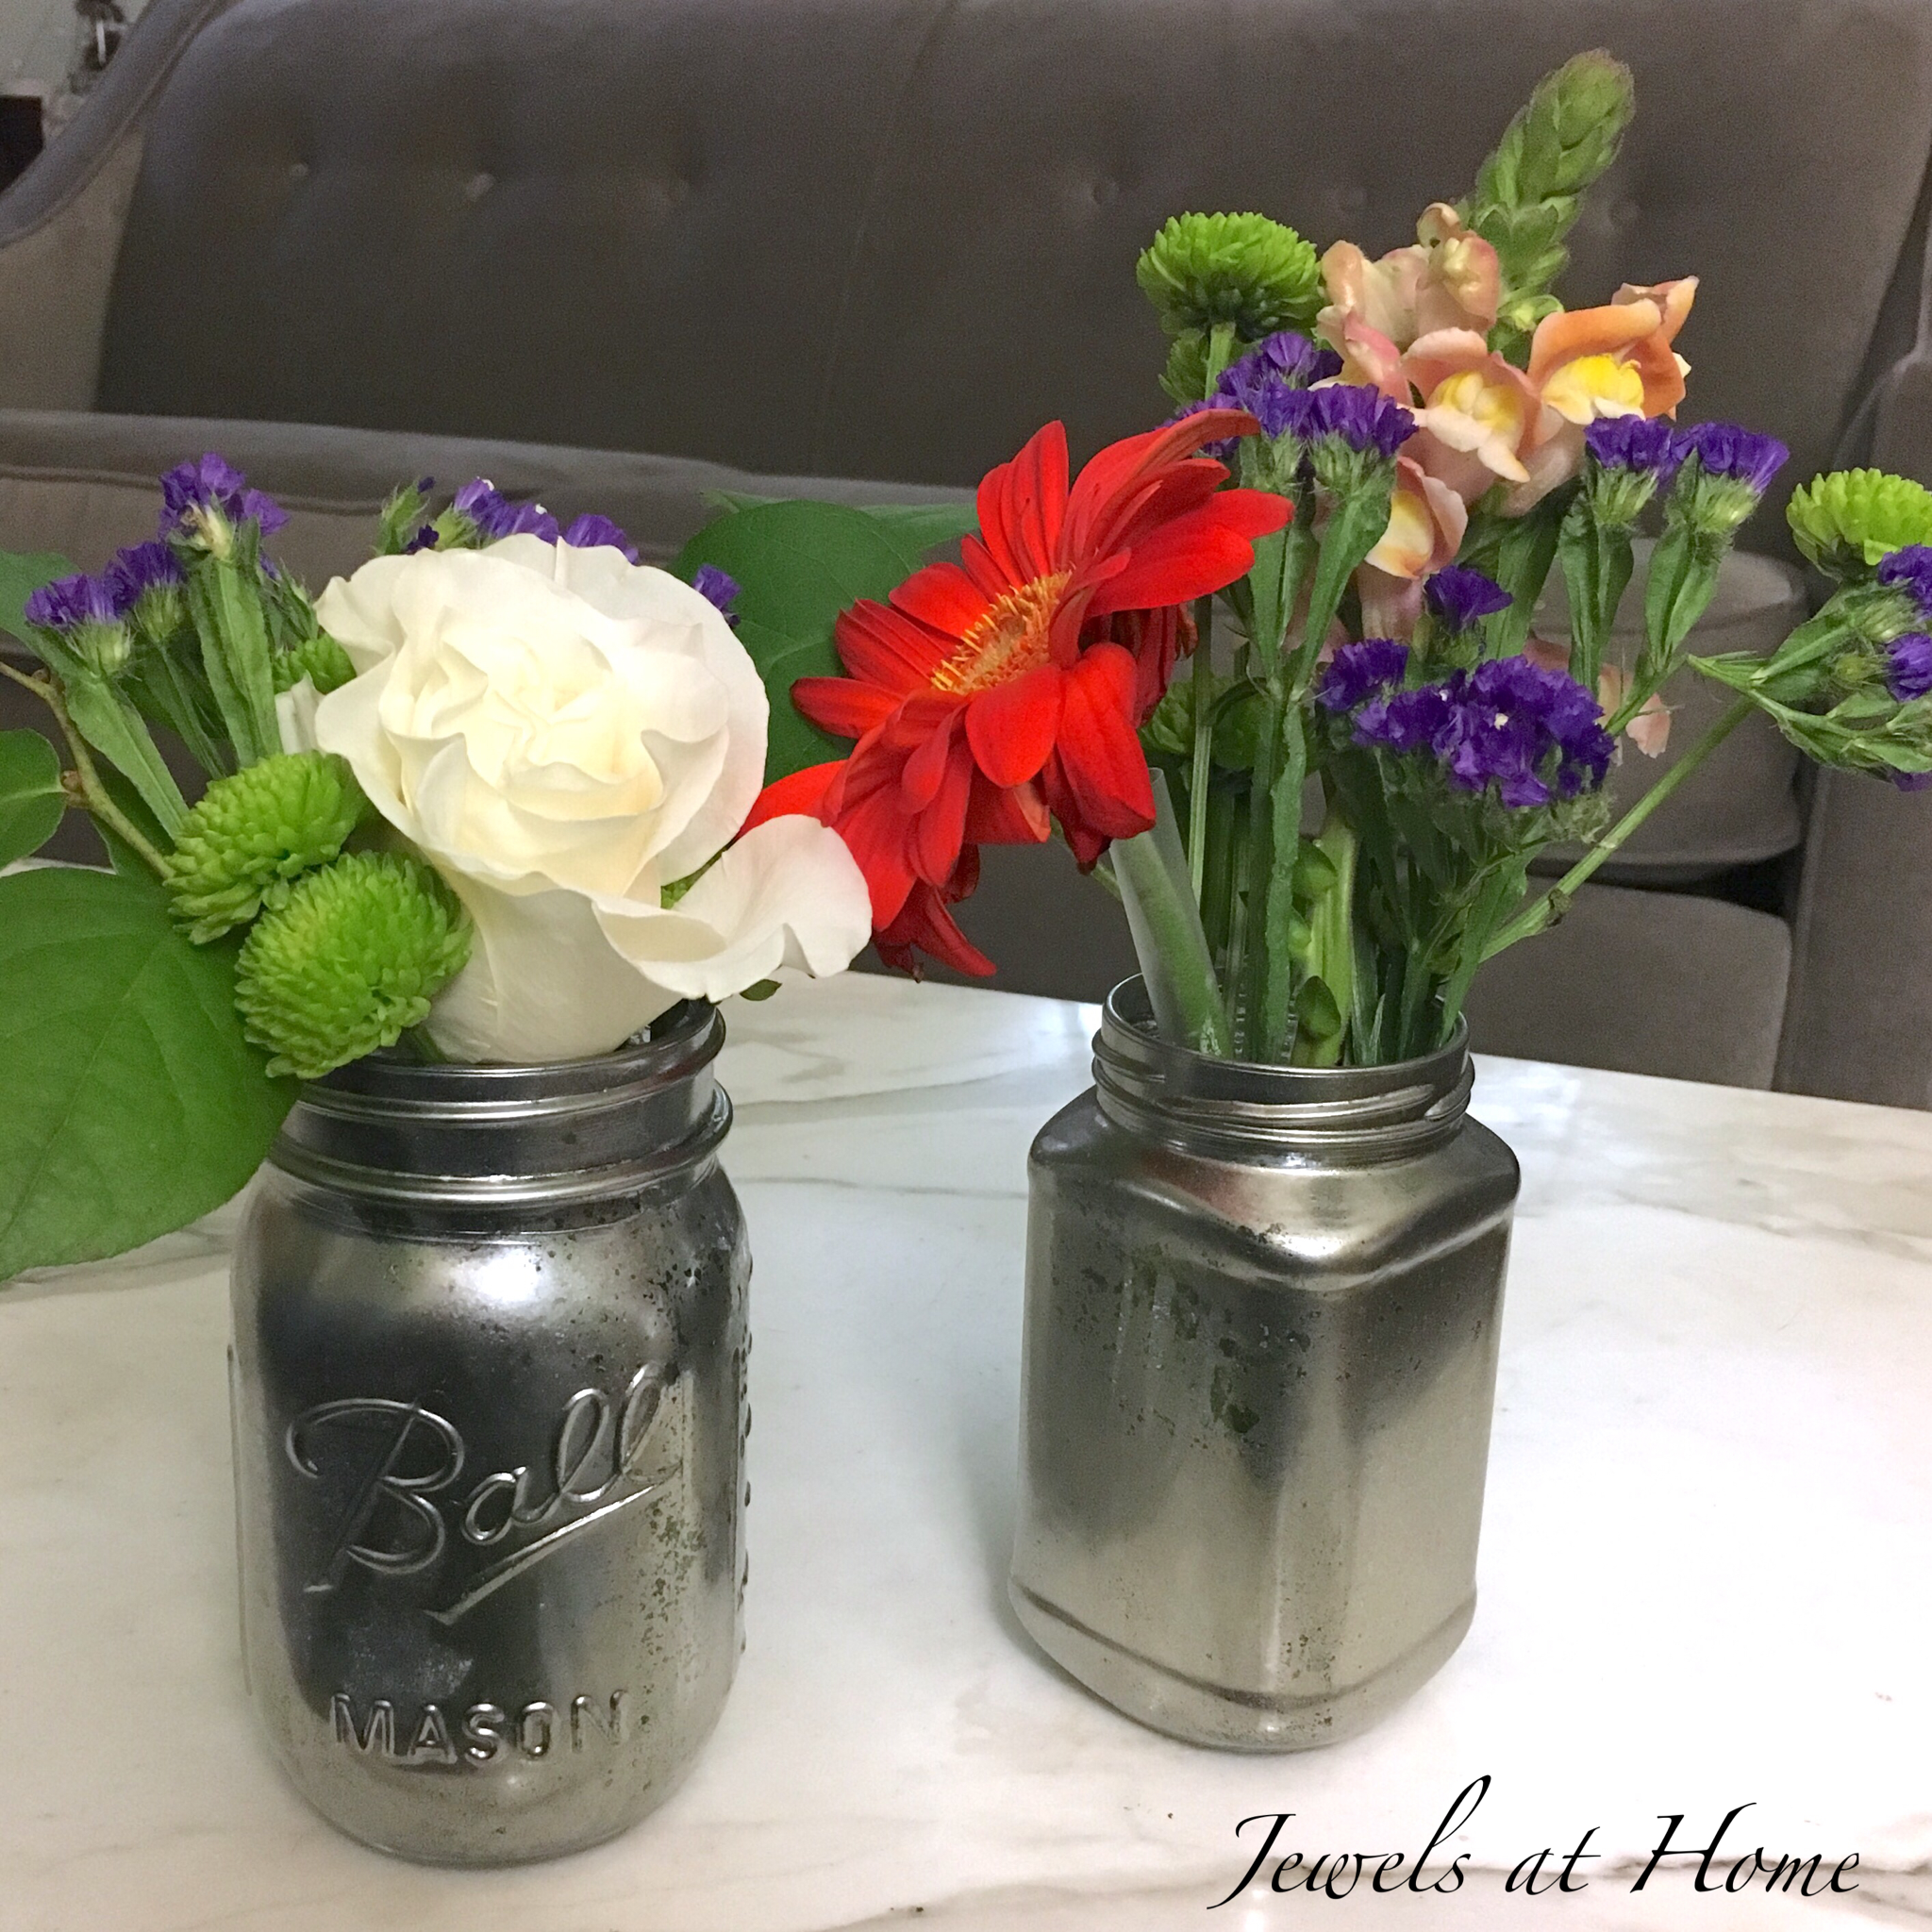
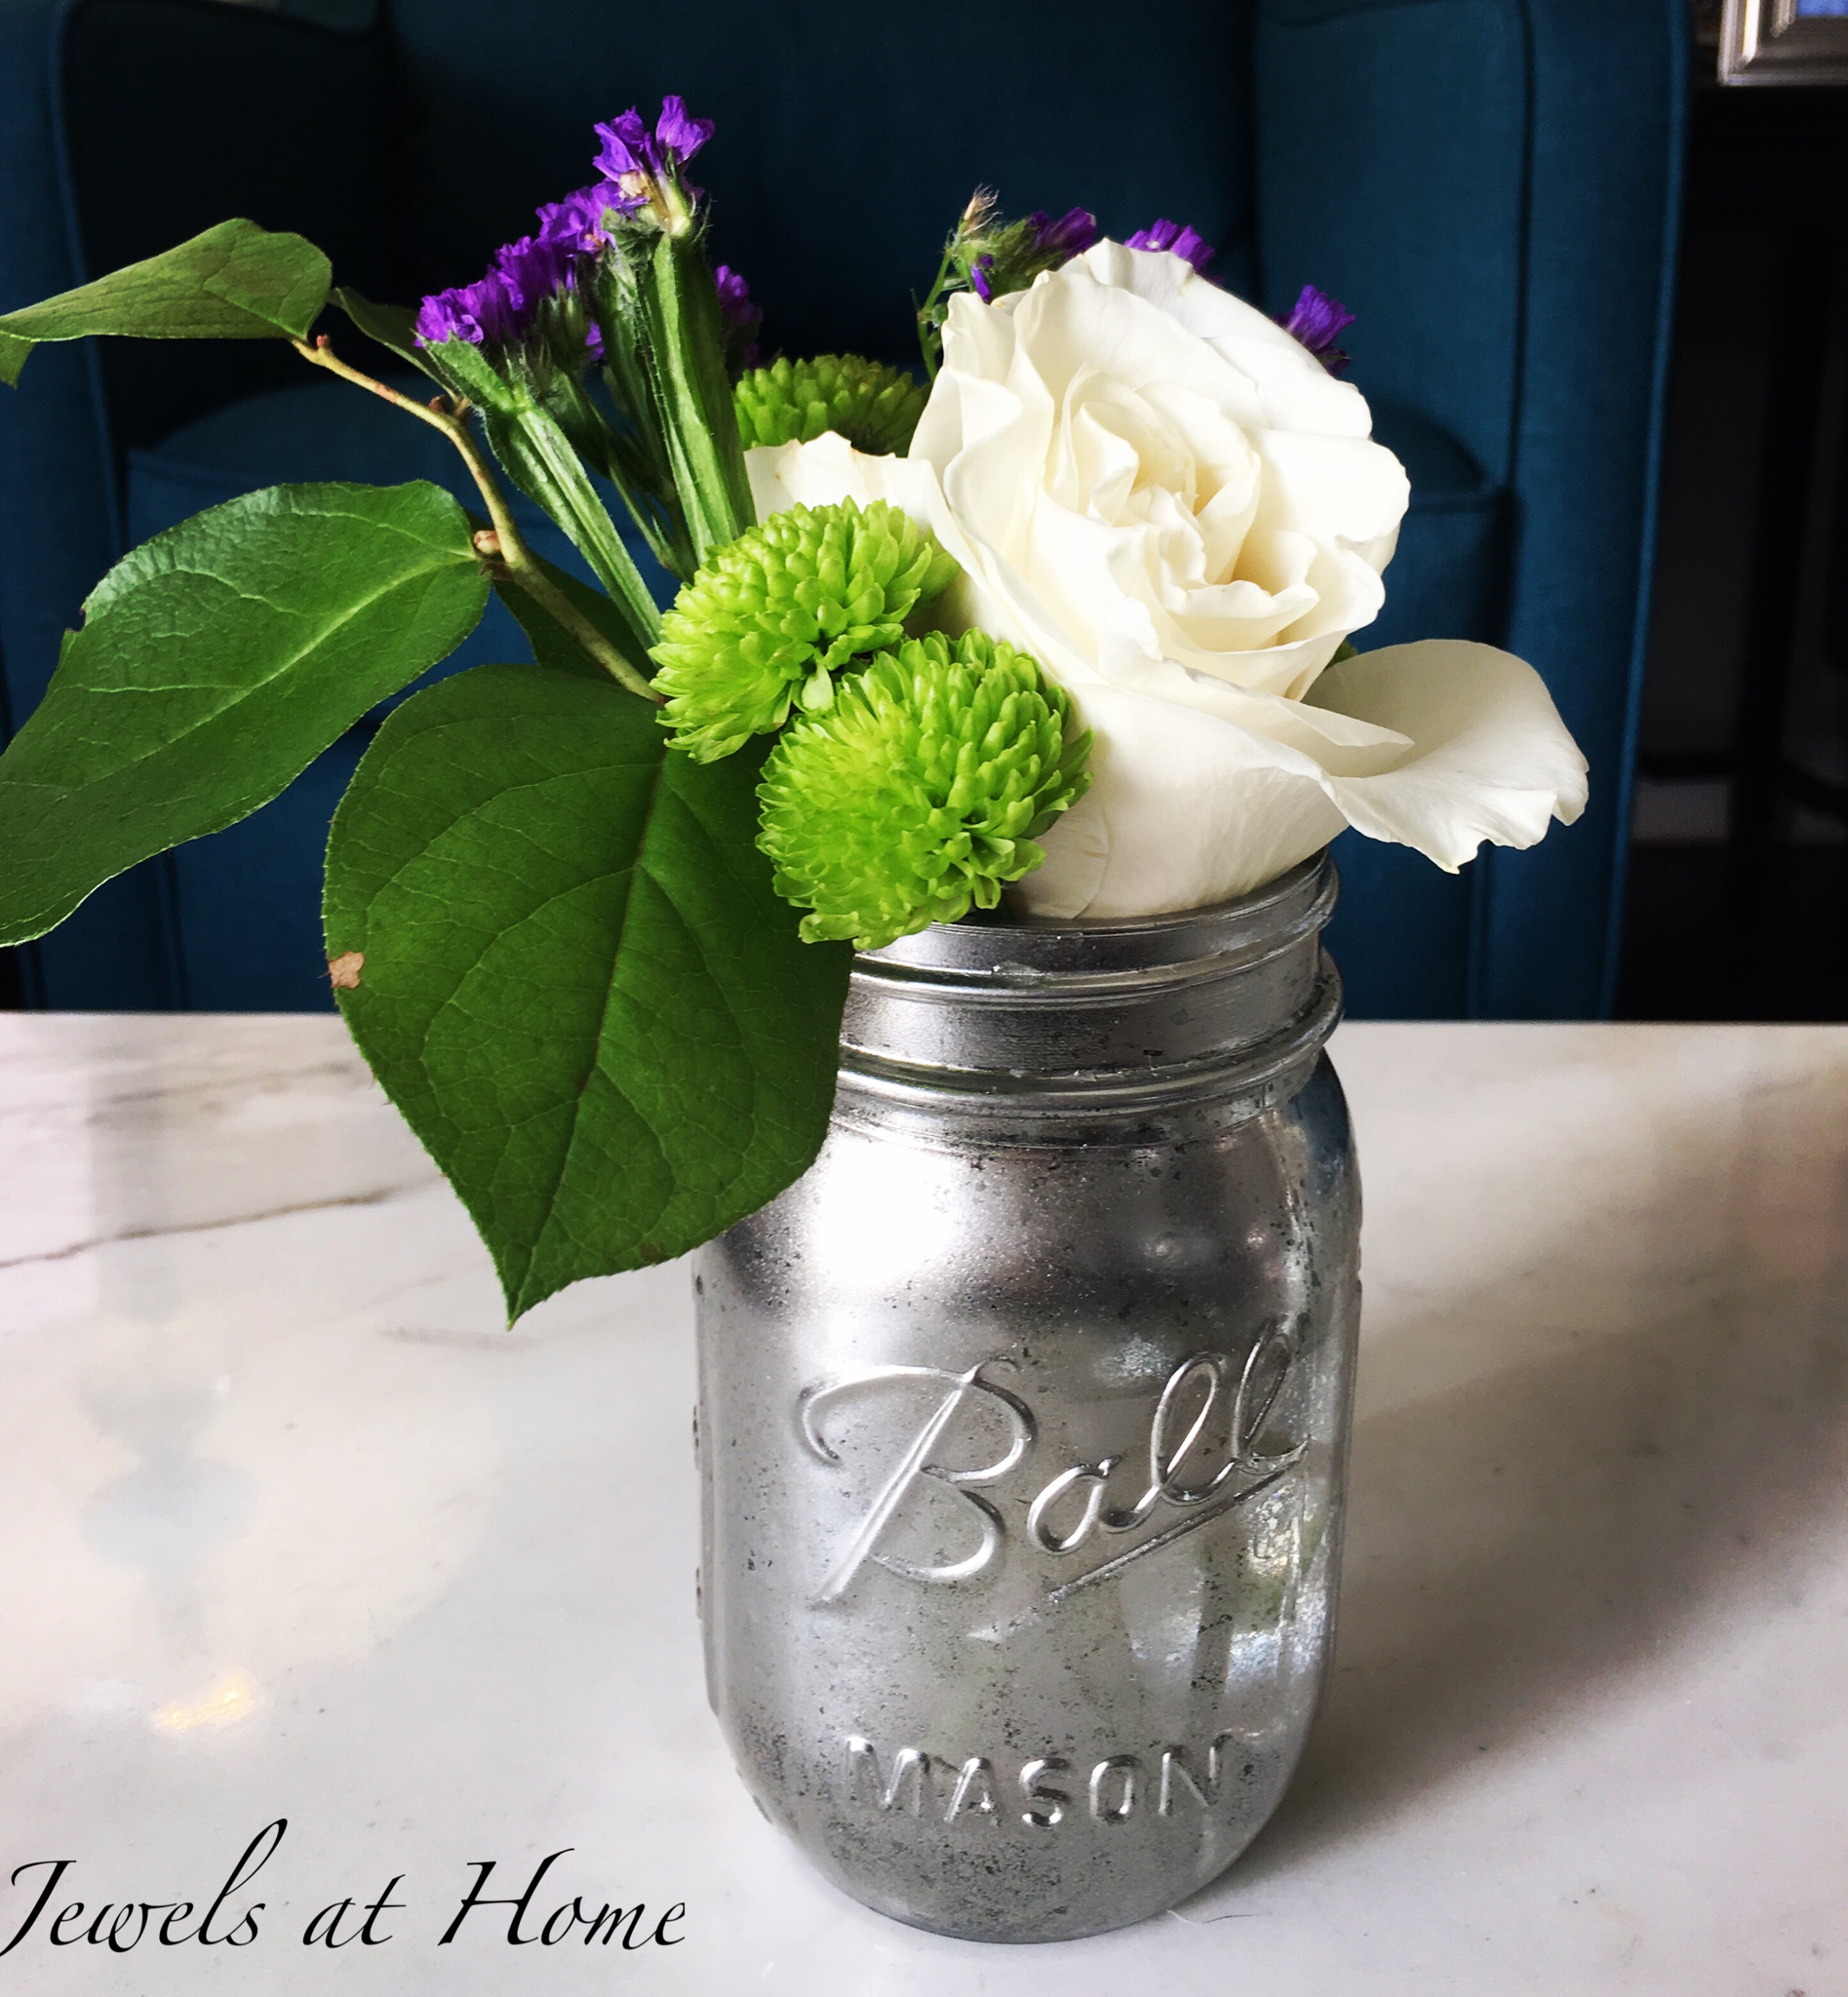
You’ve probably seen the popular mercury glass accessories out there as well as the DIY tutorials. I have been waiting to try this out, and it was really fun!
I made these for a party we have coming up, and – excitement!! – I am also helping a friend plan wedding decorations, so there will be more to come. Enjoy some tips and pictures:

I found quite a few different variations in instructions, which I will discuss a bit.
- Types of paint: the most popular seems to be Krylon Looking Glass. It took several coats to get this finish, and I think I could actually have done even more, but I want to be able to put votive candles inside and still have some light shine through. I also added one coat of gold paint in the middle to warm up the color a bit.
- Spraying water-vinegar mix before painting or after painting: I preferred to spray the water-vinegar mix on before spraying, which blocks the paint from sticking to the glass. I did still rub it off a little after, but I think you would have to rub a lot harder, if you sprayed the water on after the paint.
- Spraying inside or outside: Looking Glass paint is intended to be sprayed on the inside, so the glass itself adds to the reflective finish. However, to make the vases more useful (ie able to hold things inside), I chose to paint on the outside.


Here’s how one of my vases looks in front of some mercury glass candlesticks I bought from Pier 1. It makes me want to warm up my colors more next time by adding more layers of gold paint.

I’d also like to try again with some rose gold or copper paint!
“Jewels”
