“CHEERS” Party Banner

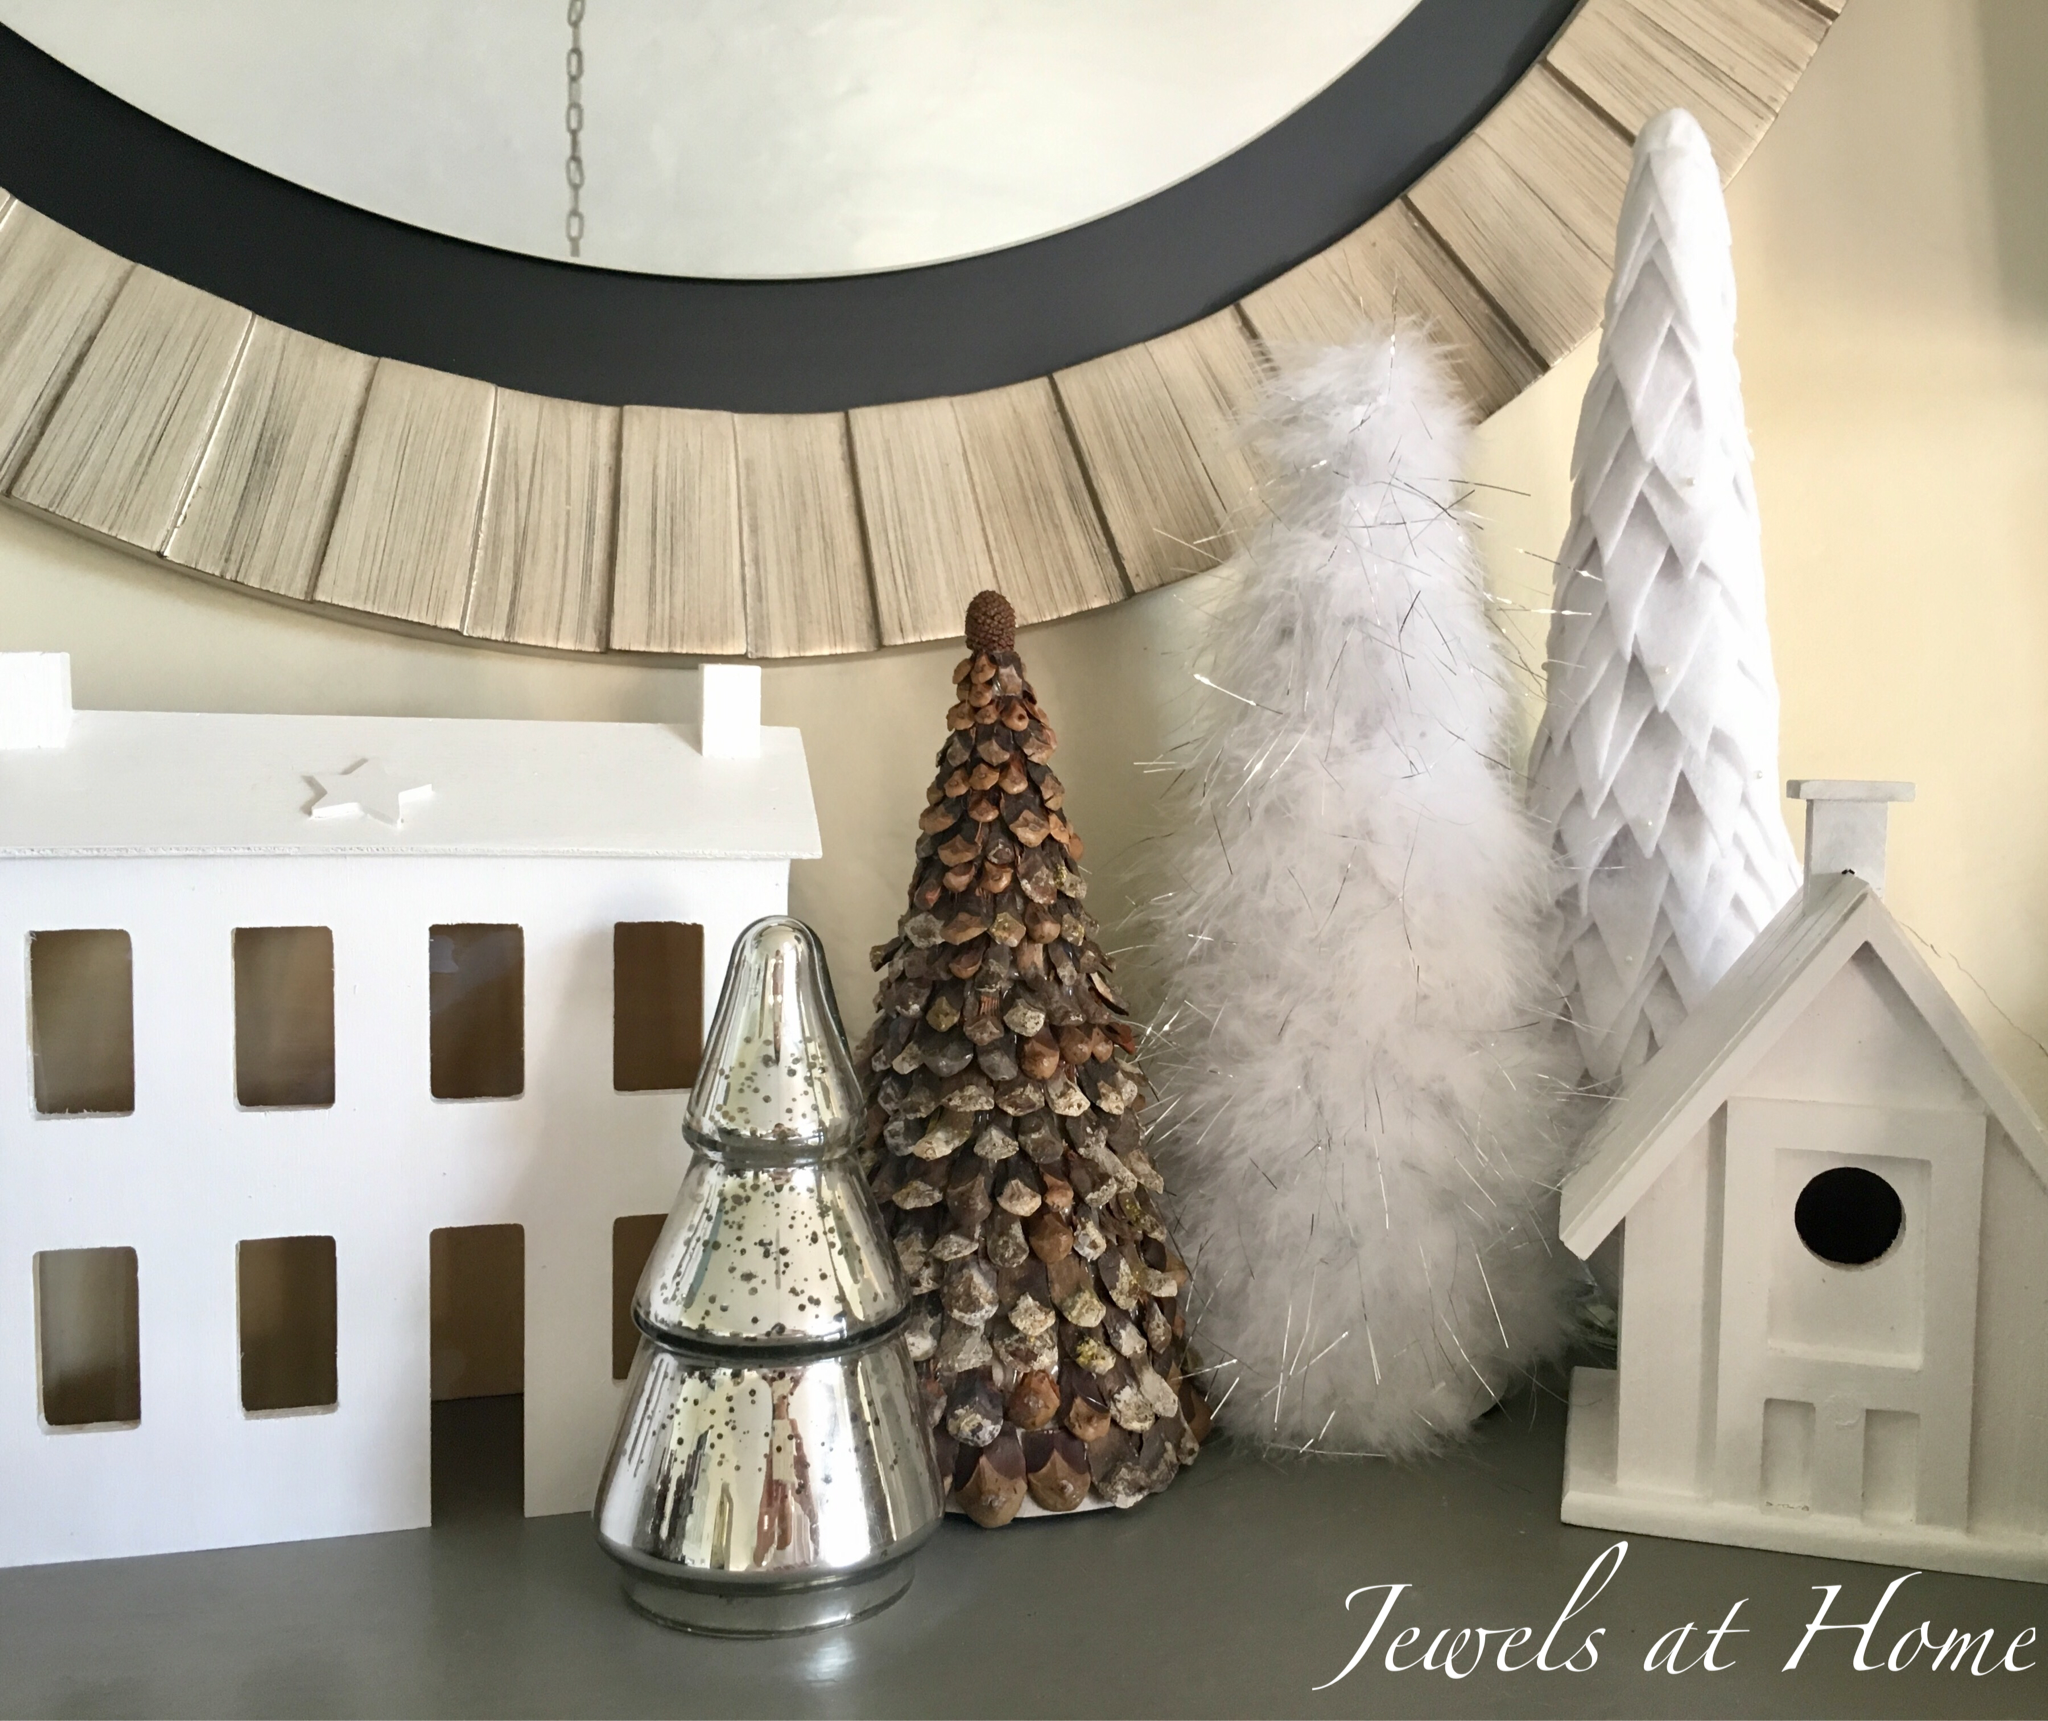
I love hosting parties because of the great food and company. And, to be honest, entertaining is also exactly the kick in the behind I need to work on fun projects around the house. We’re hosting a parent social in a few weeks, and I’m working on some decorations that will be festive and a touch glamorous, to help us all escape for a few hours from the daily routine.

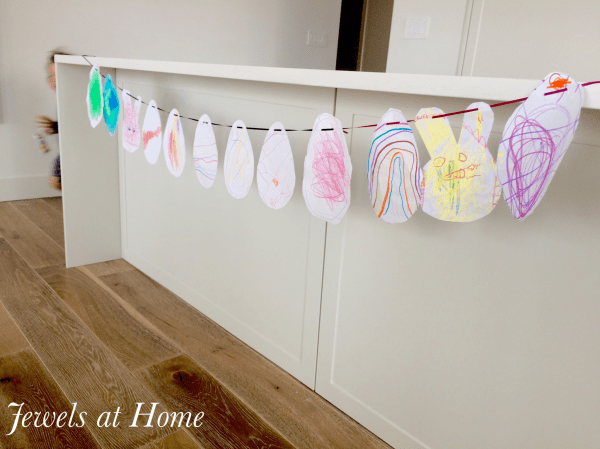
One project I was excited to do was this “CHEERS” party banner. You could use this idea with any saying for all kinds of occasions, like weddings or birthdays. If you want to make one for your next shindig, here’s how I did it.

Materials:

Instructions:

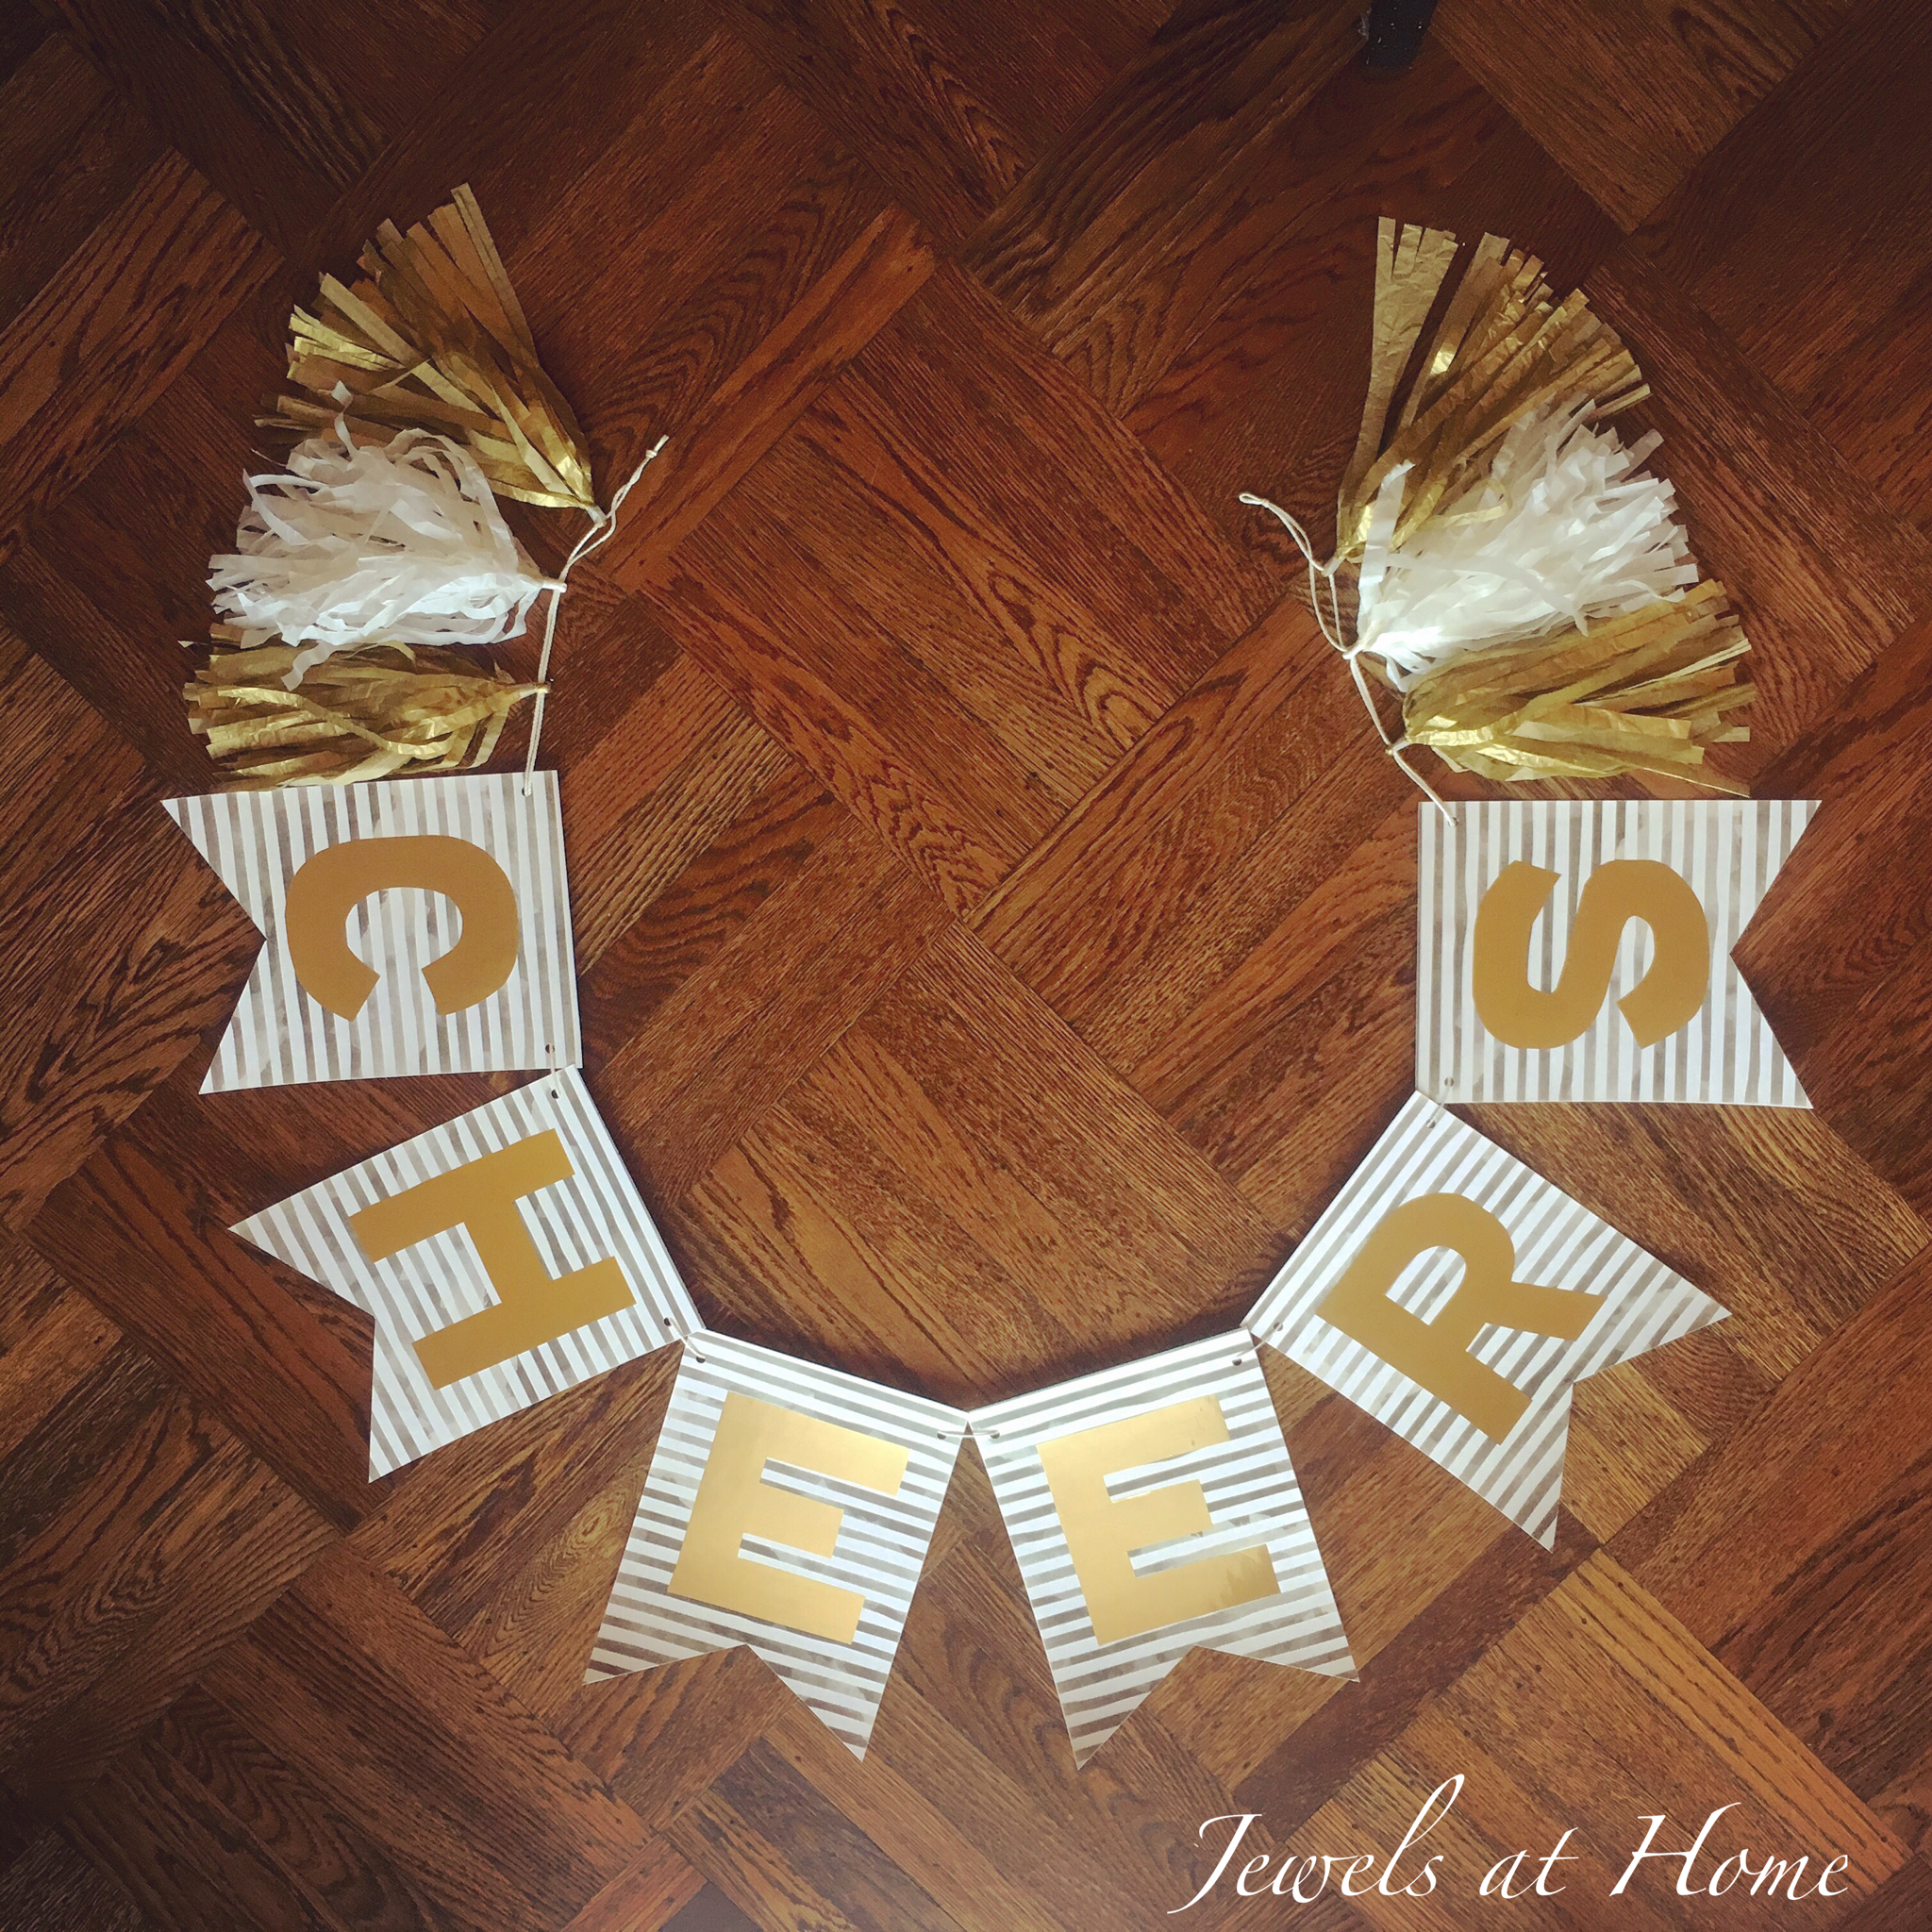
  • Cut out the cardstock with points at the bottom
  • Cut out letters from the gold contact paper (remember to sketch your letters backwards!) and center on the cardstock
  • Punch holes in the top corners of the cardstock
  • String on to twine
  • Add tissue paper tassels (I used these instructions)

Here are a couple more pictures of our fun party banner!

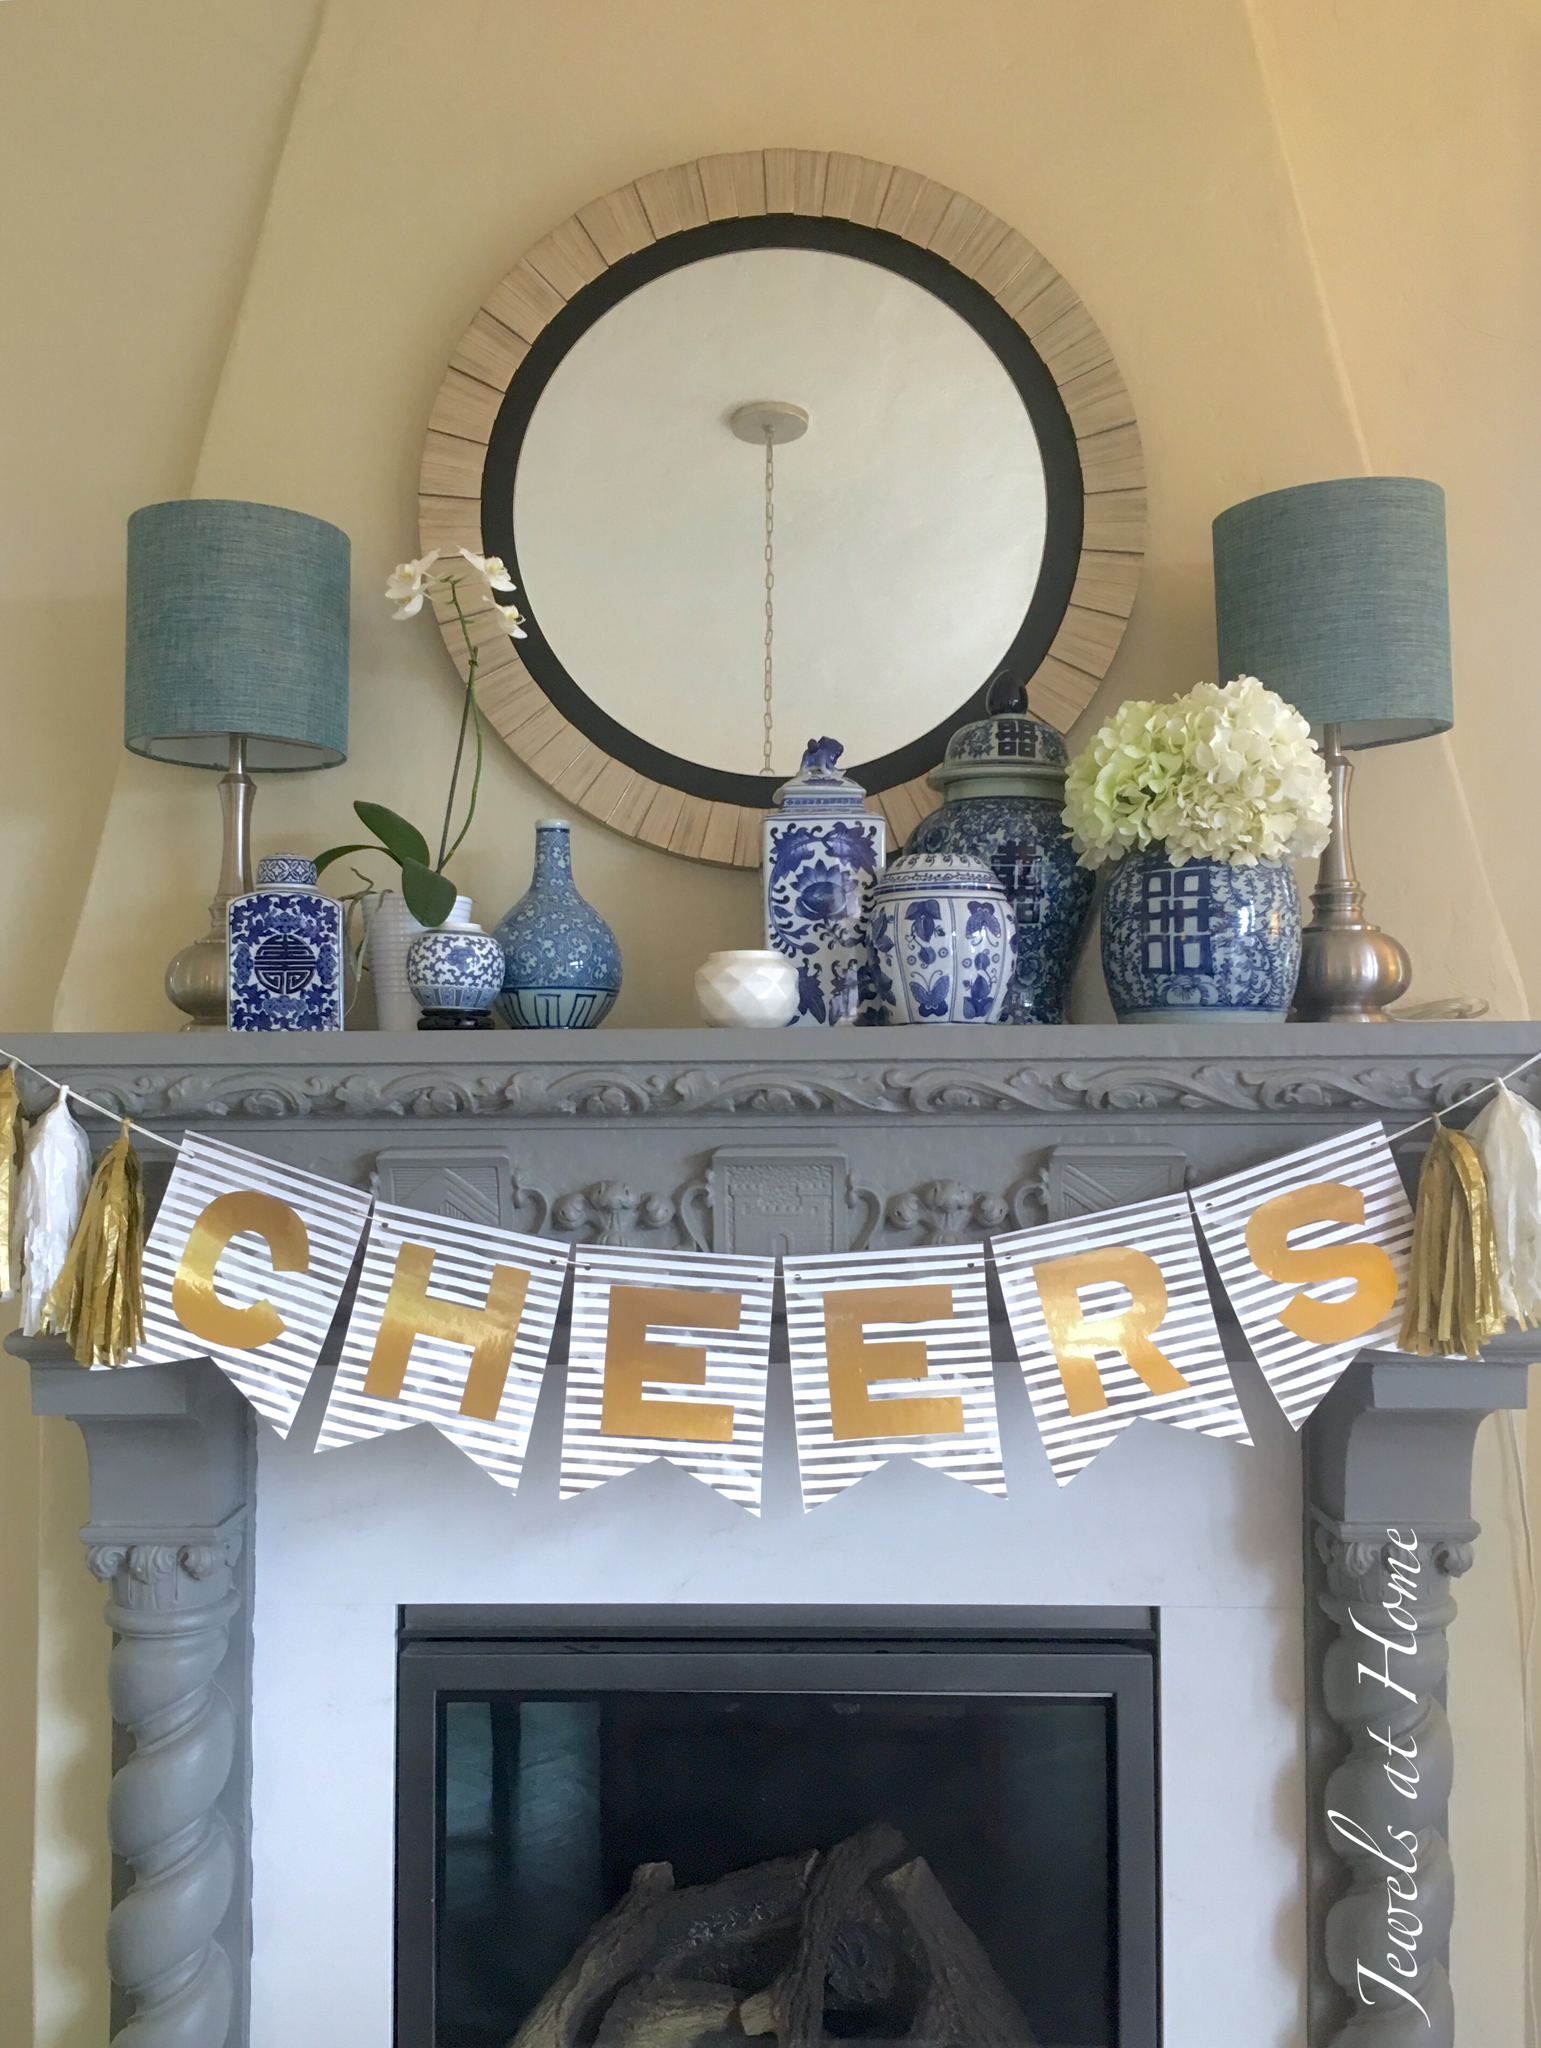
Can’t think of a better way to sign off than saying “Cheers!”

“Jewels”


Pine Cone Christmas Tree

Remember when I made felt Christmas trees and yarn Christmas trees? Way back then I meant to make one with the pine cone scales, inspired by Shauna Mailloux.

Well, I finally made mine!

The new pine cone tree fits right in with his felt and feather cousins!

I might paint it another time, but for this year’s Scandinavian-inspired theme, the natural finish seems perfect! It took a while to put together, and Steve took the opportunity to make about two zillion conifer-inspired puns, so I have multiple reasons to be glad that project is over:)… but I’m really happy with the results!

“Jewels”

Kids’ Upcycled Easter Garland

We had a great time celebrating Easter with my sister’s family last year. I had wanted to make a garland with the kids, and a stack of drawings was the perfect starting point! Why leave all those creations hidden in a pile when we could hang them up to enjoy?

Kids' Upcycled Easter Garland | Jewels at Home

I made two templates out of cardboard: an egg and a bunny face. With older kids, you could add more shapes, but our three- and four- year olds barely managed with the egg, so this was perfect for us.

J and his cousins chose drawings and created some new ones. We traced the shapes and then cut them out. I made two small vertical slits at the top of each egg or bunny, and we threaded some ribbon through.

It was great to see these preschoolers practicing their fine motor skills and helping each other to put together our Easter decorations.

Kids' Upcycled Easter Garland | Jewels at Home  Kids' Upcycled Easter Garland | Jewels at Home

Hoppy Easter!

“Jewels”