Mixed feelings seem to be the norm these days, so – I am both sad that we need to wear face masks, and happy that I can make them. Now that I have tried a few different variations, it’s gotten pretty quick and easy to put these masks together. They are a satisfying way to use small scraps of fabric, and several have been going out by mail or on the doorstep to my friends. I’ve gotten some lovely chocolate treats in return – it’s a great feeling, when people know you so well!
The original mask pattern I made is in a prior post. Now, I have made a few updates that I think make it more comfortable (nose dart) and practical (opening at the bottom, if you want to add additional filter material).
Here’s what you’ll need:
- Cotton fabric – use a tightly-woven material, such as high thread count bed sheets or quilting cottons for better protection (two 8″ squares per mask)
- 1/4″ wide elastic (12.5″ length per mask)
- Cord for ties – I used spare shoelaces and some bias tape stitched closed (I yard per mask)
- Basic sewing supplies
Here’s how to do it:
- Cut two 8″x8″ squares of cotton
- Round the top slightly (see picture below)
- Fold the mask in half vertically, with right side facing, and sew small darts at the top center of each piece. My darts are approximately 7/8″ wide and 2 1/4″ high (see picture below)
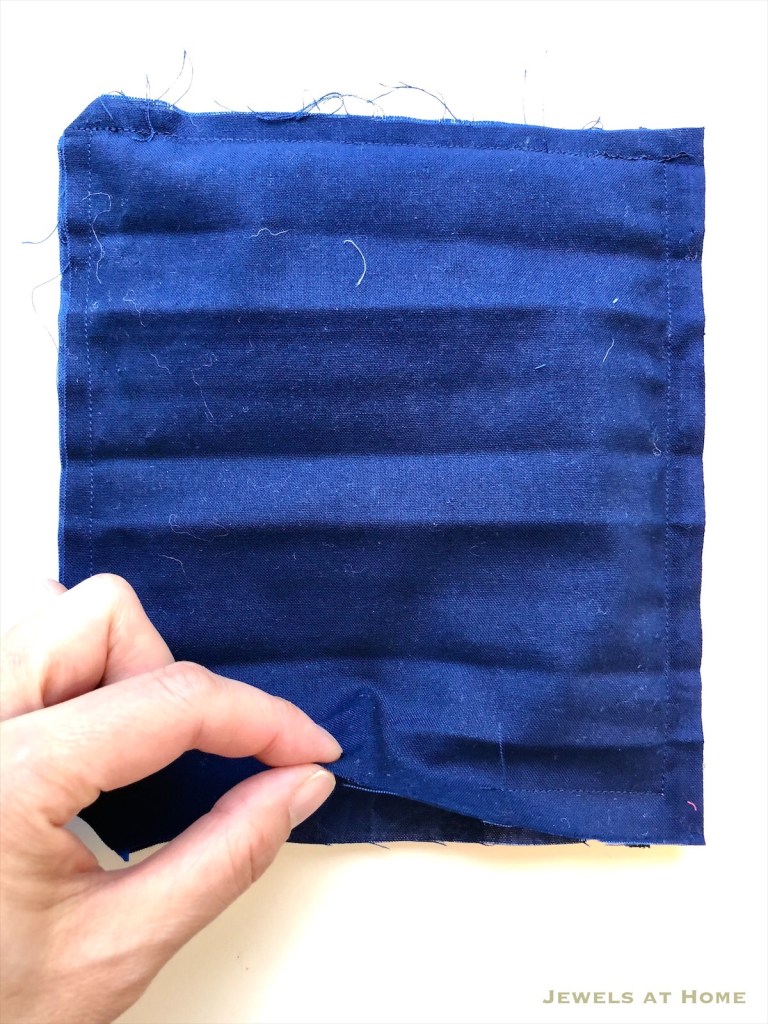
- Zig-zag stitch along the bottom of each piece to stop the hem from fraying, because this side will be left open to insert optional filter material.
- Place the two pieces right sides together and pin
- In between the two layers, pin the elastic 3/8″ down from the top corners, careful not to twist and pin the ties 3/8” up from the bottom corners
- Starting about 1.5″ from a bottom corner, stitch toward the corner and all around the edge of the mask with a 3/8″ seam allowance, ending about 1.5″ from the opposite bottom corner, leaving an opening in the center of the bottom. Backstitch at the beginning, ties, elastic, and end (see picture below)

- Clip the corners, clip the top curve, and turn right side out

- Iron the seams flat and top stitch around the edges
- Pin two or three pleats
- Stitch the two sides to secure the pleats

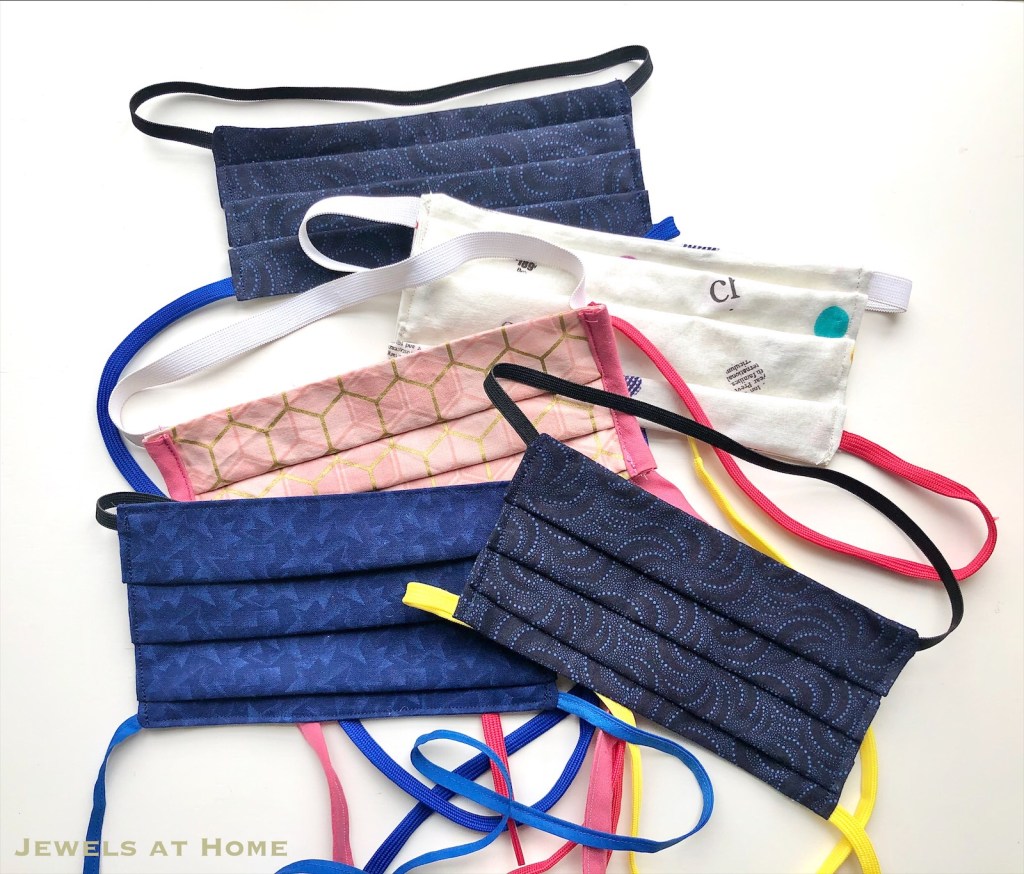
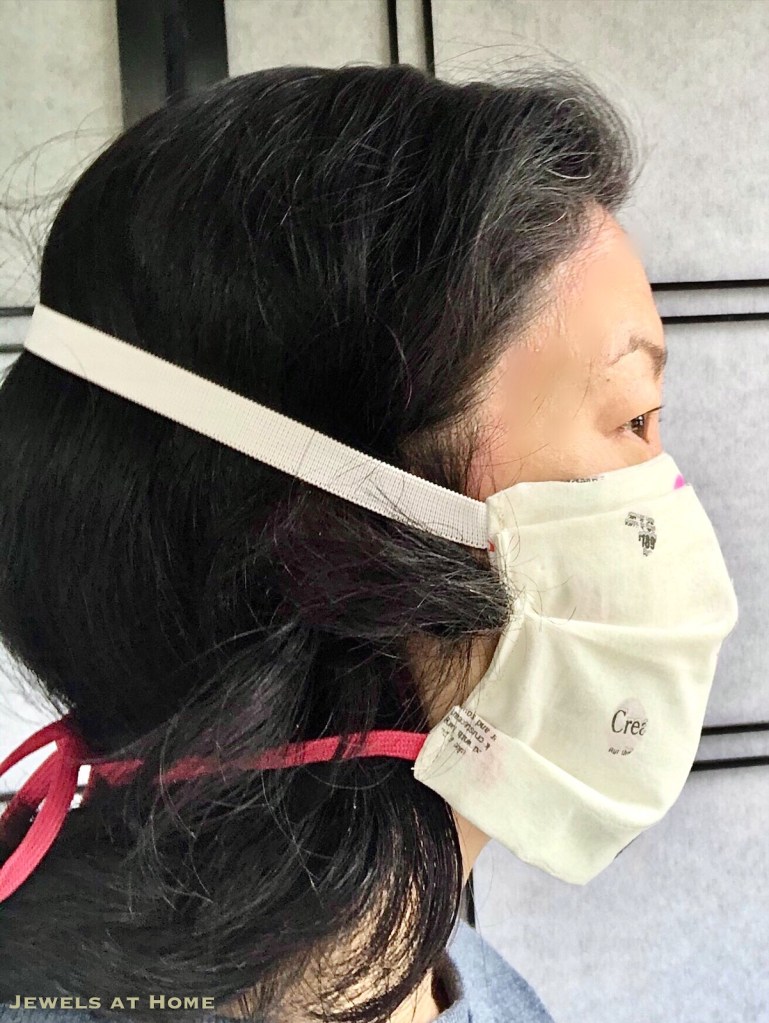
Here’s how I wear these masks and some of the fun fabric and color combinations I tried:


Hope that helps others who are sewing masks. Stay safe, friends!
Julie aka “Jewels”