Valentine’s Day Pennant Banner

I’m not usually a big Valentine’s Day person, but then again, a holiday built around chocolate can’t be all bad! Anyway, a couple of weekends ago, I got the urge to make something – anything! – and I put together … Continue reading

That Spells DNA – Nerdy and Beautiful Stacked Coins Baby Quilts

“DNA, you’re in my heart
DNA, in fact you’re in every part of my body
Each cell has a nucleus, each nucleus has chromosomes
And DNA, baby, that spells DNA”

-That Spells DNA by Jonathan Coulton

I can thank Steve, who is at the forefront of all things nerdy, for introducing me to Jonathan Coulton over a decade ago. Of course, as a genetic counselor, I have a particular soft spot for “That Spells DNA.” If you’re as nerdy as we are, and you don’t already know and love this song, you will want to check it out!

So, when we found out we were having a mini baby boom in our work family, with two babies due within two months, it wasn’t too hard for me to decide on DNA-themed baby quilts as gifts.

I found the DNA-themed fabric, Color DNA stripe by Melissa McCulloch, on Spoonflower. The fabric in the quilts is actually left over from a few Halloweens ago when our group dressed up as (if terrible puns cause you pain, skip this next part!) Gene-gnomes. The colors were a perfect jumping off point for this colorful gender-neutral patchwork of yellow, blues, greens and coral-red.

This pattern is called Stacked Coins and is easy to adapt to scraps of all kinds.

Here are some close-ups of the beautiful fabrics. I wanted to use every last scrap of the DNA fabric, so there is one patch in each of the quilts that I like to call “CRISPRed.” Can you spot one?

And here are a few more pictures of the quilts during their photo shoot, before they went off to their new homes!

All the colors and patterns together make me so happy! I am excited to meet the newest babies of our work family and give them their quilts, so they can start their genetics lessons early!

“Jewels”

Bridal Shower Photo Booth

I mentioned that Nicola recently hosted a bridal shower for one of our friends from work, and I helped out with some decorations. Over the past few years, I have gathered the elements for a DIY photo booth, including props, a tripod, and a Canon SELPHY Photo Printer.

In the past, I’ve adapted the backdrops and props for Christmas, a retirement party, and a Star Wars birthday party. This latest theme would be great for a wedding as well as a bridal shower. Want to do this yourself, here’s what you will need:

  1. Backdrop. I hung a graphic striped shower curtain and then added these giant paper flowers.

2. Seating. I used a piano bench

3. Display. It is so fun to display and enjoy the photos during the party, before everyone takes theirs home. I hung some pom-pom trim on the fence and added some paper rosettes and clothespins covered in scrapbook paper to make a pretty gallery.

Here we are, smiling at the end of a beautiful afternoon with friends!

Say cheese!

“Jewels”

Giant Paper Flowers!!!

Oh, I honestly love any project that involves paper!

For a friend’s bridal shower, I offered to set up a photo booth and make some other decorations, which was the perfect excuse to try making these giant paper flowers.

Materials:

  • 12×12 Cardstock – I used 3-4 sheets for the outer petals and one more sheet for the inner petals on each flower; you can cut two leaves from a sheet of green cardstock
  • Muffin cups for the centers
  • Cardboard for the backing
  • Tacky glue or hot glue

Instructions:

  • I started with this template and tutorial for giant paper roses
  • Because my cardstock was 12×12, I used the template to cut one each of sizes 1, 2, and 3 out of each sheet of cardstock. I made a smaller size 4 and used that to cut out the inner color
  • I varied the tips of the petals to get some variety (the pink-red and purple flowers follow the template; the blue has pointed petals, and the yellow and pink-yellow flowers have heart-shaped petals)


Here are some close-ups of the flowers:

They look really impressive grouped together:

And while I was taking pictures, it was so cute that Finn came over to smell the flowers!

Here’s how the flowers looked in our photo booth. The backdrop is a striped shower curtain.

Any ideas of where to put the flowers until our next event?

“Jewels”


DIY Gold-Painted Vases

One of my favorite partners in craft-crime recently hosted a bridal shower for one of our coworkers, and I offered to make some decorations. First, I made giant paper flowers for a photo backdrop, and next up were these gold-painted vases.

DIY gold-painted vases | Jewels at Home

Materials:

  • Empty glass jars (pasta sauce, peanut butter, mustard, etc.)
  • Goo gone
  • Painters tape
  • Gold spray paint

Instructions:

  • Clean your jars thoroughly. I peel my labels as much as I can and then use Goo gone to remove the adhesive. Then, I run them through the dishwasher.
  • Mask off the area you don’t want to paint. I did a few variations: simple horizontal stripes, uneven edges (tape some torn paper around the vase), elastic bands, and geometric angles. You could get creative with round stickers for polka dots, etc.
  • Spray with gold spray paint and ta-da!

DIY gold-painted vases | Jewels at Home

I love how this textured jar turned out. I think it was a sauerkraut jar.

DIY gold-painted vases | Jewels at Home

At the shower, I grouped vases together, so these small arrangements made a big impact.

DIY gold-painted vases | Jewels at HomeDIY gold-painted vases | Jewels at HomeDIY gold-painted vases | Jewels at HomeDIY gold-painted vases | Jewels at HomeDIY gold-painted vases | Jewels at Home

From “trash” to treasures!DIY gold-painted vases | Jewels at HomeDIY gold-painted vases | Jewels at Home

I gave most of the vases away as party favors, so the is the only picture I have of one of the diagonal geometric designs (far right).DIY gold-painted vases | Jewels at Home

Of course, now I am seeing beauty throughout my pantry and already have plans for another set of vases!

“Jewels”


Bib and Onesie Bouquet

To quote our toddler, “Wow! Wow! Wow!” My very dear friends Nicola and Victor just welcomed their first baby, and I was thrilled to meet her. I didn’t have a lot of time to pull together a gift, but I wanted something special, so I made this “bouquet ” out of onesies, bibs, and receiving blankets. I also brought some fruit and pastries from Whole Foods – goodness knows anyone eating hospital food will appreciate something fresh.

I know, I know, I had just sworn off appliqued onesies, but I had to give in just one more time, since I finally learned that the baby is a girl!  I had a few blank shirts left over from the DIY onesie party, so I quickly made some with a little girl in mind.  “Quickly” is the key word here, and our toddler was “helping,” so I apologize for the cupcake, which looks a tad squashed.  Hopefully, baby won’t mind.  Everyone will be too busy looking at her sweet face, anyway.

Sweet heart applique onesie.  Jewels at Home.

Sweet heart applique onesie.

Simple flower applique onesie for a baby girl.  Jewels at Home.

Simple flower applique onesie for a baby girl. The center is fleece from another project I’ll post soon!

Cupcake applique onesie.  Jewels at Home.

Cupcake applique onesie. A bit lopsided, oops!

Looking for beautiful onesies for your own bouquet? I have seen the most beautiful prints with big discounts on Zulily:

Materials for the “bouquet”

  • onesies (above)
  • bibs
  • receiving blankets
  • popsicle sticks
  • elastic bands
  • ribbon

The technique for rolling the “flowers” is similar for the bibs, onesies, and blankets.

  • Start by folding the bib or onesie in half.  For the receiving blankets, fold into a small rectangle. (top picture below)
  • For the bibs and onesies, I placed a popsicle stick in the center to make a “stem,” so the flower could be held in a bouquet.  The blanket made a a big enough roll  on its own.  (middle picture below)
  • Make a tight roll, with the center sticking out slightly more than the edges.  For the bib, it’s easiest to start with the strap, and for the onesies, it’s easiest to start with the neck, so that the center is not too bulky. (bottom picture below)
  • Put an elastic band around each flower, to hold it tight.
Rolling bibs, onesies, and receiving blankets to make flowers for a bouquet.  Jewels at Home.

Rolling bibs, onesies, and receiving blankets to make flowers for a bouquet.

To wrap the bouquet

  • Fold two receiving blankets into triangles, and laid them out with the edge of the top one slightly higher than the other.  (top picture below)
  • Make a pocket with the top blanket and lay the flowers inside.  (bottom picture below)
  • Roll the blankets around the flowers, and tie with a ribbon.
Wrapping bibs, onesies, and receiving blankets into a bouquet.  Jewels at Home.

Wrapping bibs, onesies, and receiving blankets into a bouquet.

Here are some pictures of the finished bouquet.  I think I could have fussed with it to make it a little neater, but I’m pretty happy with the overall result.

Tutorial: DIY bouquet of onesies, bibs, and receiving blankets.  Jewels at Home.

DIY bouquet of onesies, bibs, and receiving blankets.

Tutorial: DIY bouquet of onesies, bibs, and receiving blankets.  Jewels at Home.

DIY bouquet of onesies, bibs, and receiving blankets. It looks good next to this random bush outside the hospital. I’ll add some leaves next time.

And most beautiful of all, here’s the tiny recipient of this big bouquet!

20120917-195958.jpg

Welcome, little one!  I look forward to watching you grow and sharing many “mommy moments” with Nicola.

“Jewels”

Diaper Cake Using Cloth Diapers

I had a great time co-hosting a baby shower for my friend Nicola’s baby shower last weekend, and I’m working on getting all the pictures together to share on the blog.  I started with the tea party, and I’m still wrapping up some of the activities, but here are some pictures and a short tutorial on the diaper cake!

I used cloth diapers for our youngest through a lot of his first year, but I’ve fallen off the wagon lately. It really wasn’t that difficult, and I am so glad we did it.  Cloth diapers do, however, mean a few extra loads of laundry each week, and I was losing buy-in from hubby and the toddler himself. So, despite my feelings of guilt, I have given it up. We’re slowly starting to introduce him to the potty, so hopefully our days of diapers are numbered. In any case, the timing works out well for me to pass these diapers on to Nicola and Victor.

There are many ideas out there for beautiful diaper cakes. Most of them use disposable diapers or plain cloth ones. The diapers I had were the all-in-one or pocket diaper style, and I’ll write about how to use those diapers in another post for Nicola and the rest of you who want to get started. Since these diapers are bulkier than disposables and come in a variety of colors, I had to get creative with the design and owe thanks to Ari and Monica for their artistic input.

The technique for all diaper cakes is similar. You’ll need:

  • cardboard and fabric or wrapping paper for the base
  • diapers
  • small elastic bands
  • extra large elastics – I used sewing elastic knotted into a loop
  • ribbon – wired ribbon gives extra strength
  • decorations – more ribbon, toys, diaper cream, etc.

Prepare the base

I cut a large circle out of corrugated cardboard. It’s about a foot and a half in diameter, and I didn’t have a large circle to trace, so I taped a piece of string to the center, taped a pen about 9″ out from the center, and drew around the string to make a neat circle.

I used a piece of scrap fabric to wrap the cardboard and taped it to the bottom. You could also use a cute wrapping paper.

Draw a large circle on cardboard by taping a string to the center and a pen to the perimeter.

Draw a large circle on cardboard by taping a string to the center and a pen to the perimeter.

Wrap the cardboard circle in fabric or paper and secure it on the bottom with tape.

Wrap the cardboard circle in fabric or paper and secure it on the bottom with tape.

Prepare the diapers

Start by rolling up each diaper and securing it with a small elastic

Making a diaper cake using cloth diapers by Jewels at Home

Roll up each diaper and securing it with a small elastic.

Constructing the cake

Group your first layer of diapers together inside a large elastic band. I used sewing elastic knotted into a loop. Once you have them tied together, you can rearrange them to get the look you want (this picture was taken before I arranged them).  Because there were so many different patterns, I tried to group them by color (blues on the bottom; yellows in the middle; greens on top), and I hid the diapers that stood out too much in the middle (the tiger stripe diaper, the dark blues).

Make a diaper cake using cloth diapers by Jewels at Home

Make the first layer of the cake by grouping the rolled diapers inside a large elastic band.

Put something tall in the middle of the first layer to help attach it to the next layer. I used a roll of diaper liners (these are amazing, by the way. The poop sticks to the liner, and you just dump the liner in the toilet and flush it, leaving you with a much cleaner diaper to wash).

Making a diaper cake with cloth diapers by Jewels at Home.

Put something tall in the center of the first layer to help attach the next layer.

Add your second and third layers, keeping something that projects upwards in the middle, to secure the layers to each other.

Add a second and third layer, using something like this chopstick in the middle to keep the layers steady.

Add a second and third layer, using something like this chopstick in the middle to keep the layers steady.

When each layer is done, you can tie a decorative ribbon around the diapers and remove the large elastic.  I used two layers of wired ribbon, and it made the bundles of diapers very secure.

Decorate your cake

You could add little toys, bottles, diaper cream, etc..  I just added some ribbons to the top and around the edges.  I folded pink and blue ribbons and secured them with a paperclip before stuffing them in the top.

Gather some ribbon and secure it with a paperclip for decorating your diaper cake.

Gather some ribbon and secure it with a paperclip for decorating your diaper cake.

And here it is, the finished diaper cake!

Diaper cake using cloth diapers.  From Jewels at Home.

Finished diaper cake using cloth diapers.

In retrospect, I will have to say that this is not as fast a project as it looks, mostly because I had to fiddle with the arrangements and colors to make all those different diapers work together, but it was a very cute addition to the baby shower, so definitely worth it.

I’ll try to get the information on using the diapers up on the blog soon, as well as some more baby shower projects!

“Jewels”

Charming Eclectic Tea Party

Well, this past Sunday was pretty wonderful, not least because my primary source of sustenance was scones and cupcakes. I’ve spent much of the past few weeks preparing for my friend Nicola’s baby shower, and it finally came together! There will be more baby shower details in upcoming posts, but let’s start with the tea party.

I was completely in love after attending a baby shower at DarTealing Lounge last year. Afternoon tea is such a luxurious event, and DarTealing offered top-notch teas and treats in an absolutely charming setting. One of the things I loved was the mix of patterns and styles in the teacups, plates, and silverware. This approach took all the pressure off of using china – break one, and you can replace it with something completely different! Lovejoy’s Tea Room over in Noe Valley has a similar atmosphere and is also a popular place for showers.

Until recently, I didn’t own much in the way of accessories for tea myself, but I did have two sets of little plates that have great sentimental value. Here’s how I came to own them… Even after many years, old losses and grief will sometimes surface. Seven years after my mom died, I was pregnant with our second baby, and I was overcome with sadness at my mom’s absence. With her incredible insight, my manager at work – and dear friend – suggested that I reach out to some of my mom’s friends over my Christmas vacation. I didn’t mention the sense of loss that drove me to contact her friend Mrs. McCulloch, but when I arrived at her house – for tea – it was clear that our meeting was special for both of us. She told me stories about my mom, some that predated me, and one story was about a time they had been browsing antique stores together, and Mrs. McCulloch had fallen in love with some vintage plates. My mom went back later to buy the plates and gave them to her friend. That snowy day when we met, her friend gave them to me.

Eclectic tea party - mix and match vintage china for an easy and beautiful table setting.  Jewels at Home.

In the foreground are the two sets of plates that were passed on to me by my mother’s good friend.

When my dear friend Nicola heard this story, she determined that she and I should have our own afternoon tea party, and it took us a while to get around to it, but after Thanksgiving last year, we enjoyed an afternoon of sandwiches, tea, and board games. As an early Christmas gift, she brought me two beautiful teacups that day, and so the collection was born.

Beautiful vintage tea cups.

Beautiful vintage tea cups given to me by my wonderful friend, Nicola.

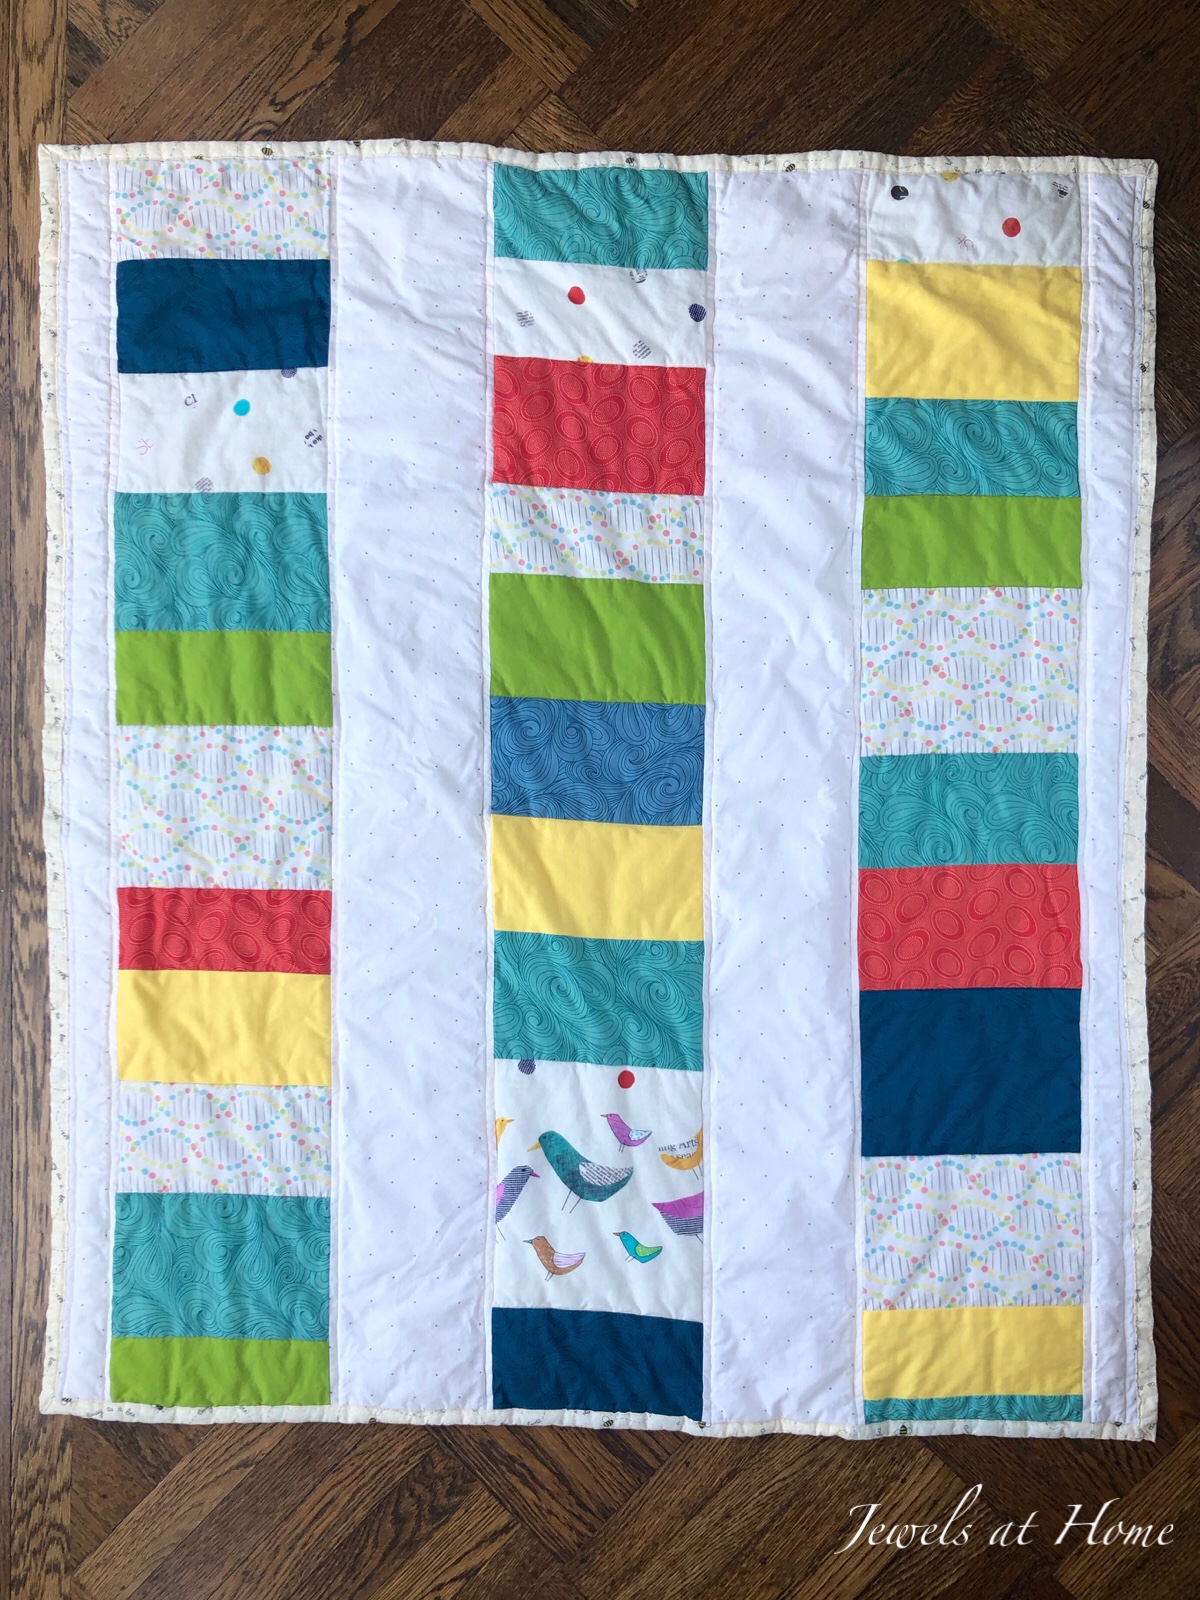
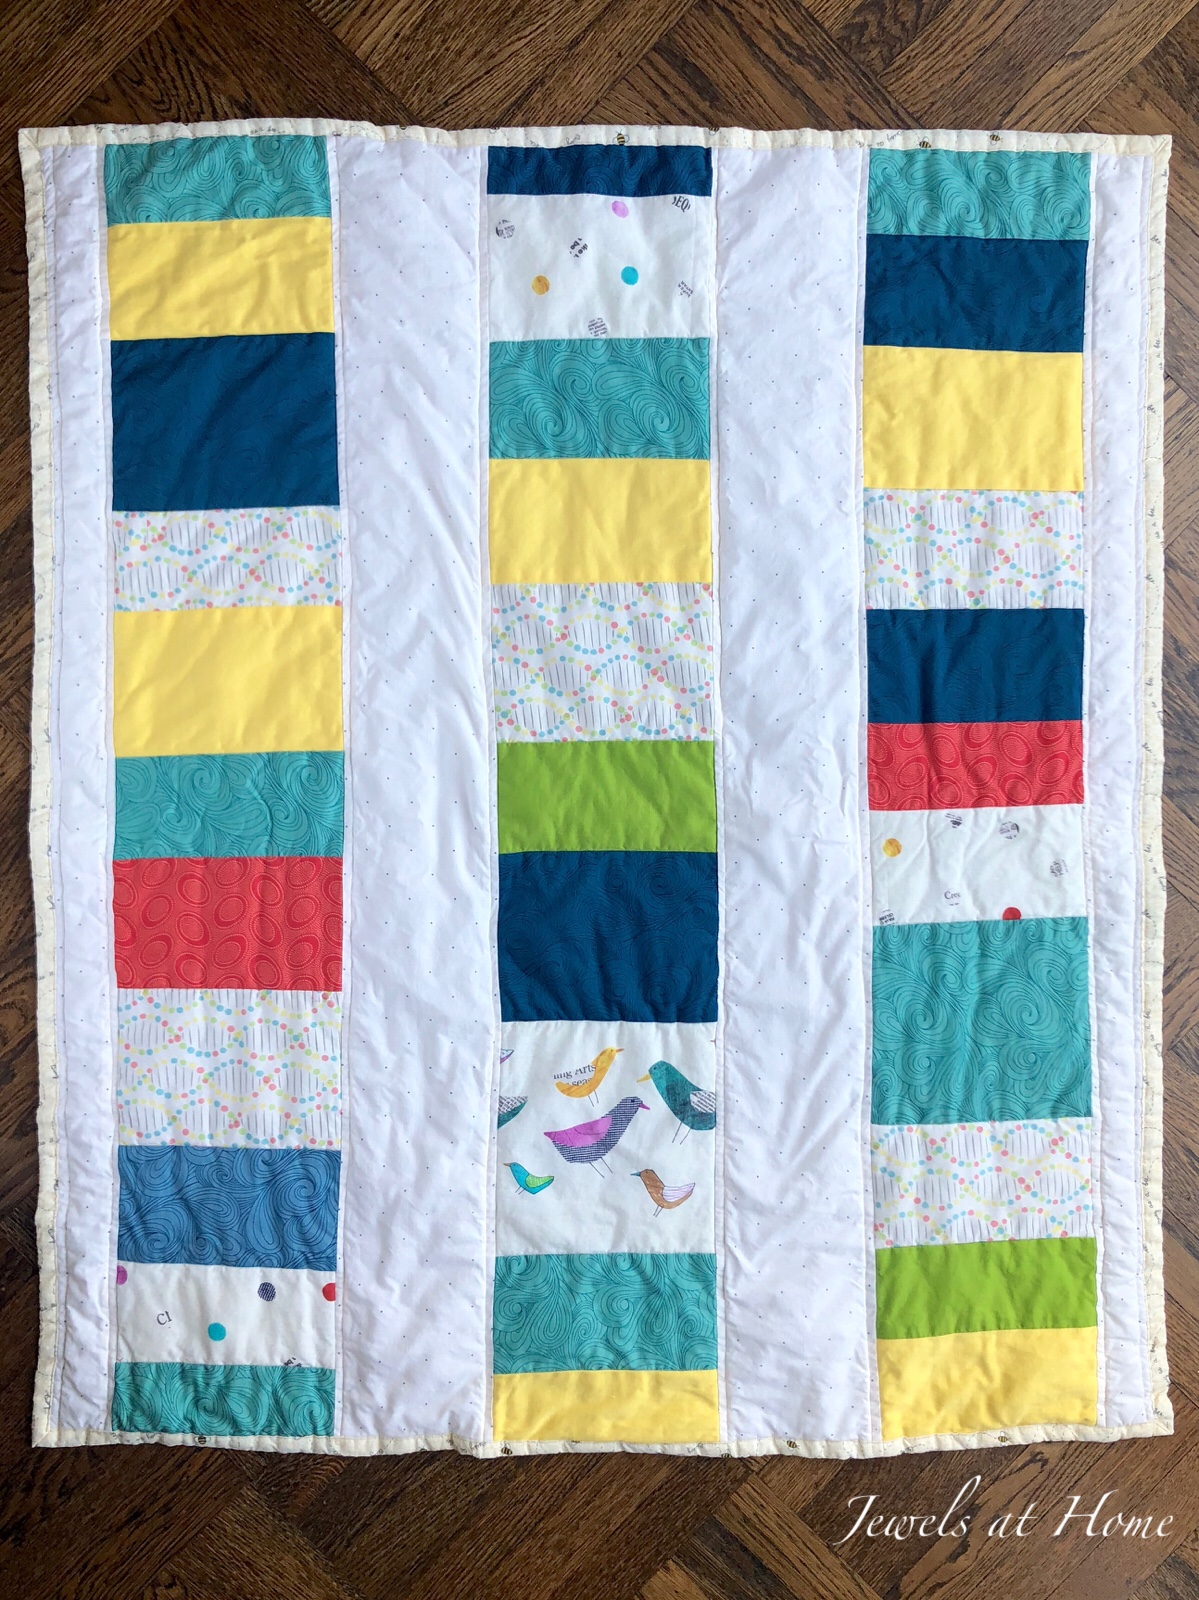
When it came time for me to plan Nicola’s shower, it seemed only natural that a tea party should be part of the theme. It was the perfect excuse to use my treasured plates and cups and to build on my collection. This was treasure hunting at its best! I browsed local thrift and antique stores as well as eBay to discover a colorful array of teacups and plates. The beauty of this approach is that you’re not tied to one particular pattern, and you can choose the best deals. Each piece is a great conversation starter, and even cups that might not be beautiful on their own gain a new appeal when mixed together. It’s like a beautiful patchwork quilt. Bonus: with all those different patterns, people are less likely to get their drinks mixed up!

Here are some pictures of my old and new treasures at the party. I love how it all turned out, and I admit I still have my eye out for some more good deals on cute teacups and serving items.

Eclectic tea party: Browse thrift stores and eBay to create a unique and charmin.g collection of china for a charming table setting

Browse thrift stores and eBay to create a unique and charming collection of china for a charming table setting. Those little tiered serving trays are quintessential “tea time”!

Eclectic tea party: Browse thrift stores and eBay to create a unique and charming collection of china for a charming table setting

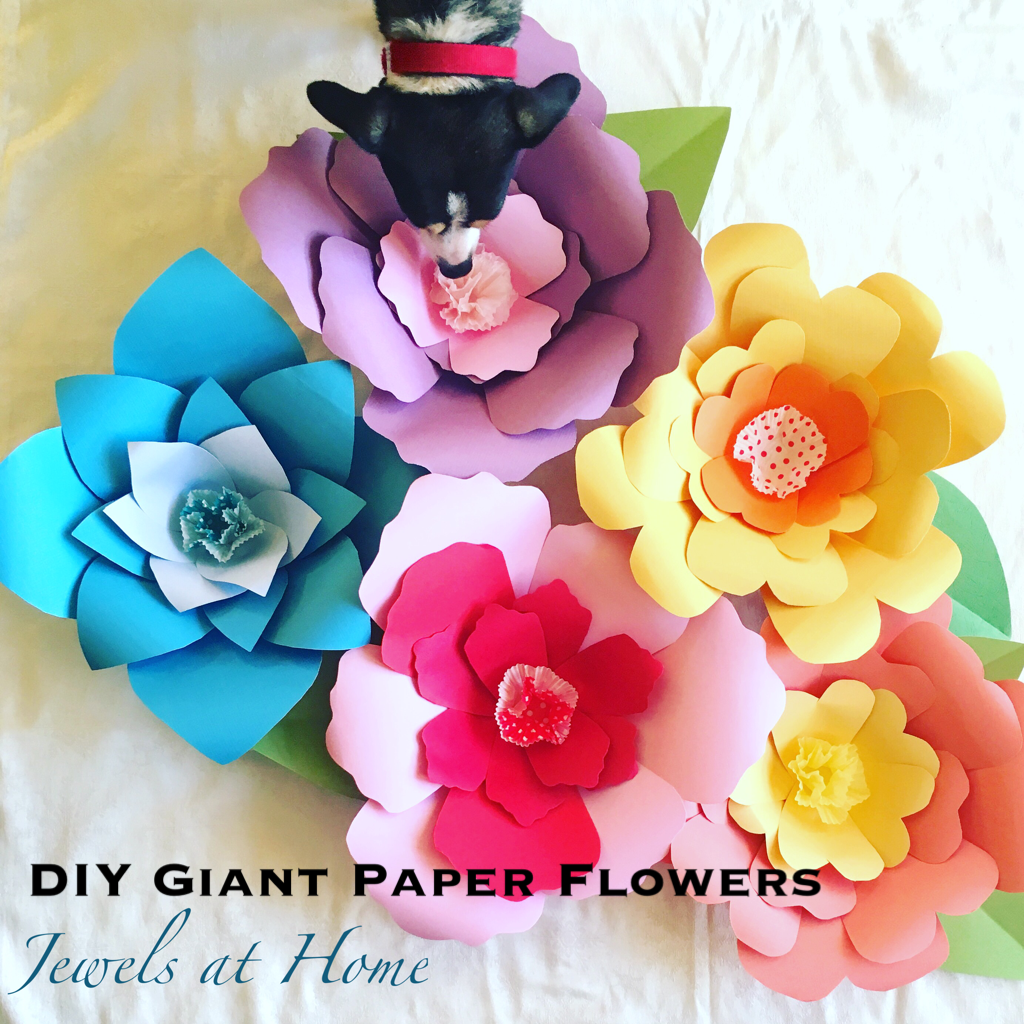
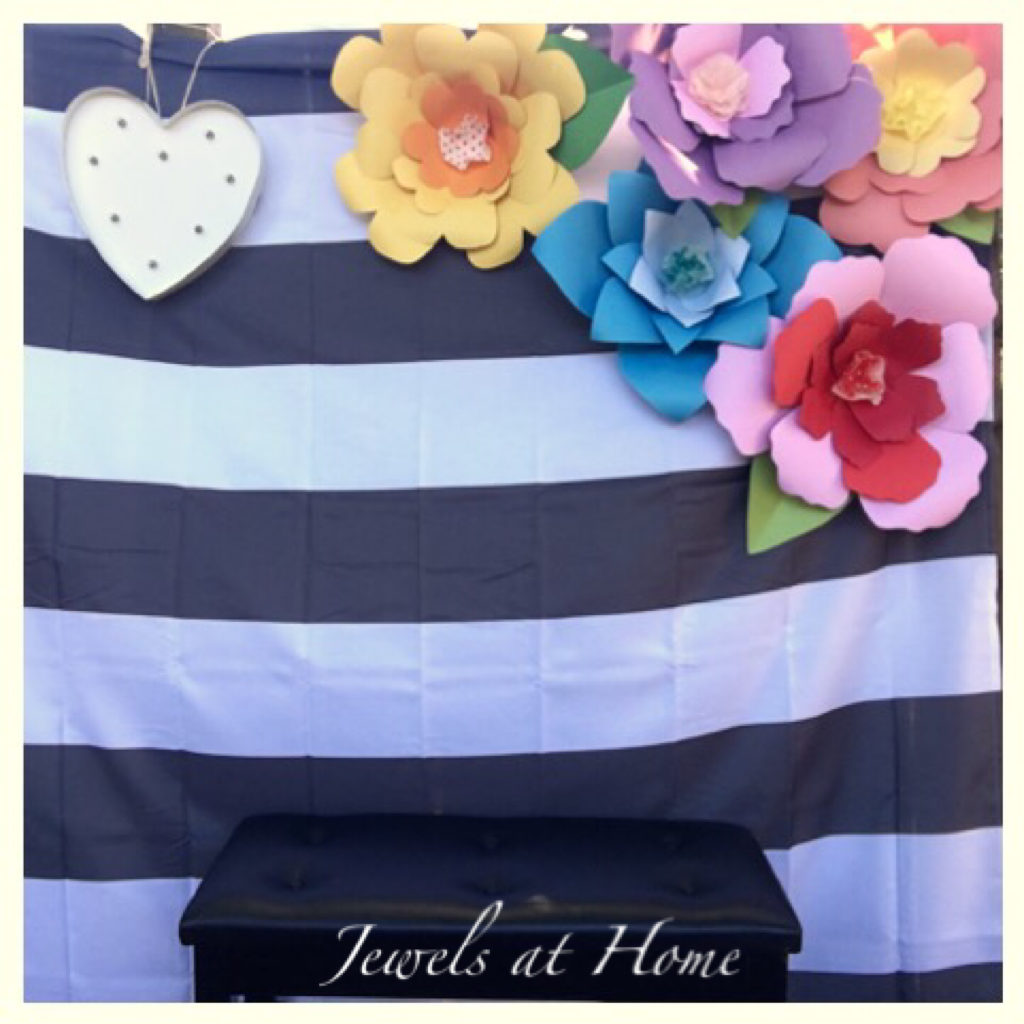
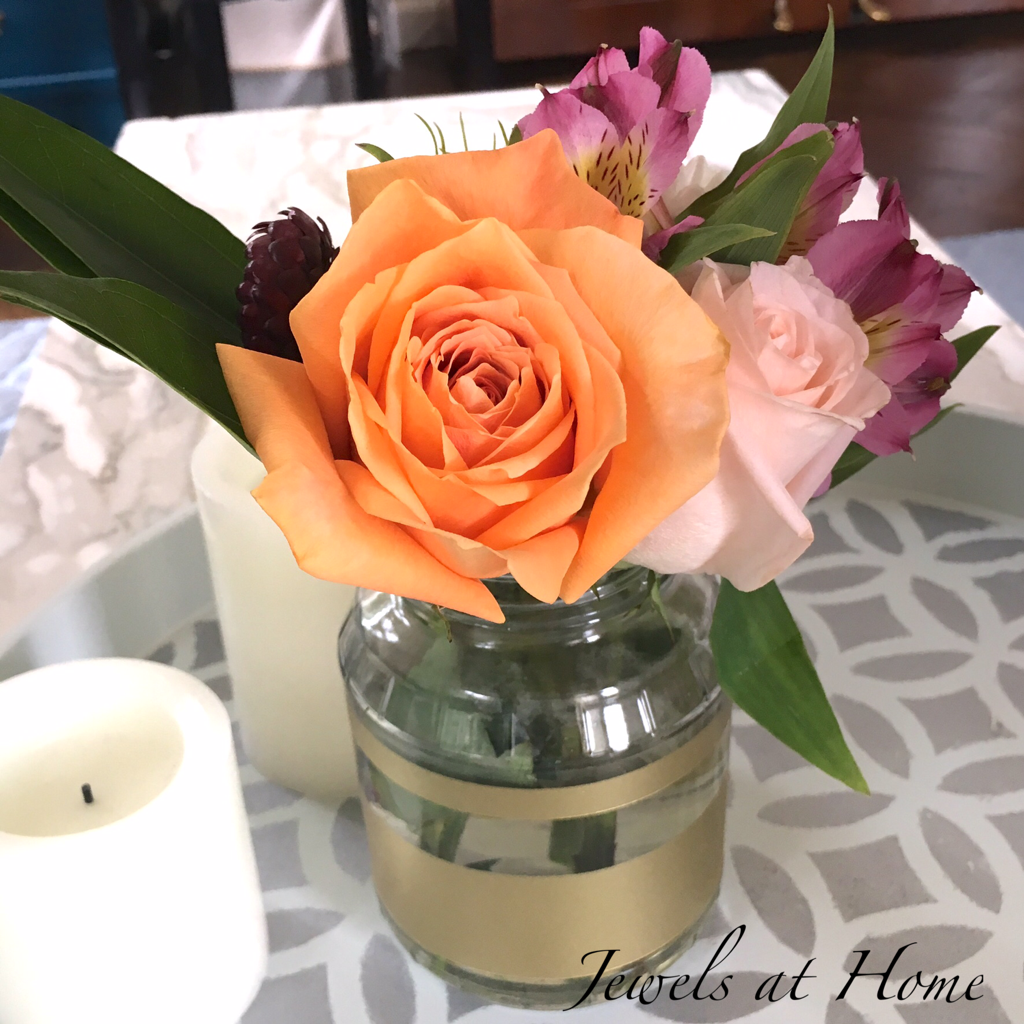
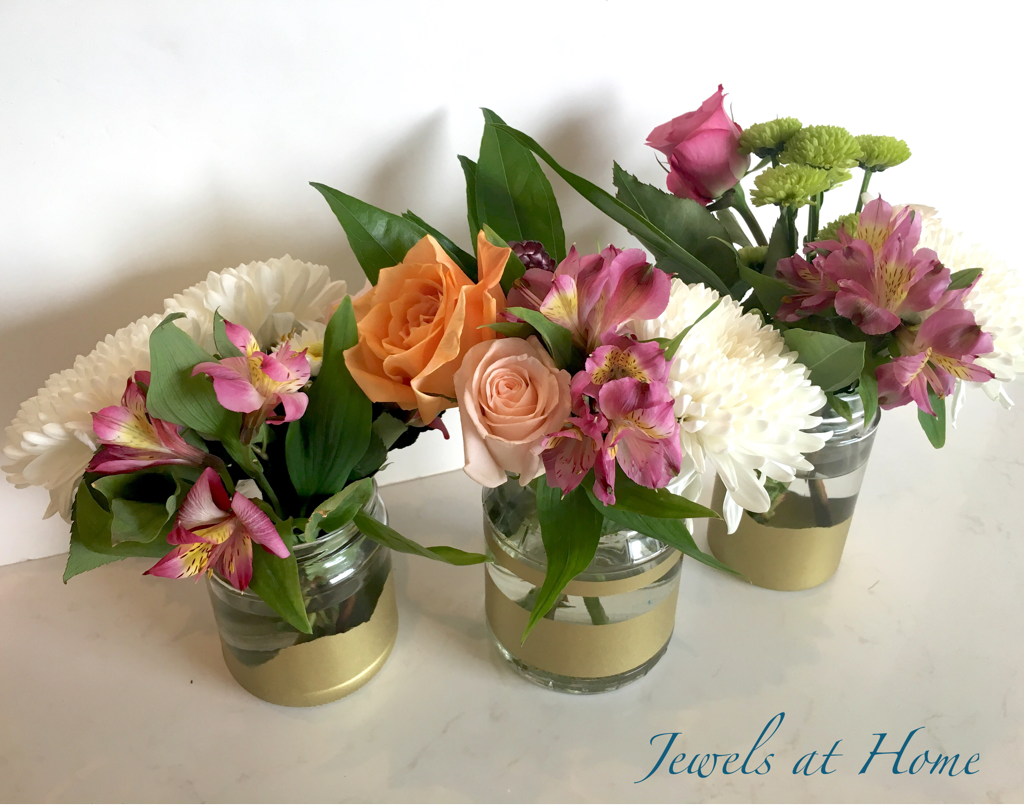
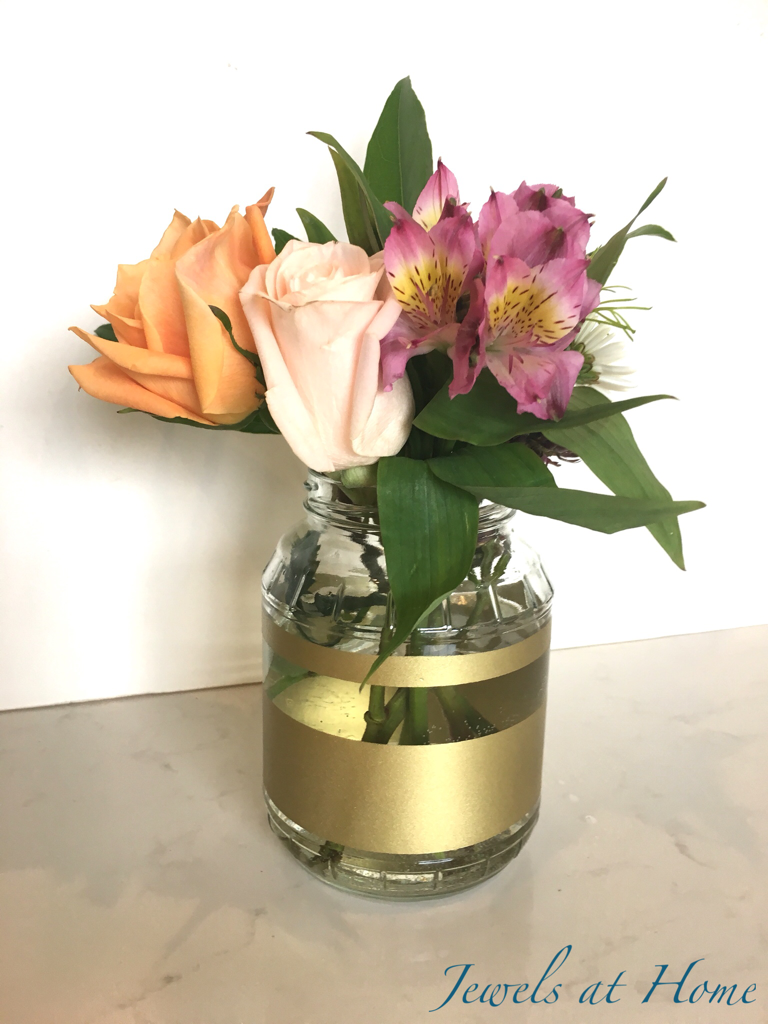
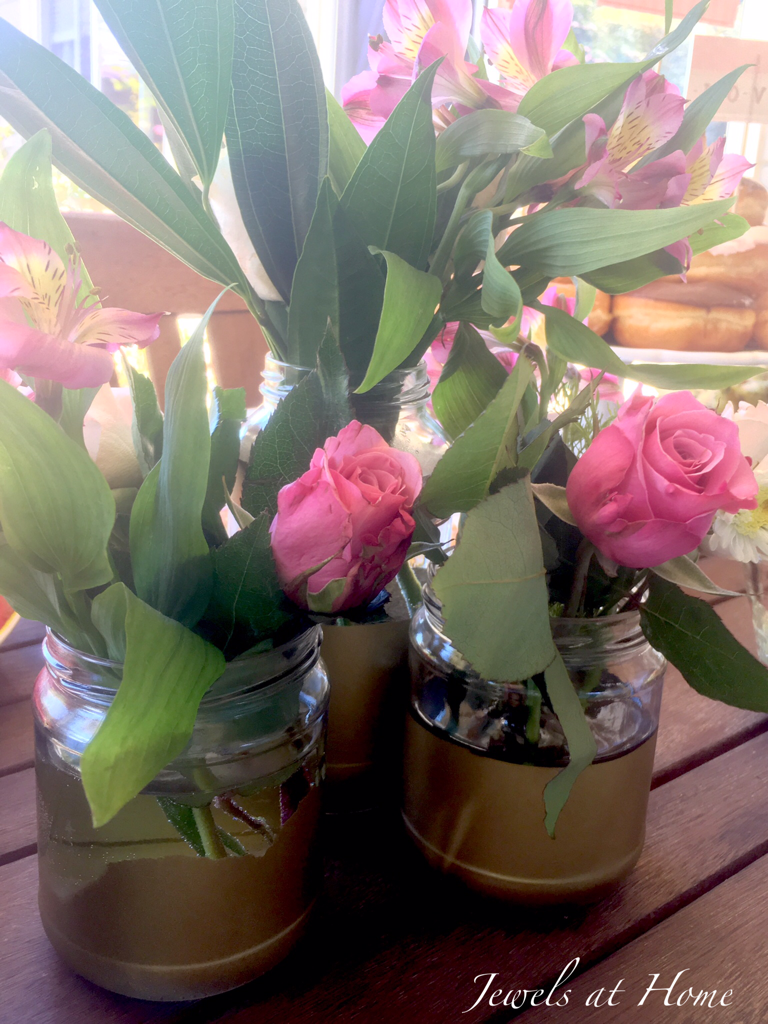
Fresh flowers add to the romantic feel of an afternoon tea party.

Since this was a Storybook-themed baby shower, I can’t believe I forgot to bring out the Peter Rabbit and Bunnykins cups!

Bunnykins and Peter Rabbit place settings.  These are perfect for a tea party baby shower.

Bunnykins and Peter Rabbit place settings. These are perfect for a tea party baby shower… if only I had remembered to use them!

Remember when I lined my living room shelves with Imperial Trellis wallpaper?  It’s the perfect place to store all the new teacups and other pretty items!

Collect teacups and serving items for a mix-and-match tea party.

I found a home for all the new teacups and serving items in our bookcase, which I lined with Imperial Trellis wallpaper.

Our menu

Sandwiches

Of course, a tea party would not be complete without sandwiches. Maura, my cohost, and some of our other friends helped make this gorgeous spread, which tasted as good as it looked. The sandwiches were:

  • egg salad with curry
  • cream cheese and smoked salmon
  • cucumber and Boursin cheese
  • cucumber, tomato, and hummus

Cupcakes

I made the cupcakes and am so happy with the results. I actually started with Trader Joe’s boxed cake mixes, but I customized them as follows. Thanks to Sophie for the decorating help!

  • Lemon cupcakes with lemon frosting. Starting with yellow cake mix, I added the zest of one lemon, the juice of third of a lemon, and about a tablespoon of lemon extract. For the frosting, I added juice from another third of the lemon and a couple of teaspoons of lemon extract.
  • Chocolate cupcakes with mocha frosting. Starting with the chocolate cake mix, I added some cocoa to make it extra chocolate-y. For the frosting, I made a mix of hot chocolate powder and instant decaffeinated coffee powder in as little water as possible (about half a cup). We used this liquid instead of water when mixing the frosting.

Fruit Salad

I cut a watermelon to look like an old-fashioned baby carriage and tied a ribbon on it for decoration. I used sewing pins to keep the ribbon in place. I’ve seen much more elaborate versions of this, with orange slices for wheels and more decorations, but even with many friends helping in the kitchen, we ran out of time. It was still cute, and we definitely needed a healthy break from the cupcakes!

Scones and shortbread

The scones were a mix of bakery scones and Trader Joe’s frozen blueberry scones, baked up with an egg wash and brown sugar sprinkled on top. These are really surprisingly delicious. Our friend Beth made her family’s shortbread recipe, which is amazing. I am waiting to get the recipe from her, because it tastes so much like my mom’s, and it holds a printed design well, so I want to try my patterned rolling pin with it.

Sandwiches on a tiered serving tray are perfect for afternoon tea.

Sandwiches on a tiered serving tray are perfect for afternoon tea.

Lemon and chocolate-mocha cupcakes.  Both started as plain cake mix with some special ingredients mixed in!  Jewels at Home.

Lemon and chocolate-mocha cupcakes. Both started as plain cake mix with some special ingredients mixed in!

Watermelon baby carriage with fruit salad. From Jewels at Home.

Watermelon baby carriage with fruit salad.

If you’re planning your own tea party, you can find many more inspirations by browsing the menus at Lovejoy’s, DarTealing, or one of the other amazing tea rooms.

You can also try this ducky cake I made for another baby celebration!

Ducky cake for baby shower.  Marble cake topped with whipped cream and fresh fruit.  Jewels at Home.

Ducky cake for baby shower. Marble cake topped with whipped cream and fresh fruit.

Many of us at the party were already talking about making a semi-regular event out of “cupcakes and crafts,” so hopefully I will get lots more use out of all my “new” old china… and get to enjoy more cupcakes! Also, look out for more baby shower ideas coming soon!

“Jewels”


DIY Camping Accessories – Made From a Shower Curtain!

I can’t quite believe that I’m sending my first baby off to overnight camp. It’s only been a few nights, and I do feel a little ache when I think of him being gone, but I know he is having an amazing time, full of new experiences, skills, and friends. It is also a special week to give some extra TLC to our younger ones and for them to spend more time together.

We’re not big into camping (at least not yet!), so a lot of the things on the packing list for camp had to be purchased, and after spending so much money on just one week, I was looking to see if there were at least a few things I could improvise or make.

I ended up making a stuff sack for a sleeping bag we already had, as well as a pouch to hold his meal kit – plate, cup, and utensils. The stuff sack was easy and turned out very well. I think the design of the meal kit has room for improvement, but I’ll note what I did, so I can improve on it next time… can you imagine that some day we might send all three away to camp?! It will be the most expensive staycation ever for mom and dad, but it would be a milestone. I LOVE my kids, but I have to say that I’ve been craving some alone time with hubby, too, as that is terribly scarce these days. Anyway, I digress…

I’m really happy with the material choice for this project. I bought a 100% polyester shower curtain from a discount store for $5.99. The material was perfect for this purpose, some of the edges were already finished, the grommets at the top were perfect for making a drawstring bag, and I still have about half the fabric left. $3 for both both the stuff sack and the meal kit!

Drawstring Stuff Sack for Sleeping Bag

I used:

  • 1oo% polyester shower curtain
  • nylon cord with toggle. The toggle is optional, but I’m a pack rat and happened to have a drawstring with toggle leftover from something else.

I cut two pieces from the shower curtain:

  • The bag is a large 28″x45″ rectangle, with the long side cut from the top of the shower curtain, so the grommets are used (shown below, folded in half).
  • The strap is a small 12″x22″ rectangle.
Stuff sack for sleeping bag cut from an inexpensive shower curtain

Stuff sack for sleeping bag cut from an inexpensive shower curtain

First, finish the strap by folding it in half length-wise and sewing along the open side and end. I used a straight stitch and also finished the edge with a zig-zag stitch, as this polyester frays very easily. You can see how I finished the strap below.

Sew the strap with a straight stitch and a zig-zag stitch to finish the edges.

Sew the strap with a straight stitch and a zig-zag stitch to finish the edges.

Next turn the strap right side out. What I didn’t do here but would recommend is top-stitching all around the outside of the strap, about 1/4″ from the edge to make it lie flatter. When the strap is finished, pin it onto the bag as shown below, leaving about three inches at the top of bottom, and putting some slack in the strap. I sewed it down with multiple rows of stitching to make it secure.

Securely sew the strap to the bag, leaving some slack

Securely sew the strap to the bag, leaving some slack

Not shown, I then stitched around the side and bottom of the sack, again using a straight stitch and finishing with a zig-zag. To give the sack a more three-dimensional form, I folded the bottom corners so that the side seam lay against the bottom seam and stitched a triangle on the inside bottom of each bottom corner, as shown below.

Sew a triangle at the bottom corners to give the bag a more three-dimensional shape.

Sew a triangle at the bottom corners to give the bag a more three-dimensional shape.

Finally, I wove the the cord through the grommets and secured it with the toggle. That wasn’t so hard!

DIY sleeping bag stuff sack from an inexpensive shower curtain by Jewels at Home

Finished DIY sleeping bag stuff sack from an inexpensive shower curtain.

Pouch to Hold Meal Kit

This pouch was made to hold a 10″ plate, a cup, and utensils. It turned out a bit big, so you could definitely shrink the size of the main bag by at least an inch in both dimensions.

I used:

  • 1oo% polyester shower curtain
  • Velcro, about 5.5″ total length

I cut two pieces from the shower curtain:

  • The main pouch is a large 16″x32″ rectangle (not shown, because you know what a rectangle looks like!)
  • The cutlery is a small 6″x11.5″ rectangle, with the corners cut on one of the short ends (shown below).
Cutlery pouch for meal kit

Cutlery pouch for meal kit

To finish the cutlery pouch,

  • Finish one short end of cutlery pouch buy folding down twice and stitching a hem
  • Sew 1.5″ strip of Velcro to the inside of the finished end of cutlery pouch on the inside
  • Clip corners to reduce bulk, if you didn’t do this already

To finish the bag,

  • Hem all sides of the rectangle for the main bag by folding over the edges twice and sewing them down to make a hem.
  • Sew 1.5″ strip of Velcro to bag at center about 2″ from top on right side, to match up with the cutlery pouch (first picture below)
  • Sew the cutlery pouch to the front of the bag by folding under the edges on three sides (second picture below)
  • Sew two 2″ strips of Velcro to the top of the bag opening, as shown in the third picture (outside of front and inside of flap)
  • With right sides facing, sew bag together at sides, with a 2″ flap at top (fourth picture below)
Sew velcro to the main bag, and lay down the cutlery pouch, matching up the velcro.

Sew velcro to the main bag, and lay down the cutlery pouch, matching up the velcro.

With the velcro matched up, sew the cutlery pouch to the main bag.

With the velcro matched up, sew the cutlery pouch to the main bag.

Sew strips of velcro to the main bag on the inside of the flap and the outside of the front, as shown.

Sew strips of velcro to the main bag on the inside of the flap and the outside of the front, as shown.

Pouch for holding camping plate, cup, and utensils, made from an inexpensive shower curtain by Jewels at Home.

Pouch for holding camping plate, cup, and utensils, made from an inexpensive shower curtain.

Ready to pack by big kiddo off to camp with these accessories made from a shower curtain for about $3!

Sleeping bag stuffsack and camping meal kit made from an inexpensive shower curtain! by Jewels at Home

Sleeping bag stuffsack and camping meal kit made from an inexpensive shower curtain!

Please let me know if you are trying these projects and want clarification on anything.  I really winged it as I went along, and I’ve been struggling to figure out how to explain what I did in a logical way, but I figured I should just spit it out and post this… Kiddo will be home in just a couple of days!  Yay!

“Jewels”