
In the past few years, I’ve started a tradition of making quilts for the new babies among our friends… and I have been busy! I strive for patterns that are fun for a little one, but something that they can … Continue reading
In the past few years, I’ve started a tradition of making quilts for the new babies among our friends… and I have been busy! I strive for patterns that are fun for a little one, but something that they can … Continue reading

My work family is getting ready to welcome the fourth baby this year! I decided to change it up from the rainbow scrap quilts, and I thought this Swiss cross pattern would be a great fit for Caitlin’s style. I … Continue reading
“DNA, you’re in my heart
DNA, in fact you’re in every part of my body
Each cell has a nucleus, each nucleus has chromosomes
And DNA, baby, that spells DNA”
-That Spells DNA by Jonathan Coulton
I can thank Steve, who is at the forefront of all things nerdy, for introducing me to Jonathan Coulton over a decade ago. Of course, as a genetic counselor, I have a particular soft spot for “That Spells DNA.” If you’re as nerdy as we are, and you don’t already know and love this song, you will want to check it out!
So, when we found out we were having a mini baby boom in our work family, with two babies due within two months, it wasn’t too hard for me to decide on DNA-themed baby quilts as gifts.

I found the DNA-themed fabric, Color DNA stripe by Melissa McCulloch, on Spoonflower. The fabric in the quilts is actually left over from a few Halloweens ago when our group dressed up as (if terrible puns cause you pain, skip this next part!) Gene-gnomes. The colors were a perfect jumping off point for this colorful gender-neutral patchwork of yellow, blues, greens and coral-red.
This pattern is called Stacked Coins and is easy to adapt to scraps of all kinds.


Here are some close-ups of the beautiful fabrics. I wanted to use every last scrap of the DNA fabric, so there is one patch in each of the quilts that I like to call “CRISPRed.” Can you spot one?


And here are a few more pictures of the quilts during their photo shoot, before they went off to their new homes!


All the colors and patterns together make me so happy! I am excited to meet the newest babies of our work family and give them their quilts, so they can start their genetics lessons early!
“Jewels”
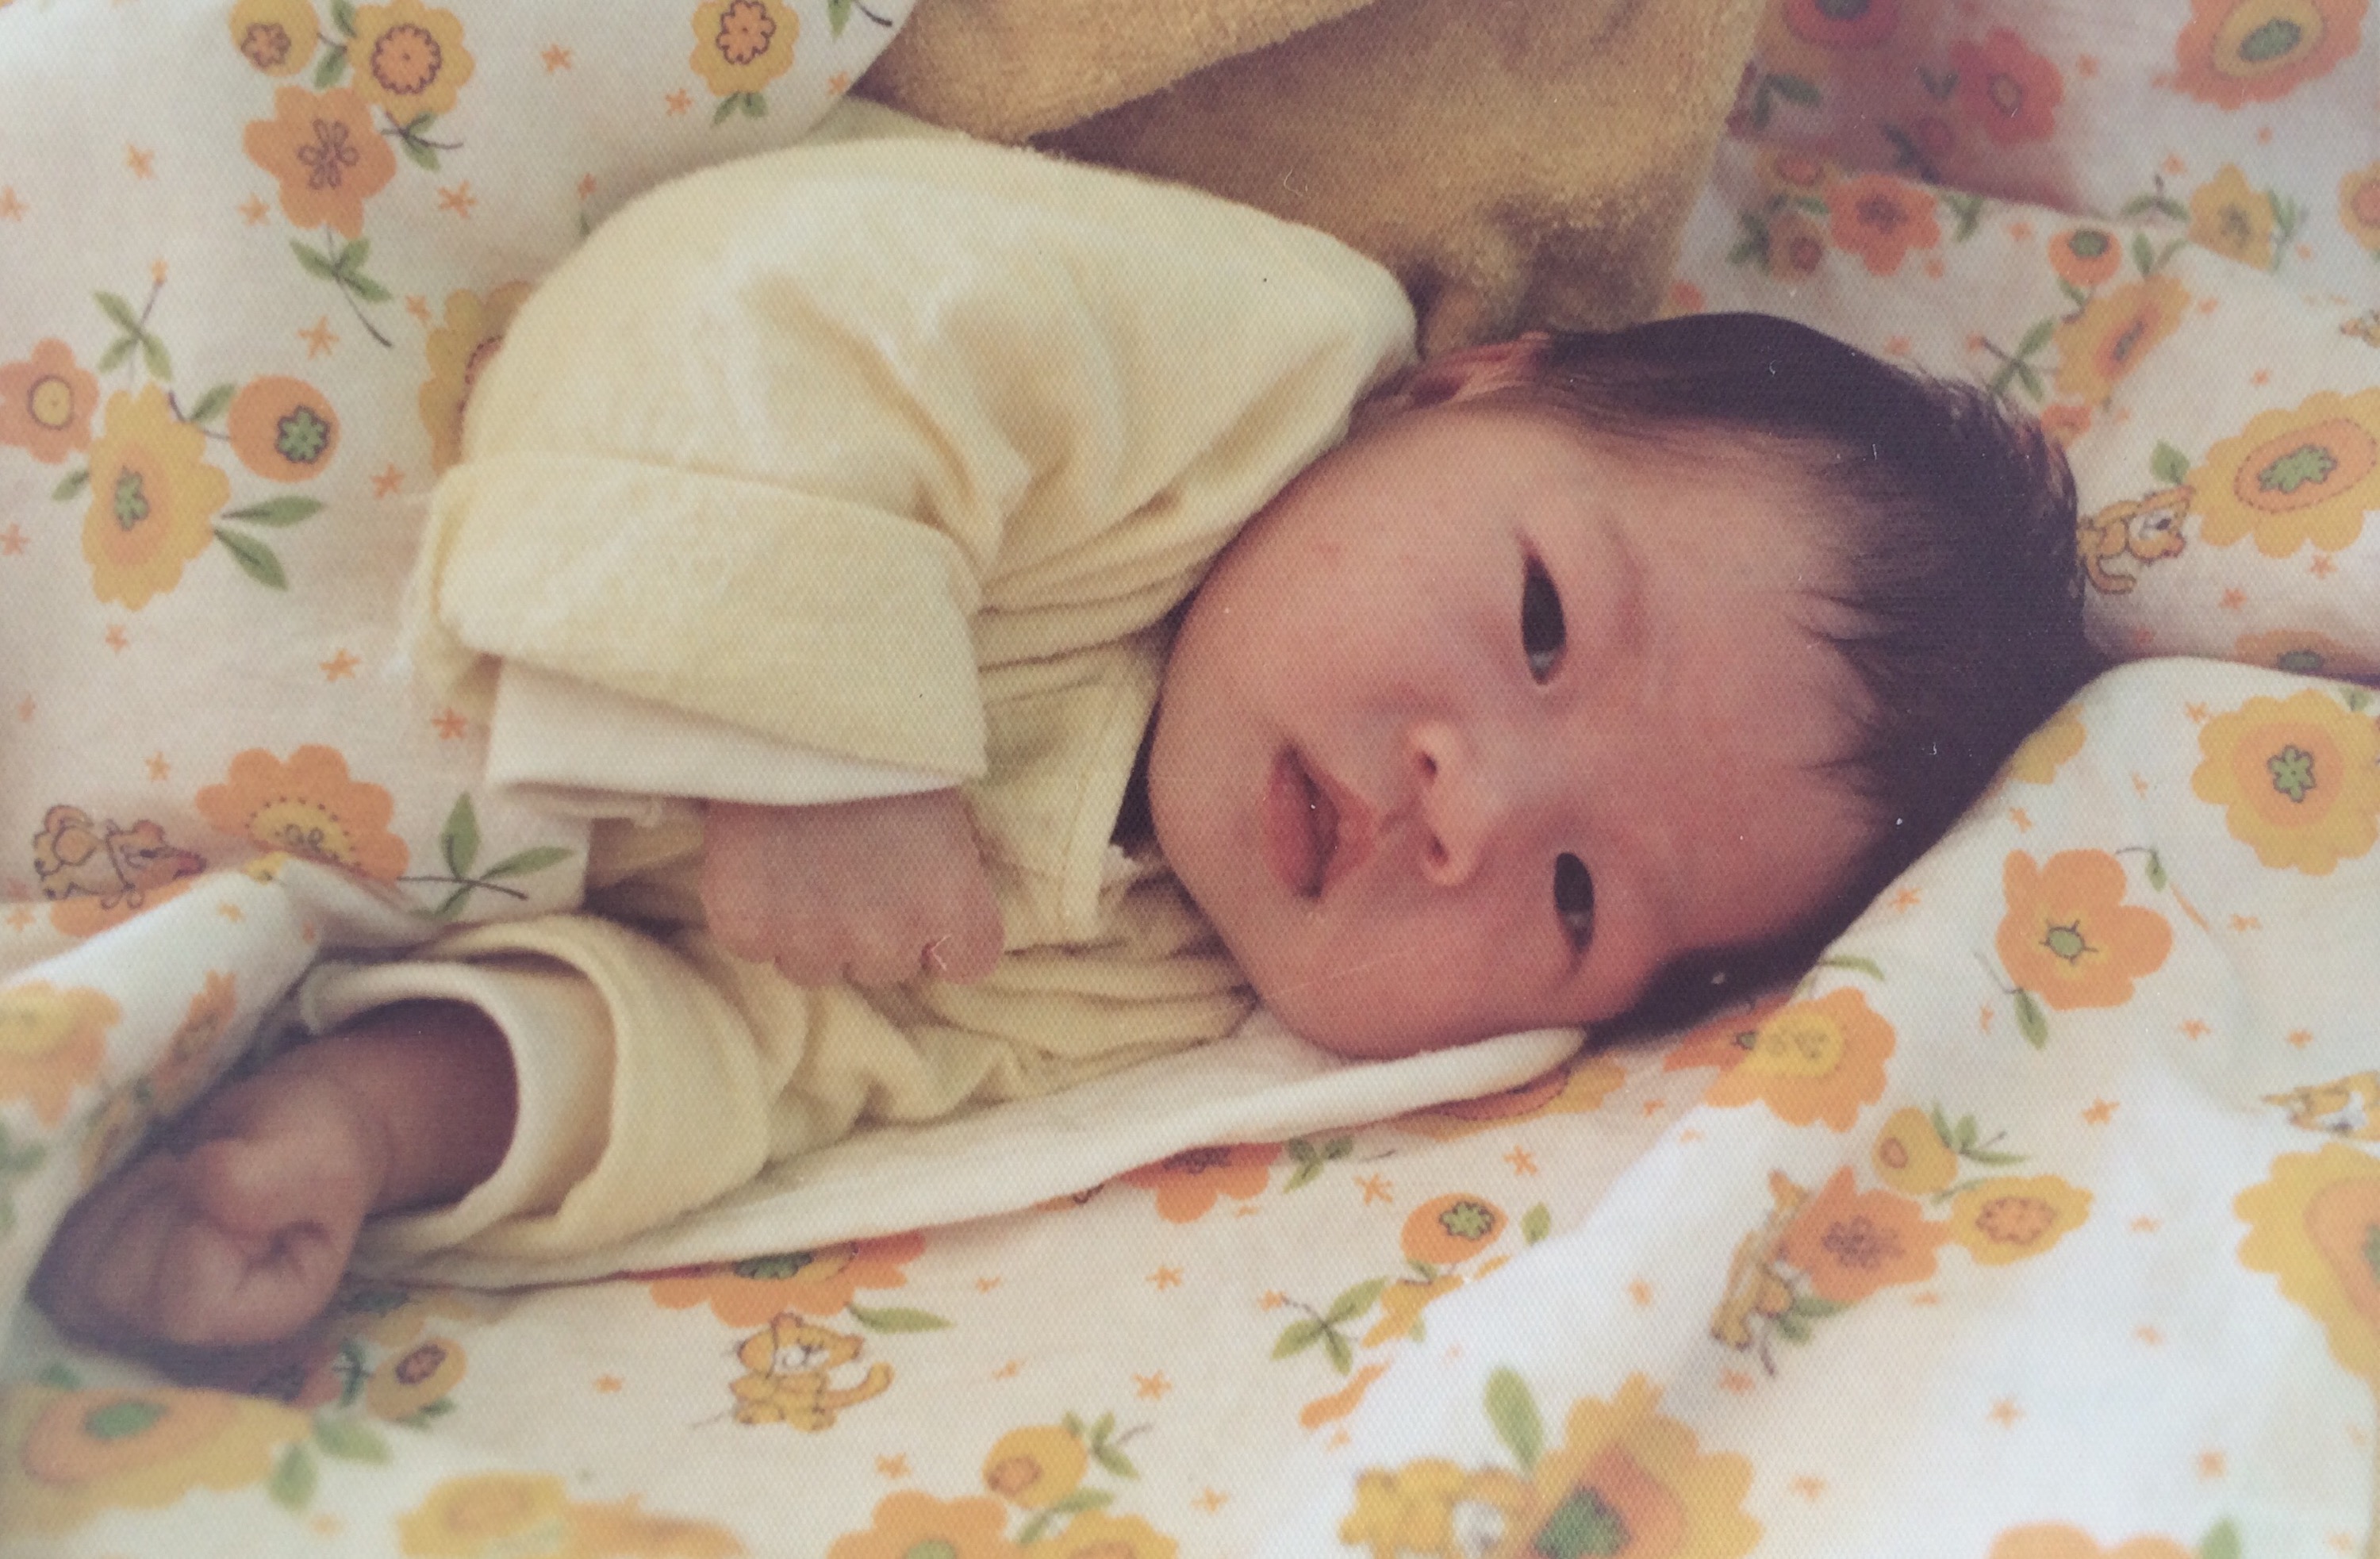
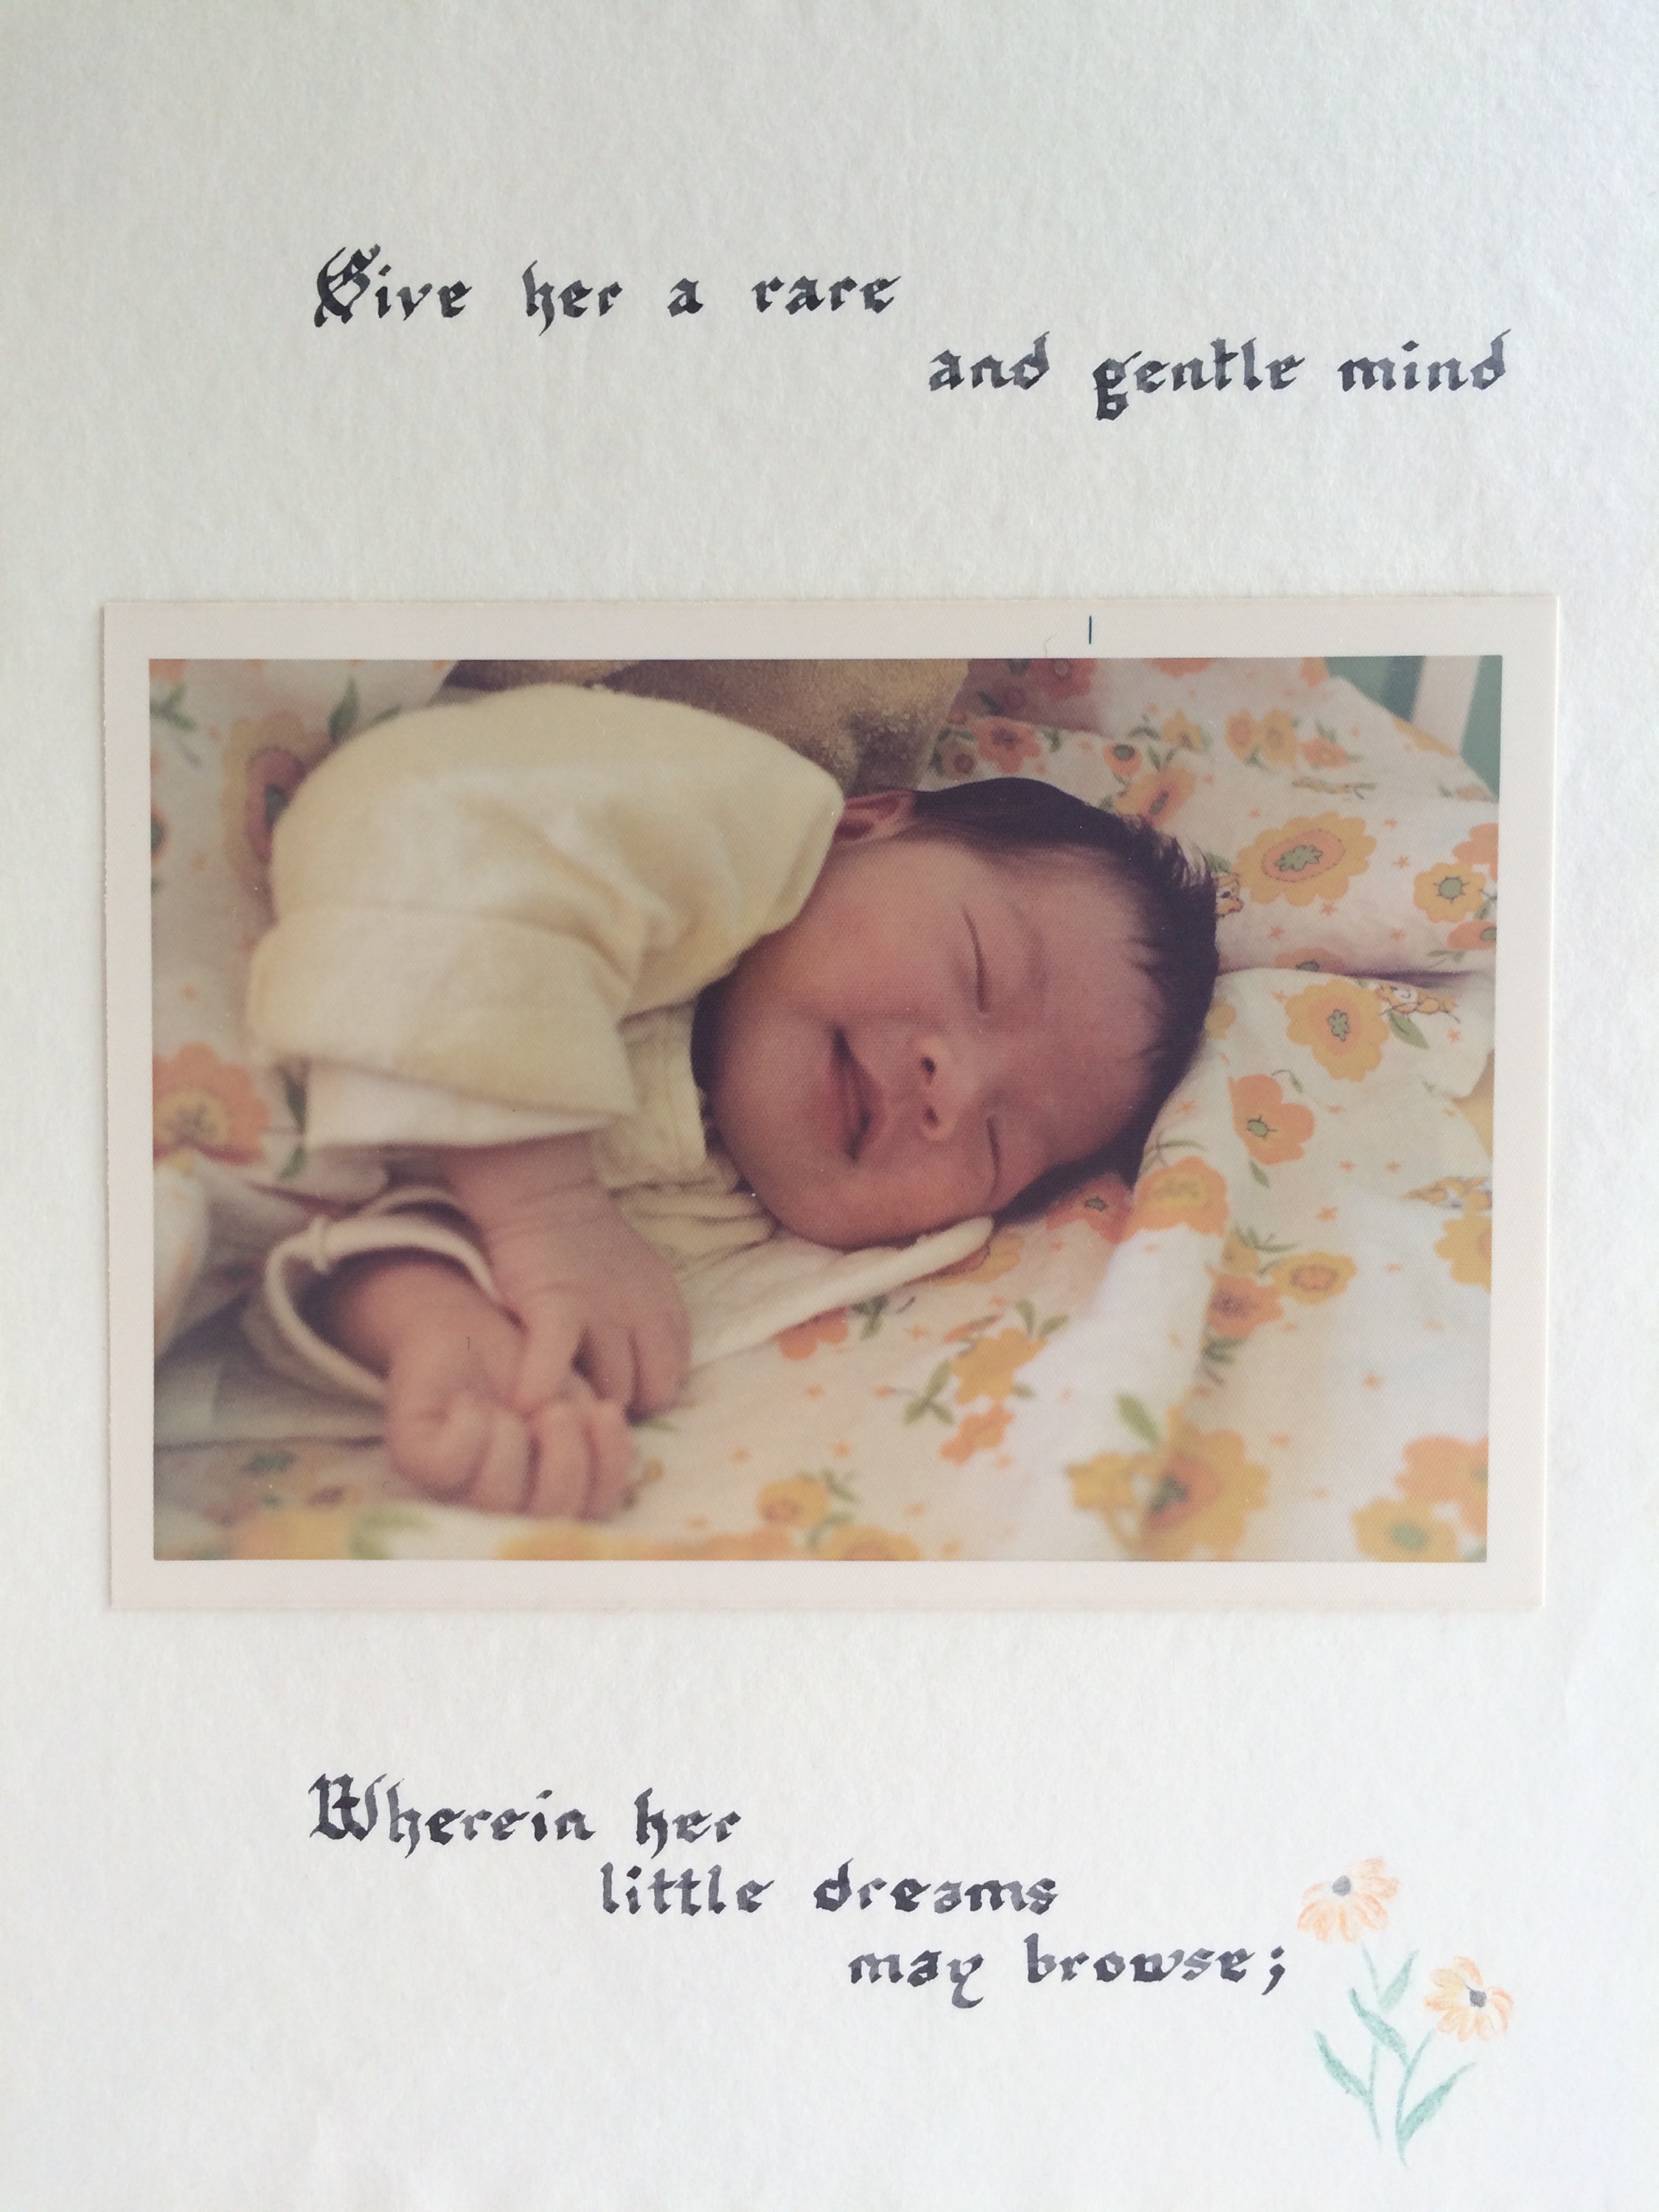
I keep every little scrap of paper, fabric, or ribbon that might possibly be used again… and I know that I got this habit from my mom. When I was going through her fabric stash a few years ago, I found some fabric leftover from my baby blanket. The remnant looked surprisingly bright next to the worn and faded blanket I am familiar with, but there was no mistaking those happy tigers and vibrant flowers.
When I was pregnant with our first baby, I decided to make a new blanket out of this fabric, and now all three boys have their own quilts with a little piece of this special fabric.
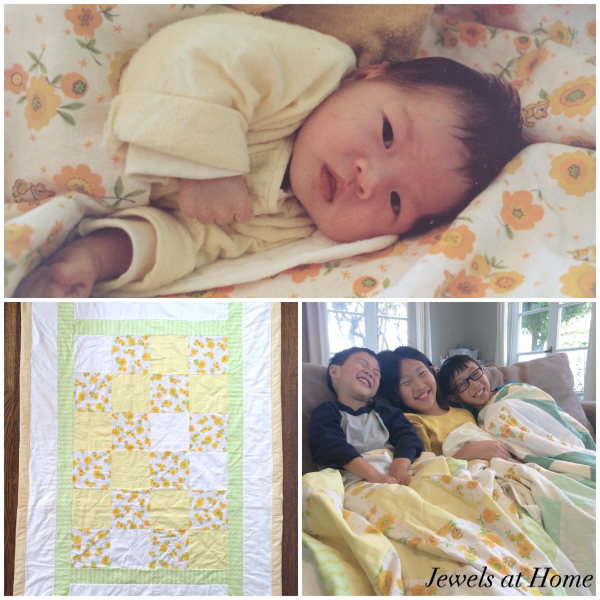
Since the piece of fabric I found was small, I knew the blanket had to be a patchwork, so I found other scraps of yellows, greens, and whites from my mom’s stash and improvised a design to feature this special nostalgic print. I made it with just the pieced front and a solid back – no batting – so it would be lightweight and versatile.
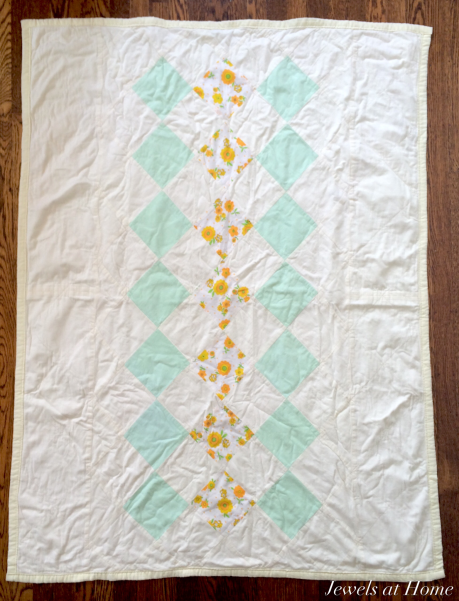
A few years later, we were expecting our second child, and with the few squares I had left, I again pieced a blanket for our new baby.

I joked for a while that since I had used up that small piece of fabric, we couldn’t have any more kids… But as the years went by, we did want to add to our family, and I didn’t let the lack of tiger print fabric stop me!
When I planned this new baby’s blanket, I decided I had to cut into my old blanket to get the fabric. It wasn’t that hard a decision, as I hadn’t used my blanket in ages, and the tiger print was extra special in this case, since our youngest was born in the year if the tiger.
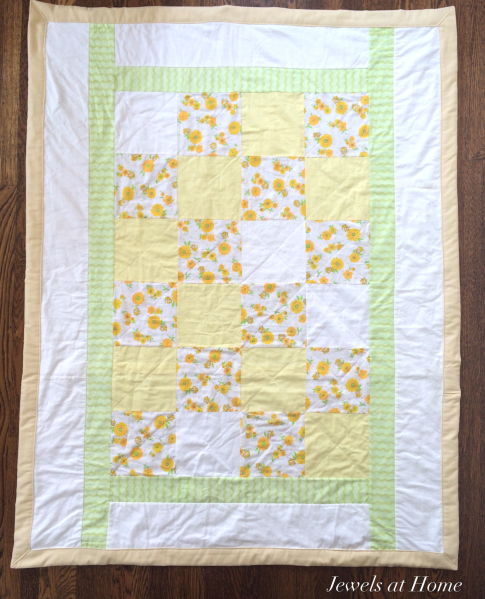
I love seeing how this whimsical print is now woven through all our childhoods.

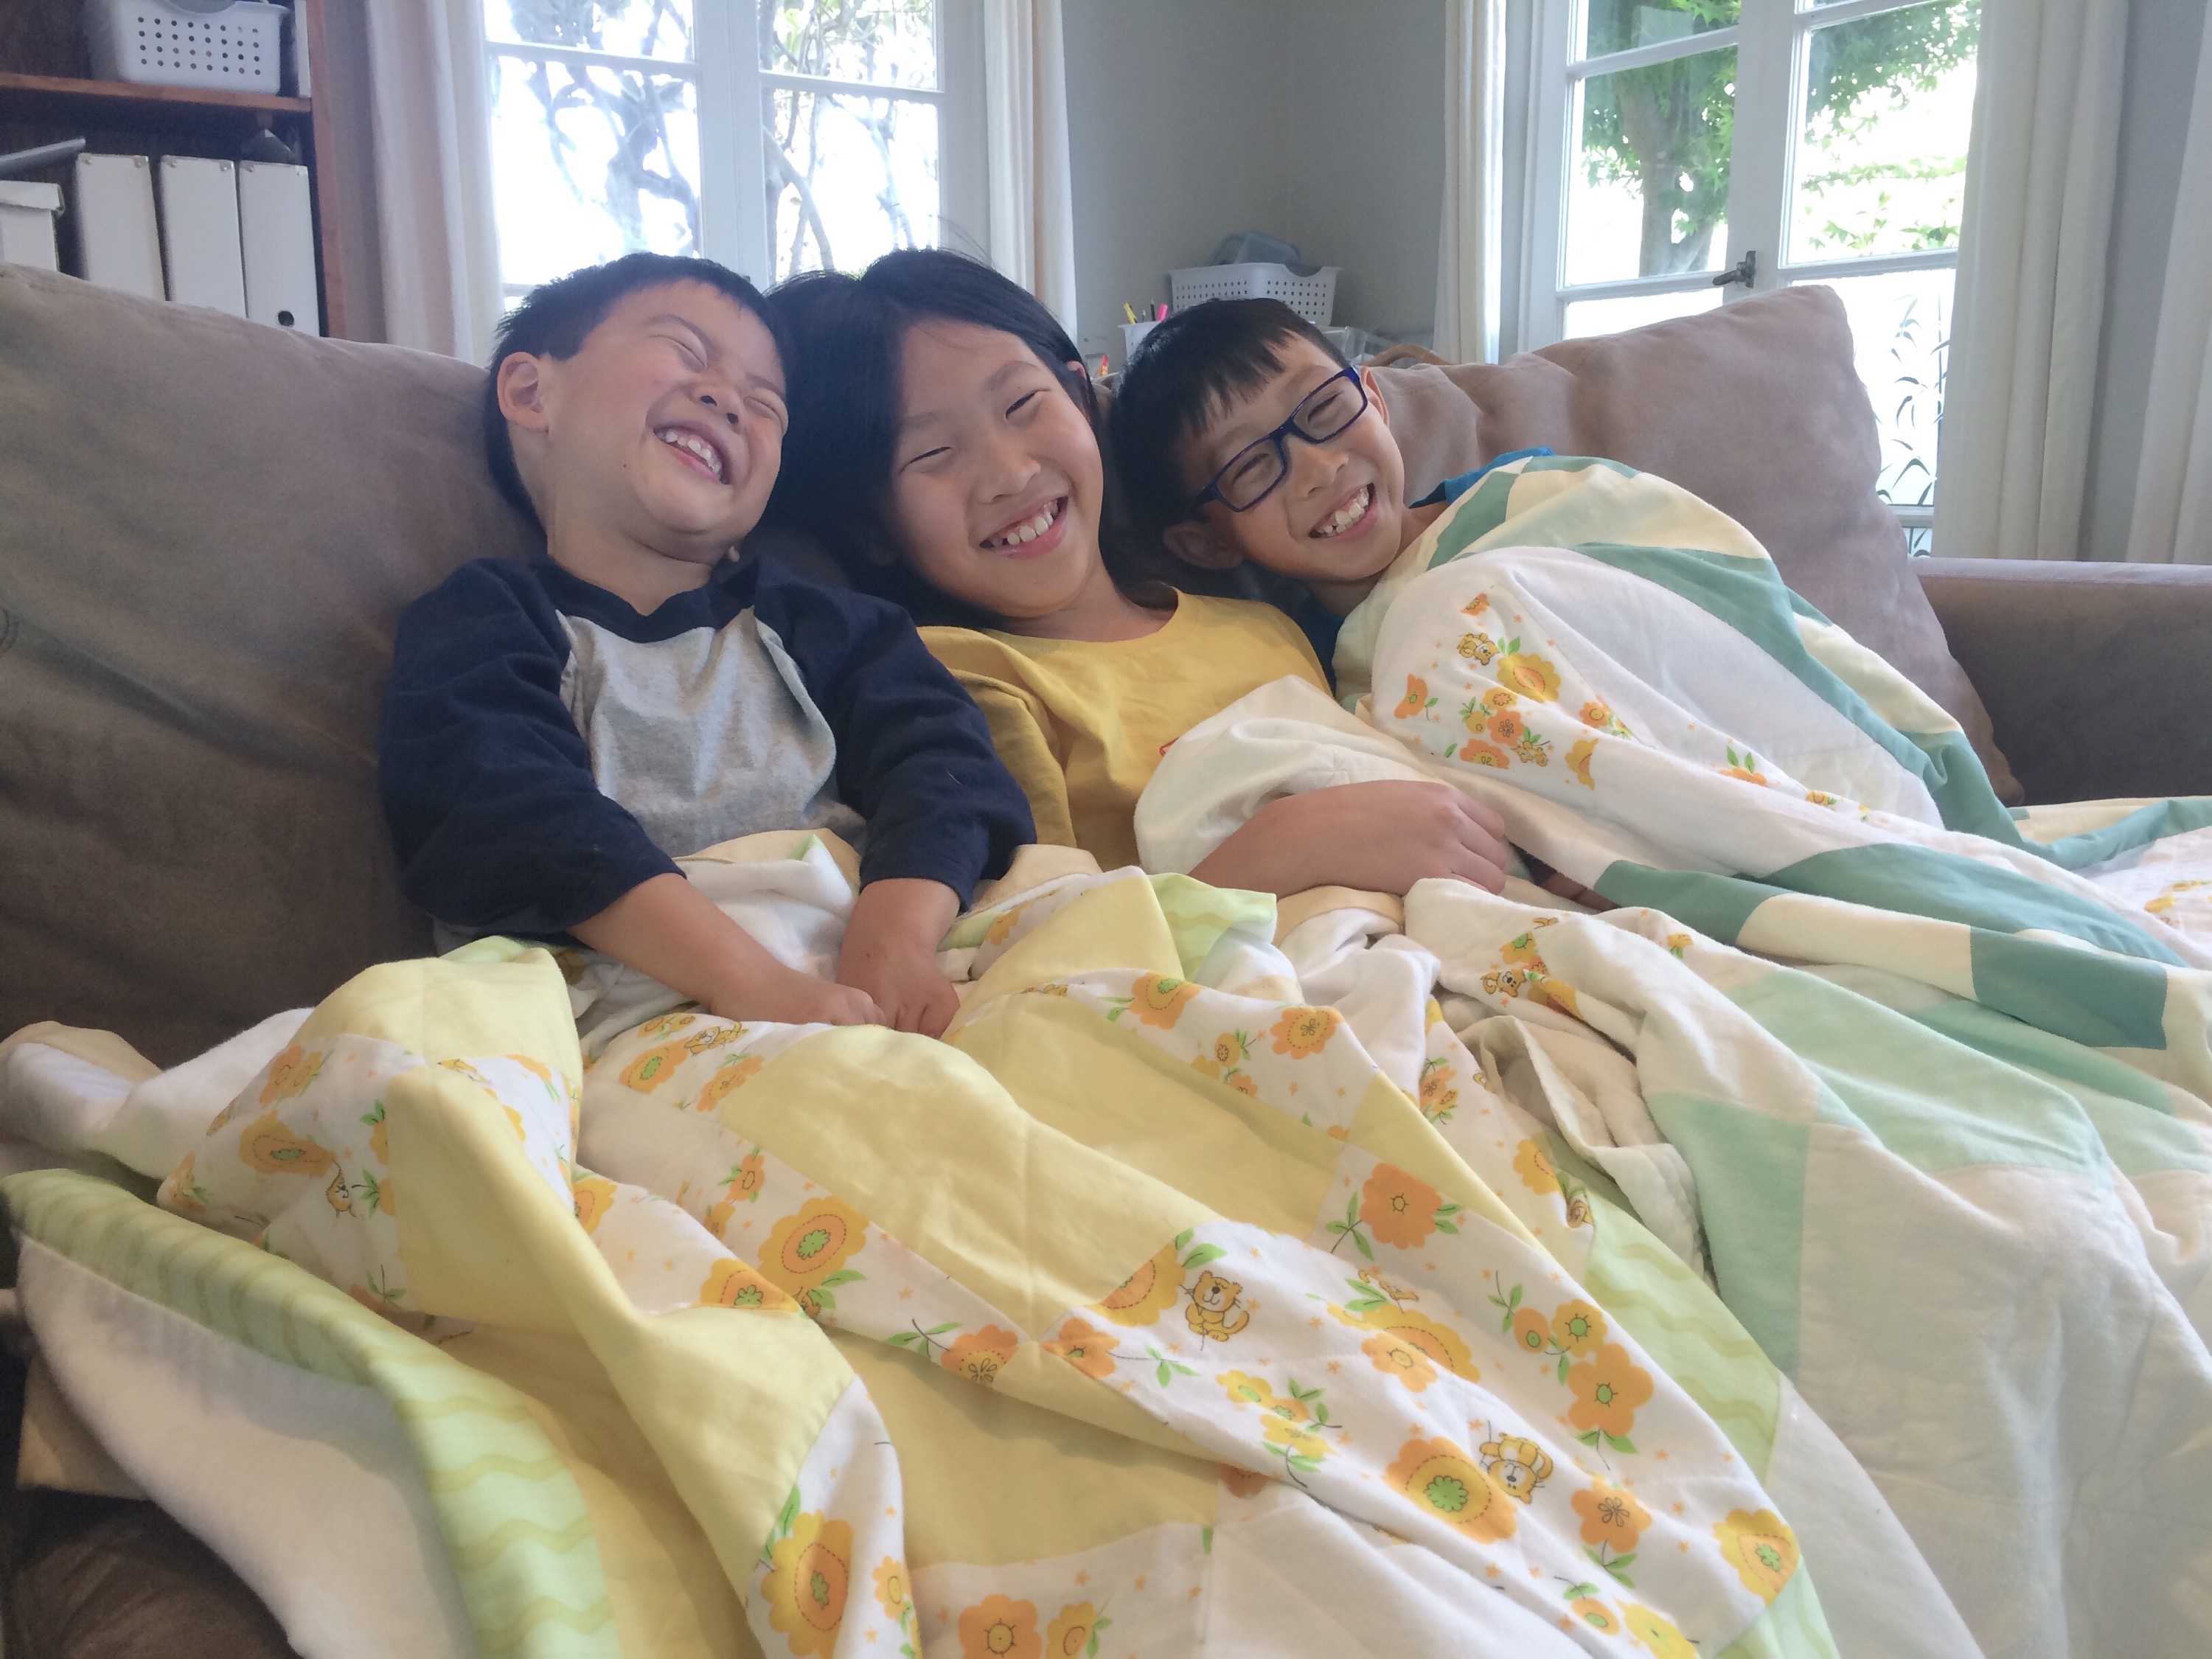
The boys’ special blankets have been useful and treasured over the years, and I love how they are all connected but each unique… Just like the boys themselves!
And I still have enough of that baby blanket left over to make something for my grandkids some day. You can bet I am going to keep it!
“Jewels”
To quote our toddler, “Wow! Wow! Wow!” My very dear friends Nicola and Victor just welcomed their first baby, and I was thrilled to meet her. I didn’t have a lot of time to pull together a gift, but I wanted something special, so I made this “bouquet ” out of onesies, bibs, and receiving blankets. I also brought some fruit and pastries from Whole Foods – goodness knows anyone eating hospital food will appreciate something fresh.
I know, I know, I had just sworn off appliqued onesies, but I had to give in just one more time, since I finally learned that the baby is a girl! I had a few blank shirts left over from the DIY onesie party, so I quickly made some with a little girl in mind. “Quickly” is the key word here, and our toddler was “helping,” so I apologize for the cupcake, which looks a tad squashed. Hopefully, baby won’t mind. Everyone will be too busy looking at her sweet face, anyway.

Sweet heart applique onesie.

Simple flower applique onesie for a baby girl. The center is fleece from another project I’ll post soon!

Cupcake applique onesie. A bit lopsided, oops!
Looking for beautiful onesies for your own bouquet? I have seen the most beautiful prints with big discounts on Zulily:

Materials for the “bouquet”
The technique for rolling the “flowers” is similar for the bibs, onesies, and blankets.

Rolling bibs, onesies, and receiving blankets to make flowers for a bouquet.
To wrap the bouquet

Wrapping bibs, onesies, and receiving blankets into a bouquet.
Here are some pictures of the finished bouquet. I think I could have fussed with it to make it a little neater, but I’m pretty happy with the overall result.

DIY bouquet of onesies, bibs, and receiving blankets.

DIY bouquet of onesies, bibs, and receiving blankets. It looks good next to this random bush outside the hospital. I’ll add some leaves next time.
And most beautiful of all, here’s the tiny recipient of this big bouquet!

Welcome, little one! I look forward to watching you grow and sharing many “mommy moments” with Nicola.
“Jewels”
I had a great time co-hosting a baby shower for my friend Nicola’s baby shower last weekend, and I’m working on getting all the pictures together to share on the blog. I started with the tea party, and I’m still wrapping up some of the activities, but here are some pictures and a short tutorial on the diaper cake!
I used cloth diapers for our youngest through a lot of his first year, but I’ve fallen off the wagon lately. It really wasn’t that difficult, and I am so glad we did it. Cloth diapers do, however, mean a few extra loads of laundry each week, and I was losing buy-in from hubby and the toddler himself. So, despite my feelings of guilt, I have given it up. We’re slowly starting to introduce him to the potty, so hopefully our days of diapers are numbered. In any case, the timing works out well for me to pass these diapers on to Nicola and Victor.
There are many ideas out there for beautiful diaper cakes. Most of them use disposable diapers or plain cloth ones. The diapers I had were the all-in-one or pocket diaper style, and I’ll write about how to use those diapers in another post for Nicola and the rest of you who want to get started. Since these diapers are bulkier than disposables and come in a variety of colors, I had to get creative with the design and owe thanks to Ari and Monica for their artistic input.
The technique for all diaper cakes is similar. You’ll need:
Prepare the base
I cut a large circle out of corrugated cardboard. It’s about a foot and a half in diameter, and I didn’t have a large circle to trace, so I taped a piece of string to the center, taped a pen about 9″ out from the center, and drew around the string to make a neat circle.
I used a piece of scrap fabric to wrap the cardboard and taped it to the bottom. You could also use a cute wrapping paper.

Draw a large circle on cardboard by taping a string to the center and a pen to the perimeter.

Wrap the cardboard circle in fabric or paper and secure it on the bottom with tape.
Prepare the diapers
Start by rolling up each diaper and securing it with a small elastic

Roll up each diaper and securing it with a small elastic.
Constructing the cake
Group your first layer of diapers together inside a large elastic band. I used sewing elastic knotted into a loop. Once you have them tied together, you can rearrange them to get the look you want (this picture was taken before I arranged them). Because there were so many different patterns, I tried to group them by color (blues on the bottom; yellows in the middle; greens on top), and I hid the diapers that stood out too much in the middle (the tiger stripe diaper, the dark blues).

Make the first layer of the cake by grouping the rolled diapers inside a large elastic band.
Put something tall in the middle of the first layer to help attach it to the next layer. I used a roll of diaper liners (these are amazing, by the way. The poop sticks to the liner, and you just dump the liner in the toilet and flush it, leaving you with a much cleaner diaper to wash).

Put something tall in the center of the first layer to help attach the next layer.
Add your second and third layers, keeping something that projects upwards in the middle, to secure the layers to each other.

Add a second and third layer, using something like this chopstick in the middle to keep the layers steady.
When each layer is done, you can tie a decorative ribbon around the diapers and remove the large elastic. I used two layers of wired ribbon, and it made the bundles of diapers very secure.
Decorate your cake
You could add little toys, bottles, diaper cream, etc.. I just added some ribbons to the top and around the edges. I folded pink and blue ribbons and secured them with a paperclip before stuffing them in the top.

Gather some ribbon and secure it with a paperclip for decorating your diaper cake.
And here it is, the finished diaper cake!

Finished diaper cake using cloth diapers.
In retrospect, I will have to say that this is not as fast a project as it looks, mostly because I had to fiddle with the arrangements and colors to make all those different diapers work together, but it was a very cute addition to the baby shower, so definitely worth it.
I’ll try to get the information on using the diapers up on the blog soon, as well as some more baby shower projects!
“Jewels”
