My two older boys went to college on the opposite side of the country. I missed them, but a silver lining has been the connections they built with our extended family. When we were gathered for my oldest’s graduation, I … Continue reading
My two older boys went to college on the opposite side of the country. I missed them, but a silver lining has been the connections they built with our extended family. When we were gathered for my oldest’s graduation, I … Continue reading

This past summer, my sister and I took some time to sort through boxes of things from our mother and two grandmothers. These have accumulated at our family house, and the experience of opening them was nostalgic, sentimental, and at … Continue reading

Some people are inspired by cooking videos or makeup tutorials. My social media addiction is watching the creative ways people transform tablecloths and other used textiles into clothes. My mom taught me how to sew, but it’s been years since … Continue reading

I wish I were a better sleeper. Trust me, I really do. I’m sensitive to light when sleeping, so room-darkening window coverings are a must! I’ve found some quick tricks that I’m excited to share for adding lining to existing … Continue reading
YEARS ago, I bought a cute zipper pouch ages ago at a Signatures craft fair in Toronto. The size is perfect for sunglasses, lip gloss, hair ties, ear buds, or other little items you want to corral in your purse. Since I recently conquered my fear of zippers when I made the box cushion covers for my new chairs, I decided to try making some of these little pouches myself. It’s such a fun project to use small scraps of fabric and combine colors and patterns.
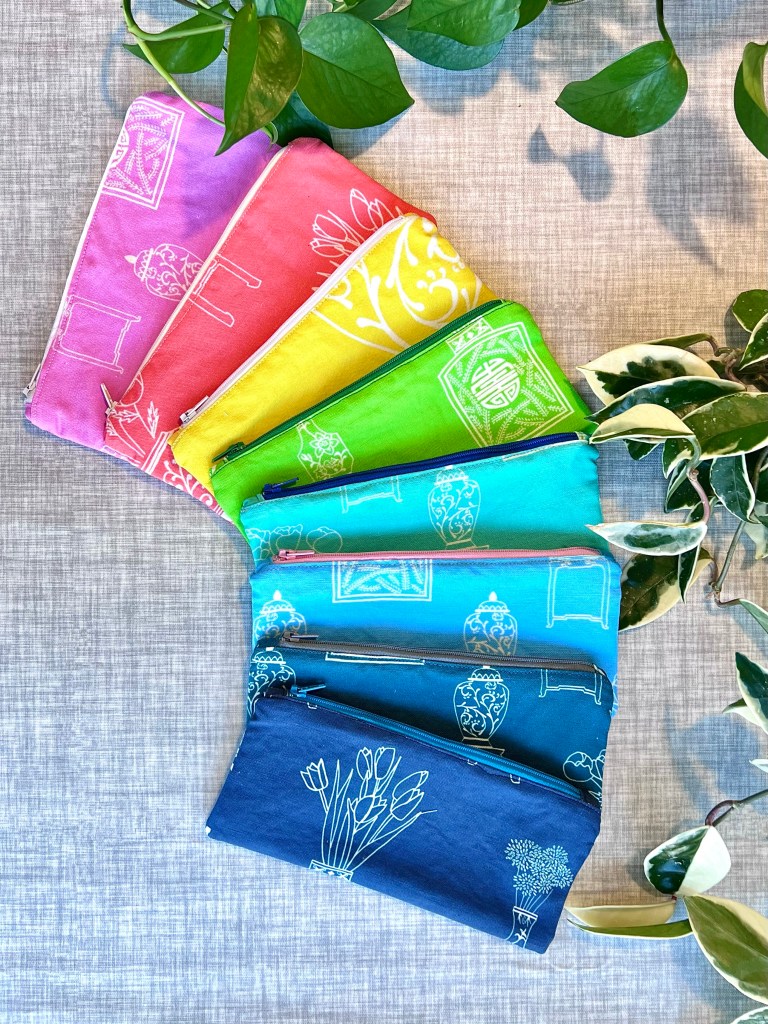
I followed the instructions from icansewthis, which lays out the steps very clearly. The dimensions for this pouch use 4.5″x9″ rectangles to make a finished size of approximately 4″ x 8.5″
Here’s what you’ll need:
I made pouches from vintage kimonos, favorite scraps, and also some of fabrics I designed myself. If you want to check out my fabric collection, here’s my shop on Spoonflower. You can have have fun mixing and matching zipper colors and linings!


Happy sewing !
Julie AKA “Jewels”

We moved twice in the last two years, and in the process, I gave away a lot of things. I feel like the universe has decided to reward me by sending me two great finds. First, I found this vintage … Continue reading

My work family is getting ready to welcome the fourth baby this year! I decided to change it up from the rainbow scrap quilts, and I thought this Swiss cross pattern would be a great fit for Caitlin’s style. I … Continue reading
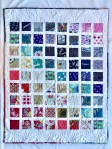
There’s a mini baby boom going on in my work family. For our last work baby boom, I made these “stacked coins” quilts. Looking for a new pattern, I adapted a rainbow sampler quilt pattern into a simpler rainbow scrap … Continue reading
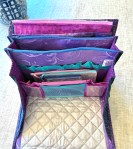
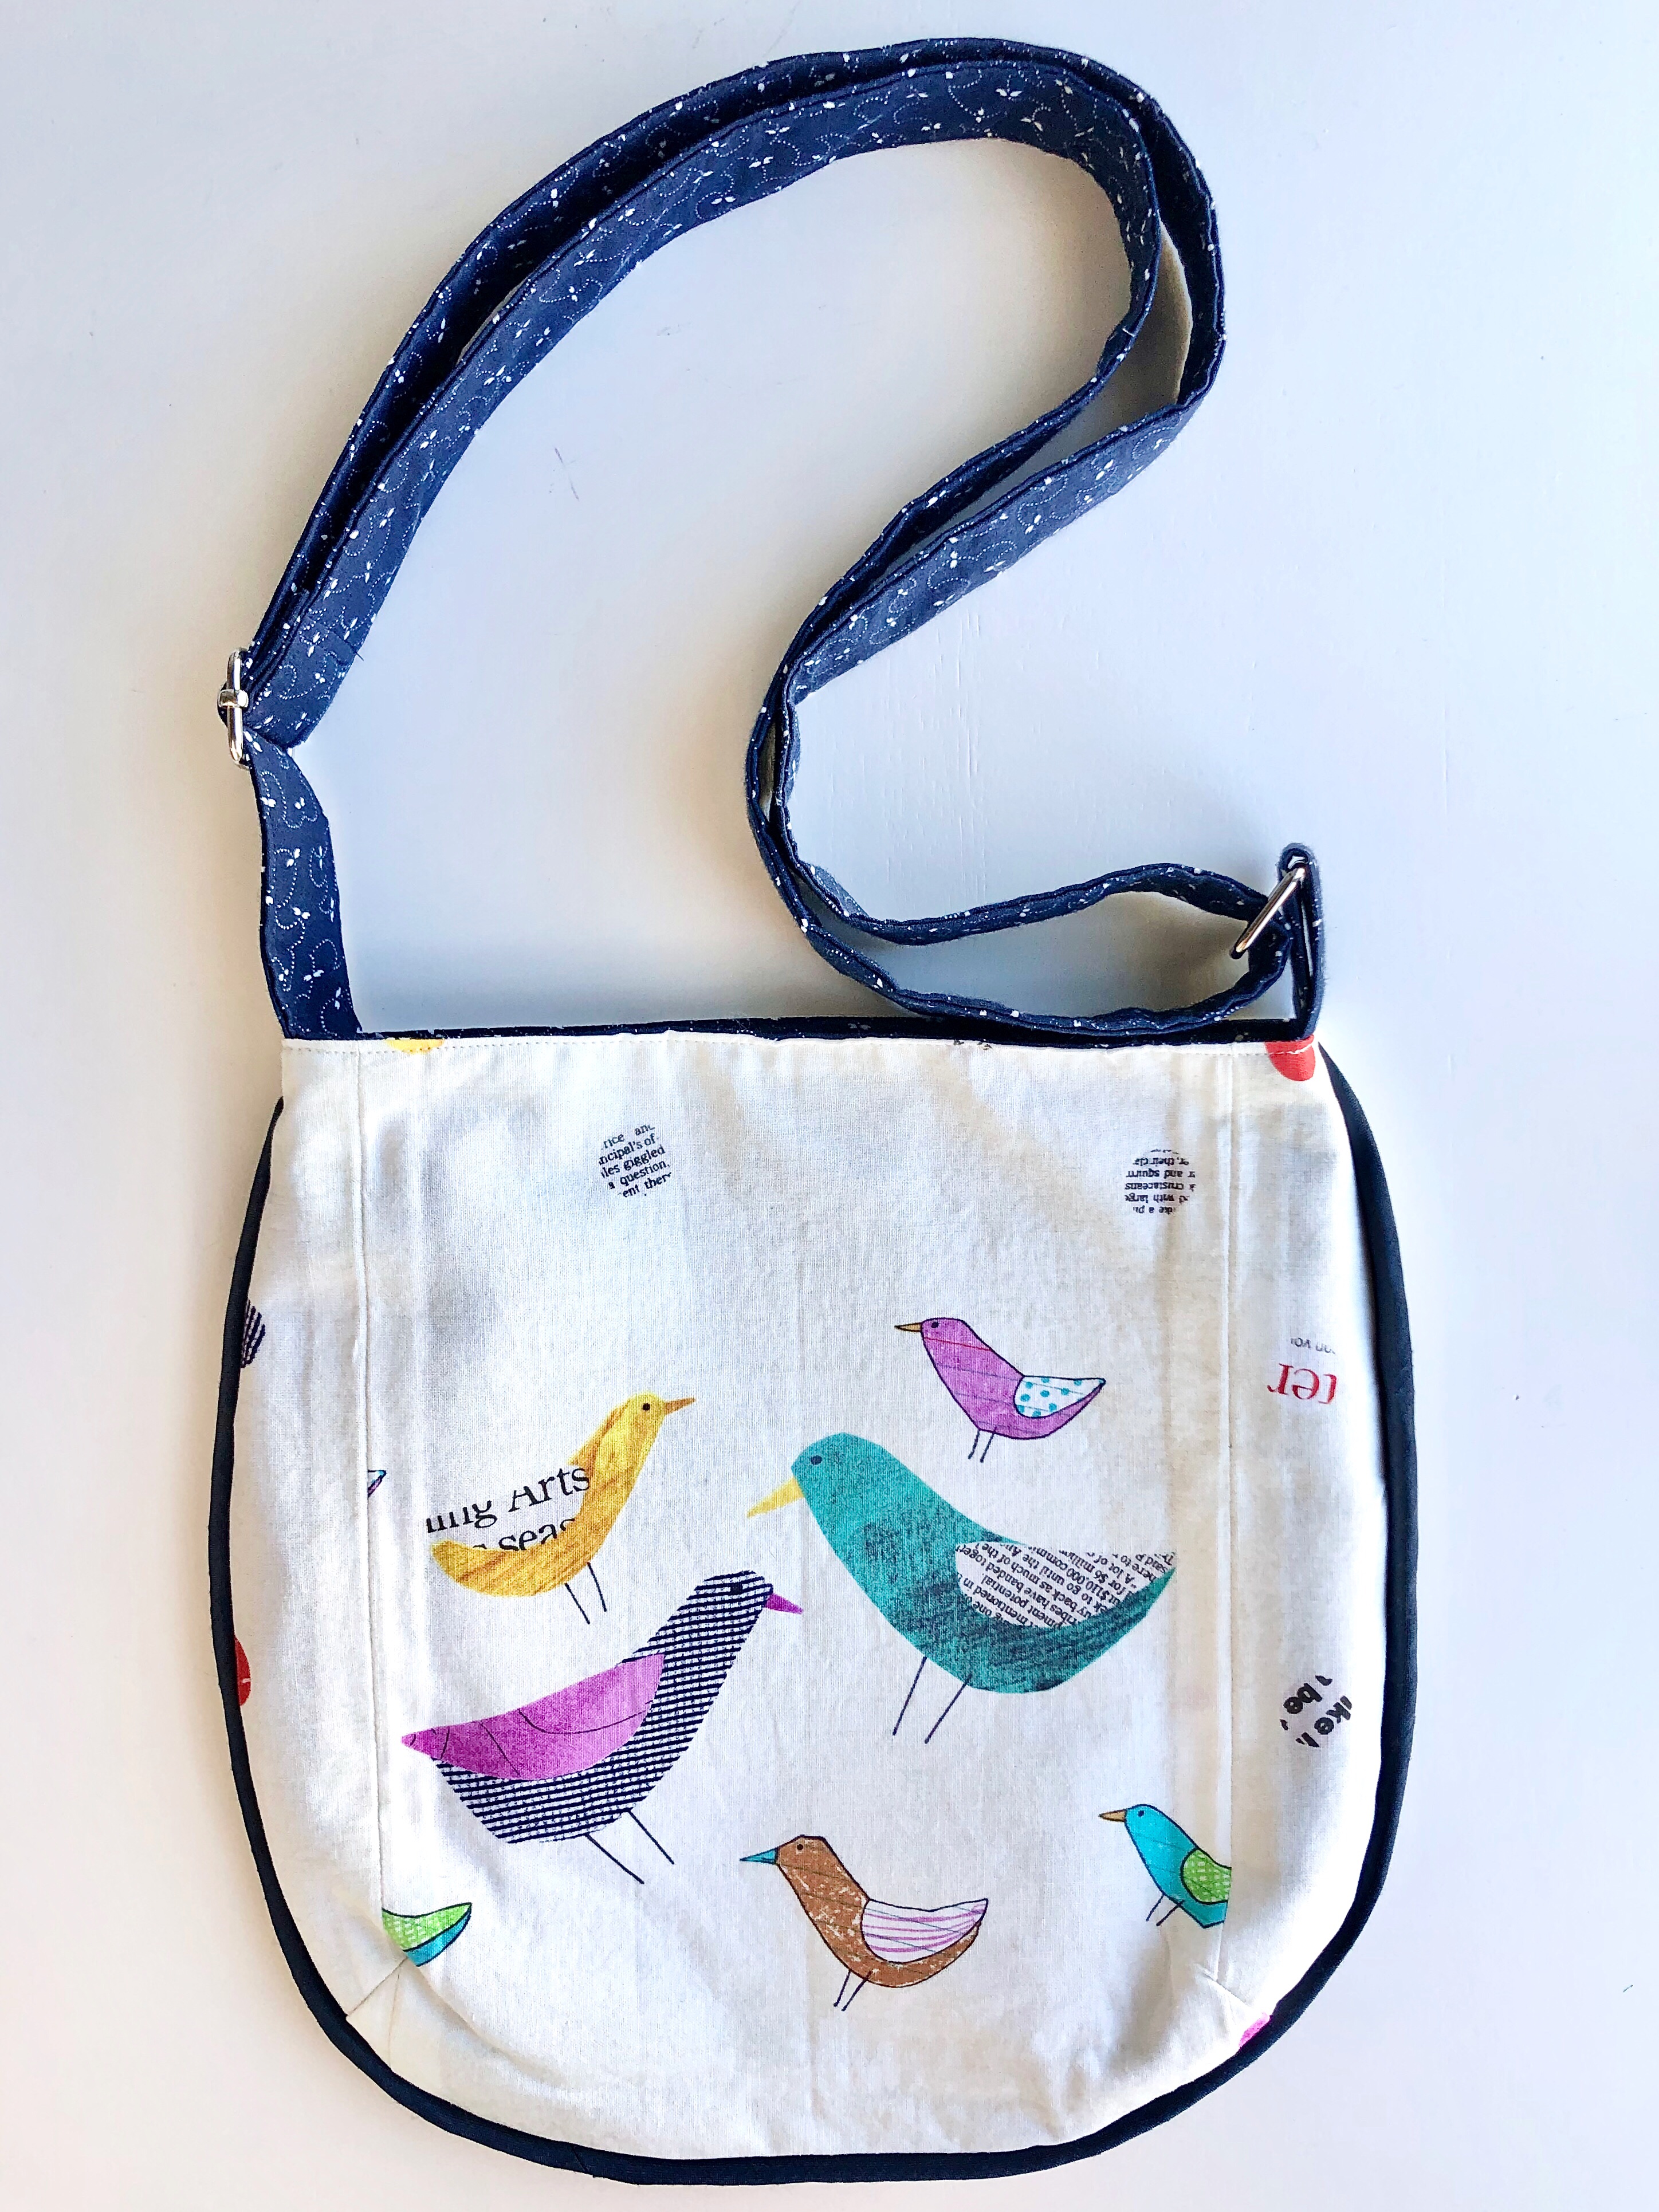
As I started making bags this spring, I have learned so much from Anna Graham’s patterns. My first bag was her 2-4-1 tote, and next, I discovered the trail tote pattern! Following these patterns taught me a lot about bag- making, and it has allowed me to try some of my own patterns, like the origami bento bags 1, 2, and 3, and panel tote.

I made the small size of this pattern, and I omitted the exterior zipper pocket, partly because I wanted to really feature the fabric, and partly because I am intimidated by zippers – but I have a feeling, I will learn somewhere along this bag-making adventure! This pattern did inspire me to make my own piping for the first time, so I am not a total wimp!
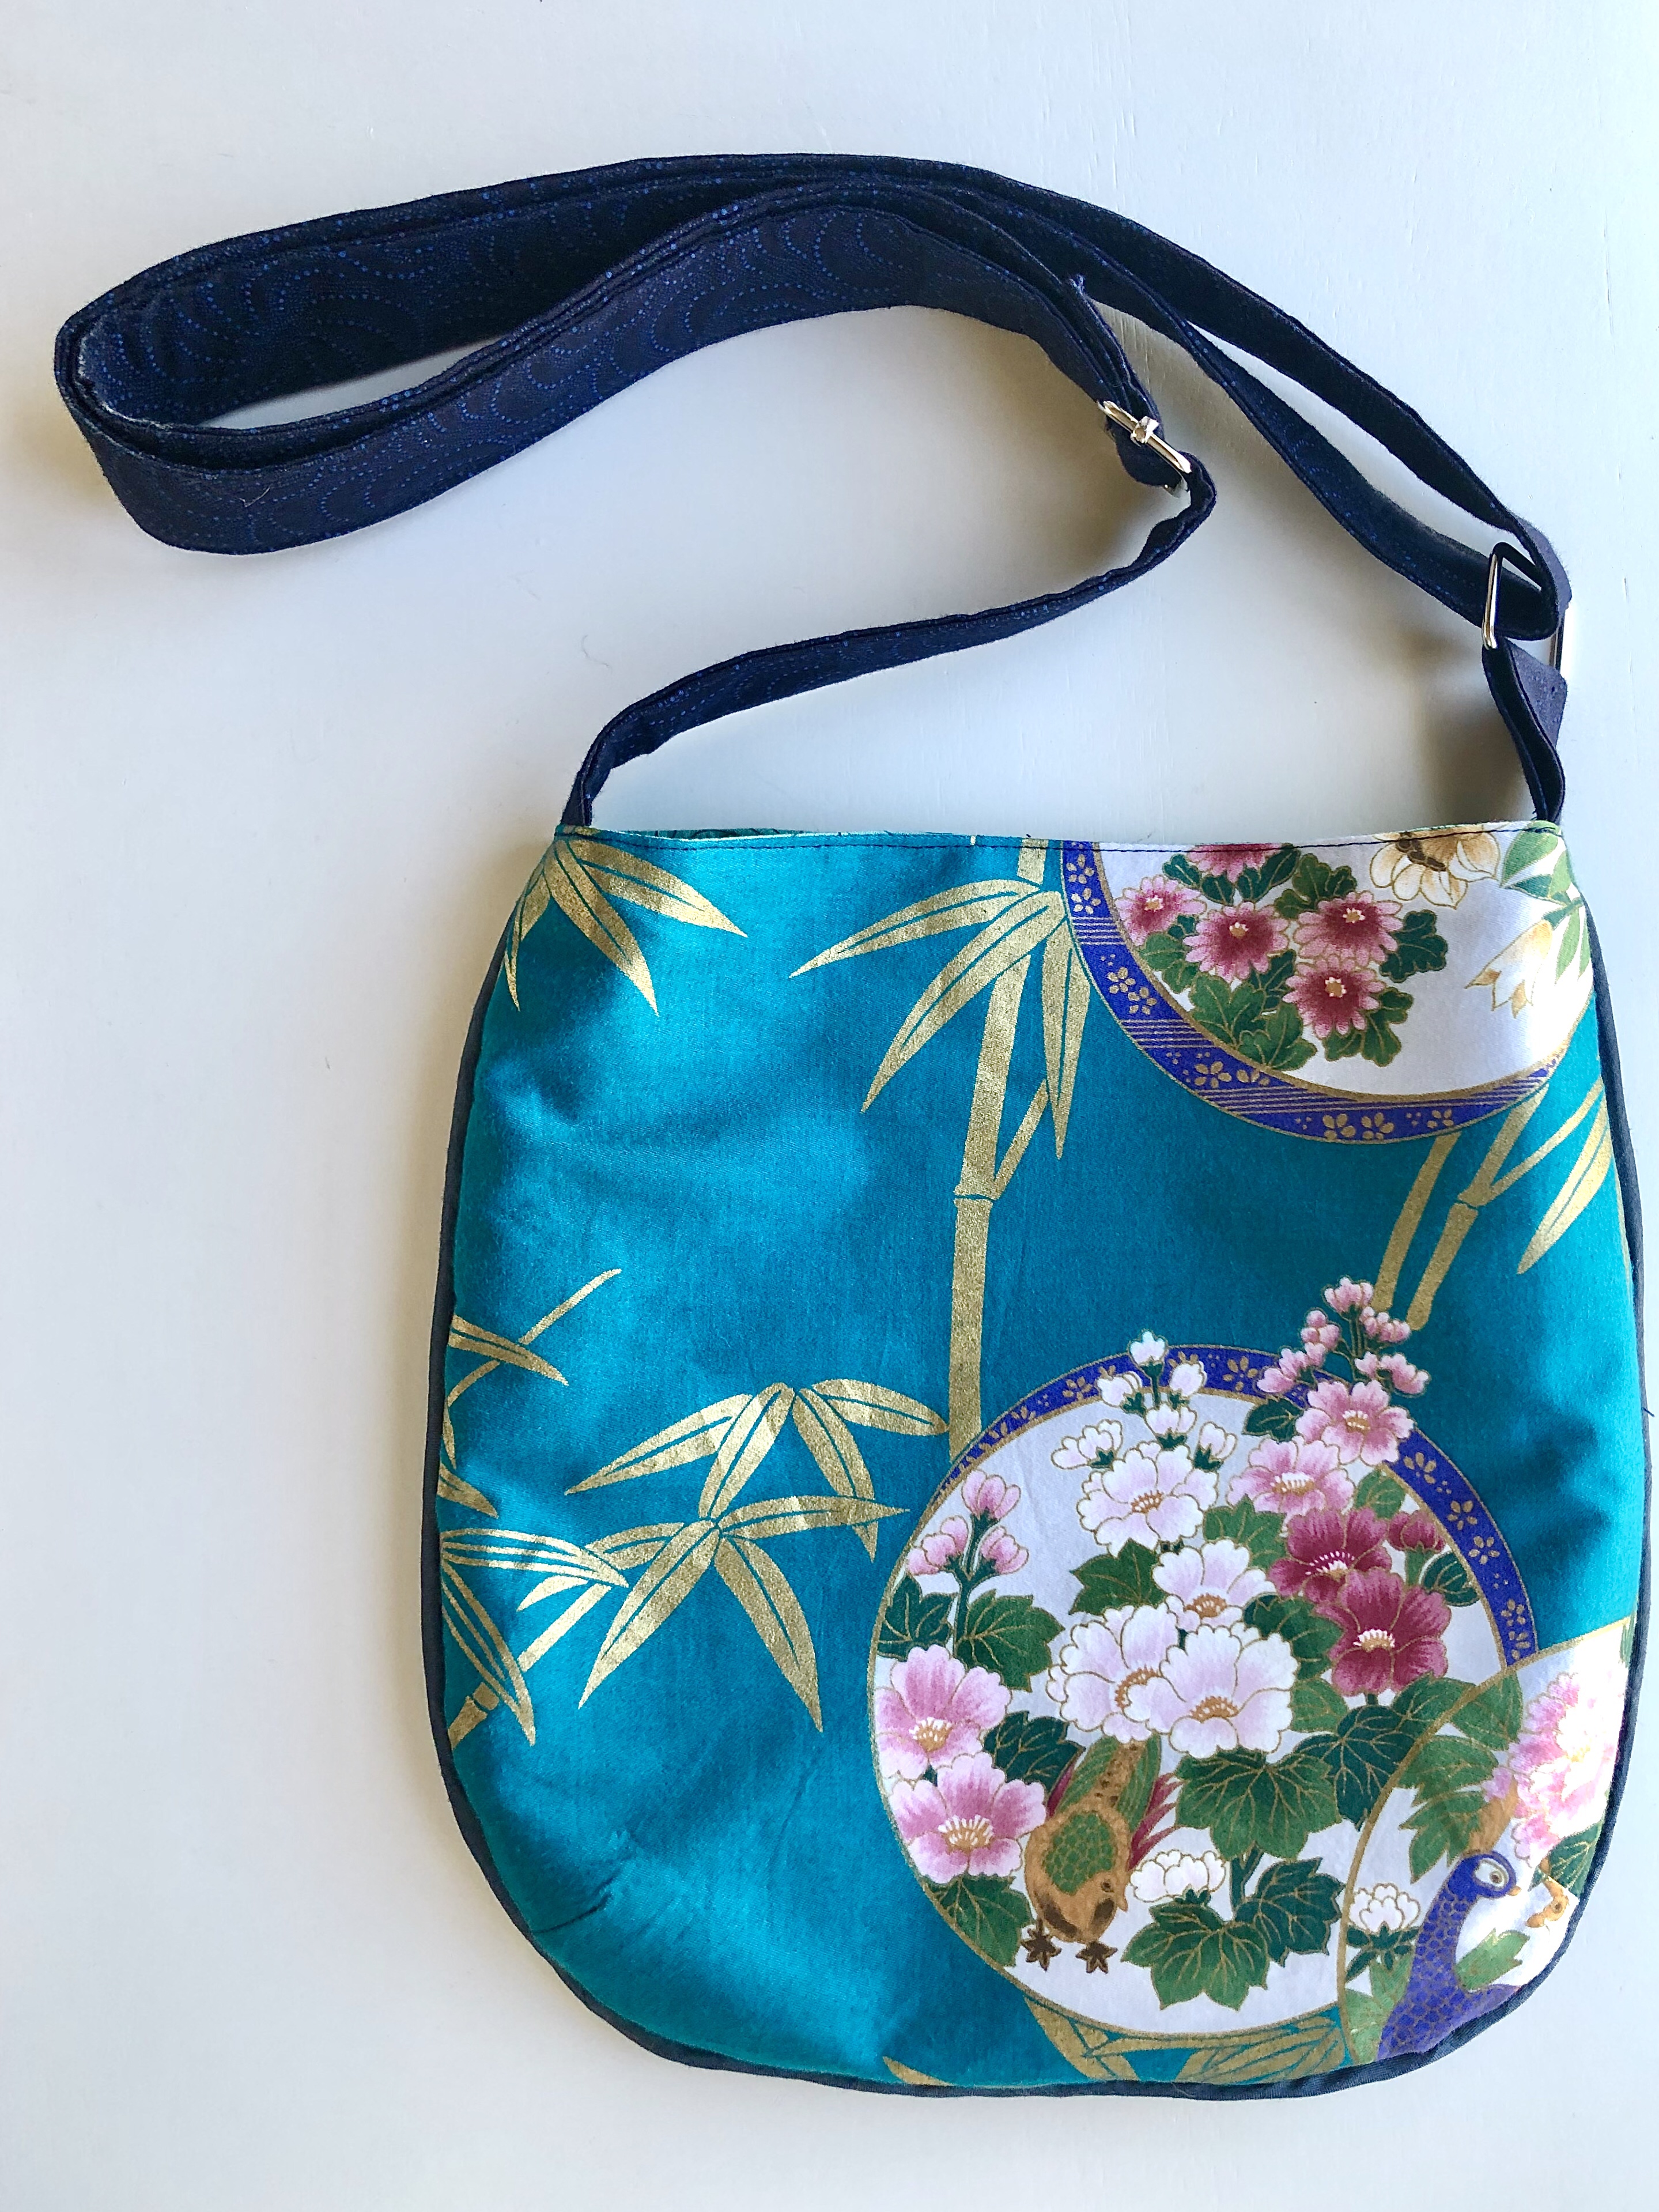
This is a free pattern available on the Robert Kaufman Fabrics website. I made it in two versions – from a gorgeous turquoise vintage kimono and a bespoke version for my friend Stephanie, who loves cartoon birds – a perfect fit for this cute fabric I had collected years ago!


Happy trails!
Julie aka “Jewels”

Crafts are definitely calming for me, and this extra time at home has been devoted to learning to make purses and tote bags. I started with the Noodlehead 2-4-1 tote by Anna Graham, followed by her Trail Tote. With some … Continue reading
