About once a year, my friend Ariana (of Act 2 Decor) and I get up early go to the Alameda Point Antiques Fair to browse and look for treasures.
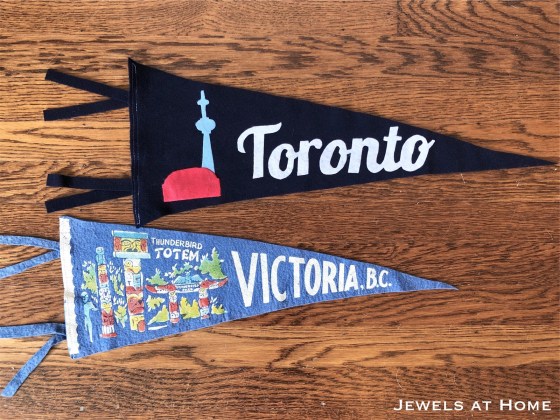
I’ve been working hard to clean out the house this year, so I kept my shopping restrained, but I was looking for a vintage felt pennant to finish up a new gallery wall in JJ’s room. I found the perfect piece, and it was definitely meant to be, because it was sold by the family of a former coworker!
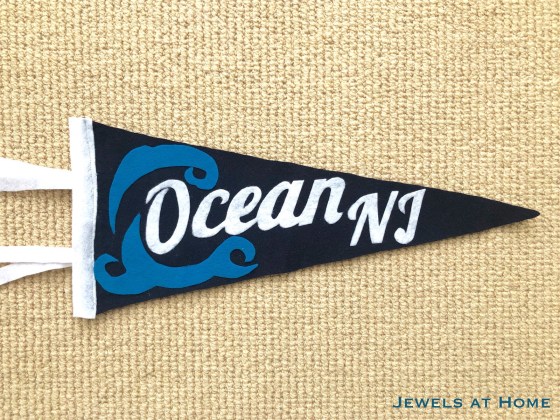
When I got home, I was inspired to make some more pennants of my own. I made one for my home town, Toronto, and one for my sister-in-law’s family in New Jersey.
Here’s what you’ll need:
- Felt for pennant, lettering, and trim
- Sewing machine or needle and thread
Here’s how to do it:
Create a template for your pennant – mine is on two sheets of scrap printer paper. It is 7.5″ high x 21″ long.
Cut out the pennant from a large piece of felt
I sketched the images freehand in reverse on the paper side of the Heat ‘n Bond
For the script lettering, create a word processing document, print out the words, and trace them in reverse onto the paper side of the Heat ‘n Bond

Choose your felt colors for the letters and design and fuse Heat ‘n Bond to one side

Cut out your letters and designs
Arrange on the pennant and iron in place
Cut strips of felt for the binding (optional) and ties and sew in place
Here are my finished pennants. I should make one for San Francisco next!

Here’s a picture together with my vintage find:
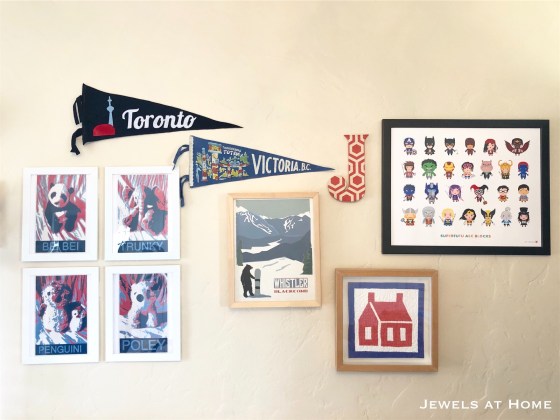
And here’s how JJ’s new gallery wall came together!
I had so much fun! What city do you want to celebrate and what image would you use?
Julie aka “Jewels”

