My collection of plates and tea cups started when I threw a tea party baby shower for my friend, Nicola, a whole decade ago! Over the years, I have added more treasures to my collection, and I love the stories … Continue reading
A lot of people groan when they think about moving, and while I plan to stay put for many years to come, I actually love the excitement and challenge of arranging a new space. I’ve had a lot of fun … Continue reading
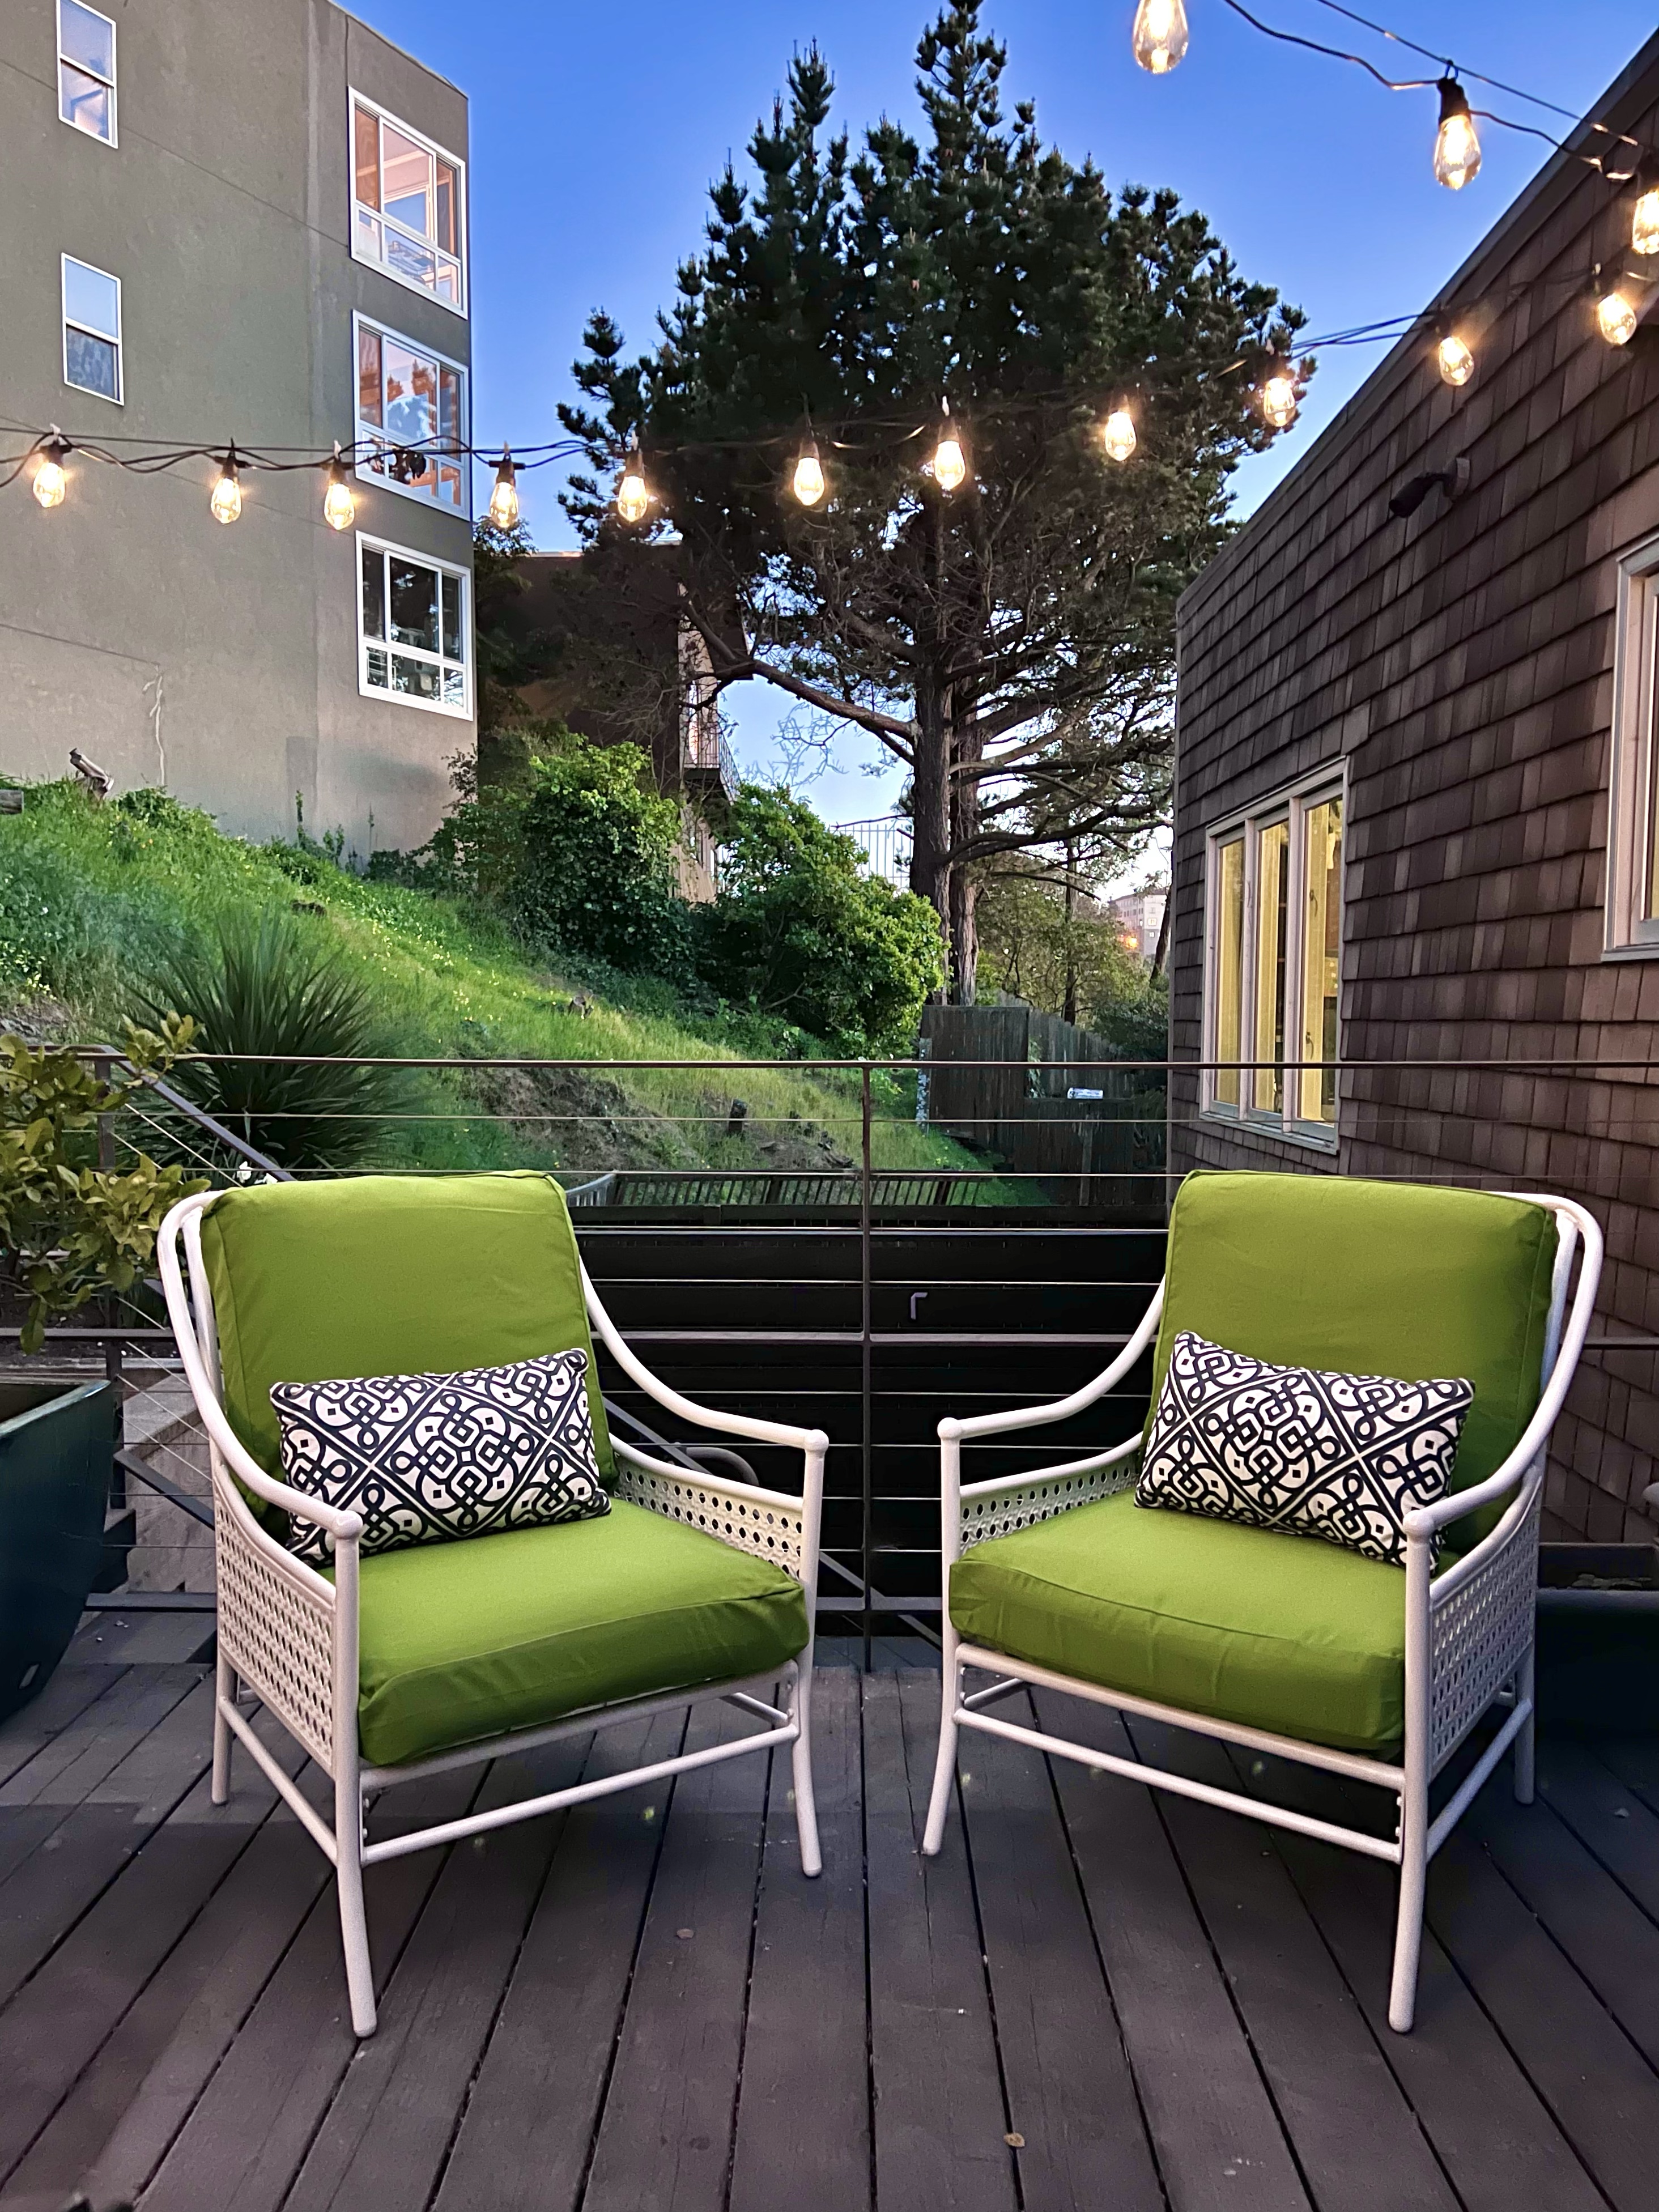
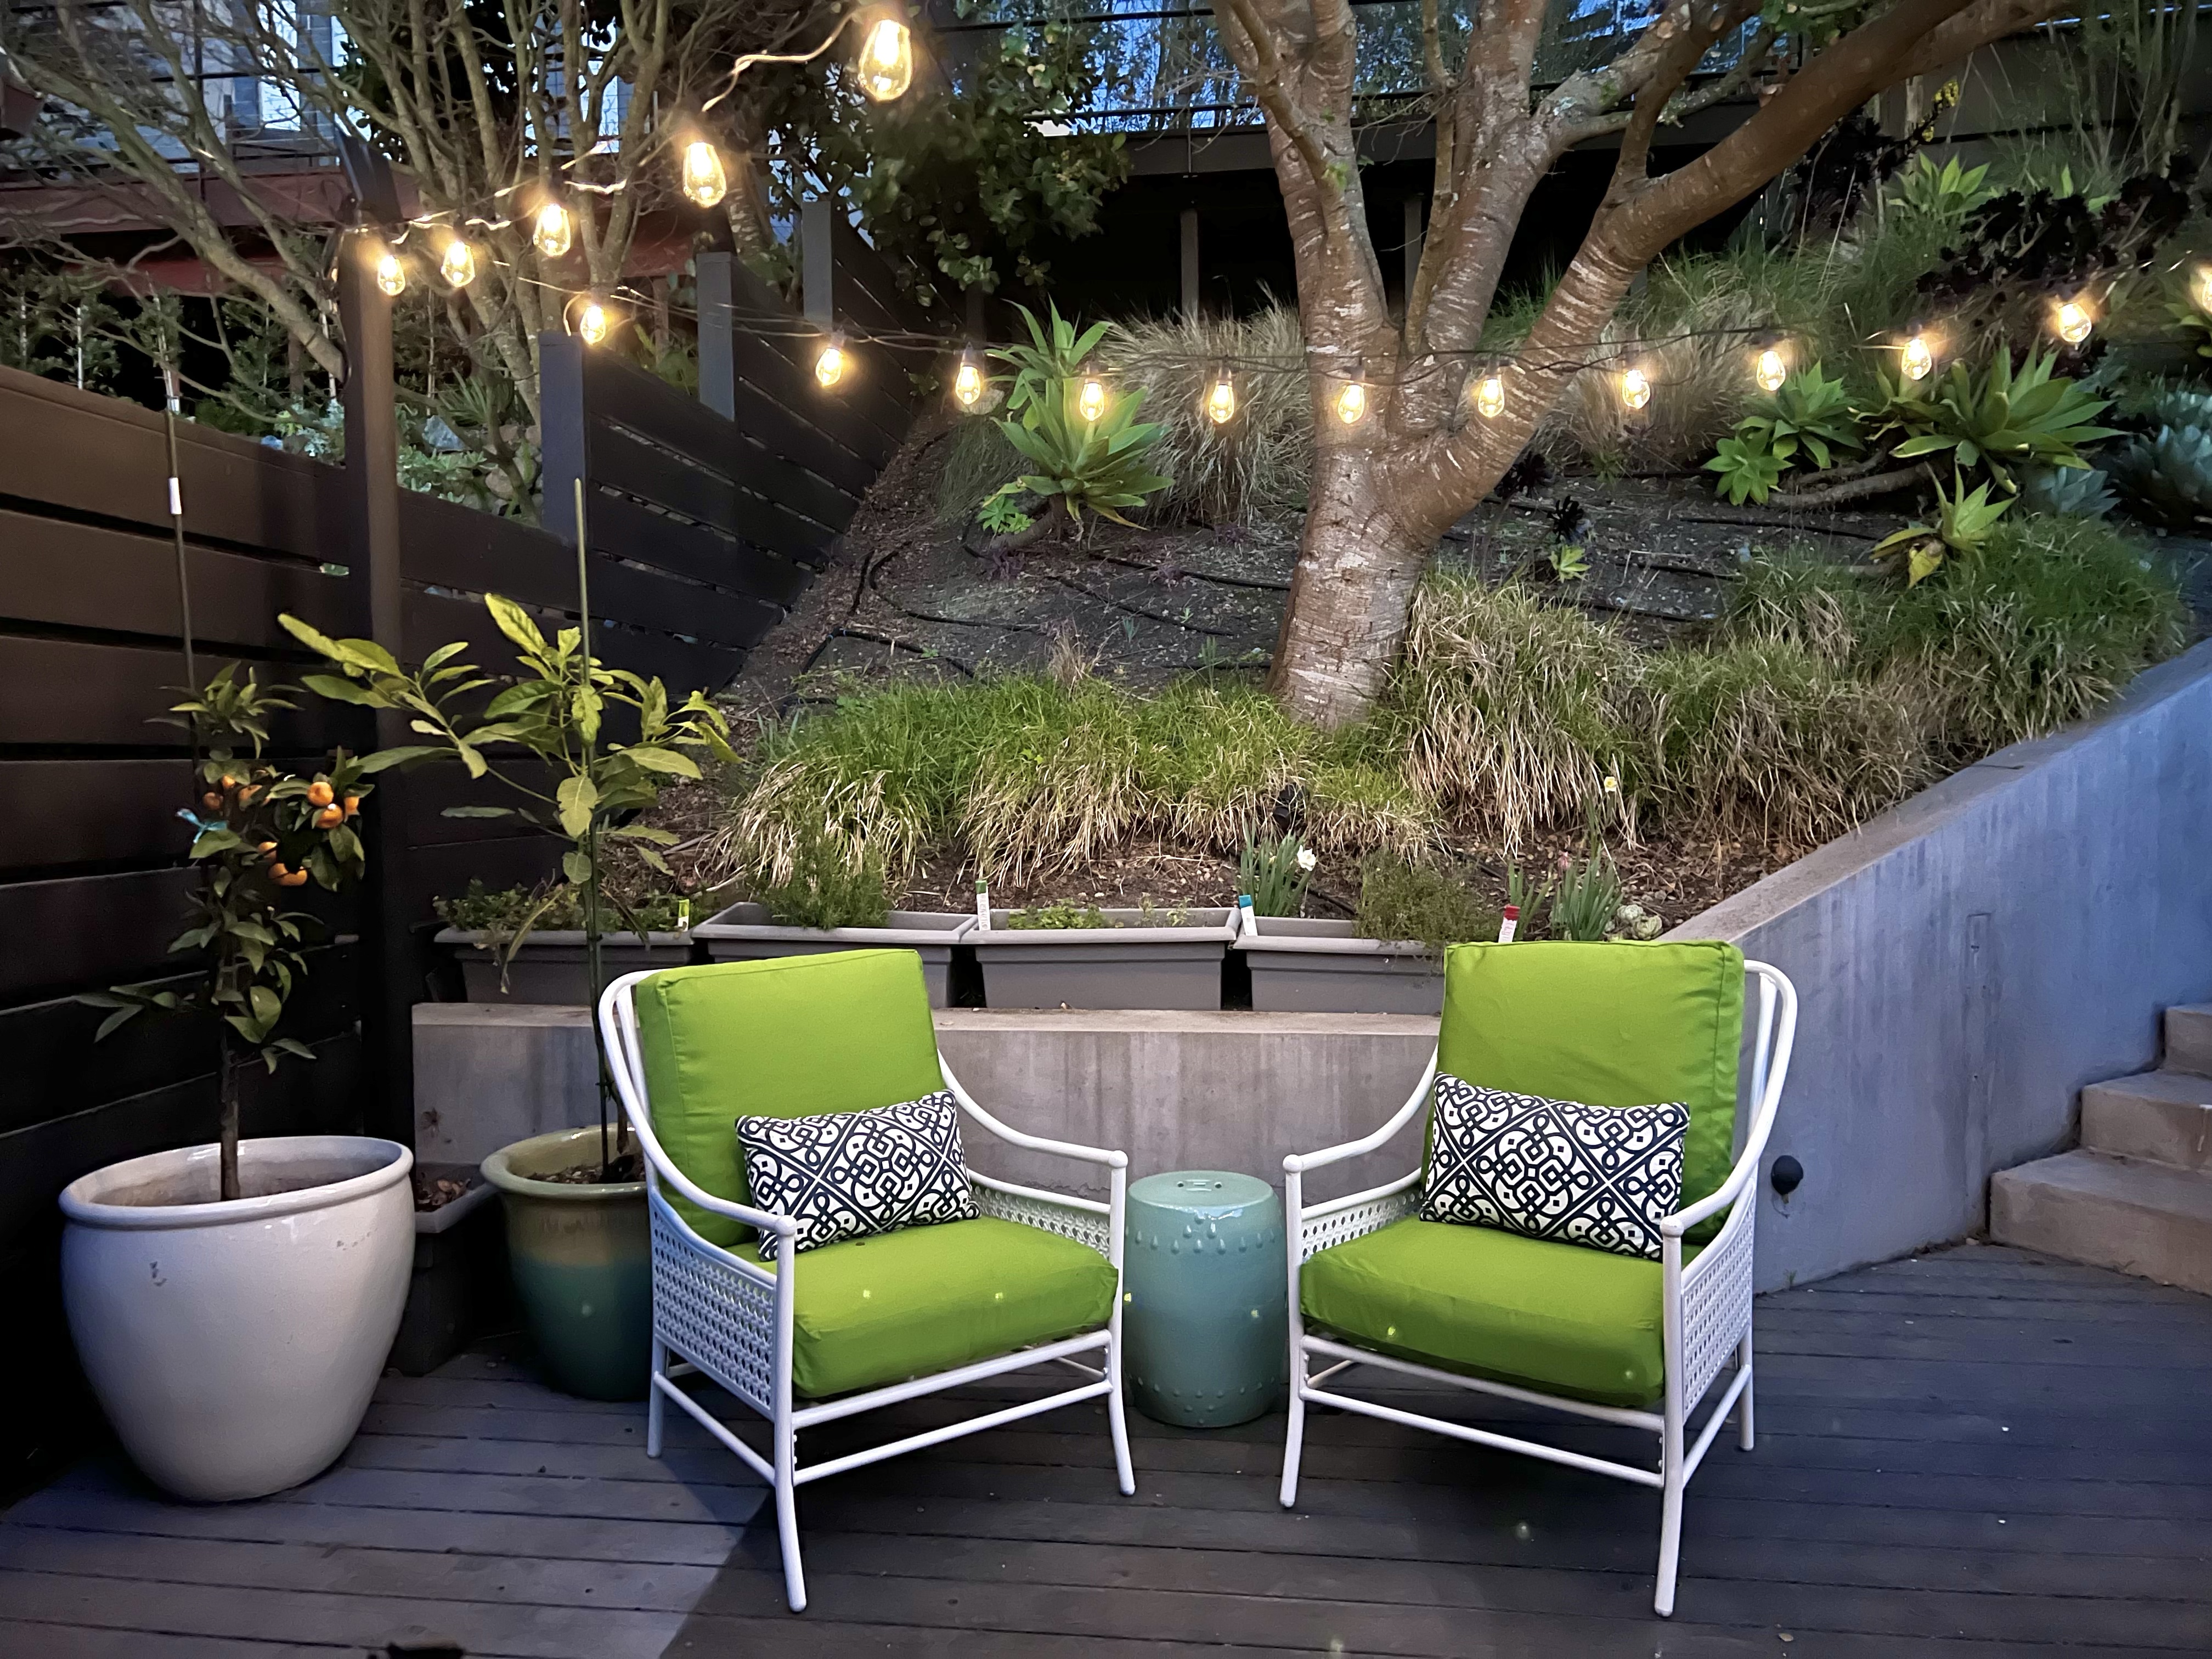
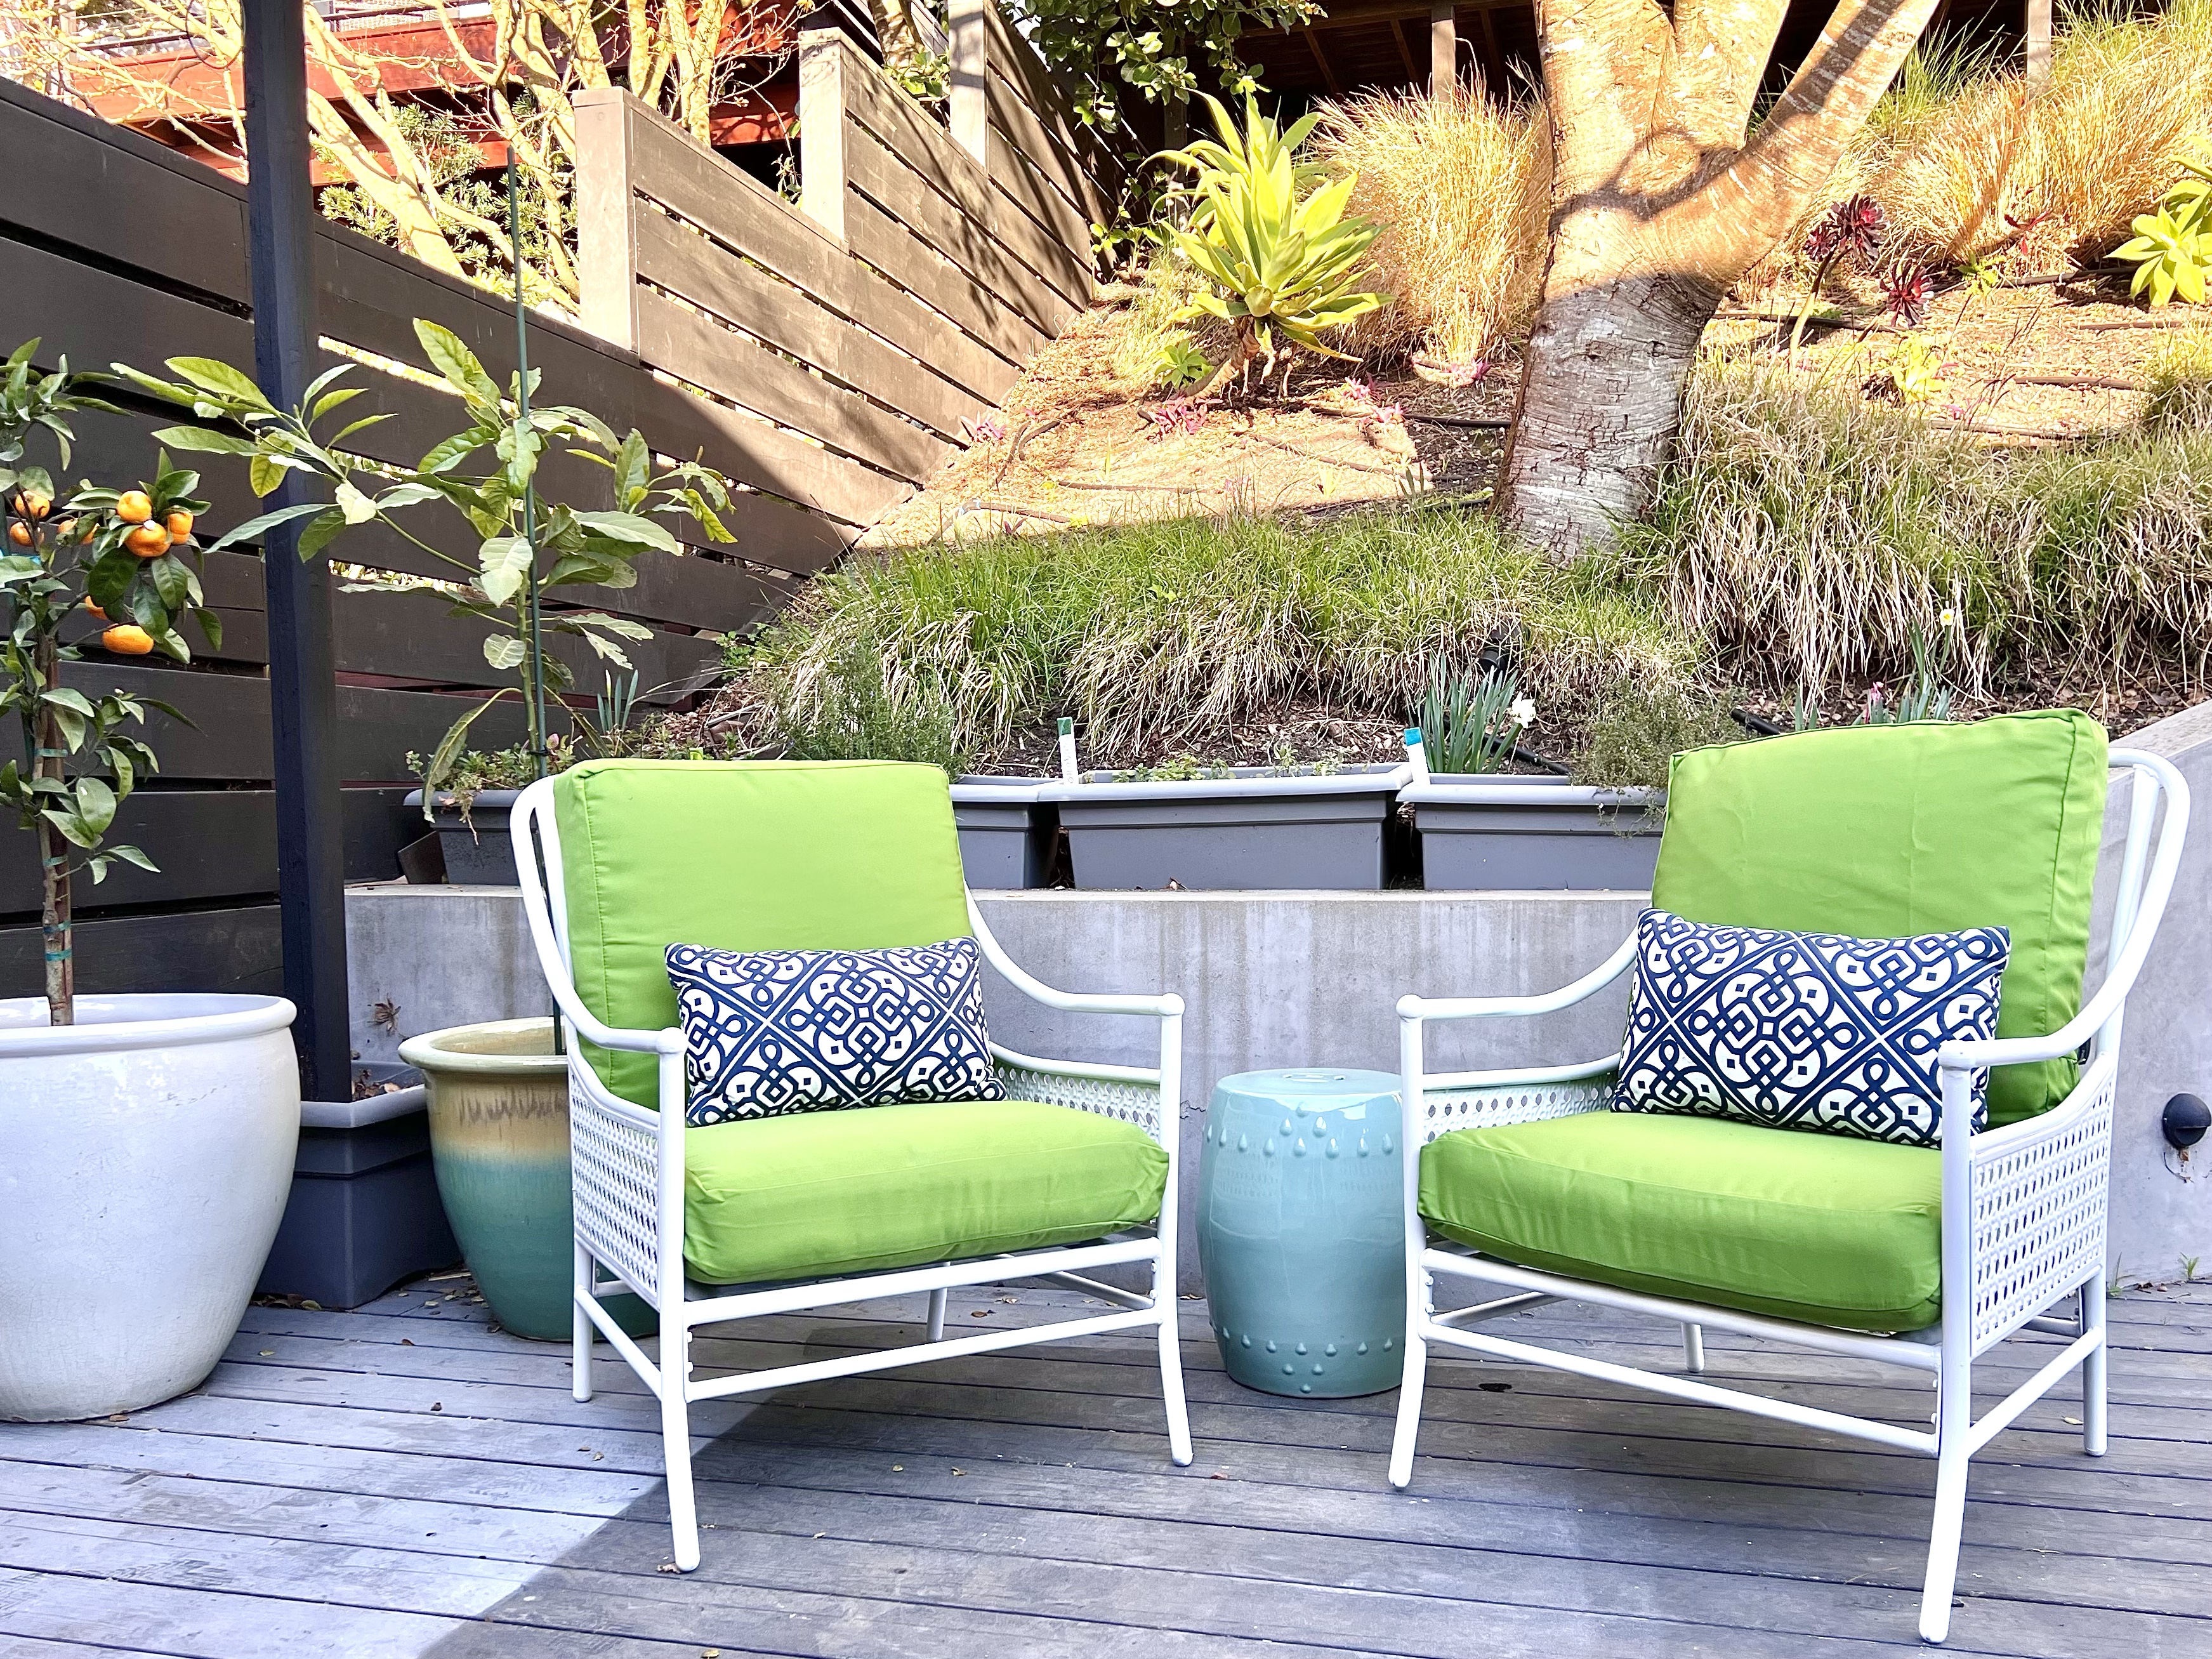
I am so excited for our new patio space and have already enjoyed time out here eating lunch, reading, or catching up on some work. I started looking for some lounge chairs, but I couldn’t quite find what I wanted – or more accurately, what I wanted was way too $$$. But this story has an happy ending! I found these used chairs and made them over for $ to complete our patio space!
It’s no secret that I love anything with the look of cane or faux bamboo and also that I have a weakness for Craigslist finds! I spotted this set on Craigslist for $50, and when I showed up, the woman said I could have it for free. She also let me take the chairs without the table, so my karma of giving things away when we moved last year came back to me! I also picked up the chairs near my old neighborhood hardware store, so I stopped by to get some supplies and painting tips.
Here’s how to do it:
Here are some more pictures of our “new” chairs.
I feel they came pretty close to my inspiration pics, and all with the satisfaction with saving some money and a good DIY!
Everyone loves a good before and after pic:
I look forward to many more hours enjoyed out here with friends, family, or curled up with a good book!
Julie AKA “Jewels”
Sometimes, milestones are measured in unusual ways. I know my kids are getting big, because it’s finally possible to take a picture of JJ’s room that is not a total disaster! We (I) were focused on finding a new house … Continue reading
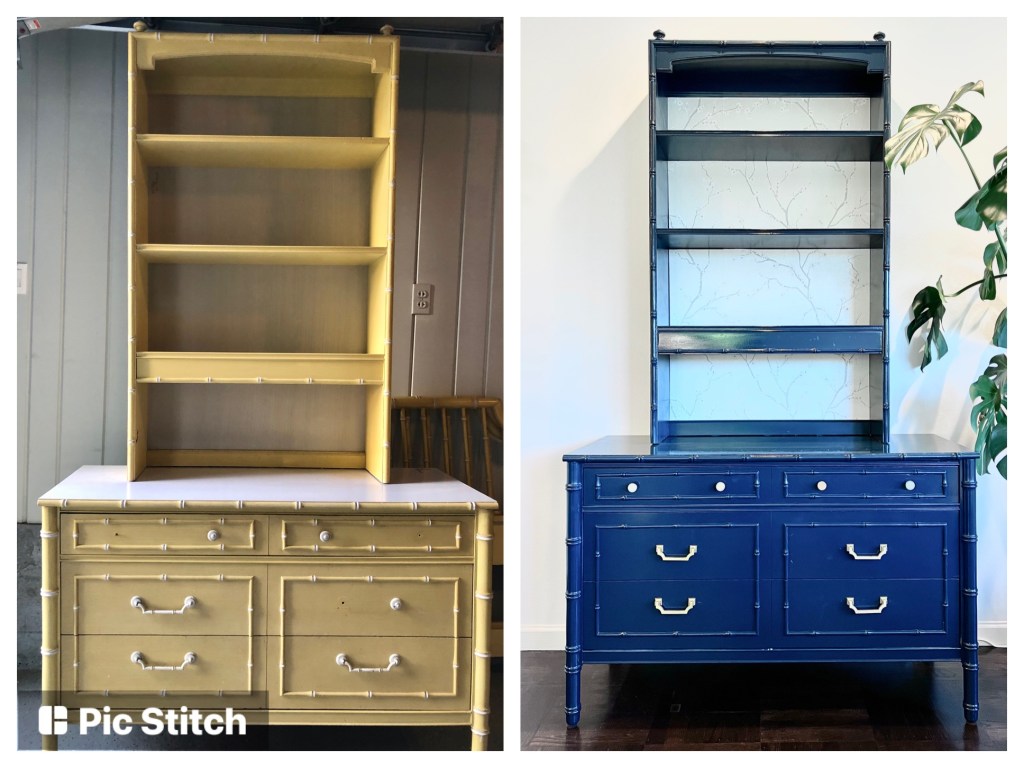
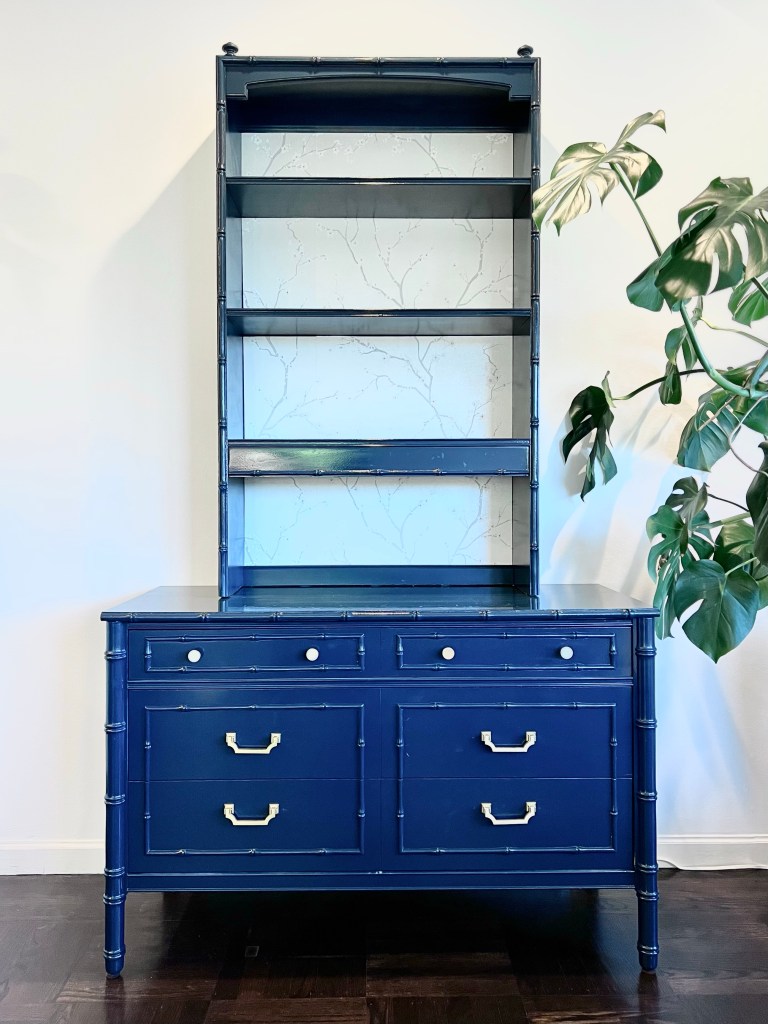
Remember when I told you that painting a vintage mid-century dresser was on my DIY bucket list? I love how that first project turned out. And then! When I was moving and definitely should not have been accumulating more stuff, I found something I couldn’t resist: a Thomasville faux bamboo bedroom set for free on Craigslist! This included a twin bed frame and a little desk and dresser. The desk had a bookcase hutch, which I put on top of the dresser to make a hutch/ bar for our dining room.
Here’s what you’ll need:
Here’s how to do it:
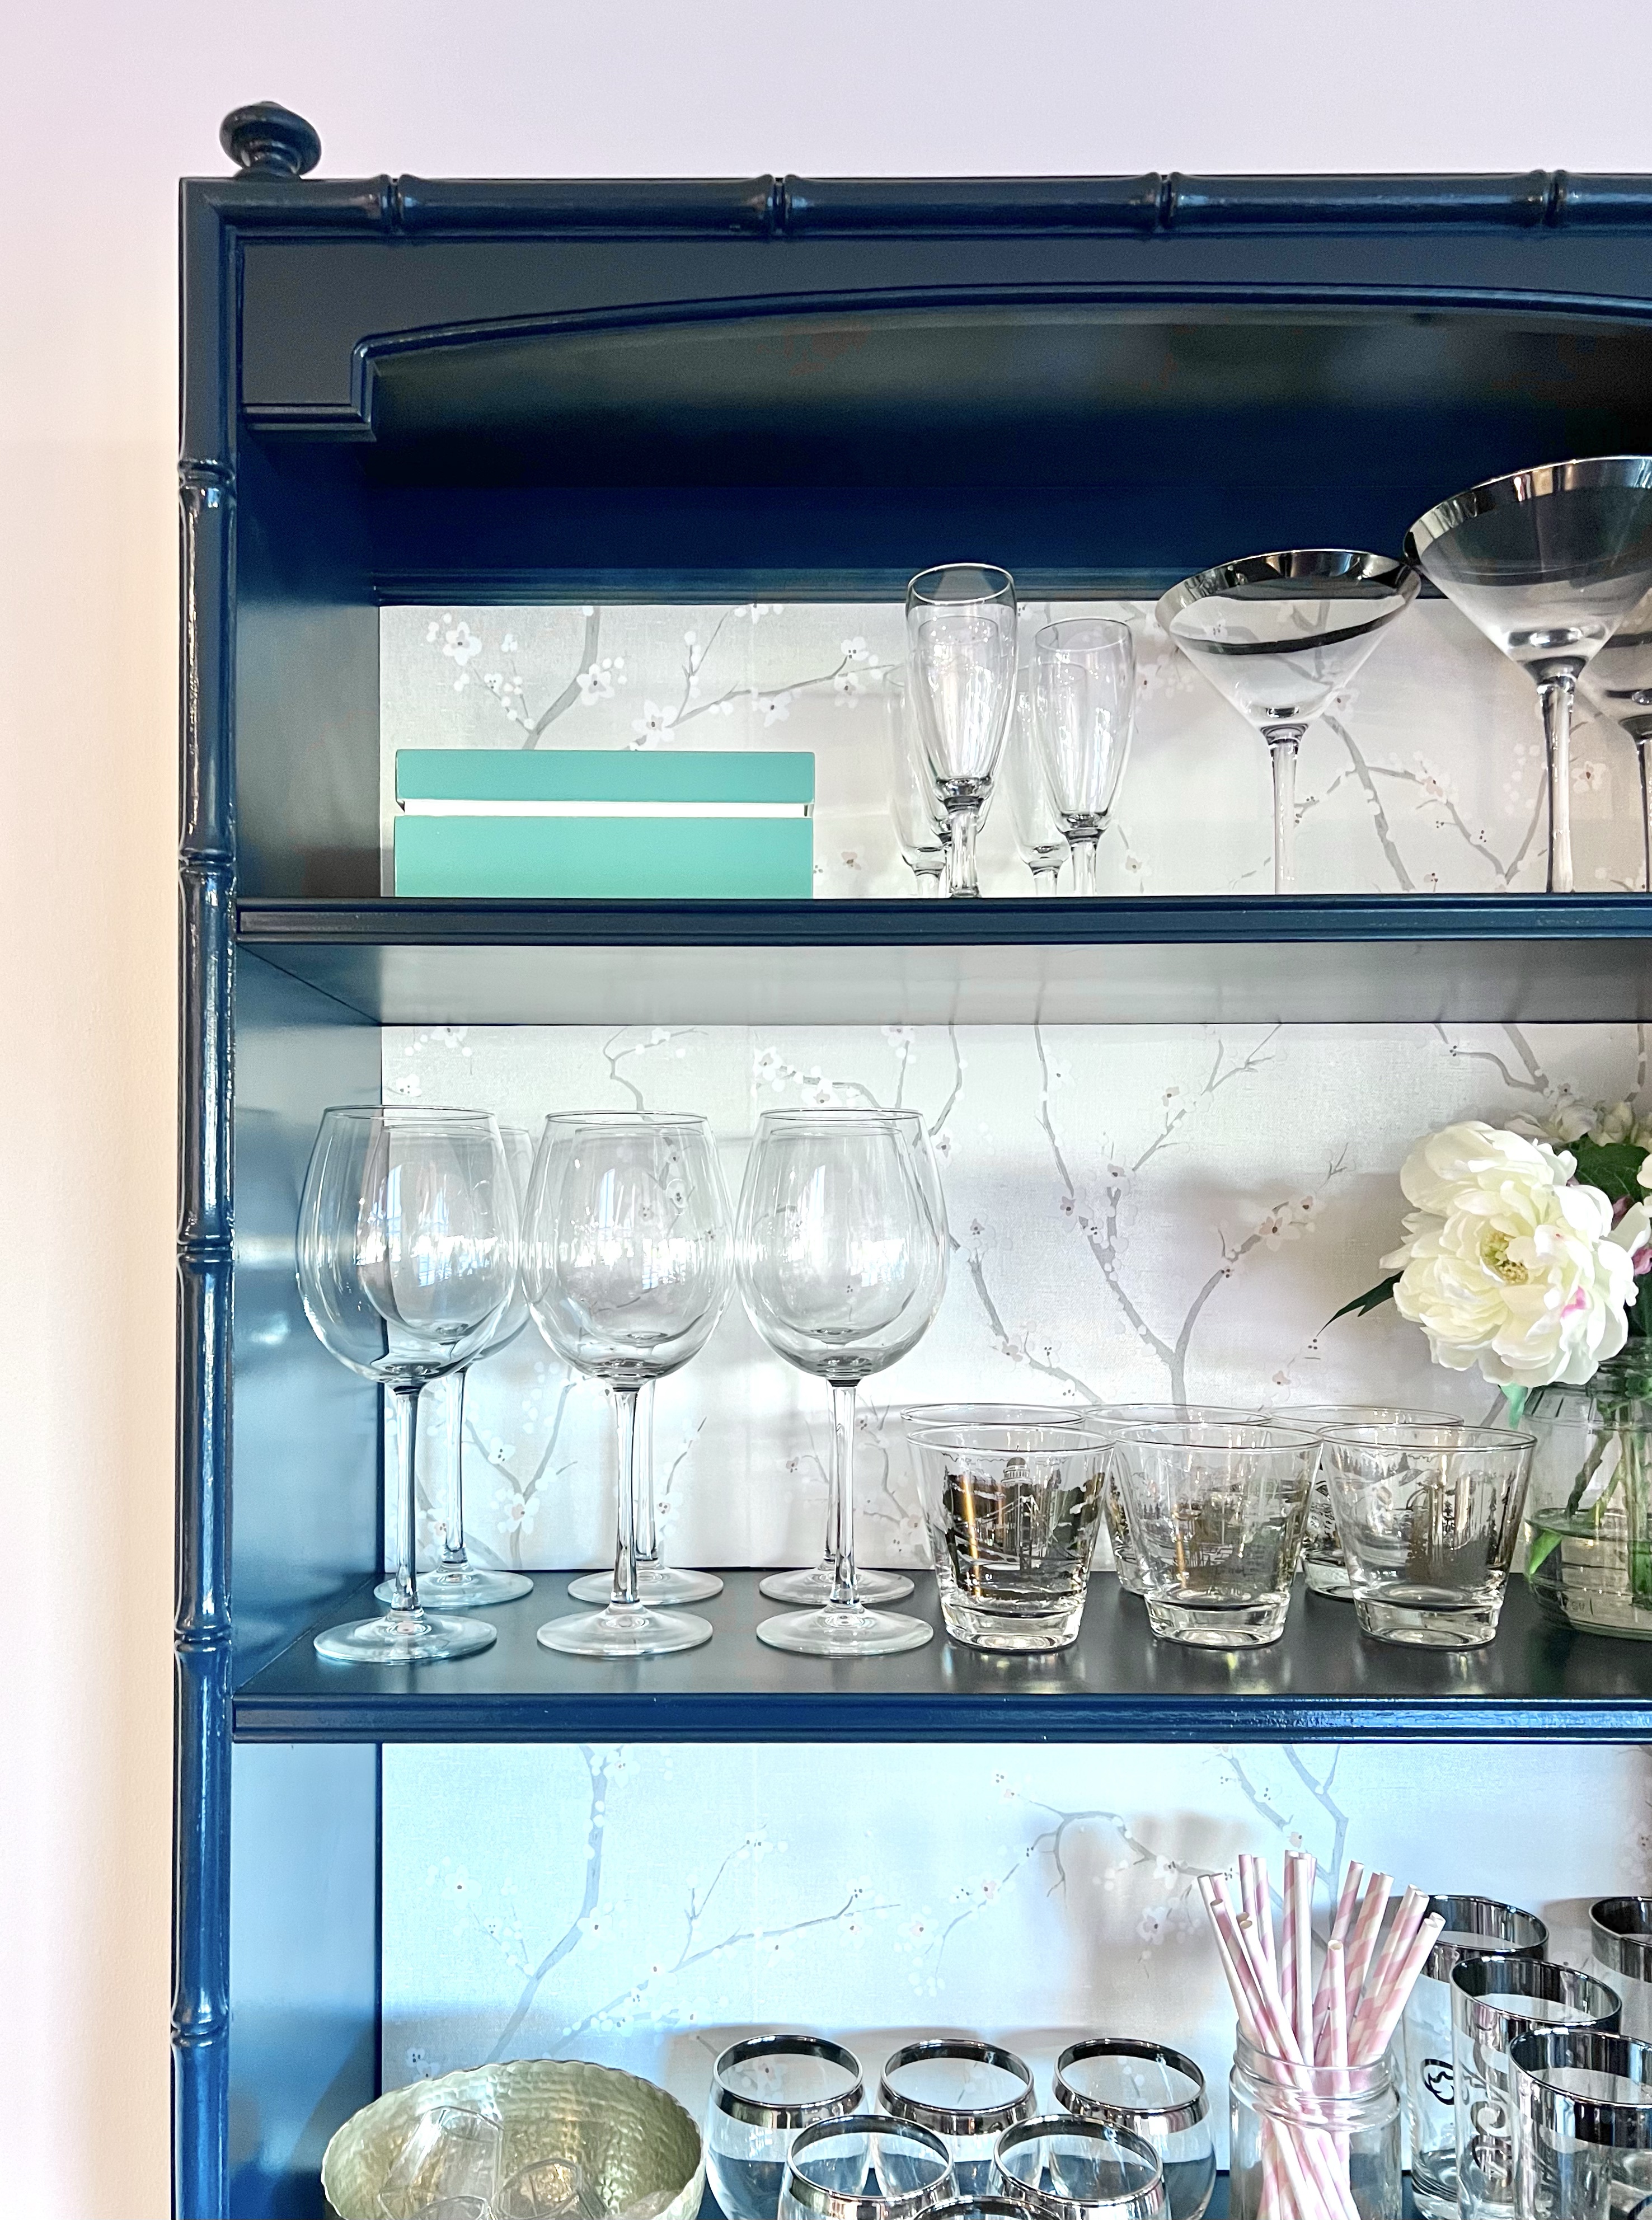
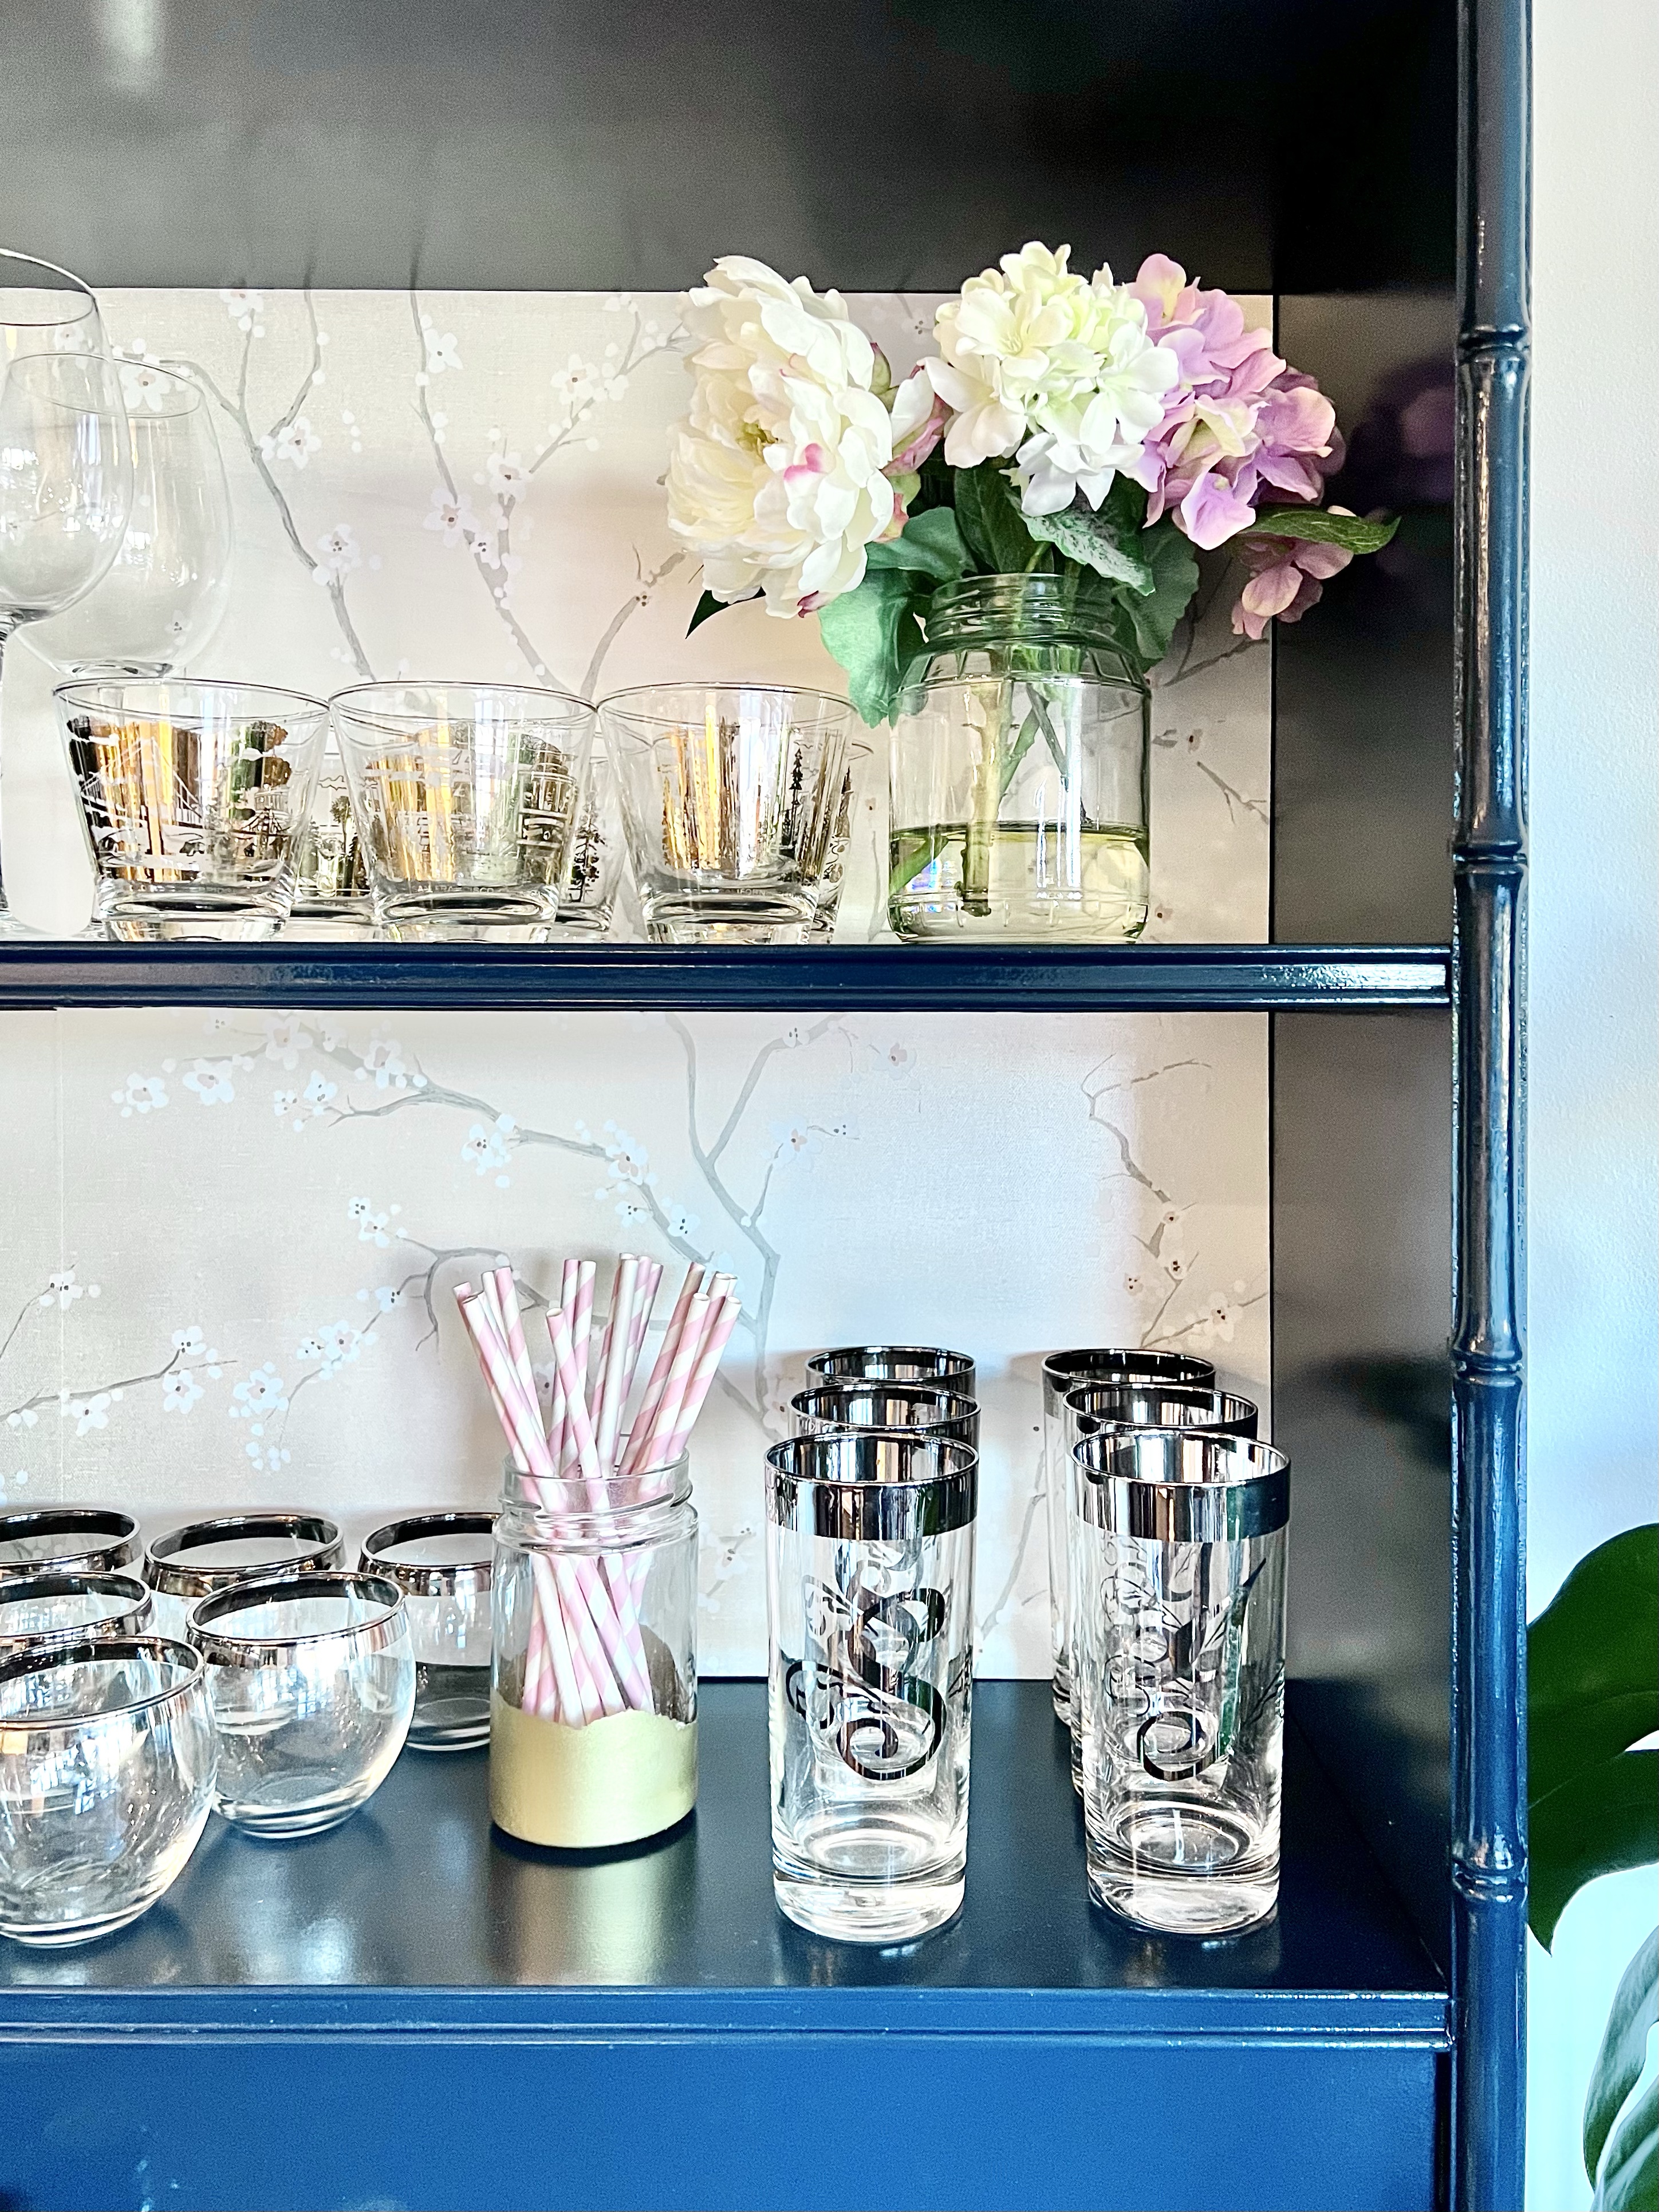
This new dining room bar is the perfect place to display our collection of vintage bar glasses. I collected them back when we threw a Mad Men party, and I still love them all!
The days off for New Year’s allowed me to finish this project, so of course, I decorated for our at-home countdown to the New Year!
There is still the bed frame, a little corner desk, and some mirrors that came with the bedroom set. It was a silly indulgence to bring them all home, but I still hope to find a home for them some day somewhere!
Julie aka “Jewels”
Do you have a DIY bucket list? Finding a vintage dresser with mid-century details has been on my list for years, and finally, the perfect project came along! It started when I was browsing NextDoor and came across a dark … Continue reading
This project combines so many of my favorite things: vintage furniture (I have an extra weakness for chairs and mirrors), DIY, and Anthropologie! I’ll link to some of my other favorite mirror projects at the bottom of this post! I … Continue reading
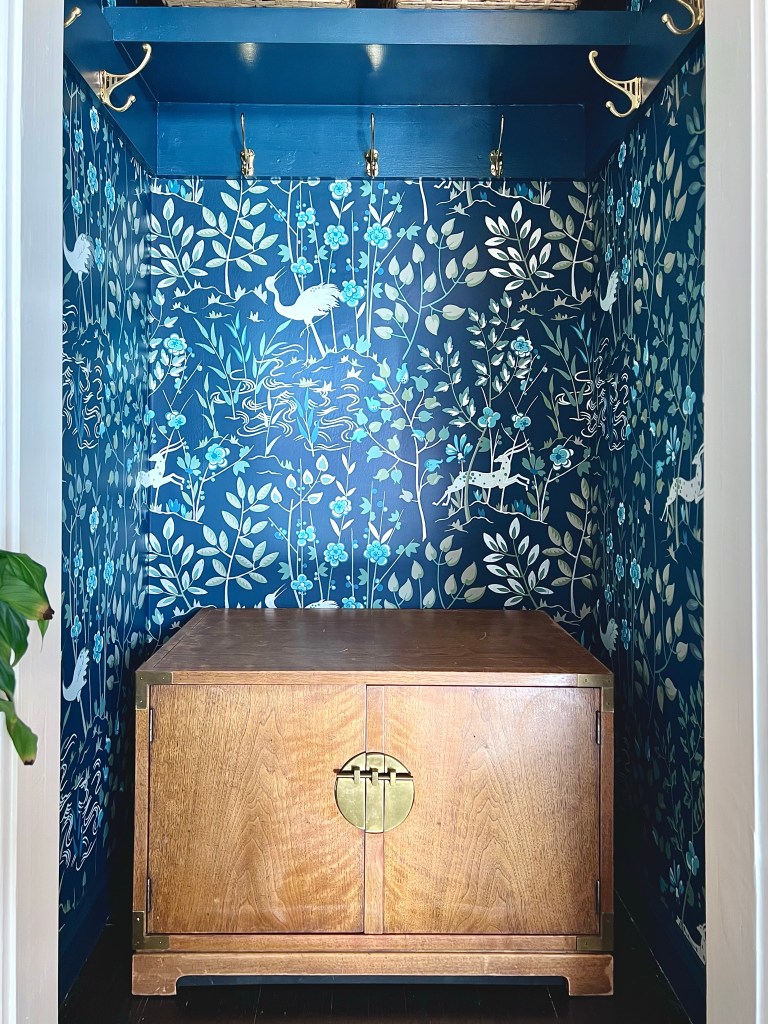
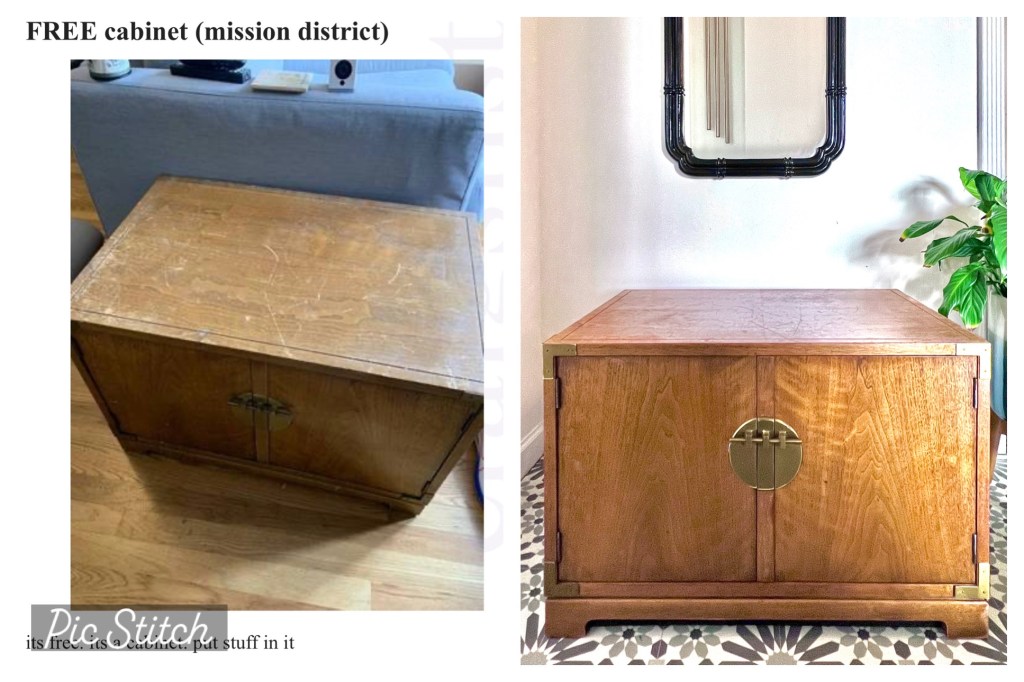
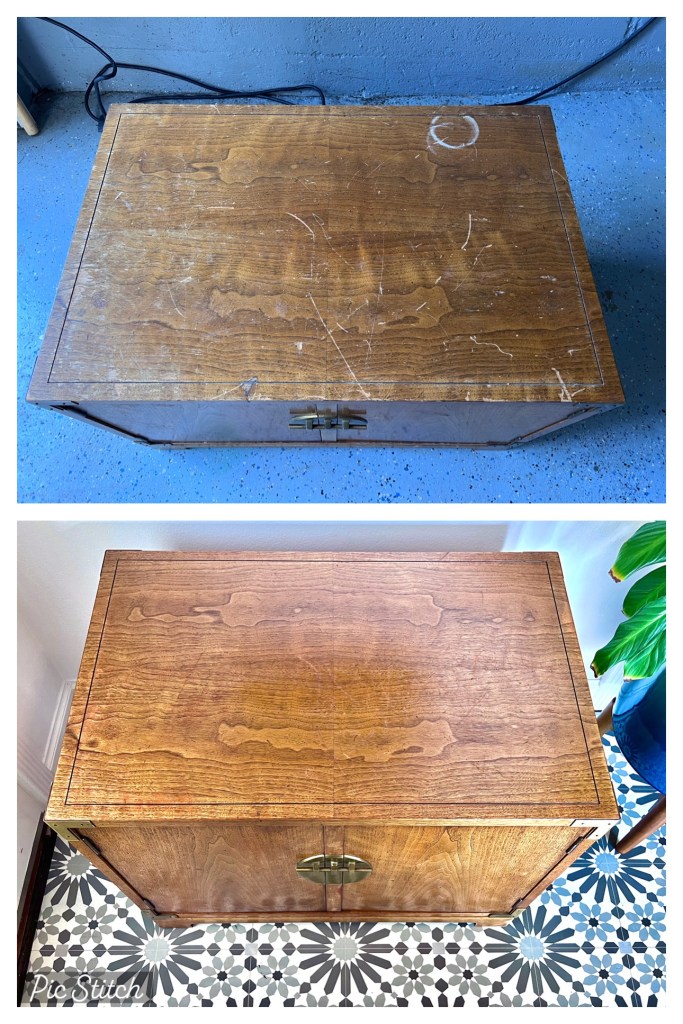
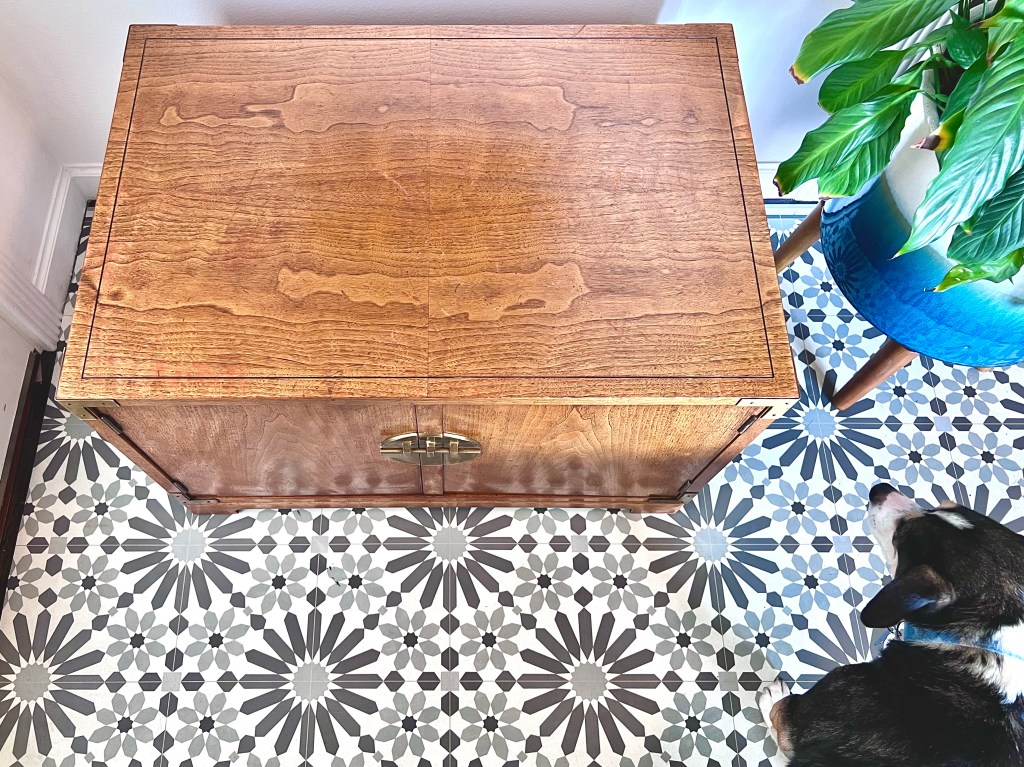
This post is brought to you by this weekend’s fabulous vintage find! If you know me, you know I love finding vintage furniture – it’s even better if it’s mid-century bamboo or rattan – and it’s best if it’s free! … Continue reading
Crafts are definitely calming for me, and this extra time at home has been devoted to learning to make purses and tote bags. I started with the Noodlehead 2-4-1 tote by Anna Graham, followed by her Trail Tote. With some … Continue reading
About once a year, my friend Ariana (of Act 2 Decor) and I get up early go to the Alameda Point Antiques Fair to browse and look for treasures.
I’ve been working hard to clean out the house this year, so I kept my shopping restrained, but I was looking for a vintage felt pennant to finish up a new gallery wall in JJ’s room. I found the perfect piece, and it was definitely meant to be, because it was sold by the family of a former coworker!
When I got home, I was inspired to make some more pennants of my own. I made one for my home town, Toronto, and one for my sister-in-law’s family in New Jersey.
Here’s what you’ll need:
Here’s how to do it:
Create a template for your pennant – mine is on two sheets of scrap printer paper. It is 7.5″ high x 21″ long.
Cut out the pennant from a large piece of felt
I sketched the images freehand in reverse on the paper side of the Heat ‘n Bond
For the script lettering, create a word processing document, print out the words, and trace them in reverse onto the paper side of the Heat ‘n Bond
Choose your felt colors for the letters and design and fuse Heat ‘n Bond to one side
Cut out your letters and designs
Arrange on the pennant and iron in place
Cut strips of felt for the binding (optional) and ties and sew in place
Here are my finished pennants. I should make one for San Francisco next!
Here’s a picture together with my vintage find:
And here’s how JJ’s new gallery wall came together!
I had so much fun! What city do you want to celebrate and what image would you use?
Julie aka “Jewels”