Repotting Your Fiddle Leaf Fig Plant

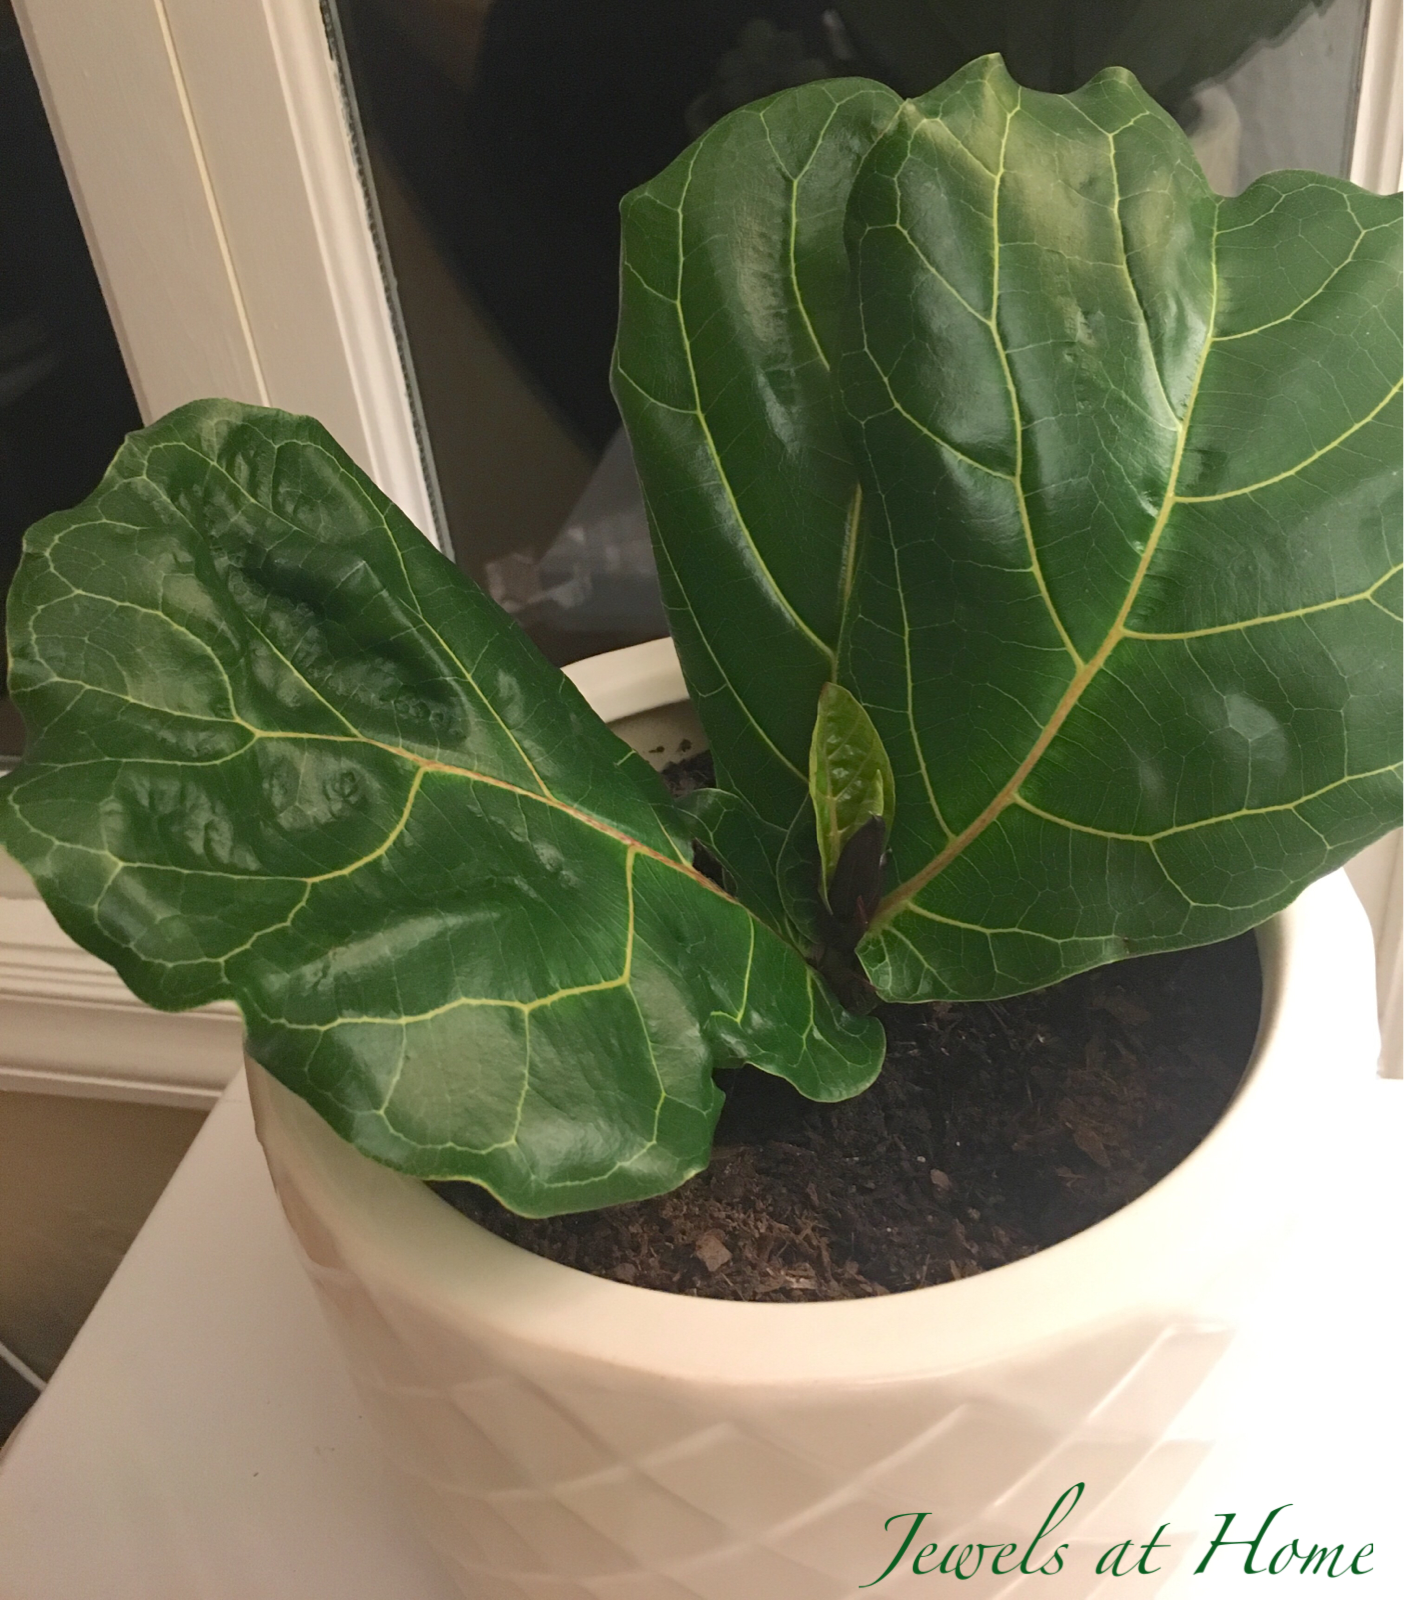
After years of professing to have a black thumb, I have been pleasantly surprised to discover over the past couple of years that fiddle leaf figs seem to love me as much as I love them.

Other posts in my fiddle leaf fig series are:

Today, I’m sharing tips on repotting your plants. I just repotted my two largest plants, which actually turned out to be a serious workout! (Or so I told myself when I had dessert later…)

What are some signs it’s time to repot your plant?

  • You just bought a new plant – most new plants from the nursery have been in their small pots for a while and should be repotted.
  • The soil isn’t holding water – water runs through more quickly than usual, because much of the soil is filled with roots
  • You see roots coming out the bottom of your pot (see below!)
  • It’s been a couple of years since you repotted. The timing depends on how fast your plants are growing. I’ve had to repot every 1-2 years

This plant had been in the same pot for about 20 months, and it was definitely time to repot it!

Tips for repotting your plant:

Ideally, try to repot in the spring or summer, when your plant is growing fastest, as this will help it recover more easily. Since we’re in California, where winters are shorter and milder, I’ve been able to repot in winter without issues – this was out of necessity, when I suddenly realized my plants were suffering from outgrowing their pots.

Pick a pot that’s a few inches bigger than the previous pot. Going up too far in size will leave too much empty soil and risk overwatering. Ideally, use a pot with good drainage, though I have do have several growing successfully in pots without drainage holes – I did put more rocks at the bottom of those, to create a space for water to drain within the pot.

If the roots are really matted and tight (left picture below), you can gently loosen and trim them (right picture below). If you can’t or don’t want to use a larger pot, you can also gently trim the roots, brush off as much of the soil as possible, and use the same pot, though this might limit your plant’s growth overall. I’ve just put my biggest two plants into 24″ diameter pots, which I think is as big as I’ll go, so I’ll need to try just trimming the roots next time. I had to look in a few places before finding this size at Flowercraft in San Francisco.

Line the bottom of your pot with small rocks to keep the soil from leaking out and add extra drainage. Add a layer of fresh potting soil on top of the rocks, and put your plant back in. Adjust the height by adding or removing soil until the top of the root ball sits a little below the rim of your pot, remembering that the soil will compact a bit over time.

Fill in soil around the root ball until about two inches from the top. Add some slow release fertilizer pellets – I use this one from Osmocote – and the continue filling in soil until it’s even with the top of your root ball.

Give your plant a good watering, and watch it grow!

Here’s a picture of the craziness while I was in the middle of repotting the two big trees – it’s a jungle in here!

My plants sure seem happy in their new pots! I have a plan to sew some giant planter bags for them, similar to this one, which is now going to be handed down to a younger FLF! UPDATE: Here are some pics of the plants in their new planter bags, and here’s a link to the tutorial for the new giant planter bags!

Let me know if you have any questions, and happy gardening!

Julie aka “Jewels”

Macrame Mania – Square Knots and Beads!

“At first I was afraid… I was petrified…” and now I’m totally obsessed with macrame! With apologies to Gloria Gaynor… once you learn a few basic knots, there are so many possible macrame projects!


You might remember that for my first plant hanger, I used heavy rope and simple overhand knots. I added gathering knots in colored yarn. For my next projects, I learned the square knot and added some beads.

This project uses some silver-colored beads, and the hanger is formed with short stretches of three square knots. I used sport weight cotton yarn (similar to this yarn) which I already had. The advantage is that it’s thin enough to thread the beads onto, but the result is quite thin, so it will be best for a smaller plant.

This next project uses some braided candle wick. It lies flat, which makes the square knots much easier and neater. I did two longer stretches of square knots at the top and then shorter stretches to form the hanger. The twine is heavier than the cotton yarn, and I really like how it lies flat. I’ll definitely be doing more projects with this string!

By the way, you may have noticed the same (fake) plant in both these hangers. We’re on vacation in Toronto, and I ended up buying a “plant model” to help with my projects. 😂

Next macrame projects coming up: wave knots, colored string, and dip-dyeing (I think I will save that for when I get home…)! I always need to have a project to work on, and this has turned out to be a great one for traveling, because it is so compact. Hope you will give it a try.

“Jewels”

Fiddle Leaf Fig Fanatic! How to Propagate Plants from Cuttings

Don’t say you can’t teach an old dog new tricks! After years of joking about my “brown thumb,” I’m getting really excited about gardening and plants. It’s so rewarding to watch things grow, not to mention how plants freshen up any space both visually and literally.

I’m growing all kinds of plants, but one of my greatest loves is the Ficus Lyrata, the fiddle leaf fig, and I’m so grateful that they seem to thrive in our conditions. I originally bought three plants, which have all at least tripled in size, and I’ve successfully started about 10 plants from cuttings. Here is a list of all my fiddle leaf fig-related posts:

I mentioned I originally bought three plants. I’ve heard that some people have found these at big box hardware stores, but I had no luck. I ended up buying one online (really!) but eventually acquired two more at local nurseries Sloat Garden Center and Flowercraft. The one I got online is fine, but the ones from the nursery are much bigger, so I’d definitely recommend looking around locally, if you can.

After just a few months, two of my trees needed trimming already, so I decided to try to propagate new plants from the cuttings. I have done this several times now, so I have updated this post with all the tips – get it? tips!

When and where to propagate?

  • Plants grow fastest in spring and summer, so you’ll have the best success between March and September
  • For more tips on when and how to prune your tree, check out this post
  • Place your cuttings in a bright location, to help them grow, but avoid direct sun that could scorch the leaves. The cuttings are more delicate than an established plant

What type of cutting can you propagate?

  • Newest lesson: the cuttings from more mature branches seem to work better. I tried propagating brand new growth (about a month old), and those cuttings failed to grow 😦
  • Using a clean knife or scissors, take a cutting that includes a section of stem and one to three leaves. If you want to trim more than three leaves, separate the cutting, so each section has no more than three. A bigger cutting can’t get enough water to survive while it’s forming new roots
  • If you cut the tip of a branch, which includes a bud, the cutting will continue to grow from the bud
  • If you cut a section of stem from the middle of a branch, a new bud will form on the side of the stem and will grow upwards
  • I have heard lore of being able to propagate a leaf without a stem section, but the one I tried did not work. I will probably try again, but I don’t have first-hand experience seeing this work.
  • Update: I just got an exciting new tip from Candice on Instagram (@cee_marie923) She accidentally stripped the outer layer off the stem, and the roots grew much better and faster! I can’t wait to try this out myself. Meanwhile, here’s a picture of her cutting – thanks, Candice!

  • What supplies do you need?

    • You can place your cutting in water, soil, or an inert medium like vermiculite. The bottom tip of the cutting needs to stay very moist, which is easy in water. If you use soil or vermiculite, wrap the container in plastic wrap to keep moisture in and check it every few days, adding water when it starts drying out
    • I applied rooting hormone to the bottom end of the cutting to help encourage new root growth. Apply this just once. If you over-use the rooting hormone, it actually hardens the tip and makes it more difficult for roots to grow – yes, I learned the hard way!

    Here are some pictures to show what you can expect over time:

    0 weeks

    Three leaves rooting in water.
    Two leaves rooting in soil. I covered the pot in plastic wrap to keep a moist environment for new roots to form.

    3 Weeks

    You may see some new roots around this time!


    And your original plant should be growing a new bud (or two, or three) where you took the cutting:

    4 weeks

    You can see more robust root growth taking off!


    The original tree where I cut off the top three leaves also looks great. There’s a good-sized bud forming!

    5 weeks

    Exciting news! The single top leaf has grown so many roots that I transferred it to a pot today!


    The tree where I cut off three leaves also grew a ton with three buds on it!


    6 weeks

    Crazy! This is where I cut off three leaves from the top of a plant. It went from buds to tons of new branches and leaves in just one week. So exciting!


    2-2.5 months

    I started to see new leaves growing out of the top of the stem cuttings. (Photo credit here goes to Nicola, who adopted one of the plants and kindly keeps me updated!)

    3 months:

    I came back from vacation to find that the stem cutting which started with a single leaf had two new leaves!

    3.5 months:

    This was the stem with a single leaf. It now has three new leaves and a promising looking bud pushing out the top. Yay!


    If you take a cutting from the center section of a stem, with no bud attached, it may take even longer for a new bud to form, but it can definitely work!

    9 months

    For real! The plant in front was a section of stem with a single leaf off the top of the plant in back. It grew like gangbusters!

    Thanks for reading and please share your questions and tips!

    “Jewels”