Unique DIY Lighting for a Loft-Inspired Teen Boy’s Room – One Room Challenge Week 3

I’m really excited to be a Guest Participant again in the One Room Challenge! This is a great way to get inspiration and motivation for your home. This spring, I re-decorated our boys’ bathroom. For this fall’s challenge, I’m transforming our teen’s bedroom. His new space is inspired by an industrial loft, with an exposed brick wall and other great features! Thanks for following along!

Recap:

  • In week one, I shared my favorite inspiration spaces and mood board
  • In week two, I added a (faux) exposed brick wall

This week, I’m so excited to show you the lighting projects for this space. These are both moderately easy DIYs, and that’s exactly what I need right now with everything else going on at home and work!

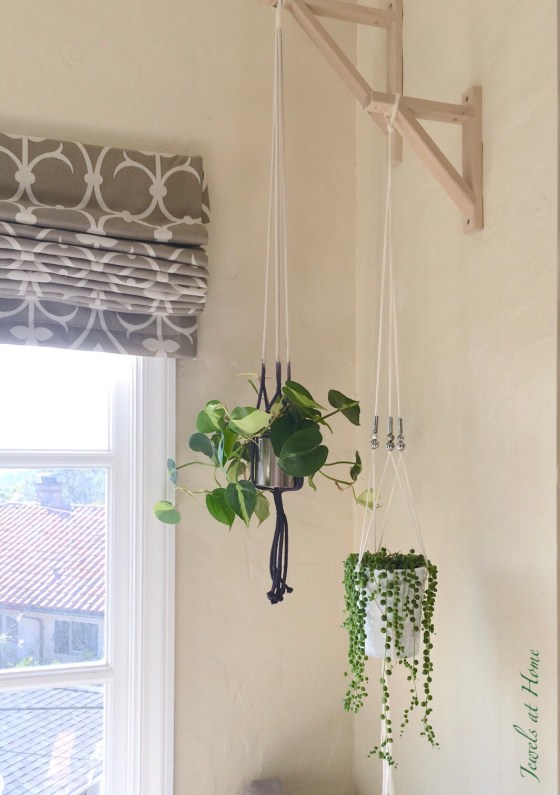
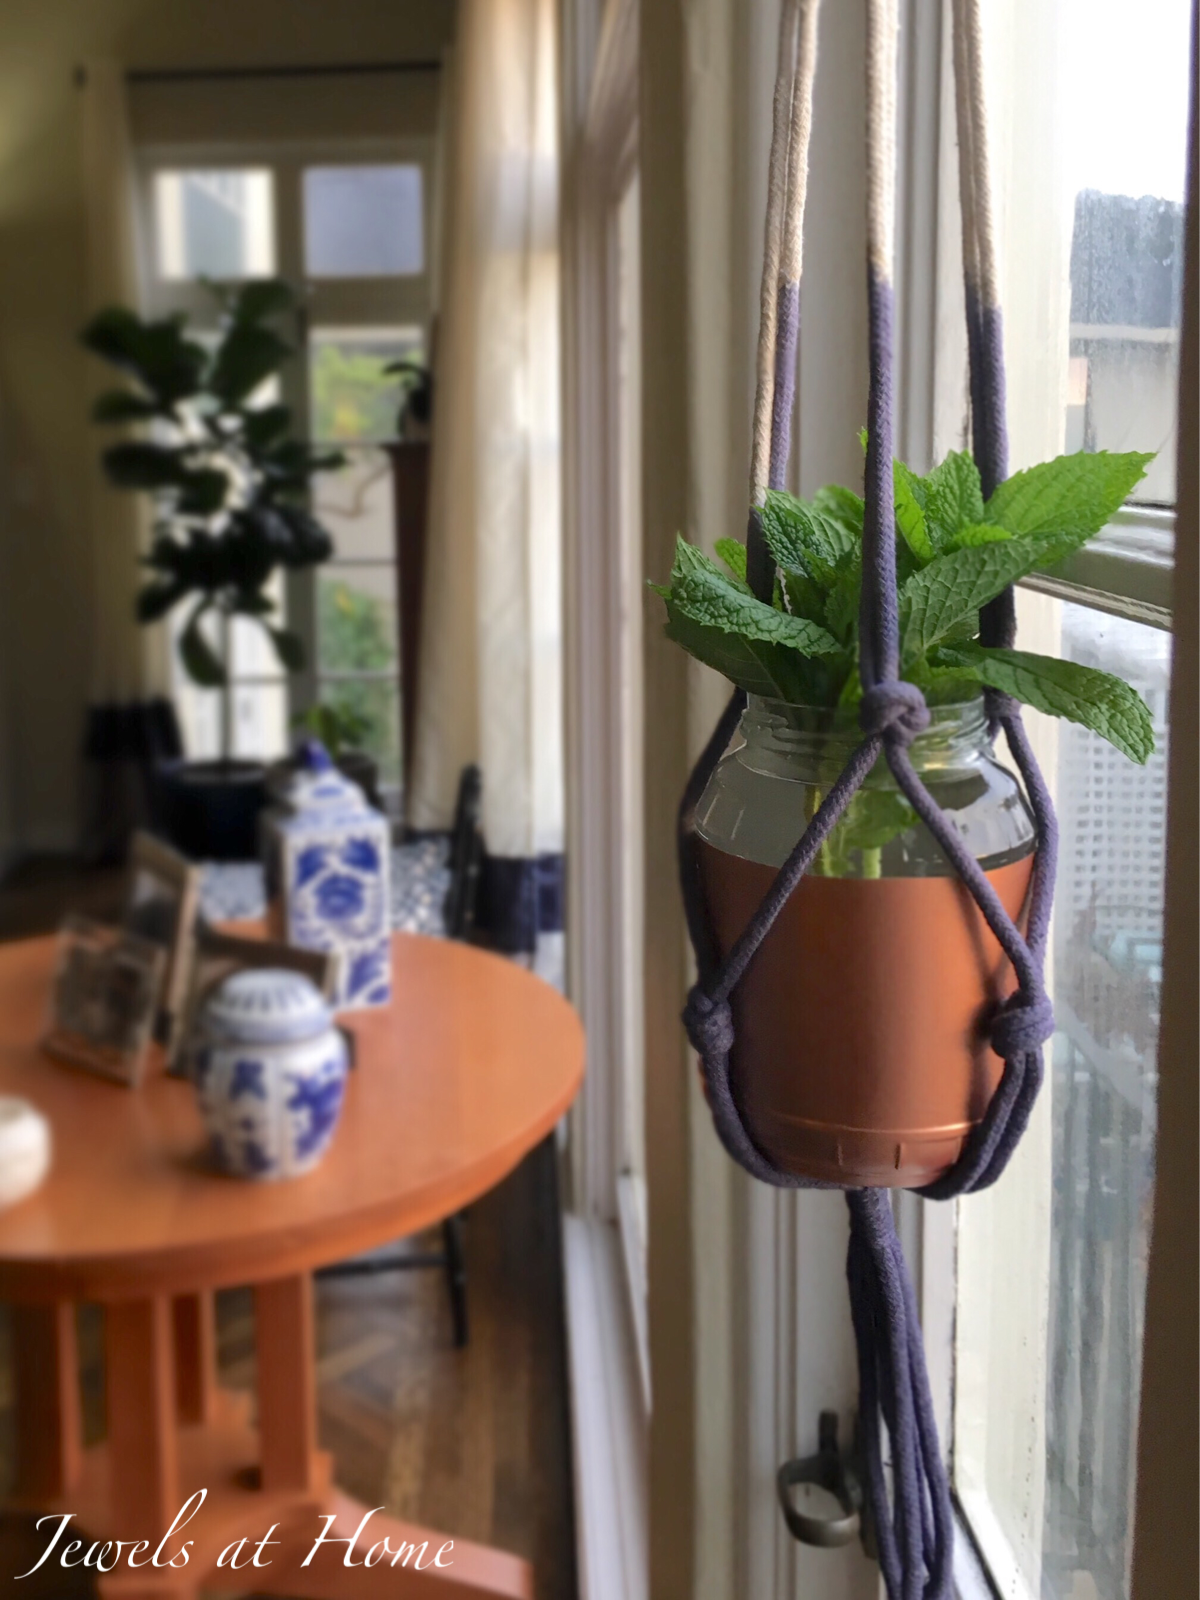
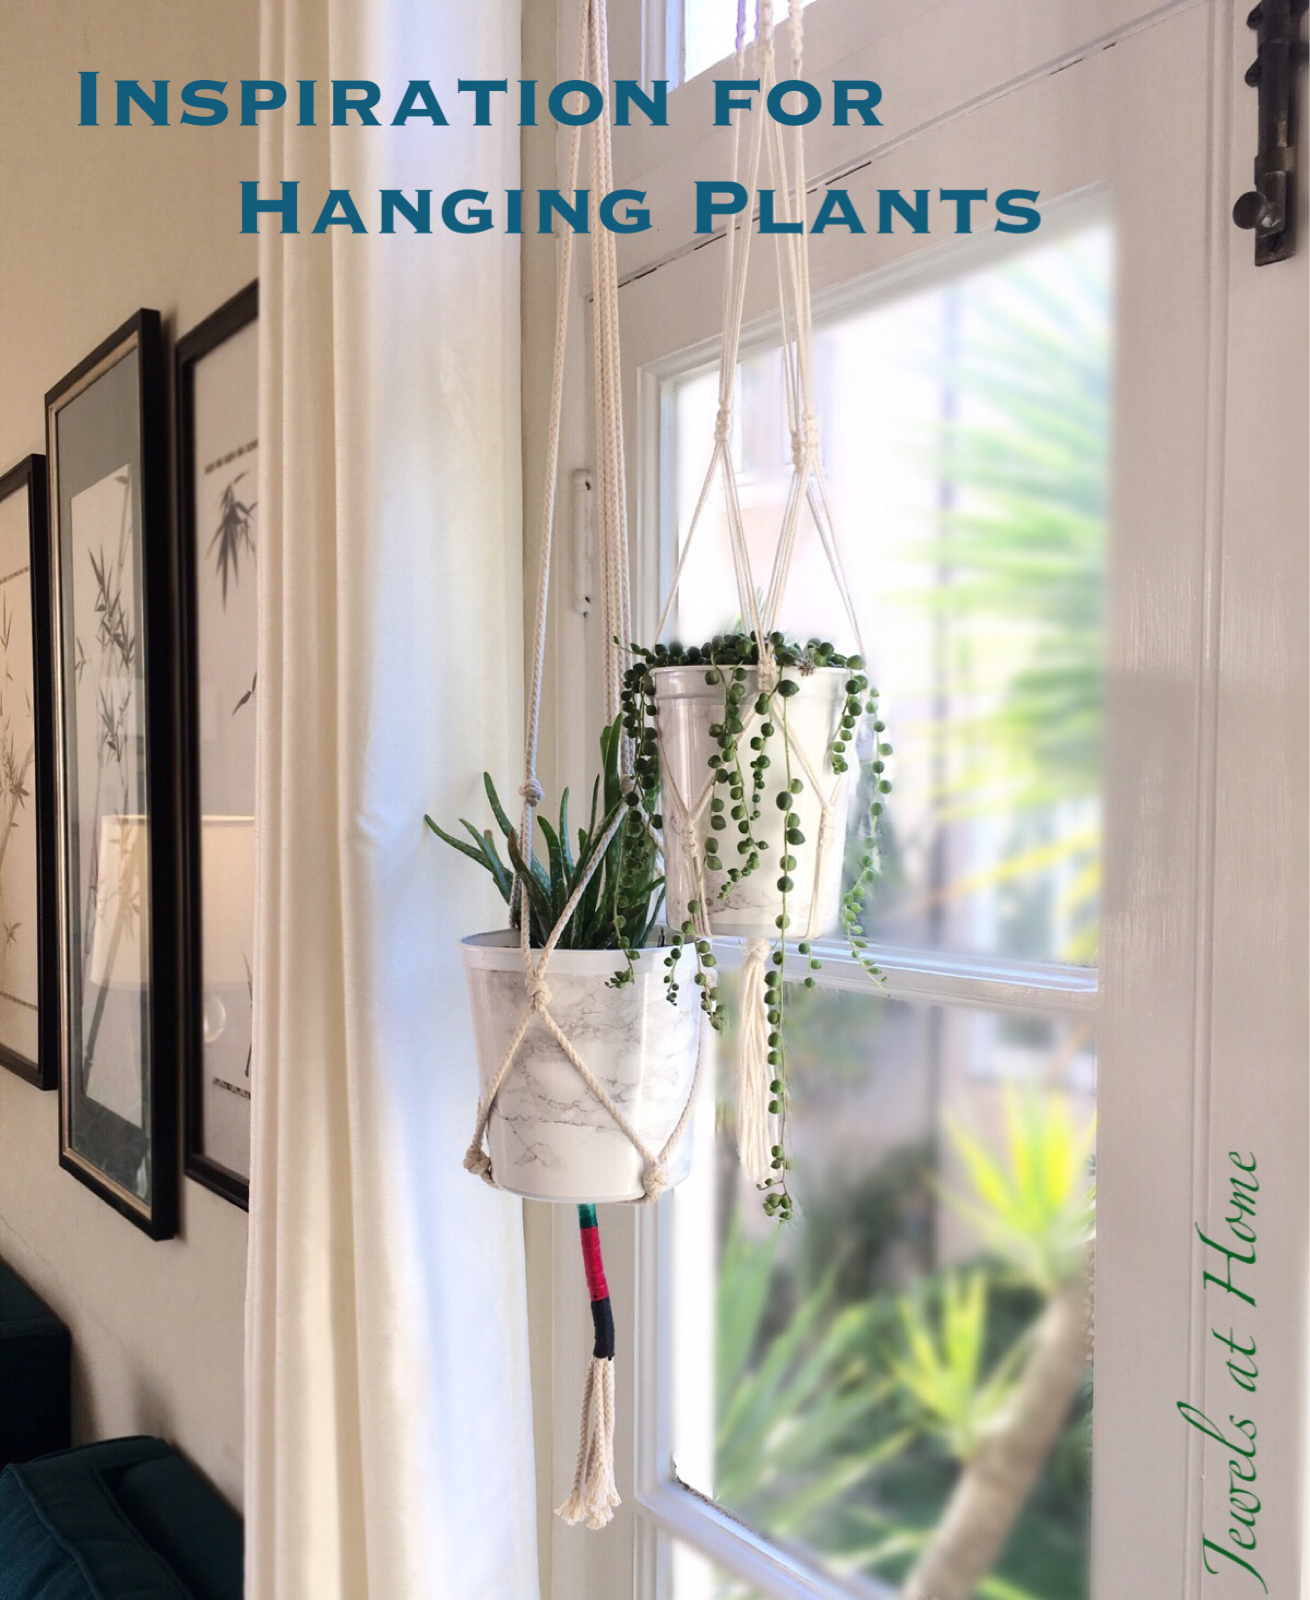
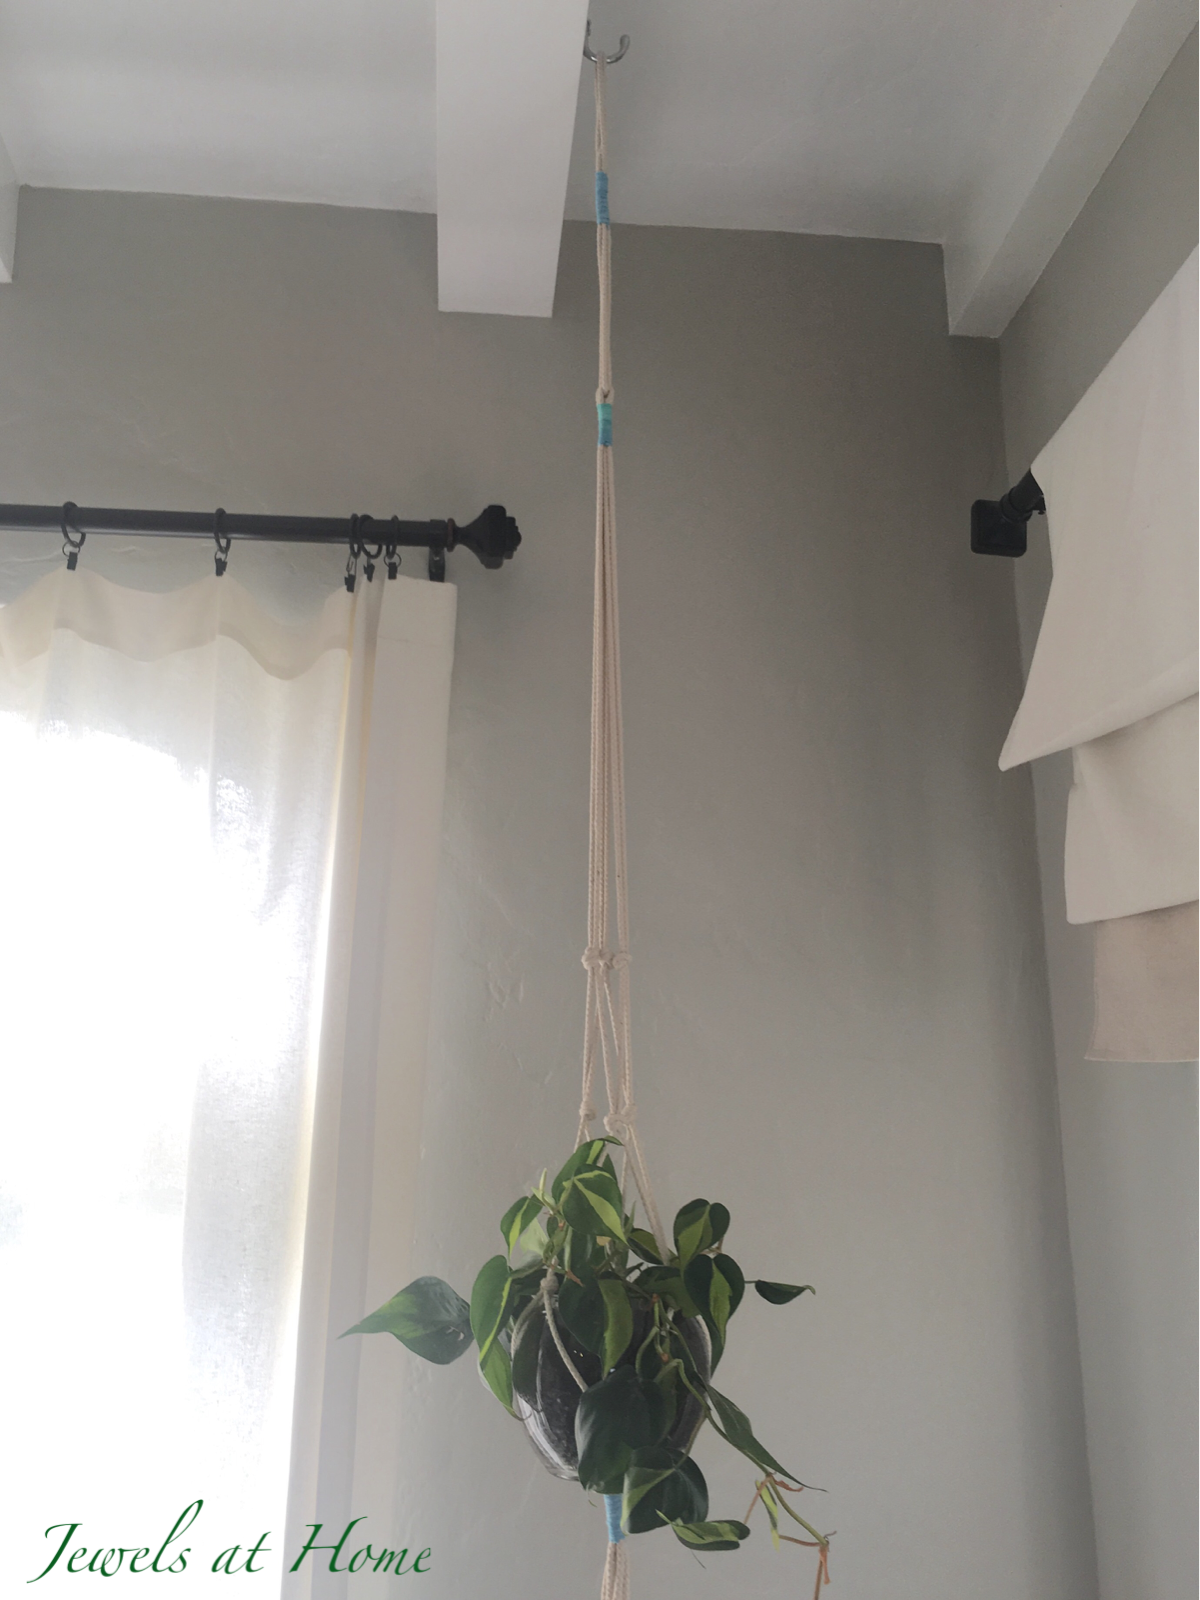
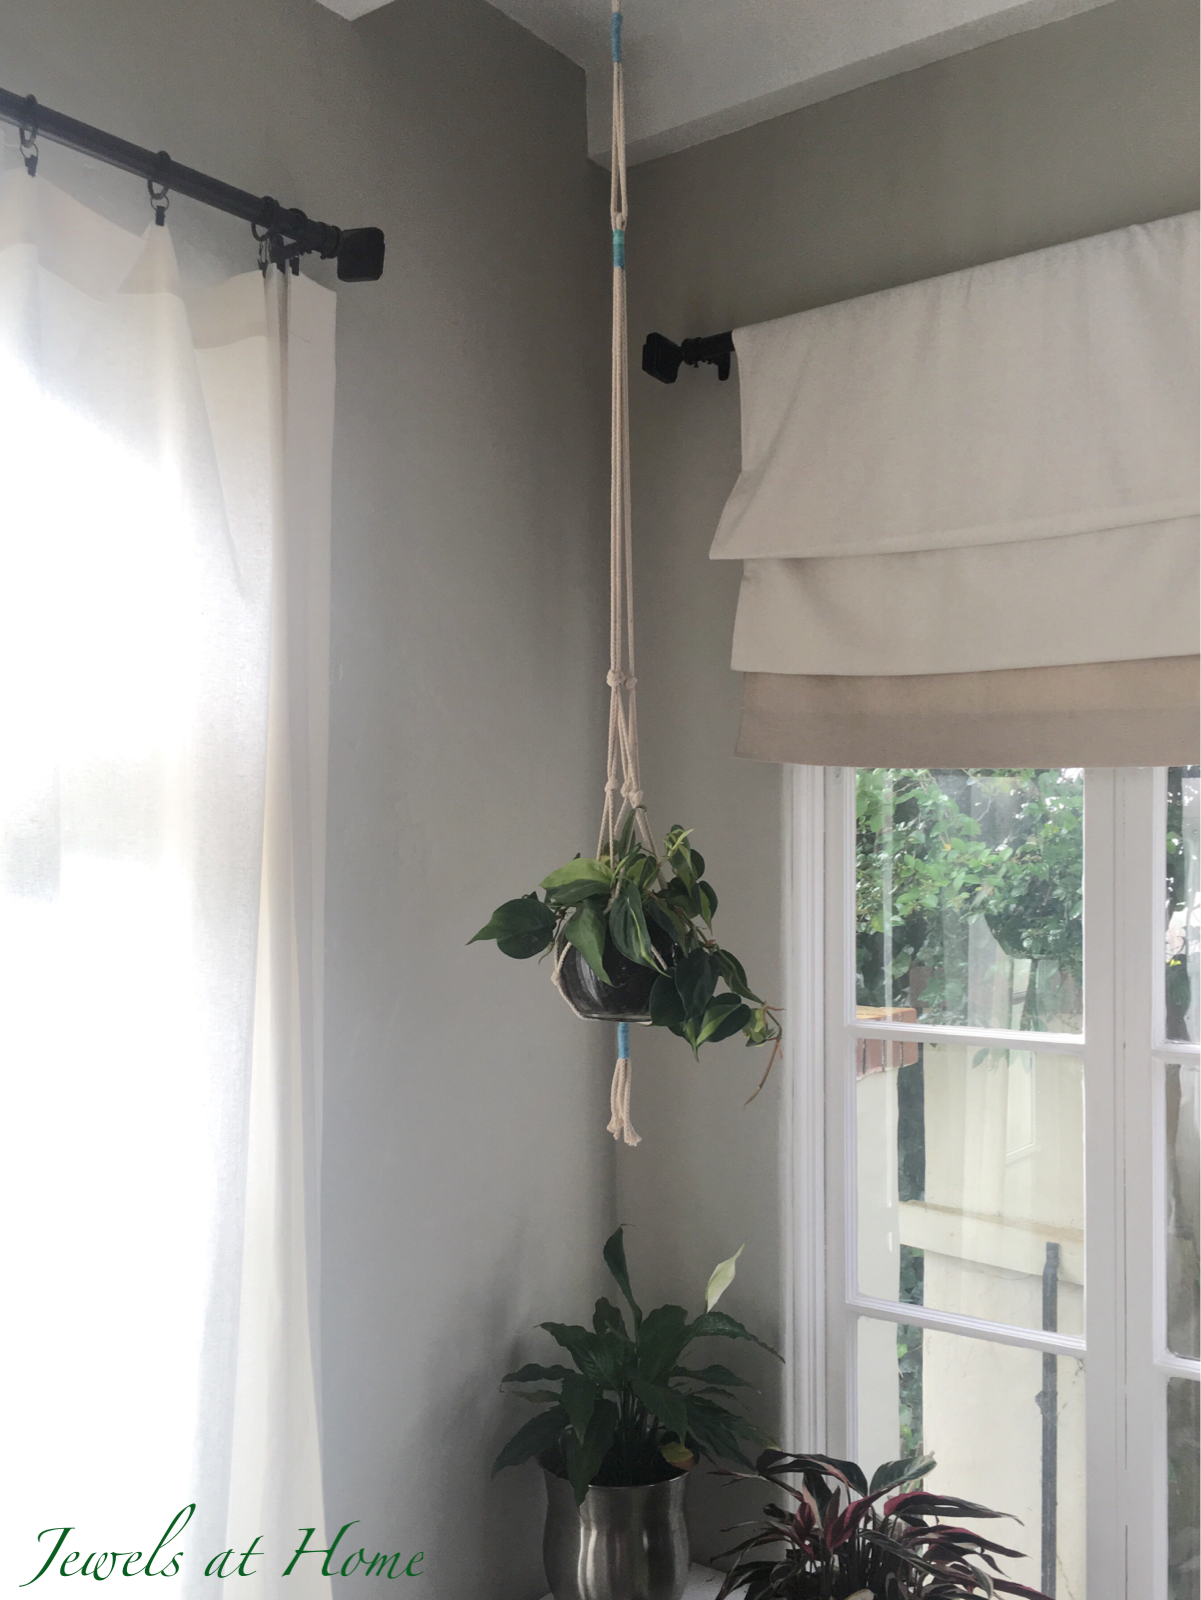
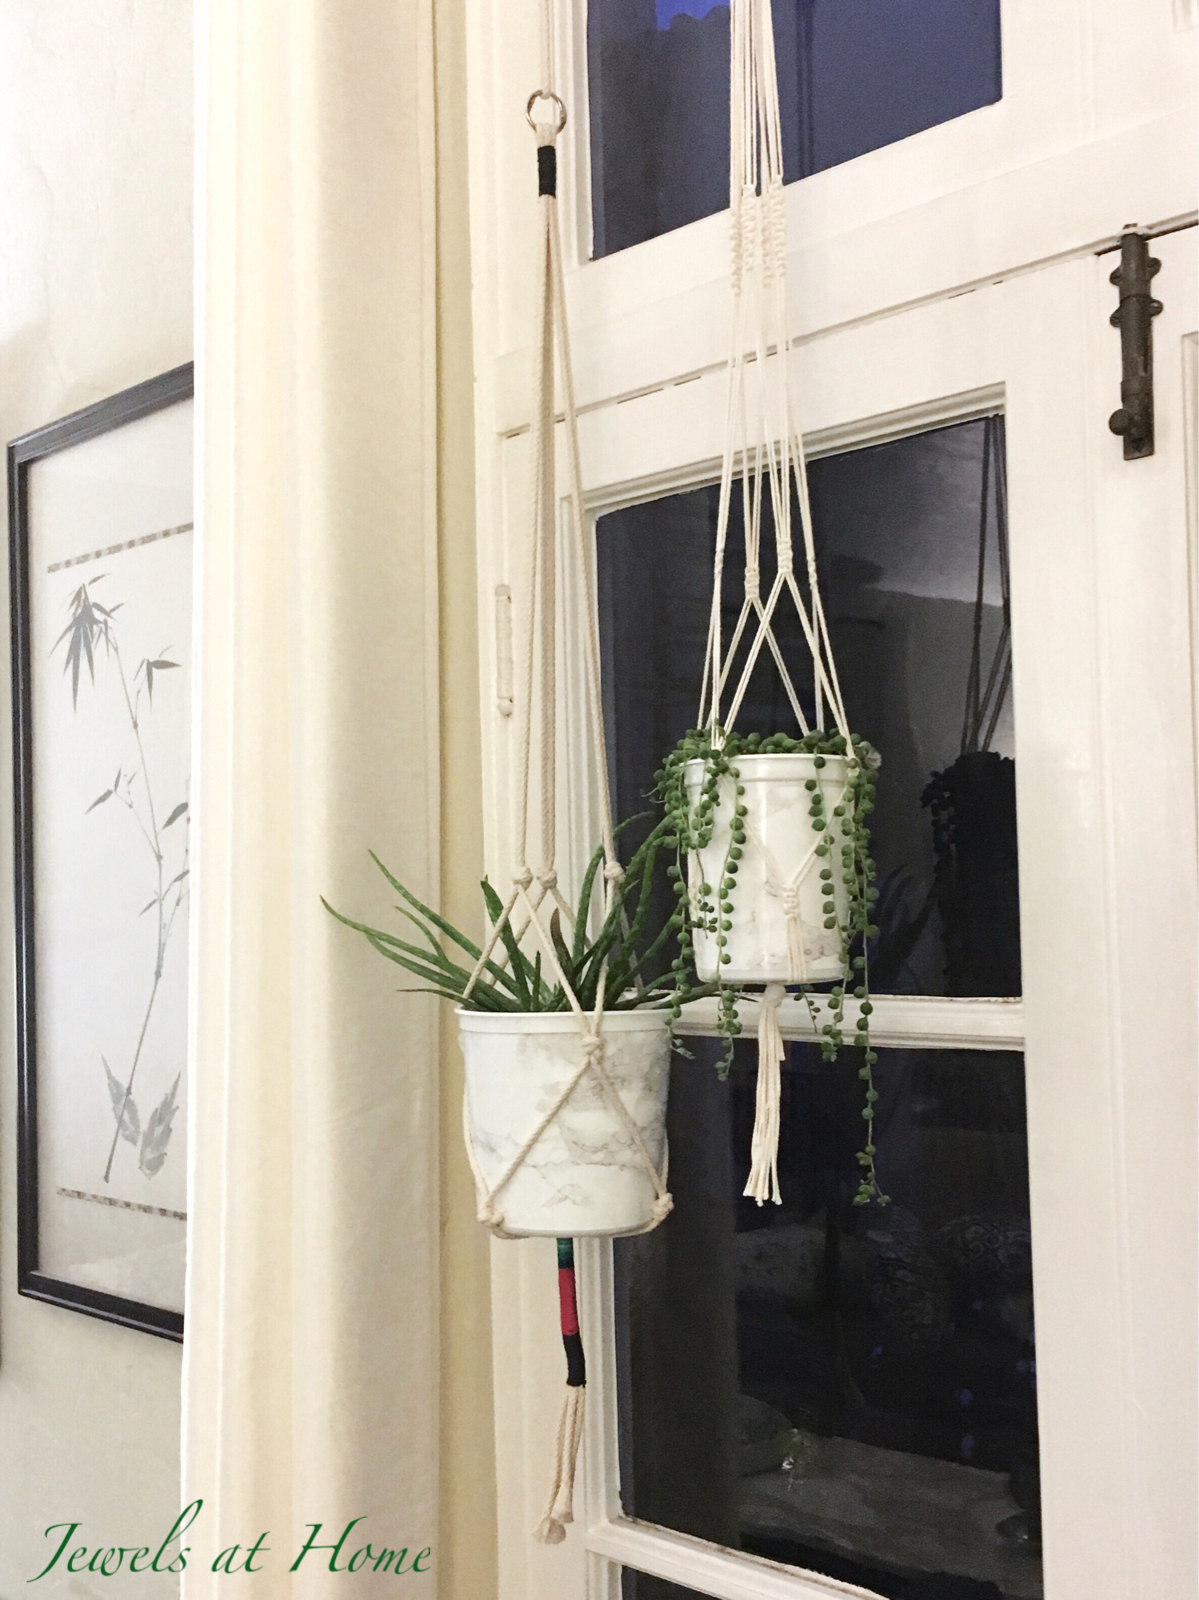
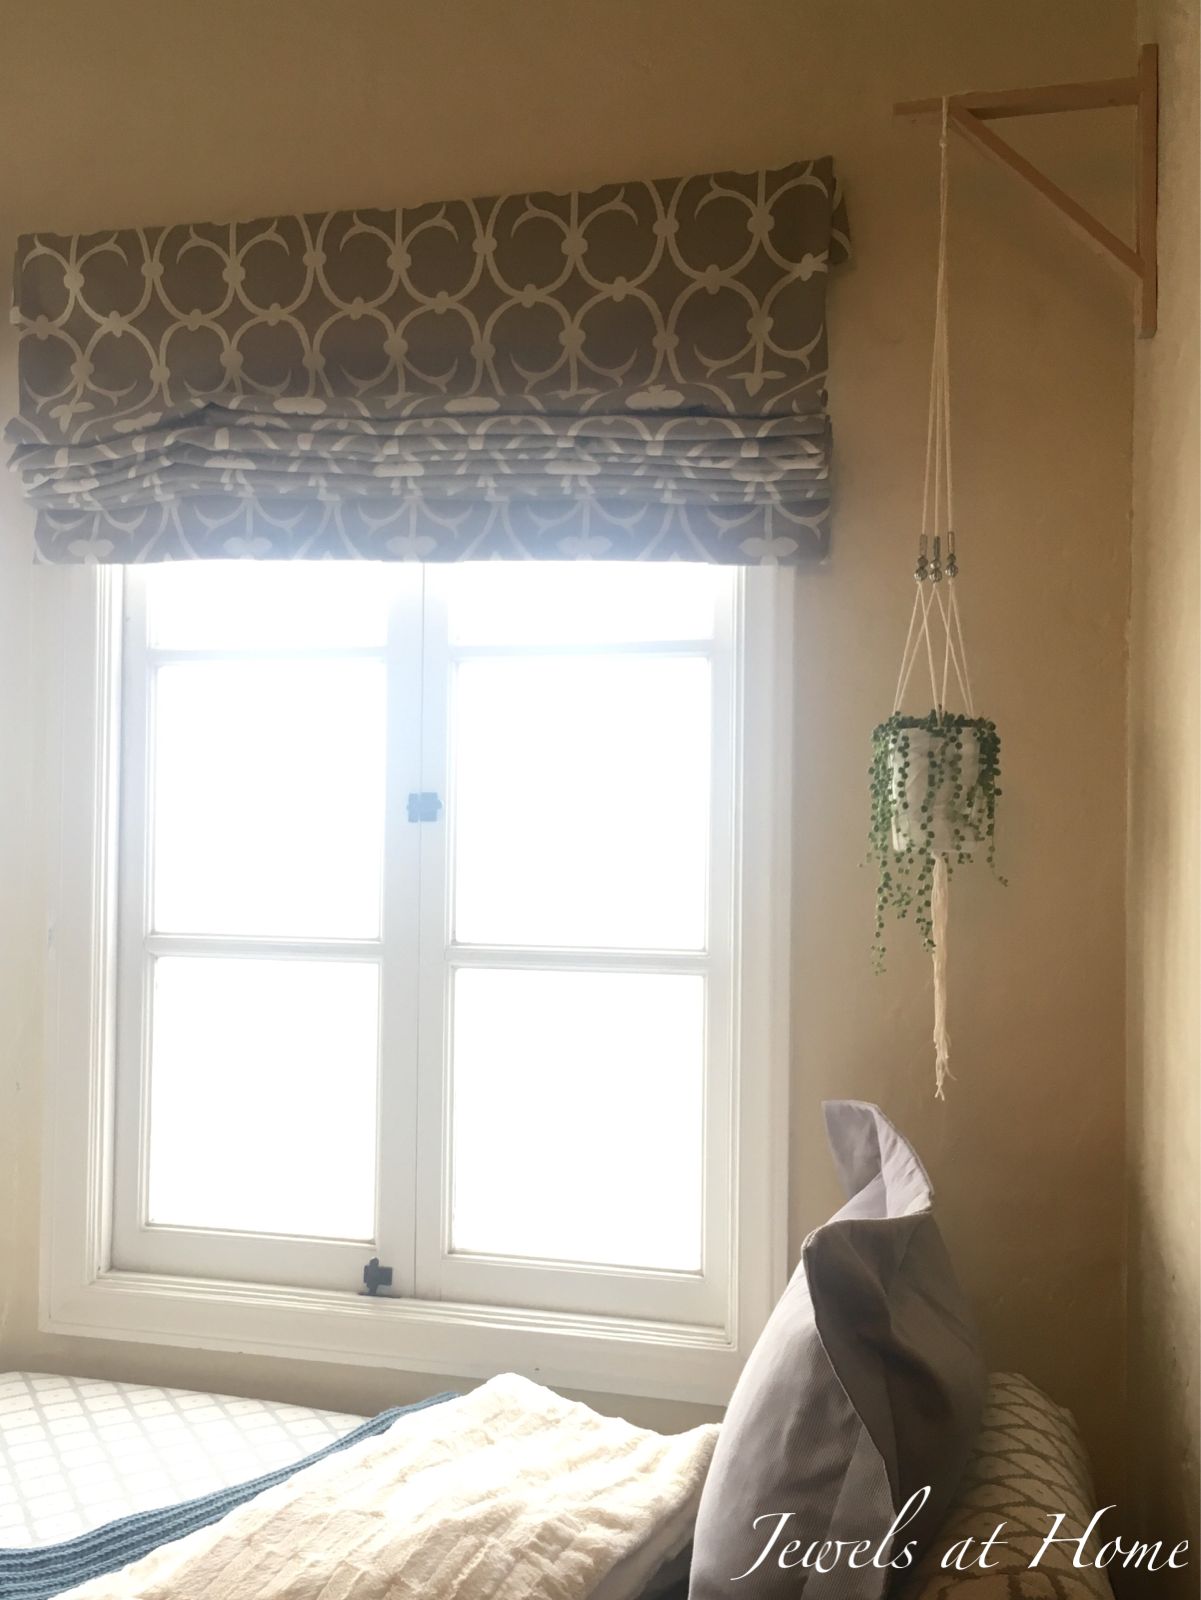
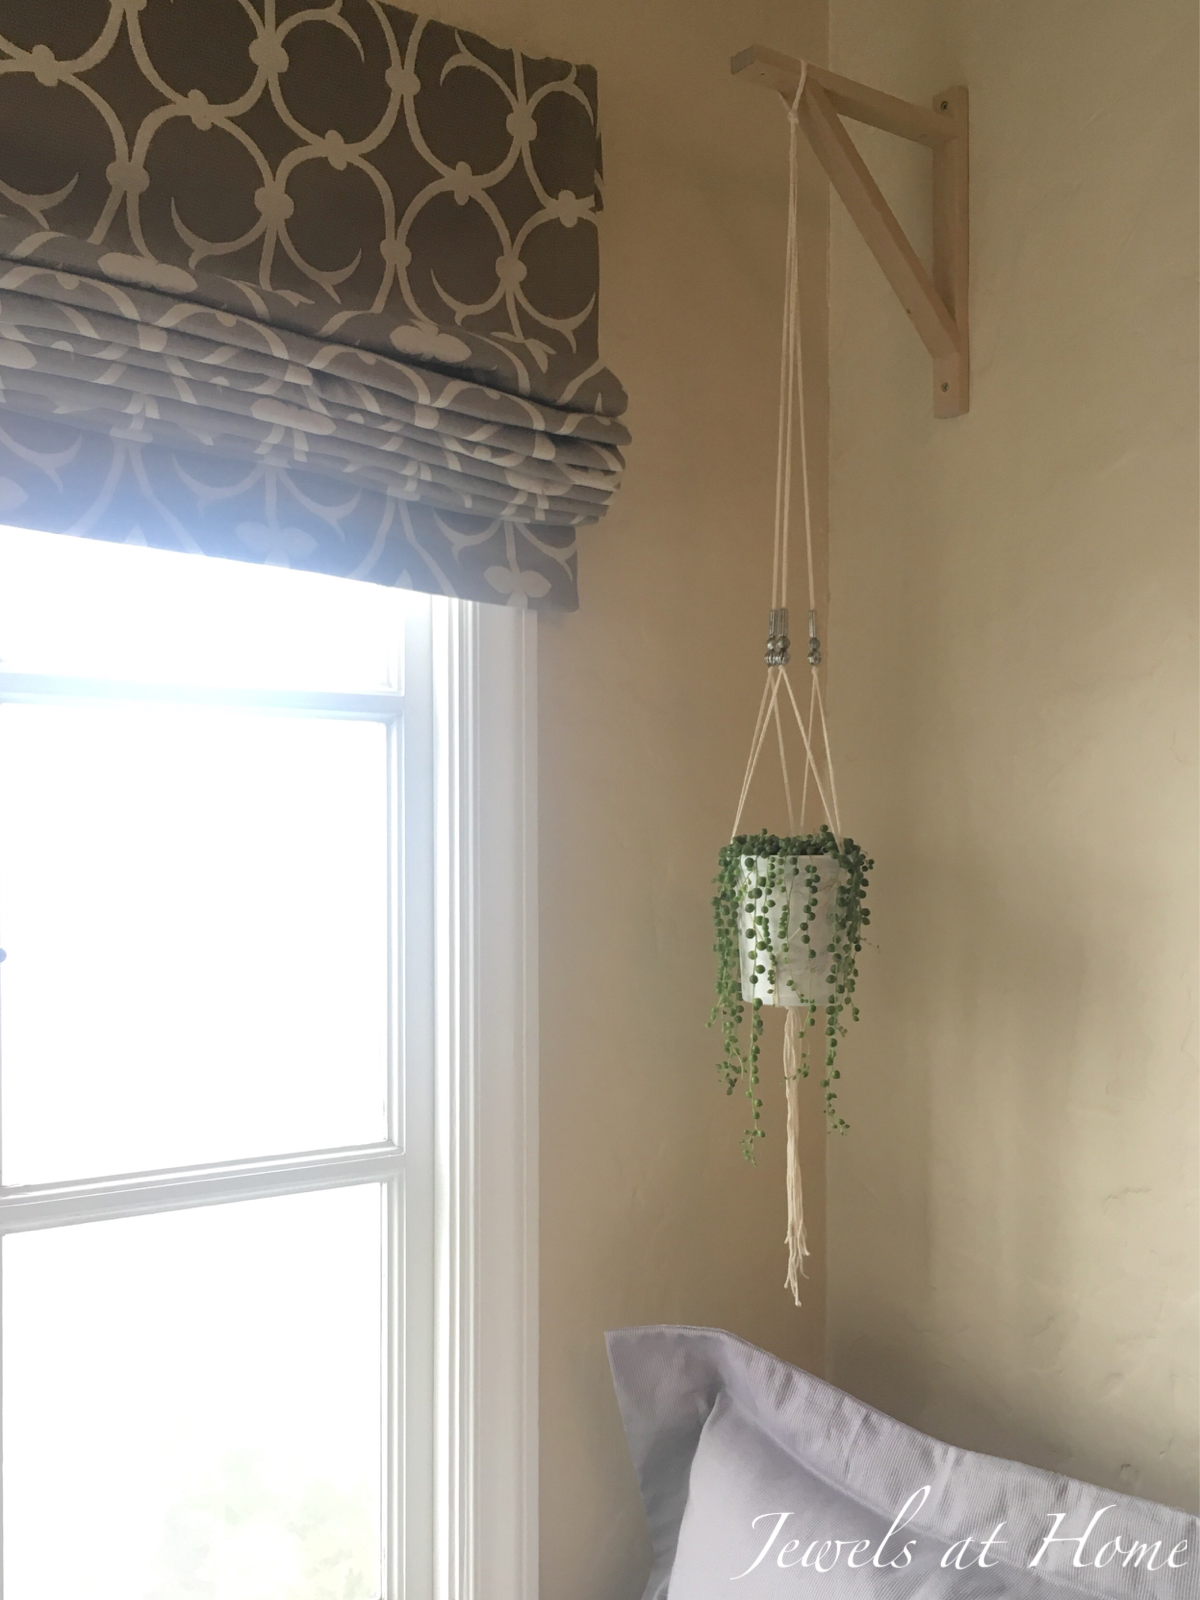
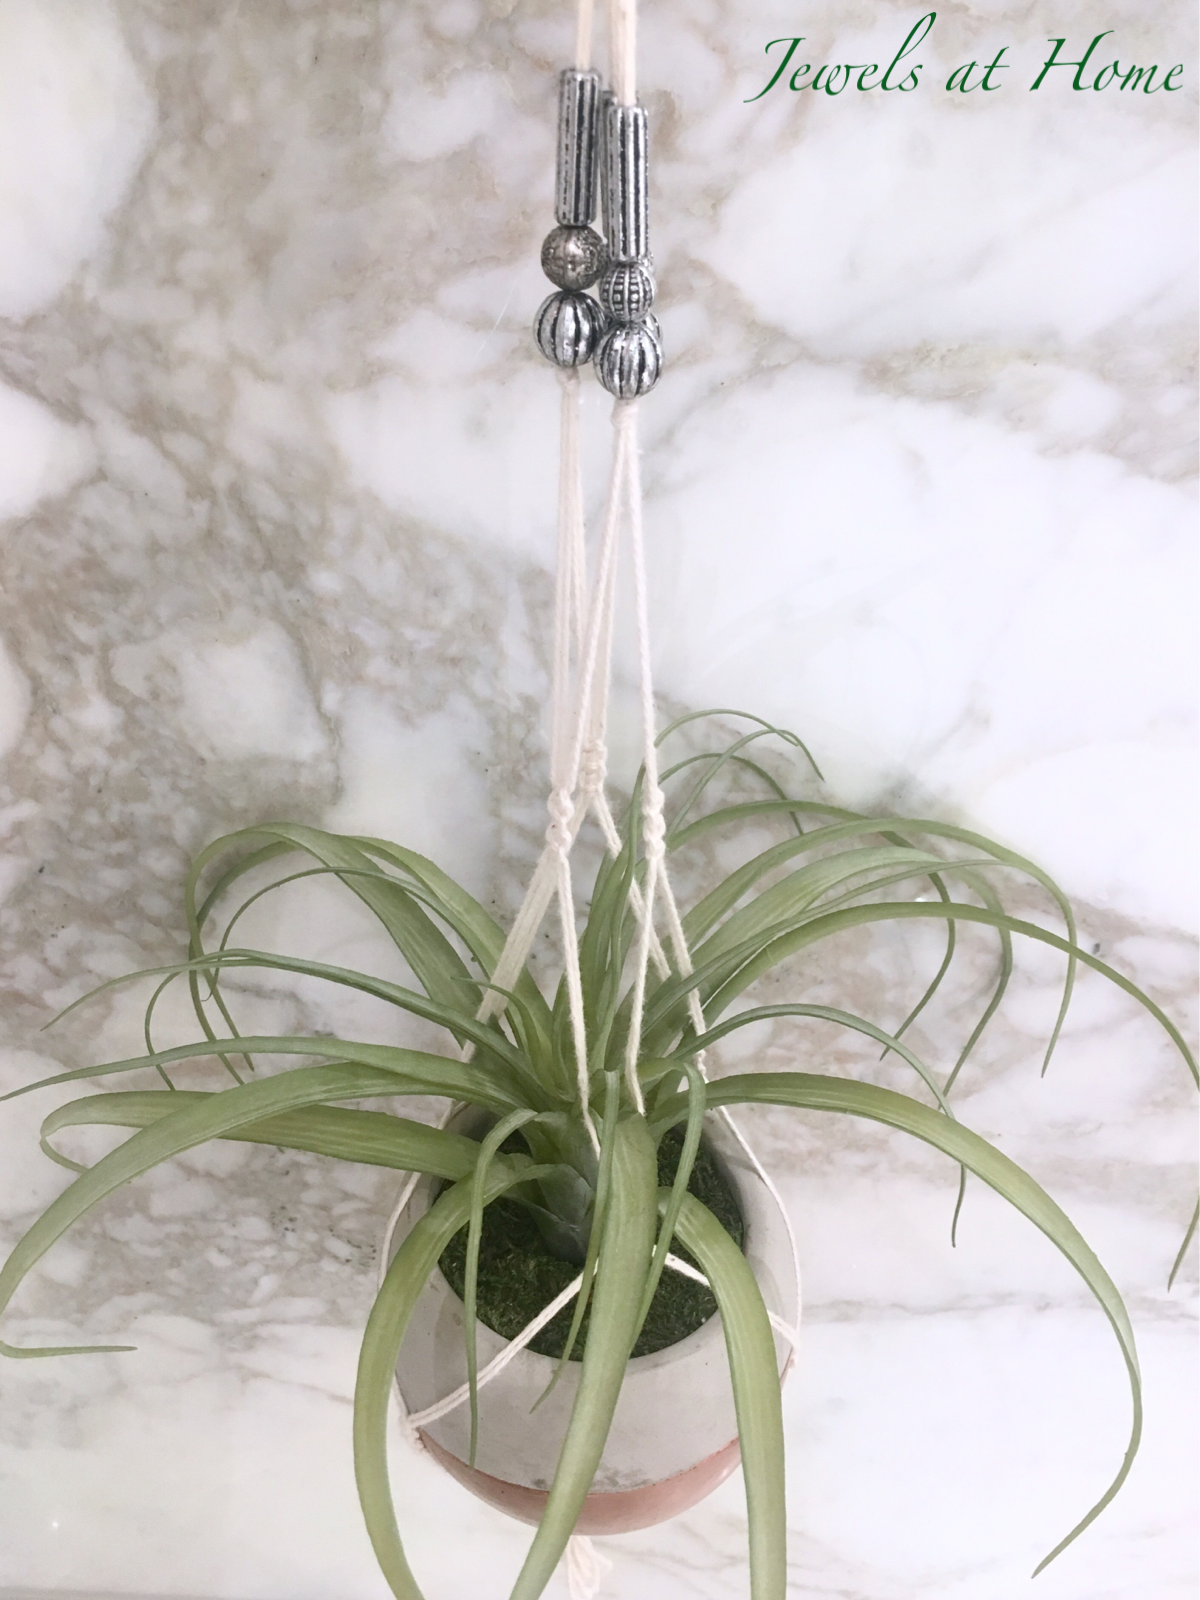
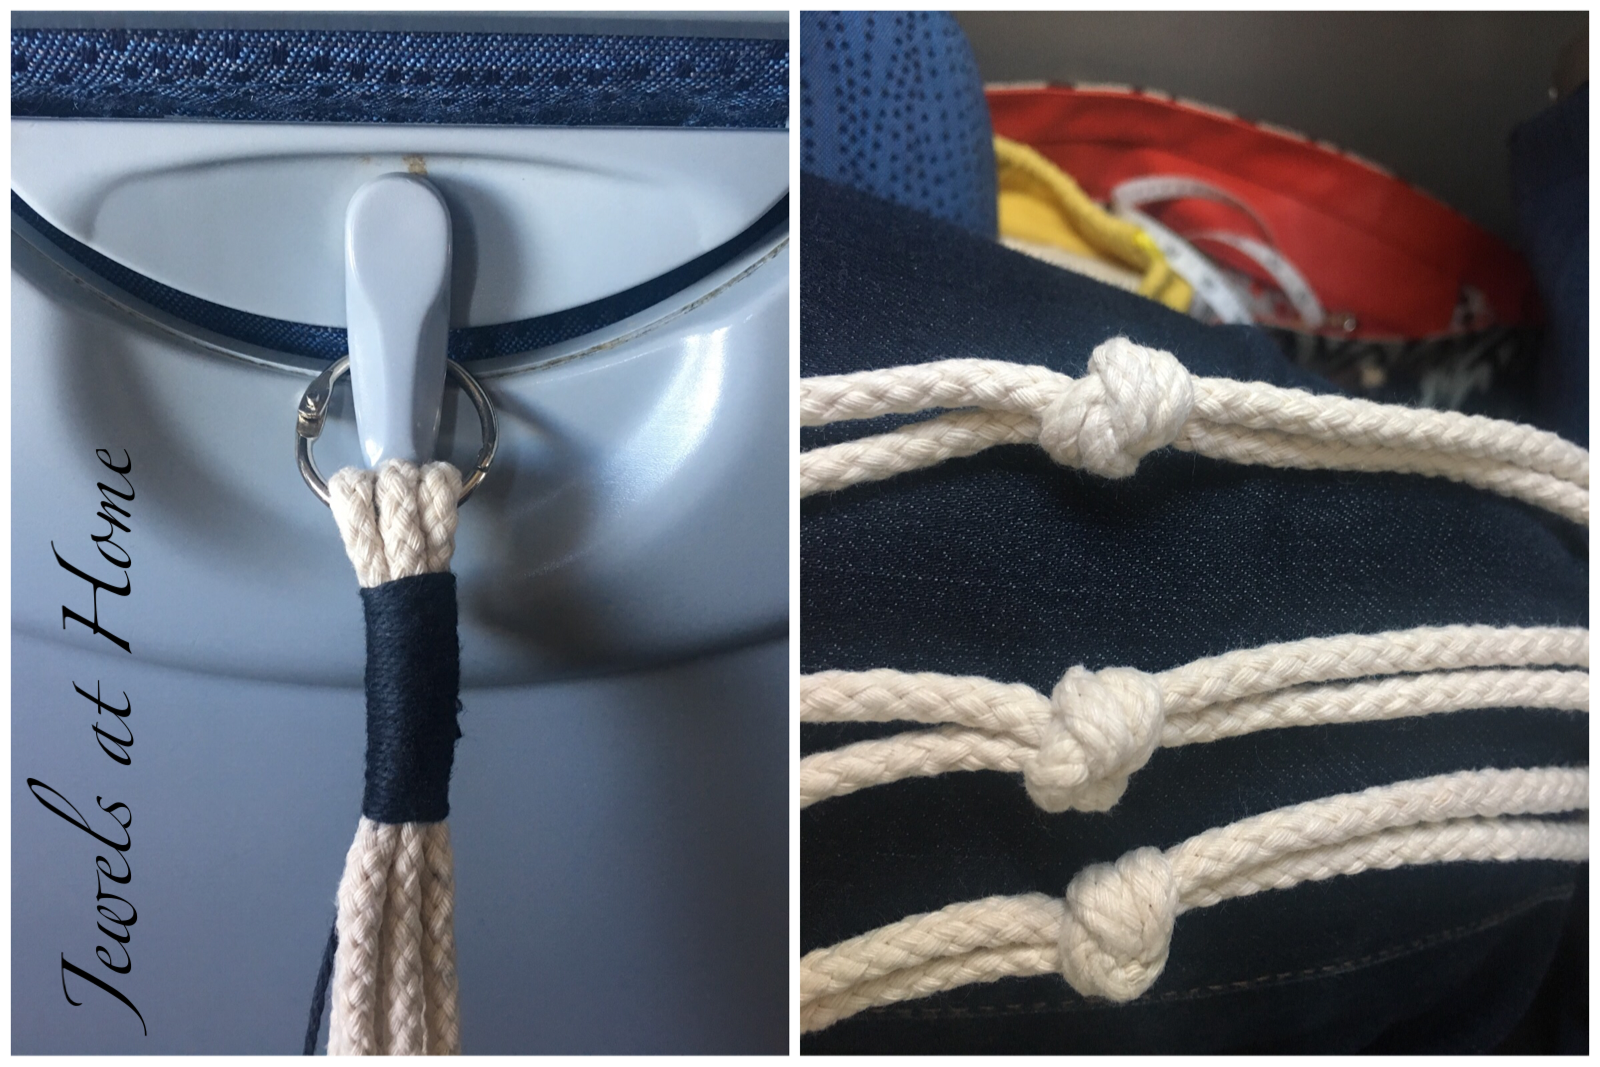
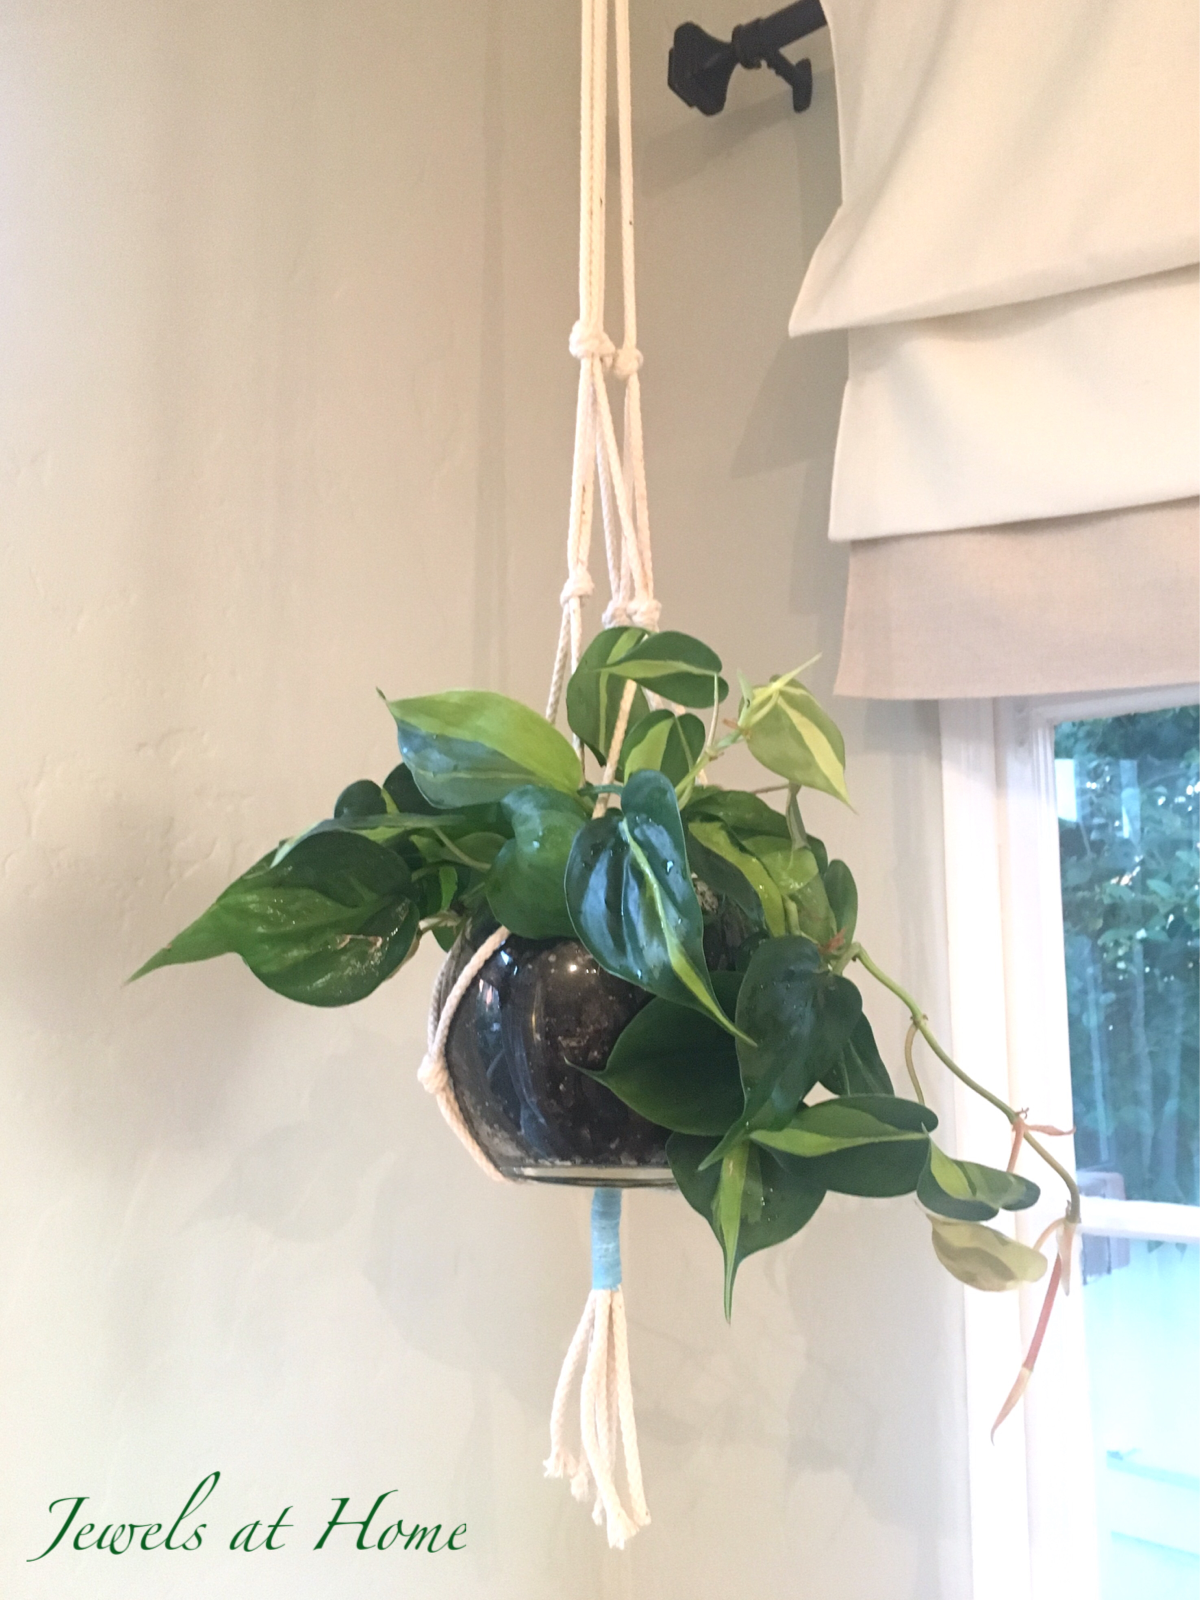
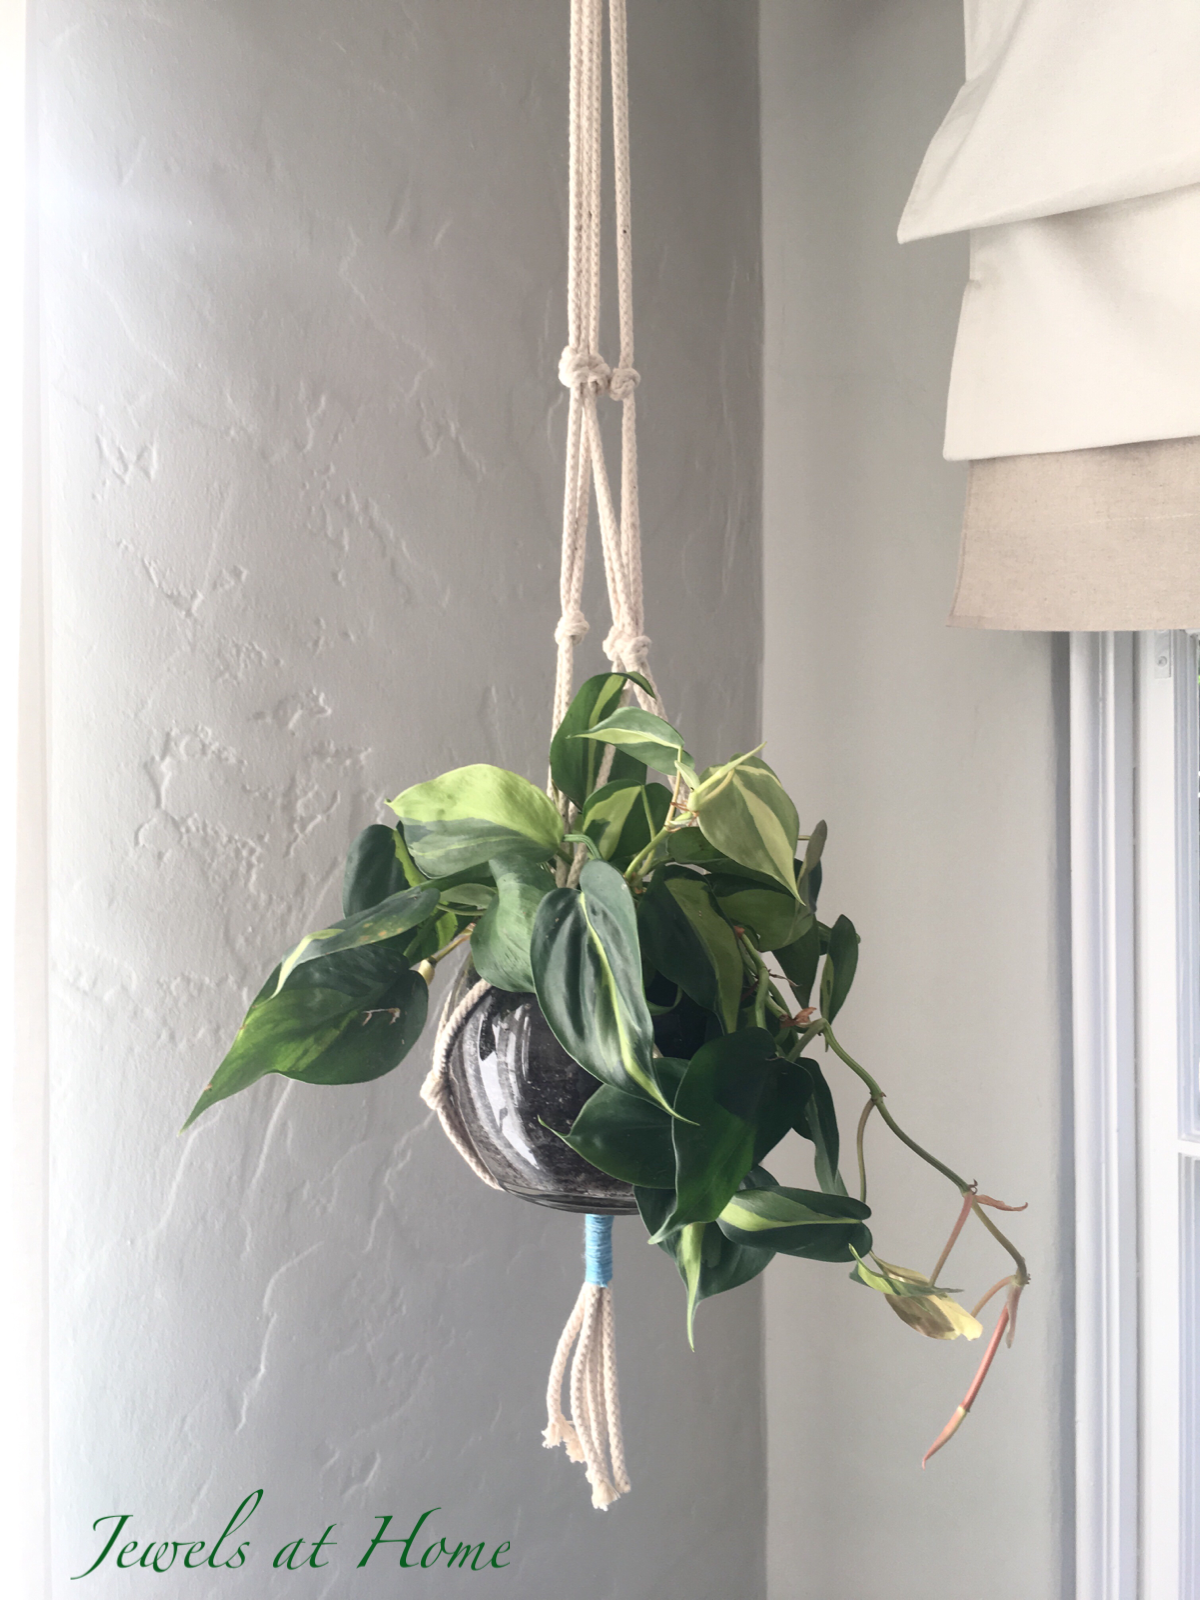
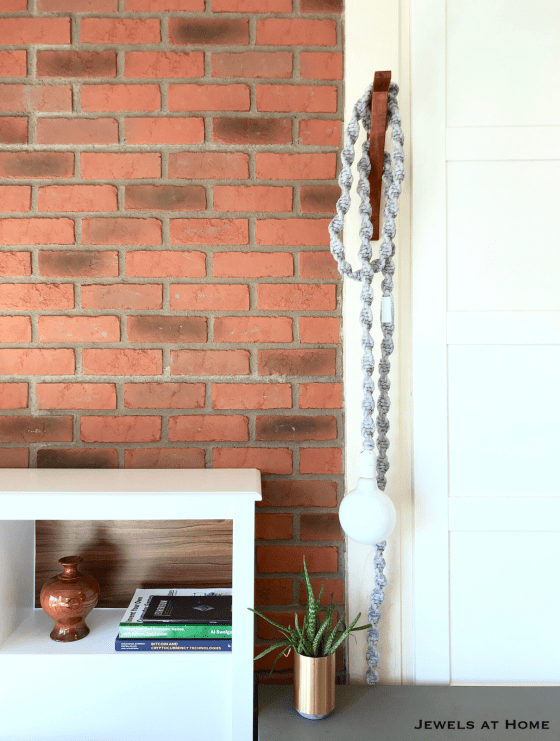
Macrame Cord Hanging Lamp:

TOTALLY in love with this project. More details, including materials and instructions, in this post. For now, just enjoy the pictures!

Stenciled Drum Pendant Lamp Shade:

This is actually one of the first projects I did, when I started blogging. The detailed instructions are in the original post. This room used to be my craft room, so I gave myself some license to use more feminine touches. Kai’s not picky, but I did want to update this lamp for him. I originally thought I might be able to just change the shade, but it was fixed in place.  While changing out the light bulbs, I realized that the room looked a lot brighter – and the light looked a bit less feminine – without the bottom glass and finial, so I left it that way for a little update.

Here’s an earlier before-and-after of the light.

And here’s how it looks without the bottom finial and with some fun Edison-style bulbs inside.

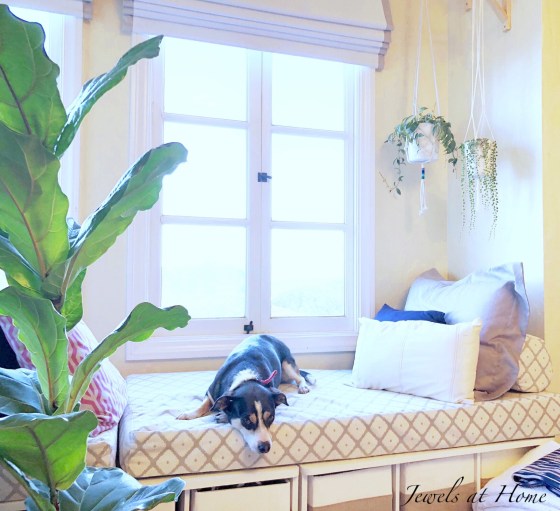
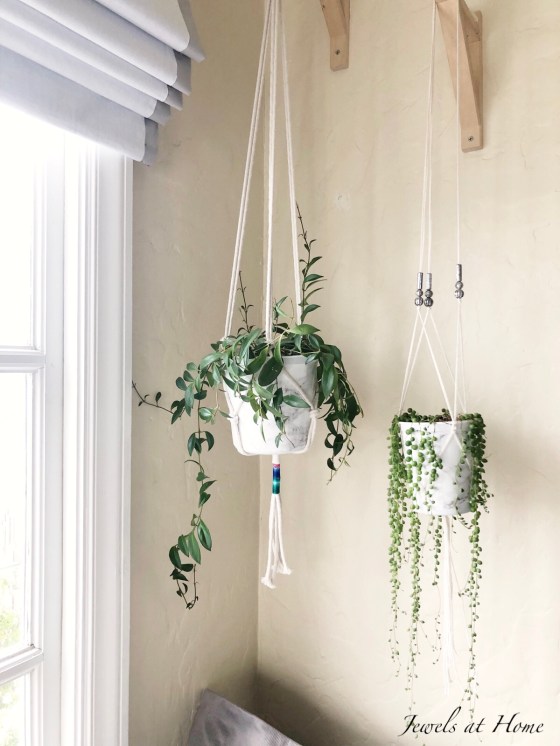
Oh, and one more look at my friend the macrame cord light…

Not sure what I’ll tackle this coming week. The answer might be nothing, because I’m co-hosting a big crazy birthday party this weekend…

A huge thank you to Linda for creating the One Room Challenge community, and high fives to all my fellow bloggers whose hard work and creativity were great inspirations! Be sure to go back to the One Room Challenge page to check out all the other projects!

Julie aka “Jewels”

Macrame Cord Hanging Light

You might know that I caught the macrame bug last summer. There is just something so magical about transforming a simple piece of rope! Once I figured out the basics, I wanted to be able to create some more original designs as well. Here are my posts on macrame plant hangers:

Even with my love of plants and hanging planters, I was running low on things to make with rope, so I was very excited to see this I discovered macrame pendant lights. I first caught sight of Windy Chien’s Helix light in the Apartment 34’s One Room Challenge:

And then, I began spotting it everywhere, like in this beautiful bedroom from Katie Monkhouse:

Mandi Gruber (my idol!) also has a funky version of this simple and gorgeous idea, as does Holly Wade on Curbly.

I was looking for bedside lamps for our guest room and teen’s room, and I knew that I just had to try my own version of these lights!

Here’s what you’ll need:

  • Light bulb: looks great with an LED Edison bulb or G40 frosted LED bulb
  • For the hanger, I used my favorite Ikea Ekby Valter brackets (I’ve used them as plant hangers, as well as, as intended, shelf brackets). I stained the unfinished brackets with walnut stain. The 9mm rope light is hanging from the larger size bracket, and the 5mm rope light is hanging from the smaller bracket.

Here’s how to do it:

  • Test your light kit! It’s probably fine, but you’ll be spending several hours on it, so you want to make sure you didn’t get a lemon
  • find the midpoint of your rope and lay it behind your cord, next to the light fixture. With the two long ends of rope, start tying a wave knot
  • Tips: it can get unwieldy working with so much rope. I used a kitchen scale to help me divide the rope in half. I also used rubber bands to hold together the balls of rope, so they would not unravel.

  • Keep going
  • (Turn on a movie or podcast)
  • Keep going
  • When you get to the switch, neatly line the rope along the sides of the switch and then resume your wave knot
  • When you’ve almost reached the plug, use a gathering knot to finish off the ends

Here are some pictures of the hanging lights – the navy cord was made with 5mm cord and the denim cord with 9mm rope.

I don’t know about you, but I want to make another one (or ten) soon.

Happy knotting!

Julie aka “Jewels”

Macrame Plant Hangers- Now in Color!

I’ve decided to call my crafting style “serial crafting monogamy.” I definitely go on streaks where I fall in love with a new technique and can’t get enough of it. Right now, I’m sure you have noticed, I am addicted to macrame. Once I got the hang of it, I have so many ideas to try!

Today’s post is about adding color to your plant hangers – I did this with dyeing an ombre pattern as well as with adding colorful embroidery floss.

If you want to go back and see other posts on macrame, here are the links:

First, check out these beautiful ombré plant hangers. I made them with cotton clothesline and created the ombre pattern with navy fabric dye.


To get the ombré effect, I dipped the plant hanger in a container of dye solution and then pulled it out and hung it with just the bottom sitting in the dye for 20-30 minutes.

The other way I added color to the plant hangers was by adding gathering knots in different colors of embroidery floss.

And I just recently discovered Bobbiny cotton rope from Poland. It’s so soft, recycled, and beautiful, so I’m definitely scheming to add more color to my macrame projects that way!

“Jewels”

Hanging Out & Hanging Up Plants

Hello, Crazy Plant Lady here today!

My good friend, Nicola, asked me to share more about how I’m installing my macrame plant hangers (see this post and this post for the details on the hangers).


There are lots of creative ideas for creating hanging plant displays. I’ve started with some easy methods, including hanging my plants from

  • Wooden beams
  • Curtain rods
  • Wall brackets

I’ll give you those details and also include some more ambitious ideas that I still fantasize about!

One general tip is that I chose lighter weight planters. Some of my plants are hanging in my made-over yogurt containers, and others are in glass jars or vases, some painted with metallic spray paint.

Wooden Beams

I lucked out to have these beams running in our family room, so I screwed in coat hooks for my plants. Obviously, not every house has wooden beams, but if you do, this is easy, and to display more, you can screw in two hooks and run a rod between them.


Curtain Rods

Plants need light, so it makes sense to hang them in front of a window! It wouldn’t be the most convenient idea for curtains that you open and close often, but it’s great for windows where the curtains can stay open most of the time. I used shower curtain hooks to hang several plants this way. The rollers on the curtain hooks make it easy to move the plants, if you want to close the curtains.


Wall Brackets

I was honestly too nervous to hang plants from our ceilings. The house is about 90 years old, and the walls and ceilings are plaster and lathe. I had visions of the giant patches of plaster crumbling down on me, so I decided to use wall brackets. This method also gives you more flexibility about hanging heights.


These are the brackets I used. (The link is to Amazon, but they’re cheaper at IKEA, if you can get to a store).


If you’re feeling more courageous, here are some more ideas I’d like to try!

Hanging a ladder from the ceiling. This is just so peaceful and gorgeous!


Photo: Jennifer Chong of See and Savour

A large branch displaying multiple hangers. I love all the colors and designs!


Photo: Emily Katz of Modern Macrame 

How about a cool metal pipe or rod to display your plants?! A sleek look, and you could do it from a wall, if your ceilings are unreliable, like mine.

Photo: Cote Maison

Thanks for coming with me into the world of macrame and plants. I am clearly a little obsessed. I’ve got more new ideas coming up to share with you soon(ish)!

“Jewels”

Macrame Mania – Square Knots and Beads!

“At first I was afraid… I was petrified…” and now I’m totally obsessed with macrame! With apologies to Gloria Gaynor… once you learn a few basic knots, there are so many possible macrame projects!


You might remember that for my first plant hanger, I used heavy rope and simple overhand knots. I added gathering knots in colored yarn. For my next projects, I learned the square knot and added some beads.

This project uses some silver-colored beads, and the hanger is formed with short stretches of three square knots. I used sport weight cotton yarn (similar to this yarn) which I already had. The advantage is that it’s thin enough to thread the beads onto, but the result is quite thin, so it will be best for a smaller plant.

This next project uses some braided candle wick. It lies flat, which makes the square knots much easier and neater. I did two longer stretches of square knots at the top and then shorter stretches to form the hanger. The twine is heavier than the cotton yarn, and I really like how it lies flat. I’ll definitely be doing more projects with this string!

By the way, you may have noticed the same (fake) plant in both these hangers. We’re on vacation in Toronto, and I ended up buying a “plant model” to help with my projects. 😂

Next macrame projects coming up: wave knots, colored string, and dip-dyeing (I think I will save that for when I get home…)! I always need to have a project to work on, and this has turned out to be a great one for traveling, because it is so compact. Hope you will give it a try.

“Jewels”

Macrame Madness: A Simple Plant Hanger

Everything old is new again! I’m visiting my dad and fantasizing about magically unearthing some old macrame projects from the 70s. Meanwhile, I’m trying my hand at making some plant hangers. This macrame obsession pairs perfectly with my newfound love of plants!


Tying knots in string shouldn’t be that complicated, but I was nervous getting started, so I chose the simplest project I could. Using some heavy cotton rope leftover from hanging a birthday piñata, I based my plant hanger off of these instructions.

Because the rope was so thick, I chose to use a gathering knot in blue cotton yarn rather than tie a heavy knot with the rope at the top and bottom.

Being a busy mom, the first chance I had to work on this project was on a plane! Luckily, the tab that holds up the tray table works perfectly for attaching the loop at the top;)

Here’s how the plant hanger looks empty:

And here’s how it looks planted with Golden Pothos.

Stay groovy and green!

“Jewels”