Father’s Day Portrait Gifts

It’s so fun to get the boys involved in a creative project for Father’s Day. Remember when we made the mugs and aprons? Or even these simple cards?

This year, the boys and I created these portraits for Steve and their grandfathers. You know by now that I have an endless supply of scrapbook paper, which I used to create the letters. The boys were really good sports (they aren’t always!) with taking the pictures, and I love the final products.

I printed individual pictures and put them in a frame with three openings and a matte that the boys signed.

And you couldn’t take pictures of three boys and a rascally pup without some outtakes!

Wishing the best to all the hard-working and loving fathers out there!

“Jewels”


Playing with Paper: Custom Greeting Cards

Here’s a short post where the pictures speak for themselves. I love playing around with pretty papers, and I put these together recently as a gift for a friend.

I used the same basic idea I shared in this post on quick DIY cards, but I varied the papers and added some fun washi tape as well. The other addition to these cards was using a corner rounder to add some interest. Still a straightforward project, and I love how each card turned out so unique!

Playing with Paper: Custom Greeting Cards | Jewels at Home

Playing with Paper: Custom Greeting Cards | Jewels at Home

Playing with Paper: Custom Greeting Cards | Jewels at Home

“Jewels”

Personalized Globe Christmas Ornaments 2015

Every year, I create personalized ornaments for our family and friends. Usually, I keep it simple with some store-bought ornaments that I personalize with markets or fabric paint. Tip: the felt ornaments are great for mailing!

This year, I wanted to make globe ornaments that would fit with our retro mid-century theme and colors of red, pink, and turquoise.

Personalized Globe Christmas Ornaments | Jewels at Home
To make these ornaments, I used

The process is very simple:

  • I started by printing labels with the kids’ names and the year on them. I was able to fit two names on each label and then cut the labels into 2″x 2″ squares.
  • I then cut out and stuck each label onto scrapbook paper and punched out a circle around it. I punched a second blank circle in matching paper and glued them two pieces together.
  • These circles fit perfectly into the ornaments!
  • Add a ribbon for hanging and you’re done!

Personalized Globe Christmas Ornaments | Jewels at Home
Personalized Globe Christmas Ornaments | Jewels at Home  Personalized Globe Christmas Ornaments | Jewels at Home

Personalized Globe Christmas Ornaments | Jewels at Home
Personalized Globe Christmas Ornaments | Jewels at Home Since these ornaments would have been hard to mail, I also made some similar ones that are flat, for our friends who live out-of-town.

Scrapbook Paper Christmas Ornaments | Jewels at Home
“Jewels”

Tip for Quick DIY Greeting Cards!

So, by now it is no secret that I love beautiful papers and prints. While I am busy discarding and tidying my house a la Marie Kondo’s book,The Life-Changing Magic of Tidying Up, I have held on to almost all my paper, as it does truly spark joy! That being said, all this beautiful paper doesn’t belong stored in a craft room, so I am always looking for ways to use and share it. I made this paper art to decorate my craft studio, and I have a big project cooking up for the holidays.

I also love making cards. While these can get elaborate, with multiple papers and shapes, rubber stamps and ribbons, today I want to share a quick way to make unique cards. All you need for this project is two sheets of coordinating paper, and you will end up with four beautiful one-of-a-kind cards.

Tip for Quick DIY Greeting Cards! It's quick and easy to turn two sheets of scrapbook paper into four unique greeting cards | Jewels at Home

Here’s how:

  • Start with two sheets of 12″x12″ scrapbook paper in coordinating colors and patterns
  • Cut 2″ off both sheets of paper, to create 10’x 12″ sheets
  • Cut the sheets in half in the perpendicular direction, to create four 6″x10″ sheets
  • Fold the sheets in half to make cards that are 5″x6″, which fit easily in envelopes for 5″x7″cards (for some reason, I have a ton of these collected over the years!)
  • Finally, cut the 2″ strips in half lengthwise and glue them on the cards of the opposite paper, to create a simple and pretty design.
  • If you are making more sets of cards, you can switch the 2″ strips around multiple ways, to create even more different patterns!

Tip for Quick DIY Greeting Cards! It's quick and easy to turn two sheets of scrapbook paper into four unique greeting cards | Jewels at Home

One of the things I love about this project is that there are no scraps leftover – just a set of cards ready to brighten a friend’s day!

“Jewels”

DIY Notebook Bliss

Sigh, so work has been a bit stressful lately. The other night, I was feeling a bit overwhelmed, so I escaped into my craft studio to play around with paper.

I have been doing a lot of tidying up after reading Marie Kondo’s book: The Life-Changing Magic of Tidying Up: The Japanese Art of Decluttering and Organizing (my review here) and I found a lot of scrap paper.

I wanted to make more of the little DIY notebooks I made a while ago. This time, I added some washi tape and a ribbon to tie it closed.

DIY Notebook Bliss | Jewels at Home

This little project definitely helped me feel calm and re-centered for a new day!

“Jewels”

DIY Decorated Notebooks

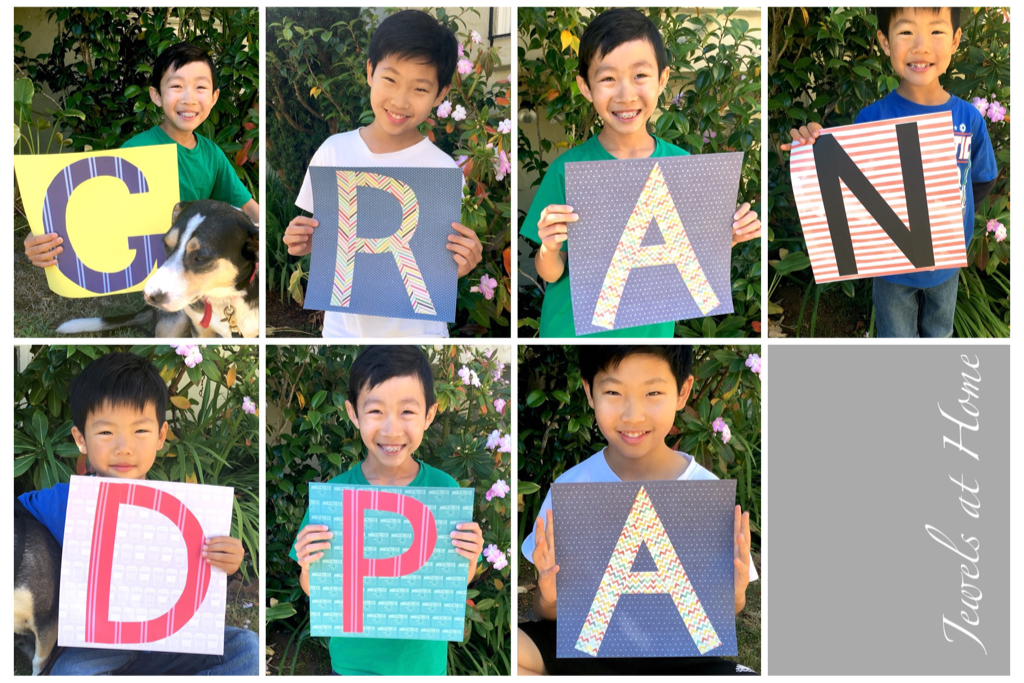
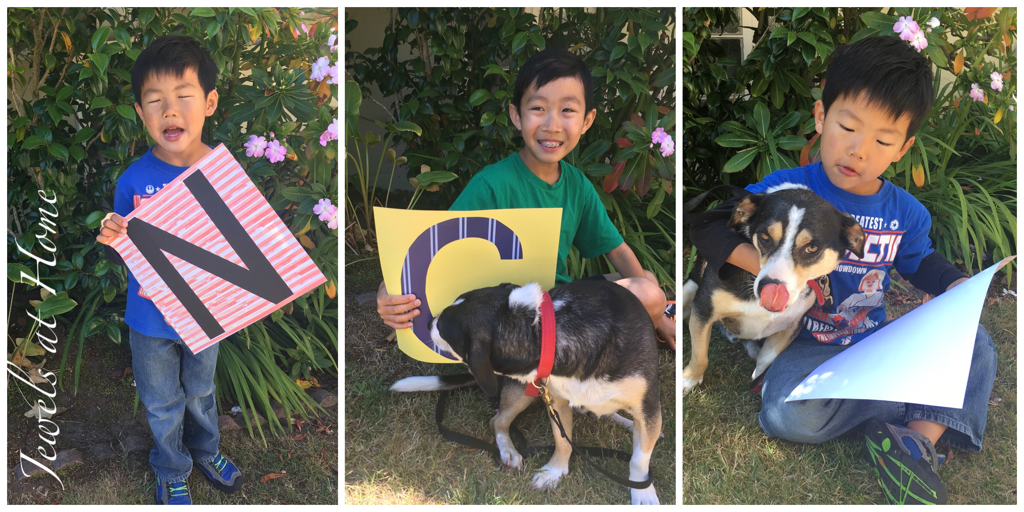
This project is part of my effort to spruce up my office and get more organized. I don’t know how organized it will make me, but these little notebooks sure are cute! The other project that I did was to cover plain file folders with scrapbook paper, and these look adorable also.

Make your own customized DIY notebooks | Jewels at Home

It seems like most workplaces generate a lot of scrap paper. From my first job out of college to my office today, I’ve usually been the one to collect the extra paper for reuse. At my first job, teaching at a small high school, I used the extra paper other teachers left in my cubby to shred for handmade paper, something I’d love to do more of again. These days, scrap paper from the office is the raw material for my three prolific little artists, as well as my own notes.

Even though we’re reusing old paper, it doesn’t have to look sloppy. I decided to make these notebooks to corral all of those loose papers. They’re great, because they can be decorated to create infinite customized looks, and it’s easy to add and remove pages.

Materials:

Instructions:
Paper-covered notebooks

  • for each notebook, cut two pieces cardboard to 8.5″x11″
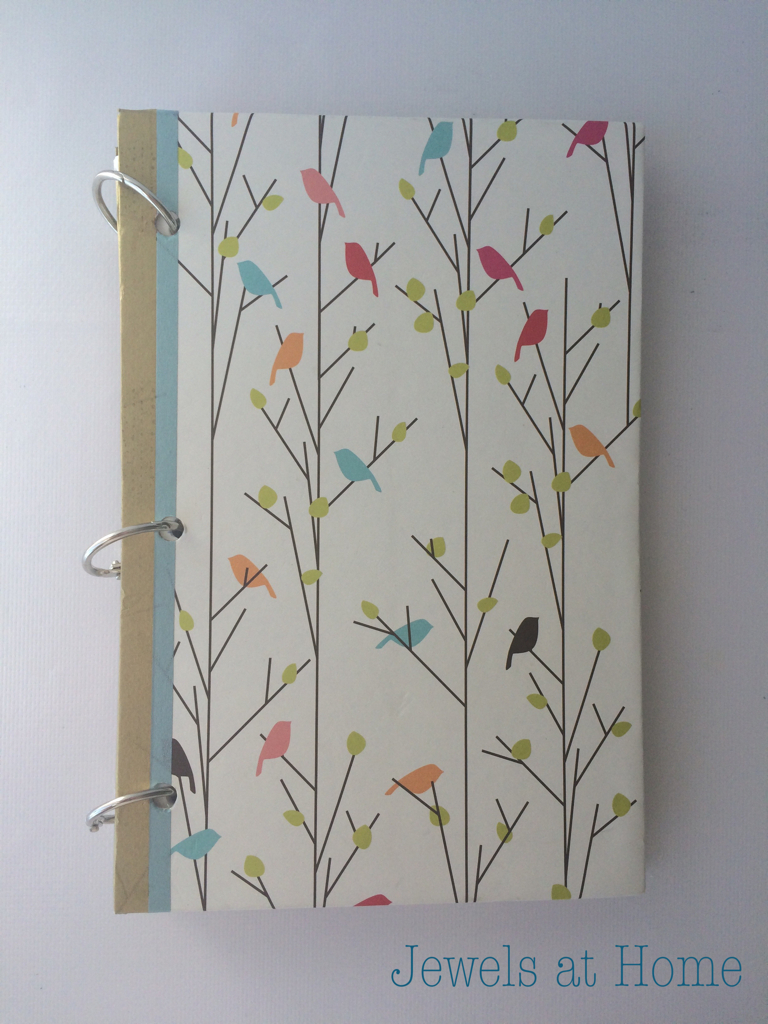
  • cut paper for the front and back to 8.5″ x 11″.  I mixed scrapbook papers to make interesting designs
  • glue the paper onto the cardboard with a gluestick
  • Wrap the cover in Clear Contact Paper.  As an optional step to make the inside of the cover more finished, I added white contact paper to the inside of the covers.
  • Punch holes on the left side
  • Use binder rings to hold the paper in place
Cute DIY covered notebooks.  Jewels at Home

Wrap the notebook cover in clear contact paper to protect it.

Make your own customized DIY notebooks | Jewels at Home

As an optional step, I added white contact paper to finish the inside of the covers.

Make your own customized DIY notebooks | Jewels at Home

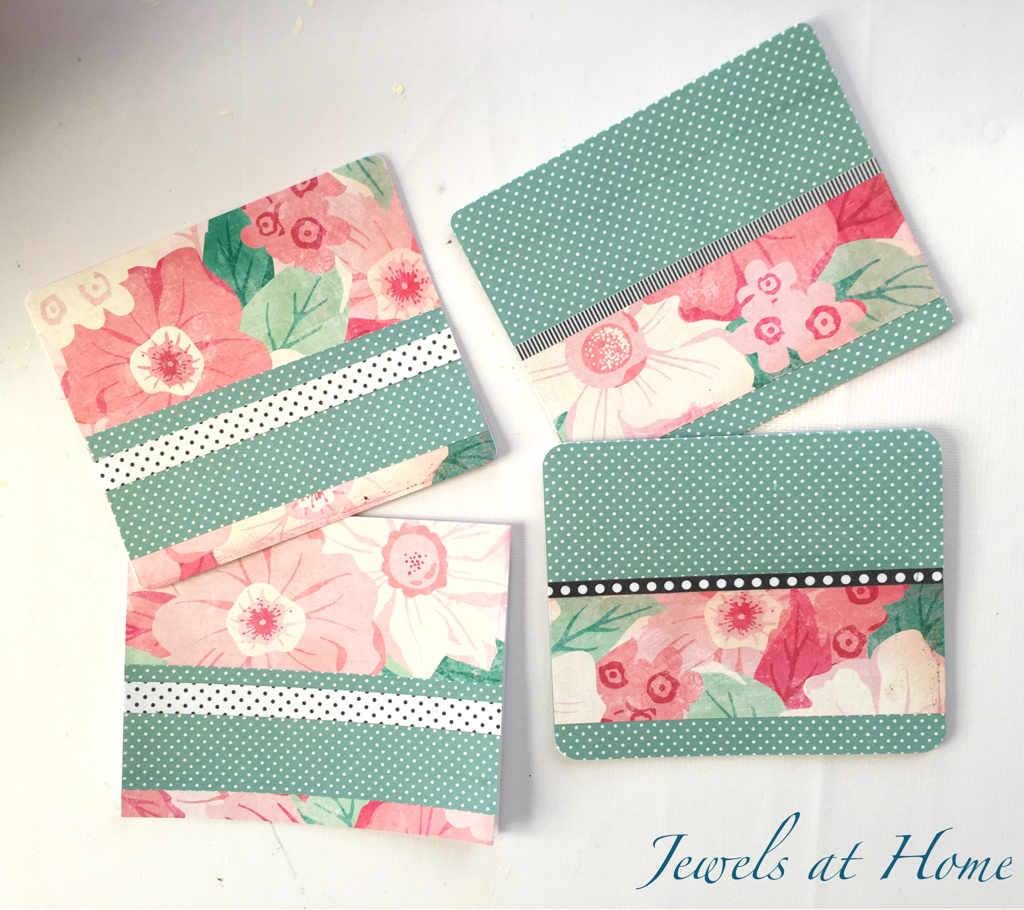
I rounded the edges of some of the covers to make the design more interesting. For these, cut small wedges to fold the contact paper neatly.

Fabric-covered notebooks

  • for each notebook, cut two pieces cardboard to 8.5″x11″
  • cut fabric rectangles about 12″x15″ for the front and back covers
  • Fuse Heat’n Bond Ultra Hold to the back side of the fabric, and then iron on to the cardboard
  • After cutting the corners, wrap and fuse the fabric to the inside of the covers.
  • As an optional step to make the inside of the cover more finished, I added coordinating paper to the inside of the covers.
  • Punch holes on the left side
  • Use binder rings to hold the paper in place

Make your own fabric-covered DIY notebooks | Jewels at Home

Make your own fabric-covered DIY notebooks | Jewels at Home

Adding coordinating fabric to the inside of the covers gives a more finished look.

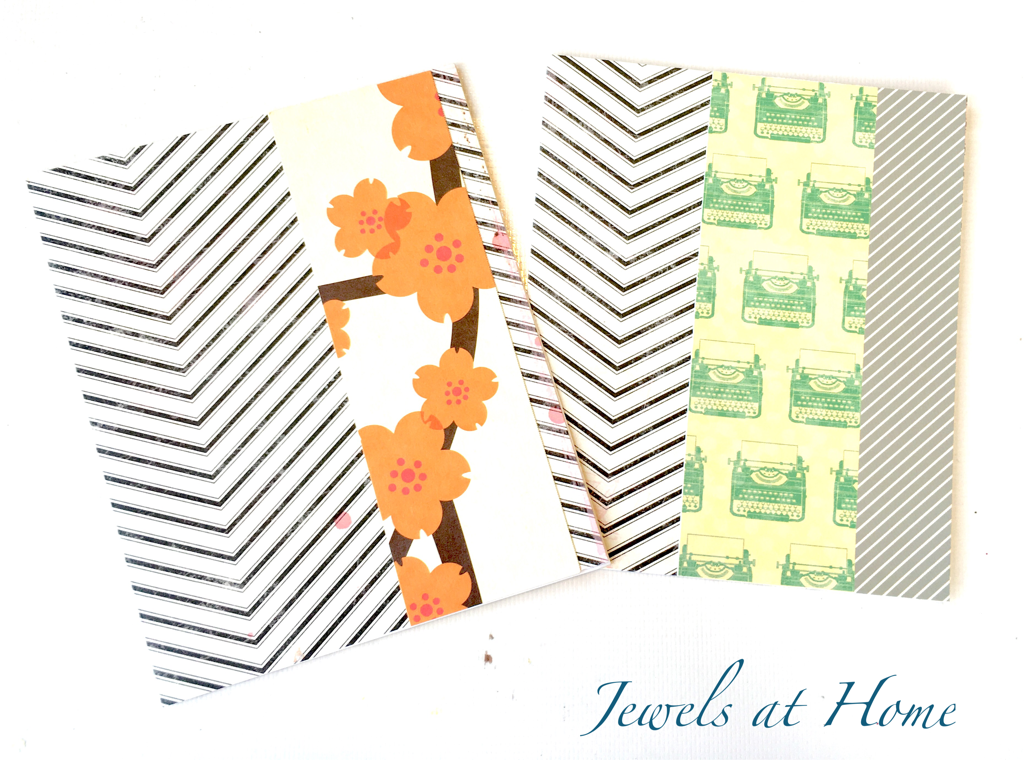
Here are the notebooks I made for myself.  I can’t wait to whip one out during a meeting!

Make your own customized DIY notebooks covered in scrapbook paper or fabric.  A beautiful way to organize loose papers | Jewels at Home

Make your own customized DIY notebooks covered in scrapbook paper or fabric.  A beautiful way to organize loose papers | Jewels at Home

It’s fun look to make the back and front of your notebook from different papers that work well together. I love this one!

Make your own customized DIY notebooks covered in scrapbook paper or fabric.  A beautiful way to organize loose papers | Jewels at Home

These notebooks have rounded corners for added detail.

And here are the notebooks I made for the boys.  They each chose their own covers – Superman for little J, art pencils for my budding artist L, and navy for big boy K.  I wasn’t sure if the note books would catch on, but so far, the boys really seem to like keeping all their drawings organized in these!  Yay!

Make your own customized DIY notebooks covered in scrapbook paper or fabric.  A beautiful way to organize loose papers | Jewels at Home

The kids each chose the covers for their new notebooks.

Make your own customized DIY notebooks covered in scrapbook paper or fabric.  A beautiful way to organize loose papers | Jewels at Home

L is really into art right now, which is so fun for me. I looped an elastic through the middle ring of his notebook, so he can keep his portfolio together. He has been bringing it to school every day!

Make your own customized DIY notebooks covered in scrapbook paper or fabric.  A beautiful way to organize loose papers | Jewels at Home

Here’s what L is working on in his notebook. I love it!

Make your own customized DIY notebooks covered in scrapbook paper or fabric.  A beautiful way to organize loose papers | Jewels at Home

More of L’s sketches, all neatly contained in his new notebook.

Yay for these little notebooks.  They would make great gifts, too!

Make your own customized DIY notebooks covered in scrapbook paper or fabric.  A beautiful way to organize loose papers | Jewels at Home

Some holiday projects coming up next!

“Jewels”

Customized File Folders

As I was making the scrapbook paper and fabric-covered notebooks recently, I was inspired to spruce up some plain file folders at the same time.

My office at work is getting a bit overwhelming, and having something pretty – like these sweet patterns – to look at always cheers me up.

Beautify your office.  Use scrapbook paper to turn plain file folders into works of art | Jewels at Home

It all started with this lovely patterned file folder that I bought a few years ago.

Beautify your office.  Use scrapbook paper to turn plain file folders into works of art | Jewels at Home

I found papers in my stash that coordinated with these folders, and I cut and glued them onto plain manila file folders to transform them into these eye-catching beauties!

Beautify your office.  Use scrapbook paper to turn plain file folders into works of art | Jewels at Home

Beautify your office.  Use scrapbook paper to turn plain file folders into works of art | Jewels at Home

I really like how all the folders work together.  Now, to clear the rest of the office!

Beautify your office.  Use scrapbook paper to turn plain file folders into works of art | Jewels at Home

I also made a folder for L, who has a lot of artwork to organize, though he now favors his DIY scrapbook paper-covered notebook .

Beautify your office.  Use scrapbook paper to turn plain file folders into works of art | Jewels at Home

I also covered all the folders in Clear Contact Paper to make them last longer.  An easy project, and they look great.  Can’t beat that!

“Jewels”