As you may have noticed, my Shelter-in-Place theme is sewing bags. Up next is my first version of an origami bento tote. I found these fabrics in my mother’s stash, and I thought the origami cranes were perfect for an origami bag!

I’ve researched a ton of variations on these origami bento bags and look forward to experimenting with my own versions. There are two main techniques for these origami bento bags. One uses two overlapping triangles and the other uses a long folded rectangle. They look very similar when finished. This bag pattern was made with triangles, which results in a heavier bag, because the pieces are overlapping. I’ll try to put up a general post about the construction of these bags. I found it really helpful to make models of the pattern pieces with scrap paper, to see how they fit together and what direction the pattern would run.
This bag is built from triangles, so the dimensions come out somewhat unexpected. Here’s what I learned from making three different sizes:
- 17″x17″ squares -> finished bag 11″ wide and 10″ high (but only about 5-6″ of the height is usable for storage. It’s a cute and compact bag, with just enough space for your phone, wallet, keys and chapstick.
- 21″x21″ squares -> finished bag 13″ wide with 6.5″ height for storage
- 24″x24″ squares -> finished bag 15.5″ wide with 8″ height for storage
Here what you will need:
- For the body of the bag, two squares of fabric (see dimension options above)
- *The pattern of your fabric will run in opposite directions on the front and back of the bag, so pick a pattern than works in both directions*
- single fabric for a simple, clean look
- two different squares of fabric to create a two-color exterior and lining
- create each of the squares from two fabrics – one for the outside, and the other for the lining (this is the version you see below)
- For the straps – 5″x50″ strap of fabric
- magnetic snap
- 1.25″ strap slider and ring
- Fusible interfacing, basic sewing supplies
Prepare the pattern pieces:
- Cut the fabric for the body of the bag and the strap. You will likely need to join two strips to create the 50″ strap. I joined the strips on an angle, to reduce bulk
- If you want to have a different fabric for the lining, join fabric to make your squares, as shown below


- Fuse interfacing to all except the last 3.5″ of the strap, on the wrong side of the fabric
Make the strap:
- On the end with interfacing, fold a 1/2″ hem, wrong sides together
- Iron the strap in half lengthwise, wrong sides together
- Fold each side toward the center, wrong sides together and iron again
- Fold the strap along the center lengthwise, creating four layers of thickness
- Top stitch around the strap, including the hemmed end
- Cut off the 3.5″ section without interfacing
- Loop the 3.5″ section around the ring and pin (see picture)

Make the body of the bag:
- Fold each square in half to form a triangle. If you are using a different fabric for the lining, like I did, fold it so that the lining fabric is on one side and the exterior fabric is on the other. If you left interfacing off two corners of your squares, the bare corners should be at the top of the triangle, not along the fold
- Pin the short strap to the right side of one corner of one piece, next to the fold, as shown (see picture)

- Pin the unfinished end of the long strap to a corner of the other piece, with the strap facing into the fabric
- Pin and sew around the edge of the triangles, leaving a 4″ opening along one side, for turning. The two corners along the fold should be squared off, as shown below. On one end, you are using the seam to attach the strap. The opposite corner is finished to match

- clip the corners and turn the triangles right side out
- Fold each triangle in half again, matching the squared off corners
- Place one triangle inside the other, as shown

- On the triangle that is on the inside, topstitch to close the 4″ opening you left for turning the piece. The opening on the other piece will get closed in a later step
- On the inside triangle, mark spots just under the the spot where the triangles overlap, and install the magnetic snap, as shown

- Place the two triangles together again, and pin in place (see picture)
- Topstitch along the edge of the outer triangle, to join the two pieces and also close the 4″ opening you had used to turn the outer triangle

- Now fold, pin, and topstitch along the the two sides of the bag and the base of the straps. You could choose to leave your bag flat like this (see picture), or add box corners

- To add box corners, turn the bag inside out, fold the corner, so that the side seam is aligned with the bottom seam, and sew across the white line. The fabric is very bulky at this point, which is when I realized that it would help to leave interfacing off of these corners

- Finish the strap by looping the long end of the strap through the slider, around the ring, and back up around the inner piece of the slider. Fold the finished end of the strap back on itself and stitch in place
And here’s the finished bag! So I can wear it around the house!


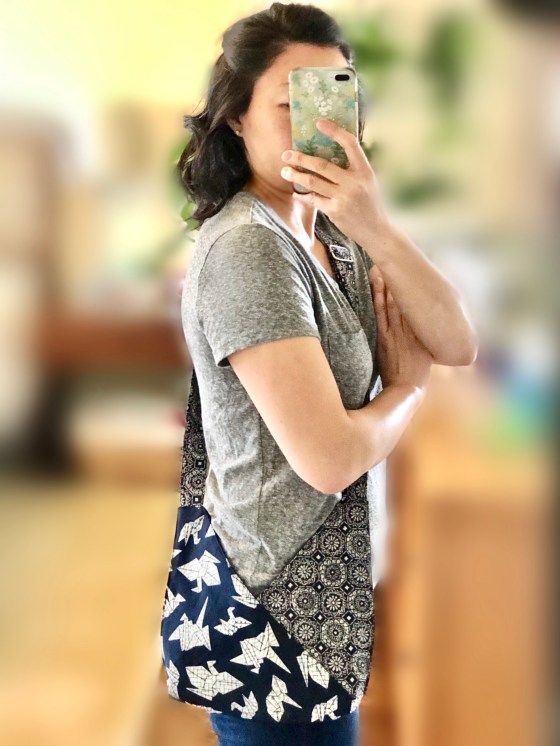


Stay safe, and happy sewing!
Julie aka “Jewels”

Pingback: Slouchy Silk Origami Bag | Jewels at Home
Pingback: Bamboo Ring Handle Tote Bags | Jewels at Home
Pingback: Noodlehead Trail Totes | Jewels at Home
Pingback: 10 DIY Origami Bag Patterns To Upcycle Your Next Event | DIY Make To