
This post is brought to you by this weekend’s fabulous vintage find! If you know me, you know I love finding vintage furniture – it’s even better if it’s mid-century bamboo or rattan – and it’s best if it’s free! … Continue reading
This post is brought to you by this weekend’s fabulous vintage find! If you know me, you know I love finding vintage furniture – it’s even better if it’s mid-century bamboo or rattan – and it’s best if it’s free! … Continue reading
When we moved into our house, the small enclosed balcony became a place for LEGO, board games, and other toys. Now that the boys are older, I’m excited to reclaim this room as a more grown-up space for reading, lounging,… maybe even napping!

At 5’x15′, there is not much space in here, which made this a quick project! The key elements I wanted to include were:
The look I wanted to achieve included:
Here are some pictures of how it has all come together. I did buy this daybed quilt set, but otherwise, everything in the room we already had in our house!


I love this ceramic garden stool, but I have been looking for the right spot for it – what could be better than this indoor-outdoor room?!

This bookcase was my grandmother’s. I repainted it about 20 years ago and added the caning (post coming soon) for this space, to create a tropical feel.

We’ve had this round mirror for a while, and it’s a bit small for where it was hanging before, but it works perfectly here. The walls in this room are crazy hard to drill into (which makes sense, because they are actually exterior walls), so I braided some rope from my macrame days and hung it from a hook in one of the ceiling beams. I like how it adds to the outdoorsy, bohemiam vibe in here!


This room is a win-win with the plants – they love all the light, and they definitely help make me feel like I’m outside in nature!


This daybed is a magnet for people who love to snuggle!

Finn would also like to snuggle on the daybed. This is his mildly dissatisfied face, because he had to stay on the rug…

Last couple of close-ups of this vignette. I love how everything old feels new again, when you find just the right combination!


So excited to read, and snuggle, and knit, (and nap) in our new sunroom!
Julie aka “Jewels”
Every room is a combination of the essentials that make it work and the decor that makes it beautiful. These elements are so important in a guest room, where you want your friends and family to feel both like they’re as comfortable as they are at home as well as transported on a great adventure.
When we finished our basement, we built in a small and cozy guestroom. When my sister planned a visit, I was motivated to finally finish decorating it. Luckily, I have a very understanding, sister – see?

First, the essentials, and then onto the fun part – decorating!
Guest room essentials:
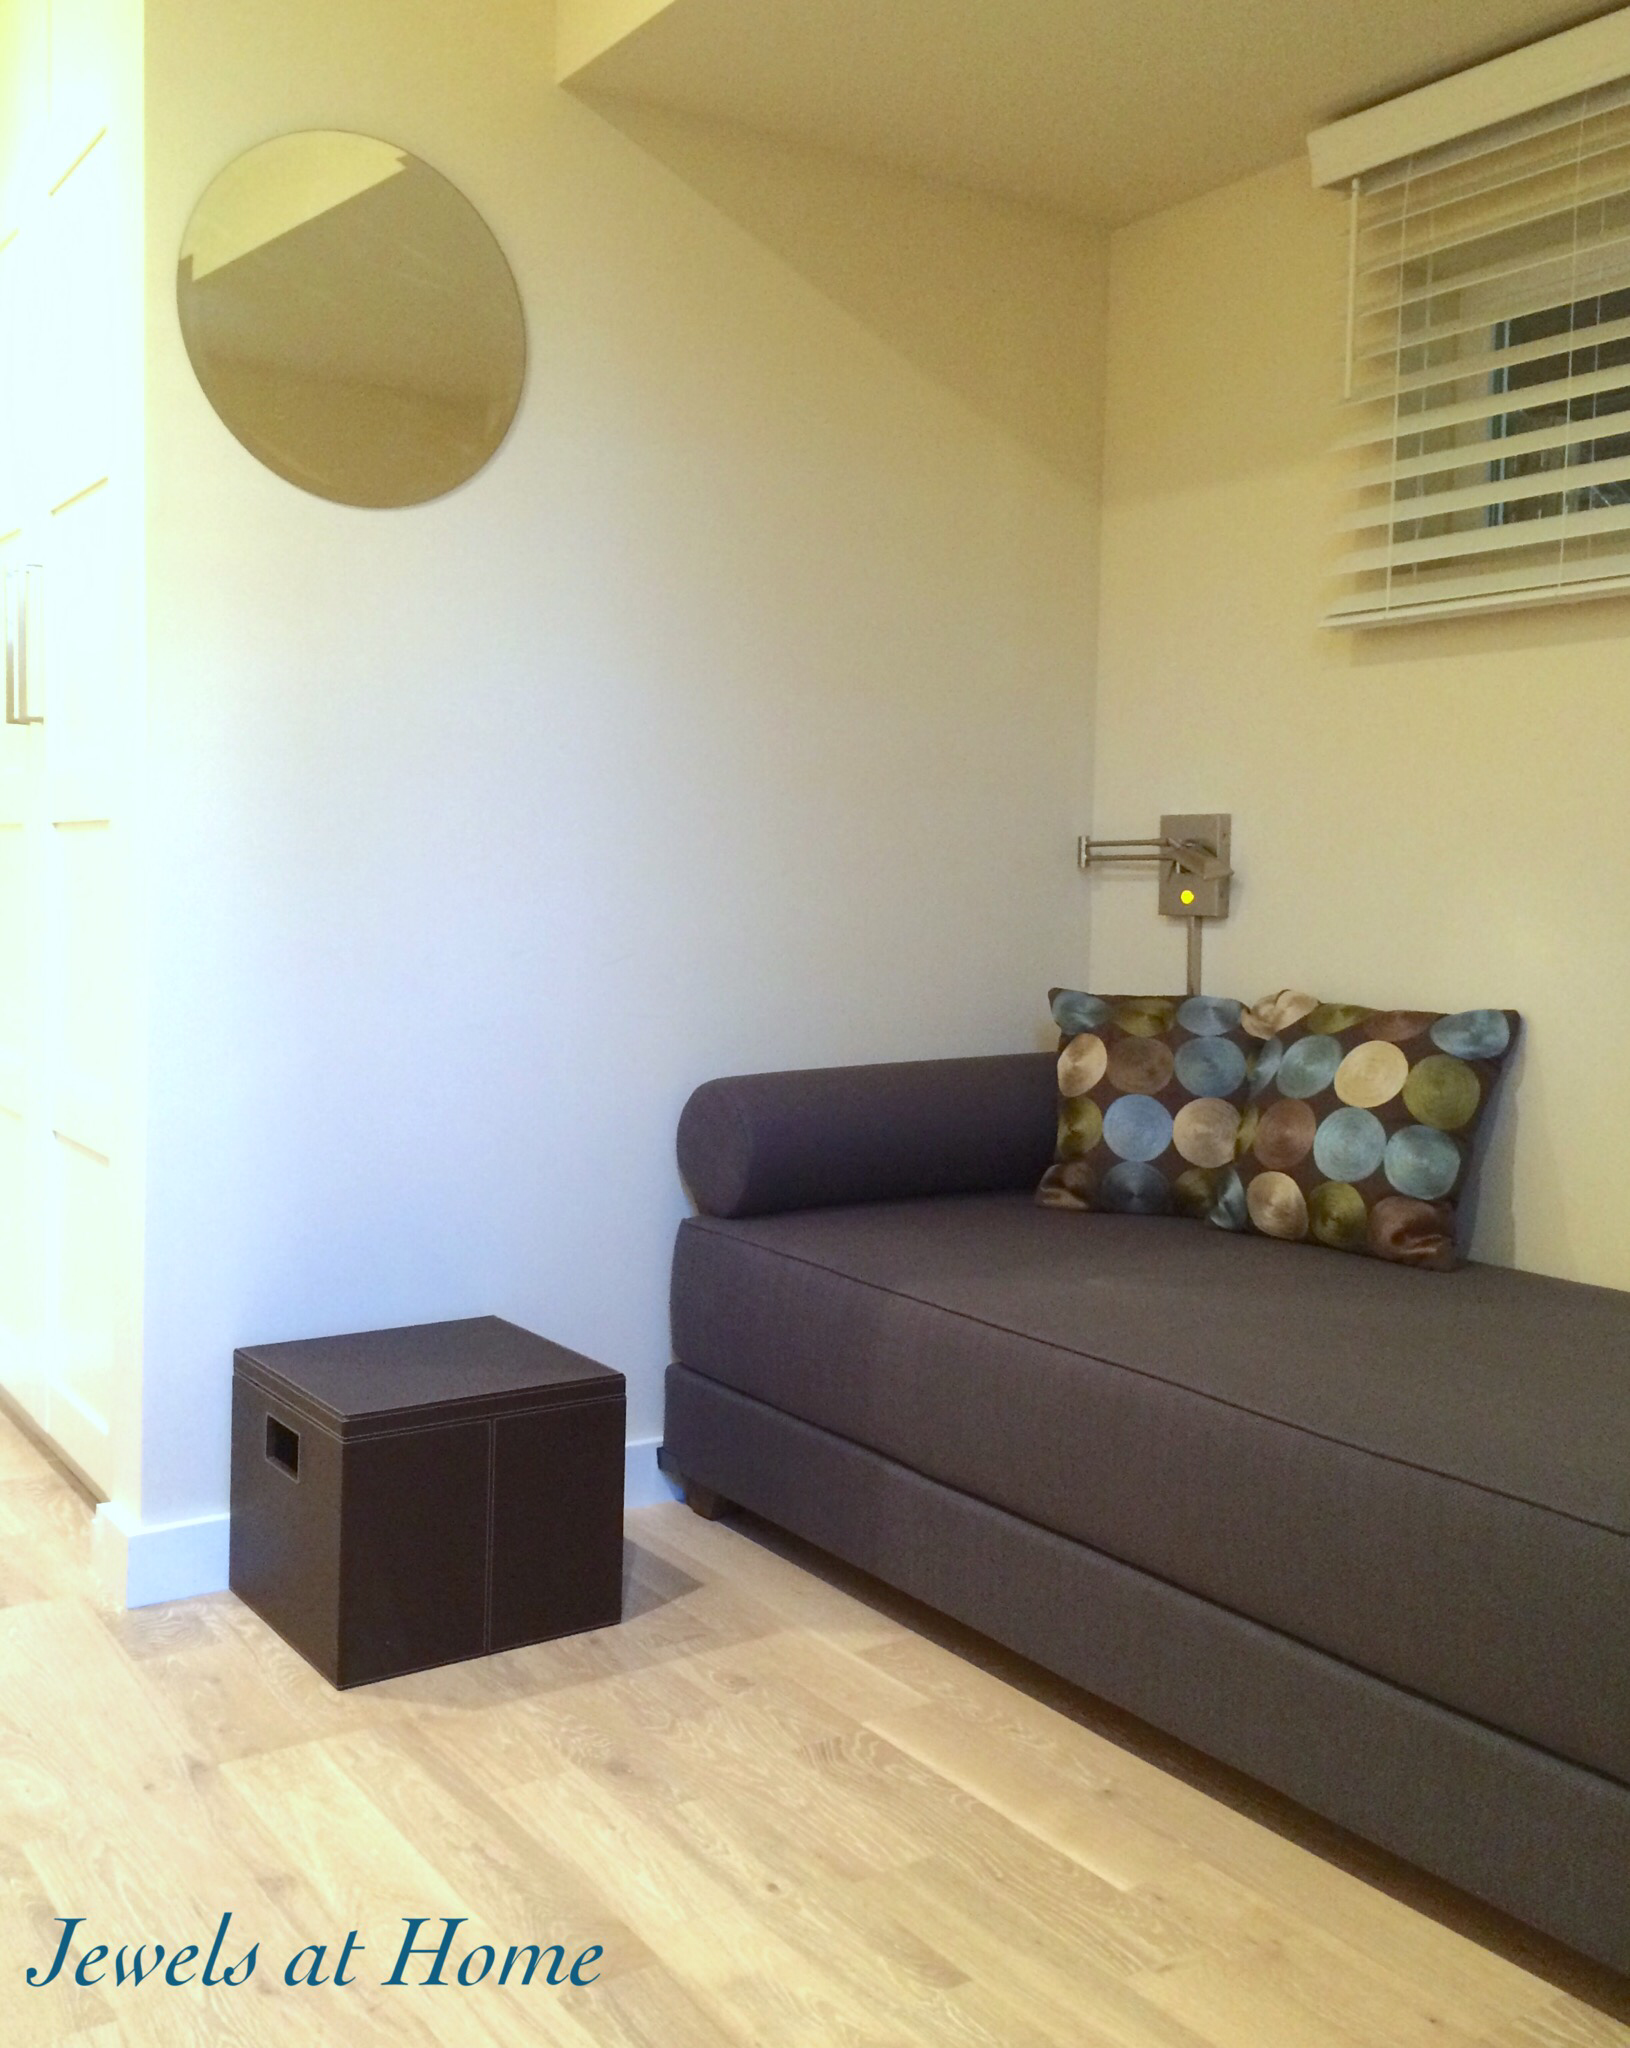
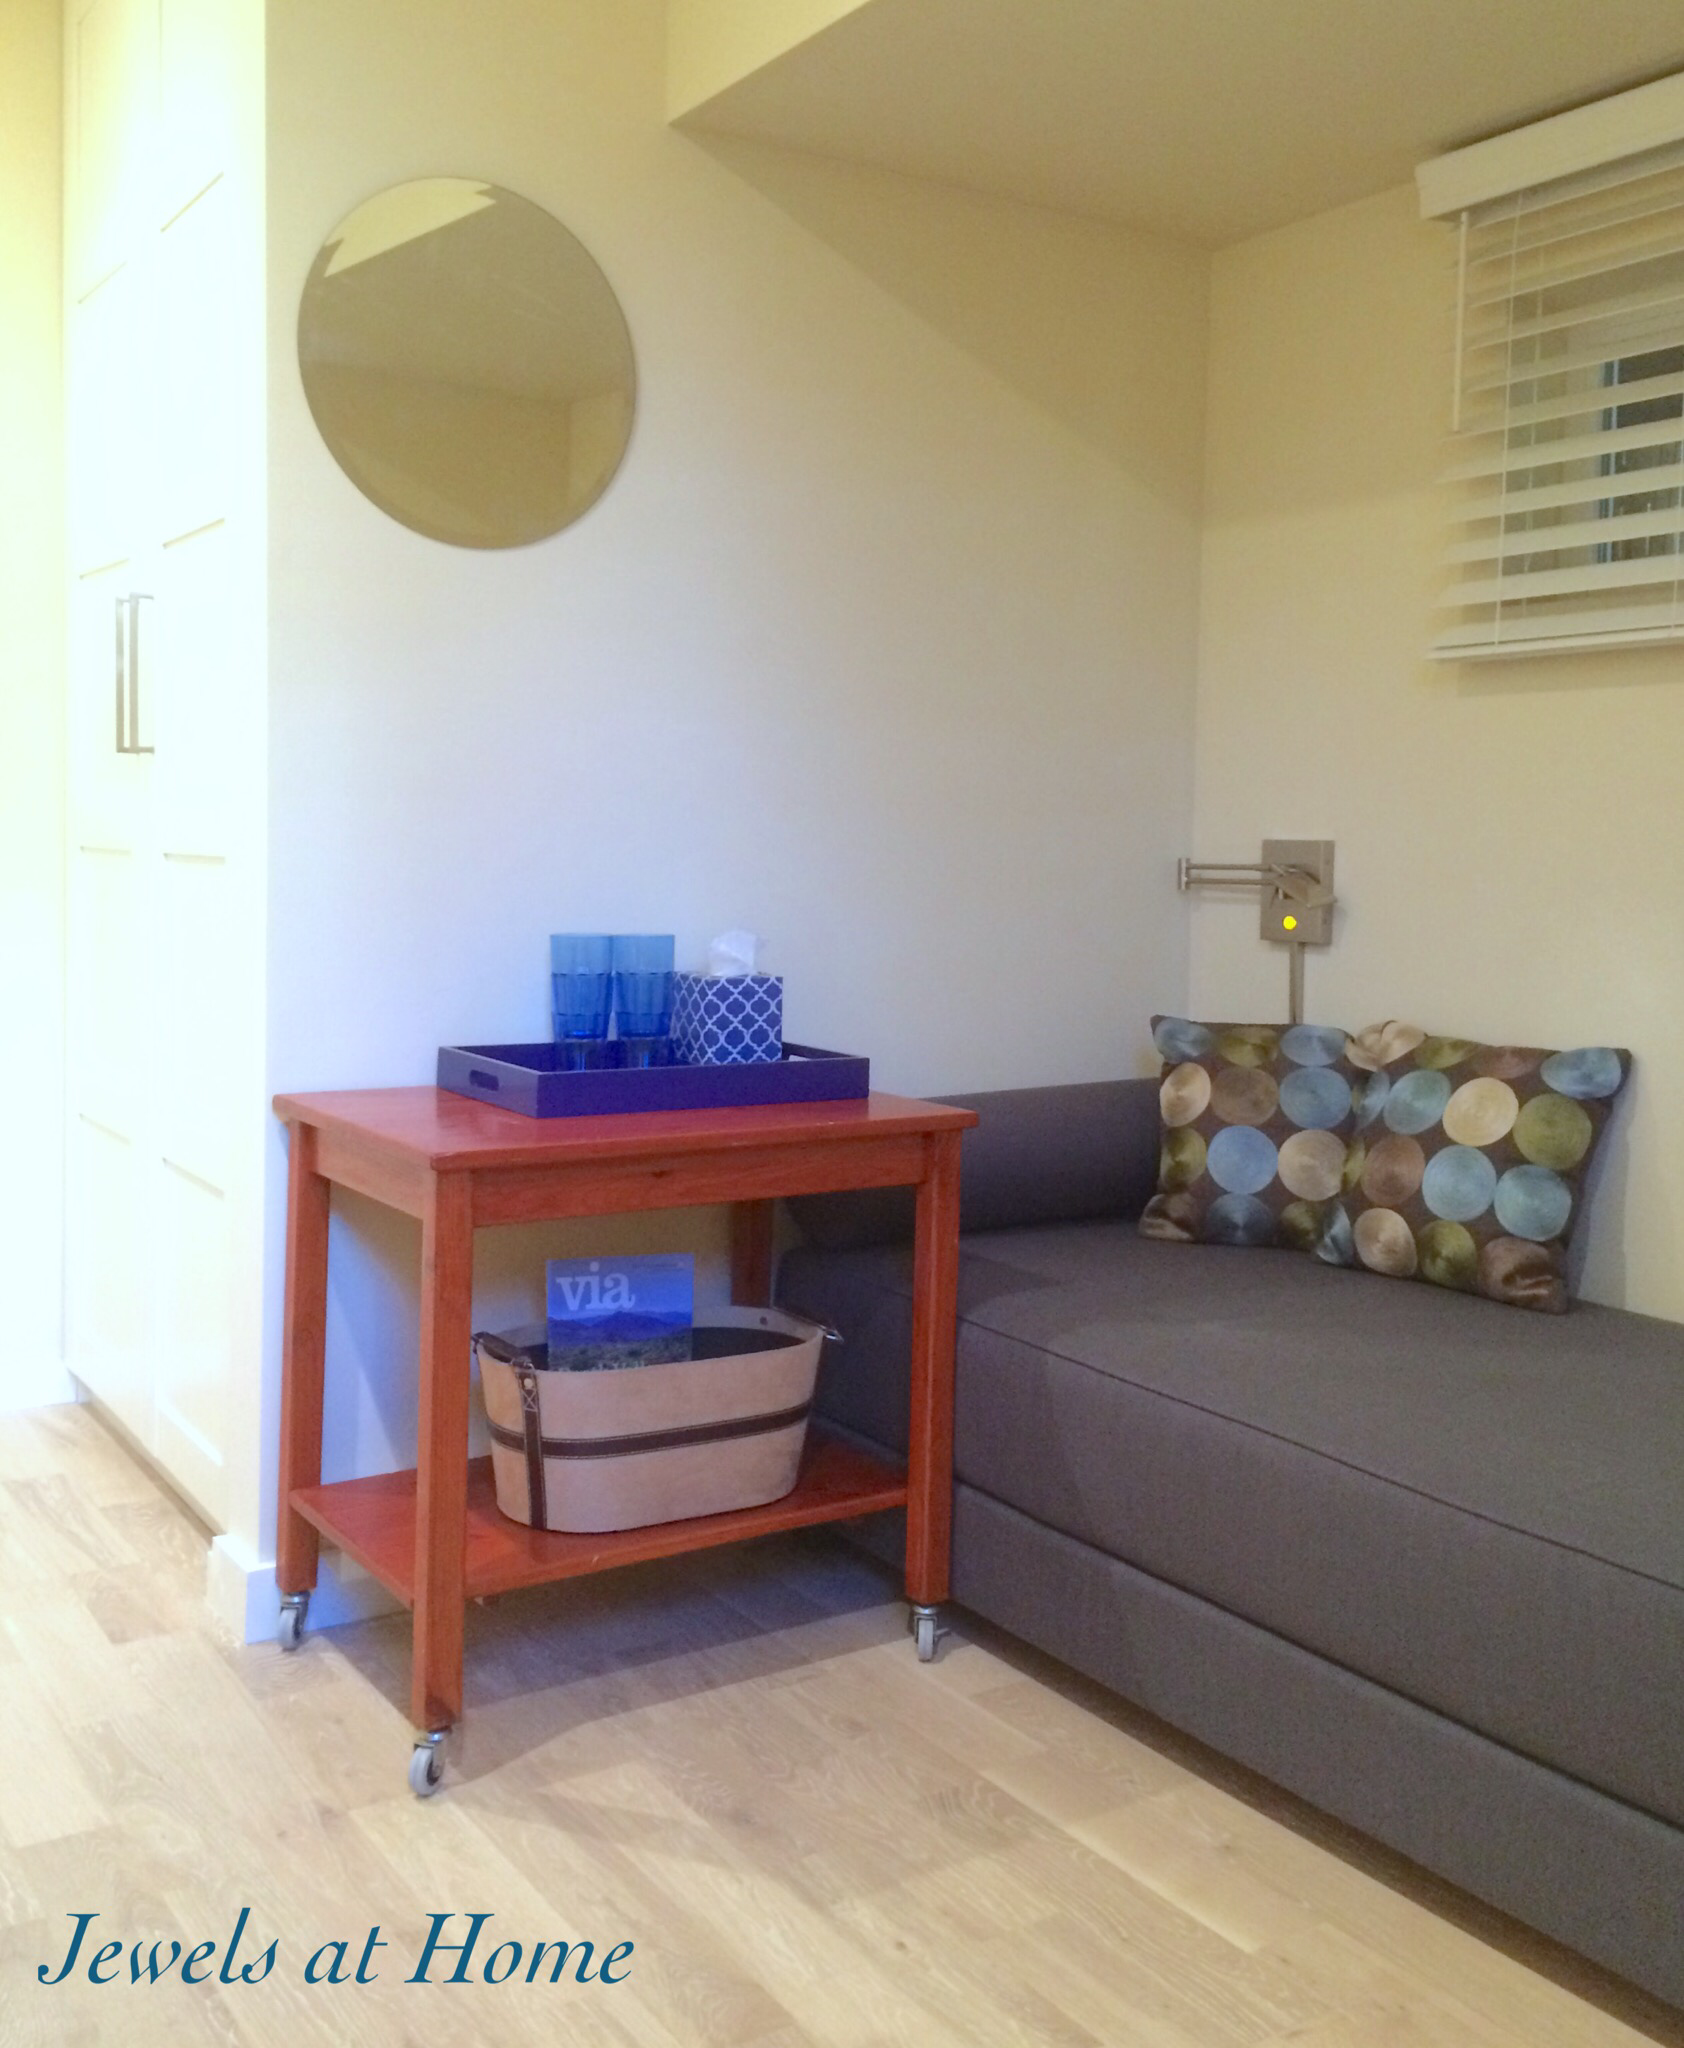
Here’s our daybed:

It converts into a queen mattress:

Or two twin mattresses:

Now, onto the decorating!
Guest Room Finishing Touches:
Window coverings – it’s important to have good like control in your guestroom, since you may have visitors who are jetlagged and need to sleep when it’s light outside. Our guestroom is in the basement, which means that the windows are at ground level, so these wood blinds were the perfect solution for privacy and light control.

A mirror is also a great addition to any guestroom. In our case, the mirror also helps bring more light into this basement bedroom.

I added some travel themed art that had been up in the boys’ room before they switched over to superheroes. Finally, I love this oversized map where all of our guests can mark their hometowns.

We look forward to welcoming more friends and family to this home sweet away-from-home!
“Jewels”
I have a serious thing for daybeds. There is something so primally cozy about curling up on a deep bed, surrounded by cushions.

Daybeds are practical, too. I have one in my craft studio, which is also our guest room. It’s a twin bed for our single guests, and there is a pop-up trundle below that can be combined with the main bed to make a king bed for couples and families.
When we added built-in closets to our master bedroom, they created a little alcove under the windows that was perfect for a window seat. Rather than a narrow bench, I decided to fill this space with a deep daybed, perfect for reading, napping, or lounging and taking in the view.
This space will also work out for those nights when a nightmare brings a little one into our room in the middle of the night… see, practical!
I considered building something myself, but I was nervous that that kind of project might never get done, with three kids running around. So, I did a lot of browsing and measuring to find ready-made materials that would fit together into an almost-built-in deep window seat and then added handmade touches with the pillows and storage boxes.
I found that three of these Closetmaid 3 Cube White Storage Benches filled the space almost end to end, leaving just enough room to access the electrical outlets on the walls at either end. The benches I bought are only 14″ deep, but I was able to add extra depth with some existing pieces boxes and shelves around the house, to create a luxurious 30″ deep daybed. To top it all off, I used two basic crib mattresses which fit perfectly across and provide great support. This Safety 1st Heavenly Dreams White Crib Mattress
is reasonably priced and on the larger side (did you know crib mattresses were not a standard size?!), so it fills up the bench nicely.
Although I used benches out of a box and ready-made mattresses, this project has lots of handmade touches as well:
I’m beyond happy with out new window seat and am looking forward to enjoying many quiet moments here.


“Jewels”
I occasionally get obsessed with a project that I just can’t get out of my head. The window seat daybed in our master bedroom was definitely one of these! The daybed itself was easy to assemble from purchased benches and crib mattresses, but projects for this cozy alcove went on and on! One of the biggest was sewing the covers for the daybed mattresses. I love the Robert Allen Souk fabric in Dove, and I’ll show you how to make these covers yourself.

As a guideline, I used these instructions from Kate at the Centsational Girl blog to sew the covers. My dimensions are different, and I didn’t see how she did the back corners, so I’ll show all the steps here.
Supplies for covering two crib mattresses:
Because the daybed is made from crib mattresses that are 52″ long, I was able to use the full width of a standard 54″ wide decorator fabric across the mattress. For each mattress, I cut a 70″ long x 54″ wide (full width) section of fabric and zig-zagged the raw edges of each piece.
I laid the fabric over the mattress and marked where the front seams would be. (Pictured below)

Mark the fabric to where the front seams will be.
I then folded the fabric at the seam and sewed with a 3/8″ seam allowance to create a clean seam for the front edges of the cushion. (Pictured below)

Fold and sew to create the front seams.
Each mattress required two 6.5″x 32″ side panels, and I again zig-zagged the edges. These are longer than the width of the mattress, so they can wrap around the back to keep any of the mattress from showing.
To attach the side panels, line up the end of the side panels with the front of the main panel (between the seams) and sew that small section with a 1/2 inch seam allowance. (top left picture below)
Next, turn and pin the long edge of the side panels in place and sew with a 1/2 inch seam allowance. Since the side panels are longer than the mattress, I marked on the main panel where the back edge of the cushion should be and sewed up to that point. (top right picture below)

Adding the side panels to the cushion cover. Sew the front edge first and then the side seams.
After attaching all the side panels, I finished the ends of the panels by folding under a 1/2 inch hem and stitching. (Top left picture below)
For the back closure, I had one short flap and one long one, so the closure was along the edge of the cushion. While this looks very neat when finished, in retrospect, I would have centered the closure on the back, so I could flip the cushion over if it gets worn without any of the closure showing at the edge.
I sewed one side of the Velcro to the outside of the short flap and the other side to the inside of the long flap. (Top right picture below) It looks very neat when done!

Finishing the cushion cover. Finish the edges of the side panels, so they can wrap around the back of the cushion. Sew velcro to the inside of one back flap and the outside of the other. Ta-da!
I’m so happy with how these new cushion covers fit and look! A neat tip: to keep the cushions from moving around, I used a rug pad underneath.
We’ve already started hanging out on our new window seat already, and there are just a few more projects left to finish up this cozy alcove!


I’ve got more cushions planned, including round bolsters to finish off the ends of the bench. I’m looking forward to showing you the finishing touches soon!
“Jewels”
