- Week One – Small Foyer, Big Plans
- Week Two – “Tile” Vinyl Floor Mats
- Week Three – Foyer Bench / Shoe Cabinet
- Week Four – Building a Mini Mudroom
- Week Five – Favorite Blue Chinoiserie Wallpapers
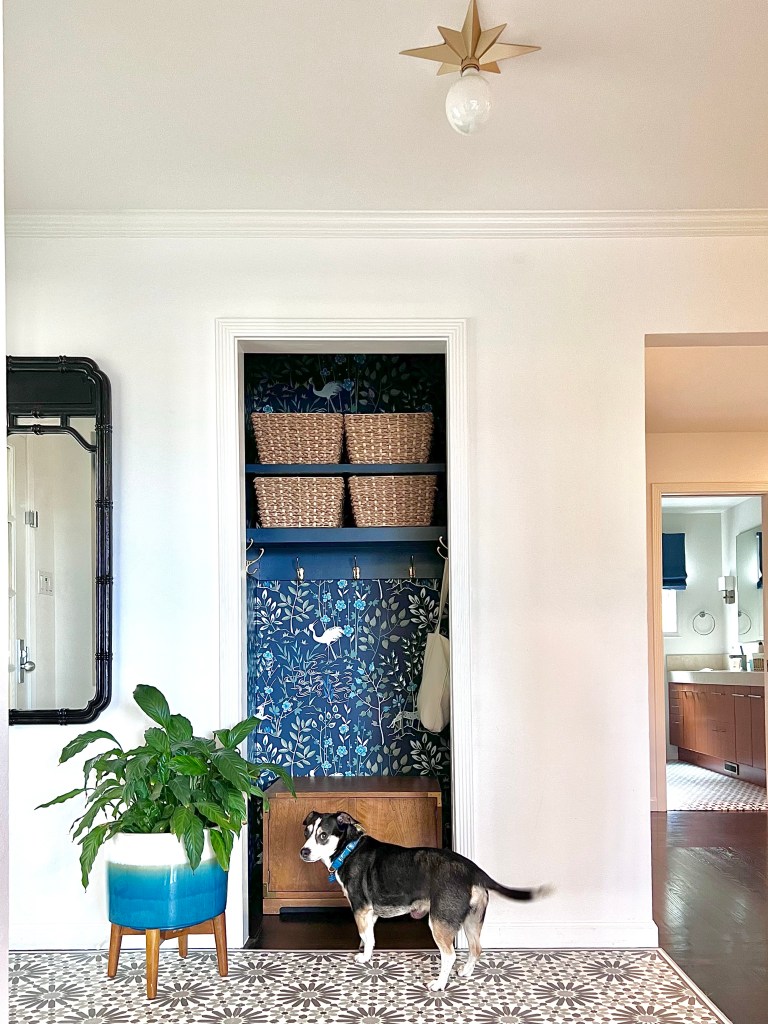
- Week Six – Mini Mudroom Reveal
- Week Seven – Favorite Retro Flush Mount Lighting
It’s hard to top last week’s Mini Mudroom reveal. The conversion of our standard entry closet in to an eye-catching and functional focal point was a real thrill (True, I don’t get out much!). This week’s project for our foyer makeover was changing out the bland ceiling fixture for something that makes a statement!

Our space is small, and the ceilings are only 8.5′ high, so I was looking for a modest flush mount fixture that would add some character to our entry. Here are the beauties that made the short list:

- Ballard Designs Luna Star Ceiling Mount I love this! It’s the inspiration for my final choice – keep reading!
- West Elm Sculptural Faceted Flushmount I came so close to picking this! In fact, it’s the light I had on my moodboard from week 1
- Pottery Barn Teen Bailey Recycled Glass Flushmount I also came very close to buying this fixture! I particularly like that it echoes the shape of the Serena and Lily Capiz Scalloped Chandelier in the adjacent room, but I digress…
- Possini Euro Orilla Ceiling Light This caught my eye for the shape and the elegant timeless look
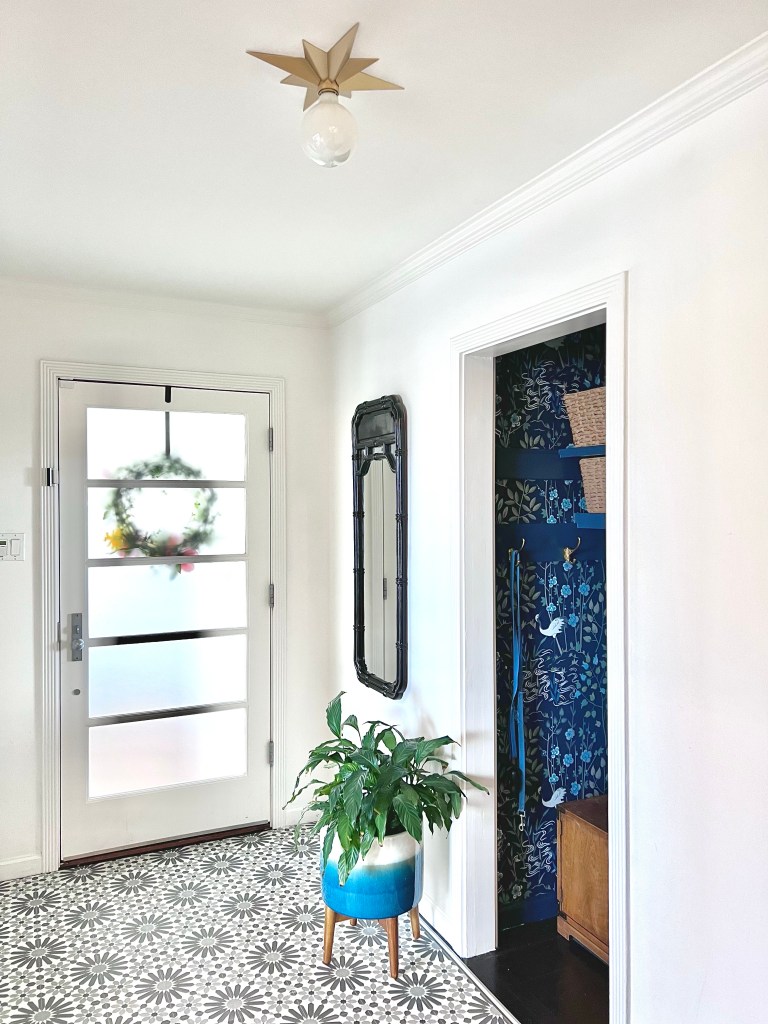
- Gold Star Light Fixture This was my final choice!
I ended up choosing the simple Gold Star Light Fixture, and I paired it with an oversized bulb (affiliate links). It’s not quite as elegant as the inspiration from Ballard Designs, but it’s definitely added style to our little entry way!


I’m going to add some finishing touches and take some more pictures to share for next week’s grand finale! In the meantime, head on back to the One Room Challenge site to see some more room transformations!
Julie AKA “Jewels”