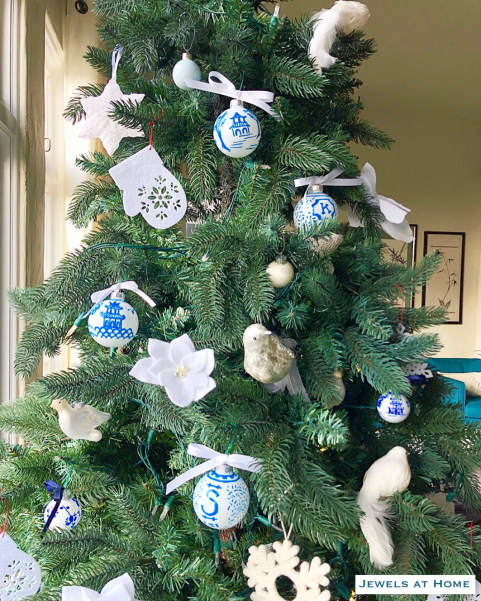
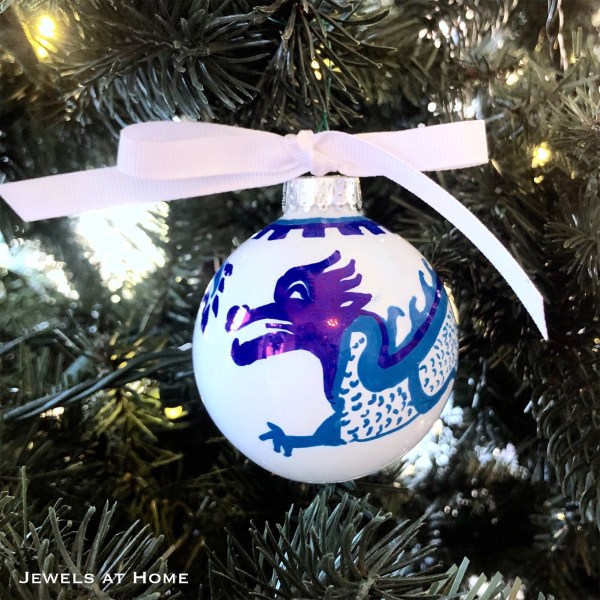
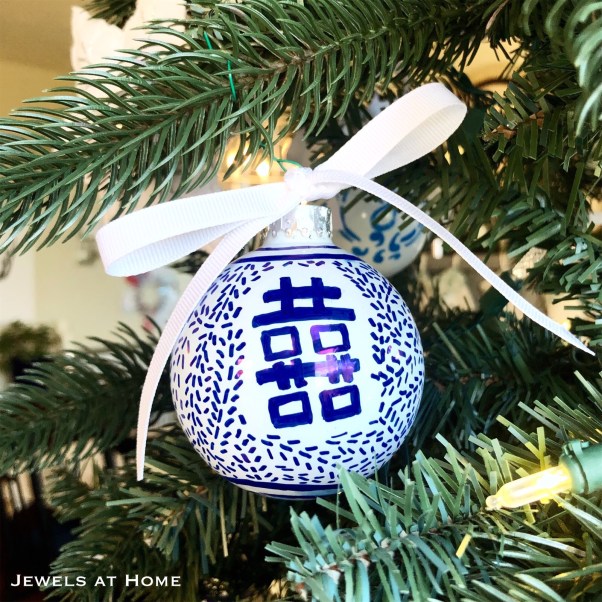
For this year’s Chinoiserie Christmas, I mostly used decorations I already had from our “white and woodsy Christmas,” with the addition of these hand-drawn ornaments! This post is coming late, because it took me all month to finish these ornaments, and now I am sad that I am putting them away already!


Here’s what you’ll need:
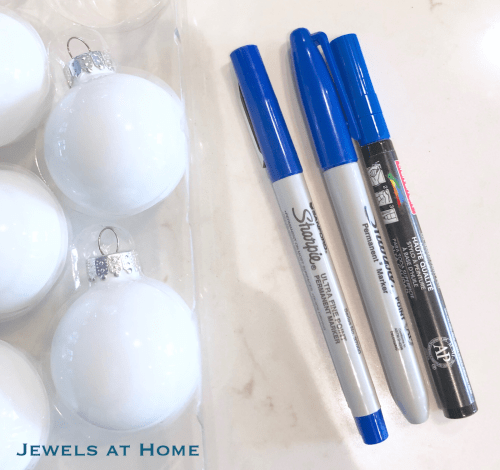
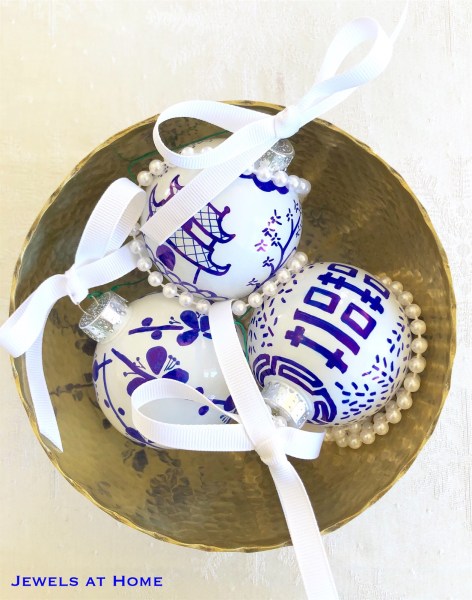
- White ball ornaments. I found glass ones at Michael’s.
- Blue marker: I used a paint pen and also fine and extra-fine blue Sharpies
- Ribbon
- Ornament hooks
- Post-it notes
- Ideas for patterns – I have some guidelines below, and I collected a ton of inspiration on this Pinterest board:
Here’s how to do it:
If you’re like me and don’t do much drawing, I warn you that drawing on a slippery round object takes a little practice, but it does get easier! Some tips:
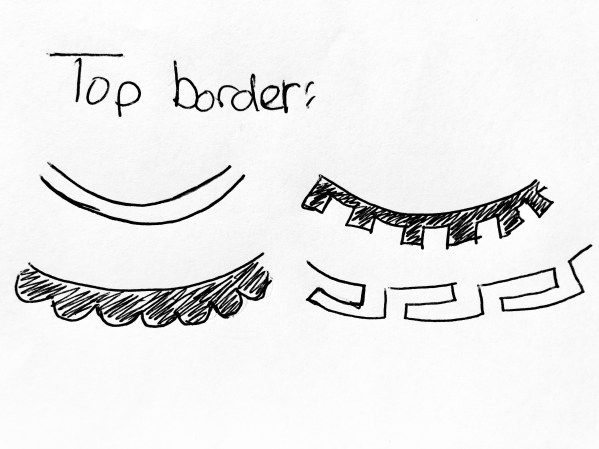
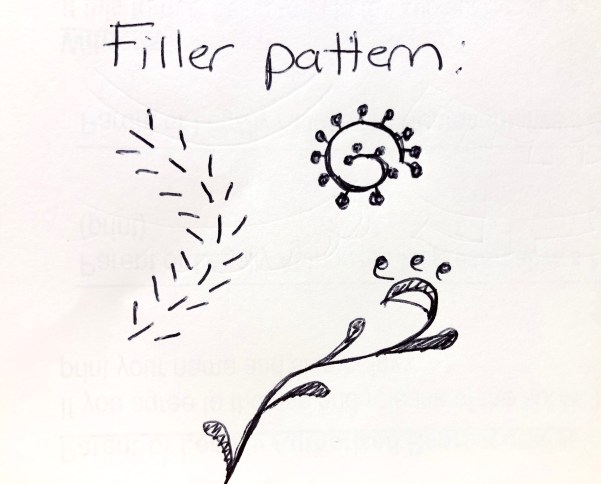
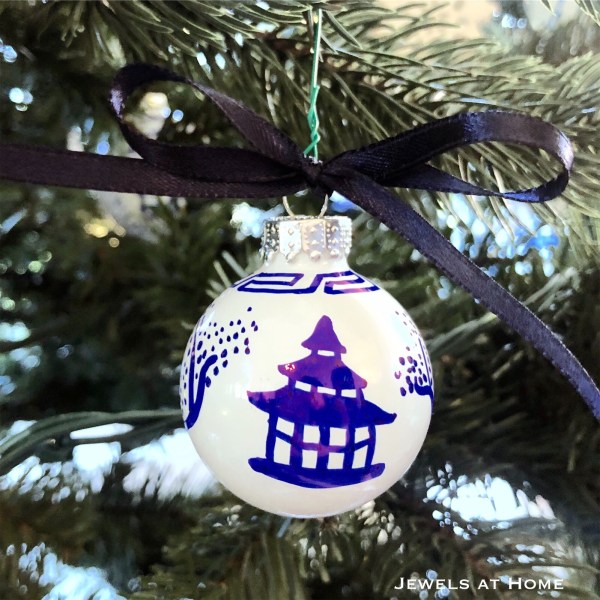
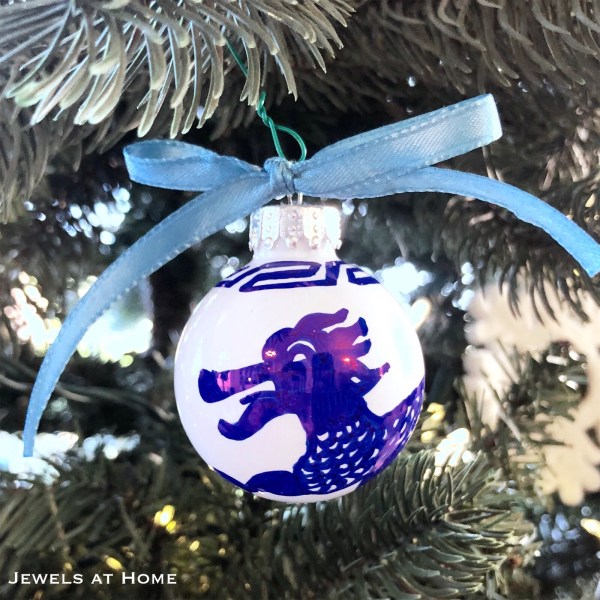
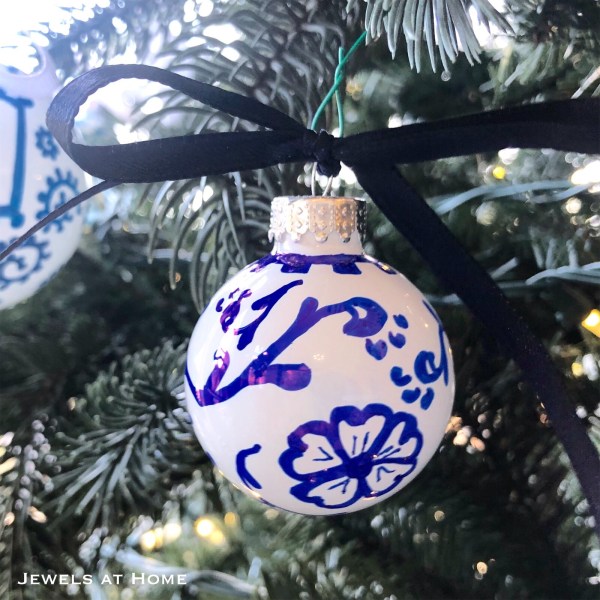
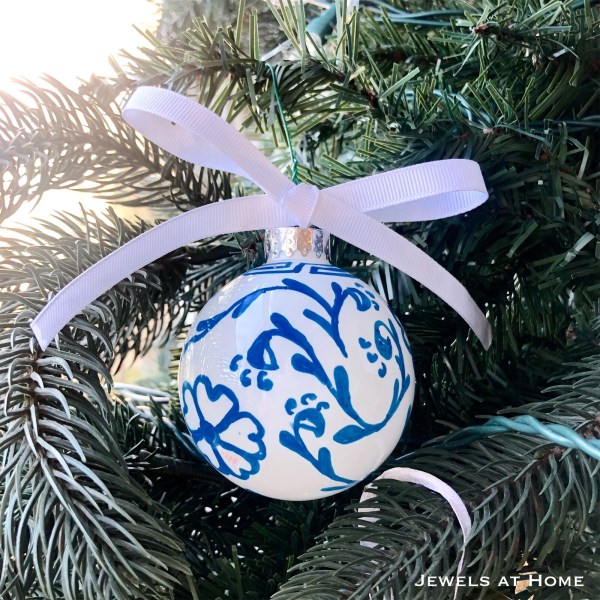
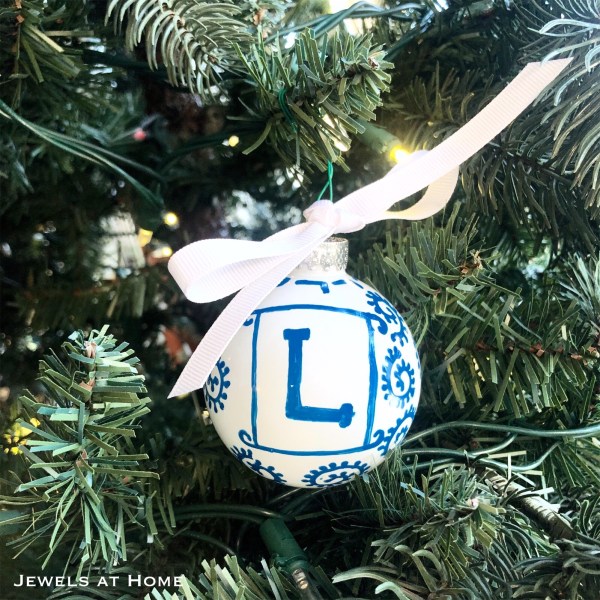
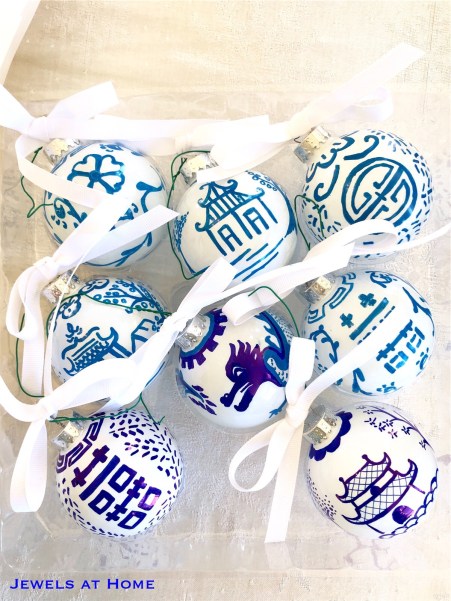
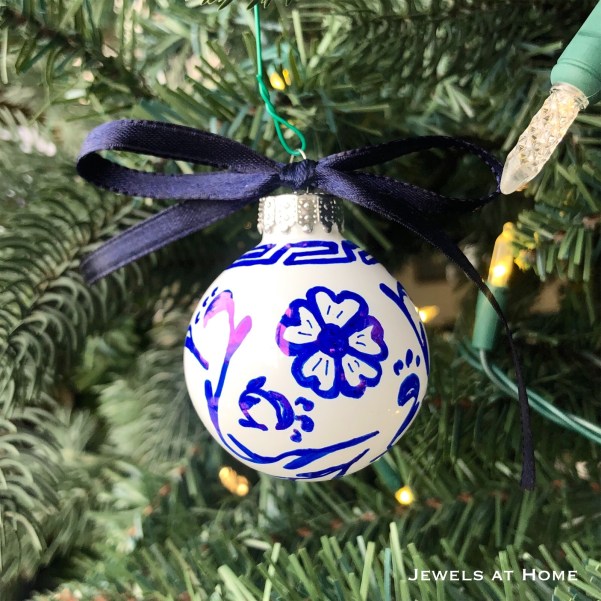
- Break your design into components: a border pattern around the top, central design(s), and a filler pattern
- To draw regular geometric shapes, I used a post-it note as a template – drawing precise shapes on a slippery round object is tricky!!
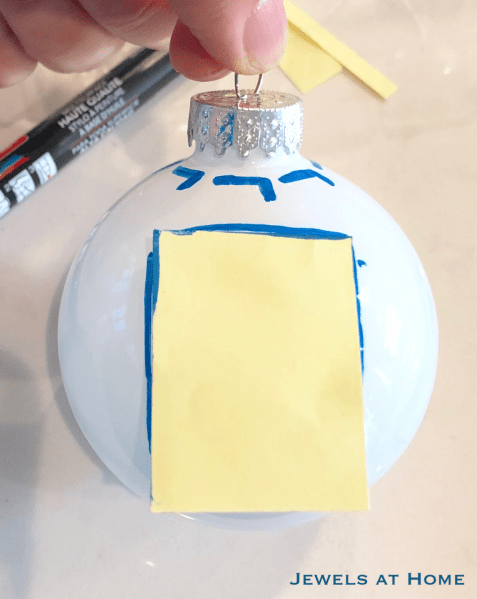
Progress shot:
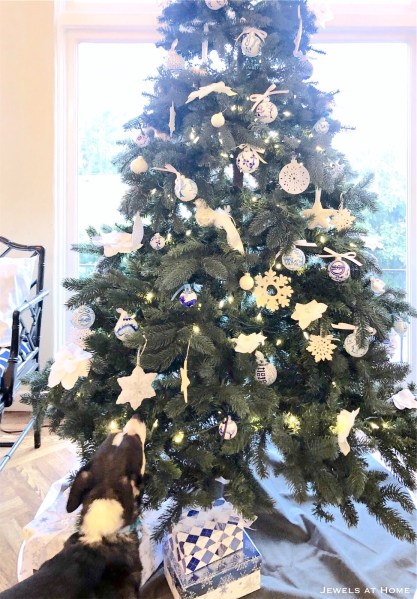
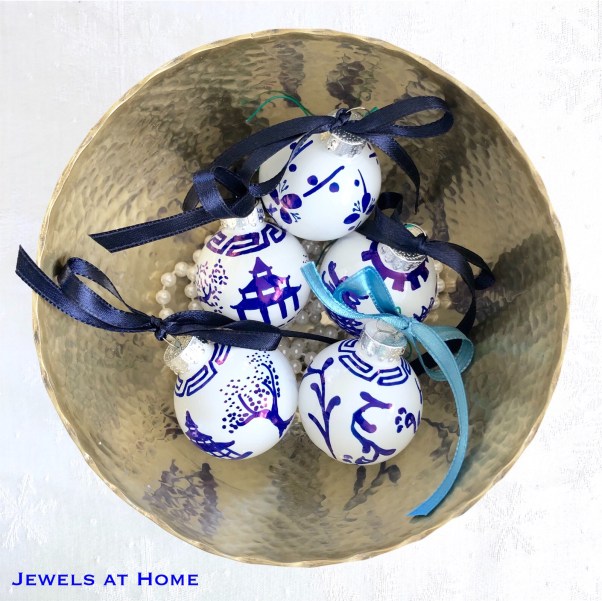
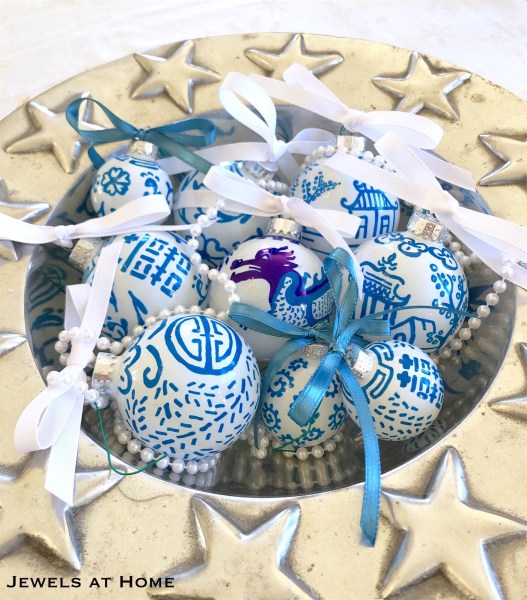
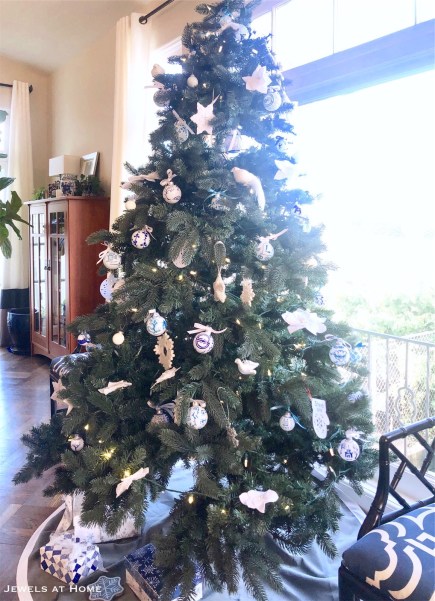
 I’m really happy with how these turned out! I mixed them in with other white ornaments, like these DIY felt poinsettias, and our classic blue and white theme really came together! And now for a gazillion pictures of these pretty ornaments!


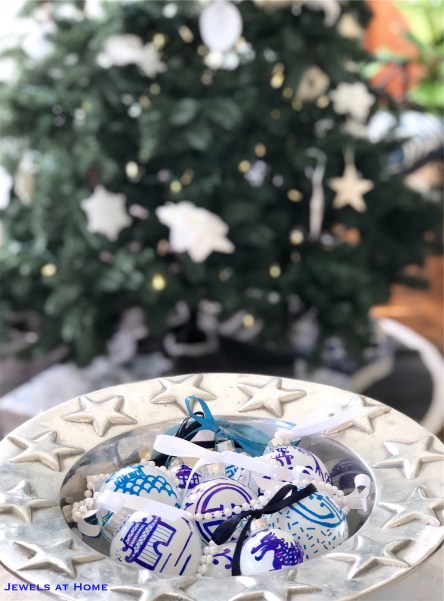


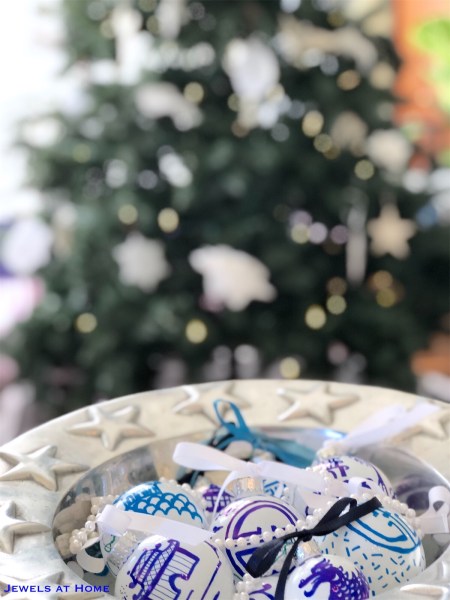
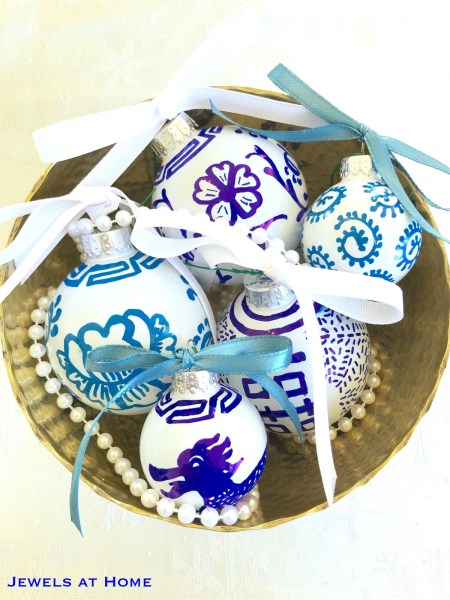
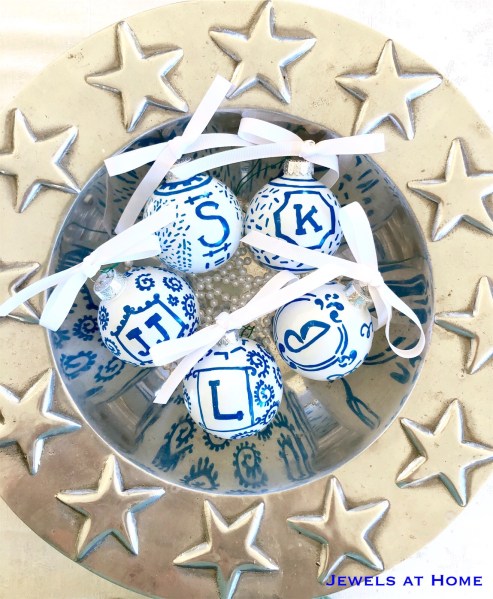


Happy holidays!
I am going to miss these ornament – I have another idea for next year’s Christmas – but I am sure they will be making another appearance down the road!
Julie aka “Jewels”

Pingback: I’m dreaming of a (Blue and) White Chinoiserie Chic Christmas | Jewels at Home