Little Girls’ Felted Purses

Okay, so these were supposed to be for my nieces’ birthday this year, but I wasn’t done in time. That’s alright, because it’s even better to give them the purses in person while they visit us for the holidays!

The concept is similar to the striped felted purse I made for myself, so you can read more detailed instructions there. I somehow managed to forget that the felting shrinks more in length and width, so the purses ended up a bit stouter than I intended, but I think they will work out. I added a little button and loop closure this time. I also made the straps out of fabric, rather then knitting and felting them, because I find the strap on my purse a bit scratchy. I think I’m going to go back and line my strap with some fabric.

Other than that, I’m very happy with how the purses turned out. It was fun to put some contrasting fabric inside, and I hope the girls have a lot of fun with them!

Make these little girls' felted purses | Jewels at Home

Make these little girls' felted purses | Jewels at Home

Make these little girls' felted purses | Jewels at Home

Make these little girls' felted purses | Jewels at Home

Make these little girls' felted purses | Jewels at Home

Make these little girls' felted purses | Jewels at Home

Make these little girls' felted purses | Jewels at Home

Make these little girls' felted purses | Jewels at Home

“Jewels”

Gifts Made by the Boys

The fact that I’m writing this when it is already Christmas morning in most parts of the world tells you what kind of crazy-busy December we had this year. I’m definitely looking forward to a few days of downtime with the family.

We don’t do a lot of shopping for Christmas. The adults in my family have generally agreed to not exchange gifts, and our kids get so much from their grandparents and aunts and uncles, that at most, we pick up one or two little things for them. However, on the night of December 23, I realized that I really wanted to have something to give to my dad and brother-in-law who are both celebrating Christmas with us this year. There was absolutely no way I was going to go near a mall on Christmas eve, so I wracked my brain and scoured my craft supplies to come up with a few meaningful projects that we could make at home.

We reprised the mugs that we made for Steve’s birthday and Father’s Day last year, and the boys also made these fun picture collages. We enjoyed going through old pictures to find our favorites, and I also added some extra copies of Christmas cards from the last few years. The boys did all the cutting and gluing themselves, as evidenced by the fact that there are duplicates right next to each other and other quirky touches. I think that our family is going to love these!

Gifts made by the kids: Hand-painted mugs | Jewels at Home

Gifts made by the kids: Family photo collages | Jewels at Home

Gifts made by the kids: Family photo collages using old Christmas cards | Jewels at Home

And for me, being able to stay in on December 24 was the best present of all.

Red and White Christmas | Jewels at Home
Merry Christmas!
“Jewels”

DIY Hand-Stamped Tea Towels – Teacher Holiday Gifts

“So….,” says Steve with studied casualness, “Um, I noticed a lot of new towels in our house…?”

My awesome hubby gets a lot of points for calmly observing many the craft obsession. Dozens of beaded snowflakes? Check! Table full of dip-painted utensils? Check! Washing machine filled with felting? Check! He rarely seems phased, so I know this must look particularly strange.

I’m stamping tea towels to give as holiday gifts for our teachers and coworkers this year. And there are a lot of them!

DIY Hand-Stamped Tea Towels | Jewels at Home

Supplies:

Instructions:

  • Prewash and iron the dish towels
  • For the stamps, spread some ink on a plate or flat surface, spread it with the brayer, and then roll onto your stamp and stamp the fabric
  • For the cookie cutters, you can dip the cookie cutter into the paint directly
DIY Hand-Stamped Tea Towels | Jewels at Home

Fun citrus print! I made this stamp by sticking adhesive foam to the wooden block from another stamp. I spread the paint onto a flat surface with a brayer and then rolled it on to the stamp.

DIY Hand-Stamped Tea Towels | Jewels at Home

  • Hang the towels to dry. This drying rack came in handy!

DIY Hand-Stamped Tea Towels | Jewels at Home

DIY Hand-Stamped Tea Towels | Jewels at Home

DIY Hand-Stamped Tea Towels | Jewels at Home

  • I read a lot of ideas about how to heat set the paints to make the colors last. I ended up letting them air dry for several days, running the towels on the hottest setting in my dryer for an hour and then ironing to finish them. I tried using the oven to heat set, because the ironing was so tedious, but a few towels got scorched, so I would try that with caution.

DIY Hand-Stamped Tea Towels | Jewels at Home

DIY Hand-Stamped Tea Towels | Jewels at Home

DIY Hand-Stamped Tea Towels | Jewels at Home

DIY Hand-Stamped Tea Towels | Jewels at Home

DIY Hand-Stamped Tea Towels | Jewels at Home

DIY Hand-Stamped Tea Towels | Jewels at Home

DIY Hand-Stamped Tea Towels | Jewels at Home

DIY Hand-Stamped Tea Towels | Jewels at Home

DIY Hand-Stamped Tea Towels | Jewels at Home

I love how our new towels look in our new kitchen!
DIY Hand-Stamped Tea Towels | Jewels at Home

Look who joined in the fun!
DIY Hand-Stamped Tea Towels | Jewels at Home

And off we went to play Santa!
DIY Hand-Stamped Tea Towels | Jewels at Home

I’d love to try some more designs soon. Check out these other cute stamps from Yellow Owl Workshop!

Yellow Owl Workshop Mushroom Snail Stamp Set
IMG_2963.PNG

Yellow Owl Workshop Apple Honeybee Stamp Set

IMG_2965.PNG

Yellow Owl Workshop Le Menu Stamp Kit
IMG_2964.PNG

Merry Christmas and Happy Holidays!

“Jewels”

“Stainless Steel” Contact Paper Tray

Okay, so I just discovered this faux stainless contact paper, and I’m sure this project is just the first of many projects!!

Remember the tray project that took less time than writing the post? Here it is again with faux stainless contact paper.

I’m sure this beer-themed tray has its uses, but it’s not the look I’m going for. I did, however, like the teal blue color of the edges and the price ($5.49!! at Ross). A quick addition of the metallic contact paper totally transformed it, don’t you think?

Transform a decorative tray with stainless steel contact paper | Jewels at Home

Transform a decorative tray with stainless steel contact paper | Jewels at Home

Transform a decorative tray with stainless steel contact paper | Jewels at Home

Transform a decorative tray with stainless steel contact paper | Jewels at Home

Transform a decorative tray with stainless steel contact paper | Jewels at Home

There’s also Brushed Pewter contact paper, which I already bought, and Brushed Copper contact paper, which is next on the list. I already have ideas for those!

What are you going to make with these fun finds?

“Jewels”

Overlapping Circles Tray in Blue and Silver

A while back, my friend Ari got the inspiration to paint decorative trays, and I caught the bug. She finished painting her tray some time ago, and it turned out beautifully with gold spray-painted stripes. I definitely took longer to finish my tray, but at last, it’s done!

Elegant overlapping circles painted tray in silver and blue | Jewels at Home

The inspiration for my latest project was actually a tray that Ari found after I wrote my earlier post on ideas for decorating trays. This gorgeous Circles Silver Round Mirror made by Beaux Maison and was my inspiration piece!

Circles Silver Tray

Circles Silver Round Mirror Tray. This is a beautiful inspiration!

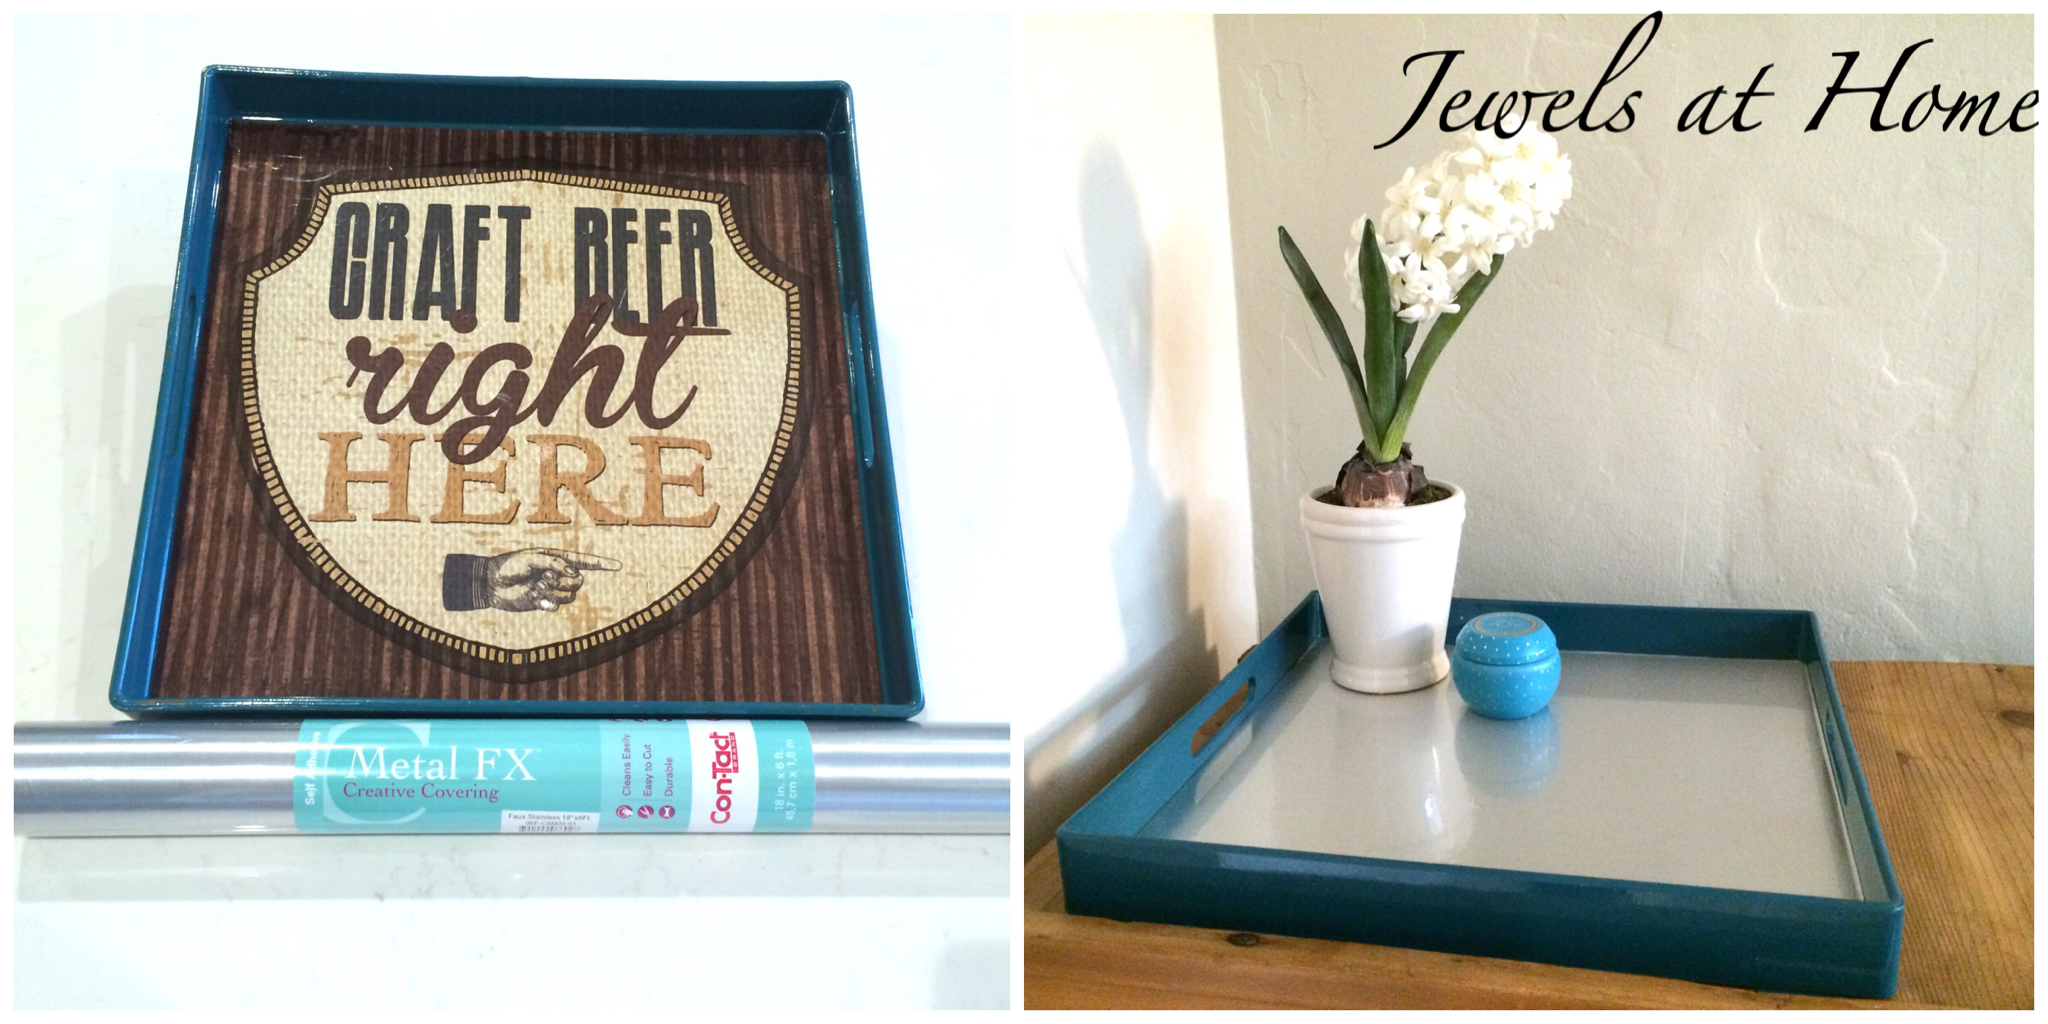
I love the pattern and silver glow, which I thought would be perfect for an old round tray I had lying around. My original tray was from Target, and while I love the shape and the pattern of the bamboo, it had nicks and scratches in the finish, and the color doesn’t work with our current living room.

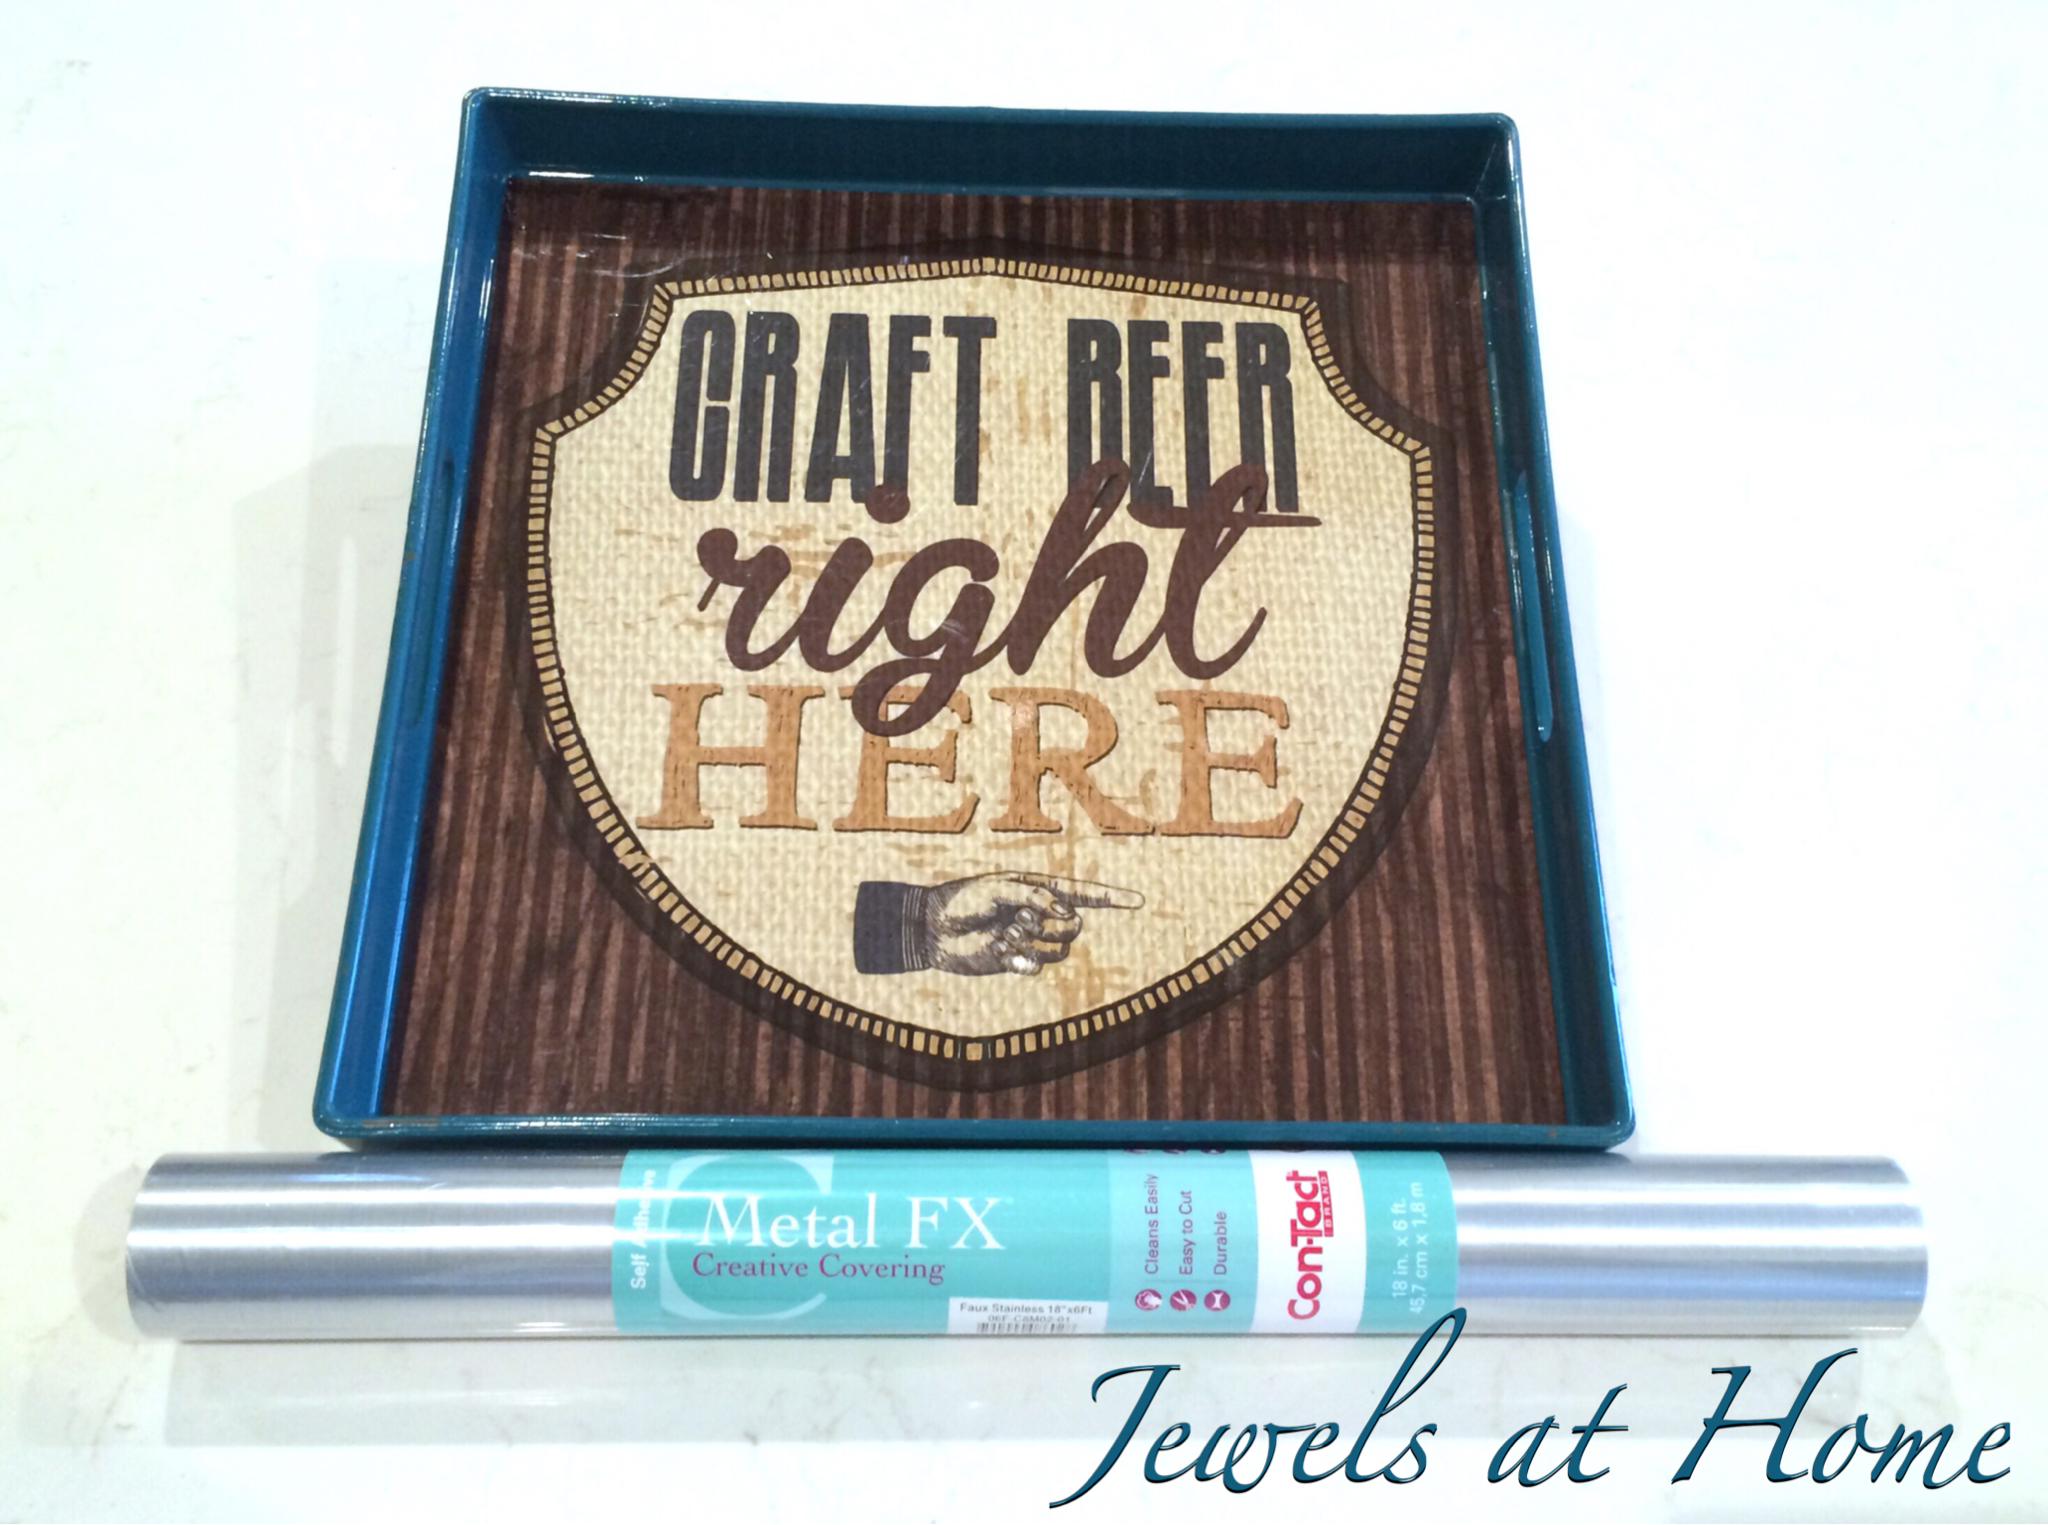
The tray had a very glossy finish, so I started by sanding it with a coarse (100 grit) sandpaper and using heavy-duty Zinsser Bulls Eye Primer.

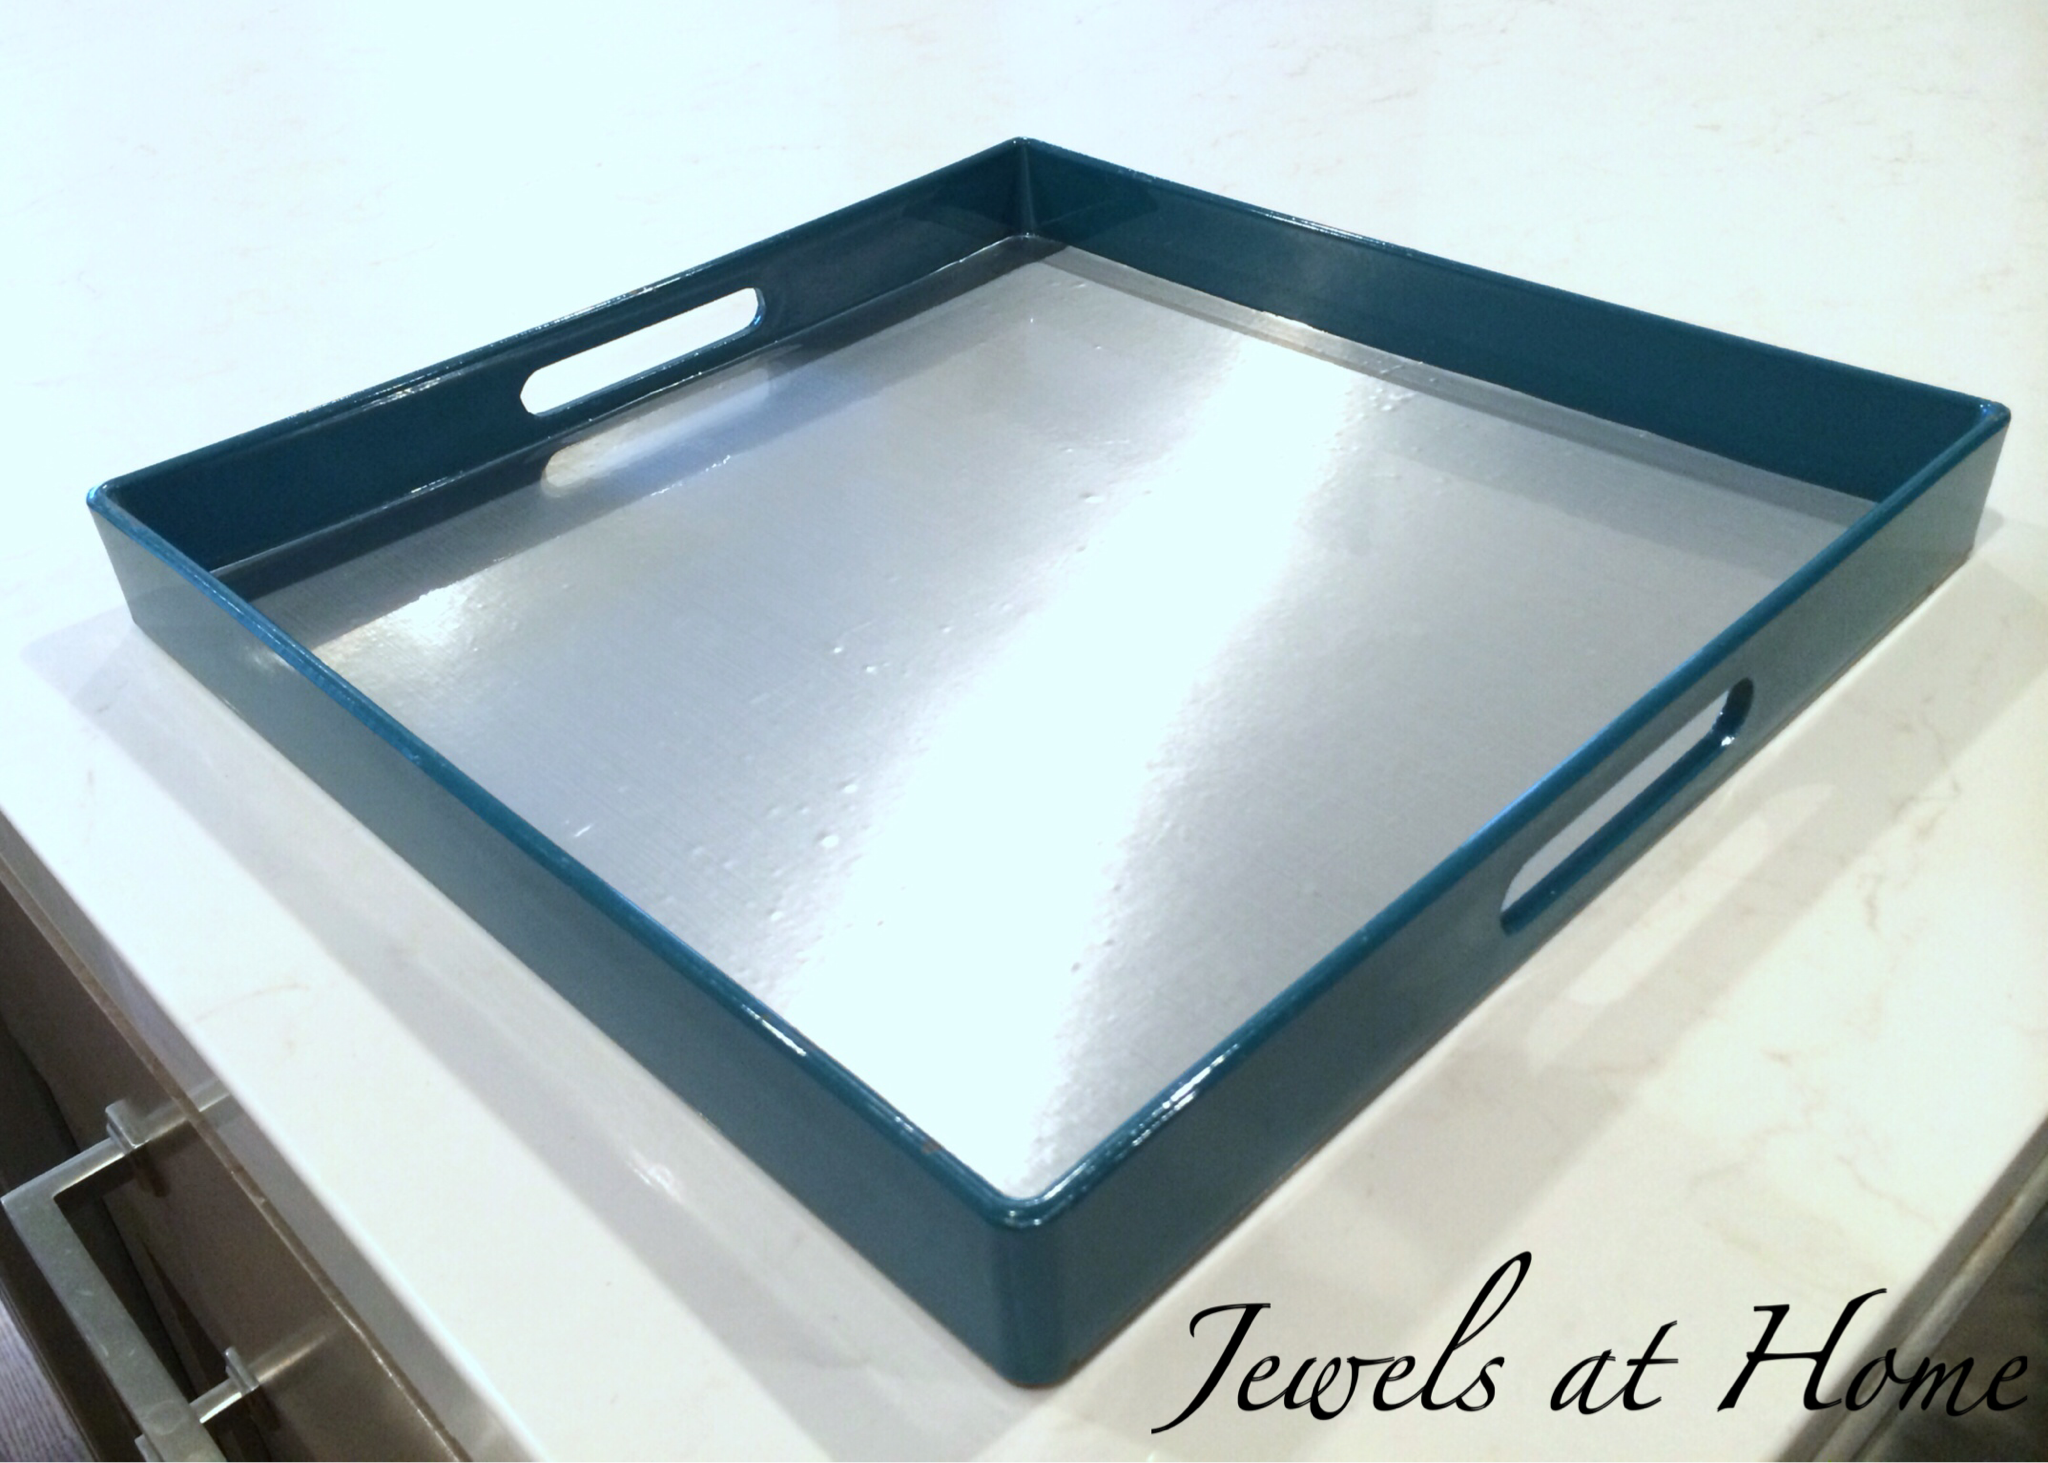
I could have painted the tray in matte and glossy silver paint, to come closer to the Beaux Maison version, but I thought that might be a bit dressy for our living room, so I used a base of pale blue paint. The leftover can of Swept Away by Benjamin Moore has worked for several other projects already, like these painted screens.

Making a contact paper stencil:
To get the overlapping circles design, I found a simple graphic by searching the internet for images. This pattern actually came from a picture of a doormat!

I enlarged it and printed several copies to fit the large tray. After joining the pages together, I taped the whole template to a piece of contact paper. I then used a craft knife to cut out the design. This took a long time, but it made a good activity for a quiet evening, or should I say many quiet evenings!

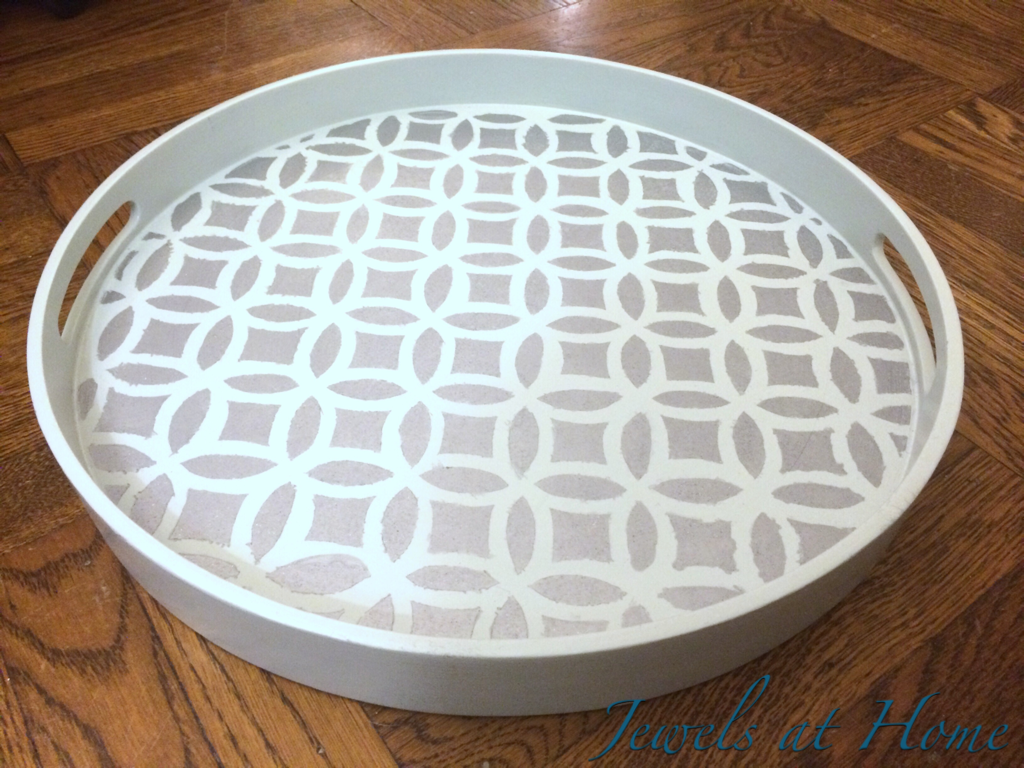
When it was cut out, I used the stencil with some silver craft paint and created the design.

To finish the project, I applied several coats of a clear spray finish.

Elegant overlapping circles painted tray in silver and blue | Jewels at Home

Elegant overlapping circles painted tray in silver and blue | Jewels at Home

Elegant overlapping circles painted tray in silver and blue | Jewels at Home

Elegant overlapping circles painted tray in silver and blue | Jewels at Home

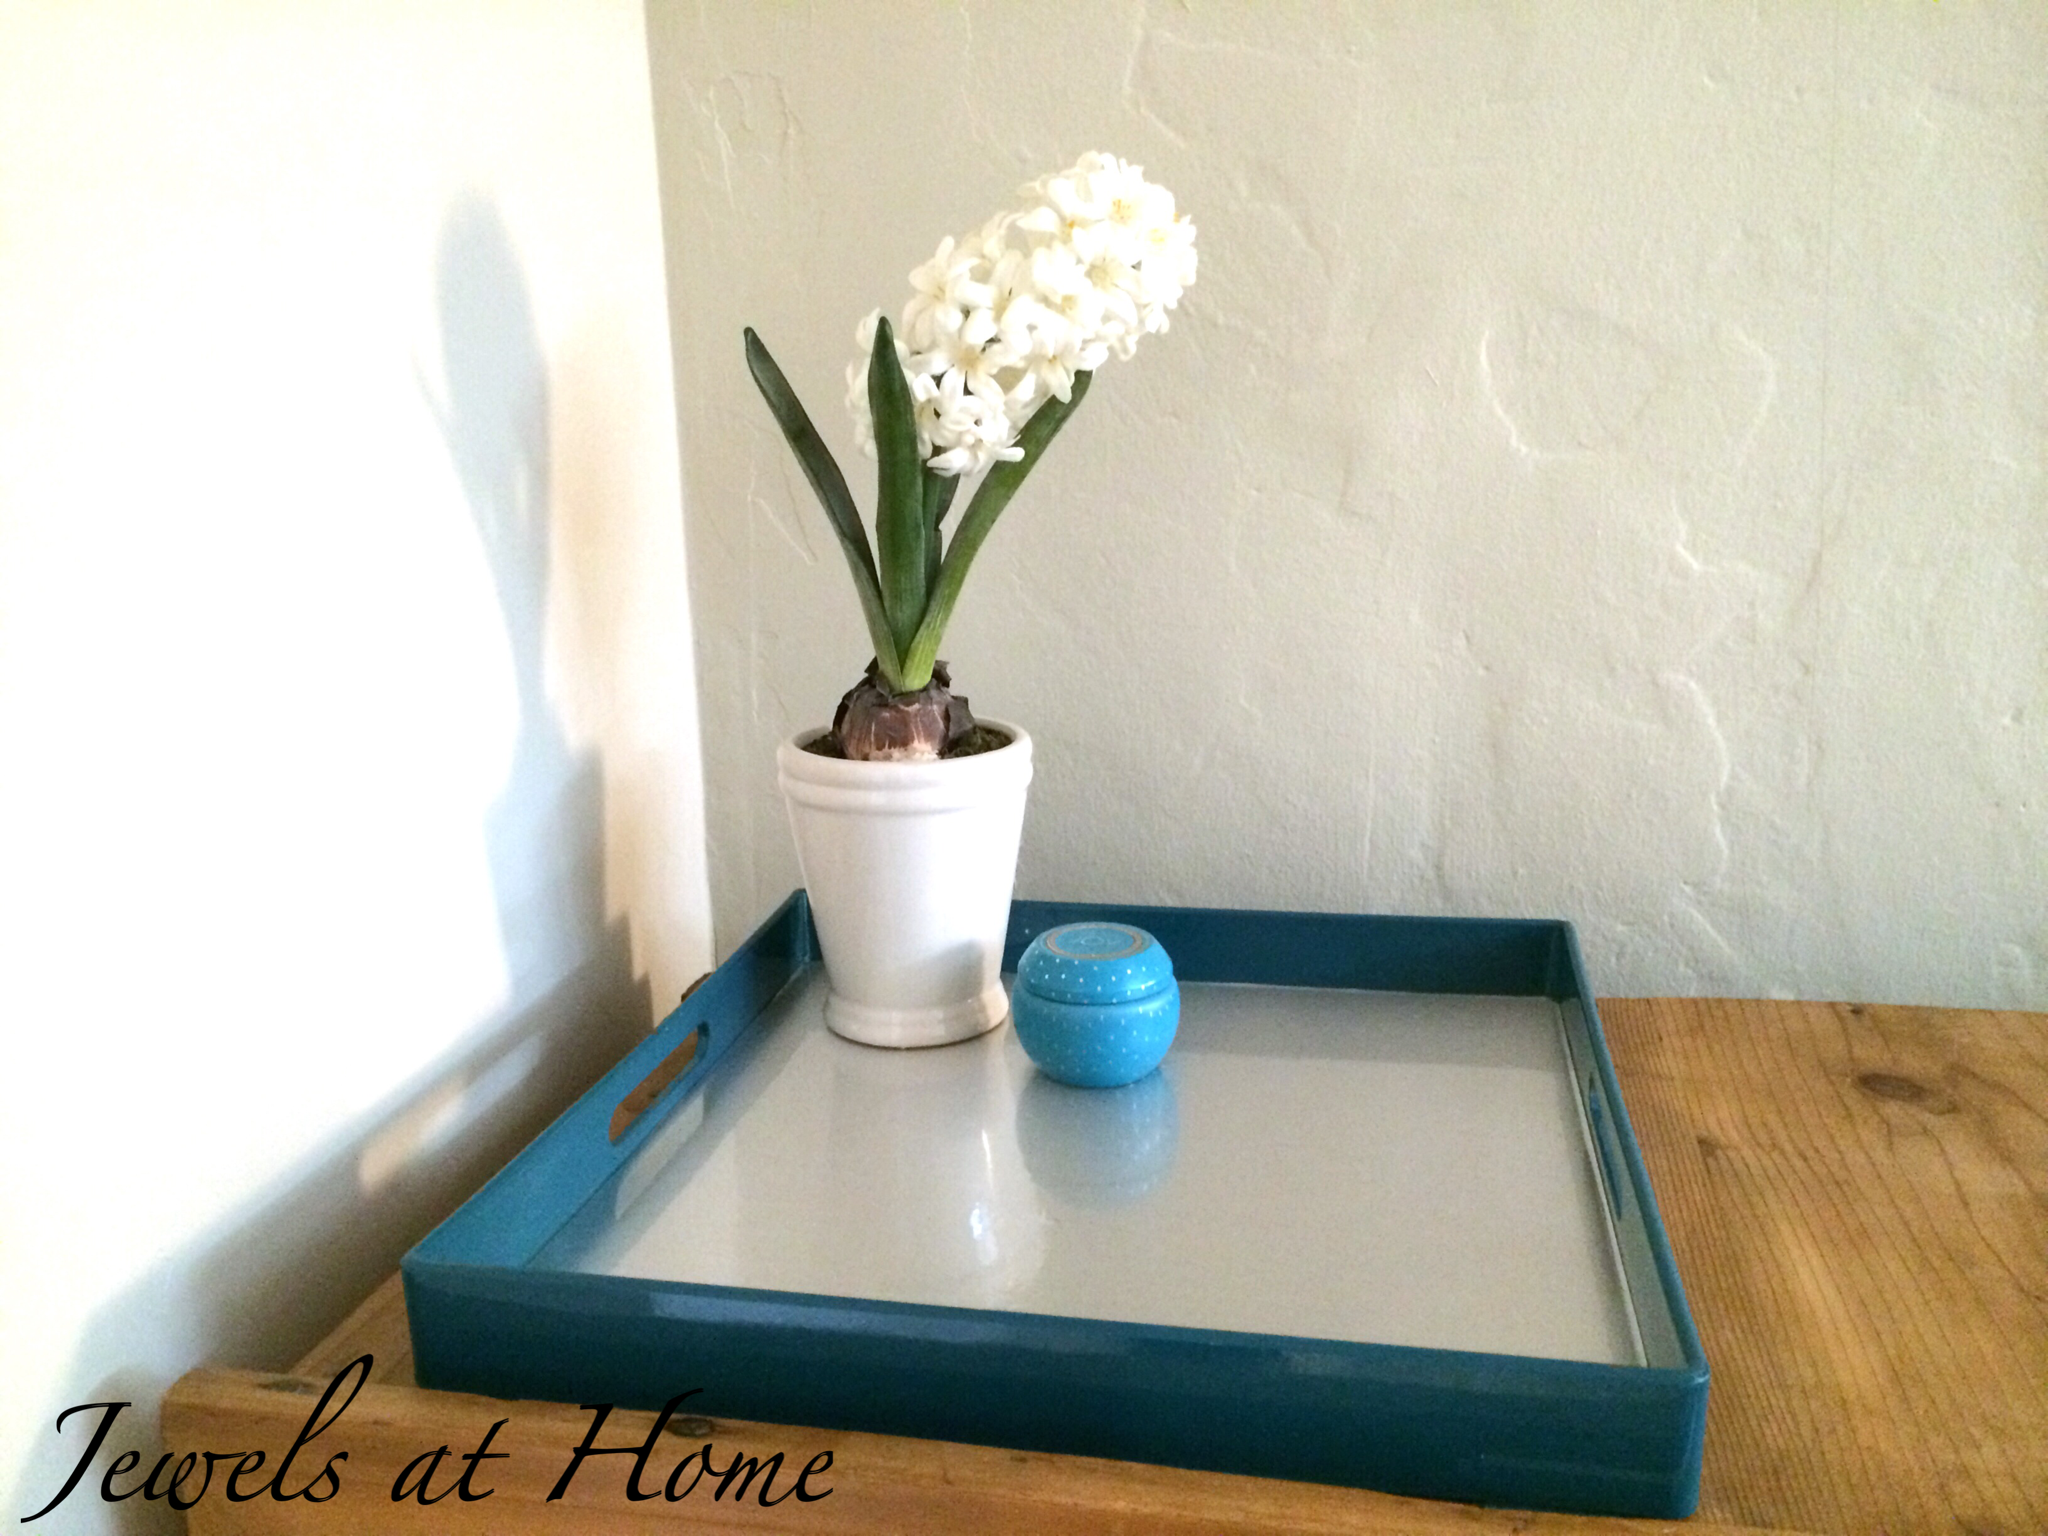
I’m still trying out ways to style this pretty addition to our living room. What arrangements do you like?

Elegant overlapping circles painted tray in silver and blue | Jewels at Home

Elegant overlapping circles painted tray in silver and blue | Jewels at Home

Elegant overlapping circles painted tray in silver and blue | Jewels at Home

Yay! Very happy to have this one off the project table and into the living room! Just in time for an icy winter holiday theme?

“Jewels”

“A” – You’re Adorable – Baby Shower Alphabet Crafts

A bit of Canadiana for you – Sharon, Lois, and Bram have the greatest kids’ albums – stuff you can totally get into as a parent, and if not, we’ll you didn’t hear it here. But really, please check them out. One of my favo(u)rites is actually a popular song from the 1940s, “A – You’re Adorable.”

You can listen, while you check out this sweet project we did for a baby shower last month. Since this was my friend Nicola’s second baby, we wanted a simple event, but of course, there had to be a craft project!

For baby E’s sister’s shower, we decorated onesies. For baby E, I gathered letter shapes, and we created an eclectic alphabet to decorate the room the sisters will share.

I loved seeing all the creative ideas, including some creations by the under-three set.

Here are some of the techniques we used:

  • Paint – we discovered some of our friends had a lot of talent!
  • Yarn – wrapping a letter took a little patience but turned out charming. I had fun with the multicolor yarn.
  • Scrapbook paper – you can paint the sides first; then add a coordinating paper. So many possible variations with this!
  • Craft tape – I couldn’t resist this cute tape with bicycles, since our friends are avid cyclists.

Here are some close-ups of the same letters I made before the party:

Baby shower idea: decorate letters to create a one-of-a-kind alphabet for baby's nursery! Jewels at Home

Creative baby shower idea: guests decorate letters of the alphabet to create a beautiful project for baby's nursery | Jewels at Home
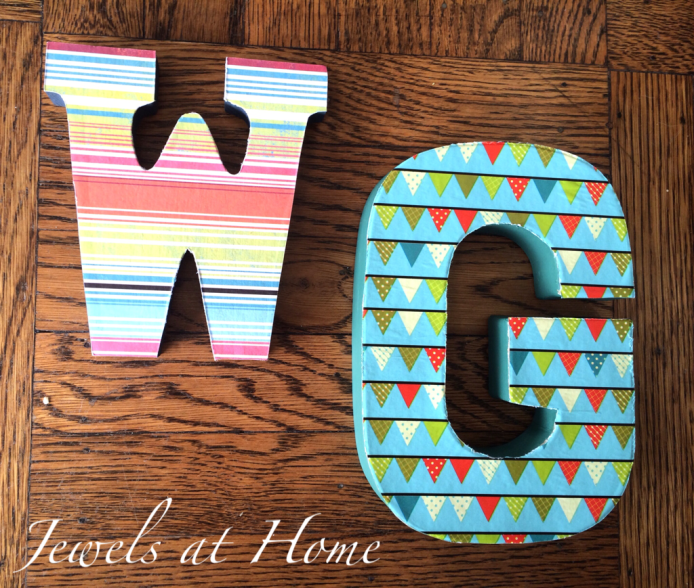
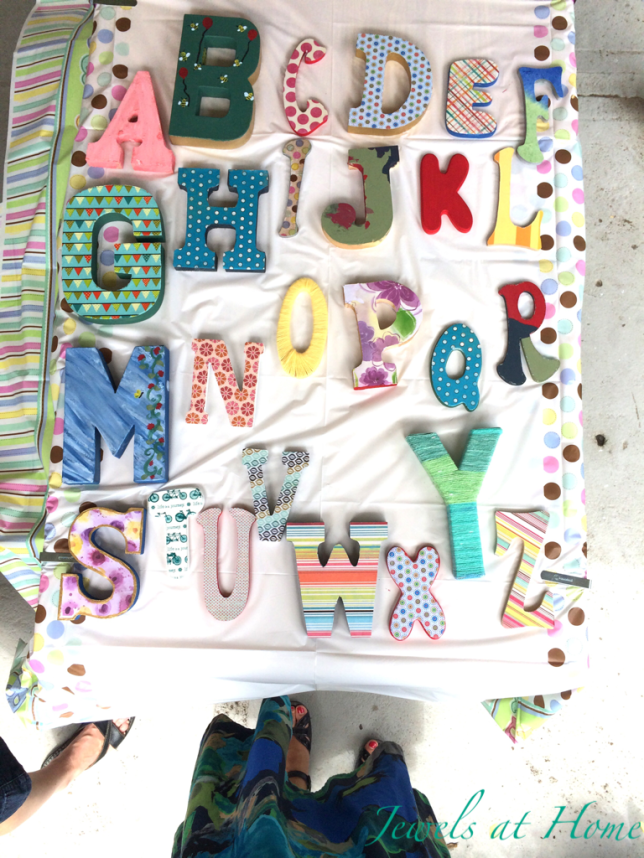
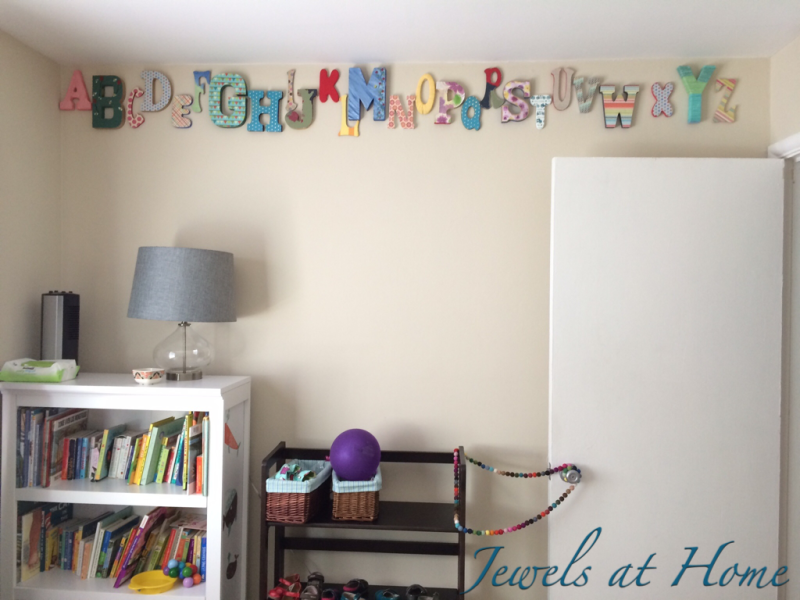
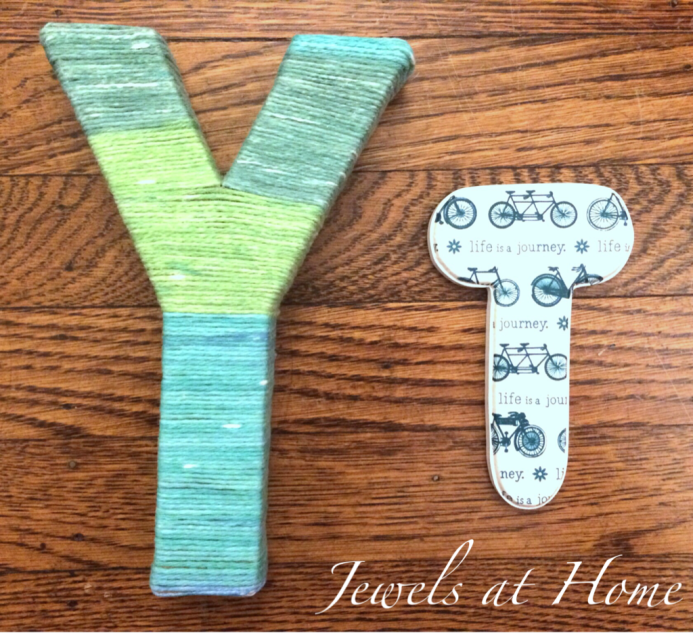
And here is our finished alphabet!

Creative baby shower idea: guests decorate letters of the alphabet to create a beautiful project for baby's nursery | Jewels at Home

Creating the art made for a fun and relaxing afternoon!

Creative baby shower idea: guests decorate letters of the alphabet to create a beautiful project for baby's nursery | Jewels at Home

Baby shower ideas: decorate the letters of the alphabet to decorate baby's nursery! Jewels at Home
And, I got to come visit when the letters were mounted on the wall. I love how it looks!

Baby shower idea: decorate letters to create a one-of-a-kind alphabet for baby's nursery! Jewels at Home

I love watching my boys grow up, but you can never get enough of a new baby.  One of my favorite places to find special gifts for everyone from babies to big kids is the amazing sales at Zulily.com!


Congratulations to the beautiful family on sweet baby E’s arrival!

“Jewels”

Fleece-backed Baby Quilt

With two of my friends at work expecting babies, I realize I’ve crossed a strange line. Our family is complete, and while little J is just 3 years old, there is a part of me that feels a bit like a doting grandma, looking back on those long-gone days of pregnancy and first-time motherhood.

In any case, I wanted to make something special for my friend Kate’s baby boy, so I put together this patchwork of whimsical prints and backed it with warm fleece fabric.

Fleece-backed baby quilt with modern, whimsical design | Jewels at Home

Fleece-backed baby quilt with modern, whimsical design | Jewels at Home

Fleece-backed baby quilt with modern, whimsical design | Jewels at Home

Fleece-backed baby quilt with modern, whimsical design | Jewels at Home

Fleece-backed baby quilt with modern, whimsical design | Jewels at Home


Congrats, Kate and Rob.  You have a lot of fun ahead!  And try to get some sleep and date nights in…


“Jewels”

Easy DIY Lined Tray

This project was so quick and easy that I almost didn’t post it… And then I thought, if something is so quick and easy, and I love it, that’s all the more reason to share!

I was in a rush, so I forgot to take a “before” picture, but just imagine a plain wooden tray. And then look at this!

Easy DIY Lined Tray | Jewels at Home

The inside of this tray had a few water stains, and I was trying to think of an easy way to make it pretty and also more water-resistant for serving drinks. I remembered I had some of this Laura Ashley Self-Adhesive Shelf Liner leftover from laminating recipe cards at Christmas, and ta-da!!

Easy DIY lined tray | Jewels at Home

20140323-202235.jpg

Easy DIY lined tray | Jewels at Home


That’s all – except now I want to do a dozen more trays with a dozen other pretty patterns. I should add it to my collection of ideas for decorating trays. It may have taken longer to write this post than it took to line my tray!

Get to it, fellow DIY friends!

“Jewels”


Big Fleece Blankets for Little Superheroes

My little guy, L, just turned eight, and he’s been planning his first sleepover party for most of the past year! I like to make a special gift for our birthday boy and guests, and L requested a reprise of the fleece blankets I made for his big brother’s party a year and a half ago. He calls his “super,” and sleeps with it every night. I wanted to grant his birthday wish, but I didn’t want to make the exact same project, so here’s this year’s superhero version of our fleece blankets.

Superhero-themed monogrammed fleece blankets for a boys' sleepover party | Jewels at Home

Instead of fringed blankets, I trimmed the fleece in binding. L loves the superhero action words on his original blanket, and that’s no surprise, given he’s such a bundle of energy. I found the same print in a cotton fabric, so I used that for the binding. For each large blanket (60″x72″), you’ll need:

After prewashing the trim fabric, I ironed it and cut 8″ wide strips. I joined the strips and ironed it to make 2″ wide double-fold binding.  I then sewed this to the edges of the fleece blankets that were each 2 yards long.  L requested this longer blanket, since he sleeps with his, but you could use  1.5 yards of fleece for a throw blanket.

To add the monograms, I sketched each boy’s first initial and a large circle (I traced a plate) onto Heat’n Bond, ironed on to some other and bright and superhero-themed fabrics, cut them and appliqued onto the blankets (instructions in the post from our onesie decorating party).

Here are some more pictures of how they turned out.  The boys love them!

Superhero-themed monogrammed fleece blankets for a boys' sleepover party | Jewels at Home

Superhero-themed monogrammed fleece blankets for a boys' sleepover party | Jewels at Home

Superhero-themed monogrammed fleece blankets for a boys' sleepover party | Jewels at Home

Superhero-themed monogrammed fleece blankets for a boys' sleepover party | Jewels at Home

Superhero-themed monogrammed fleece blankets for a boys' sleepover party | Jewels at Home

Superhero-themed monogrammed fleece blankets for a boys' sleepover party | Jewels at Home

Hope you are staying warm as winter warms into spring!

“Jewels”