We are having a real baby boom in my “work family”! I started a tradition of making quilts for the new babies on our team, and there are a lot! I’ll share some of the past designs at the end … Continue reading
We are having a real baby boom in my “work family”! I started a tradition of making quilts for the new babies on our team, and there are a lot! I’ll share some of the past designs at the end … Continue reading

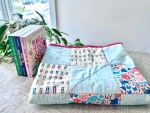
My work family is getting ready to welcome the fourth baby this year! I decided to change it up from the rainbow scrap quilts, and I thought this Swiss cross pattern would be a great fit for Caitlin’s style. I … Continue reading
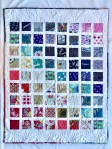
There’s a mini baby boom going on in my work family. For our last work baby boom, I made these “stacked coins” quilts. Looking for a new pattern, I adapted a rainbow sampler quilt pattern into a simpler rainbow scrap … Continue reading
A bit of Canadiana for you – Sharon, Lois, and Bram have the greatest kids’ albums – stuff you can totally get into as a parent, and if not, we’ll you didn’t hear it here. But really, please check them out. One of my favo(u)rites is actually a popular song from the 1940s, “A – You’re Adorable.”
You can listen, while you check out this sweet project we did for a baby shower last month. Since this was my friend Nicola’s second baby, we wanted a simple event, but of course, there had to be a craft project!
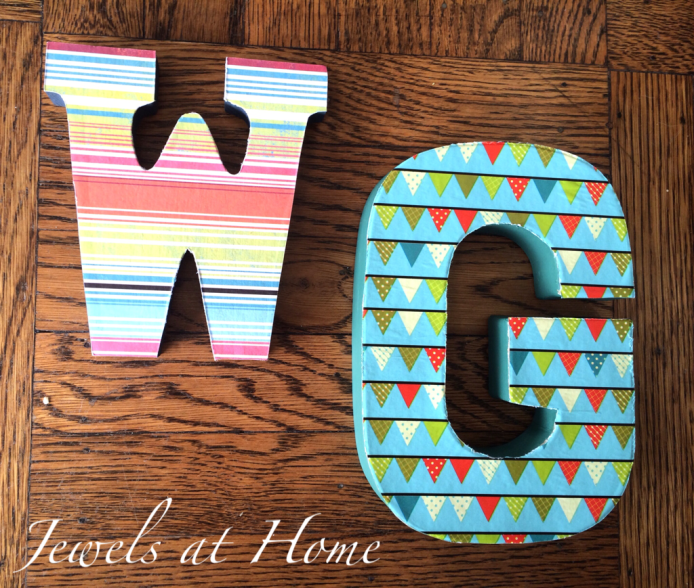
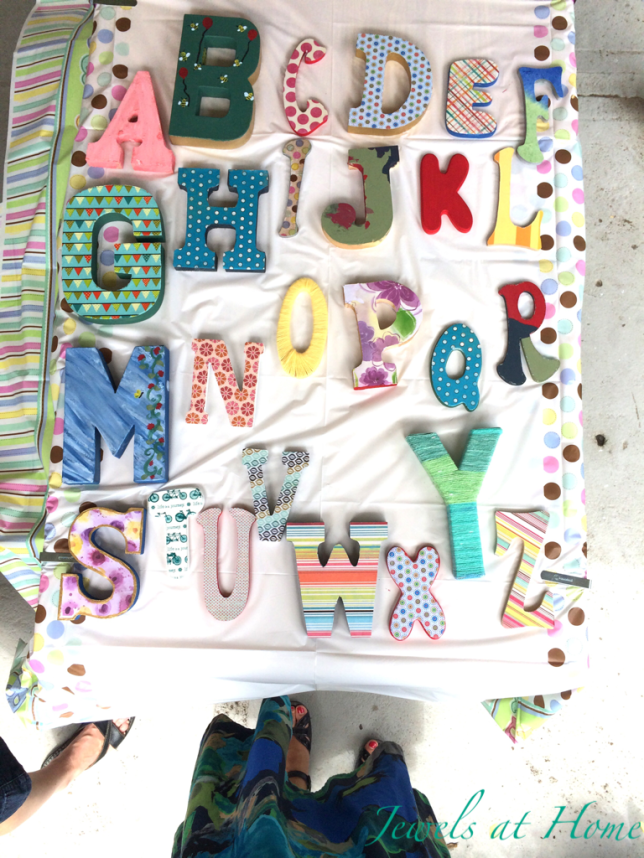
For baby E’s sister’s shower, we decorated onesies. For baby E, I gathered letter shapes, and we created an eclectic alphabet to decorate the room the sisters will share.
I loved seeing all the creative ideas, including some creations by the under-three set.
Here are some of the techniques we used:
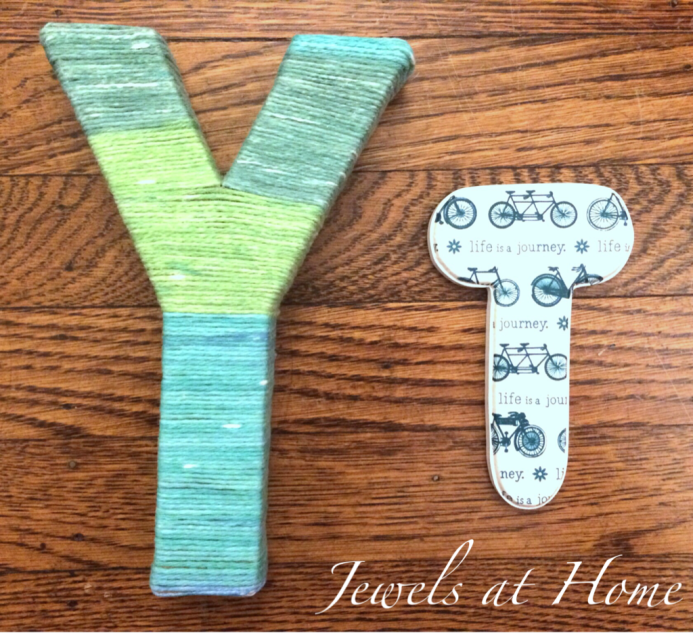
Here are some close-ups of the same letters I made before the party:
 And here is our finished alphabet!
Creating the art made for a fun and relaxing afternoon!


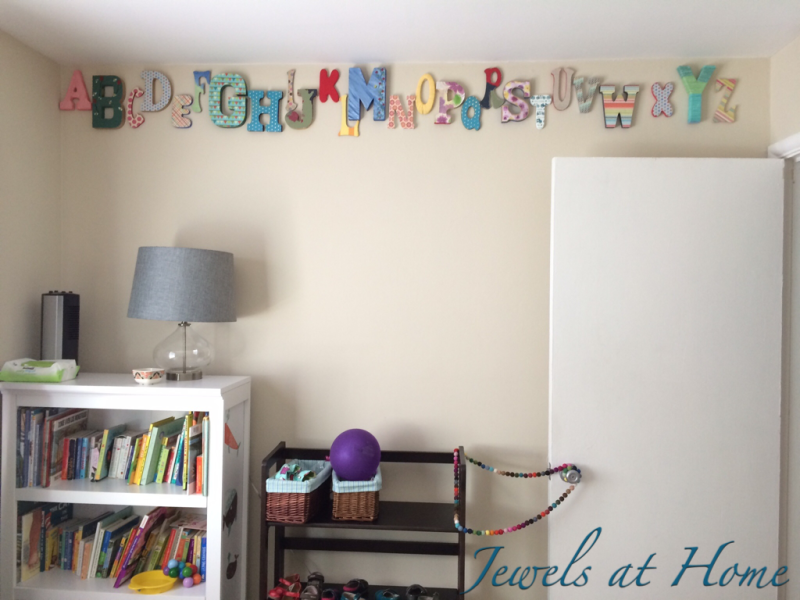
And, I got to come visit when the letters were mounted on the wall. I love how it looks!
I love watching my boys grow up, but you can never get enough of a new baby. One of my favorite places to find special gifts for everyone from babies to big kids is the amazing sales at Zulily.com!
Congratulations to the beautiful family on sweet baby E’s arrival!
“Jewels”
Do you do this? We had several friends who had babies recently. I’ve been wanting to make something special, but I haven’t had the time, so the result of my best intentions is that I have not given them anything at all yet. Boo!
Well, I finally got motivated, because Lucas’ teacher is expecting her first baby this fall. She has been absolutely amazing. We were lucky enough to have her in pre-kindergarten and then again in first grade. She has that perfect mix of wisdom, energy, and affection that wins over parents and children alike.
I’ve sewn bibs before, but I tried something new this time, by making them wipeable. This is also a great project for using up those scraps of fabric that are too small to make a project on their own, but look great mixed together.

Materials:
Instructions:
I created a bib template that is 17″ high (the width of the vinyl) and 11″ wide.
For the backs of the bibs, I used a single piece of plain fabric.
For the fronts of the bibs, I joined together two or three strips of coordinating fabrics into 11″x17″ rectangles and ironed on the Thermoweb Heat’n Bond Iron-On Vinyl according to the instructions.
I cut the template out of the joined and coated piece (pictured below)

Join together scraps of fun fabric to make 11″x17″ rectangles. Cut the bib template out from the joined piece.
I then sewed the fronts and backs together, right sides facing, with a half inch seam allowance and leaving about four inches open on the side to turn the bib right side out (pictured below).

With right sides facing sew the back and front pieces together, leaving a 4″ gap on one side to turn the piece.
To help create smooth curves, clip the seam allowances at all the curves, as shown below.

Clip the seam allowance around the curves, as shown.
To finish, turn the bib right side out and iron again, Stitch all the way around close to the edge, and add the 1.5″ velcro strips to the top.
Here are the finished bibs. I love the way the different fabrics work together!


To wrap it all up, I created another custom gift bag, like these bags I made for my nieces last year.

Congratulations to all the wonderful mamas and mamas-to-be in my life!
“Jewels”
When I first saw the idea of doing appliqué onesies at a baby shower at the Cutting Table, I immediately thought of doing this project at Nicola’s baby shower. I did have some trepidation about having to stitch around the appliqués, but thankfully my co-host Maura convinced me that it would be worthwhile, and it certainly was.
Here’s what you’ll need to do this at your party:

Supplies for a DIY Onesie Party.
I wrote up a set of instructions with a storybook theme that you can download here: DIY Onesie Instructions from Jewels at Home. It also helped to show the first people step by step, and then they helped the next group. It all went quite smoothly, and there were just two that I needed to fix up afterward, because the Heat ‘n Bond didn’t stick. I’ll show you the “rescue” tips later in the post, but first, here are the step-by-step instructions for decorating the onesies.
DIY Onesie Tutorial

Sketch your design onto the paper side of the Heat ‘n Bond.

Cut out your design and iron it to the backside of the fabric.

Sign your DIY onesie.

Onesie decorating party. I love how each one is unique!

DIY Onesie Party from Jewels at Home.
Finishing the Onesies
After the party, Maura and I split up the onesies to take home and sew the edges. For the simple outlines, I used a small zig-zag stitch, which I think is the most secure. For the ones with fine details, I used a straight stitch, so I could follow the shape more neatly.

Finish the onesies by sewing around the appliques with a zig-zag or straight stitch. I used a zig-zag for the simple shapes, as I think this will be the most secure.

Finish the onesies by stitching around the edge of the fabric. I used a straight stitch for more detailed designs like this one.
If you end up with some onesies with appliques that didn’t stick, I thought of two ways to rescue them.

Adding Heat ‘n Bond to the fabric, after it is already cut out.
This was a lovely project – it was wonderful to see so many people try it, even those who don’t usually do craft projects, and it was fun to see how each onesie reflected a little bit of the artist’s personality.
Can’t wait to see these on the new baby!
“Jewels”
Wow, we did a lot at the recent baby shower for my friends Nicola and Victor. I wrote about the tea party and cloth diaper cake, and there’s even more to come. Since the shower had a “Storybook Tea Party” theme, it was fitting that we made our own scrapbook storybook for the new baby.
The inspiration for this scrapbook came when I was collecting ideas for the shower and came across the idea of a list of “wishes” each guest could fill out for baby. This was such a sweet idea that I knew I wanted to incorporate.
Here’s what I prepared:
Scrapbook and Blank Pages

Decorate a scrapbook for a baby shower.

For a scrapbook party, prepare simple backgrounds to inspire guests.
Wish List
Did I mention that I love these baby wish lists?! You can buy them on Etsy, and there are other free printables out there, but I decided to make my own to fit with the Storybook theme. The beautiful castle graphic comes from “Lita Lita,” a teacher in Spain. This graphic and others can be found in her store on Teachers Pay Teachers, and the picture of the books is free clipart.

Storybook-themed wish list for baby. Free printable.
Click here to download a PDF of the Storybook-themed wish list for a new baby.
Pictures and Pages
The pictures from Victor and Nicola’s childhood, wedding, and friends really made the book come together. Here’s the first page of the scrapbook that I made. I pulled it out and put it up on a recipe holder as part of the decorations for the shower.

Gather old pictures of the mom and dad to make a scrapbook at a baby shower.
And here are the pages made by the shower co-host, Maura, and our family. I loved reading what my 8 year-old wrote. It’s always a treat to get a little insight into a child’s mind.


This scrapbook was so much fun to create at the party, and we all enjoyed reading the touching – and often funny – wishes. It was also a lovely way to include family and friends who live out-of-town and cannot attend the shower in person. I mailed a blank wishlist with each invitation, so people could return it in the mail or bring it with them. I also e-mailed electronic versions and printed extras to have on hand at the party.
And they all lived happily ever after…
“Jewels”
