Most years, I try to make something creative as holiday gifts for our teachers and coworkers. There’s so much joy in giving, but we’re also living in a time and place where it feels like everything is at your fingertips, so something handmade feels like a good way to express how much we appreciate those around us. When I can manage it, I make a few extra to last through the year as hostess and grown-up birthday gifts. I’ve linked to previous years’ handmade gifts at the bottom of the post, if you’re looking for more ideas.
This year, I decided to make stenciled canvas tote bags as our holiday treat. They’re so pretty and unique, yet also practical, as we’re trying to minimize our use of disposable shopping bags. I had so much fun trying different combinations of colors and patterns.

What you’ll need:
- Canvas tote bags. These ones are great, because they are a cotton blend. They still look and feel just like cotton canvas, but they don’t wrinkle (I’m allergic to ironing)
- Stencils: I chose a tile design, arrows, gingko leaves, feathers, and birds (even though I just bought mine a couple of months ago, some are no longer available, so I’m linking to some similar ones. I got mine from Cutting Edge Stencils and Amazon)
- Craft paint
- Textile medium
- Sponge painters
- blue painter’s tape and old magazines
- Iron
How to do it:
- Prewash the bags
- Choose a stencil and use blue painters tape to hold it in place
- Put an eye md magazine inside the bag, so the paint won’t go through to the other side
- Mix paint with textile medium according to the instructions
- Use the spouncer to apply light coats of paint
- Once thoroughly dry, iron the pattern using a press cloth to set the paint
- That’s all! Unless you’re me and repeat it many, many times!
Here are just some of the combinations I made!
Tile stencil in navy and in ombré blues:

Arrows, with a contrasting accent color and (bottom left) ombré blues:

Feathers,with a contrasting accent color or (bottom) ombré blues and greys.

I really liked the feathers!

I loved the tile in this mix of copper and gold paint. The metallic paints were very thick and made very crisp designs.

A close up of the feathers:

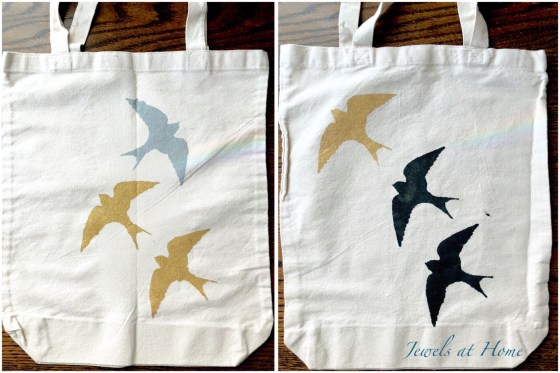
The birds were fun to arrange in different patterns and colors.
My mother-in-law likes gingko leaves, so I made this one for her:

And I got to keep this one for myself!

No matter how I plan, the holidays are hectic. I definitely all felt worthwhile when I went to give out the bags. Our teachers and friends were so excited – it definitely put me in the spirit of the season!
it made me happy to make the people I care about happy. My friend Liane took this great photo of her bag:

Looking for more handmade gift ideas? Here are some from past years:
- Dip-painted wooden kitchen utensils
- Stamped tea towels
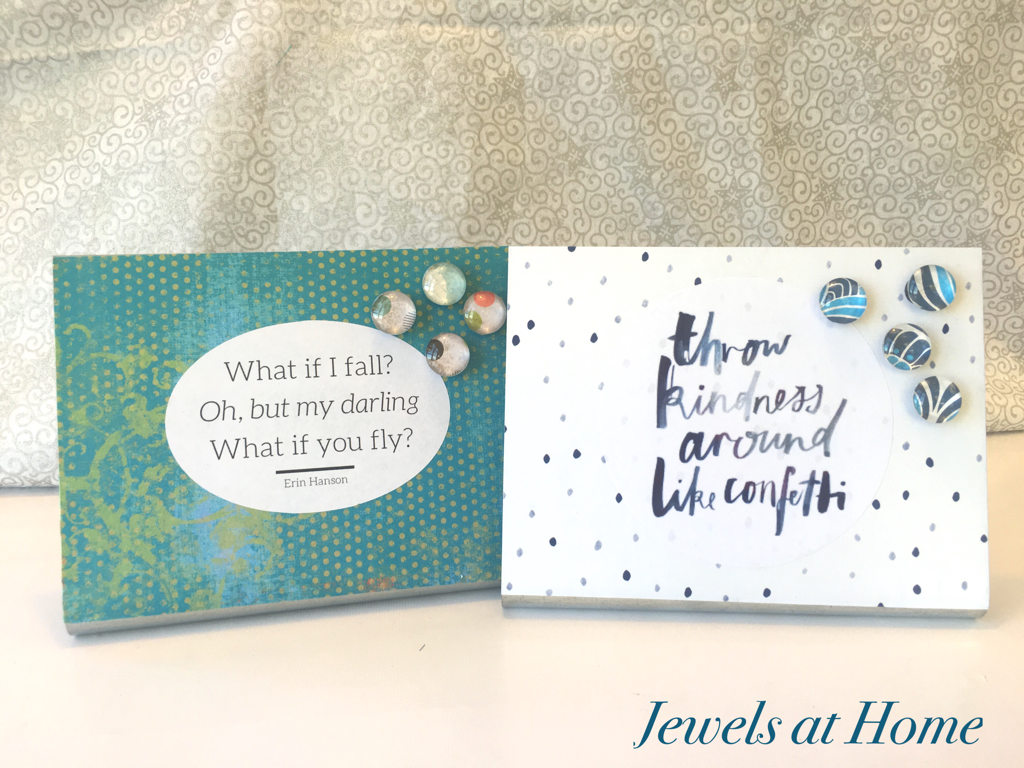
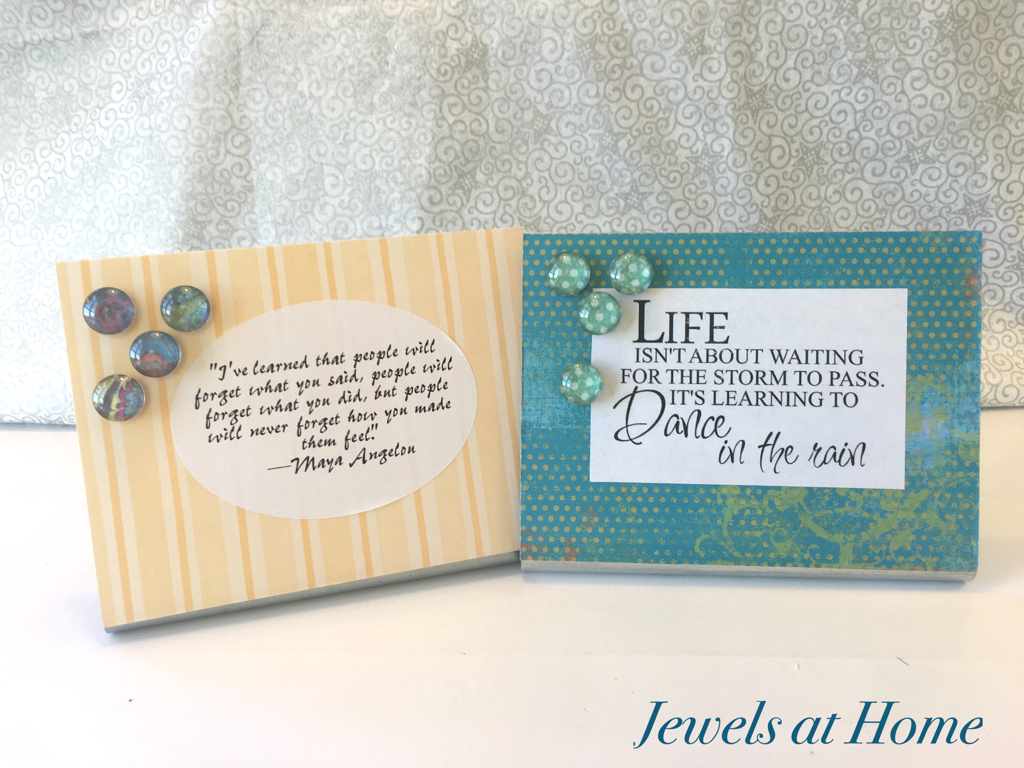
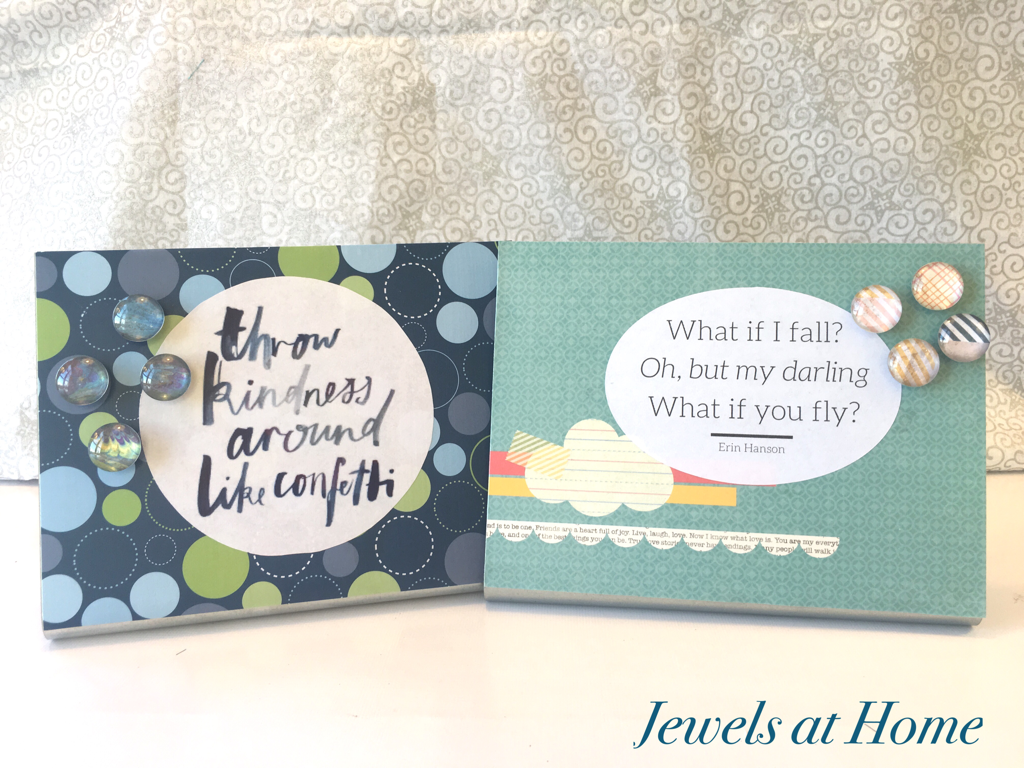
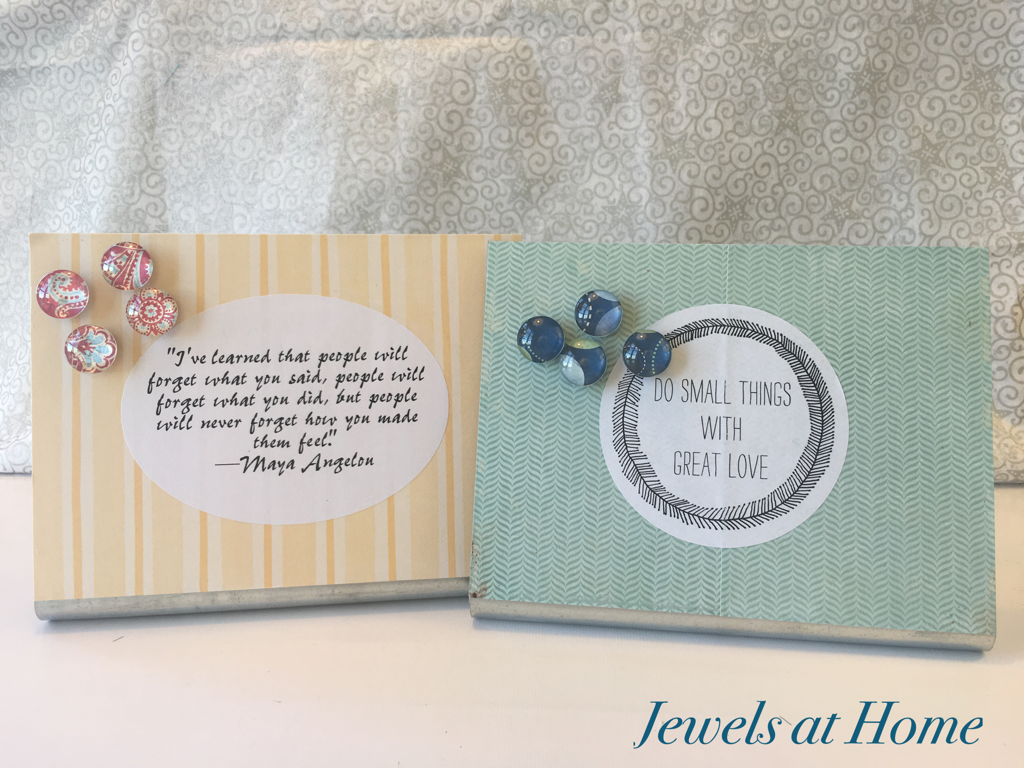
- Magnetic desktop picture frames
- Washi tape gift jars
- Pancake and hot chocolate mixes in jars
“Jewels”