Favorite Fall Decorating Ideas

Between the start of school, two boys’ birthdays, and Halloween costumes, I’ll confess that many years I skip right over any fall decorating. This year, we are in the middle of moving, so I’m not sure how much decorating I’ll do.

But when I do decorate for fall, I’ve found you can create a lot of atmosphere with a few changes. I set the mood with some pumpkins and candles, creating something neutral yet festive.

Here are some of favorite pictures from years past. Projects seen in this post include

Here’s to crisp fall days!

Julie aka “Jewels”

Nightstands with Faux Bone Inlay Stencils

Here is the third and final (for now) installment of my dresser painting trilogy. First was the mid-century dresser; next came the faux campaign dresser; and last but not least is this faux bone inlay project! If you are thinking … Continue reading

Unique DIY Lighting for a Loft-Inspired Teen Boy’s Room – One Room Challenge Week 3

I’m really excited to be a Guest Participant again in the One Room Challenge! This is a great way to get inspiration and motivation for your home. This spring, I re-decorated our boys’ bathroom. For this fall’s challenge, I’m transforming our teen’s bedroom. His new space is inspired by an industrial loft, with an exposed brick wall and other great features! Thanks for following along!

Recap:

  • In week one, I shared my favorite inspiration spaces and mood board
  • In week two, I added a (faux) exposed brick wall

This week, I’m so excited to show you the lighting projects for this space. These are both moderately easy DIYs, and that’s exactly what I need right now with everything else going on at home and work!

Macrame Cord Hanging Lamp:

TOTALLY in love with this project. More details, including materials and instructions, in this post. For now, just enjoy the pictures!

Stenciled Drum Pendant Lamp Shade:

This is actually one of the first projects I did, when I started blogging. The detailed instructions are in the original post. This room used to be my craft room, so I gave myself some license to use more feminine touches. Kai’s not picky, but I did want to update this lamp for him. I originally thought I might be able to just change the shade, but it was fixed in place.  While changing out the light bulbs, I realized that the room looked a lot brighter – and the light looked a bit less feminine – without the bottom glass and finial, so I left it that way for a little update.

Here’s an earlier before-and-after of the light.

And here’s how it looks without the bottom finial and with some fun Edison-style bulbs inside.

Oh, and one more look at my friend the macrame cord light…

Not sure what I’ll tackle this coming week. The answer might be nothing, because I’m co-hosting a big crazy birthday party this weekend…

A huge thank you to Linda for creating the One Room Challenge community, and high fives to all my fellow bloggers whose hard work and creativity were great inspirations! Be sure to go back to the One Room Challenge page to check out all the other projects!

Julie aka “Jewels”

It’s in the Bag – Stenciled Totes

Most years, I try to make something creative as holiday gifts for our teachers and coworkers. There’s so much joy in giving, but we’re also living in a time and place where it feels like everything is at your fingertips, so something handmade feels like a good way to express how much we appreciate those around us. When I can manage it, I make a few extra to last through the year as hostess and grown-up birthday gifts. I’ve linked to previous years’ handmade gifts at the bottom of the post, if you’re looking for more ideas.

This year, I decided to make stenciled canvas tote bags as our holiday treat. They’re so pretty and unique, yet also practical, as we’re trying to minimize our use of disposable shopping bags. I had so much fun trying different combinations of colors and patterns.

What you’ll need:

How to do it:

  • Prewash the bags
  • Choose a stencil and use blue painters tape to hold it in place
  • Put an eye md magazine inside the bag, so the paint won’t go through to the other side
  • Mix paint with textile medium according to the instructions
  • Use the spouncer to apply light coats of paint
  • Once thoroughly dry, iron the pattern using a press cloth to set the paint
  • That’s all! Unless you’re me and repeat it many, many times!

Here are just some of the combinations I made!

Tile stencil in navy and in ombré blues:

Arrows, with a contrasting accent color and (bottom left) ombré blues:

Feathers,with a contrasting accent color or (bottom) ombré blues and greys.

I really liked the feathers!

I loved the tile in this mix of copper and gold paint. The metallic paints were very thick and made very crisp designs.

A close up of the feathers:

The birds were fun to arrange in different patterns and colors.

My mother-in-law likes gingko leaves, so I made this one for her:

And I got to keep this one for myself!

No matter how I plan, the holidays are hectic. I definitely all felt worthwhile when I went to give out the bags. Our teachers and friends were so excited – it definitely put me in the spirit of the season!

it made me happy to make the people I care about happy. My friend Liane took this great photo of her bag:

Looking for more handmade gift ideas? Here are some from past years:

“Jewels”

DIY Stenciled Silhouette T-shirts

Honestly, I don’t get tired of planning the boys’ birthday parties. This is different than saying I don’t get tired executing my own plans, which I do, but the ideas are so endless and inspiring, so I hang in there, and their happy faces are always the best reward!

This year, L wants a Ninjago birthday. I have to say that Lego’s marketing strategy is truly brilliant – combine Lego, a fantastic toy, with every possible boyish fad – Star Wars, Harry Potter, Pirates, Lord of the Rings, and Ninjas! It’s irresistible, as the clutter in the boys’ room will attest.

I’ve mentioned that I try to do a larger and reusable treat in place of a goody bag of small items. This time, I wanted to make the boys Ninjago T-shirts.

You can actually find T-shirts for sale for a reasonable price, if you keep your party small, but 1) I wanted long-sleeved shirts, since our weather is temperate year-round and 2) I think everything is more fun when you make it yourself!

I got the shirts at BlankShirts.com. I’m not affiliated with them or anything – I just figured I’d share my research in looking for inexpensive blank shirts. You can get short-sleeved shirts for as little as $2. I got these long-sleeved ones for about $8. I’ve also found some on clearance at Lands End for as little as $5, but you won’t get the same range of colors there.

I’m trying two different ideas for the shirts:

  • stenciled ninja silhouettes for the older boys
  • ironed-on and painted Ninjago eyes for the younger ones

Stencil your own T-shirts with contact paper and fabric paint. The ideas are endless.  These are for a boy's Ninjago birthday party.  {Jewels at Home}

Here are the instructions for the stenciled T-shirts.  I’m really thrilled with how well they turned out, and it was quite easy!  I’ll post the Ninjago eyes when they’re done.

  • Choose a ninja silhouette from the Internet and enlarge it.
  • Tape the printed silhouette over some contact paper and cut it out with a craft knife. I was able to do two layers at once, to make two stencils. (top row of pictures below)
  • Stick the contact paper stencil in place on the shirt, with a piece of cardboard inside the shirt. (bottom left picture below)
  • Use a stencil brush or sponge to apply black fabric paint. Remember to use small amounts of paint at a time and “pounce” up and down, so paint doesn’t bleed under your stencil.
  • Remove the stencil. I was able to reuse it a few times.

Stencil your own T-shirts with contact paper and fabric paint. The ideas are endless.  These are for a boy's Ninjago birthday party.  {Jewels at Home}

  • Once the paint is dry, heat set the stencil with a hot iron.  I used a thin press cloth on the front and then also ironed it from the inside. (pictured below)
  • Your pattern will last longer if you wash it inside out.

Stencil your own T-shirts with contact paper and fabric paint. Heat set the paint with an iron.  The ideas are endless.  These are for a boy's Ninjago birthday party.  {Jewels at Home}

Yay!  The pattern on these came out very crisp and looks great.  I’m already thinking of other patterns to try!

Stencil your own T-shirts with contact paper and fabric paint. Heat set the paint with an iron.  The ideas are endless.  These are for a boy's Ninjago birthday party.  {Jewels at Home}

Stencil your own T-shirts with contact paper and fabric paint. Heat set the paint with an iron.  The ideas are endless.  These are for a boy's Ninjago birthday party.  {Jewels at Home}

More ninja-themed T-shirts coming up soon!

“Jewels”

Stenciling on Fabric – Lampshade and Pillow

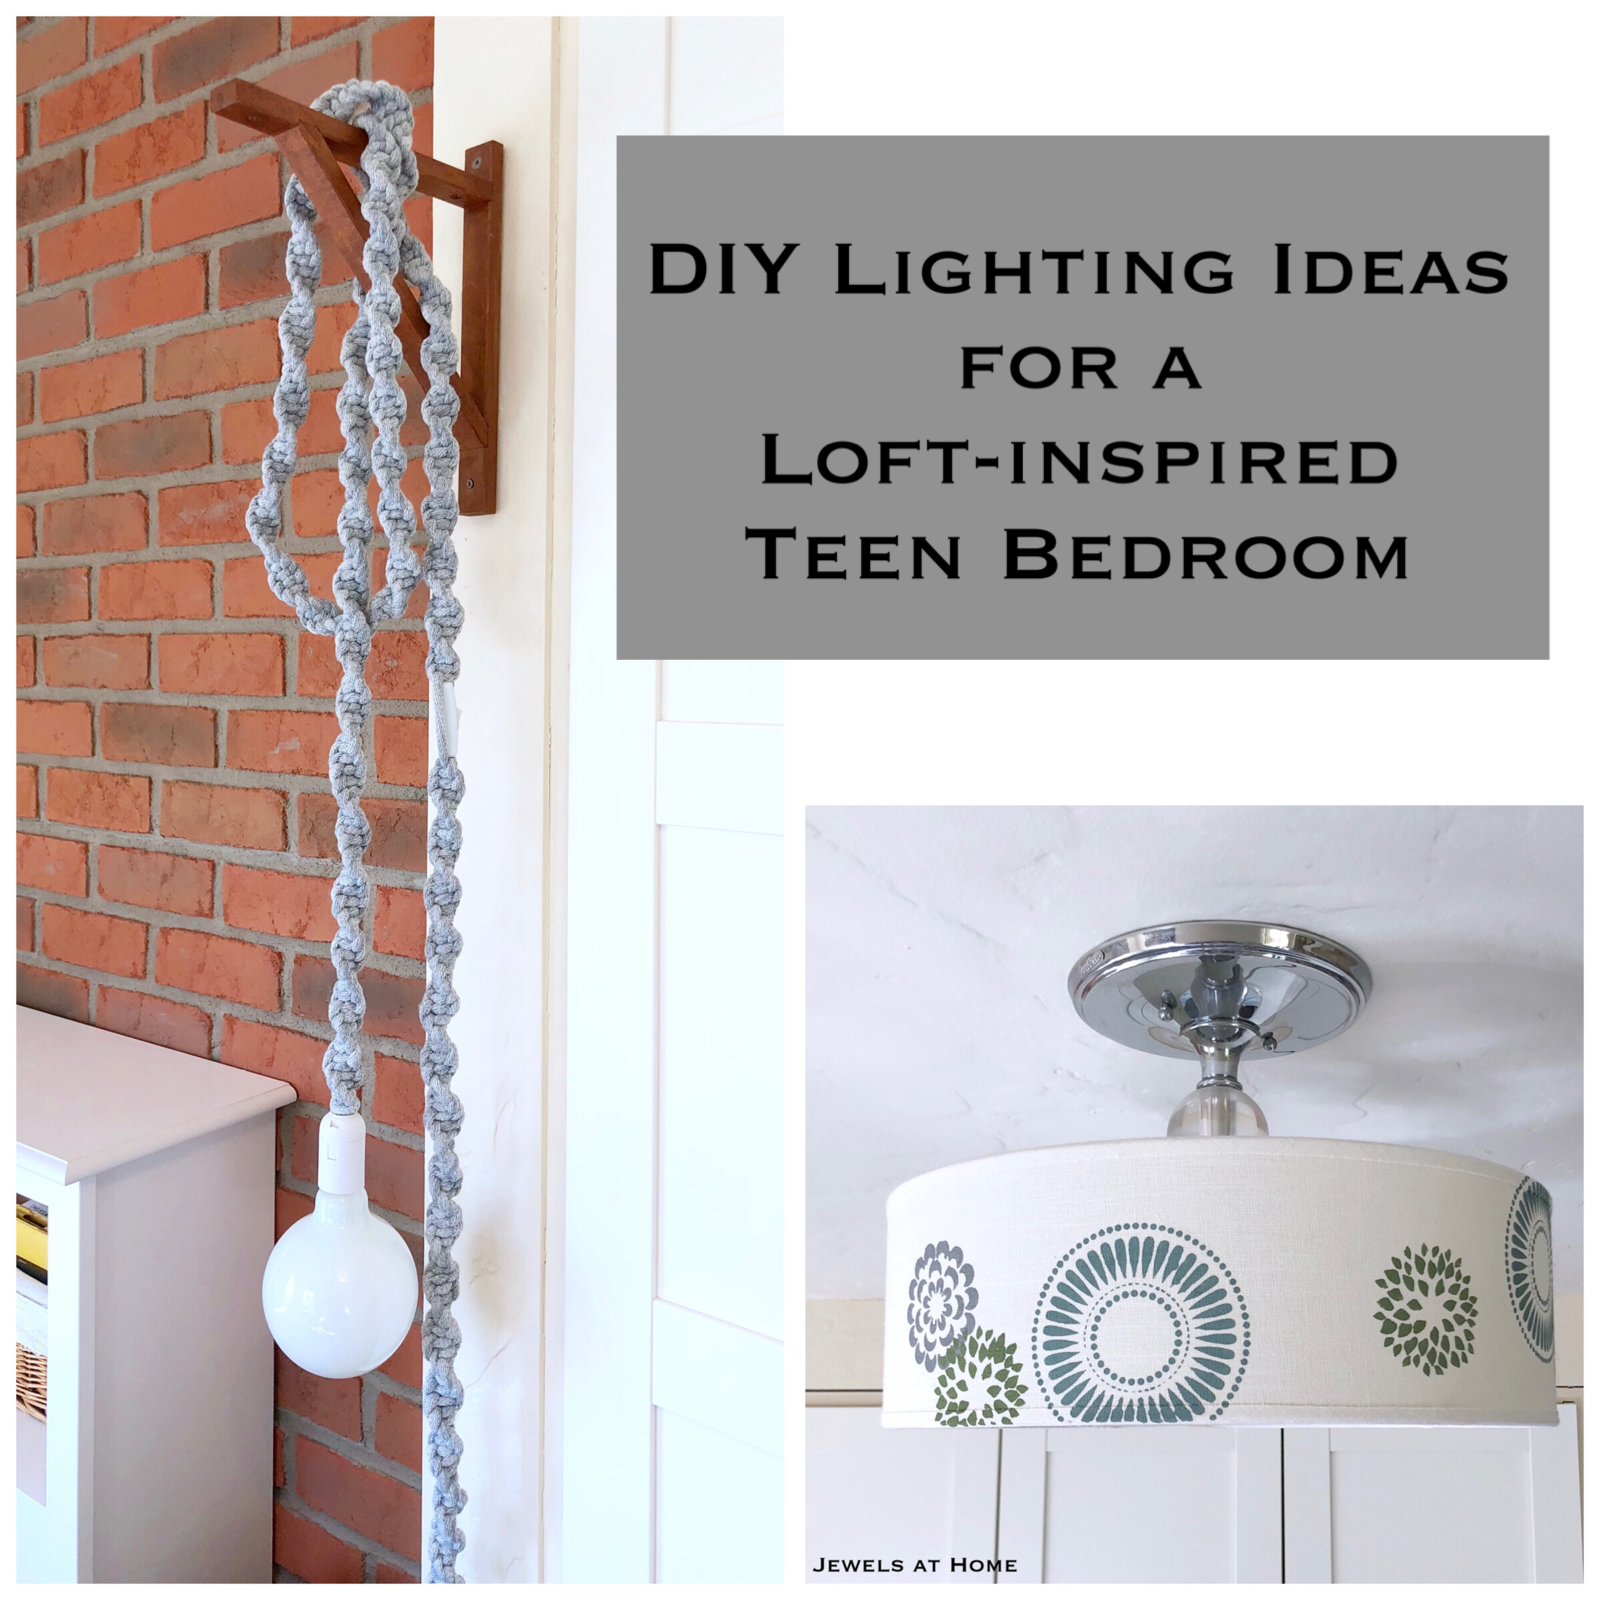
Have you seen these fabulous pendant light drum shades at Room and Board? I’ve been drooling over them for years, with all the gorgeous prints and colors. They’re a splurge at several hundred dollars a shade, but they are really beautiful. Go check out all the beautiful and funky prints they have!

Zinnia Cool Pendant

Galbraith & Paul drum shade from Room and Board in Zinnia Cool pattern.

As always, I was wondering if I could make something like this myself, and in browsing ideas, I found some great examples, including this one from Laura at Some Kind of Lovely Ride. She did a beautiful job on her shade and had great instructions that helped me conquer my apprehension about this project!

laura's lamp

Yellow floral stencils on a lampshade by Laura at Some Kind of Lovely Ride. A perfect DIY inpsiration!

I was so excited to get started, I rushed to the craft store to pick up my supplies and get to work! I stenciled the lampshade in my craft studio and while I was at it, I also stenciled a piece of fabric for a throw pillow. I used Laura’s basic instructions and discovered a few tips along the way, so here’s how it went:

Supplies:

20120517-164054.jpg

Supplies for stenciling on fabric.

  • Stencils – I used Mini Peony and Mini Mums by The Crafter’s Workshop.
  • Stencil brushes or sponges – These sponge “pouncers” are inexpensive, easy to use, and washable for reuse.
  • Paint – I had a variety of acrylic craft paint around, and I did mix some to get the colors I wanted. It’s optional, but I also added some “textile medium” to my paint, which makes the paint more flexible when dried. This wouldn’t be an issue for the shade, but I thought it would help on the pillow. I mixed the paints in paper bowls.
  • Tape – I used painter’s tape to hold the stencil in place and mask off any areas of the stencil I didn’t want to use.

Stenciling

Basic stencil:

  • Tape the stencil securely in place
  • Put a small amount of paint on your pouncer. If you load on too much paint, it will run under the stencil and smudge your pattern.
  • Lightly dab through the stencil, moving only up and down. Don’t brush side to side, as this will also make paint run under the stencil.
  • Carefully remove the stencil and blot the back on a clean piece of paper to remove any excess paint
  • Repeat!

20120517-164124.jpg

Tape your stencil in place and lightly dab on the paint.

Adding a color:

  • Wait until the first color is completely dry.
  • If you are going to overlap designs, like I did, think ahead about which color you want to be “on top” and start with the colors that are on the bottom.

Finishing the fabric:

  • This is not necessary for a shade, but for a pillow or other fabric that will be touched and possibly washed, you’ll want to set the paint. When the paint is thoroughly dry, iron the stenciled fabric from the reverse side with a dry iron on medium-high for three to five minutes to set the colors. You can repeat this on the front, laying a thin cloth over the stenciled fabric, so the paint doesn’t stick to your iron.

Finished stencils!

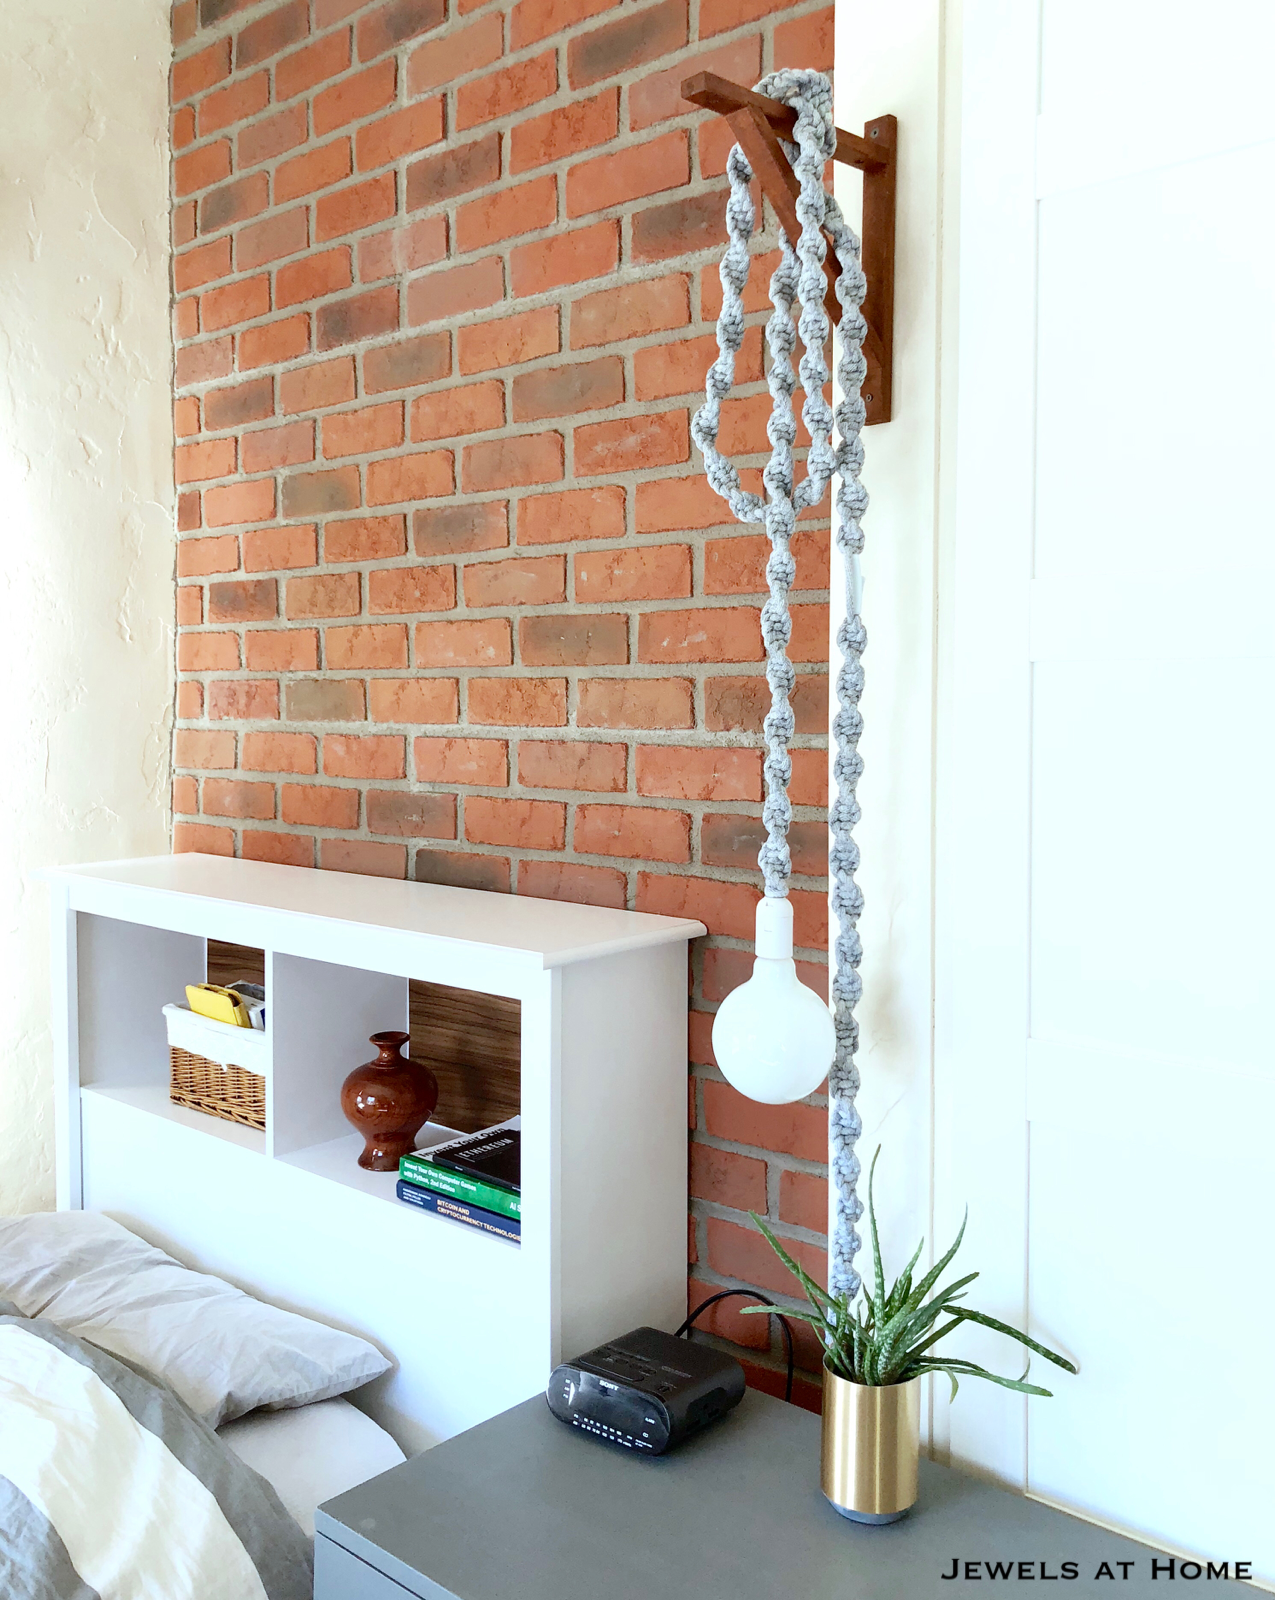
Here is how the shade looked before:

20120517-164114.jpg

A simple drum shade. Pretty, but I wanted to add some color!

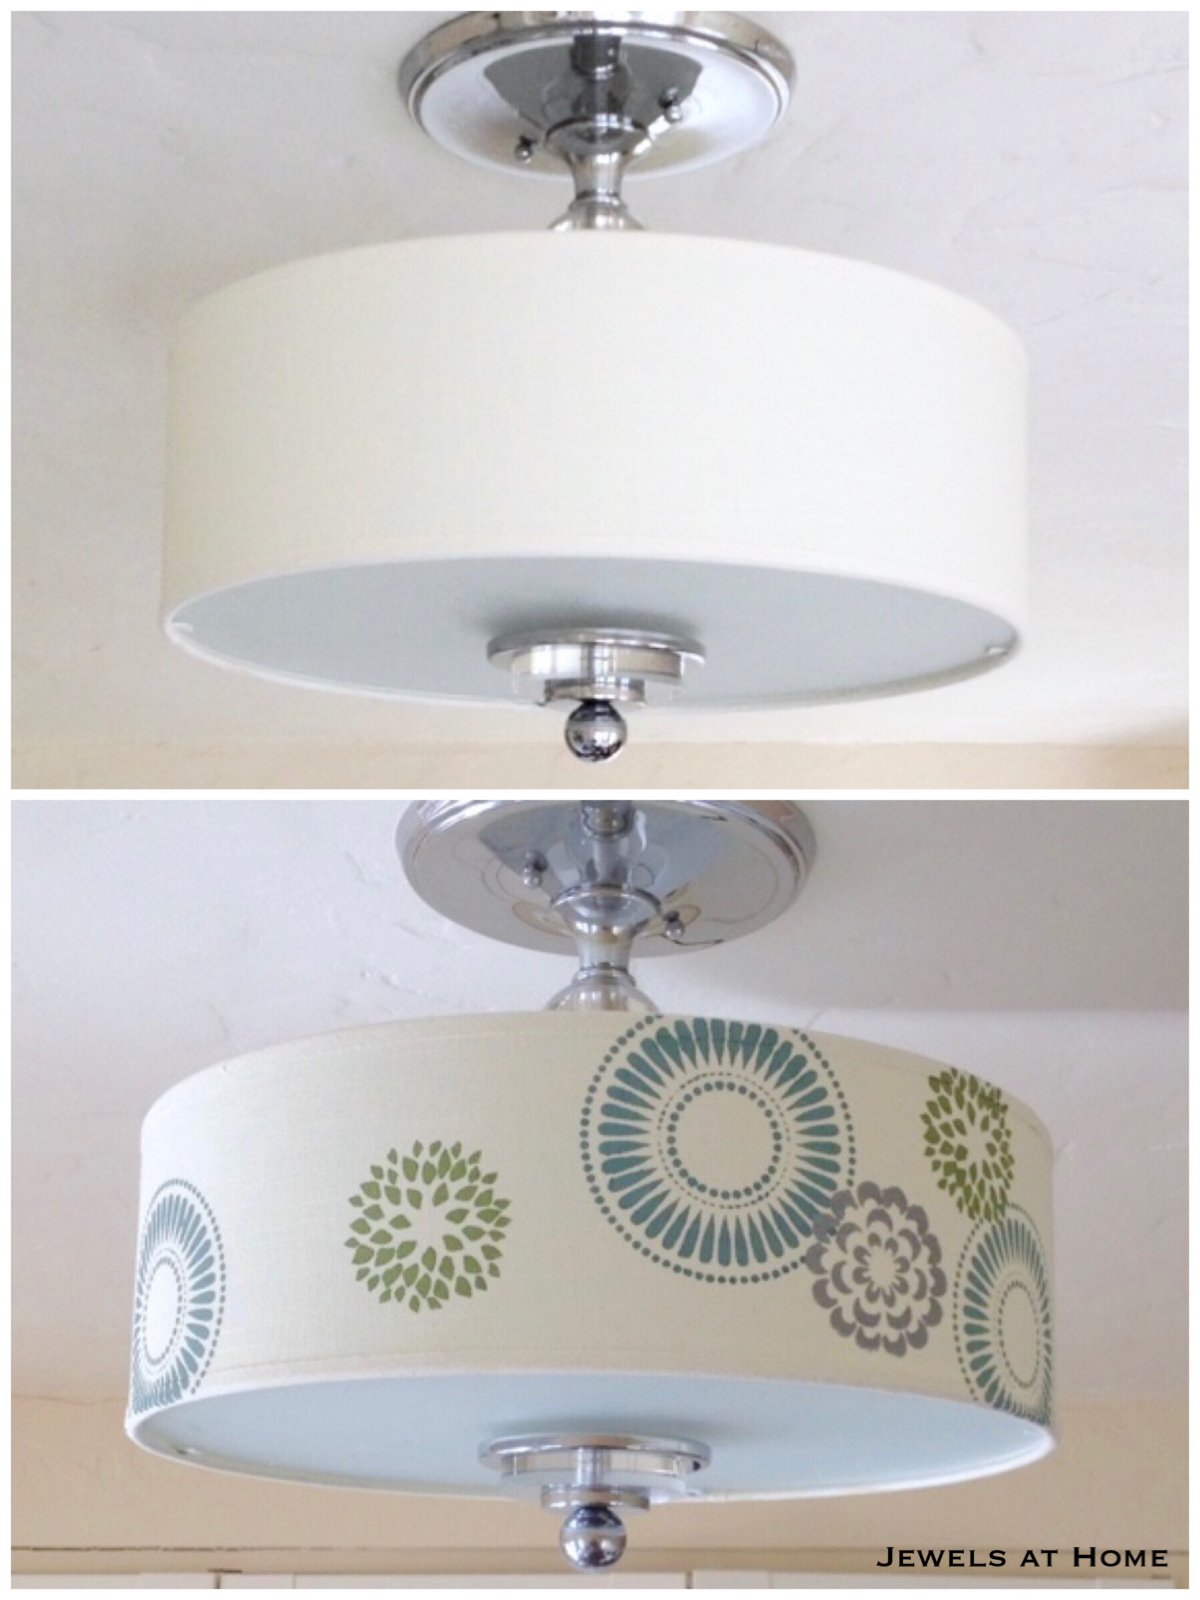
And here’s the finished shade:

20120517-164139.jpg

Drum shade transformed with floral stencils in blue, green, and silver. I dare say, I like this better than the inspiration shade!

20120517-165842.jpg

The random pattern of stencils gives a different look from every side. And it makes it easier, because you don’t have to worry about lining up the pattern.

20120517-213651.jpg

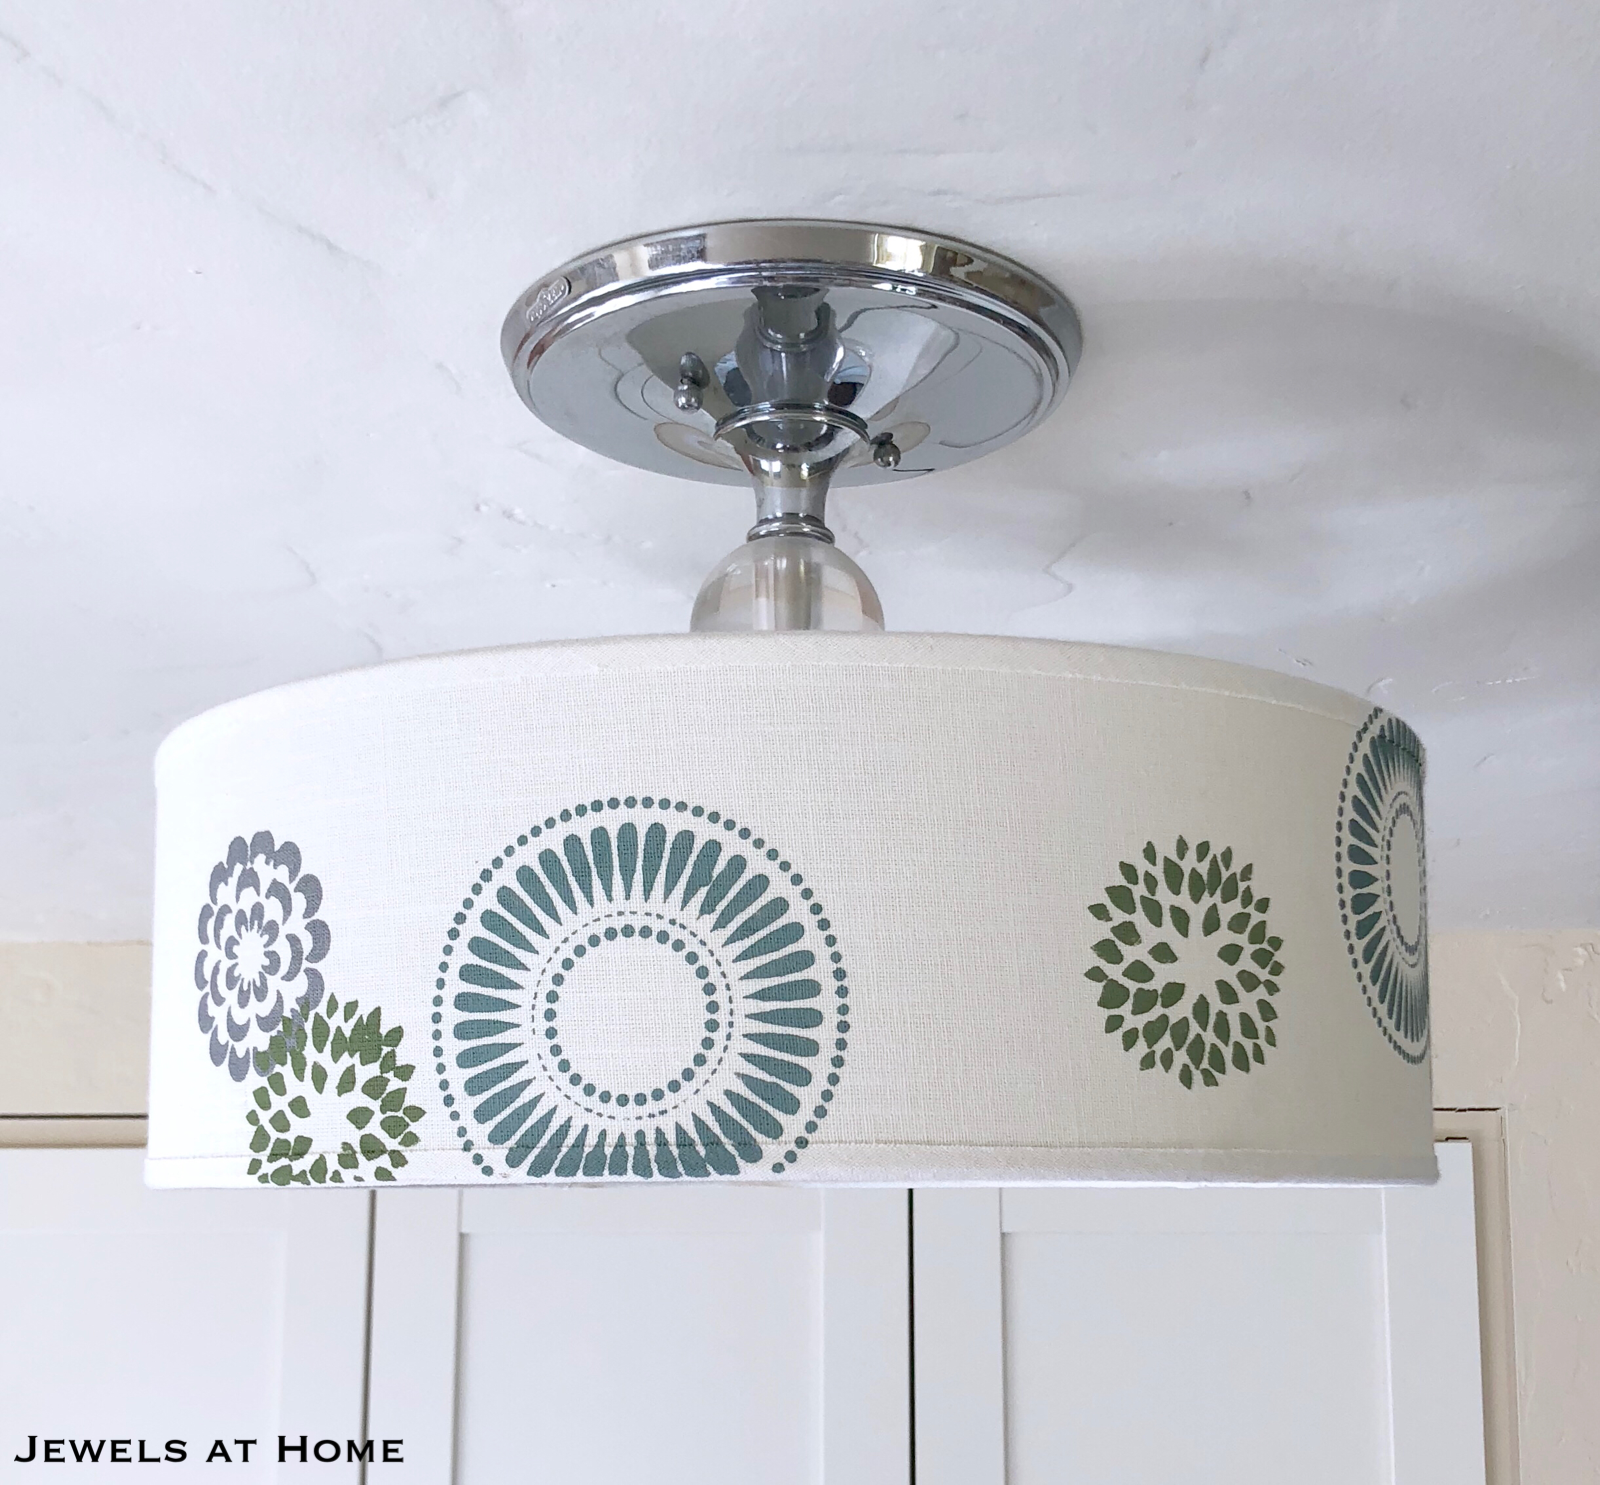
Lit up at night. No, I’m not tired of looking at it. Can you tell?

Here’s the finished fabric. I’ve got a lot of pillow projects lined up, so I should work on those soon!

20120517-164150.jpg

The stenciled fabric, on the bottom, will be a throw pillow for the daybed. The colors coordinate with the hydrangea print paper I found. I’m making desk accessories and some other projects with the paper.

“Jewels”

This project is shared at:
The Shabby Nest