- Week One – Small Foyer Inspiration
- Week Two – “Tile” Vinyl Floor Mats
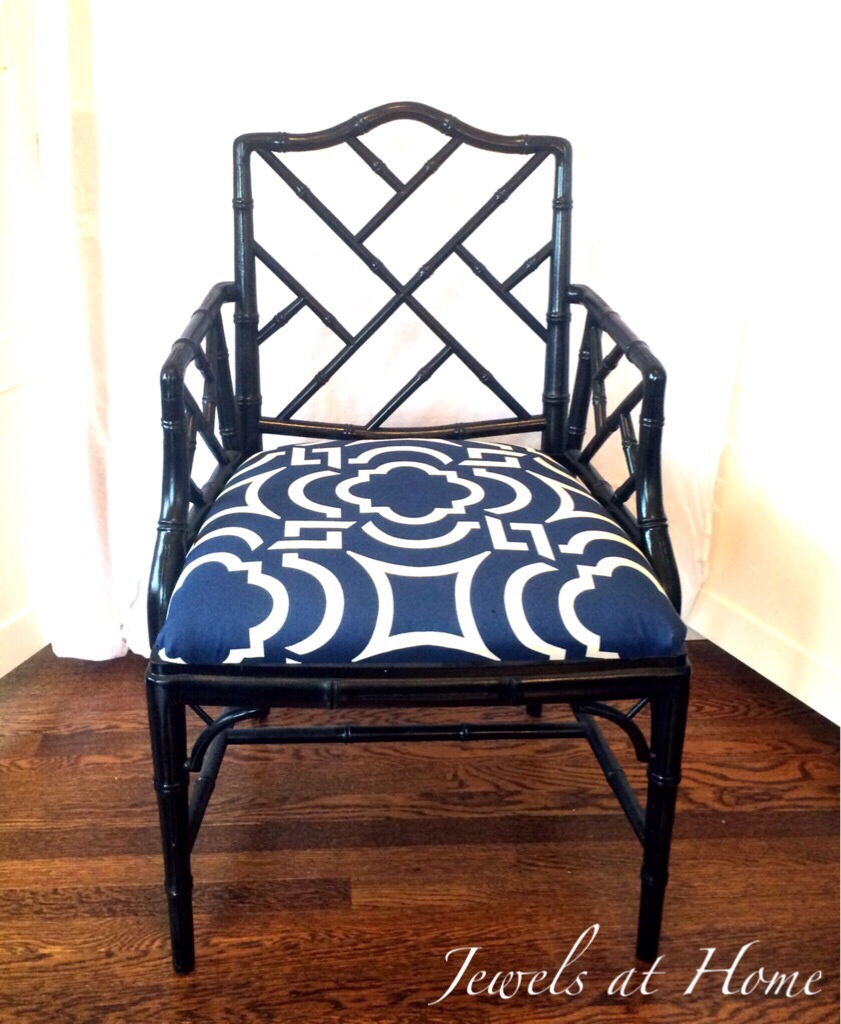
- Week Three – Foyer Bench / Shoe Cabinet
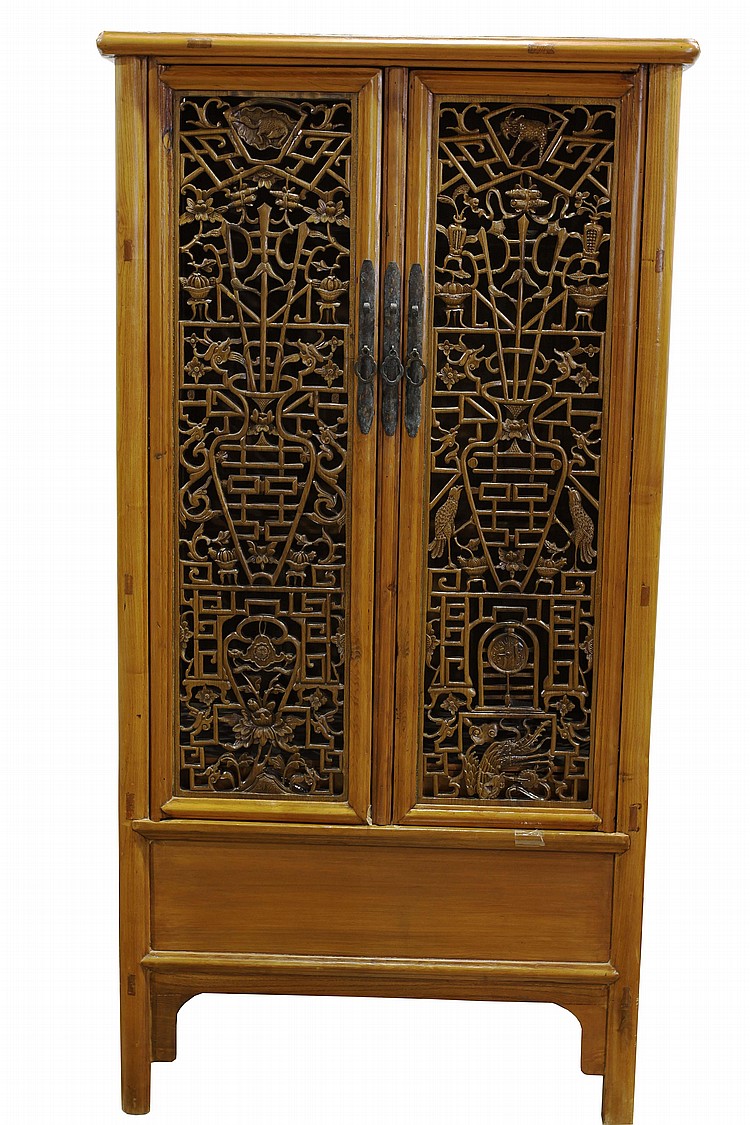
While I get the main project – our mini-mudroom – ready, I’ll show you more of the smaller projects going into our foyer makeover. I wanted closed storage for shoes, and I didn’t want it to look obvious or utilitarian. After spending too much (or just the right amount) of time browsing options for new or thrifted furniture, I found the perfect piece! If there’s anything you know about me, it’s likely my addiction to vintage furniture. Free is best, as is anything mid-century and/or with an Asian influence. Call it a gift, a fatal flaw, or just many hours browsing Craigslist… I spotted this free(!) cabinet and saw that the hardware had a beautiful mix of campaign and Asian details.
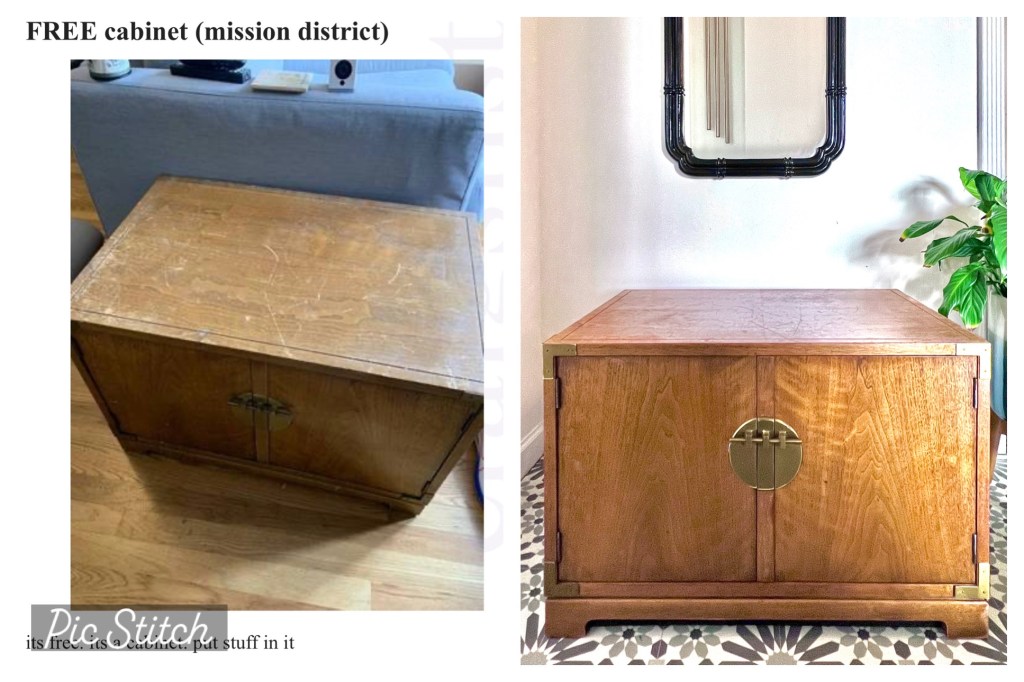
When I first saw it, I assumed it was too big for our space. But I couldn’t stop thinking about it, and I when I asked for dimensions, it turns out this is a petite cabinet that fits perfectly inside of our closet!
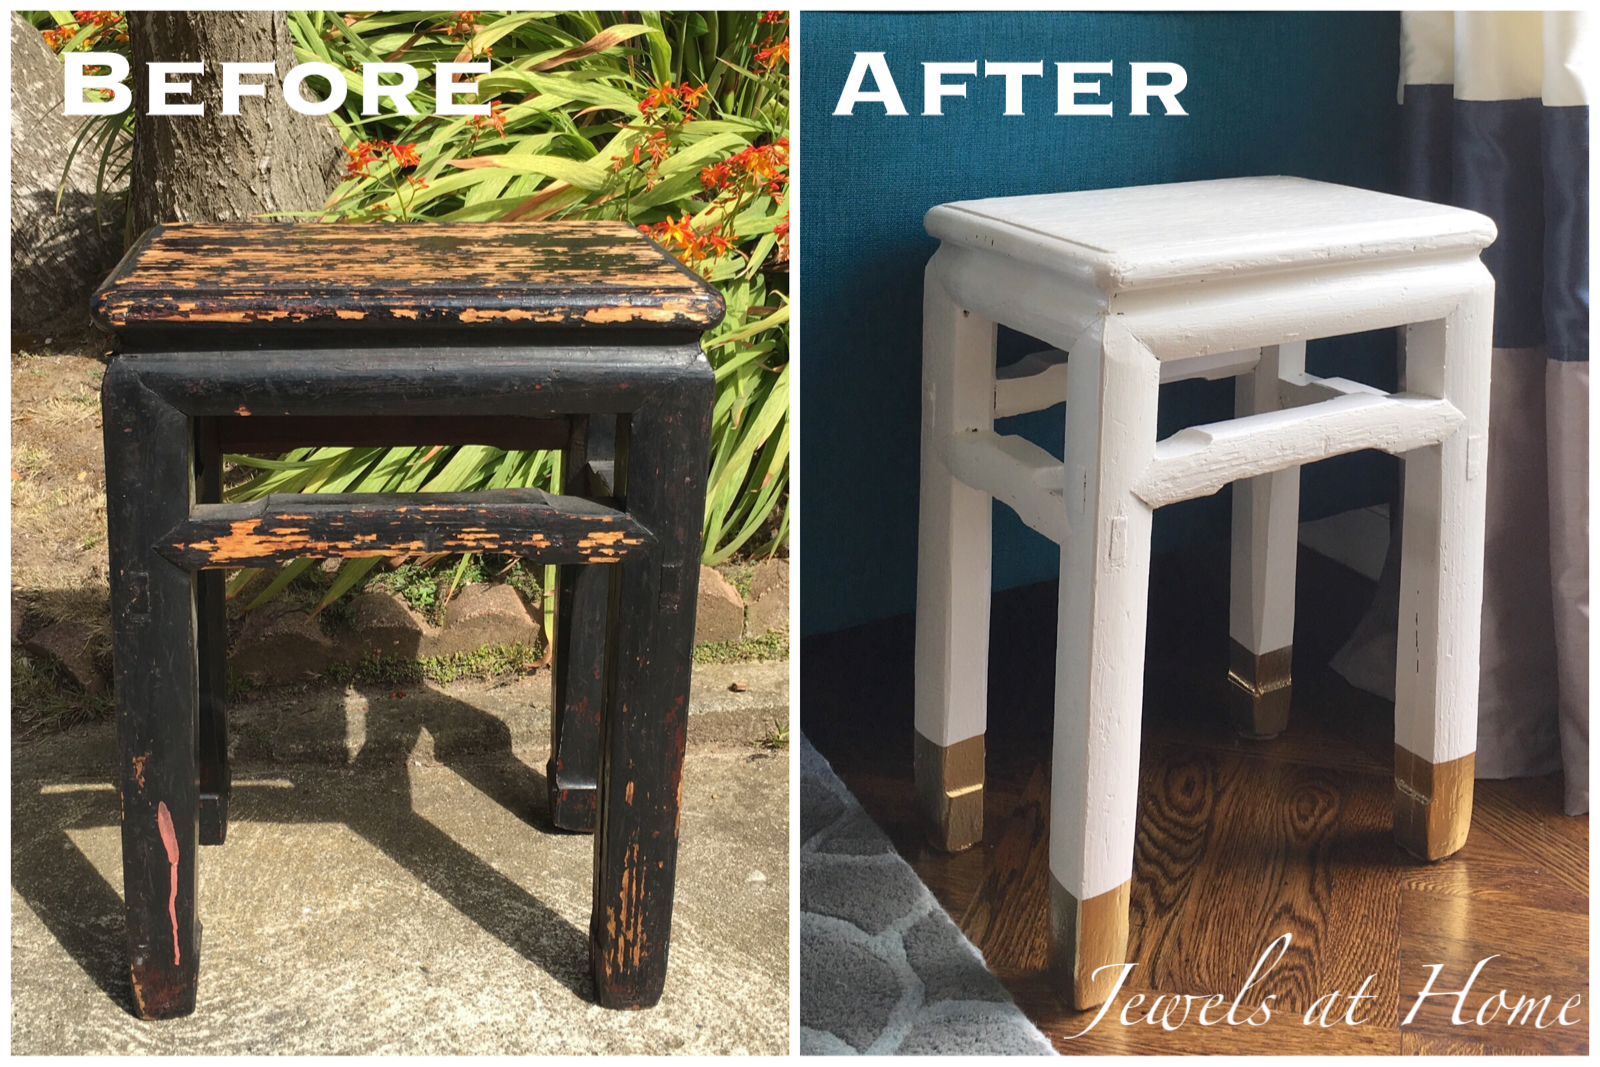
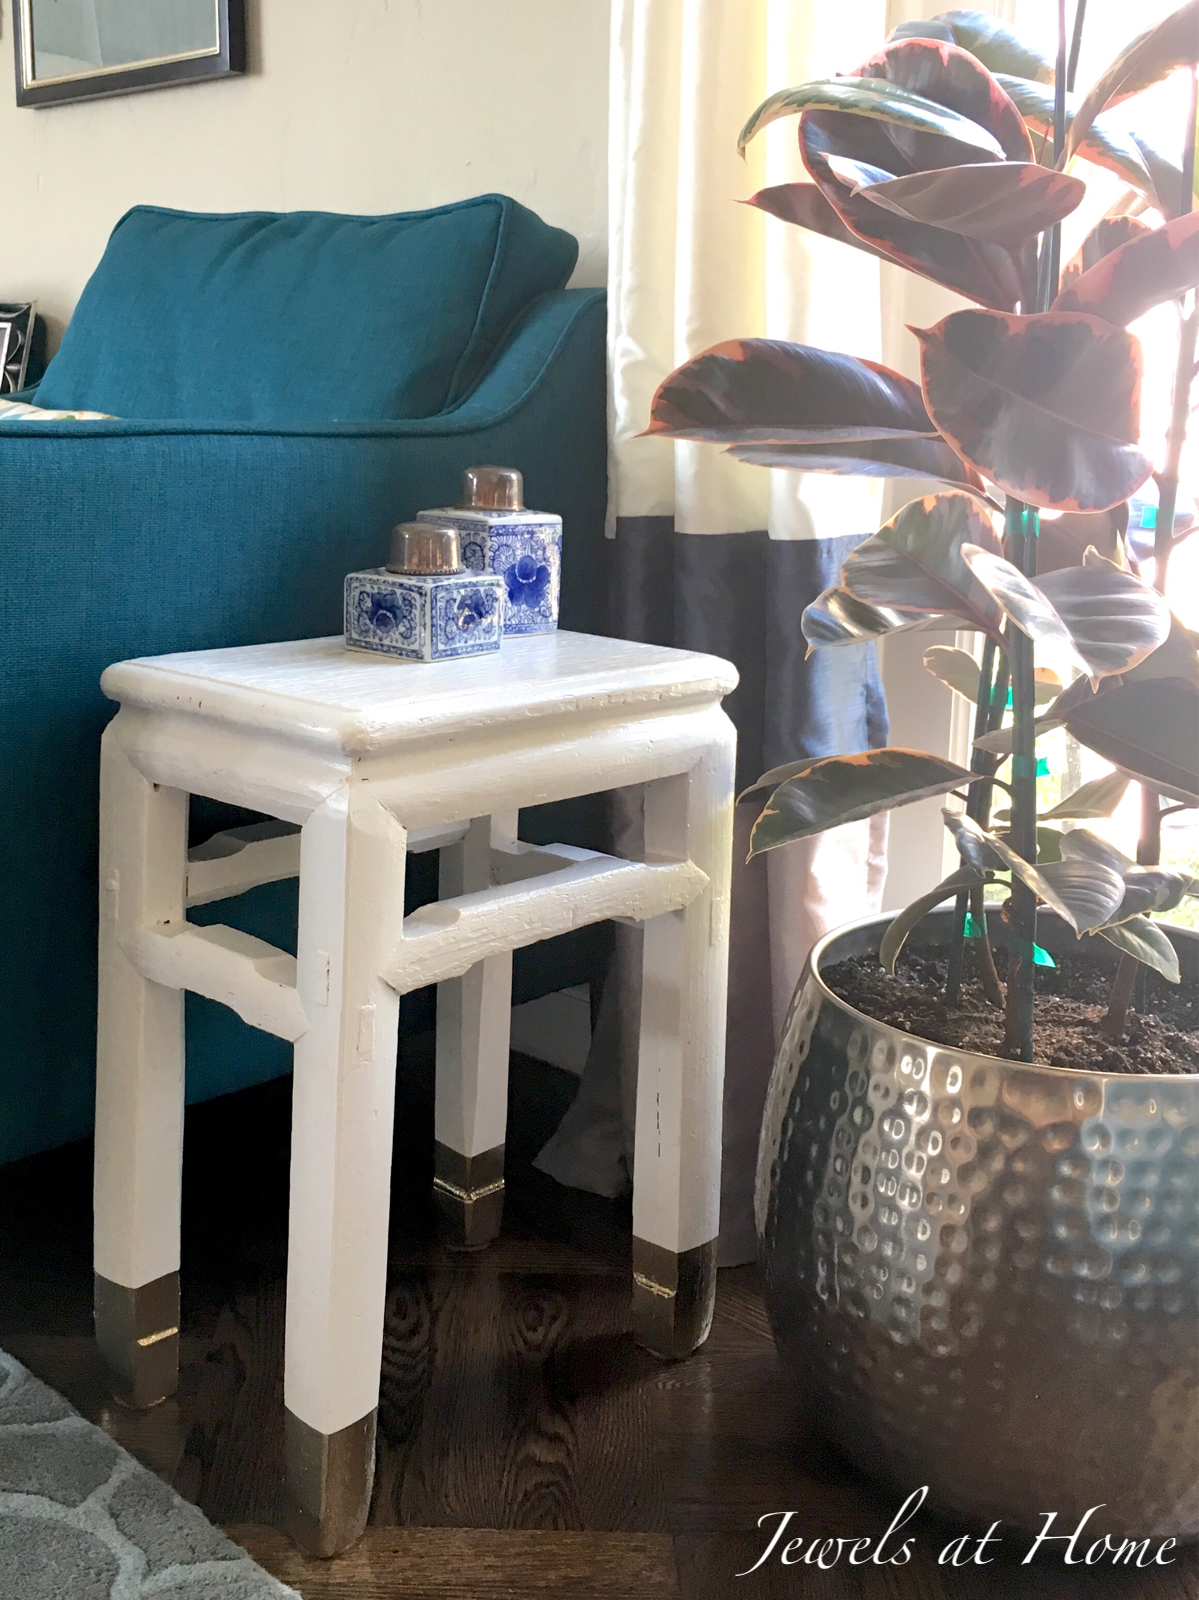
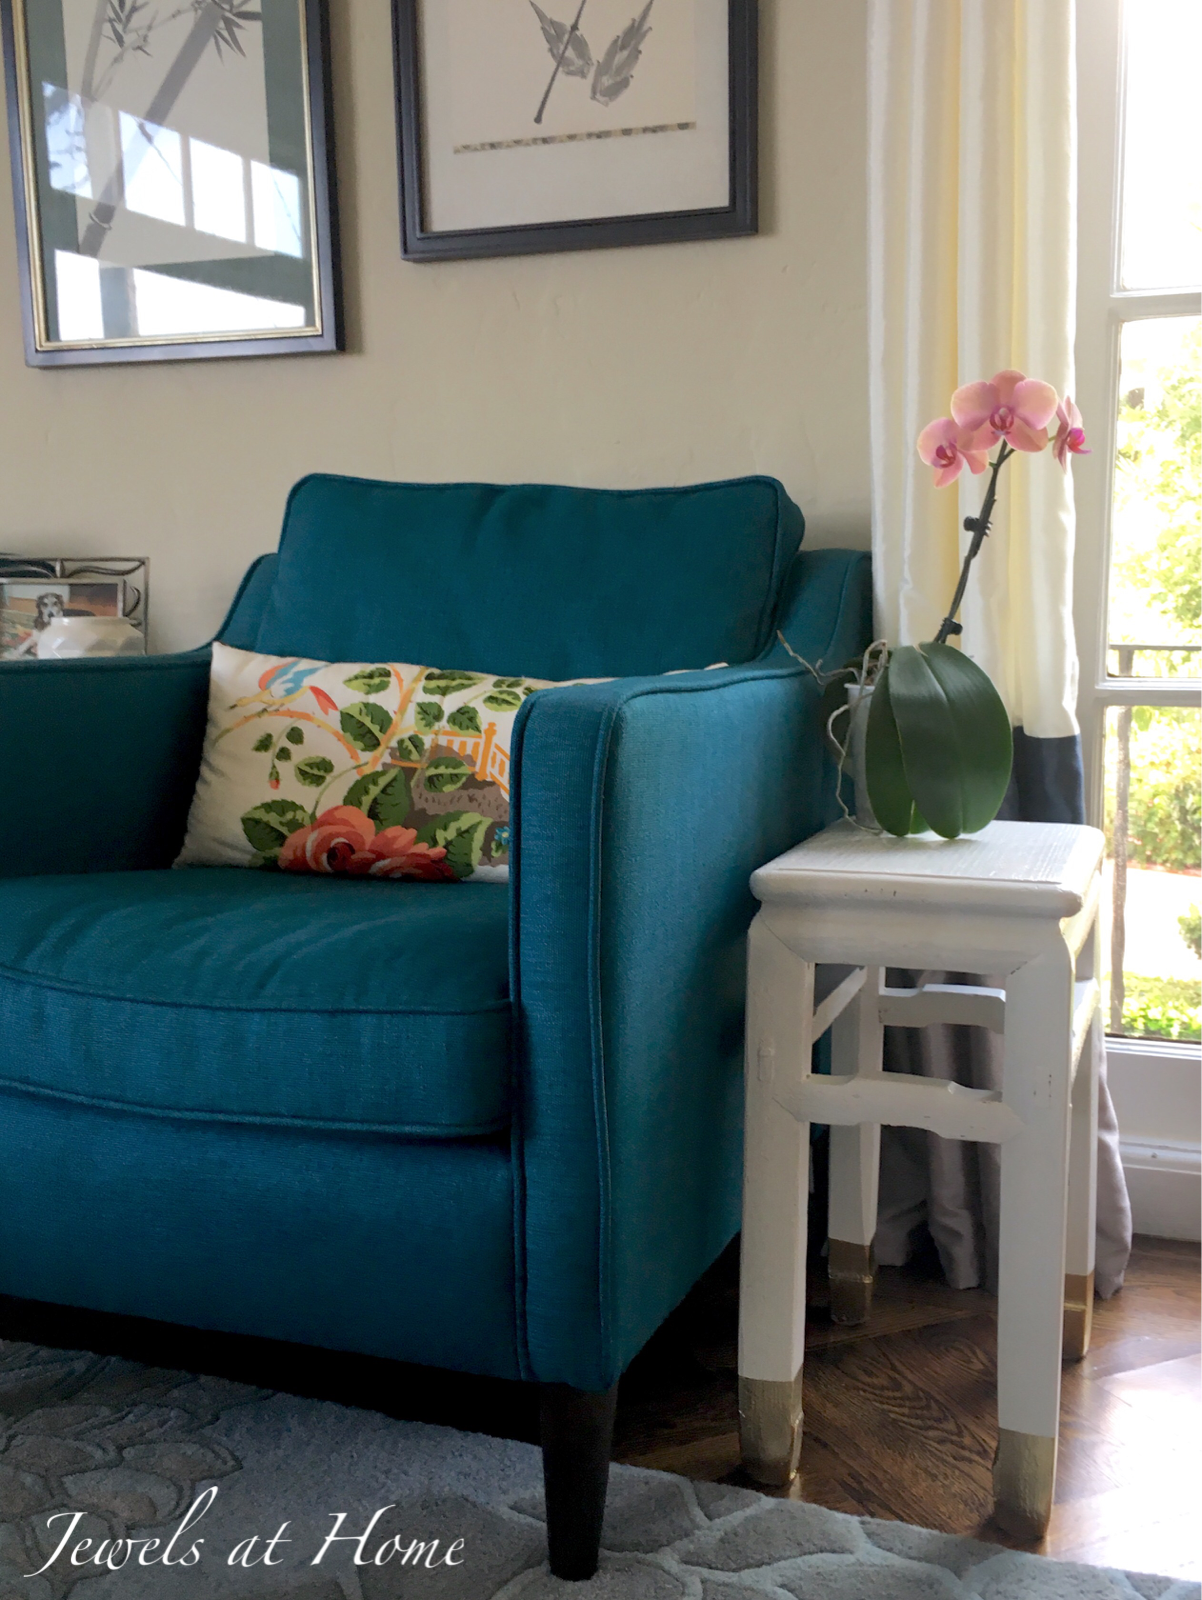
The wood finish was too pretty to paint, but it had a lot of scratches and marks on it, especially on top. I briefly thought about trying to refinish it, but it is veneer, and I’ve never done that before. I decided to try sanding it lightly and then using furniture polish – I’m happy to report that it worked!


I made some other modifications, because we are using this as a shoe cabinet. I painted a strip of wood block and installed it behind the front legs, so that we would not get too much dust and other stuff stuck underneath. I also lined the inside with clear, contact paper, and drilled some holes in the back, so that we can store shoes inside.


Next week, I’ll show you the mini-mudroom build, and we’ll see some big changes in this small space. In the meantime, head over to the One Room Challenge page to see more fun projects!
Julie AKA “Jewels”