
Welcome to the Fall 2023 One Room Challenge! This is such a hectic time but also such a fun one, with lots of projects to do and explore and a great supportive community! In the spring, I decorated our entryway, … Continue reading
Welcome to the Fall 2023 One Room Challenge! This is such a hectic time but also such a fun one, with lots of projects to do and explore and a great supportive community! In the spring, I decorated our entryway, … Continue reading

We recently moved into our new house, and I’ve been busy arranging and re-arranging things to get us settled. In this process, I was fortunate to receive a beautiful new sideboard cabinet from Hernest.com. This item was generously gifted, but … Continue reading
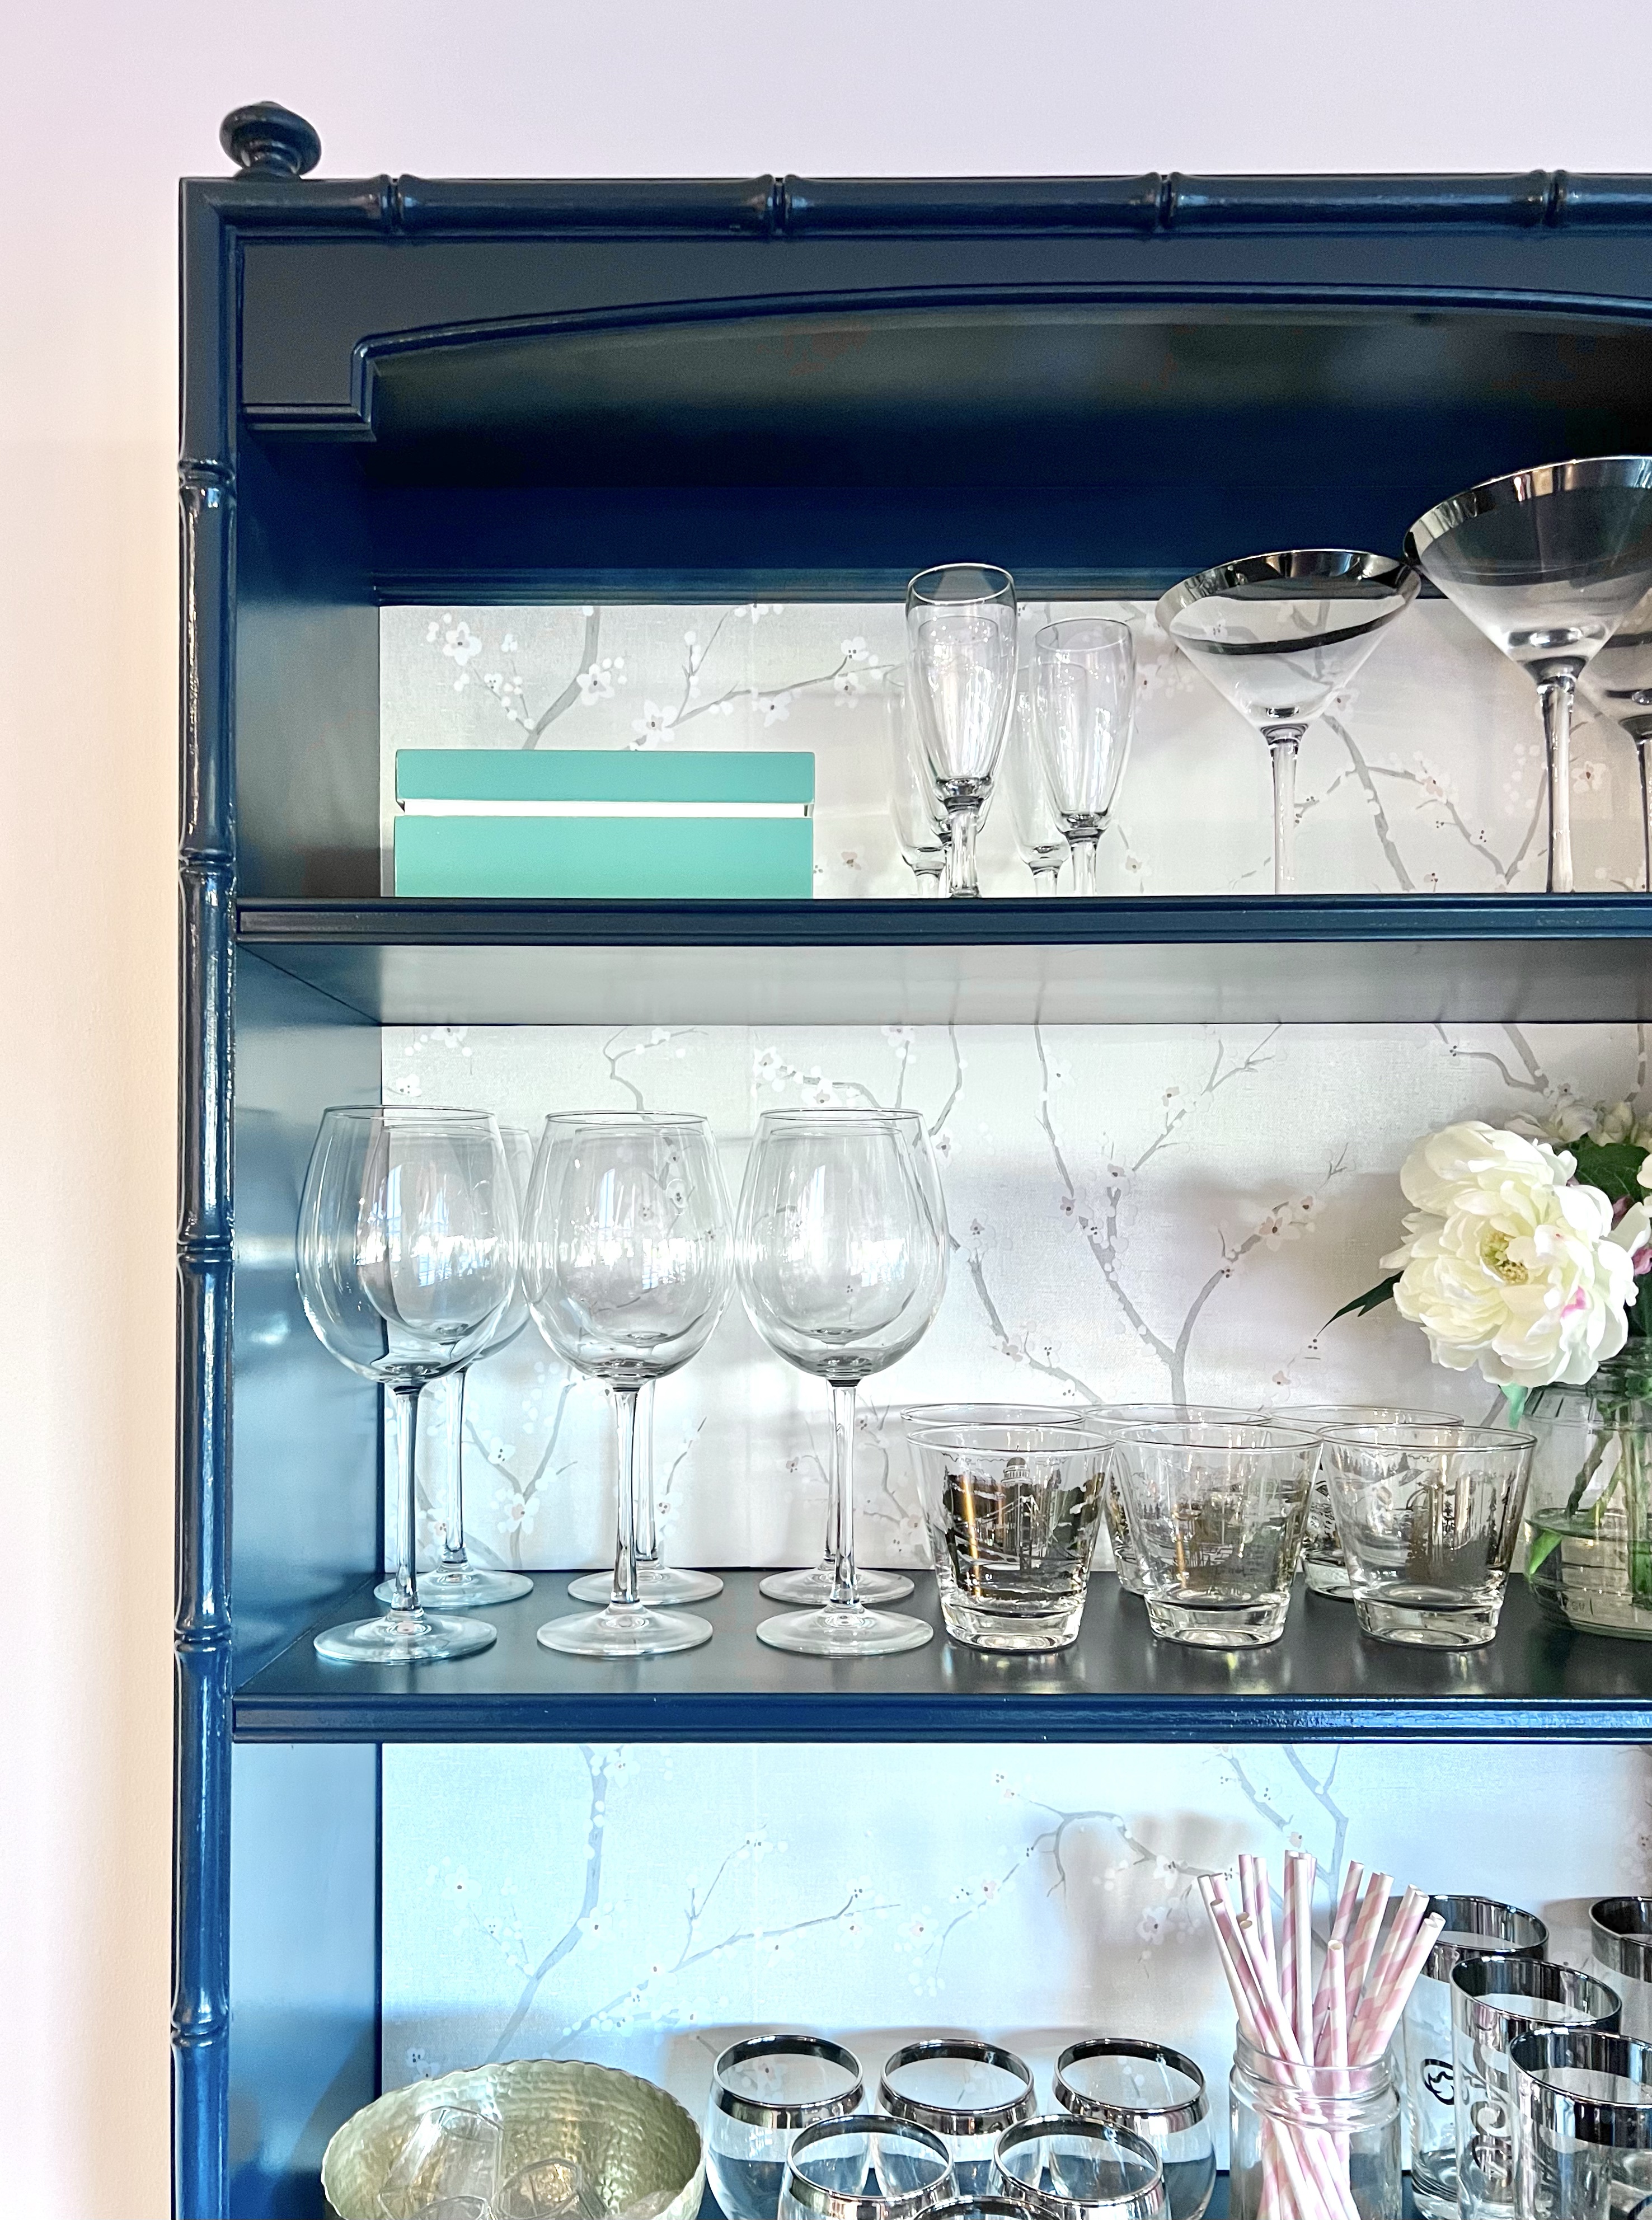
Remember when I told you that painting a vintage mid-century dresser was on my DIY bucket list? I love how that first project turned out. And then! When I was moving and definitely should not have been accumulating more stuff, I found something I couldn’t resist: a Thomasville faux bamboo bedroom set for free on Craigslist! This included a twin bed frame and a little desk and dresser. The desk had a bookcase hutch, which I put on top of the dresser to make a hutch/ bar for our dining room.

Here’s what you’ll need:
Here’s how to do it:


This new dining room bar is the perfect place to display our collection of vintage bar glasses. I collected them back when we threw a Mad Men party, and I still love them all!

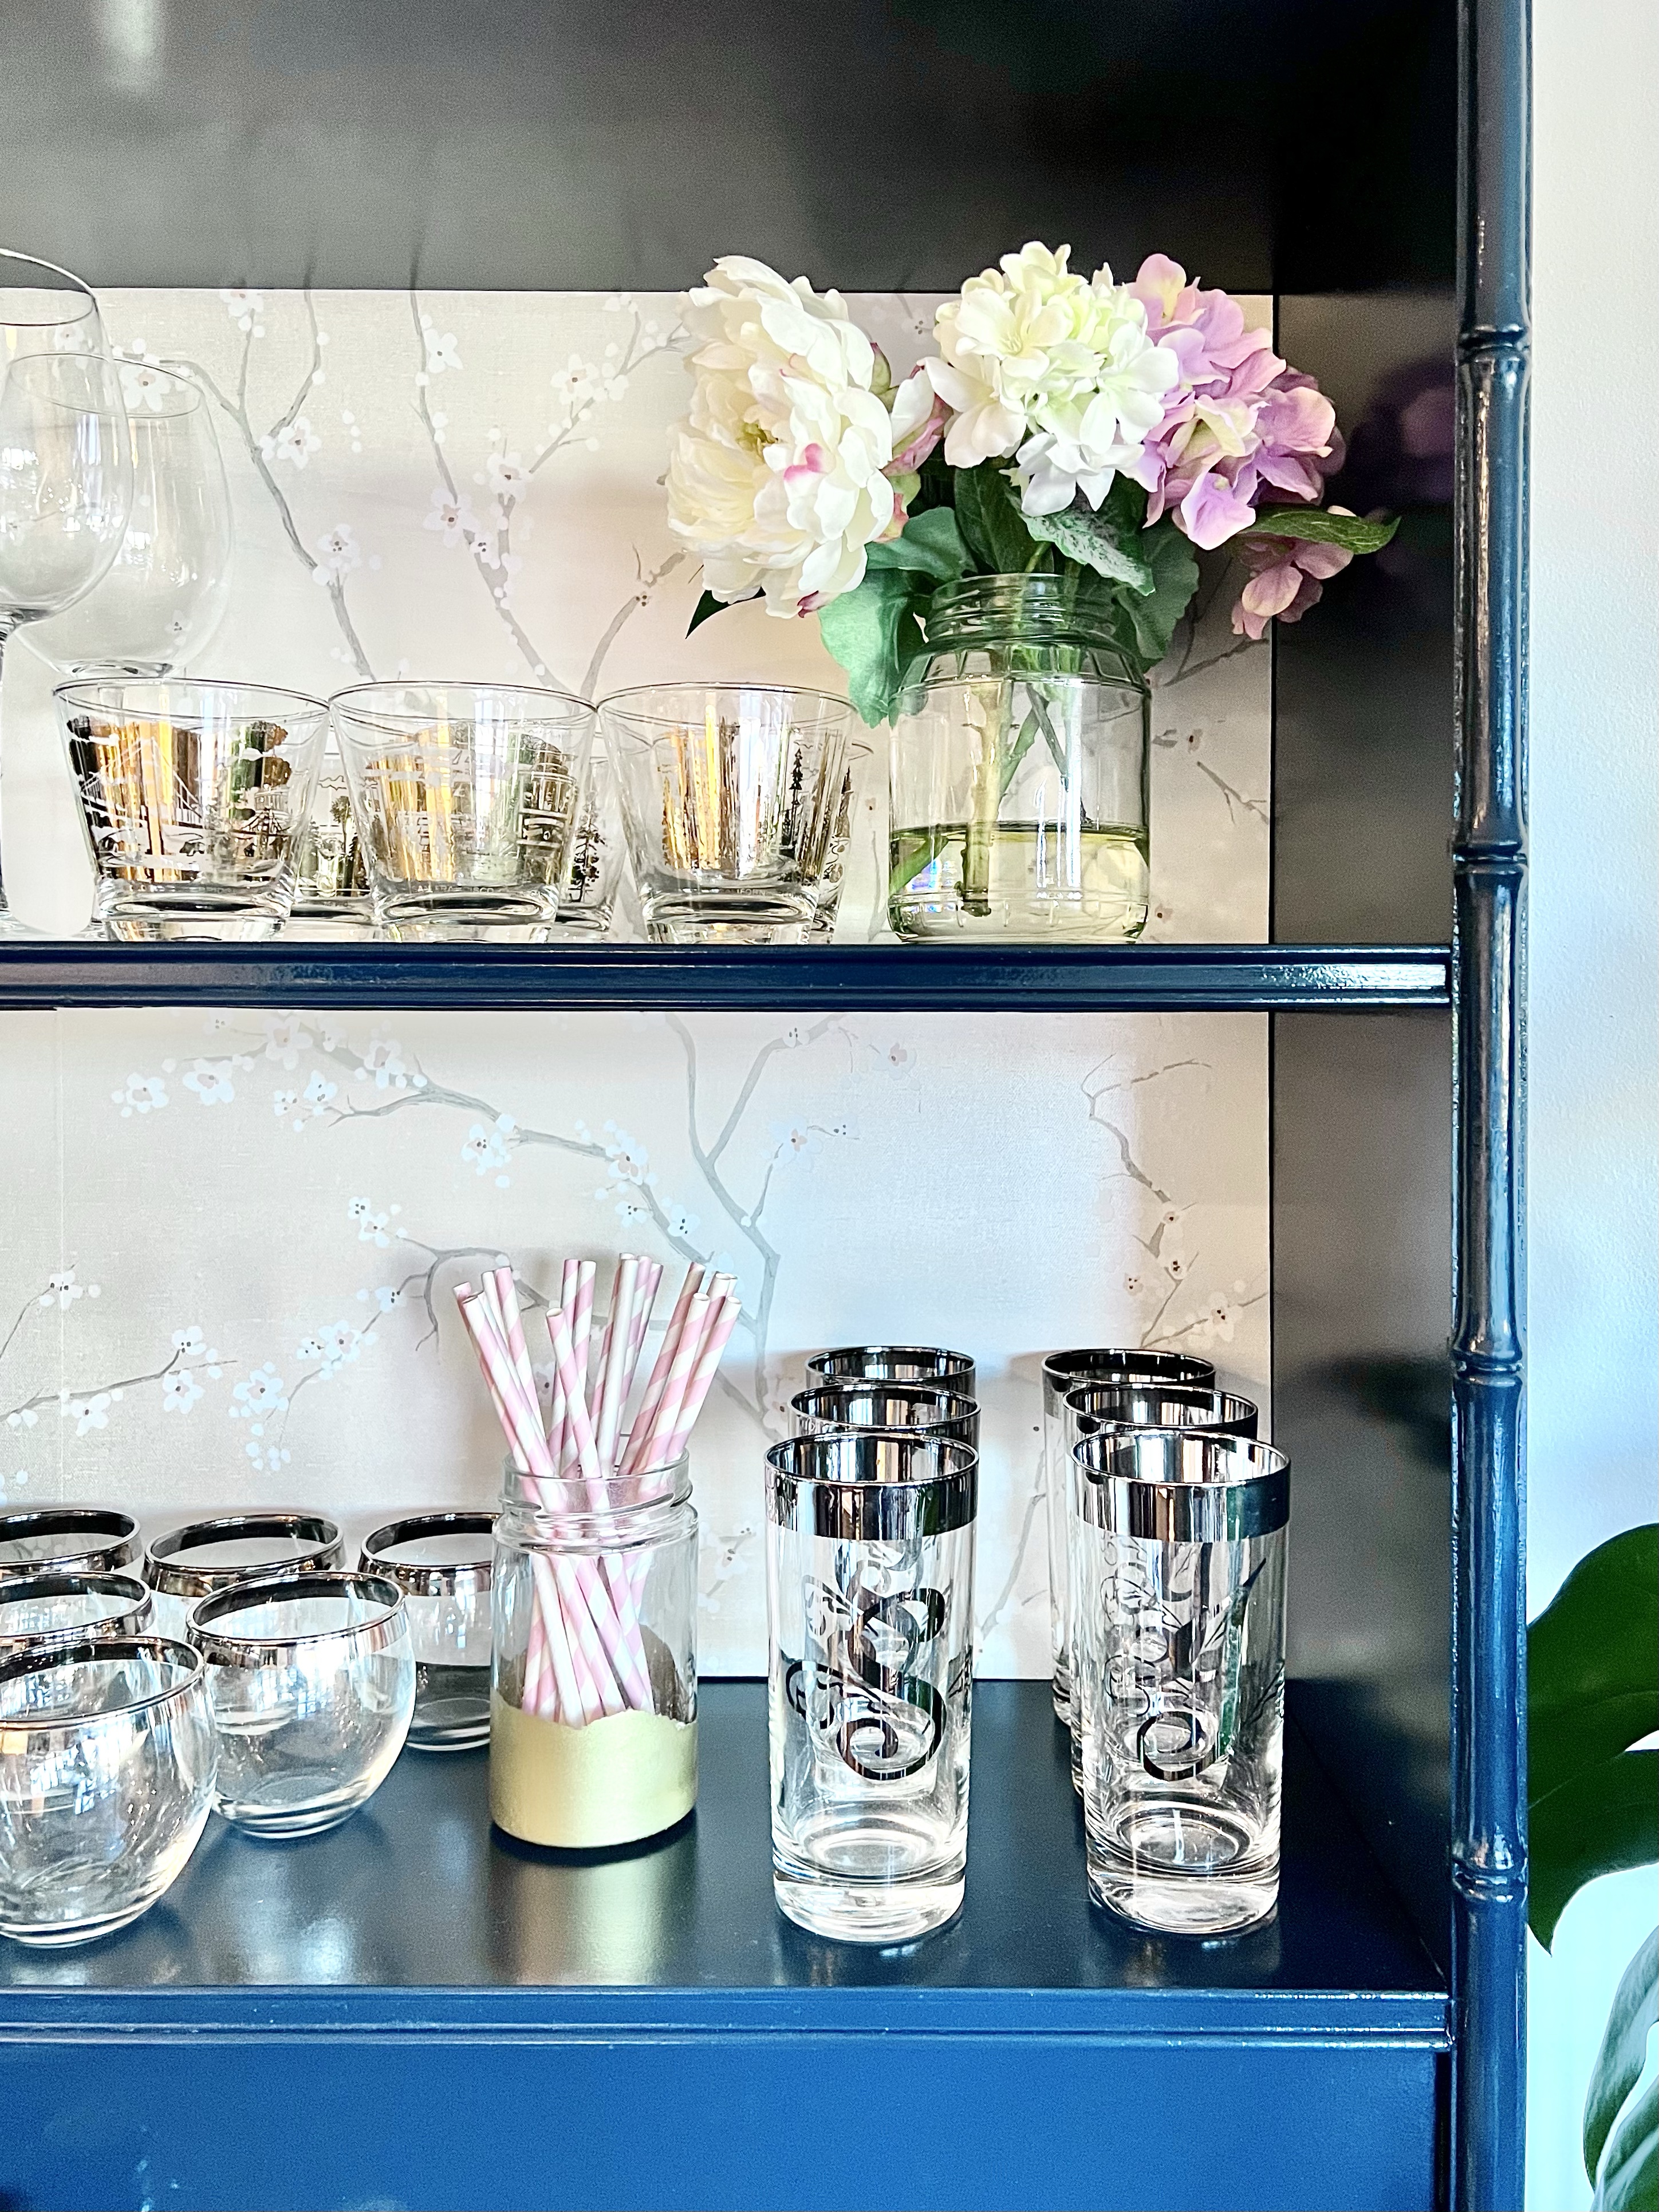


The days off for New Year’s allowed me to finish this project, so of course, I decorated for our at-home countdown to the New Year!


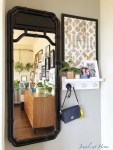
There is still the bed frame, a little corner desk, and some mirrors that came with the bedroom set. It was a silly indulgence to bring them all home, but I still hope to find a home for them some day somewhere!
Julie aka “Jewels”
I can’t help drooling over pictures of gorgeous walk-in closets with romantic and glamorous touches. We gave up our walk-in closet when we created a fourth bedroom upstairs. I don’t regret this extra room, which was first a nursery and … Continue reading
Beautiful clear furniture in acrylic, lucite, or glass, has always caught my eye. It is distinctly modern but neutral enough to fit in – and add a touch of glamorous sparkle – to any room. When one of my favorite home decor sites, One Kings Lane, announced a sale on beautiful acrylic furniture, I thought it would be a good time to scout out some favorite items.

Here are my picks from this sale:
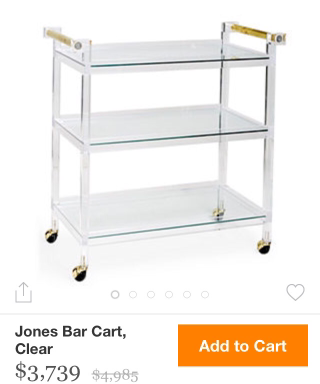
Jones Bar Cart. Ohhh I want a bar cart so badly. I love the touch of gold on this one. Sadly, I’m afraid my boys would use this as a go-cart, but perhaps you’d have more luck?
Havenhurst Coffee Table. Again, I think the touch of gold makes this modern table feel more transitional. The corners remind me of the campaign style. This clear table would feel so light and airy in a living room or family room.

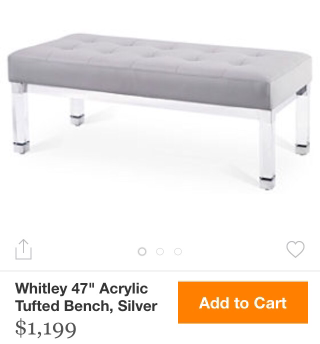
Whitley Tufted Bench. This bench feels less like going out on a limb than some of the other pieces. I think it is because the top surface, which catches more of your eye, is a traditional upholstered surface. The clear legs add just the right amount of sparkle and glamour. Statement pieces are great, and so are subtle touches like this one.
Havenhurst Etagere. More clean lines and metallic touches. I guess I know what I like this mix of campaign touches on a modern acrylic etagere really set my heart aflutter!

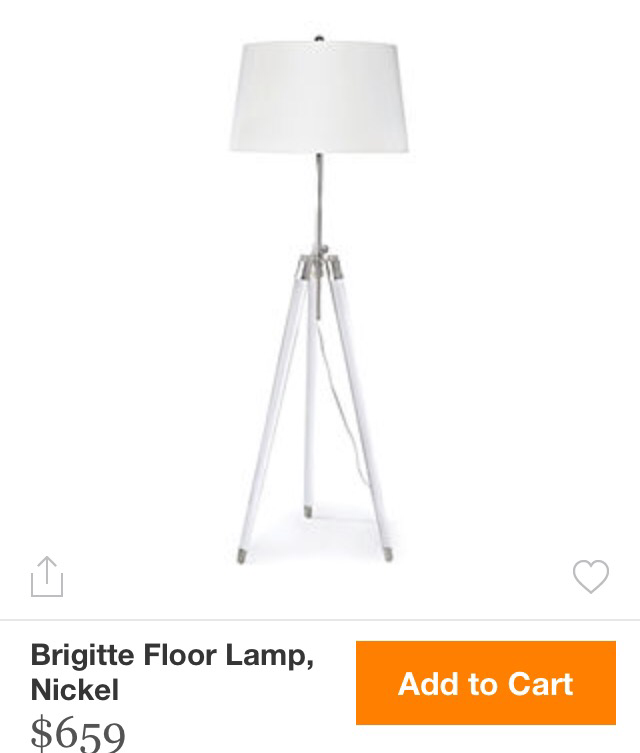
Brigitte Floor Lamp. Here’s another piece, like the bench, where the top looks more traditional, and the acrylic legs turn the lamp into something distinctive and glamorous.
Wow, I would put any of these in my house. How about you?
“Jewels”
Did you just move into a new place? Or perhaps you are settled in your home but ready for a change of style. It can be challenging to plan a space from scratch, but it’s also a great opportunity.
For better or worse, Steve and I have moved a lot over the years, and on the “better” side, I’ve gotten a lot of experience designing spaces. Though I could have transferred our furniture and look directly from home to home, I used each move as an opportunity to refine our collection and re-consider our style. Of course, each home had its unique features of architecture, layout, and lighting, and adapting to each of these became an opportunity to try something new.
Here are some tips for creating your own dream room:
3. Make it personal
~~~~~
A fun room to demonstrate this process is our living-dining room.
The style I honed in on for this room was based on a Hollywood Regency mid-century look. The main colors are silver/grey and blue. One of my favorite inspiration rooms is this one, by designer Elizabeth Gordon. I love the clean-lined feminine upholstered pieces, with touches of metallic glamor.

Source: Houzz.com
While I am well on the way to creating our dream living room, my rooms are never really done. I’m always tweaking things and looking for ways to change things around. One piece I have an eye on is this Chinese cabinet from the online auction site invaluable.com. They have a variety of fine art for sale, including paintings and sculptures that would make a great jumping off point for your inspired space! The folks over at invaluable inspired me to write this post, and I have big ideas for a cabinet like this.
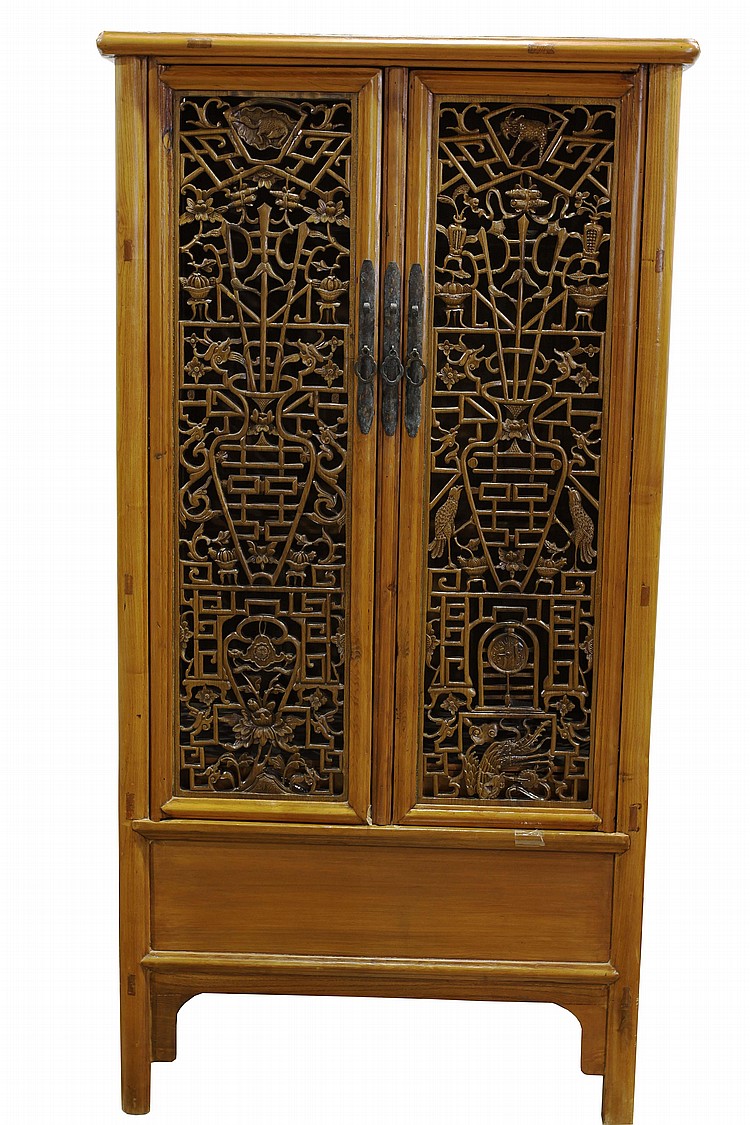
I would like to turn this into a bar cabinet, by adding mirrors to the inside and displaying glasses and bottles. The doors would keep clutter hidden, but the screens would allow glimpses of the glass and bottles on the inside. I think it would be a spectacular addition.
I’ve already been scouting out the accessories I would need:
I hope I will be able to do this project soon and show it to you!
“Jewels”
