Father’s Day Photo Book with the Kids

So, I’ve mentioned before that Steve’s birthday always falls close to Father’s Day. This means that I either get 1) totally overwhelmed and do almost nothing or 2) get seriously motivated and make a special project for him.

Here is an example of

1) almost nothing: simple cards – easy, but still fun!

2) special project: mugs and aprons decorated by the kids

This year, we are hosting out-of-town guests during Steve’s birthday and Father’s Day, so I want to make sure that his special days don’t get completely lost in the busy schedule.

I was browsing Pinterest – as always – for ideas, and I found pins for sweet Father’s Day photo books. Unfortunately, the ones I saw are no longer available, so I made my own.

I made photo books for Steve and the boys’ two grandfathers, with blank spaces for the boys to fill in. The questions I included were:

  • My dad is good at
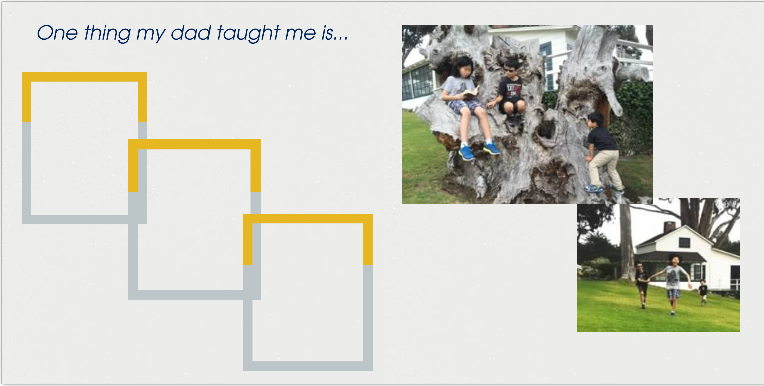
  • One thing my dad taught me is
  • A fun thing I did with my dad is
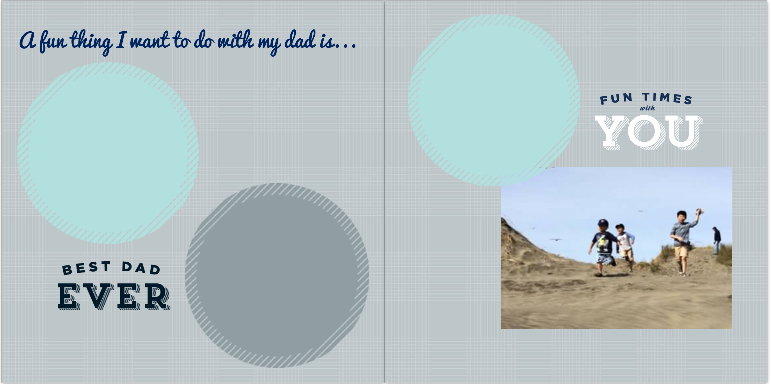
  • A fun thing I want to do with my dad is
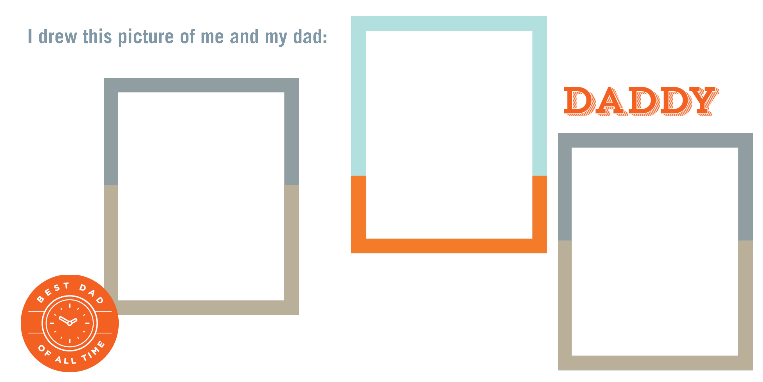
  • I drew this picture of my dad and me
  • Something I have in common with my dad is
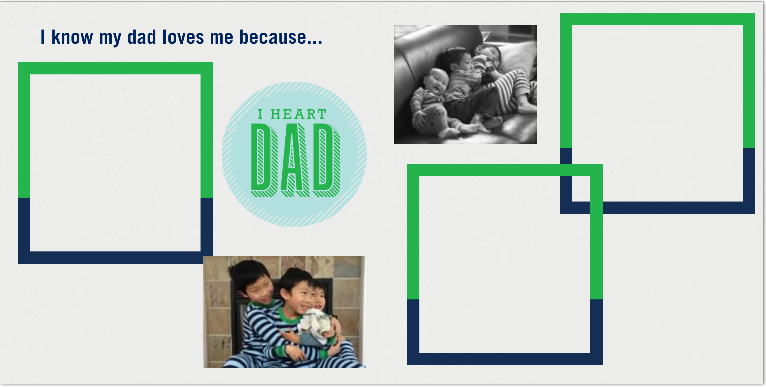
  • I know my dad loves me because
  • I love my dad because

Here’s how our books turned out.

Father's Day Photo Book | Jewels at Home  

Father's Day Photo Books to complete with the kids | Jewels at Home    Father's Day Photo Books to complete with the kids | Jewels at Home  Father's Day Photo Books to complete with the kids | Jewels at Home  Father's Day Photo Books to complete with the kids | Jewels at Home  Father's Day Photo Books to complete with the kids | Jewels at Home


Can’t wait to fill them out with the kids and share them with the special dads in our family!

“Jewels”

DIY Headboard Slipcover

So, I love the look of an upholstered headboard – so tailored and elegant yet still inviting. But, there are a couple of reasons I wasn’t ready to add one to our bedroom – I actually like the look of our wooden headboard, and I also wanted something that was easy to keep clean.

The perfect solution was to sew a slipcover for our wooden headboard, because I can change or wash it easily.

Love the look but don't want to commit to an upholstered headboard? DIY this easy slipcover! Jewels at Home

To create a soft feel, I wanted to have a quilted slipcover, and then I thought – why not make it out of a quilt?!

I found this grey velvet quilt which is perfect. It’s no longer sold, but here are some similar options:Chezmoi Vintage Washed Cotton Quilt and CoCaLo Trellis CoverletI started by pre-washing the quilt, so it wouldn’t shrink in future washings.

I measured the headboard and added 2″ to the height and 5″ to the width to create my pattern. I used the finished edges of my quilt for the bottom opening.

With right sides facing, I sewed the sides and top seams of the slipcover. Then, I carefully cut away some batting from the seam allowance, so the seams would be less bulky. I squared off the top corners, and this easy project was finished!


Love the look but don't want to commit to an upholstered headboard? DIY this easy slipcover! Jewels at Home

Love the look but don't want to commit to an upholstered headboard? DIY this easy slipcover! Jewels at HomeSweet dreams!

“Jewels”

Keepsake Baby Quilt – The Next Generation

I keep every little scrap of paper, fabric, or ribbon that might possibly be used again… and I know that I got this habit from my mom. When I was going through her fabric stash a few years ago, I found some fabric leftover from my baby blanket. The remnant looked surprisingly bright next to the worn and faded blanket I am familiar with, but there was no mistaking those happy tigers and vibrant flowers.

When I was pregnant with our first baby, I decided to make a new blanket out of this fabric, and now all three boys have their own quilts with a little piece of this special fabric.

I LOVE this idea. Use scraps from an old baby blanket to make special quilts for your children and grandchildren! Keepsake Baby Quilt - the Next Generation | Jewels at Home

Since the piece of fabric I found was small, I knew the blanket had to be a patchwork, so I found other scraps of yellows, greens, and whites from my mom’s stash and improvised a design to feature this special nostalgic print. I made it with just the pieced front and a solid back – no batting – so it would be lightweight and versatile.

I LOVE this idea. Use scraps from an old baby blanket to make special quilts for your children and grandchildren! Keepsake Baby Quilt - the Next Generation | Jewels at Home

A few years later, we were expecting our second child, and with the few squares I had left, I again pieced a blanket for our new baby.

I LOVE this idea. Use scraps from an old baby blanket to make special quilts for your children and grandchildren! Keepsake Baby Quilt - the Next Generation | Jewels at Home

I joked for a while that since I had used up that small piece of fabric, we couldn’t have any more kids… But as the years went by, we did want to add to our family, and I didn’t let the lack of tiger print fabric stop me!

When I planned this new baby’s blanket, I decided I had to cut into my old blanket to get the fabric. It wasn’t that hard a decision, as I hadn’t used my blanket in ages, and the tiger print was extra special in this case, since our youngest was born in the year if the tiger.

I LOVE this idea. Use scraps from an old baby blanket to make special quilts for your children and grandchildren! Keepsake Baby Quilt - the Next Generation | Jewels at Home

I love seeing how this whimsical print is now woven through all our childhoods.

I LOVE this idea. Use scraps from an old baby blanket to make special quilts for your children and grandchildren! Keepsake Baby Quilt - the Next Generation | Jewels at Home

I LOVE this idea. Use scraps from an old baby blanket to make special quilts for your children and grandchildren! Keepsake Baby Quilt - the Next Generation | Jewels at Home

I LOVE this idea. Use scraps from an old baby blanket to make special quilts for your children and grandchildren! Keepsake Baby Quilt - the Next Generation | Jewels at Home

I LOVE this idea. Use scraps from an old baby blanket to make special quilts for your children and grandchildren! Keepsake Baby Quilt - the Next Generation | Jewels at Home

The boys’ special blankets have been useful and treasured over the years, and I love how they are all connected but each unique… Just like the boys themselves!

And I still have enough of that baby blanket left over to make something for my grandkids some day. You can bet I am going to keep it!

“Jewels”

Easy DIY Jewelry Display Board

Sometimes, every day feels like rush, rush, rush… get up, get ready, take the kids to school, work, back home, more kids and more work… I am very fortunate to love it all as much as I do, but the pace can definitely get to be a bit much!

Every once in a while, I have to remind myself to take a “time out.” All the work of home and job is never truly finished, and it’s okay to give yourself a few hours – or even minutes – to do something for yourself.

Tonight’s time out was sooooo easy and exciting.

I have been eyeing beautiful closet designs on Pinterest, planning out my own little spot of blingy bliss. One thing I knew I wanted to include was a way to display some jewelry. I ended up making this beautiful and super-easy magnetic display board that was ready in minutes!

The simple materials for this board were:

Easy DIY Jewelry Display Board | Jewels at Home

Easy DIY Jewelry Display Board | Jewels at Home

The rest of my closet nook is still coming together and will require a bit more elbow grease than this easy project, but I hope I can show it to you soon!

“Jewels” (no pun intended!!)

A Few of My Favorite Chairs – Whimsical Chippendale Makeover

I’m not trying to hide the fact that I have a bit of a thing for chairs. I picked up a set of Chippendale chairs off of craigslist a while ago. I’ll admit that I didn’t even know exactly where they would go, but I could not pass up these beauties.

A Few of My Favorite Chairs - Whimsical Chippendale Makeover | Jewels at Home

There were three armchairs, and you may remember I painted these black and reupholstered the seats with a complementary lattice print. They make beautiful side chairs in our living-dining room.

20140329-171806.jpg

Next up were the four side chairs. I originally thought I would use them for an eat-in area in our kitchen, but when we renovated, we ended up with seating at the island, instead of a separate table.

Not to worry, though, the side chairs have found a home in our family room. This room is decorated with lots of white, as you can see in our “built-in” fireplace wall, and blue, as you can see in the new graphic pillows, so I found a print for the seats of the chairs that would connect to these colors. I love how the modern print makes these traditional chairs feel more contemporary, and the circles complement the angles of the lattice.
A Few of My Favorite Chairs - Whimsical Chippendale Makeover | Jewels at Home

A Few of My Favorite Chairs - Whimsical Chippendale Makeover | Jewels at Home

Here’s how the new chairs fit in to the kids’ study space in our family room: A Few of My Favorite Chairs - Whimsical Chippendale Makeover | Jewels at Home

And a final look to see how all these chairs were transformed from stuffy to stunning!

20140329-171754.jpg

A Few of My Favorite Chairs - Whimsical Chippendale Makeover | Jewels at Home

So fun! So fun! Funny story. Some of you know that Steve is an avid runner, and I honestly believe I get the same endorphin rush from completing a fun makeover project like this one. Isn’t that crazy?

“Jewels”

Take Me Out to the Ball Game Birthday Party!

This year, L is turning 9, and since his birthday falls at the start of his youth baseball season, I thought it would be fun to celebrate with a retro baseball theme.

He wanted to hold the party at a trampoline place, which took care of the activities for the kids. This allowed me to have some fun putting together decorations, favors, and a ballpark menu.

Decorations:
Since we had a table in the middle of the trampoline space, I couldn’t make use of the walls for decorations.

I did find a little spot to hang our reusable birthday banner, customized for the baseball theme.

Take Me Out to the Ball Game Birthday Party! Jewels at Home

Take Me Out to the Ball Game Birthday Party! Jewels at Home

Take Me Out to the Ball Game Birthday Party! Jewels at Home
I also bought a set of these 12″ table number holders to display posters and signs. I found various retro-looking baseball posters and printed them with birthday messages and signs for the food and displayed them around the table.

Here are the sources for these great retro posters:Baseball player batting and Pitcher poster.

Take Me Out to the Ball Game Birthday Party! Jewels at Home

Take Me Out to the Ball Game Birthday Party! Jewels at Home

Menu:

We had a ballpark-inspired menu including:

Take Me Out to the Ball Game Birthday Party! Jewels at Home

Take Me Out to the Ball Game Birthday Party! Jewels at Home

Party favors:

I decorated blank youth baseball jerseys for the boys with iron-on letters and numbers.

Take Me Out to the Ball Game Birthday Party! Jewels at Home

Take Me Out to the Ball Game Birthday Party! Jewels at Home

Take Me Out to the Ball Game Birthday Party! Jewels at Home

Take Me Out to the Ball Game Birthday Party! Jewels at Home

Each boy also got Cracker Jack in old-fashioned packaging.

Take Me Out to the Ball Game Birthday Party! Jewels at Home

I created these charming gift tags to go with the party favors.

Take Me Out to the Ball Game Birthday Party! Jewels at Home

What a fun time we had celebrating!

“Jewels”

Guest Room – A Home Away from Home

Every room is a combination of the essentials that make it work and the decor that makes it beautiful. These elements are so important in a guest room, where you want your friends and family to feel both like they’re as comfortable as they are at home as well as transported on a great adventure.

When we finished our basement, we built in a small and cozy guestroom. When my sister planned a visit, I was motivated to finally finish decorating it. Luckily, I have a very understanding, sister – see?


First, the essentials, and then onto the fun part – decorating!

Guest room essentials:

  1. Bed – I love using a daybed in the guestroom. It serves as a sofa, when you don’t have guests. It works as a single bed, and then with a trundle or sleeper sofa, you can also accommodate couples. Ours is the Lubi Sleeper Daybed from CB2.
  2. Bedding – I splurged on a memory foam topper for our guest bed, to make sure that weary travelers get a good night’s rest.
  3. Towels
  4. Cups for water
  5. Toiletries – I’ve saved a few travel toiletries and display them in these upcycled jars for our guests to use.
  6. Reading lamp – in a small space like ours, a wall-mounted swing arm lamp like this is a great idea.
  7. Closet – even if you’re using the guest closet for storage (who isn’t?), clear out a little space to help family and friends feel settled in.
  8. Wifi password
  9. Magazines and books with local interest
  10. If your guests include kids, a step stool will make their visit more comfortable.

Here’s our daybed:

It converts into a queen mattress:

/home/wpcom/public_html/wp-content/blogs.dir/41c/34939861/files/2014/12/img_35961.png

Or two twin mattresses:

Now, onto the decorating!

Guest Room Finishing Touches:

Window coverings – it’s important to have good like control in your guestroom, since you may have visitors who are jetlagged and need to sleep when it’s light outside. Our guestroom is in the basement, which means that the windows are at ground level, so these wood blinds were the perfect solution for privacy and light control.

A mirror is also a great addition to any guestroom. In our case, the mirror also helps bring more light into this basement bedroom.

I added some travel themed art that had been up in the boys’ room before they switched over to superheroes. Finally, I love this oversized map where all of our guests can mark their hometowns.

We look forward to welcoming more friends and family to this home sweet away-from-home!

“Jewels”


From Simple Stripes to Great Graphic Throw Pillows

There’s nothing wrong with stripes. They’re classic, crisp, and go with almost anything. But, if you’re looking to add some visual interest and pattern to your space, you’ll love how easy it is to turn simple striped fabric into fresh geometric patterns.

I started with fabric that I had used to decorate our very first townhouse. After we moved, I stowed it away for a few years, waiting for the right project. (My people don’t like to be called hoarders, just so you know.) Now, these traditional stripes have new life as modern geometric pillows in our family room!

From Simple Stripes to Great Graphic Throw Pillows | Jewels at Home

I followed these instructions for sewing the pillows.  I usually like to make my pillow covers with velcro closures, so I can easily change the covers, but I wasn’t going to mess with all those stripes!

From Simple Stripes to Great Graphic Throw Pillows | Jewels at Home

From Simple Stripes to Great Graphic Throw Pillows | Jewels at Home

From Simple Stripes to Great Graphic Throw Pillows | Jewels at Home

From Simple Stripes to Great Graphic Throw Pillows | Jewels at Home

From Simple Stripes to Great Graphic Throw Pillows | Jewels at Home

From Simple Stripes to Great Graphic Throw Pillows | Jewels at Home

From Simple Stripes to Great Graphic Throw Pillows | Jewels at Home


By the way, these pillows are the product of month one of our Creativity Circle. A lot of everyday things (colds, sleepovers, birthdays, baby meltdowns) kept some of our friends from joining this month, but Ari (from Revolving Decor) and I both got a great start on our pillow projects, as well as a healthy dose of girl talk!

Hoping next month is even more fun!

“Jewels”

DIY Giant Apothecary Jar

I’m really excited that our recent renovation gave us a guest bedroom and bathroom in the basement. For our guest bathroom, I wanted a place to store extra toiletries for our visitors, and I love how these DIY giant apothecary jars turned out!

You can see all the details in this post, when I first made apothecary jars out of small glass kitchen jars. This time, I started with giant (as in Costco-sized) containers to make oversized jars.

DIY Giant Apothecary Jar | Jewels at Home


It was a quick and easy transformation to create beautiful storage for our visitors’ bathroom!

DIY Giant Apothecary Jar | Jewels at Home


DIY Giant Apothecary Jar | Jewels at Home

DIY Giant Apothecary Jar | Jewels at Home

“Jewels”