The Spring One Room Challenge has been just the motivation I need to decorate our bedroom addition! And the most important project is, of course, the bed! I love customizing furniture – remember my DIY built-in shelves or the DIY … Continue reading
The Spring One Room Challenge has been just the motivation I need to decorate our bedroom addition! And the most important project is, of course, the bed! I love customizing furniture – remember my DIY built-in shelves or the DIY … Continue reading

You know how much I love faux bamboo furniture! My collection includes these Chippendale chairs and this Thomasville dresser-turned-bar cabinet. When I recently acquired an older bookcase, which I chose for its solid wood construction and low price, I noticed … Continue reading
We moved twice in the last two years, and in the process, I gave away a lot of things. I feel like the universe has decided to reward me by sending me two great finds. First, I found this vintage … Continue reading
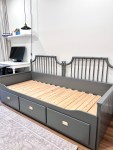
Remember when I told you that painting a vintage mid-century dresser was on my DIY bucket list? I love how that first project turned out. And then! When I was moving and definitely should not have been accumulating more stuff, I found something I couldn’t resist: a Thomasville faux bamboo bedroom set for free on Craigslist! This included a twin bed frame and a little desk and dresser. The desk had a bookcase hutch, which I put on top of the dresser to make a hutch/ bar for our dining room.

Here’s what you’ll need:
Here’s how to do it:


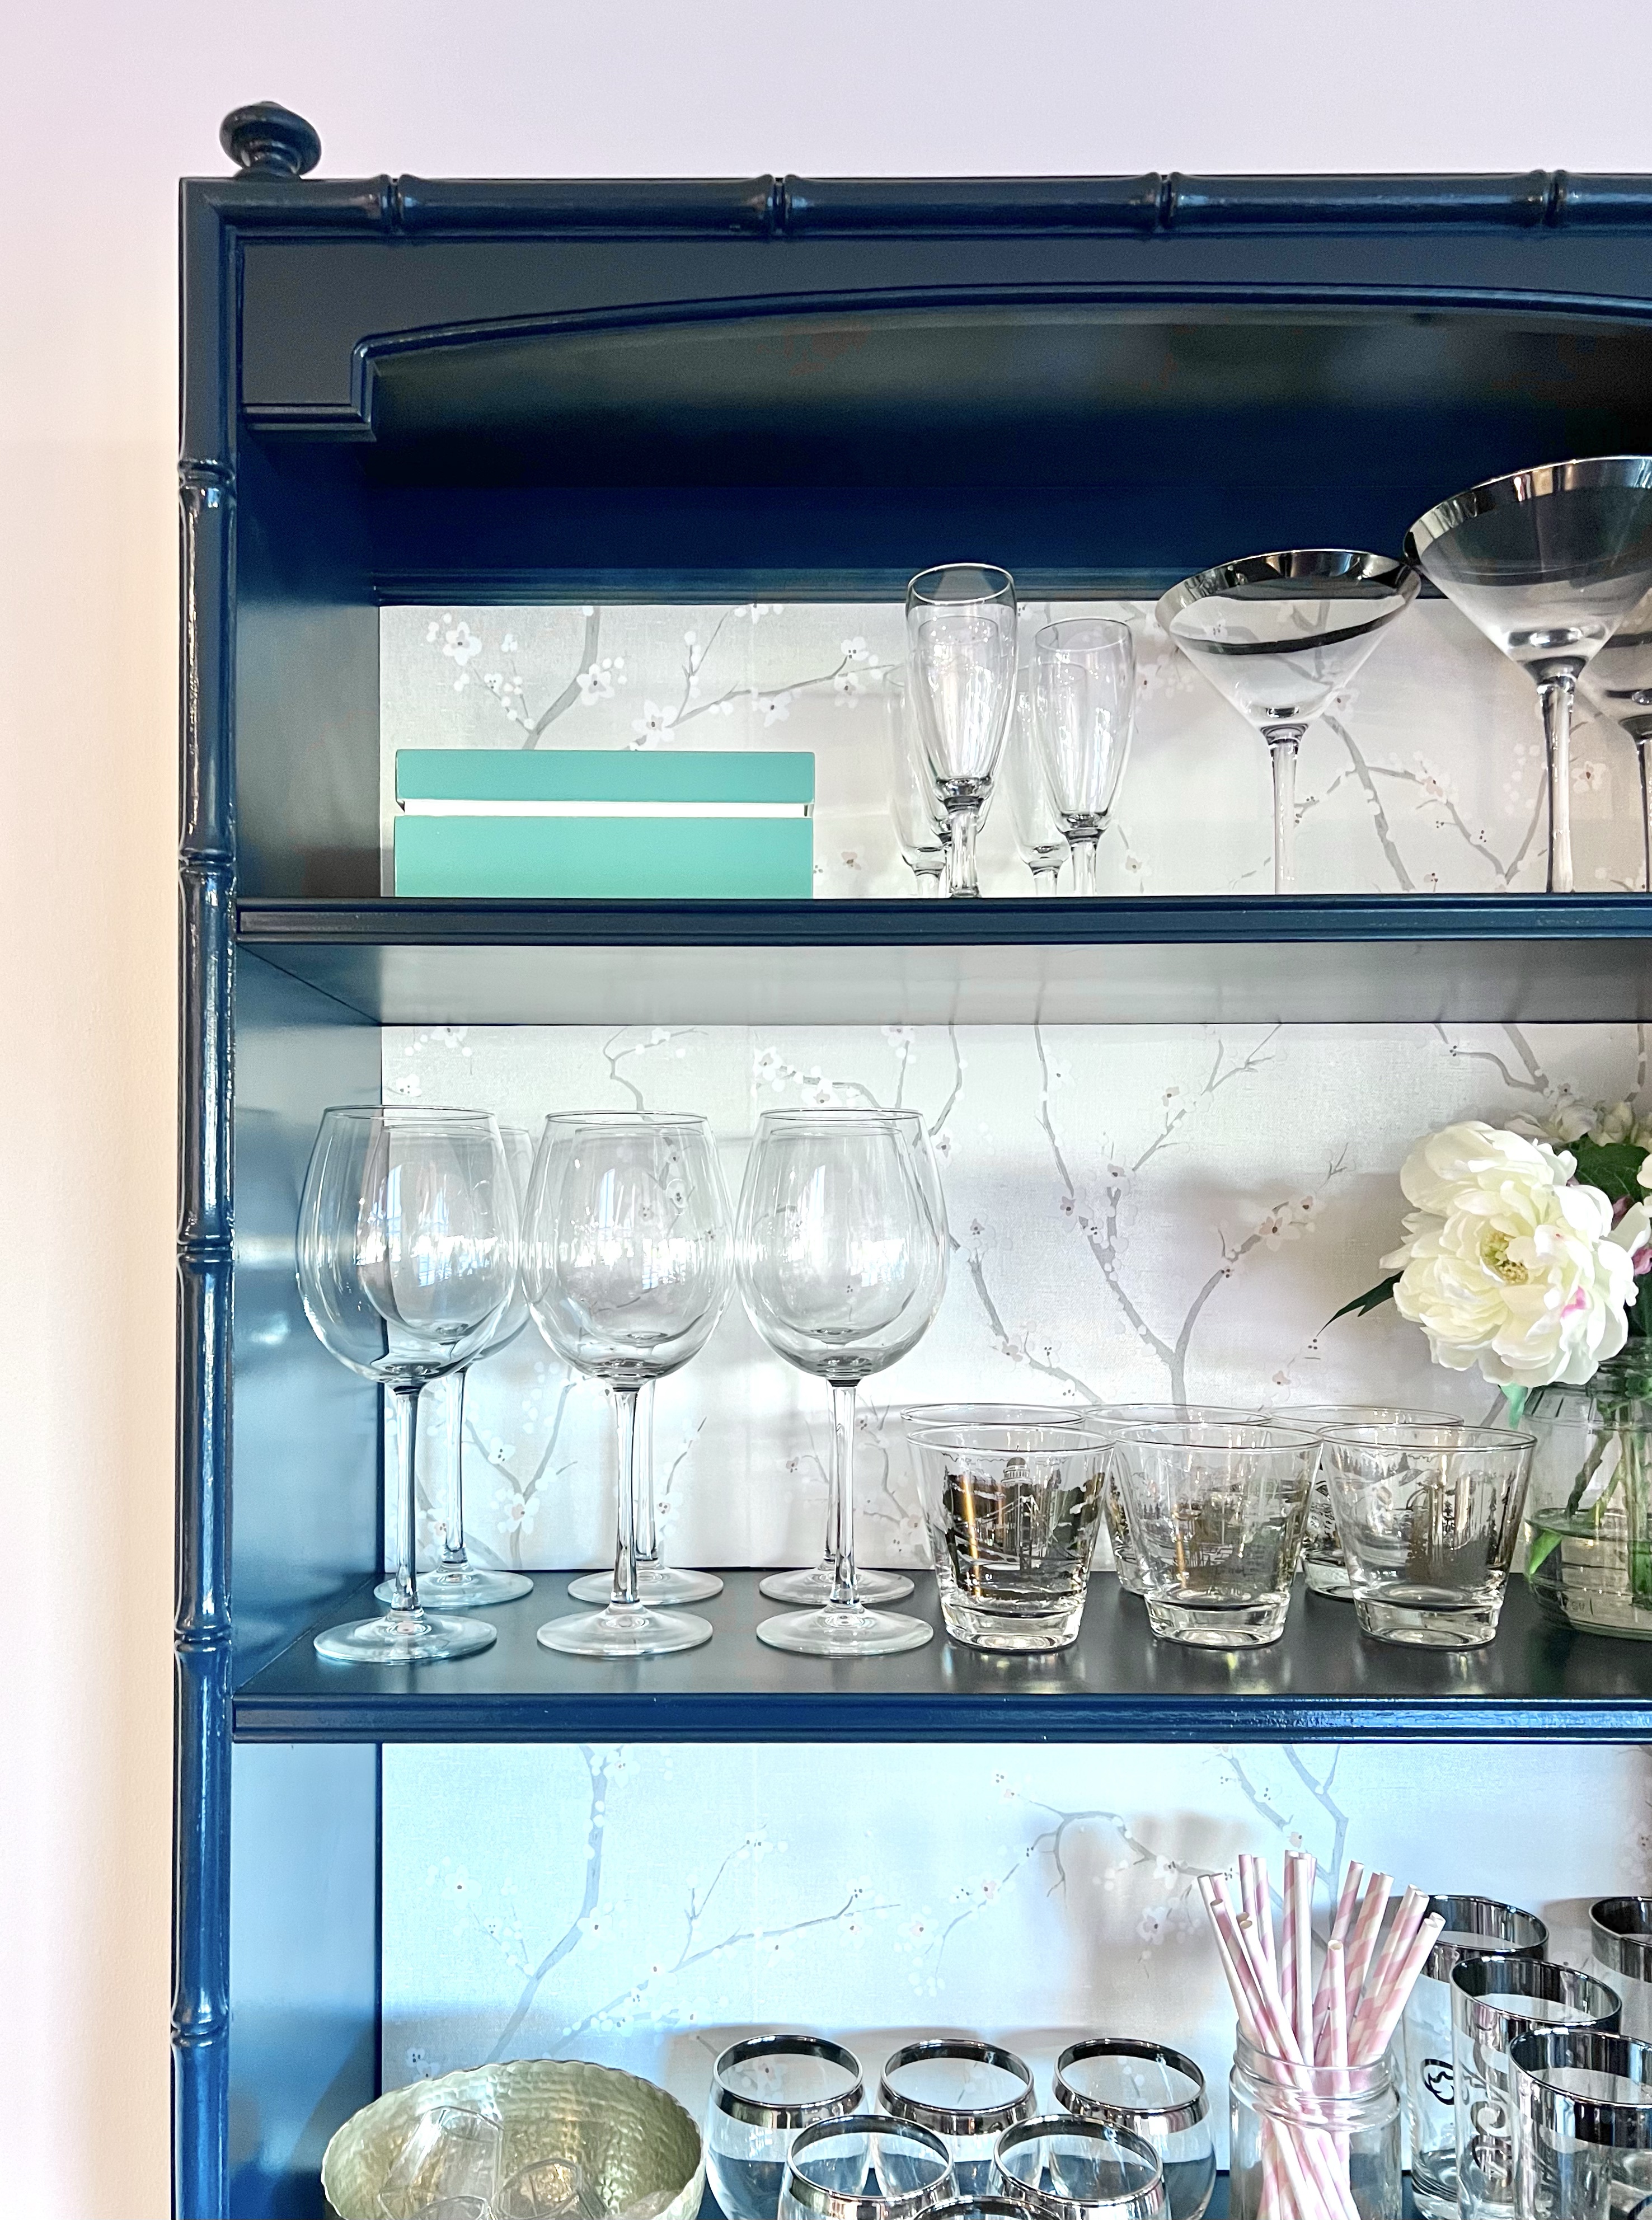
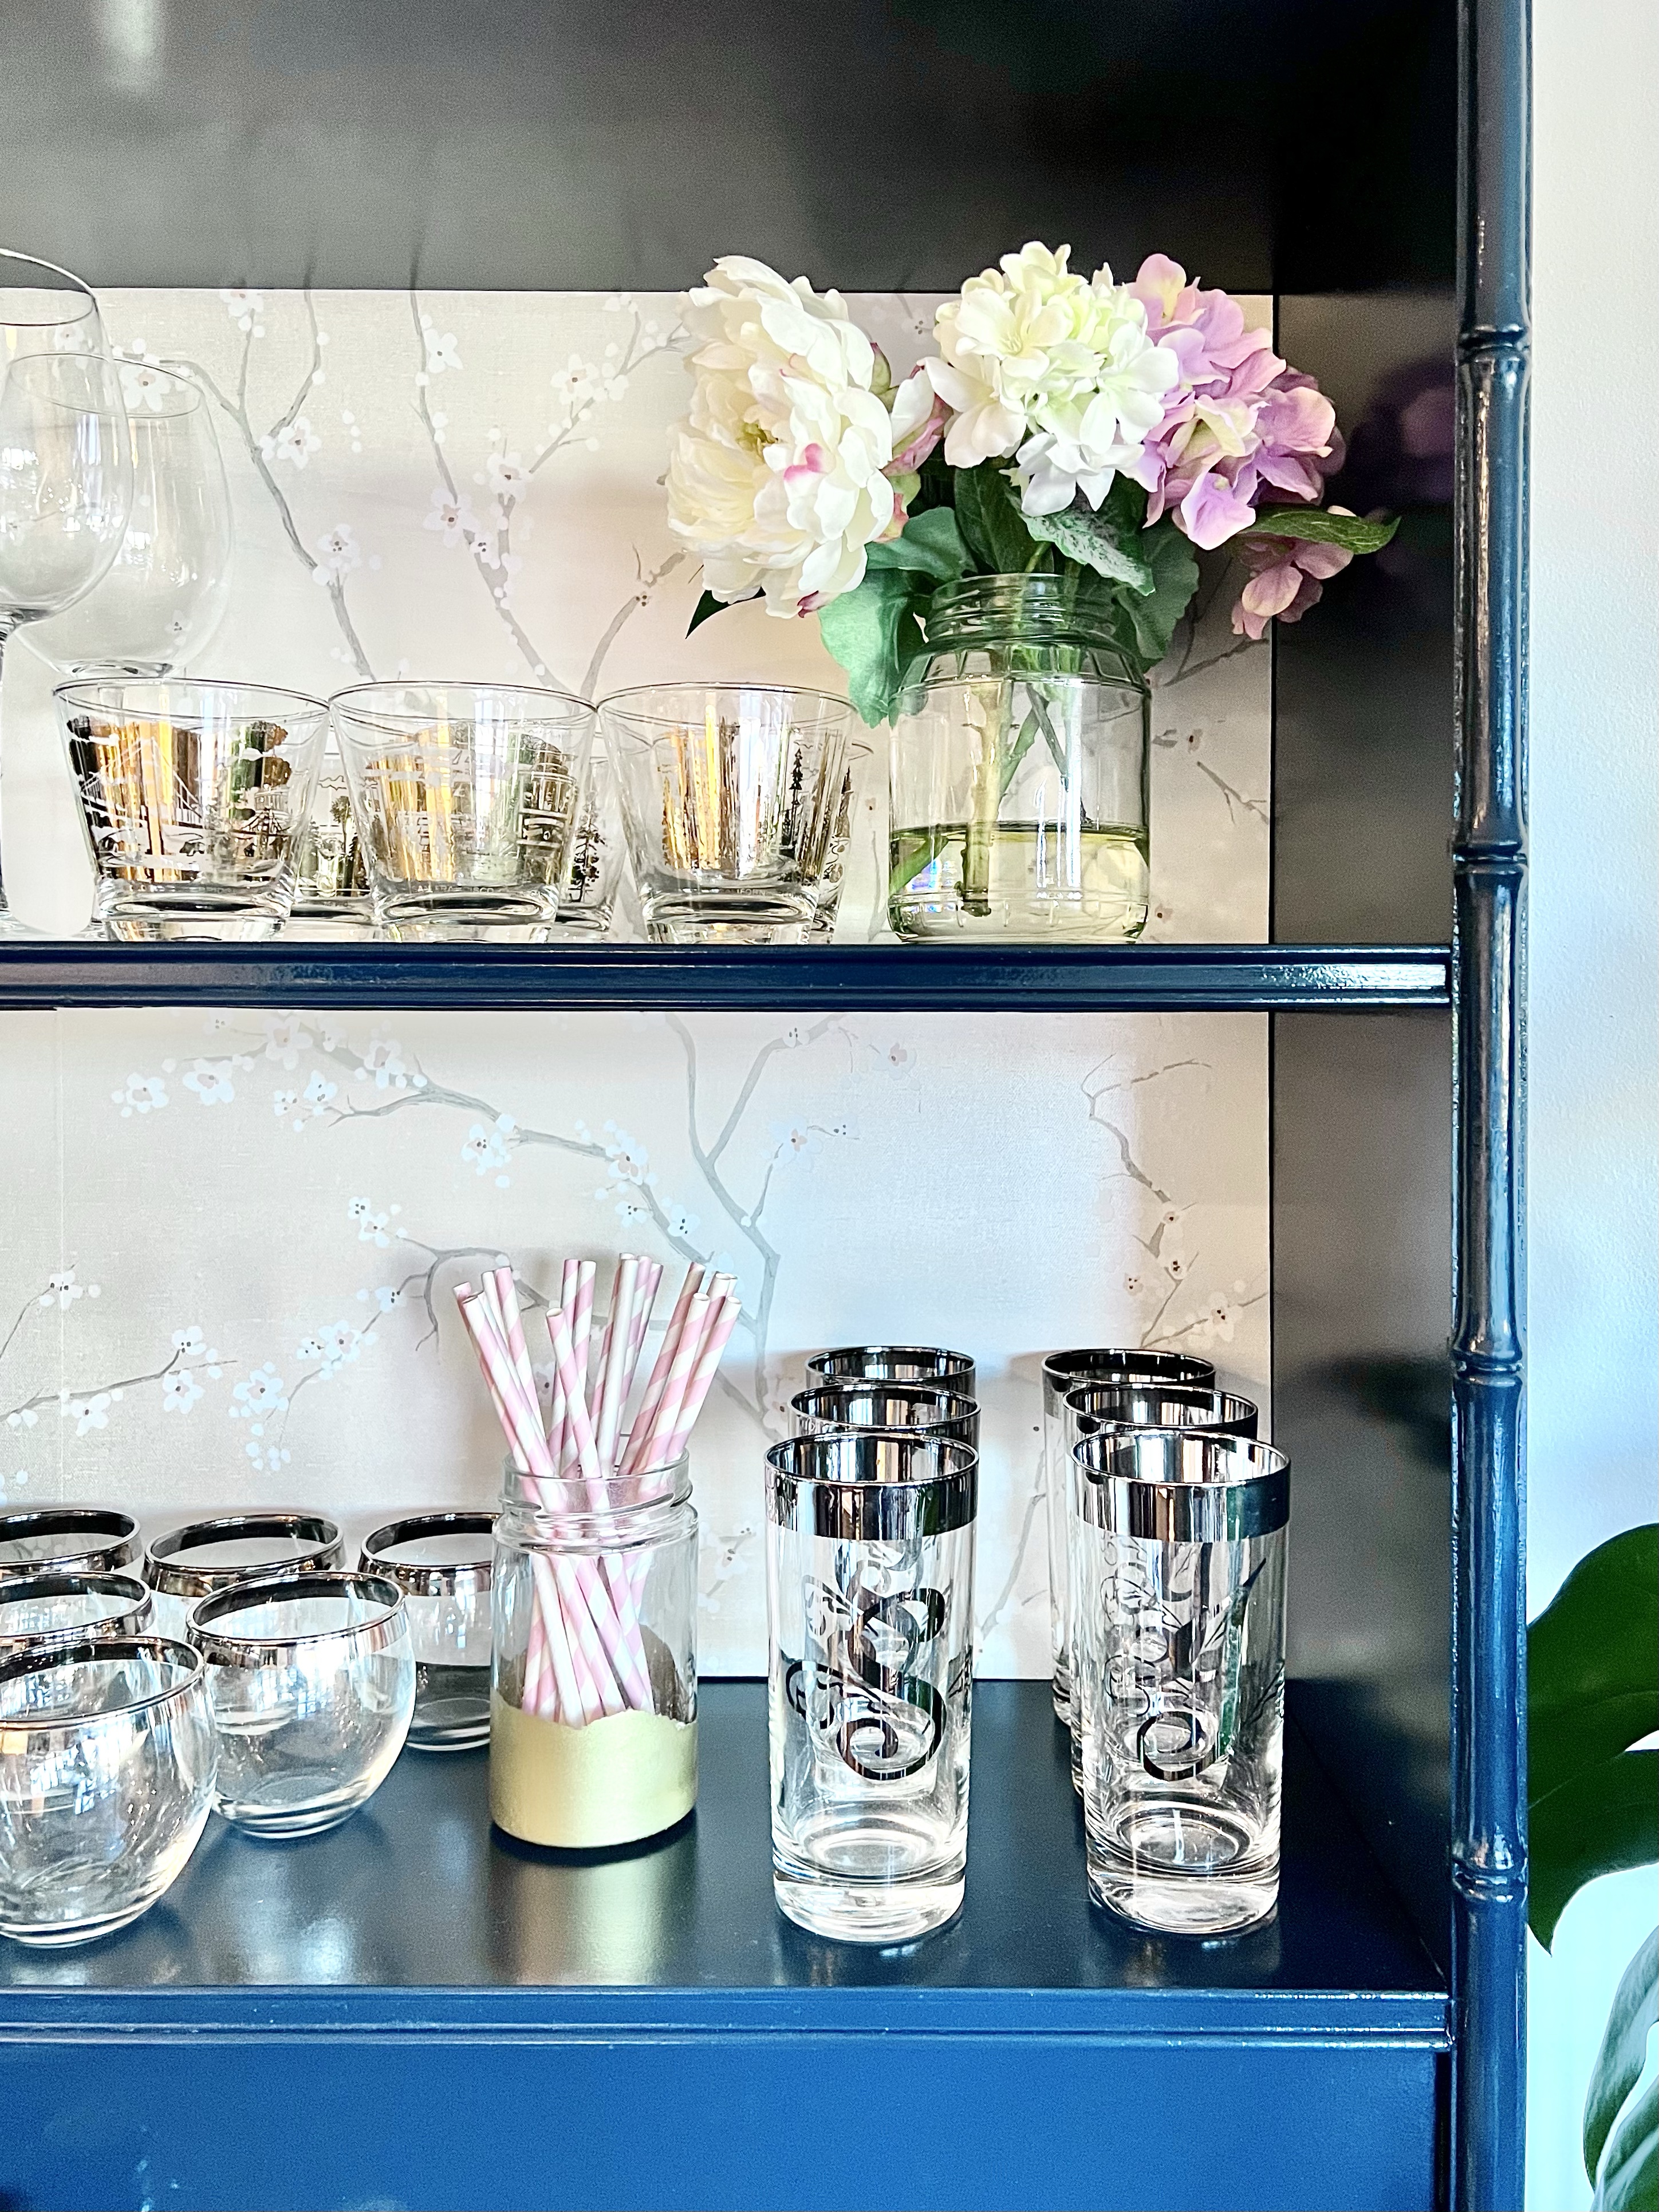
This new dining room bar is the perfect place to display our collection of vintage bar glasses. I collected them back when we threw a Mad Men party, and I still love them all!


The days off for New Year’s allowed me to finish this project, so of course, I decorated for our at-home countdown to the New Year!


There is still the bed frame, a little corner desk, and some mirrors that came with the bedroom set. It was a silly indulgence to bring them all home, but I still hope to find a home for them some day somewhere!
Julie aka “Jewels”
I can’t help drooling over pictures of gorgeous walk-in closets with romantic and glamorous touches. We gave up our walk-in closet when we created a fourth bedroom upstairs. I don’t regret this extra room, which was first a nursery and … Continue reading
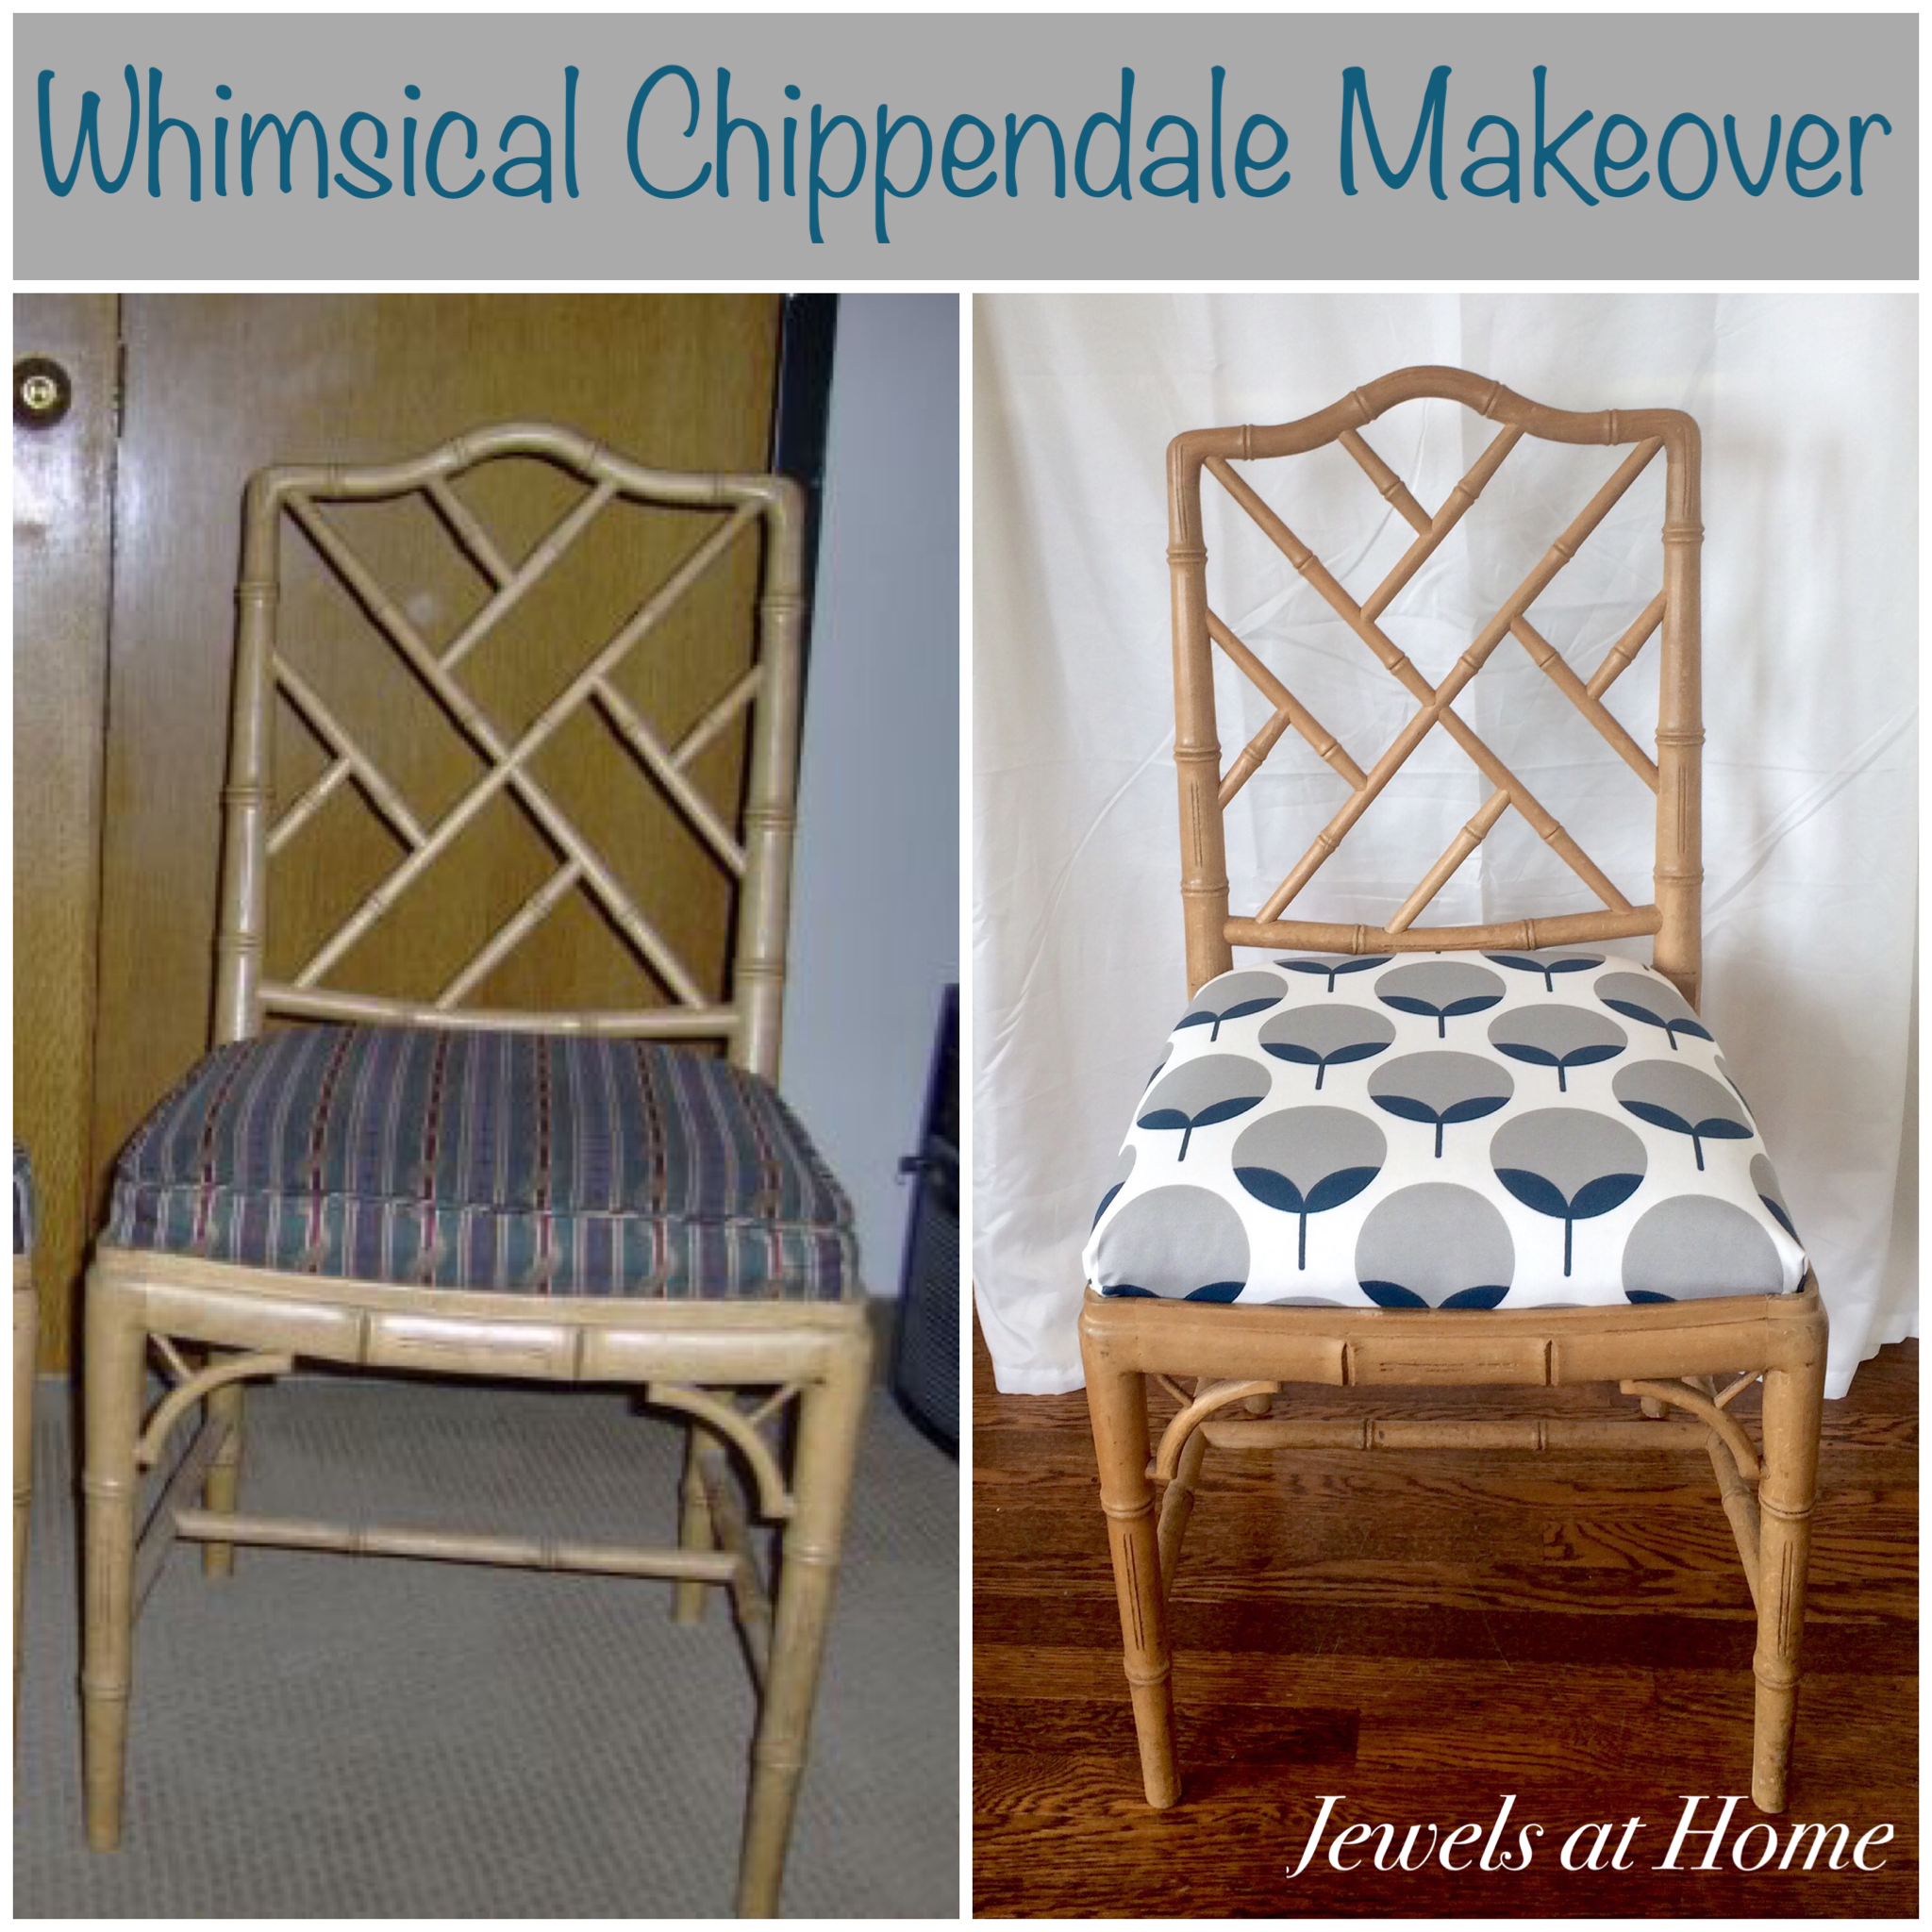
I’m not trying to hide the fact that I have a bit of a thing for chairs. I picked up a set of Chippendale chairs off of craigslist a while ago. I’ll admit that I didn’t even know exactly where they would go, but I could not pass up these beauties.
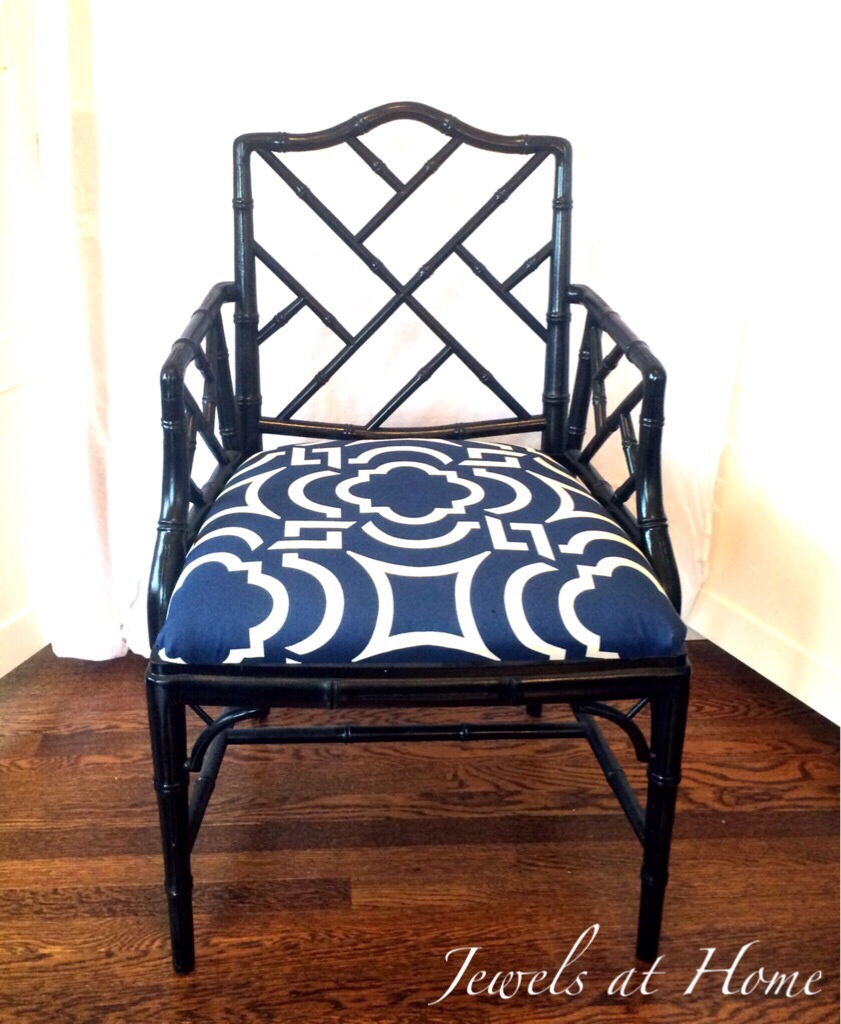
There were three armchairs, and you may remember I painted these black and reupholstered the seats with a complementary lattice print. They make beautiful side chairs in our living-dining room.
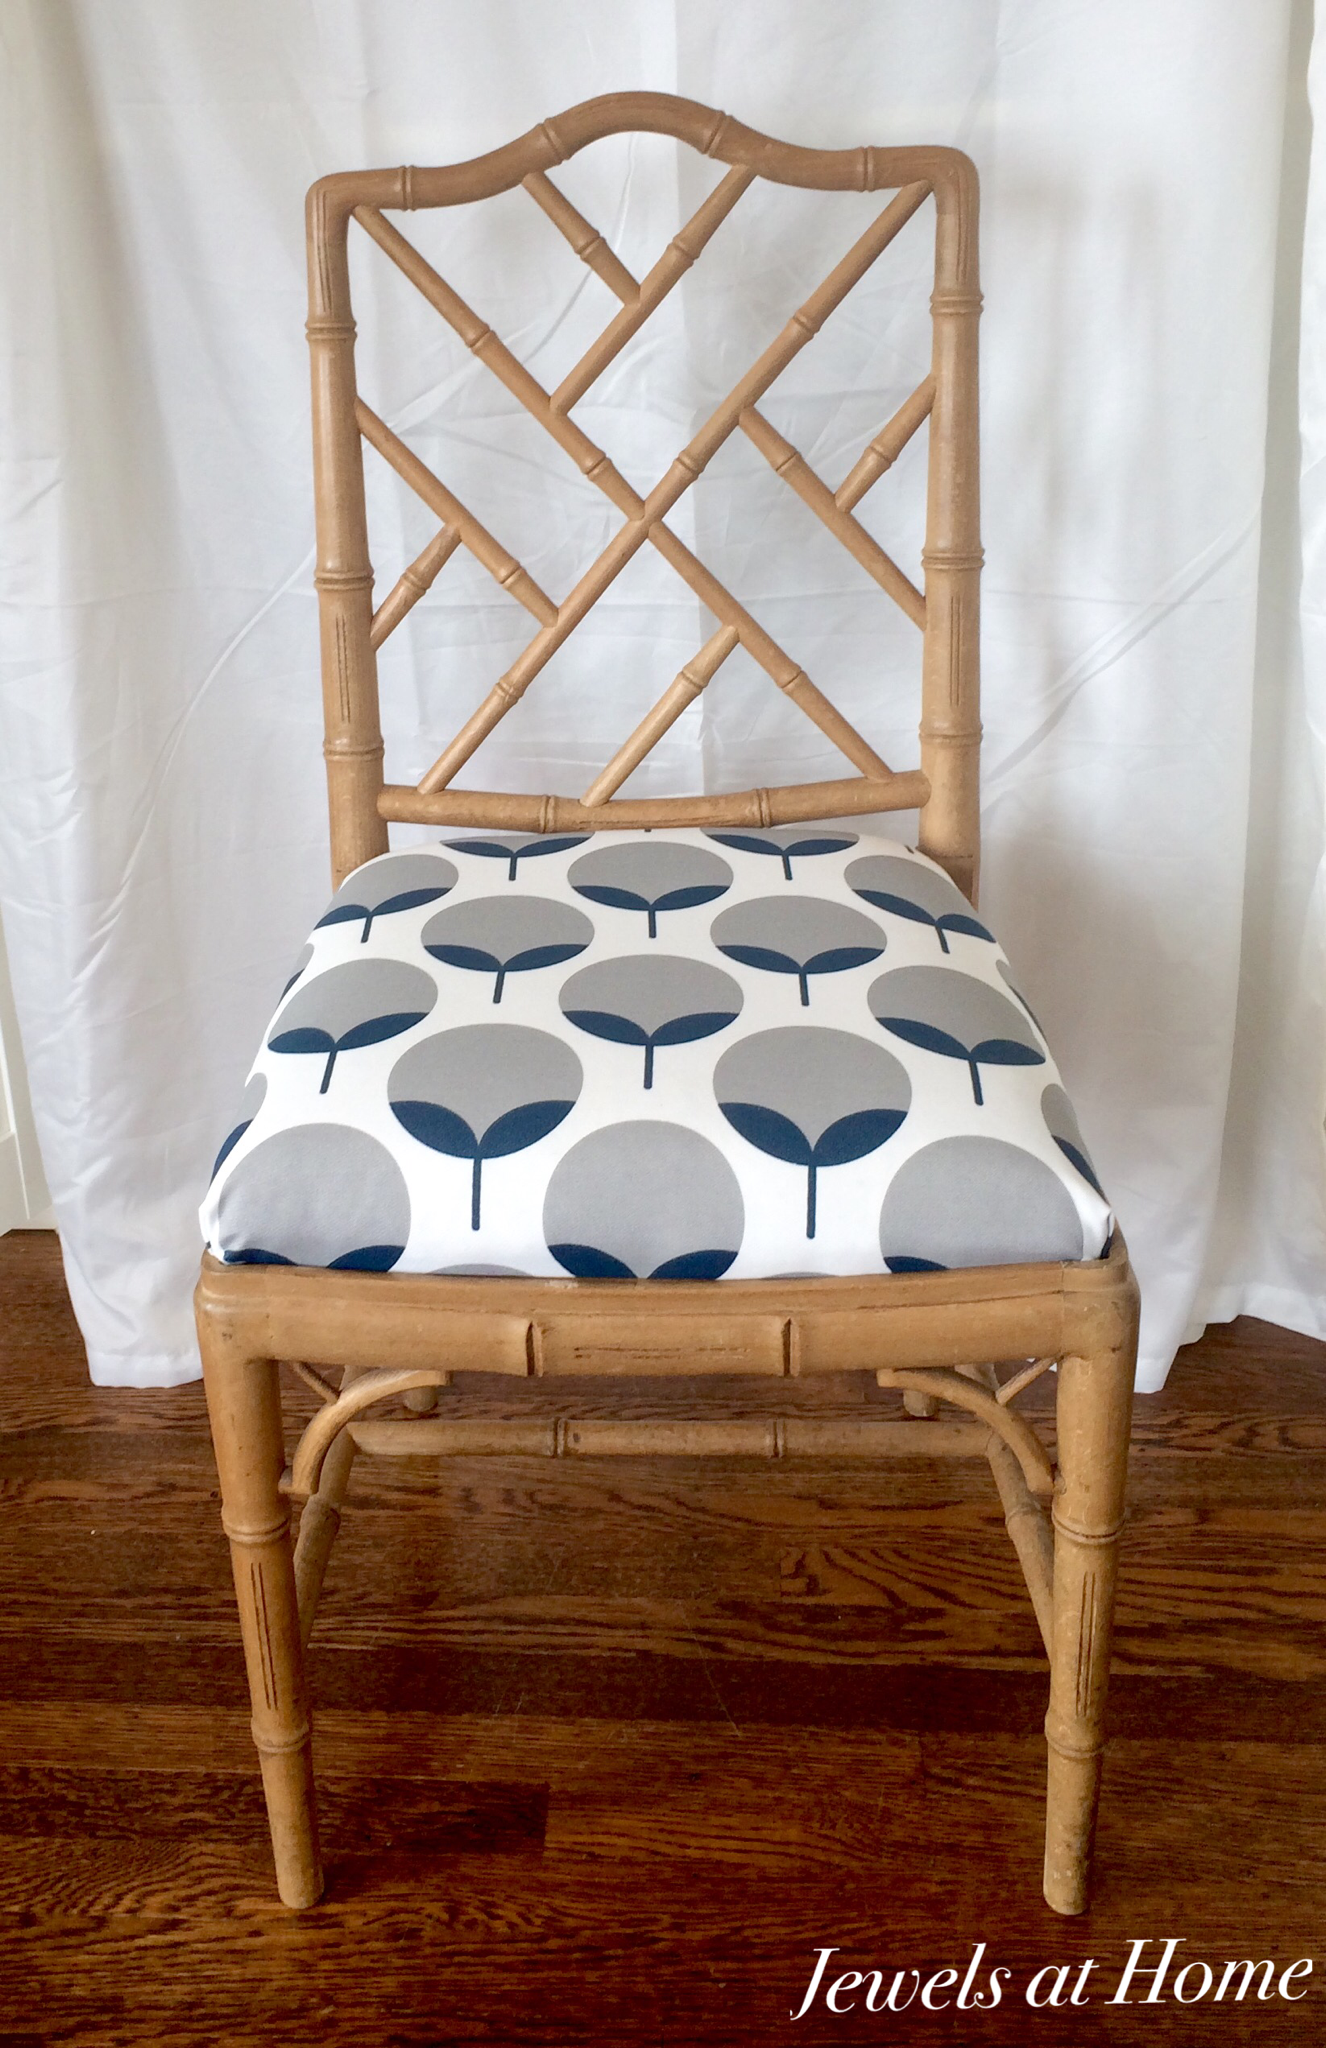
Next up were the four side chairs. I originally thought I would use them for an eat-in area in our kitchen, but when we renovated, we ended up with seating at the island, instead of a separate table.
Not to worry, though, the side chairs have found a home in our family room. This room is decorated with lots of white, as you can see in our “built-in” fireplace wall, and blue, as you can see in the new graphic pillows, so I found a print for the seats of the chairs that would connect to these colors. I love how the modern print makes these traditional chairs feel more contemporary, and the circles complement the angles of the lattice.


Here’s how the new chairs fit in to the kids’ study space in our family room: 

And a final look to see how all these chairs were transformed from stuffy to stunning!


So fun! So fun! Funny story. Some of you know that Steve is an avid runner, and I honestly believe I get the same endorphin rush from completing a fun makeover project like this one. Isn’t that crazy?
“Jewels”
