Hand-painted Superman Shoes

You may remember that our littlest is a big fan of superheroes, especially Superman. We threw him a fun Superman birthday a while back, and he dressed up as Superman for Halloween, also.

Of course, he wants all the Superhero-themed shoes, and I am not saying that I have never given in to these wishes, but generally, I try to avoid the commercial superhero shoes, because they have just a few too many lights and colors for my taste. That being said, I like to keep my little guys happy, so I decided to get him a pair of plain blue slip-on Vans and paint a Superman log on them with dimensional fabric paint.

Now this mini Superman is ready to fly!

Hand-painted Superman Shoes | Jewels at Home  Hand-painted Superman Shoes | Jewels at Home  Hand-painted Superman Shoes | Jewels at Home  Hand-painted Superman Shoes | Jewels at Home  Hand-painted Superman Shoes | Jewels at Home


“Jewels” aka Superman’s mom

Father’s Day Photo Book with the Kids

So, I’ve mentioned before that Steve’s birthday always falls close to Father’s Day. This means that I either get 1) totally overwhelmed and do almost nothing or 2) get seriously motivated and make a special project for him.

Here is an example of

1) almost nothing: simple cards – easy, but still fun!

2) special project: mugs and aprons decorated by the kids

This year, we are hosting out-of-town guests during Steve’s birthday and Father’s Day, so I want to make sure that his special days don’t get completely lost in the busy schedule.

I was browsing Pinterest – as always – for ideas, and I found pins for sweet Father’s Day photo books. Unfortunately, the ones I saw are no longer available, so I made my own.

I made photo books for Steve and the boys’ two grandfathers, with blank spaces for the boys to fill in. The questions I included were:

  • My dad is good at
  • One thing my dad taught me is
  • A fun thing I did with my dad is
  • A fun thing I want to do with my dad is
  • I drew this picture of my dad and me
  • Something I have in common with my dad is
  • I know my dad loves me because
  • I love my dad because

Here’s how our books turned out.

Father's Day Photo Book | Jewels at Home  

Father's Day Photo Books to complete with the kids | Jewels at Home    Father's Day Photo Books to complete with the kids | Jewels at Home  Father's Day Photo Books to complete with the kids | Jewels at Home  Father's Day Photo Books to complete with the kids | Jewels at Home  Father's Day Photo Books to complete with the kids | Jewels at Home


Can’t wait to fill them out with the kids and share them with the special dads in our family!

“Jewels”

Keepsake Baby Quilt – The Next Generation

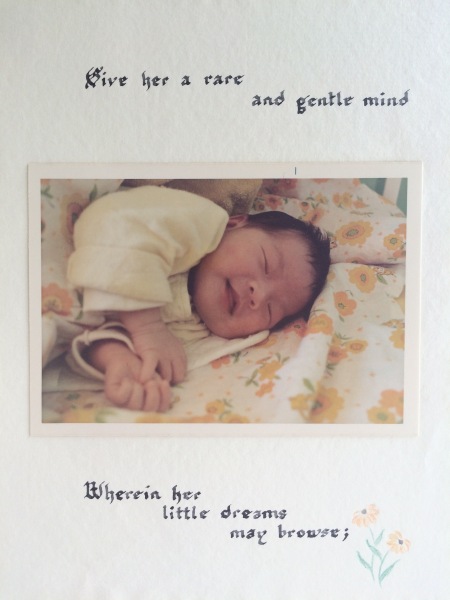
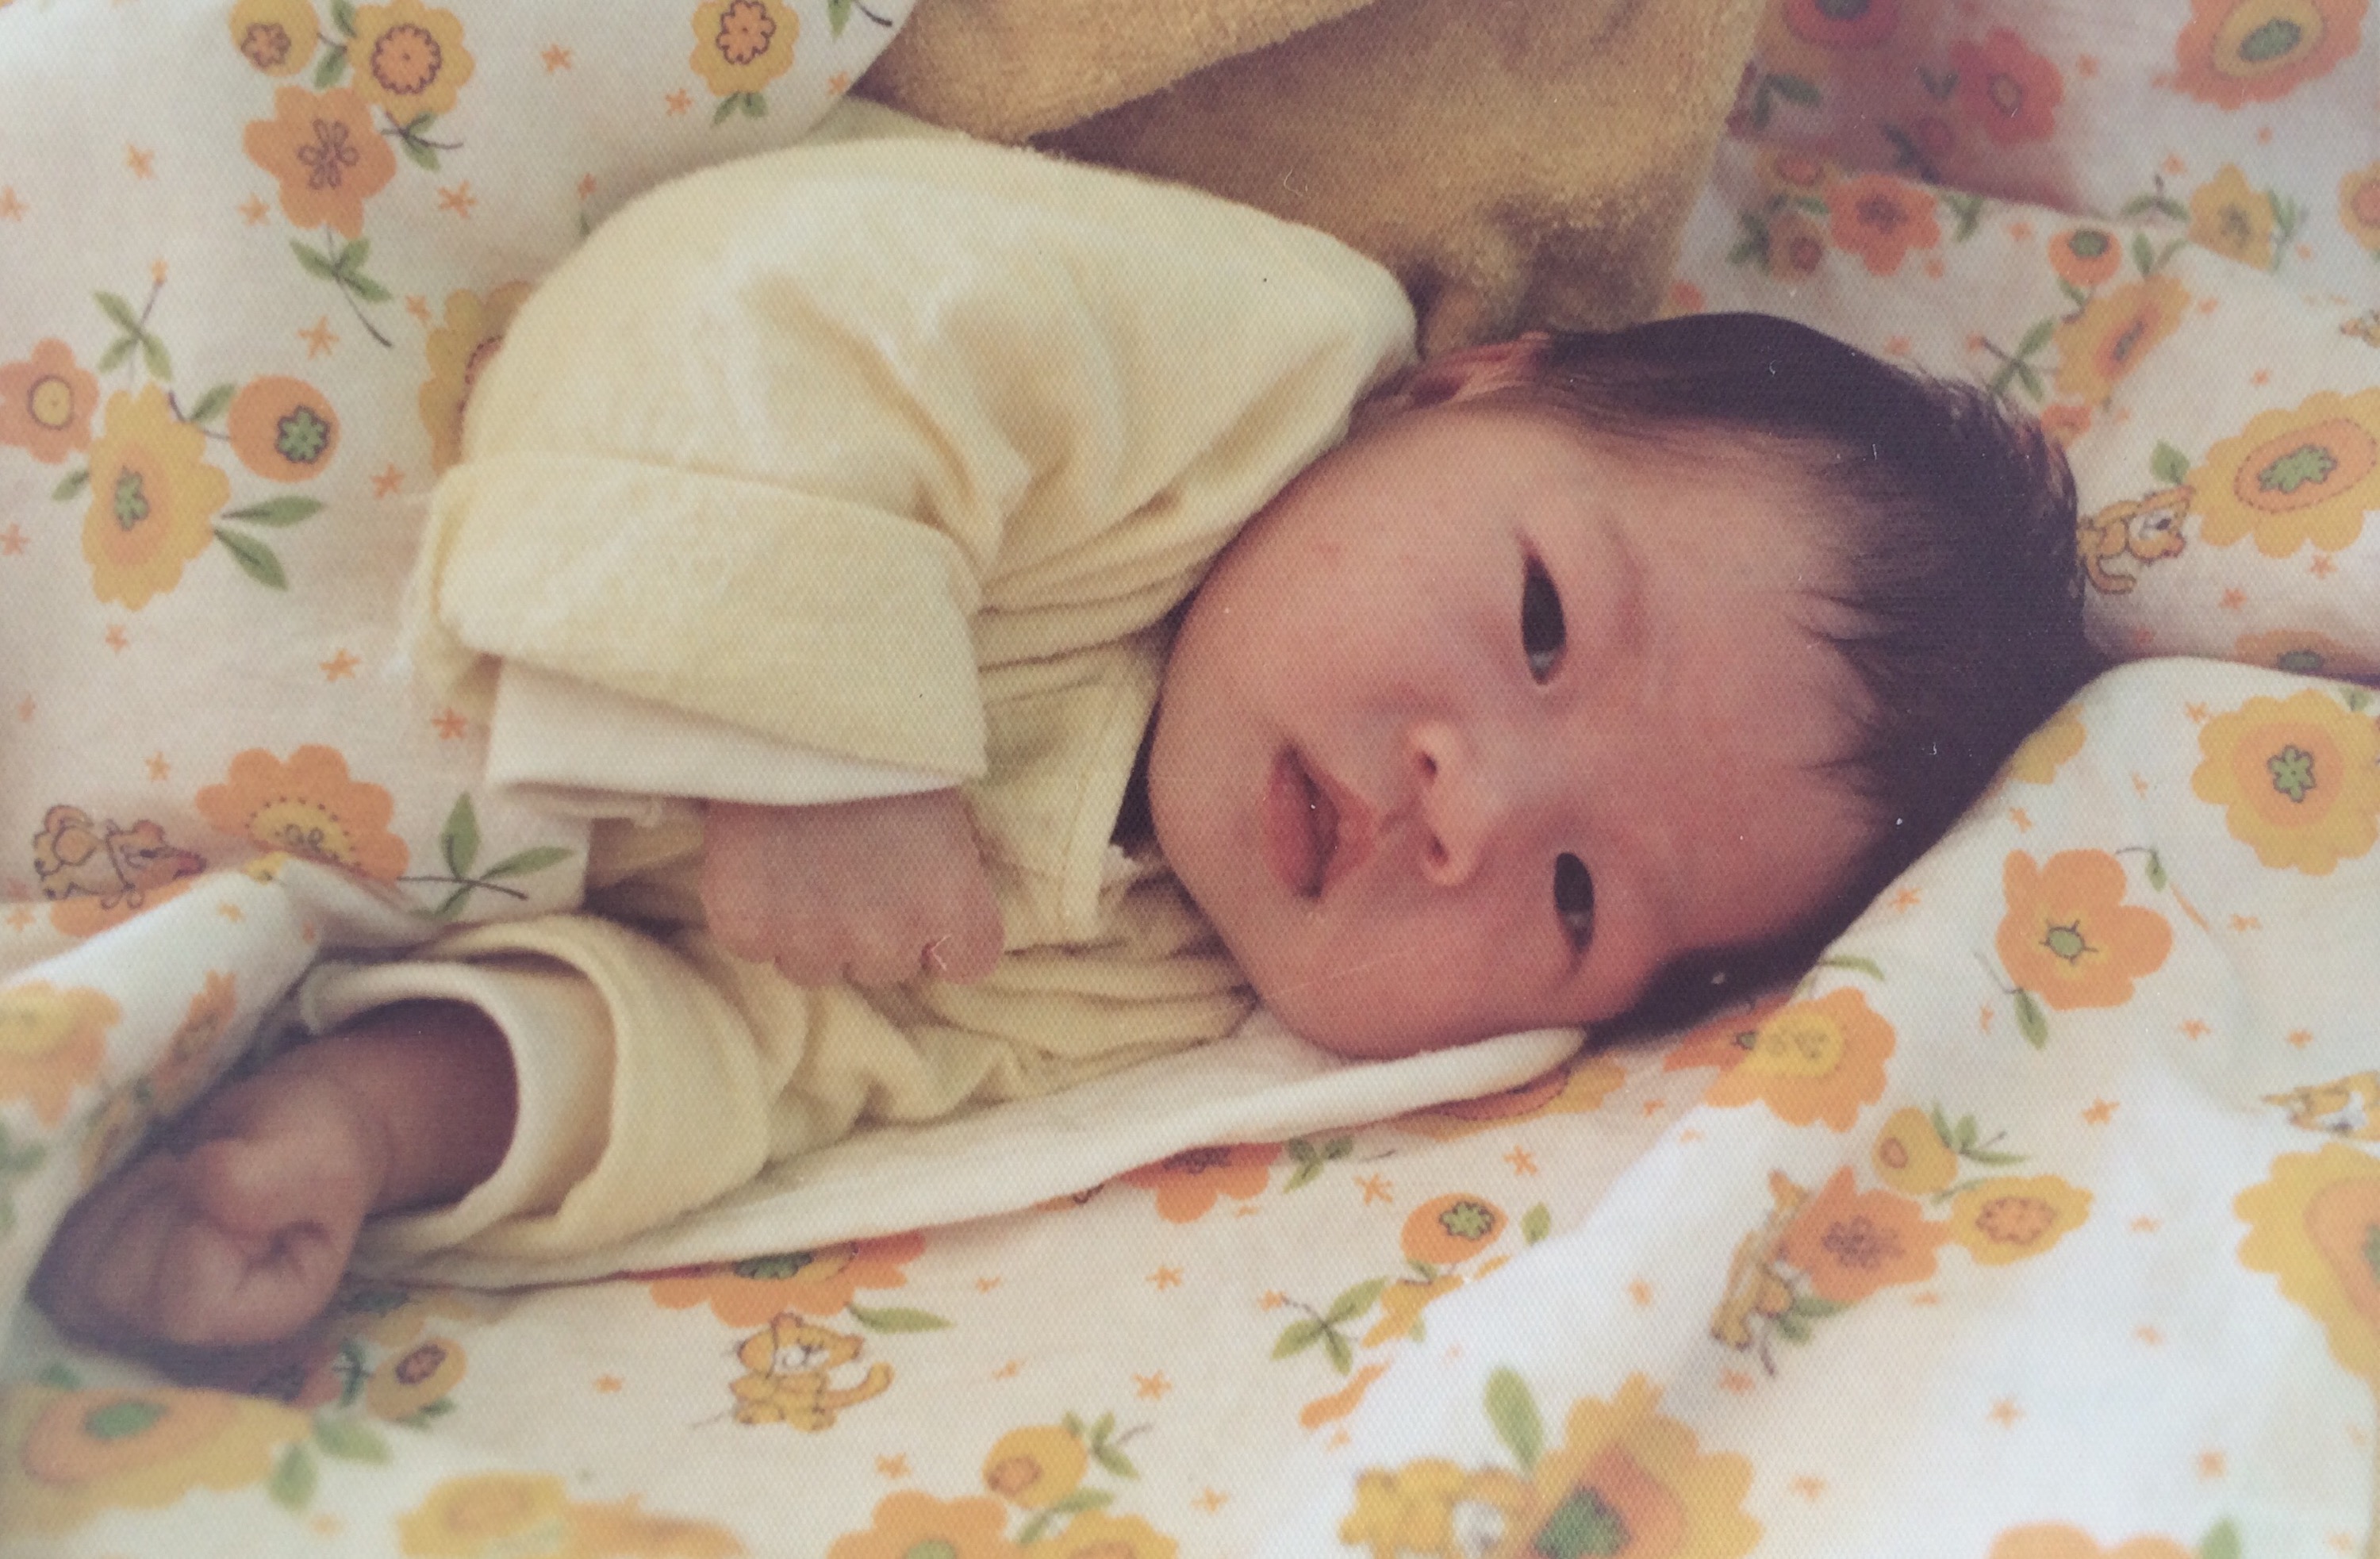
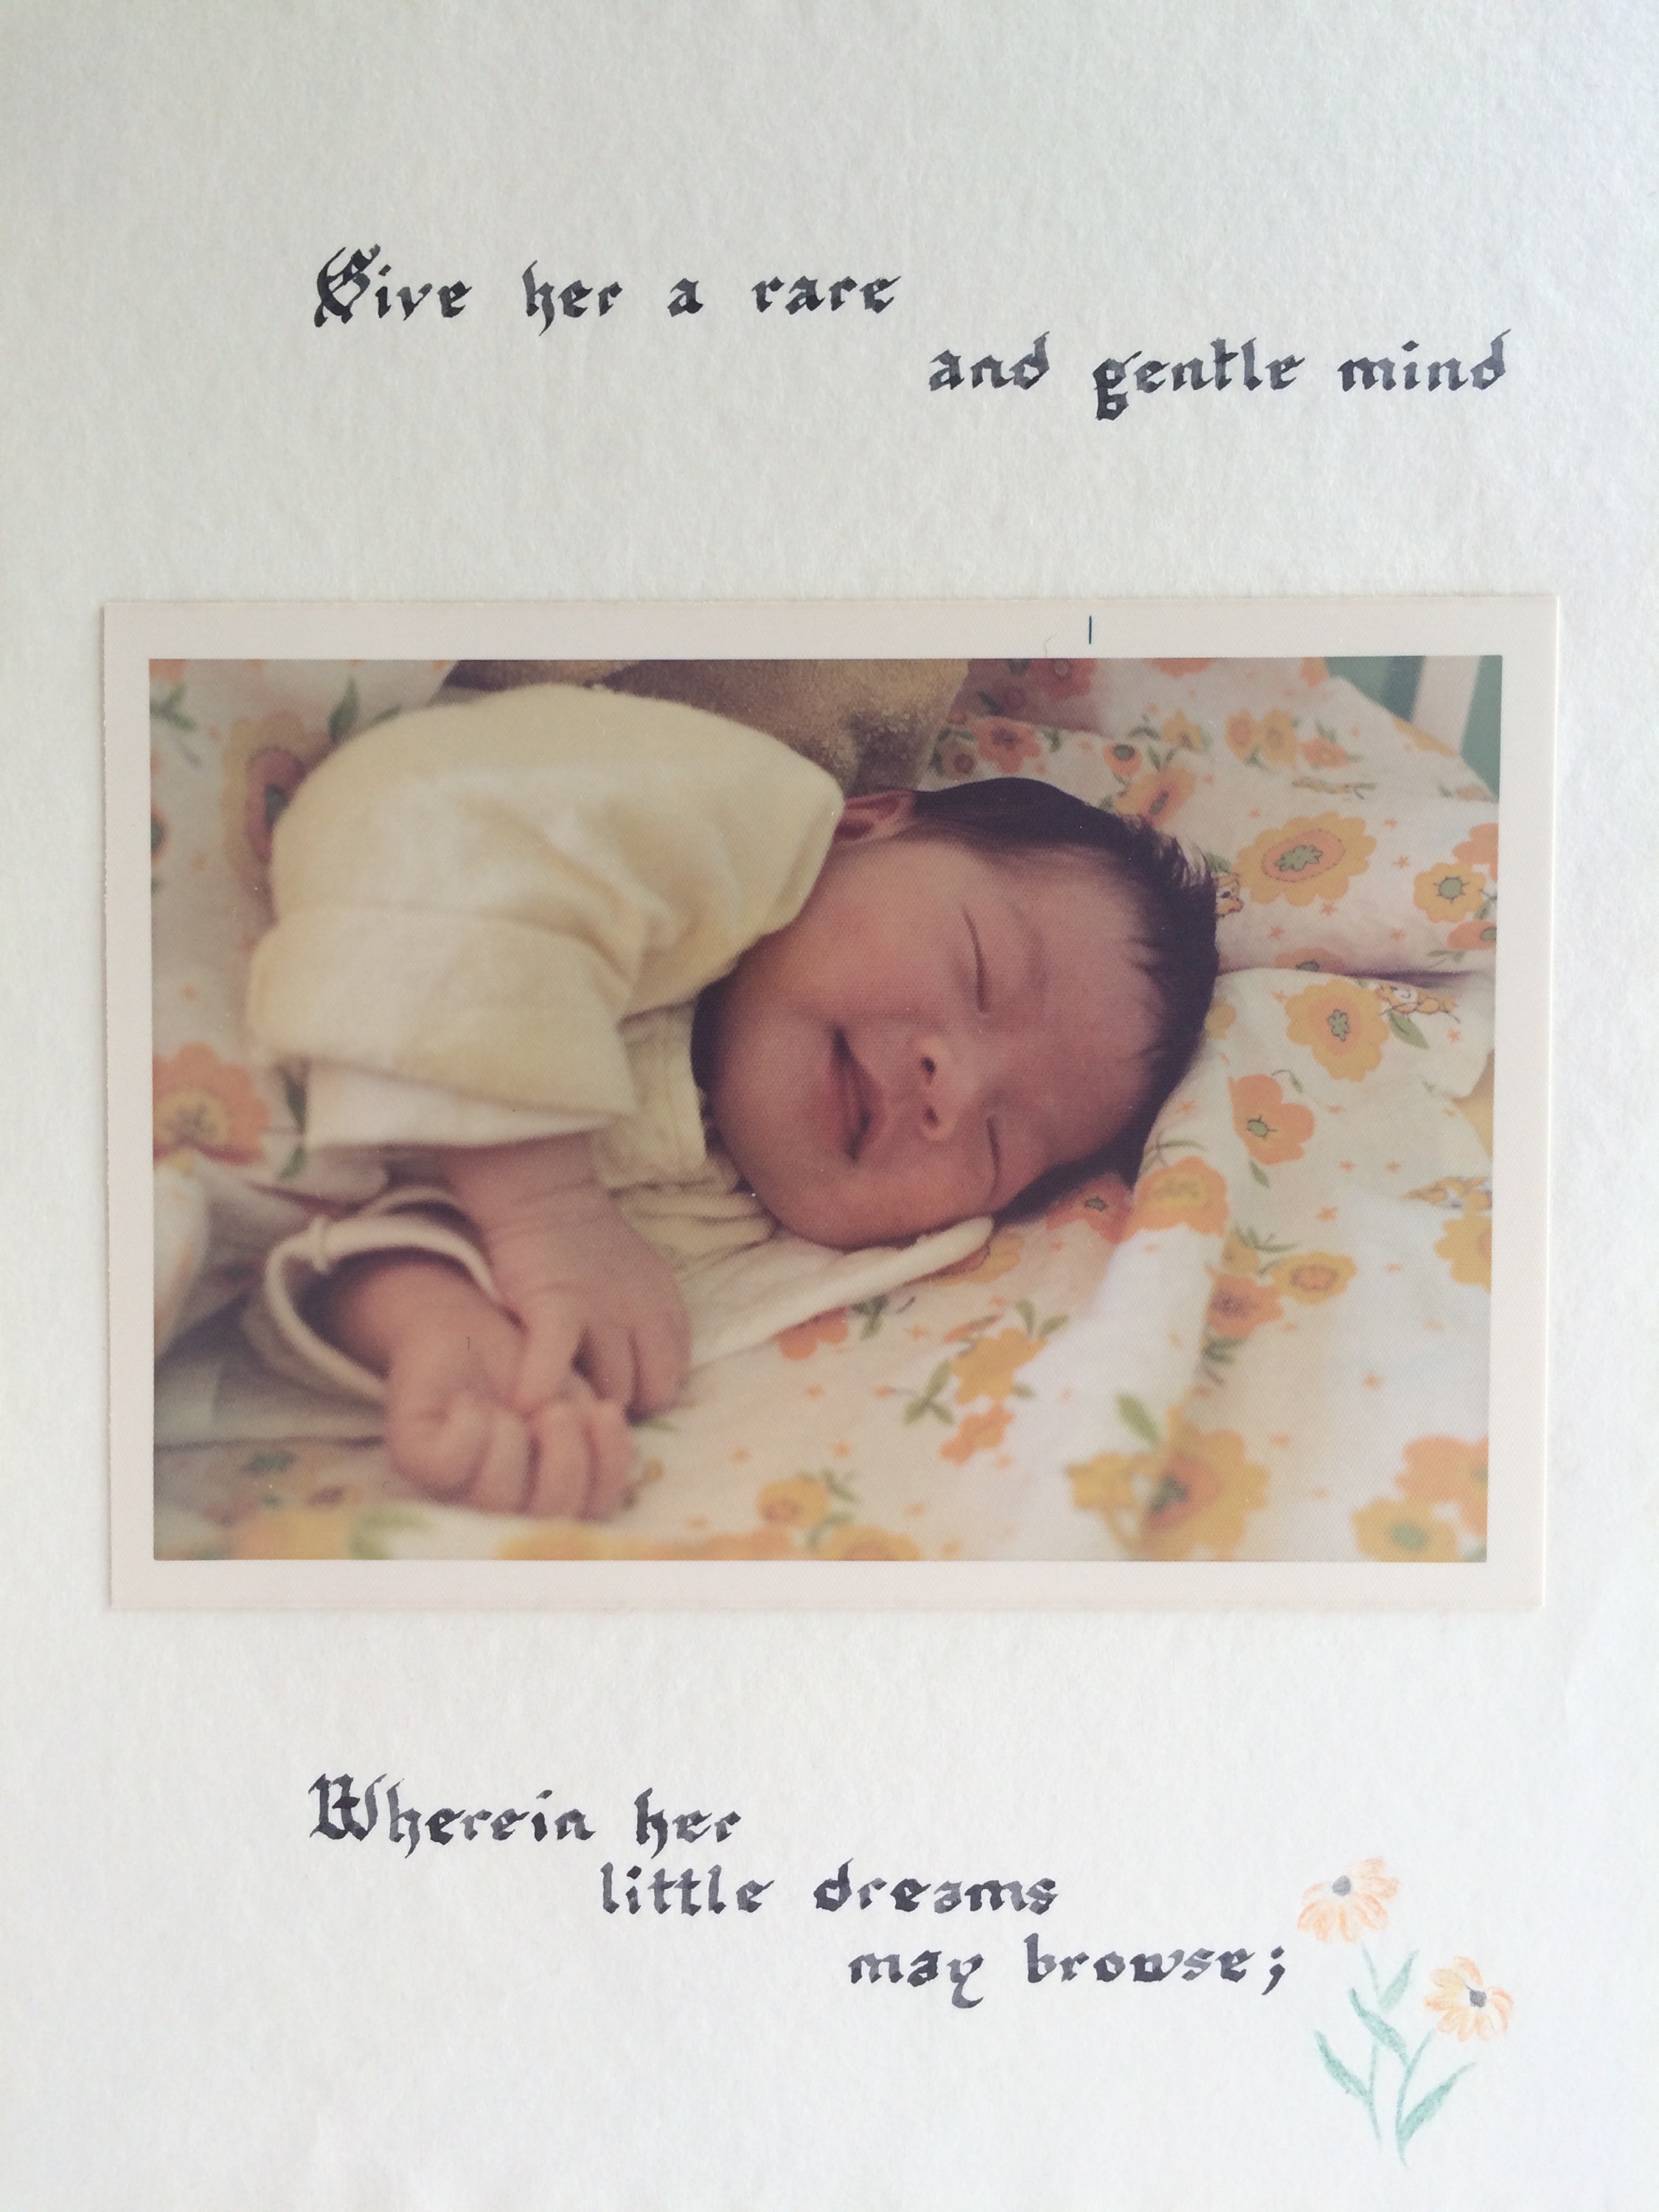
I keep every little scrap of paper, fabric, or ribbon that might possibly be used again… and I know that I got this habit from my mom. When I was going through her fabric stash a few years ago, I found some fabric leftover from my baby blanket. The remnant looked surprisingly bright next to the worn and faded blanket I am familiar with, but there was no mistaking those happy tigers and vibrant flowers.

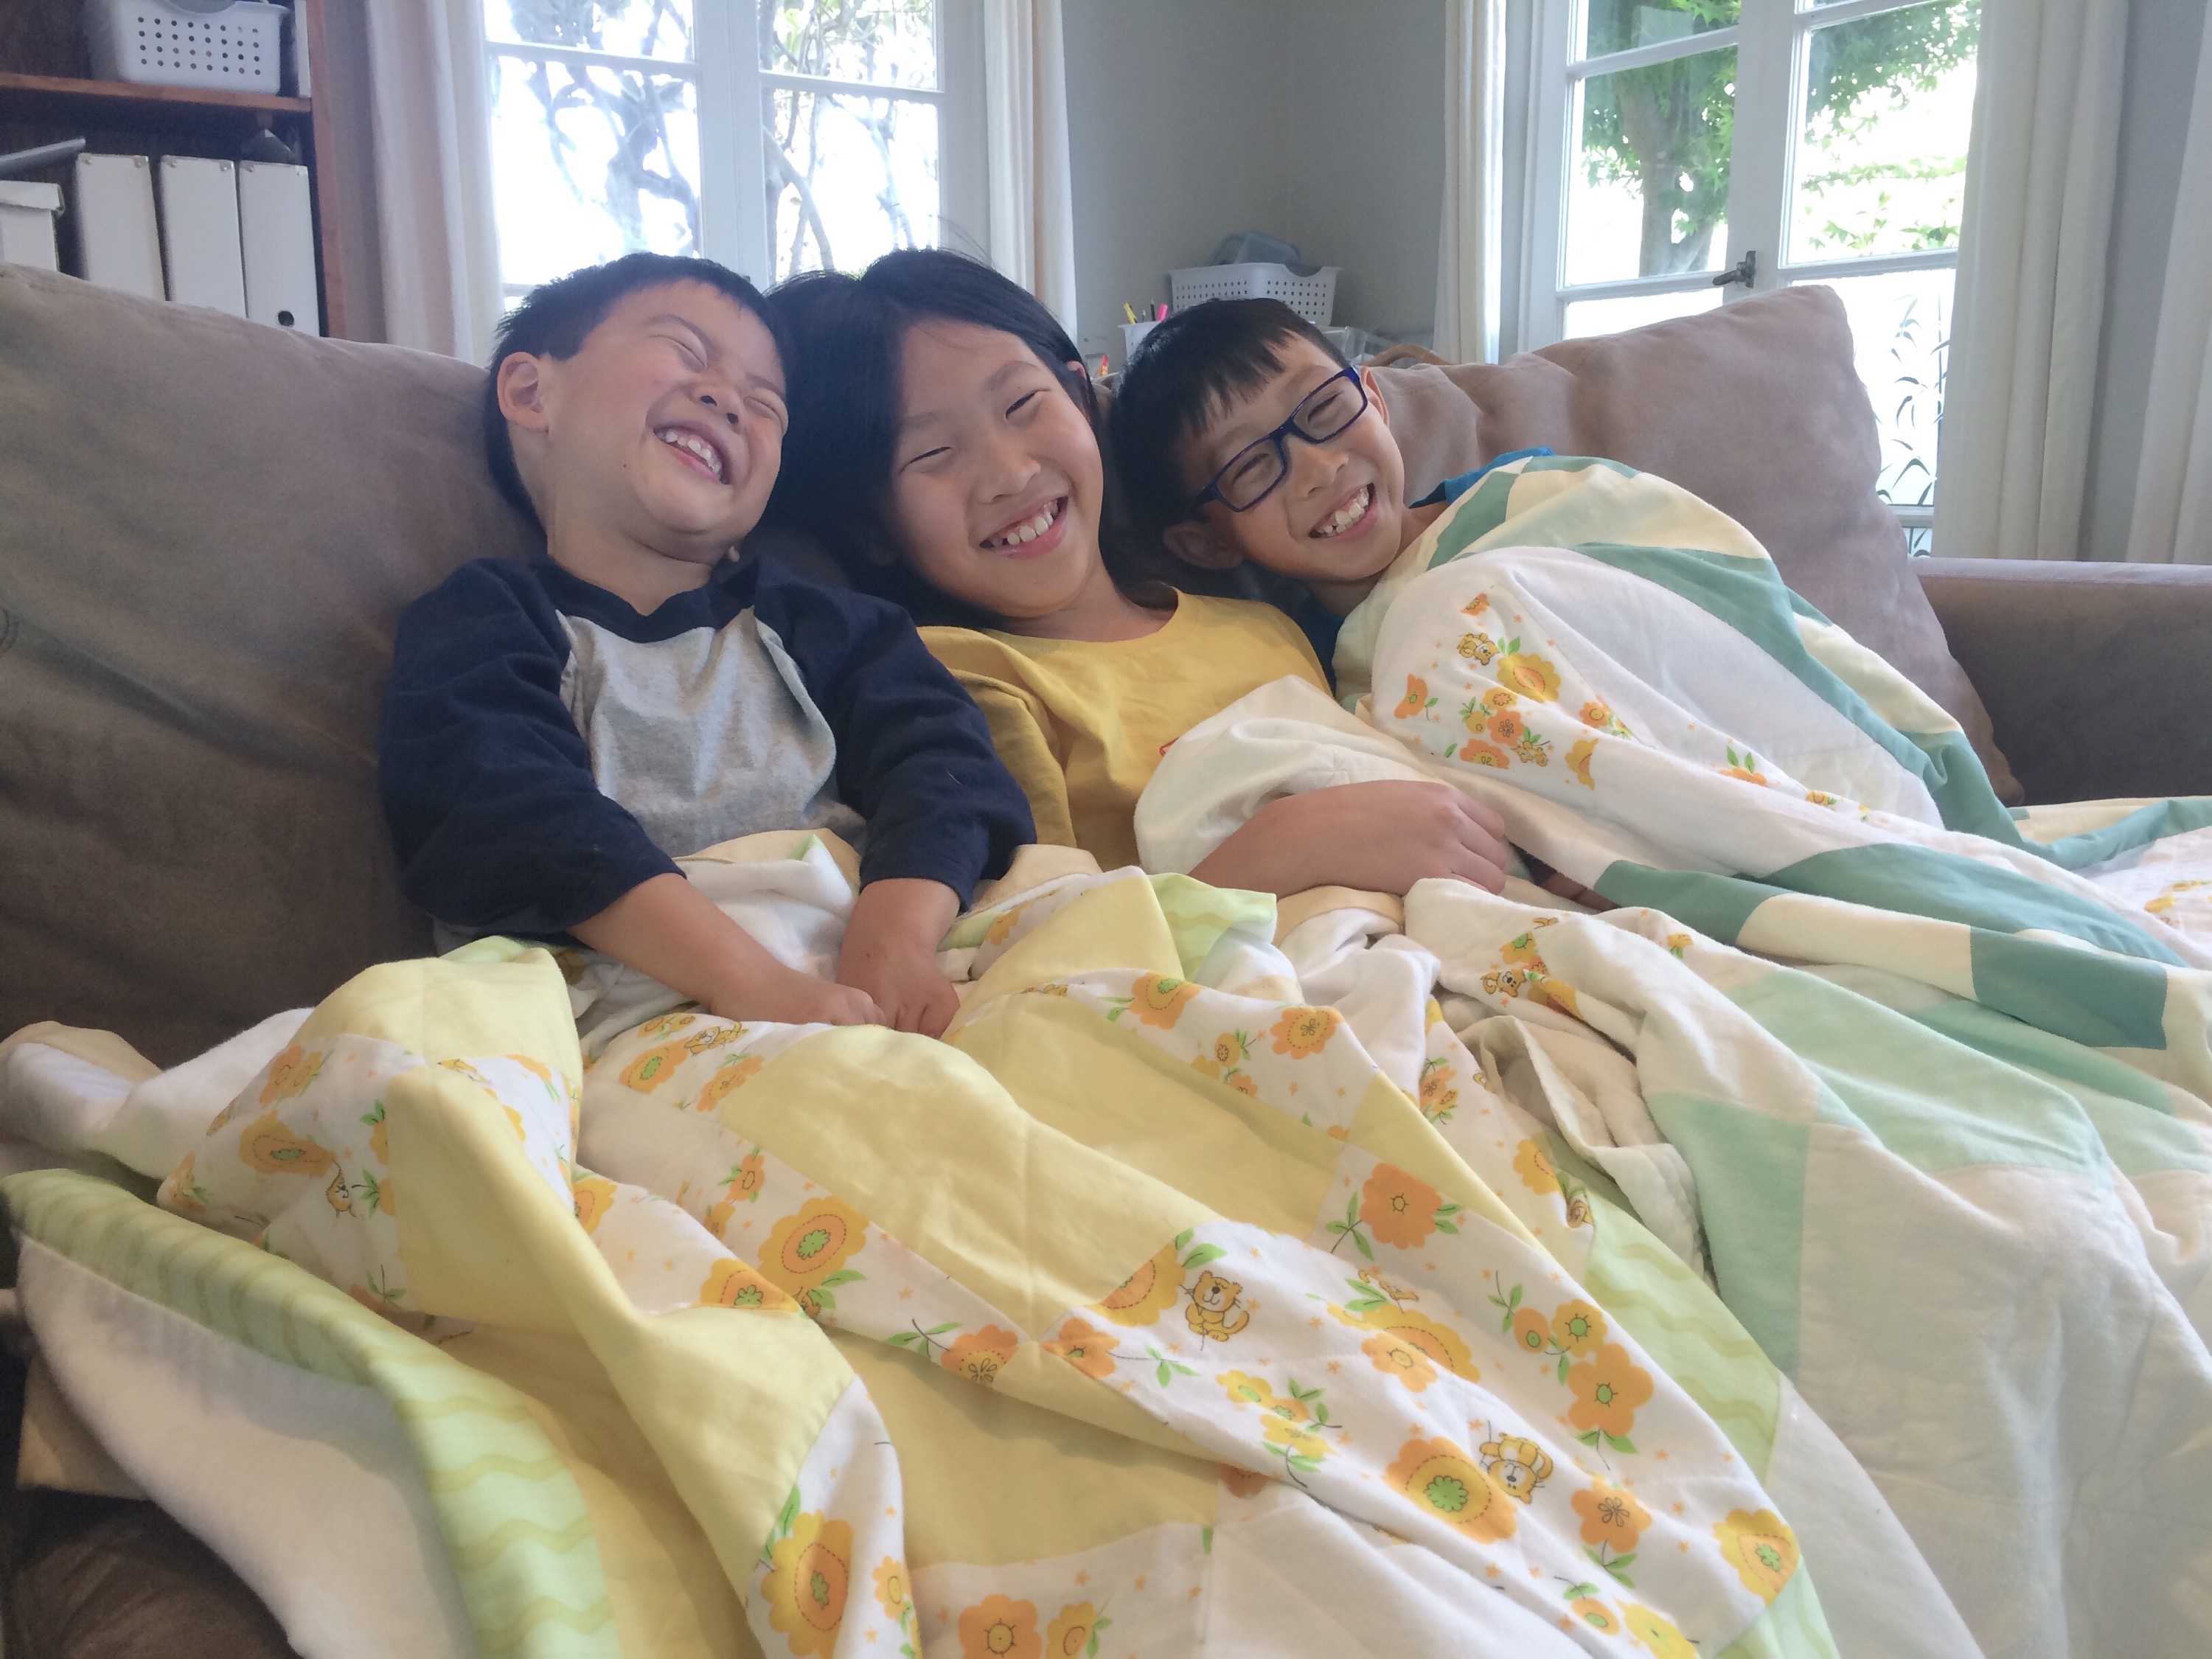
When I was pregnant with our first baby, I decided to make a new blanket out of this fabric, and now all three boys have their own quilts with a little piece of this special fabric.

I LOVE this idea. Use scraps from an old baby blanket to make special quilts for your children and grandchildren! Keepsake Baby Quilt - the Next Generation | Jewels at Home

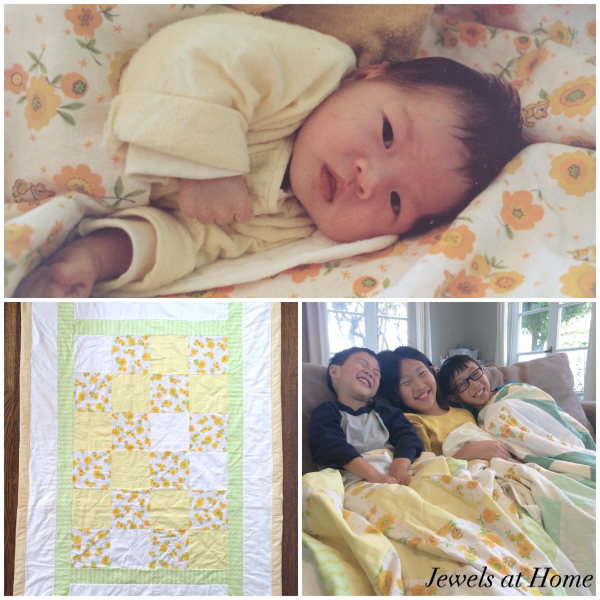
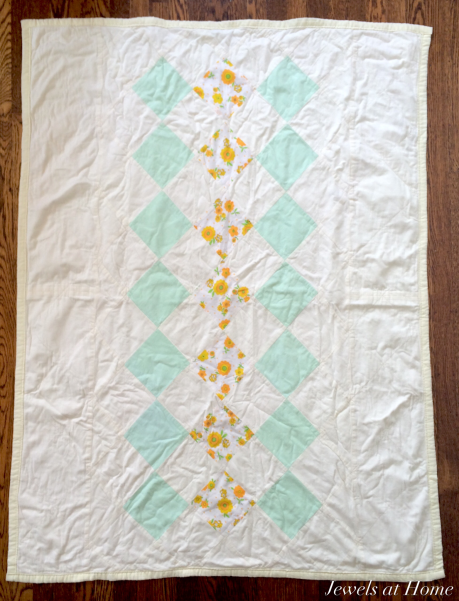
Since the piece of fabric I found was small, I knew the blanket had to be a patchwork, so I found other scraps of yellows, greens, and whites from my mom’s stash and improvised a design to feature this special nostalgic print. I made it with just the pieced front and a solid back – no batting – so it would be lightweight and versatile.

I LOVE this idea. Use scraps from an old baby blanket to make special quilts for your children and grandchildren! Keepsake Baby Quilt - the Next Generation | Jewels at Home

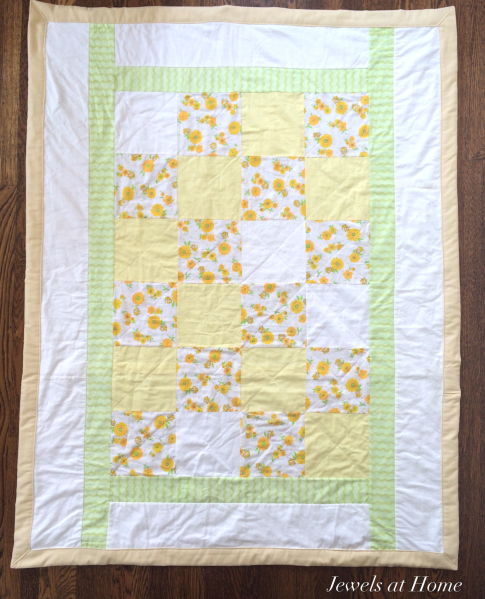
A few years later, we were expecting our second child, and with the few squares I had left, I again pieced a blanket for our new baby.

I LOVE this idea. Use scraps from an old baby blanket to make special quilts for your children and grandchildren! Keepsake Baby Quilt - the Next Generation | Jewels at Home

I joked for a while that since I had used up that small piece of fabric, we couldn’t have any more kids… But as the years went by, we did want to add to our family, and I didn’t let the lack of tiger print fabric stop me!

When I planned this new baby’s blanket, I decided I had to cut into my old blanket to get the fabric. It wasn’t that hard a decision, as I hadn’t used my blanket in ages, and the tiger print was extra special in this case, since our youngest was born in the year if the tiger.

I LOVE this idea. Use scraps from an old baby blanket to make special quilts for your children and grandchildren! Keepsake Baby Quilt - the Next Generation | Jewels at Home

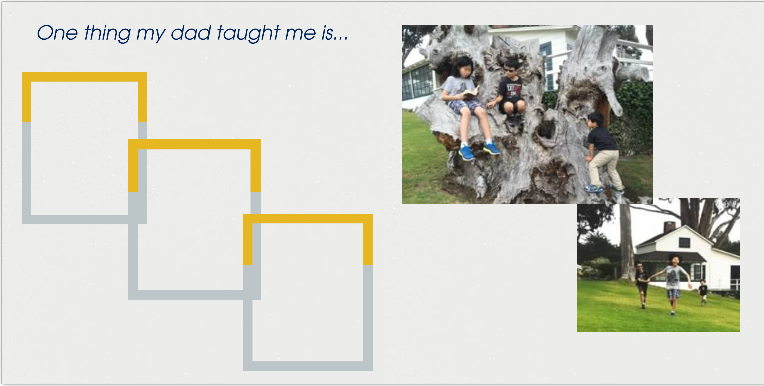
I love seeing how this whimsical print is now woven through all our childhoods.

I LOVE this idea. Use scraps from an old baby blanket to make special quilts for your children and grandchildren! Keepsake Baby Quilt - the Next Generation | Jewels at Home

I LOVE this idea. Use scraps from an old baby blanket to make special quilts for your children and grandchildren! Keepsake Baby Quilt - the Next Generation | Jewels at Home

I LOVE this idea. Use scraps from an old baby blanket to make special quilts for your children and grandchildren! Keepsake Baby Quilt - the Next Generation | Jewels at Home

I LOVE this idea. Use scraps from an old baby blanket to make special quilts for your children and grandchildren! Keepsake Baby Quilt - the Next Generation | Jewels at Home

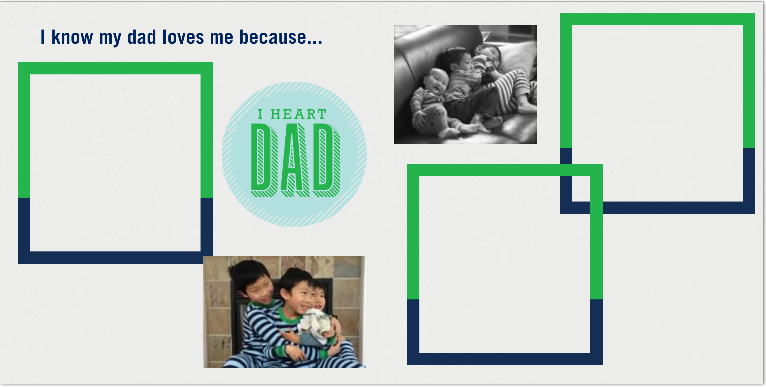
The boys’ special blankets have been useful and treasured over the years, and I love how they are all connected but each unique… Just like the boys themselves!

And I still have enough of that baby blanket left over to make something for my grandkids some day. You can bet I am going to keep it!

“Jewels”

Take Me Out to the Ball Game Birthday Party!

This year, L is turning 9, and since his birthday falls at the start of his youth baseball season, I thought it would be fun to celebrate with a retro baseball theme.

He wanted to hold the party at a trampoline place, which took care of the activities for the kids. This allowed me to have some fun putting together decorations, favors, and a ballpark menu.

Decorations:
Since we had a table in the middle of the trampoline space, I couldn’t make use of the walls for decorations.

I did find a little spot to hang our reusable birthday banner, customized for the baseball theme.

Take Me Out to the Ball Game Birthday Party! Jewels at Home

Take Me Out to the Ball Game Birthday Party! Jewels at Home

Take Me Out to the Ball Game Birthday Party! Jewels at Home
I also bought a set of these 12″ table number holders to display posters and signs. I found various retro-looking baseball posters and printed them with birthday messages and signs for the food and displayed them around the table.

Here are the sources for these great retro posters:Baseball player batting and Pitcher poster.

Take Me Out to the Ball Game Birthday Party! Jewels at Home

Take Me Out to the Ball Game Birthday Party! Jewels at Home

Menu:

We had a ballpark-inspired menu including:

Take Me Out to the Ball Game Birthday Party! Jewels at Home

Take Me Out to the Ball Game Birthday Party! Jewels at Home

Party favors:

I decorated blank youth baseball jerseys for the boys with iron-on letters and numbers.

Take Me Out to the Ball Game Birthday Party! Jewels at Home

Take Me Out to the Ball Game Birthday Party! Jewels at Home

Take Me Out to the Ball Game Birthday Party! Jewels at Home

Take Me Out to the Ball Game Birthday Party! Jewels at Home

Each boy also got Cracker Jack in old-fashioned packaging.

Take Me Out to the Ball Game Birthday Party! Jewels at Home

I created these charming gift tags to go with the party favors.

Take Me Out to the Ball Game Birthday Party! Jewels at Home

What a fun time we had celebrating!

“Jewels”

Little Girls’ Felted Purses

Okay, so these were supposed to be for my nieces’ birthday this year, but I wasn’t done in time. That’s alright, because it’s even better to give them the purses in person while they visit us for the holidays!

The concept is similar to the striped felted purse I made for myself, so you can read more detailed instructions there. I somehow managed to forget that the felting shrinks more in length and width, so the purses ended up a bit stouter than I intended, but I think they will work out. I added a little button and loop closure this time. I also made the straps out of fabric, rather then knitting and felting them, because I find the strap on my purse a bit scratchy. I think I’m going to go back and line my strap with some fabric.

Other than that, I’m very happy with how the purses turned out. It was fun to put some contrasting fabric inside, and I hope the girls have a lot of fun with them!

Make these little girls' felted purses | Jewels at Home

Make these little girls' felted purses | Jewels at Home

Make these little girls' felted purses | Jewels at Home

Make these little girls' felted purses | Jewels at Home

Make these little girls' felted purses | Jewels at Home

Make these little girls' felted purses | Jewels at Home

Make these little girls' felted purses | Jewels at Home

Make these little girls' felted purses | Jewels at Home

“Jewels”

Gifts Made by the Boys

The fact that I’m writing this when it is already Christmas morning in most parts of the world tells you what kind of crazy-busy December we had this year. I’m definitely looking forward to a few days of downtime with the family.

We don’t do a lot of shopping for Christmas. The adults in my family have generally agreed to not exchange gifts, and our kids get so much from their grandparents and aunts and uncles, that at most, we pick up one or two little things for them. However, on the night of December 23, I realized that I really wanted to have something to give to my dad and brother-in-law who are both celebrating Christmas with us this year. There was absolutely no way I was going to go near a mall on Christmas eve, so I wracked my brain and scoured my craft supplies to come up with a few meaningful projects that we could make at home.

We reprised the mugs that we made for Steve’s birthday and Father’s Day last year, and the boys also made these fun picture collages. We enjoyed going through old pictures to find our favorites, and I also added some extra copies of Christmas cards from the last few years. The boys did all the cutting and gluing themselves, as evidenced by the fact that there are duplicates right next to each other and other quirky touches. I think that our family is going to love these!

Gifts made by the kids: Hand-painted mugs | Jewels at Home

Gifts made by the kids: Family photo collages | Jewels at Home

Gifts made by the kids: Family photo collages using old Christmas cards | Jewels at Home

And for me, being able to stay in on December 24 was the best present of all.

Red and White Christmas | Jewels at Home
Merry Christmas!
“Jewels”

“A” – You’re Adorable – Baby Shower Alphabet Crafts

A bit of Canadiana for you – Sharon, Lois, and Bram have the greatest kids’ albums – stuff you can totally get into as a parent, and if not, we’ll you didn’t hear it here. But really, please check them out. One of my favo(u)rites is actually a popular song from the 1940s, “A – You’re Adorable.”

You can listen, while you check out this sweet project we did for a baby shower last month. Since this was my friend Nicola’s second baby, we wanted a simple event, but of course, there had to be a craft project!

For baby E’s sister’s shower, we decorated onesies. For baby E, I gathered letter shapes, and we created an eclectic alphabet to decorate the room the sisters will share.

I loved seeing all the creative ideas, including some creations by the under-three set.

Here are some of the techniques we used:

  • Paint – we discovered some of our friends had a lot of talent!
  • Yarn – wrapping a letter took a little patience but turned out charming. I had fun with the multicolor yarn.
  • Scrapbook paper – you can paint the sides first; then add a coordinating paper. So many possible variations with this!
  • Craft tape – I couldn’t resist this cute tape with bicycles, since our friends are avid cyclists.

Here are some close-ups of the same letters I made before the party:

Baby shower idea: decorate letters to create a one-of-a-kind alphabet for baby's nursery! Jewels at Home

Creative baby shower idea: guests decorate letters of the alphabet to create a beautiful project for baby's nursery | Jewels at Home
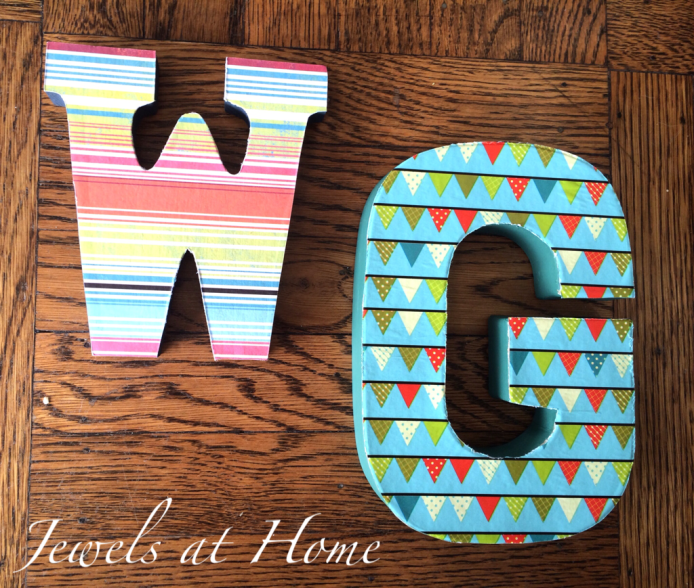
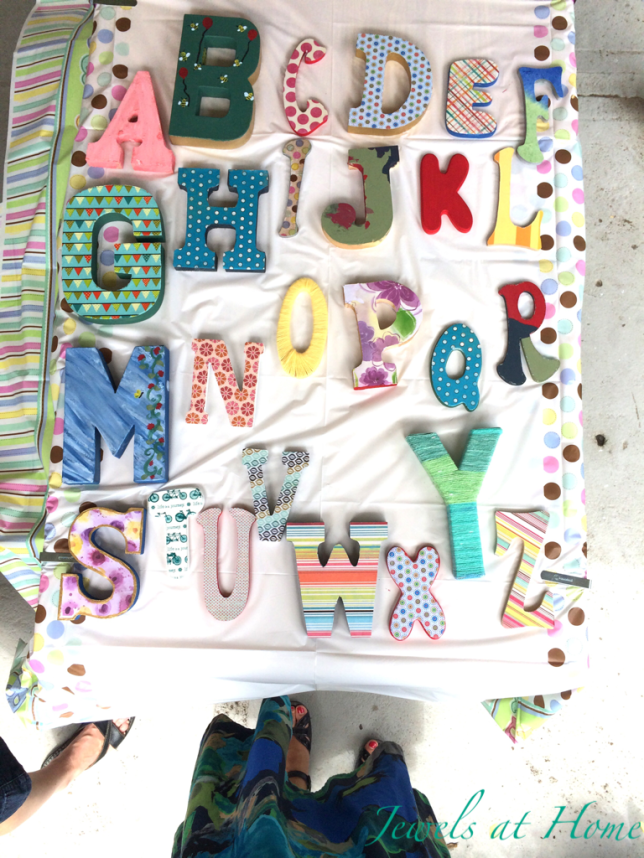
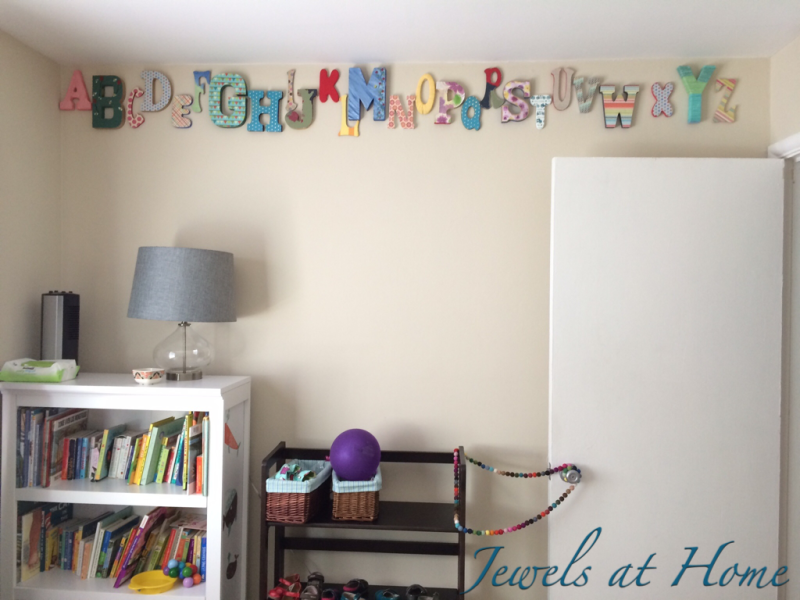
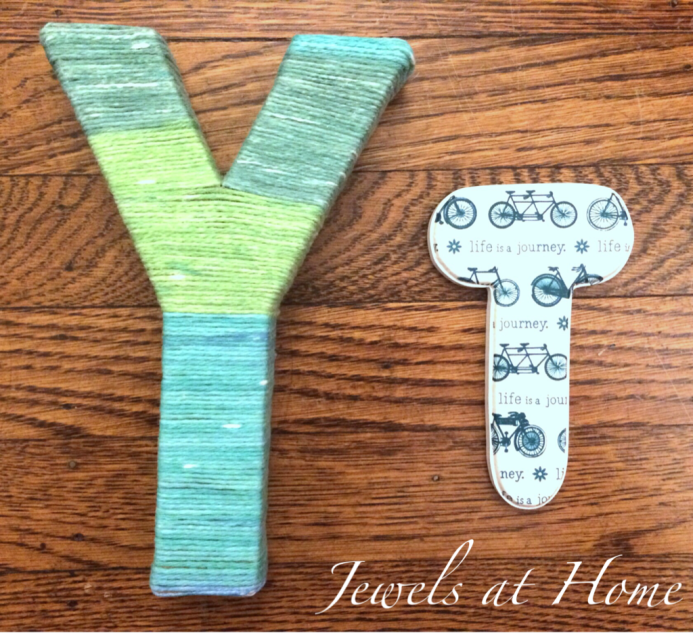
And here is our finished alphabet!

Creative baby shower idea: guests decorate letters of the alphabet to create a beautiful project for baby's nursery | Jewels at Home

Creating the art made for a fun and relaxing afternoon!

Creative baby shower idea: guests decorate letters of the alphabet to create a beautiful project for baby's nursery | Jewels at Home

Baby shower ideas: decorate the letters of the alphabet to decorate baby's nursery! Jewels at Home
And, I got to come visit when the letters were mounted on the wall. I love how it looks!

Baby shower idea: decorate letters to create a one-of-a-kind alphabet for baby's nursery! Jewels at Home

I love watching my boys grow up, but you can never get enough of a new baby.  One of my favorite places to find special gifts for everyone from babies to big kids is the amazing sales at Zulily.com!


Congratulations to the beautiful family on sweet baby E’s arrival!

“Jewels”

DIY Ribbon- Bordered Roman Shades

Roman shade upgrade: Give your plain shades a new look by adding a ribbon border.  DIY project by Jewels at Home.We’ve moved quite a few times over the years, and I’ve definitely learned a few things. One of those is that while it’s tempting to try to furnish and decorate your new home all at once, it’s better not to take your time. Besides the fact that you’ll make better decisions once you lived in your home for a while, I’ve also found that right after I move, I tend to look for the cheapest possible decor, since I’m still recovering mentally and financially from the move. When I space out the purchases, I usually end up picking better quality things.

That being said, some things just really need to be done quickly, and that includes window coverings. Black garbage bags hung with blue painter’s tape only look good for so long, you know. So, when I bought shades for our house three years ago, I went with the simplest option for the boys’ room. I had it in mind to spruce up the shades eventually, and I finally got to the project this summer.

I really like the look of fabric shades with a ribbon border. I had created a border on the curtains in our master bath, and I love how that turned out. For the boys, I wanted something very simple. I found some cotton twill tape and used tacky glue to attach it to the shades. It’s holding up very well so far. You’ll have to experiment with your own shades, but for reference, the twill tape I used is 1 1/4 inches wide, and I attached it to the shades 3 1/2 inches from the edge.

Roman shade upgrade: Give your plain shades a new look by adding a ribbon border.  DIY project by Jewels at Home.

Roman shade upgrade: Give your plain shades a new look by adding a ribbon border.  DIY project by Jewels at Home.


Roman shade upgrade: Give your plain shades a new look by adding a ribbon border.  DIY project by Jewels at Home.

 
I’m so impressed and happy with what a big difference this little change has made! It gives me hope that I might someday be “done” decorating the little boys’ room, a project which usually makes me think of the saying “Cleaning the house while children are growing is like shoveling snow while it is still snowing.”

Roman shade upgrade: Give your plain shades a new look by adding a ribbon border.  DIY project by Jewels at Home.

Hope to be back with more projects soon.  It has been a busy and fun summer.  We’re renovating our kitchen and basement, which is a big project.  I’m very excited and more than ready to be done with the dust and on to the decorating!

“Jewels”