We moved twice in the last two years, and in the process, I gave away a lot of things. I feel like the universe has decided to reward me by sending me two great finds. First, I found this vintage … Continue reading
We moved twice in the last two years, and in the process, I gave away a lot of things. I feel like the universe has decided to reward me by sending me two great finds. First, I found this vintage … Continue reading
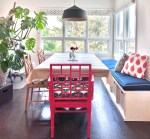
Oh wow, I am in love with the work of Lucy Penfield of Lucy Interior Design! She can execute a beautiful modern or bohemian room, but what I’m particularly smitten with is her ability to create space that has the perfect blend of classic and contemporary, casual and elegant, all full of whimsy and personality. This balance is what I am striving for in our home, and I am soaking up all the inspiration!
Here are my favorite elements of her designs:
This style is exemplified by her Highland Park Bungalow and Romantic Urban projects, as well as the Lake Cottage. I would happily move into any of these gorgeous spaces! Here are some of my favorite inspiration pics that capture that beautiful and unique blend of styles.


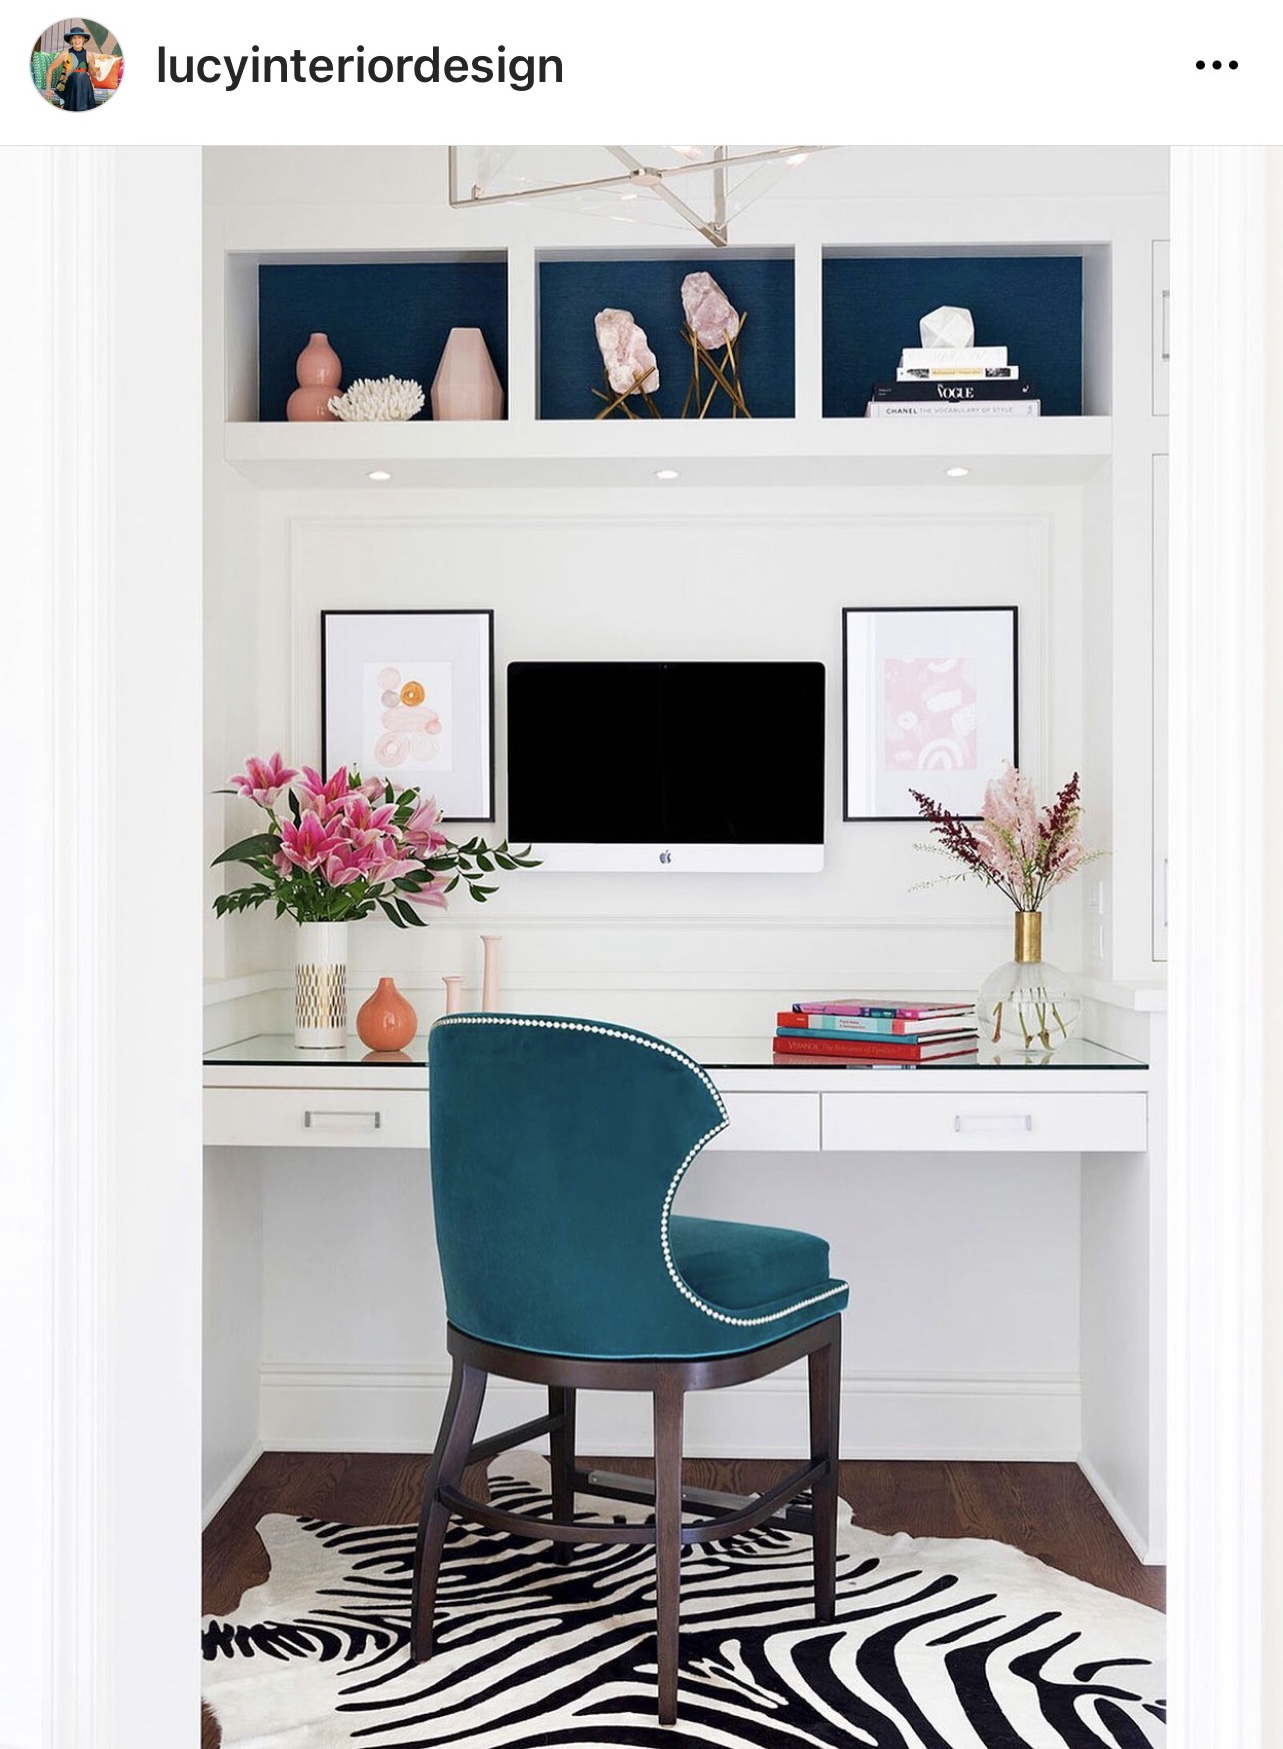
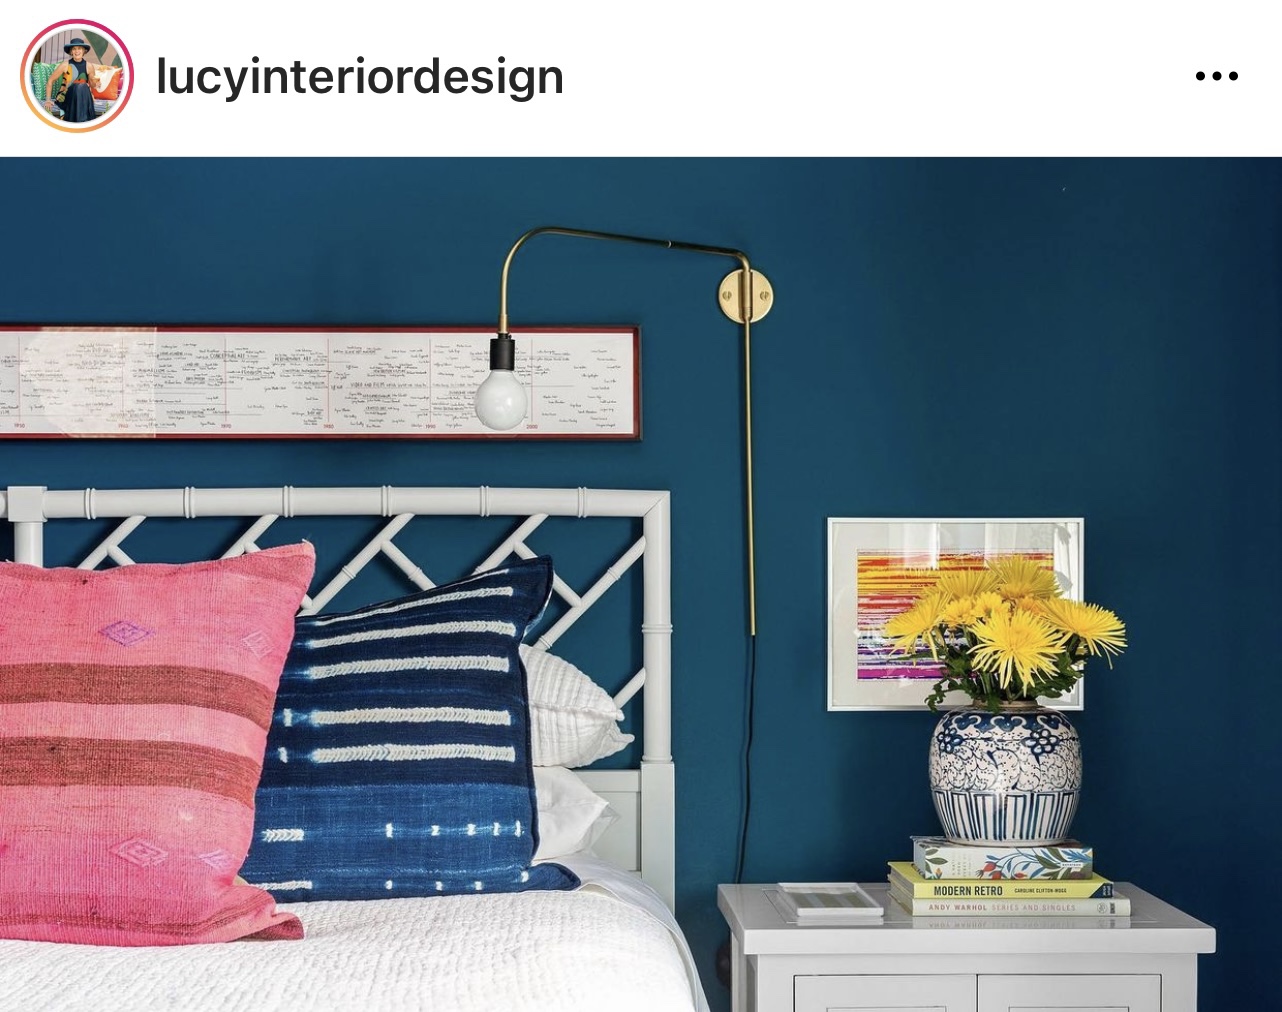
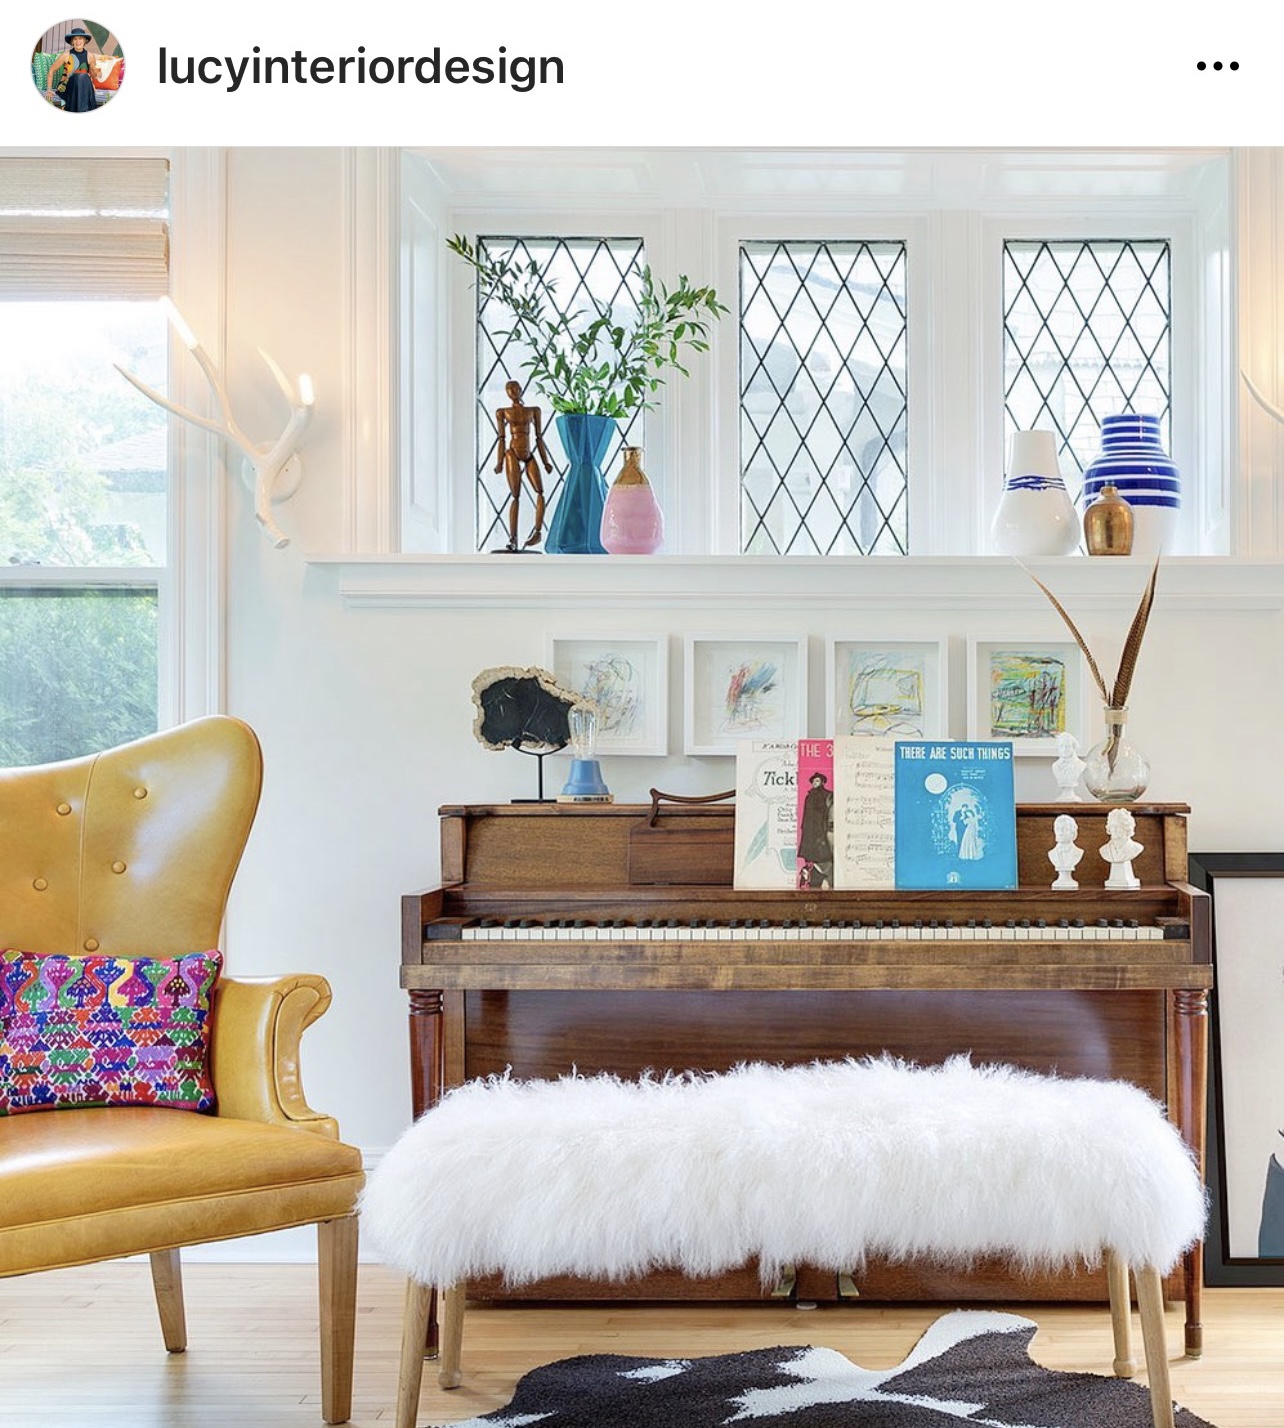
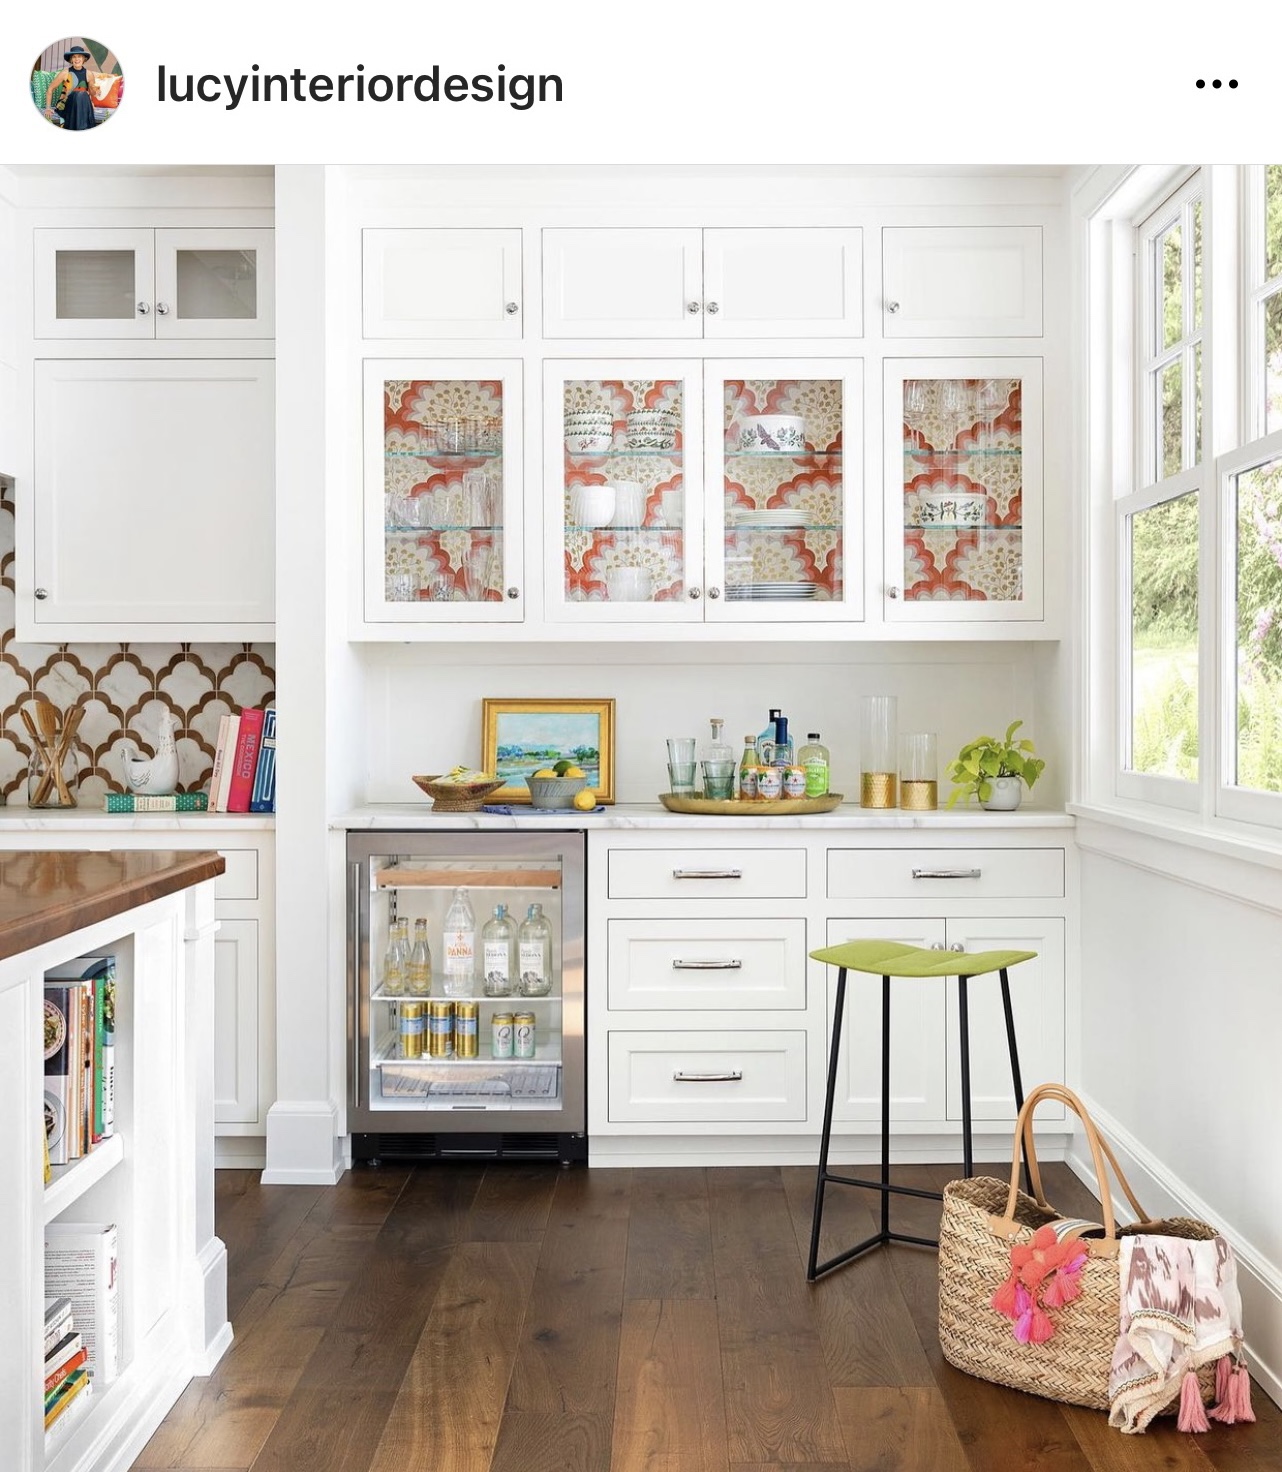


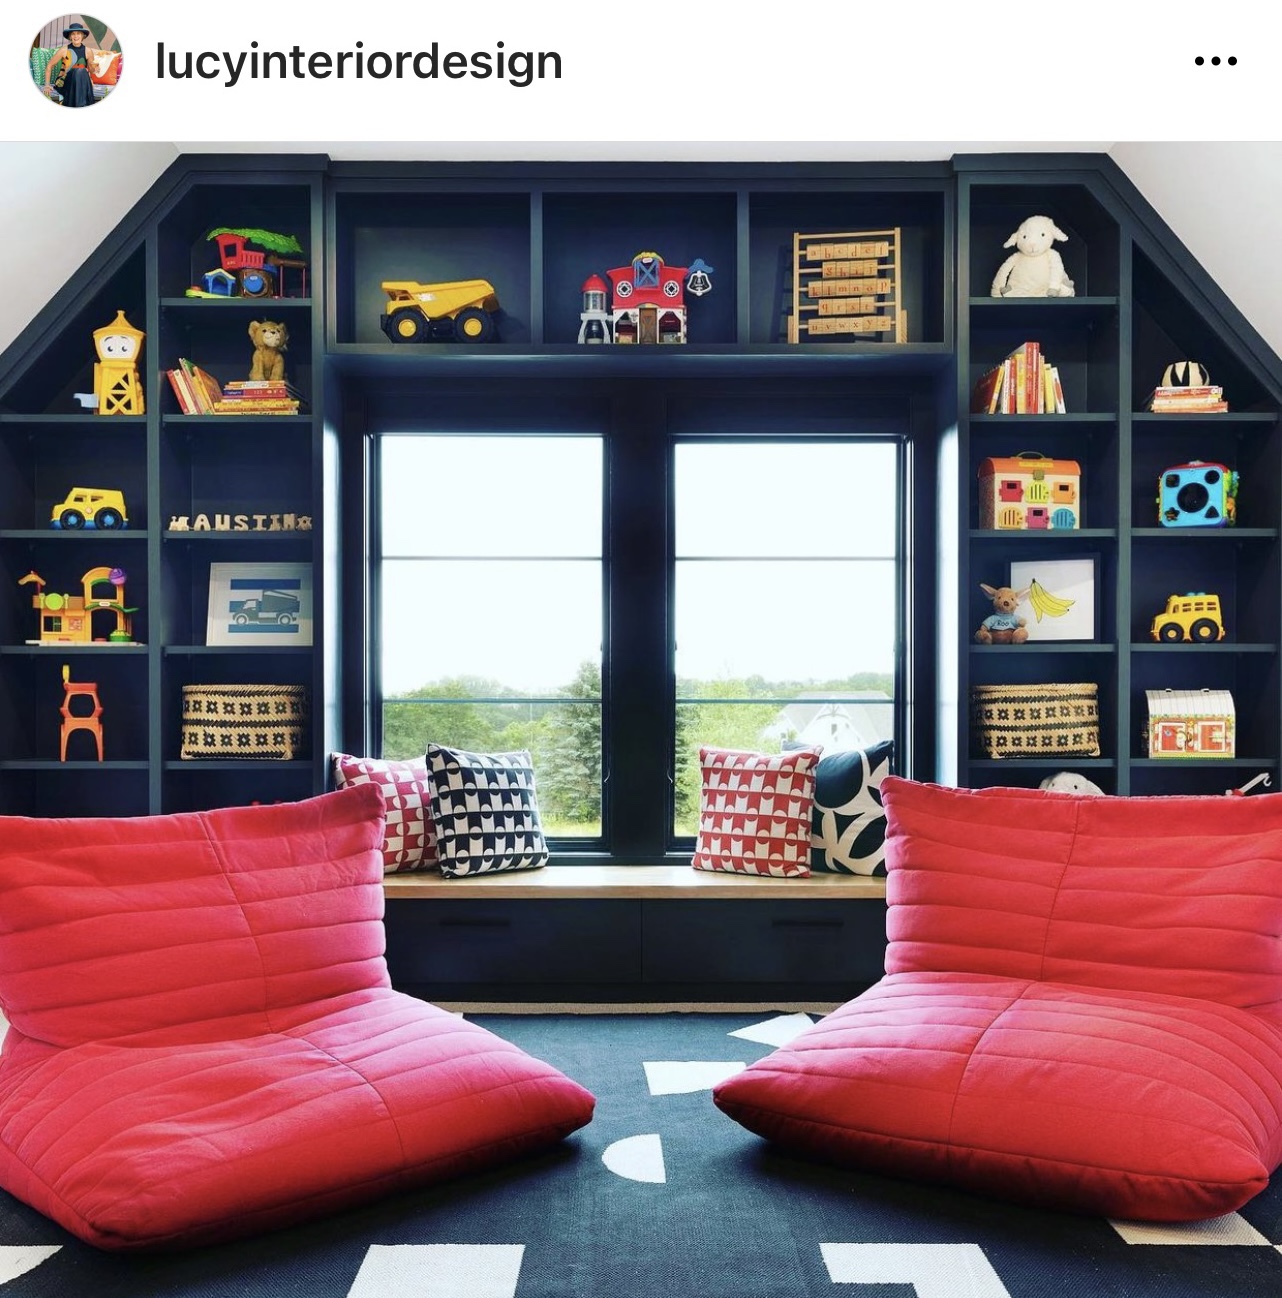
Isn’t this all fabulous?! I have always wondered if my blend of styles might be too scattered, but I love seeing how it is possible to bring together traditional and contemporary elements to create beautiful spaces. So inspired!
Julie AKA “Jewels”
Re-inventing an old chair is one of the easiest furniture makeovers, and it is so rewarding to create a one-of-a-kind gem like this!

Free Queen Anne chairs found through Craigslist: from worn and boring to fresh and elegant!
When I debuted my Queen Anne chair makeover, I provided some tips for painting. Today, I’ll cover the basics of reupholstering a chair seat. I had also mentioned in the earlier post that I had discovered a great fabric choice for seats, so let’s start there.
Choosing Fabric:
The secret is that this beautiful fabric, with its bold graphic pattern and textured weave, is not a standard decorator upholstery fabric but an outdoor fabric! It won’t stain, fade, or wear out. You can wipe or even scrub it clean! These days, the options for colors, patterns, and textures in outdoor fabrics are immense. I’ve used outdoor fabrics on several projects, and the results have been great!

“Muse” by P. Kaufmann in Aqua. A colorful outdoor polyester fabric with a linen texture.

“Lake Paradise” by Robert Allen in Spa. Another outdoor polyester with a whimsical print. These are our dining room chairs. More about them soon!

“Dupione” by Sunbrella in Sand. This acrylic weave indoor/outdoor fabric was on a built-in bench in our old house and was clearly toddler- and sippy cup- friendly. I’d love to recreate that bench in our current home. It was great for lounging and had lots of storage in those drawers underneath.
I bought the Lake Paradise and Muse fabrics from fabricguru.com. This is definitely my favorite source for online fabric shopping. They have good prices and selection, and they make it easy to search, which can be overwhelming with some of the other sites. I bought the Sunbrella Dupione from a marine supply store online.
A couple of caveats: the polyester outdoor fabrics are stiffer than cotton upholstery fabric, so they don’t feel as soft or wrap as neatly around corners as a cotton. Also, while fine for the upholstery, they would feel stiff on a cushion, so if you want to create coordinating pillows or other items, you might want to look for the same print in a regular decorator cotton. I found the acrylic was much softer to the touch, though I did not do the sewing on those fabulous bench cushions. I also have noticed some slight piling on our dining chairs, but it’s very minor, and I am sure that they would be in much worse shape by now, if I had used a standard cotton fabric, because we eat there every day.
Upholstering a Seat:
You will need:
1. Use a flat head screwdriver and pliers to remove all the old staples. Argh! Look at all those staples. This took a long time!

2. If you aren’t reusing the old foam, cut a new cushion from a sheet of foam from the craft store. I used two pieces of 1/2″ foam, one cut to fit the seat exactly and the other a bit wider, to wrap around the outside of the seat.

3. Center the fabric under the foam and seat bottom. For a large print, like the “Muse” on my Queen Anne chairs, pin the fabric in place, to make sure the pattern is centered.

4. Using the staple gun, tack the fabric onto the seat bottom on the center of each side. (Apparently, I forgot to take a picture of this!)
5. Next, staple from the center of each side towards the corners, stopping about two inches from the corner. Fold up the fabric at the corner and tack it to the bottom of the seat:

6. Now finish stapling the fabric on the sides. Depending on the angle, sometimes you need an extra fold in the fabric.

7. Repeat for all sides and corners, and you’re done!

Let me know if you have any questions!
“Jewels”
