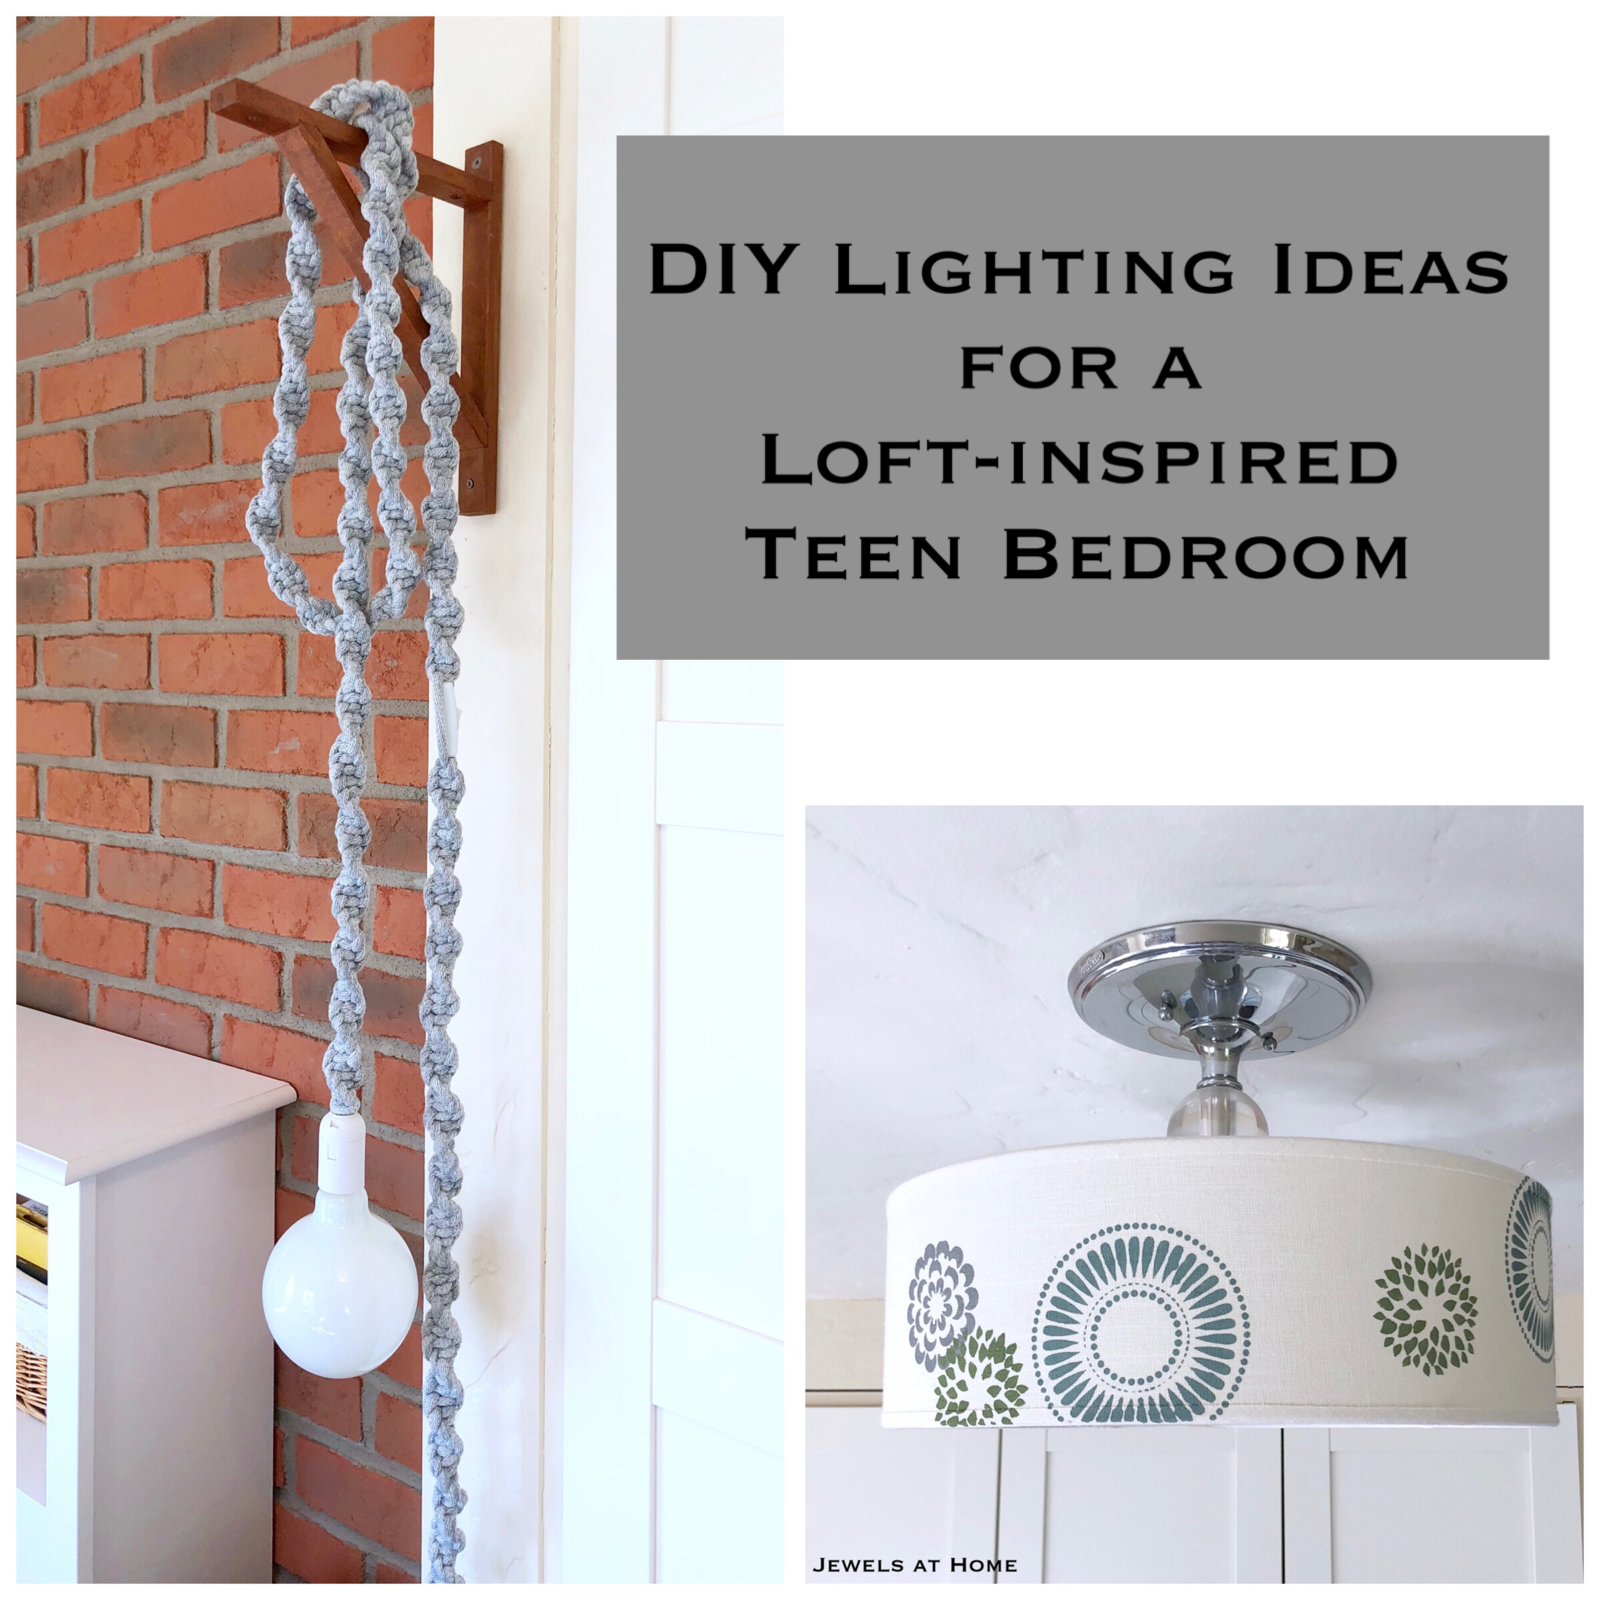
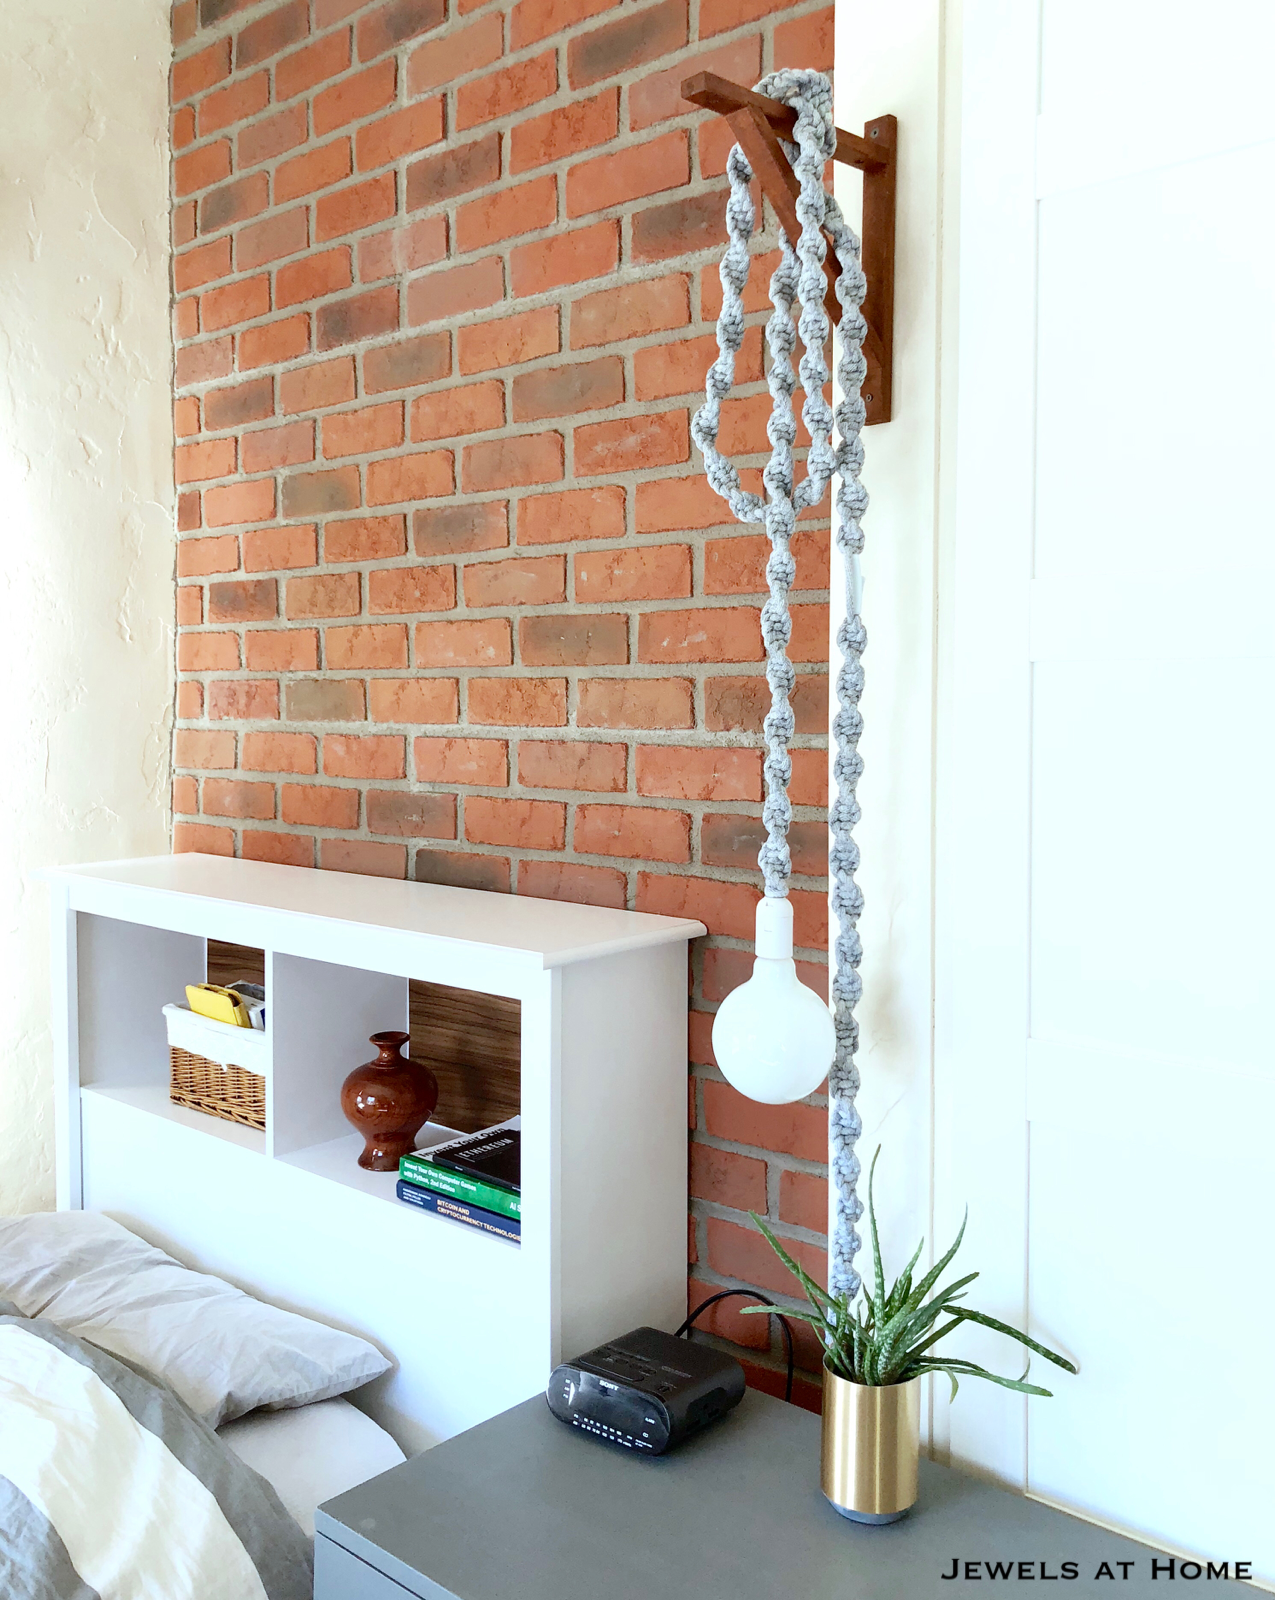
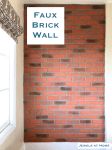
I’m really excited to be a Guest Participant again in the One Room Challenge! This is a great way to get inspiration and motivation for your home. This spring, I re-decorated our boys’ bathroom. For this fall’s challenge, I’m transforming our teen’s bedroom. His new space is inspired by an industrial loft, with an exposed brick wall and other great features! Thanks for following along!

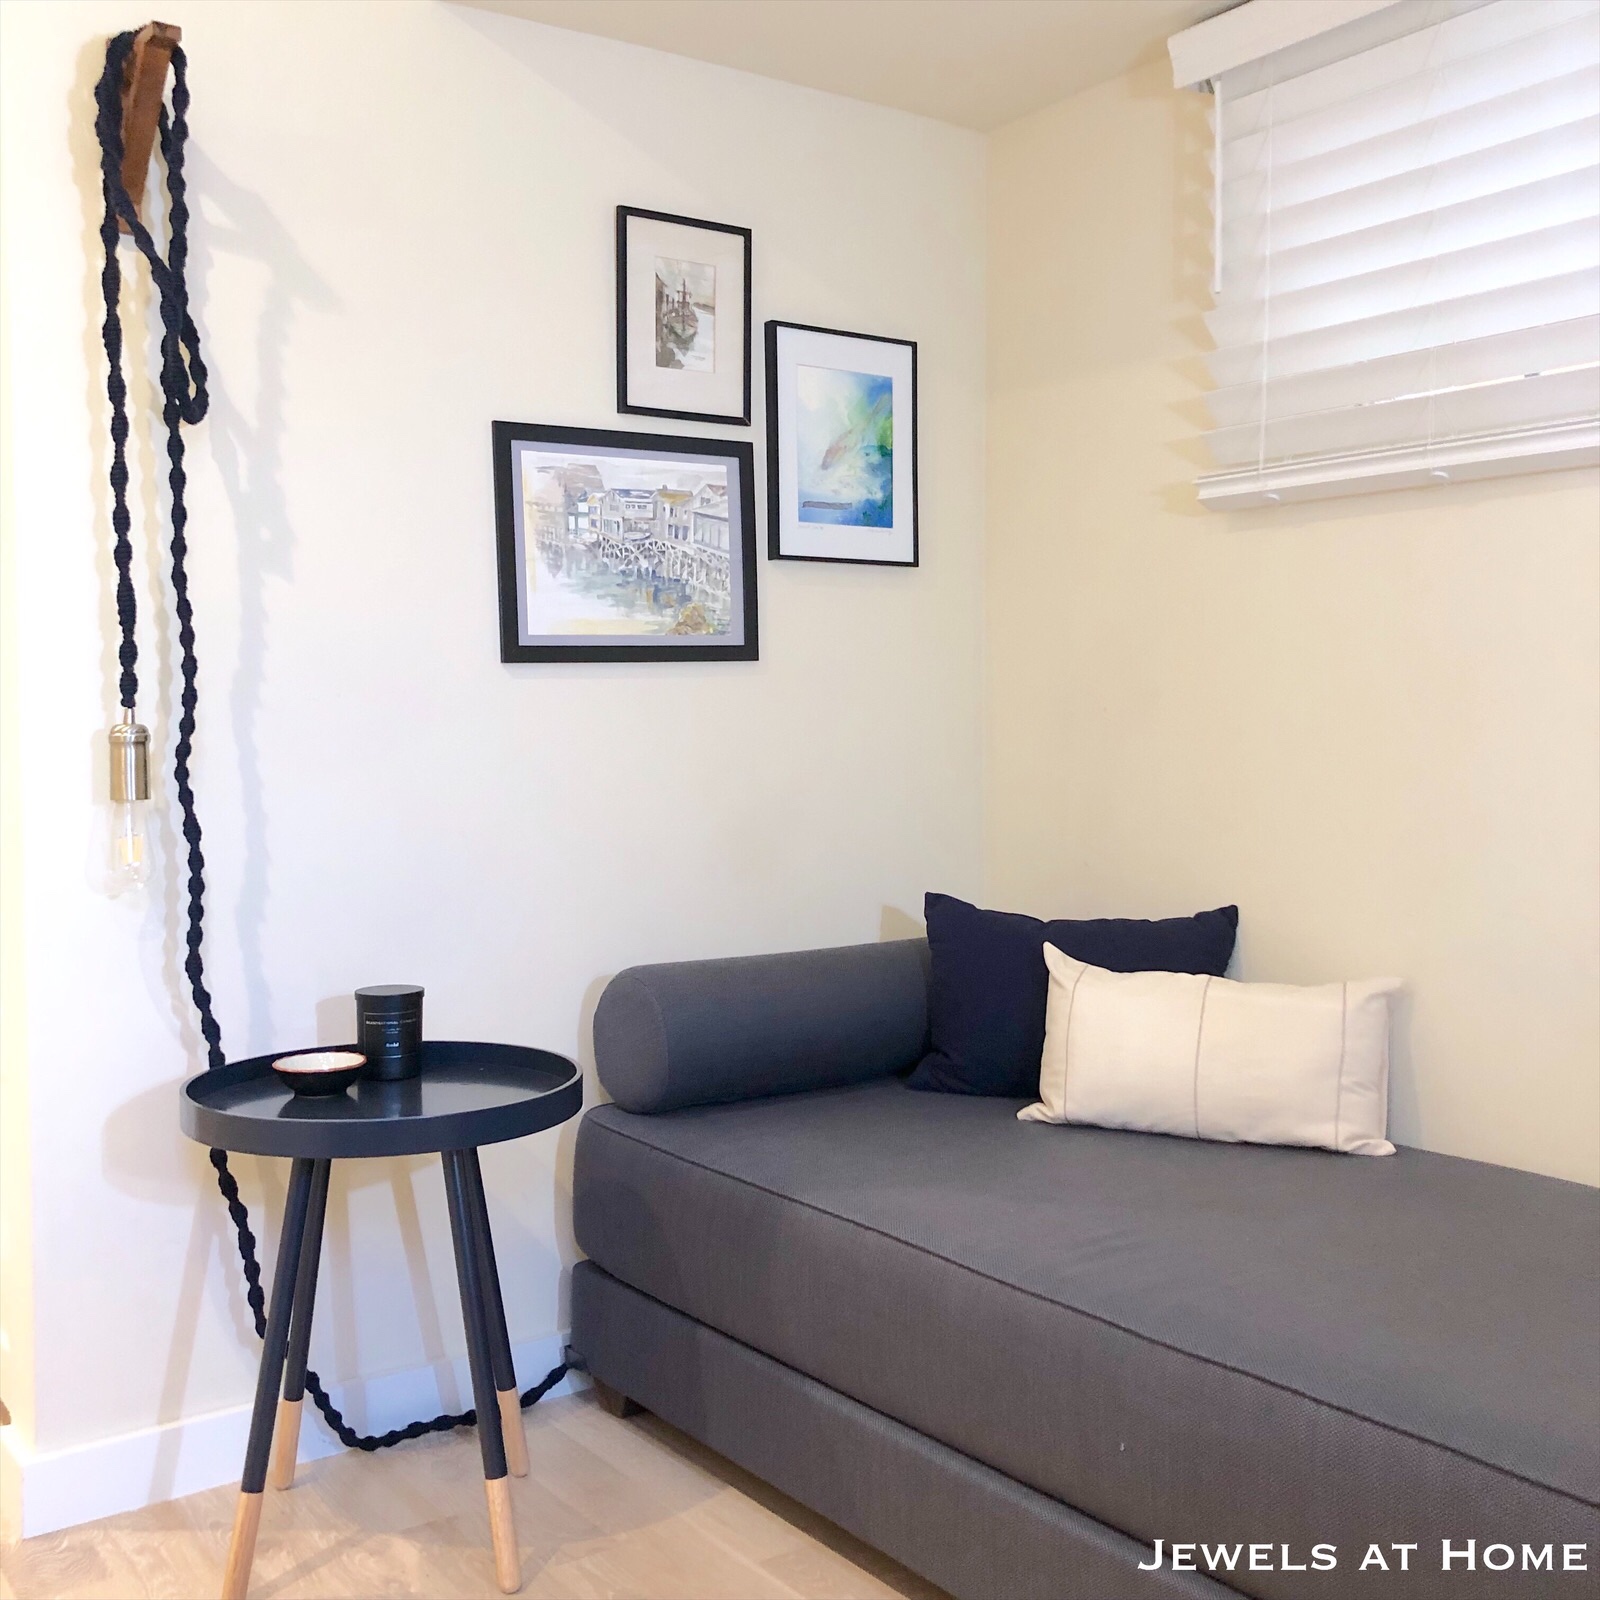
Kai is a quiet kid who doesn’t share much or ask for much. When the boys wanted their own rooms last fall, he ended up in my former craft room, and I made very few changes when I moved him in, other than adding a bed. Although he does not ask for much, he does show his appreciation, and I was excited to do something special for him, before he goes off to college in a few more years – sniff, wah!
I know how fast they grow, so I wanted an adult space, where we could add a few personal touches. I also imagine that some day, I’ll gain this room back as a craft studio, so I kept all that in mind in choosing a simple loft-inspired design scheme. There are vintage, industrial, and hand-made touches that will allow this space to endure and adapt to our family in the years to come.

Image sources:
Are you as excited as I am?!
I created my design plan the way I usually do, looking for inspiration spaces and then identifying the elements and themes that I want to incorporate into our home. The Design Cookbook has more details on how you can use this approach to create spaces you love!
Here are two of my inspiration spaces for this project. I could not find an original source for the first picture, so please let me know if you find it, so I can give credit!
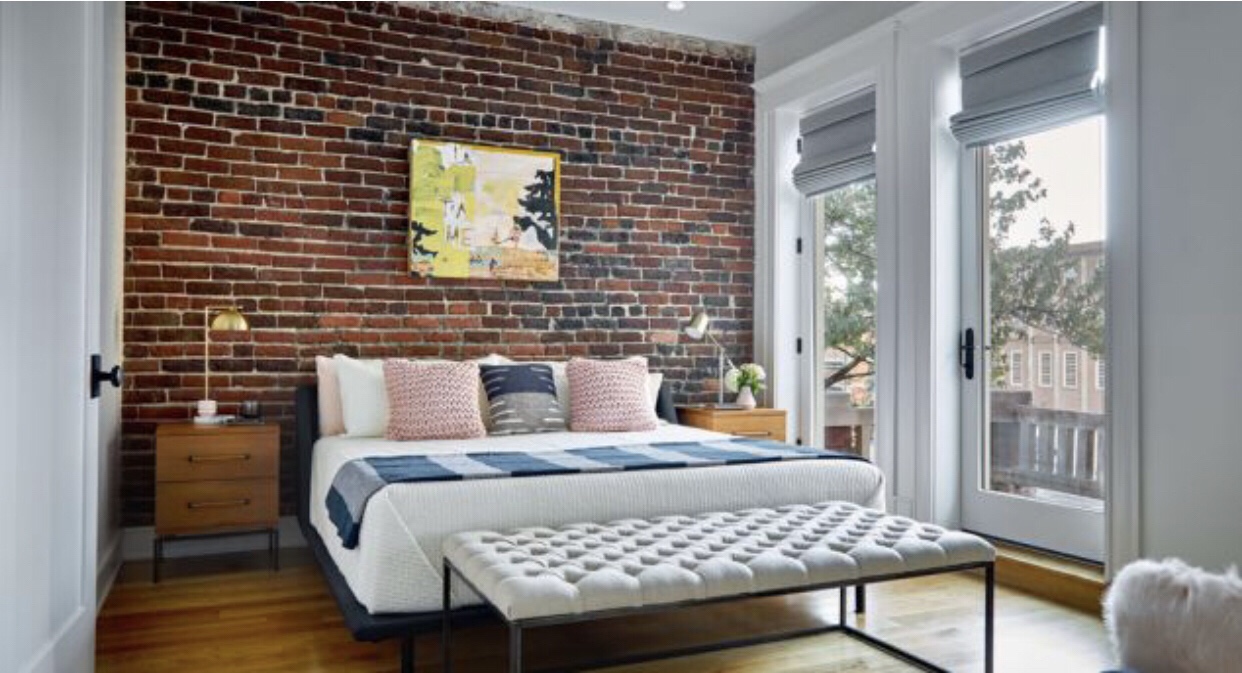
This second room was featured on the Street Easy blog.

The features I loved in both of these spaces – and that I knew I wanted to recreate – are:
- exposed brick!
- light, neutral walls
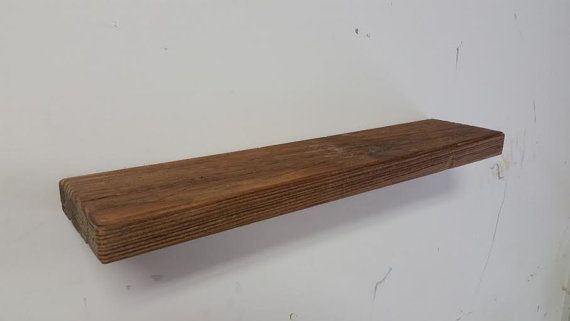
- warm natural wood
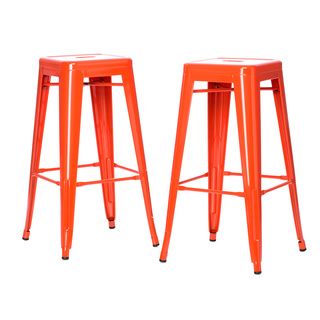
- grey bedding and Roman shades
I’ve done a little bit of sourcing and preparation already, but there is a lot of work left to do in the next five weeks! I can’t wait to share all the projects and see the final space!
A huge thank you to Linda for creating the One Room Challenge community, and high fives to all my fellow bloggers whose hard work and creativity were great inspirations! Be sure to go back to the One Room Challenge blog and check out all the other projects!
Julie aka “Jewels”