
A few years ago, I made an accordion album to hold photos for my dad. Now, here’s a more dressed-up version that I made as wedding cards from our work for two coworkers who are both getting married this summer. … Continue reading
A few years ago, I made an accordion album to hold photos for my dad. Now, here’s a more dressed-up version that I made as wedding cards from our work for two coworkers who are both getting married this summer. … Continue reading
I mentioned that Nicola recently hosted a bridal shower for one of our friends from work, and I helped out with some decorations. Over the past few years, I have gathered the elements for a DIY photo booth, including props, a tripod, and a Canon SELPHY Photo Printer
.
In the past, I’ve adapted the backdrops and props for Christmas, a retirement party, and a Star Wars birthday party. This latest theme would be great for a wedding as well as a bridal shower. Want to do this yourself, here’s what you will need:
 2. Seating. I used a piano bench

3. Display. It is so fun to display and enjoy the photos during the party, before everyone takes theirs home. I hung some pom-pom trim on the fence and added some paper rosettes and clothespins covered in scrapbook paper to make a pretty gallery.

Here we are, smiling at the end of a beautiful afternoon with friends!

Say cheese!
“Jewels”
Oh, I honestly love any project that involves paper!
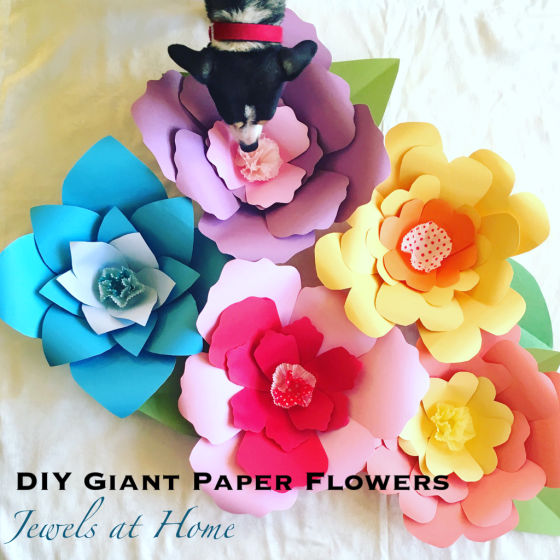
For a friend’s bridal shower, I offered to set up a photo booth and make some other decorations, which was the perfect excuse to try making these giant paper flowers.
Materials:
Instructions:
Here are some close-ups of the flowers:
They look really impressive grouped together:
And while I was taking pictures, it was so cute that Finn came over to smell the flowers!
Here’s how the flowers looked in our photo booth. The backdrop is a striped shower curtain.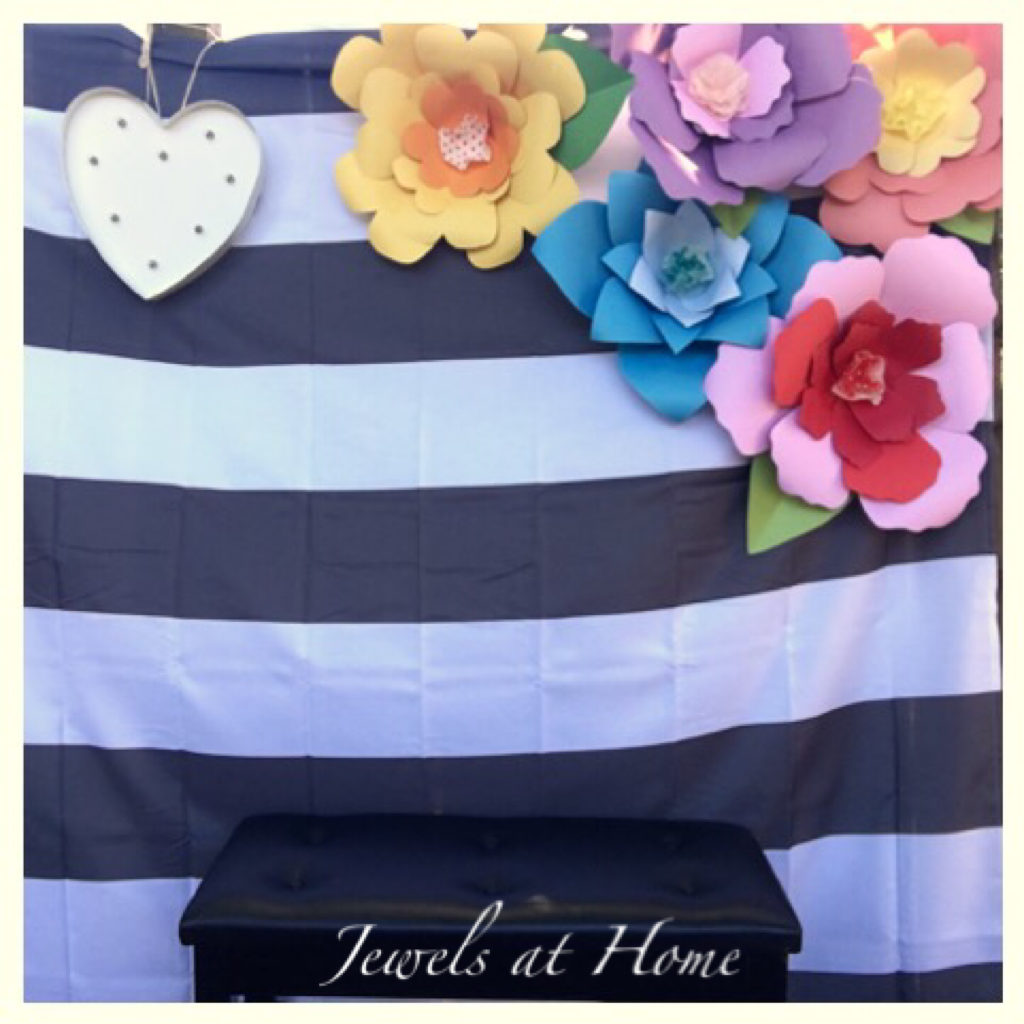
Any ideas of where to put the flowers until our next event?
“Jewels”
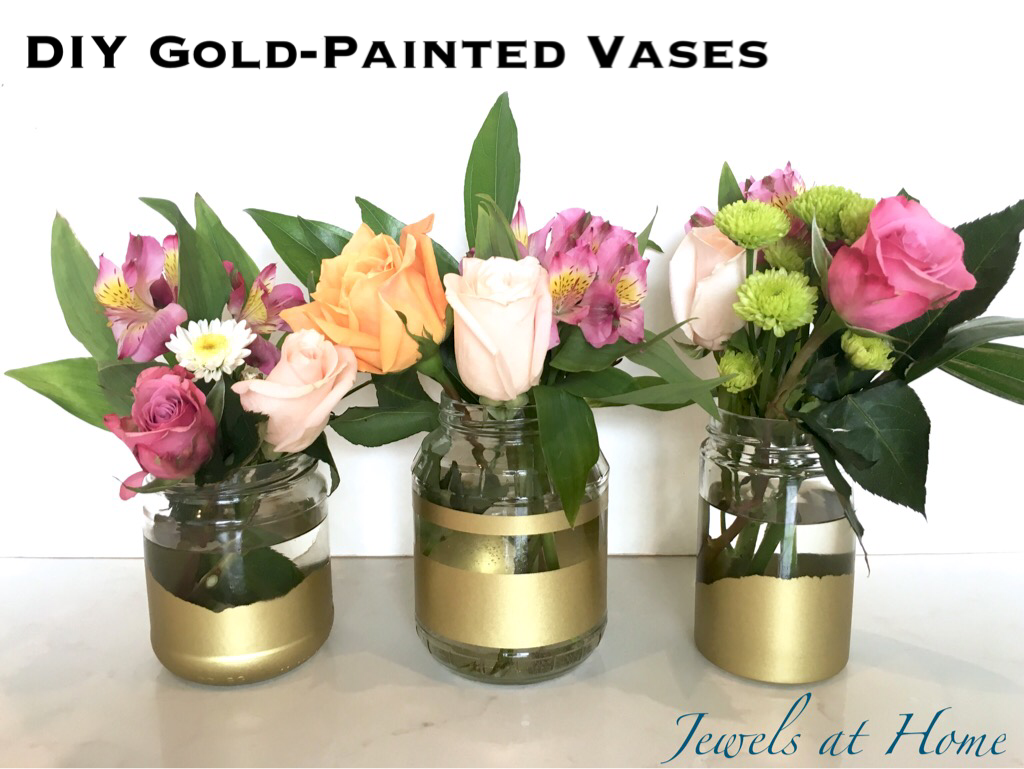
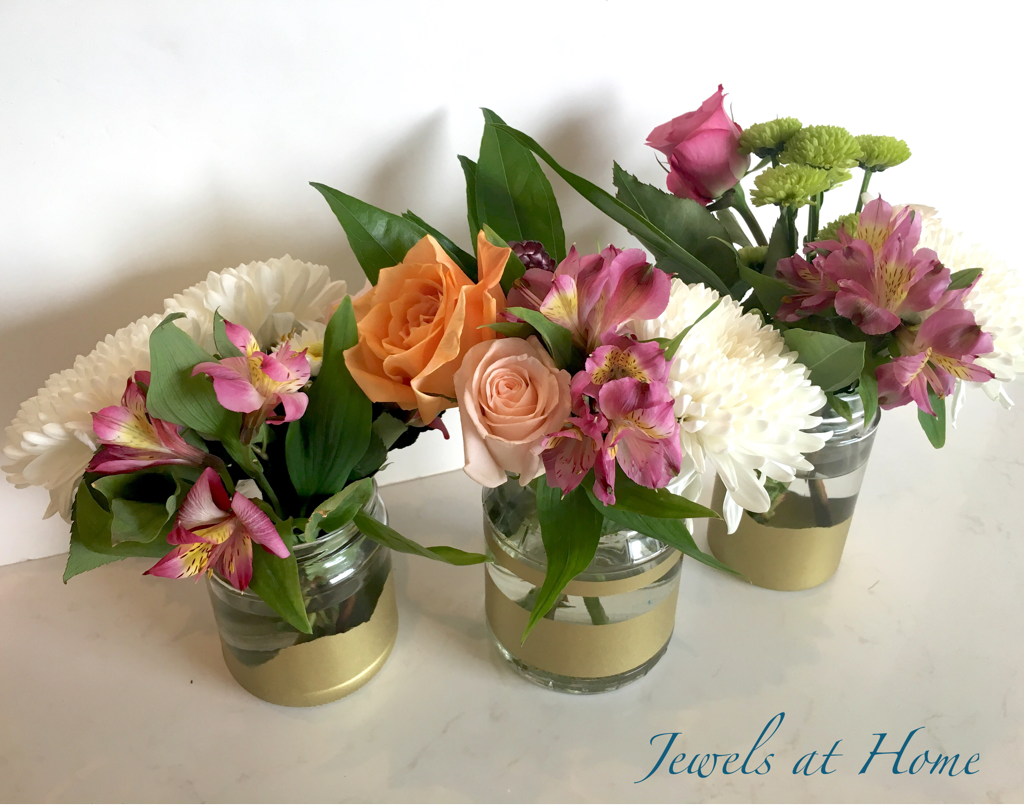
One of my favorite partners in craft-crime recently hosted a bridal shower for one of our coworkers, and I offered to make some decorations. First, I made giant paper flowers for a photo backdrop, and next up were these gold-painted vases.
Materials:
Instructions:

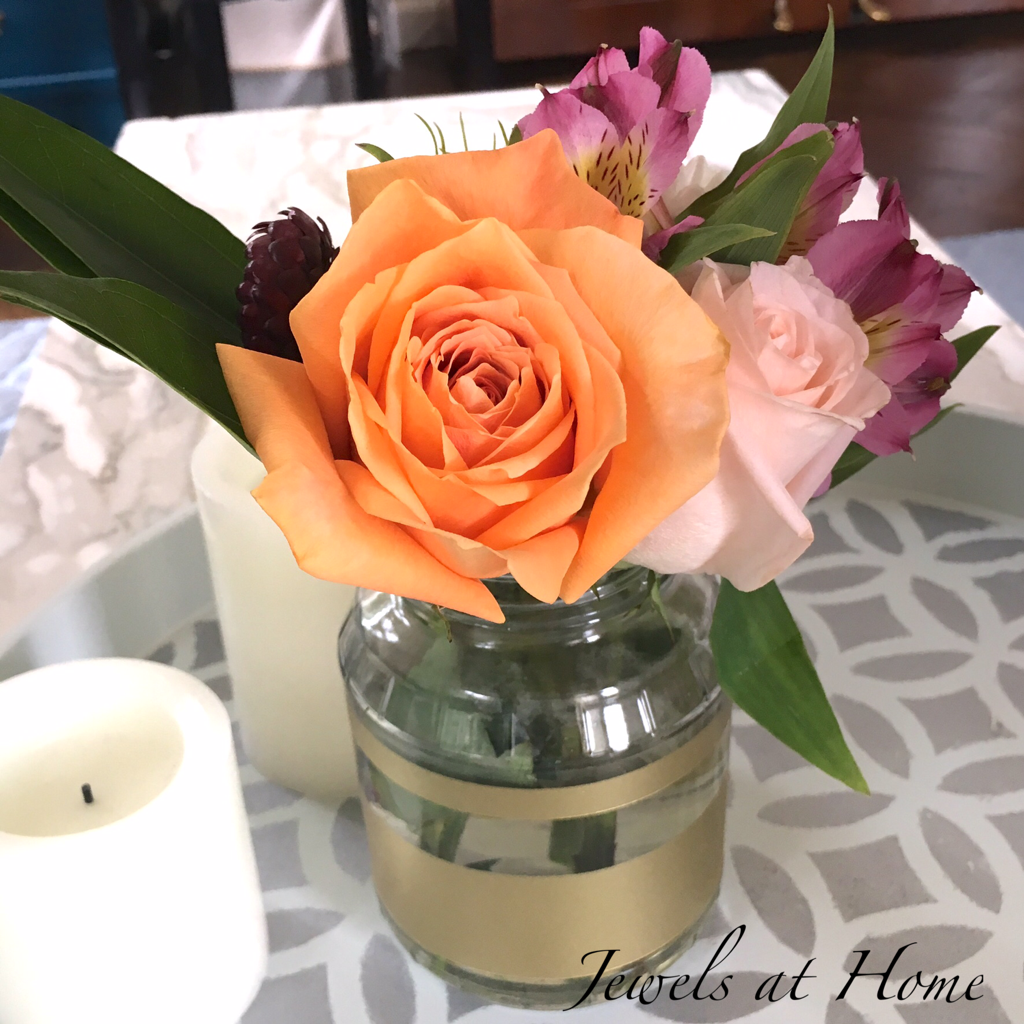
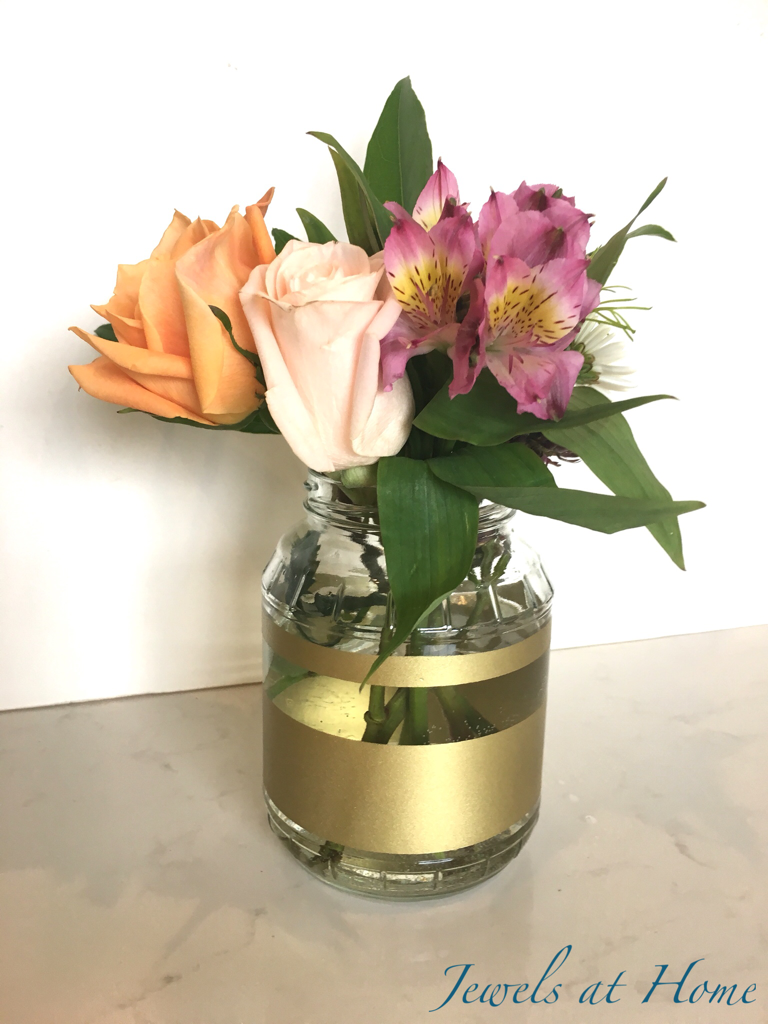
I love how this textured jar turned out. I think it was a sauerkraut jar.

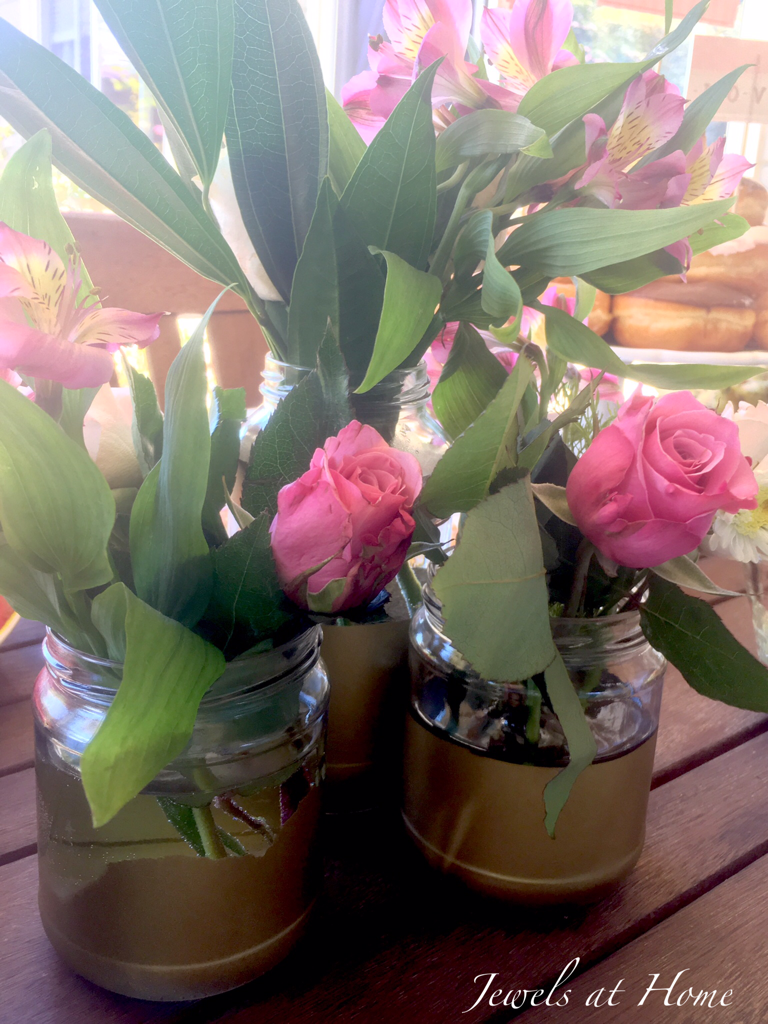
At the shower, I grouped vases together, so these small arrangements made a big impact.


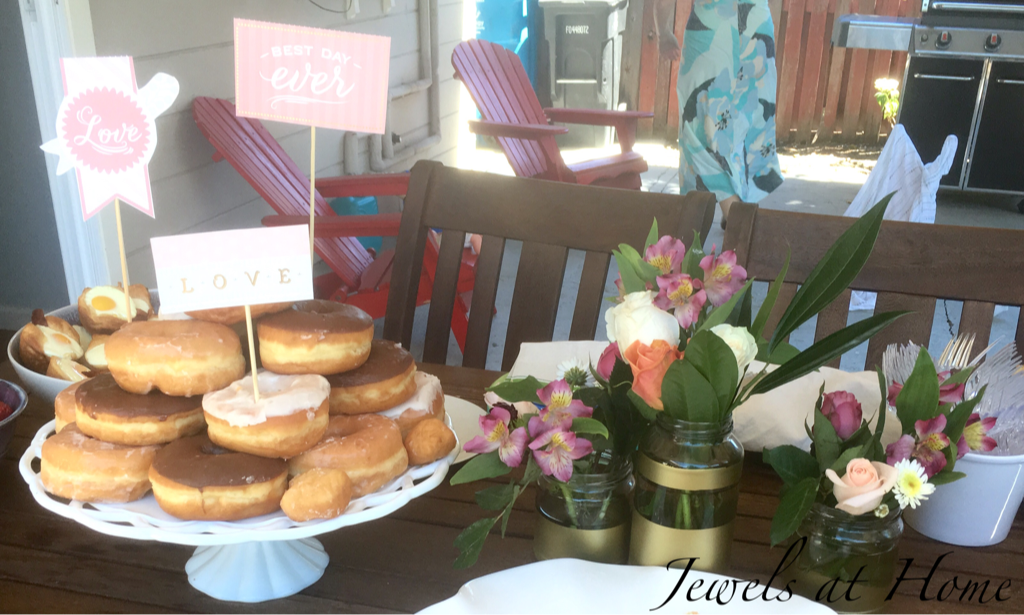
From “trash” to treasures!
I gave most of the vases away as party favors, so the is the only picture I have of one of the diagonal geometric designs (far right).
Of course, now I am seeing beauty throughout my pantry and already have plans for another set of vases!
“Jewels”
Here’s a fun DIY art project that you can customize so many ways. I added names to ours.
And for my sister-in-law’s wedding, I put the bride and groom and their wedding date:
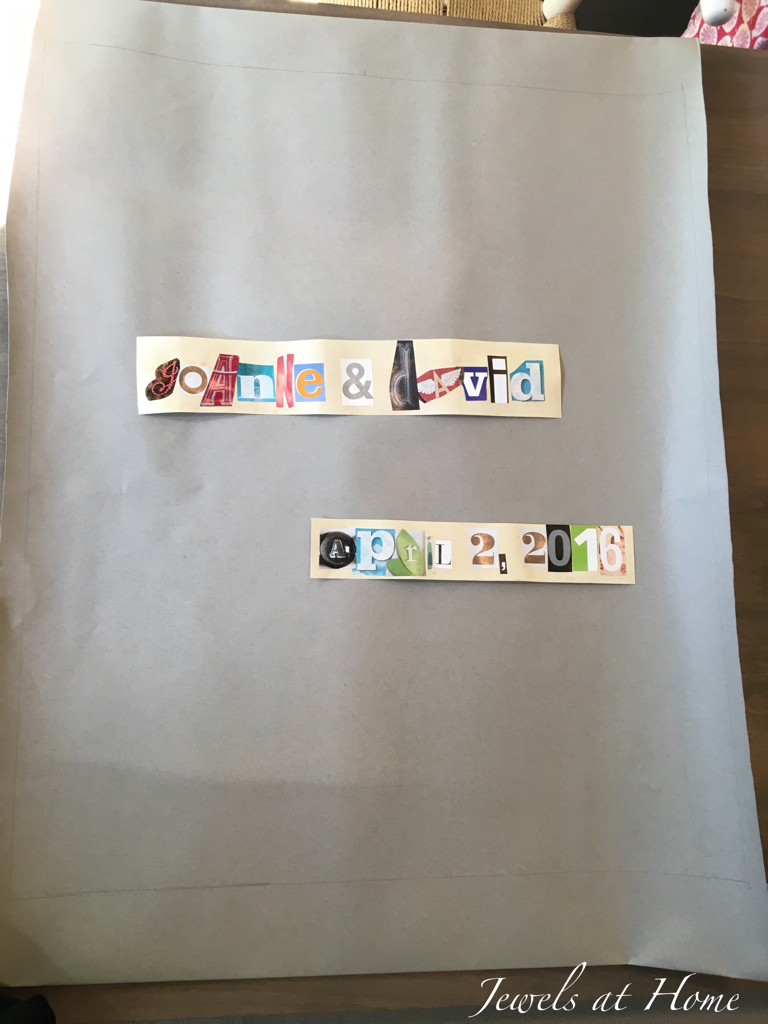
You can get creative and use not just letters but pictures of objects or patterns. Can you spot the keys I used for the letter “I” or the clock for the letter “o”? Depending on the space, I switched up the wording. Variations include:


What other ways would you customize this?
“Jewels”
So, it was just Valentine’s Day and we’re going to Steve’s sister’s wedding in a few weeks, so I’ve been busy searching for the perfect romantic gifts with a handmade touch.
Here are my favorite ideas. I’ve tried some of them and can’t wait to try the rest!

1. Printed pillowcases

I love this and all the other whimsical designs from ZCreate on Etsy, and how perfect that this business is run by a couple!
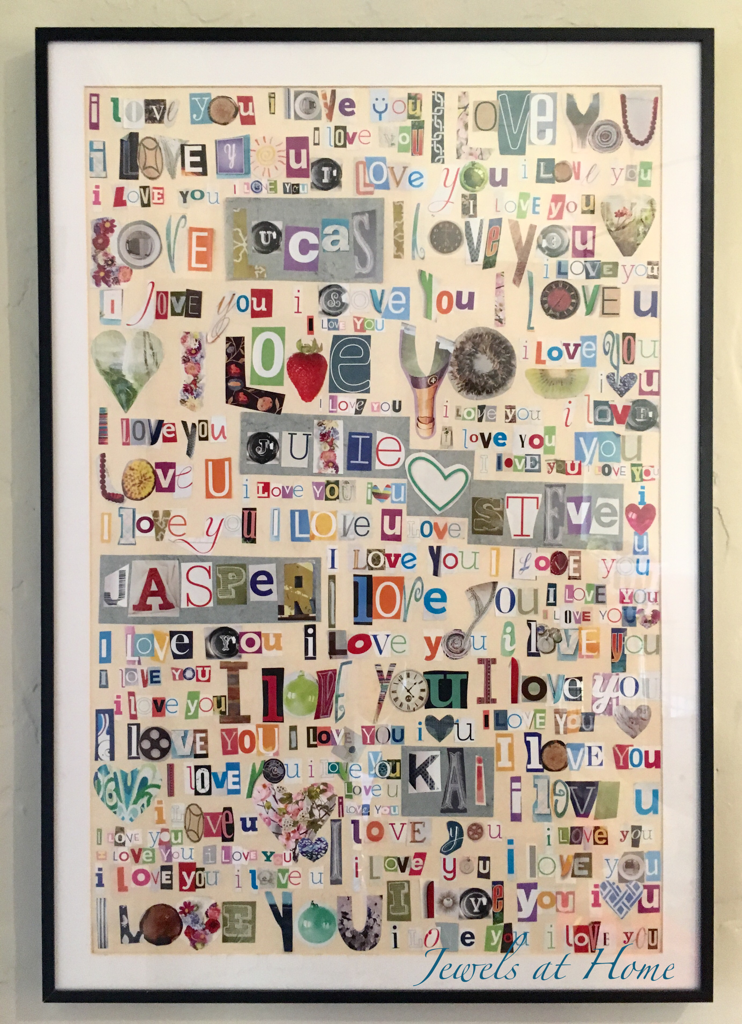
2. “I love you” collage

I made this collage for our family a few years ago. It took a lot of time and work, but it’s not technically difficult, and it’s almost free! You could customize this with a wedding date or other details.
3. A year of dates
 This is what I actually ended up giving Steve for Valentine’s. One activity for each month, some at home and some out on the town, including some local adventures I have been waiting to try!
4. Personalized wine or bar glasses
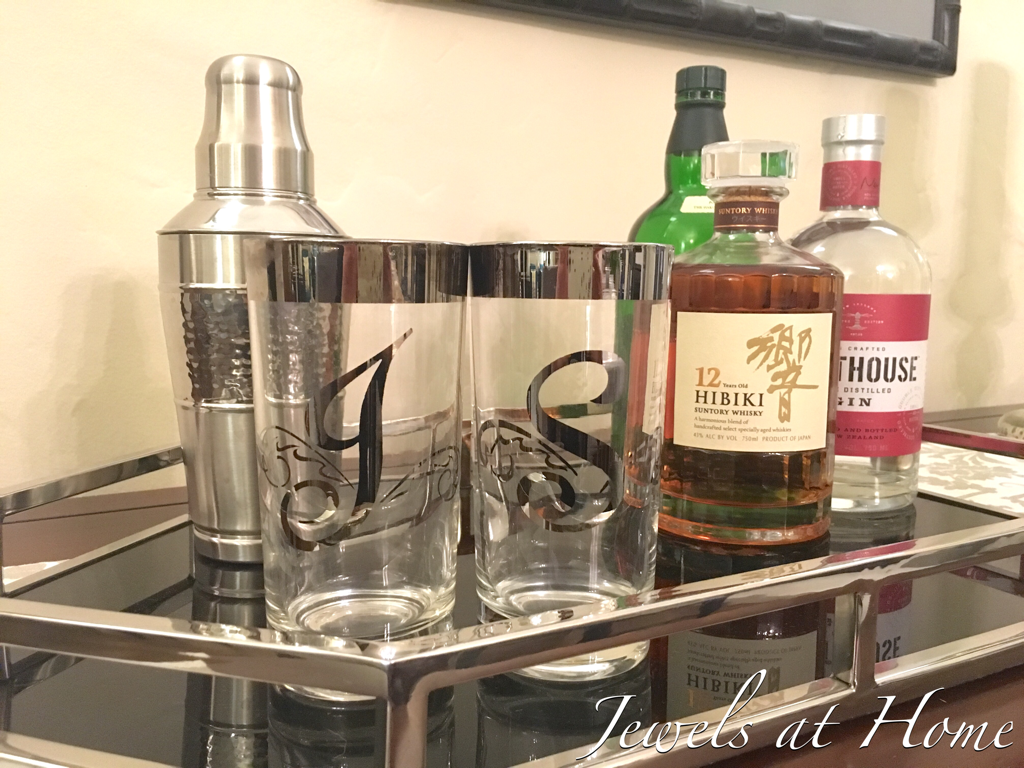
I love these vintage monogrammed glasses I found for our Mad Men party a few years ago. You could also make your own with Glass Etching Cream.
5. Personalized wine labels

What a fun way to personalize a gift of wine, with these milestone labels available from Label the Occasion and other sellers on Etsy. Or design your own and print on blank labels.
7. Message written with paper mosaic
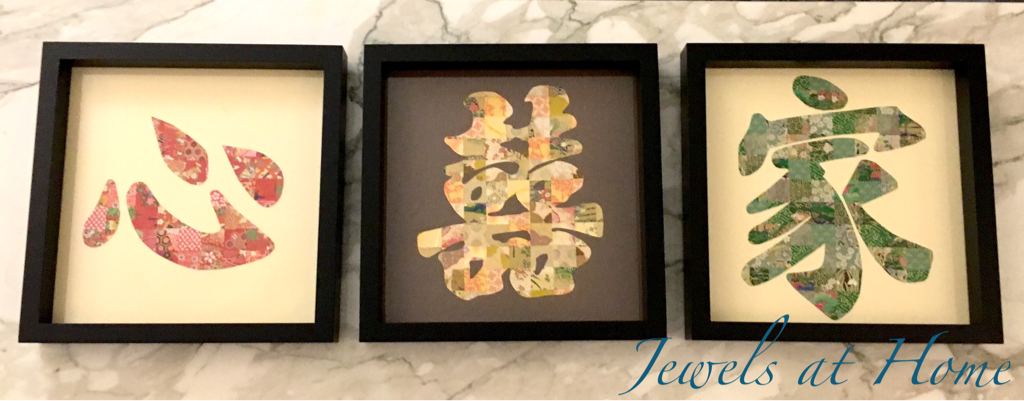
I used Chinese characters (love, double happiness, and family), but you could do this with an English phrase, too. I printed out the template in reverse, glued one inch squares onto the back side of the paper, then cut out the template and glued it on a background.
8. String art heart

You can buy this from Etsy or make your own with some wood, nails, and red embroidery floss. I’ve been wanting to try this for a while!
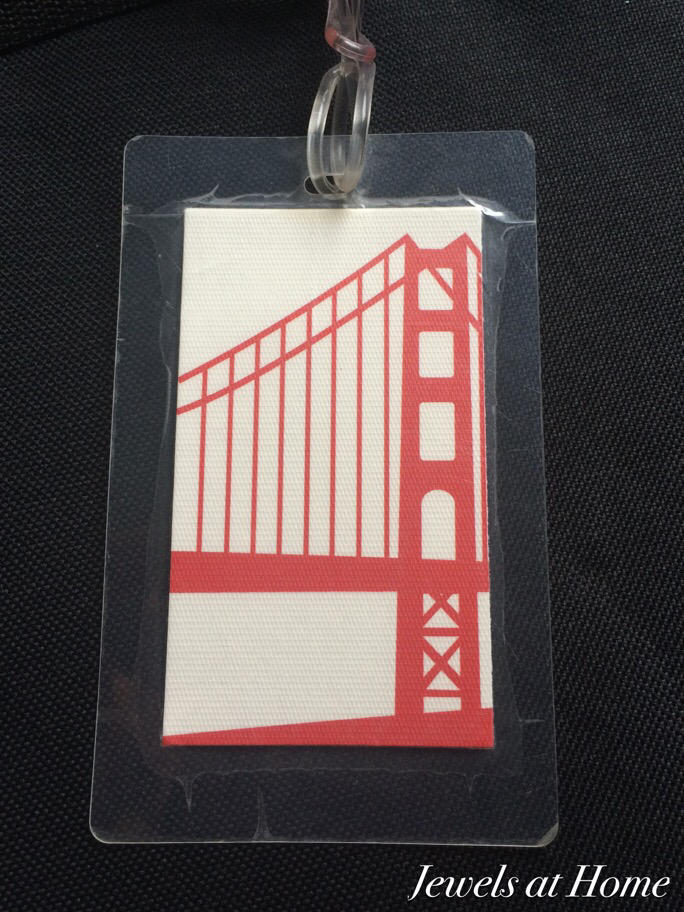
9. Personalized luggage tags

I made these luggage tags and other art projects out of wedding invitations. I found the self-laminating tags here.
10. Framed wedding invitation art

You could also do this with a birth announcement. It’s special way to preserve your friends’ favorite images.
Hope you’re in the mood to create something special for the ones you love!
“Jewels”
It’s wedding season, which also means it is anniversary season!
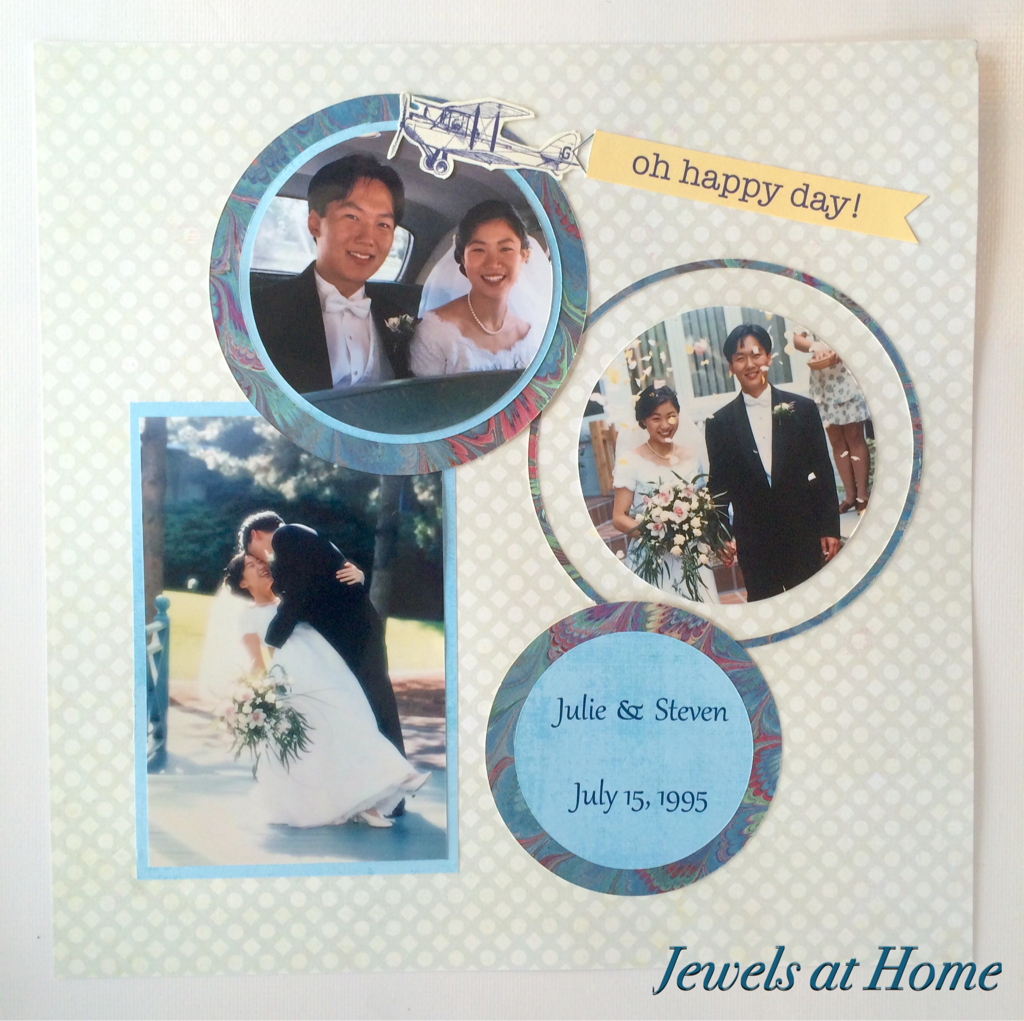
A long-time friend of ours just tied the knot, and I wanted to make something special to help preserve the memories for the happy couple. It’s a perfect time to create something to celebrate Steve and my anniversary, too!
I used pictures from our friends’ wedding announcement to create this simple piece of paper art (I LOVE paper!!). 
 This year is the big 2-0 for me and Steve! Back in the olden days, when we got married, there were no fancy photo cards, but I combined some of my favorite pictures with more fun scrapbooking paper to create this piece of art for our room.
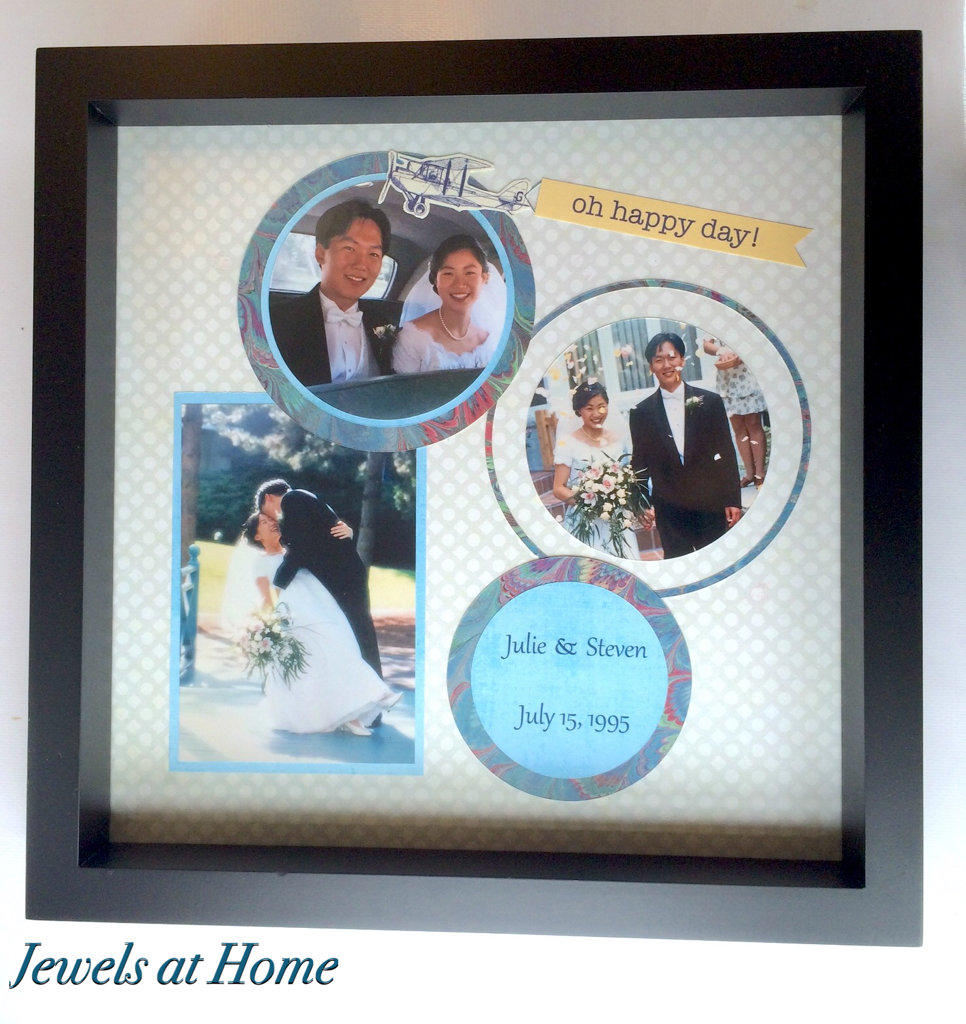
 Another fun project I made using wedding invitations were these luggage tags. Nicola and her husband had stunning custom cards incorporating images of the Golden Gate Bridge and a San Francisco cable car. I repurposed some of them into these luggage tags, which are getting a lot of mileage!

You could apply this idea to other cards, too. One year, I took all the Christmas cards we received and created paper ornaments using the pictures to send back to our friends.
For now, I am looking forward to the next wedding invitation that comes to our mailbox, so I can create a memorable piece of art for someone special!
“Jewels”
