I’m really excited to be a Guest Participant in my first One Room Challenge! This is a great way to get inspiration and motivation for your home. For this challenge, I’ve decided to re-do our kids’ bath. It started out with a cute beach theme that seemed perfect when the boys were little, but now I am ready for it to grow up with them. Our new look features neutral colors, natural touches, and enough personality to stand up to three boys! Thanks for following along!
![]()
Recap:
- In week one, I took this room back to a blank slate, including a new wall color
- In week two, I started adding accessories to make the room functional again
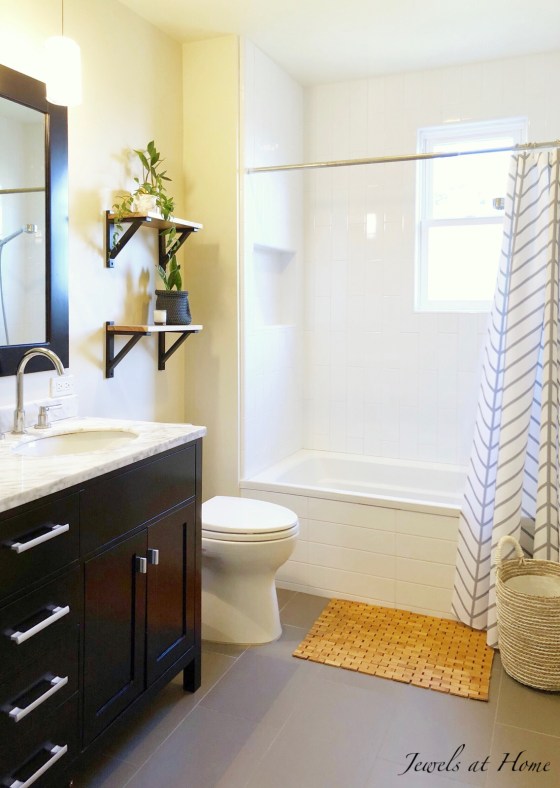
- In week three, I built wall shelves to create storage and display space
- In week four, I added whimsical printed artwork
- In week five, I personalized towels for the boys
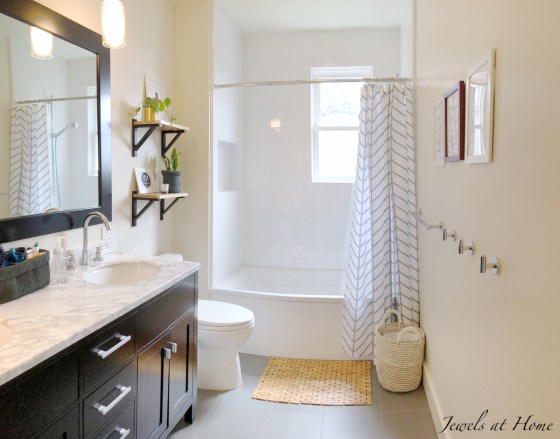
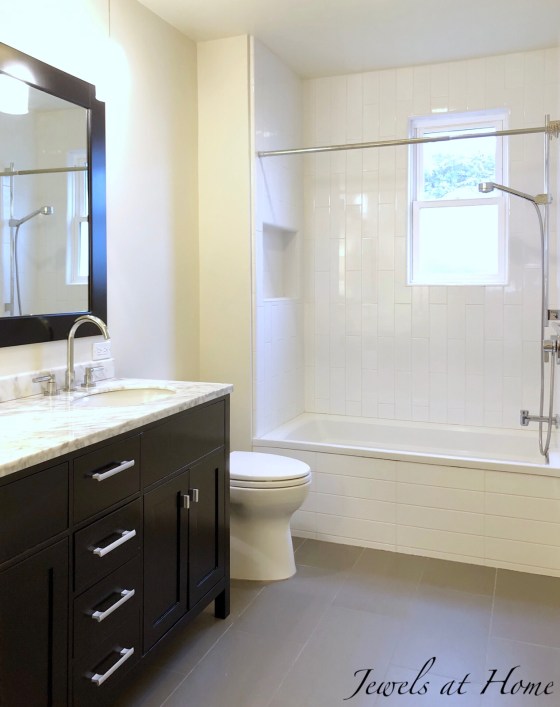
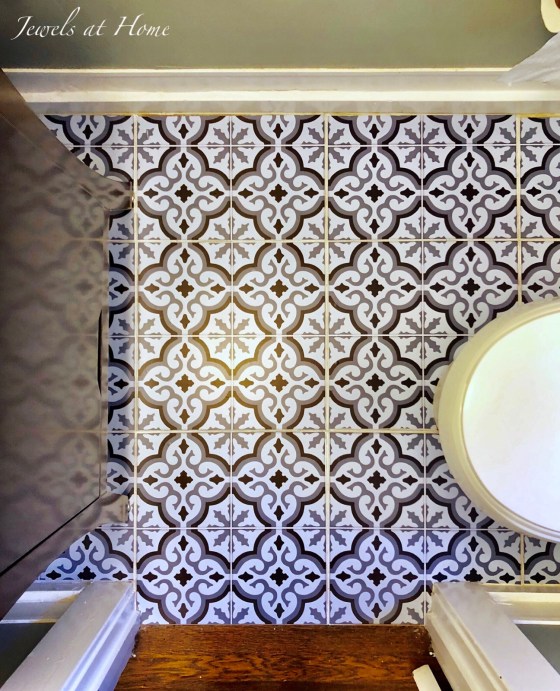
Have you noticed that I’ve only been taking pictures of this bathroom from one side? Yes, it’s a small room, but I’m not too proud to stand in the bathtub or behind the toilet to get a good picture, like when I redecorated our master bath or our powder room! The reason I’ve been taking pictures from just one side is that one of the pendant lights over the vanity was broken, and both of them were originally hung too high. Finally, almost seven years after we renovated this bath, I’m finally really happy with the pendant lights.

As you know, I’m not afraid to use power tools, like when I made the DIY shelves for this project or built these plant stands. But, I am a little afraid of electricity. Steve helped me out and hung the new lights from West Elm. They look great with these LED Edison-style bulbs!

Speaking of that, let’s talk about light bulbs! I wanted the vintage Edison-style light bulbs, but there was a bit of trial and error to get the right ones. These were the third set I ordered… I’m used to looking at the wattage, which tells you how bright the light will be, but I forgot to look at the Kelvin, which tells you how “warm” or “cold” the light will be. I started out with 5000K, which was a very bright white that didn’t feel quite natural in the space. I then (accidentally) bought 2200K bulbs, which are very warm amber-colored. I finally found these bulbs in 3000K, and the light is just right (I am feeling a bit like Goldilocks, here!).
This chart from the LED Exchange is helpful for understanding Kelvin:
Links to the products and DIY projects I used in this room are at the bottom of the post.
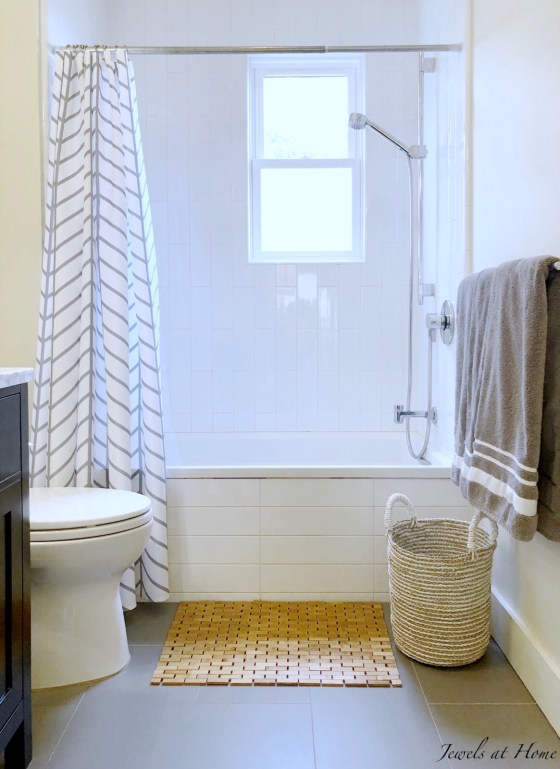
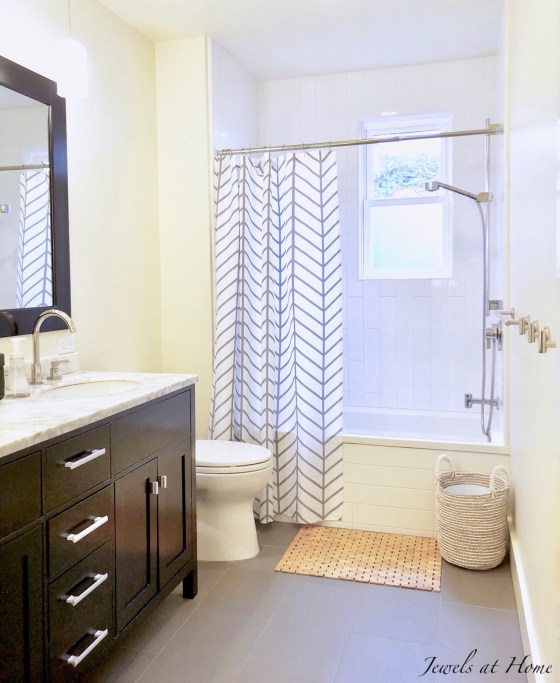
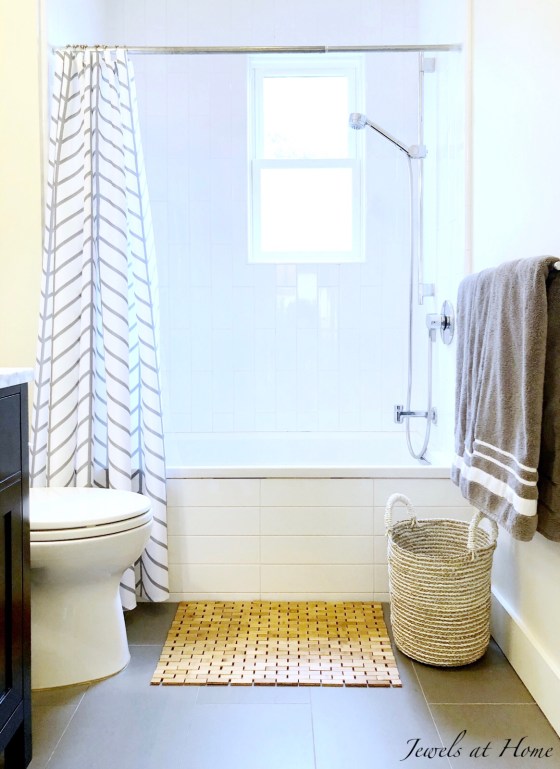
And without further ado, here are some more pictures of our finished space!


- Bamboo bath mat – Amazon
- Gray herringbone shower curtain – Cafe Press
- Floor basket – World Market
- Crocheted storage basket – Amazon
- Wall shelf brackets – Ikea Ekby Valter
- Hello Handsome artwork – Etsy
- Funny bathroom artwork – Etsy
- PDF Swiss cross: swiss cross
- Alternate “Hello Handsome” sign: Hello Handsome
- Solid grey towels – Amazon
- Pendant lights – West Elm
- Edison light bulbs – Amazon
- DIY metallic planter
- DIY marble planter
A huge thank you to Linda for creating the One Room Challenge community, and high fives to all my fellow bloggers whose hard work and creativity were great inspirations! Be sure to go back to the One Room Challenge page to check out all the other projects!
I’m already thinking about the fall challenge and wondering what room I will redecorate!
“Jewels”