The Spring One Room Challenge has been just the motivation I need to decorate our bedroom addition! And the most important project is, of course, the bed! I love customizing furniture – remember my DIY built-in shelves or the DIY … Continue reading
The Spring One Room Challenge has been just the motivation I need to decorate our bedroom addition! And the most important project is, of course, the bed! I love customizing furniture – remember my DIY built-in shelves or the DIY … Continue reading
I seriously love the One Room Challenge. It’s just the motivation I need to finish off projects, and the community is always really positive. I love finding new accounts to follow for inspiration and encouragement! I’ll link my prior ORC projects at the end of this post.
This Spring, I’m going to be decorating a new bedroom addition we built last year. It’s going to be a room for our oldest, when he’s home, and also serve as a guest room or lounge!
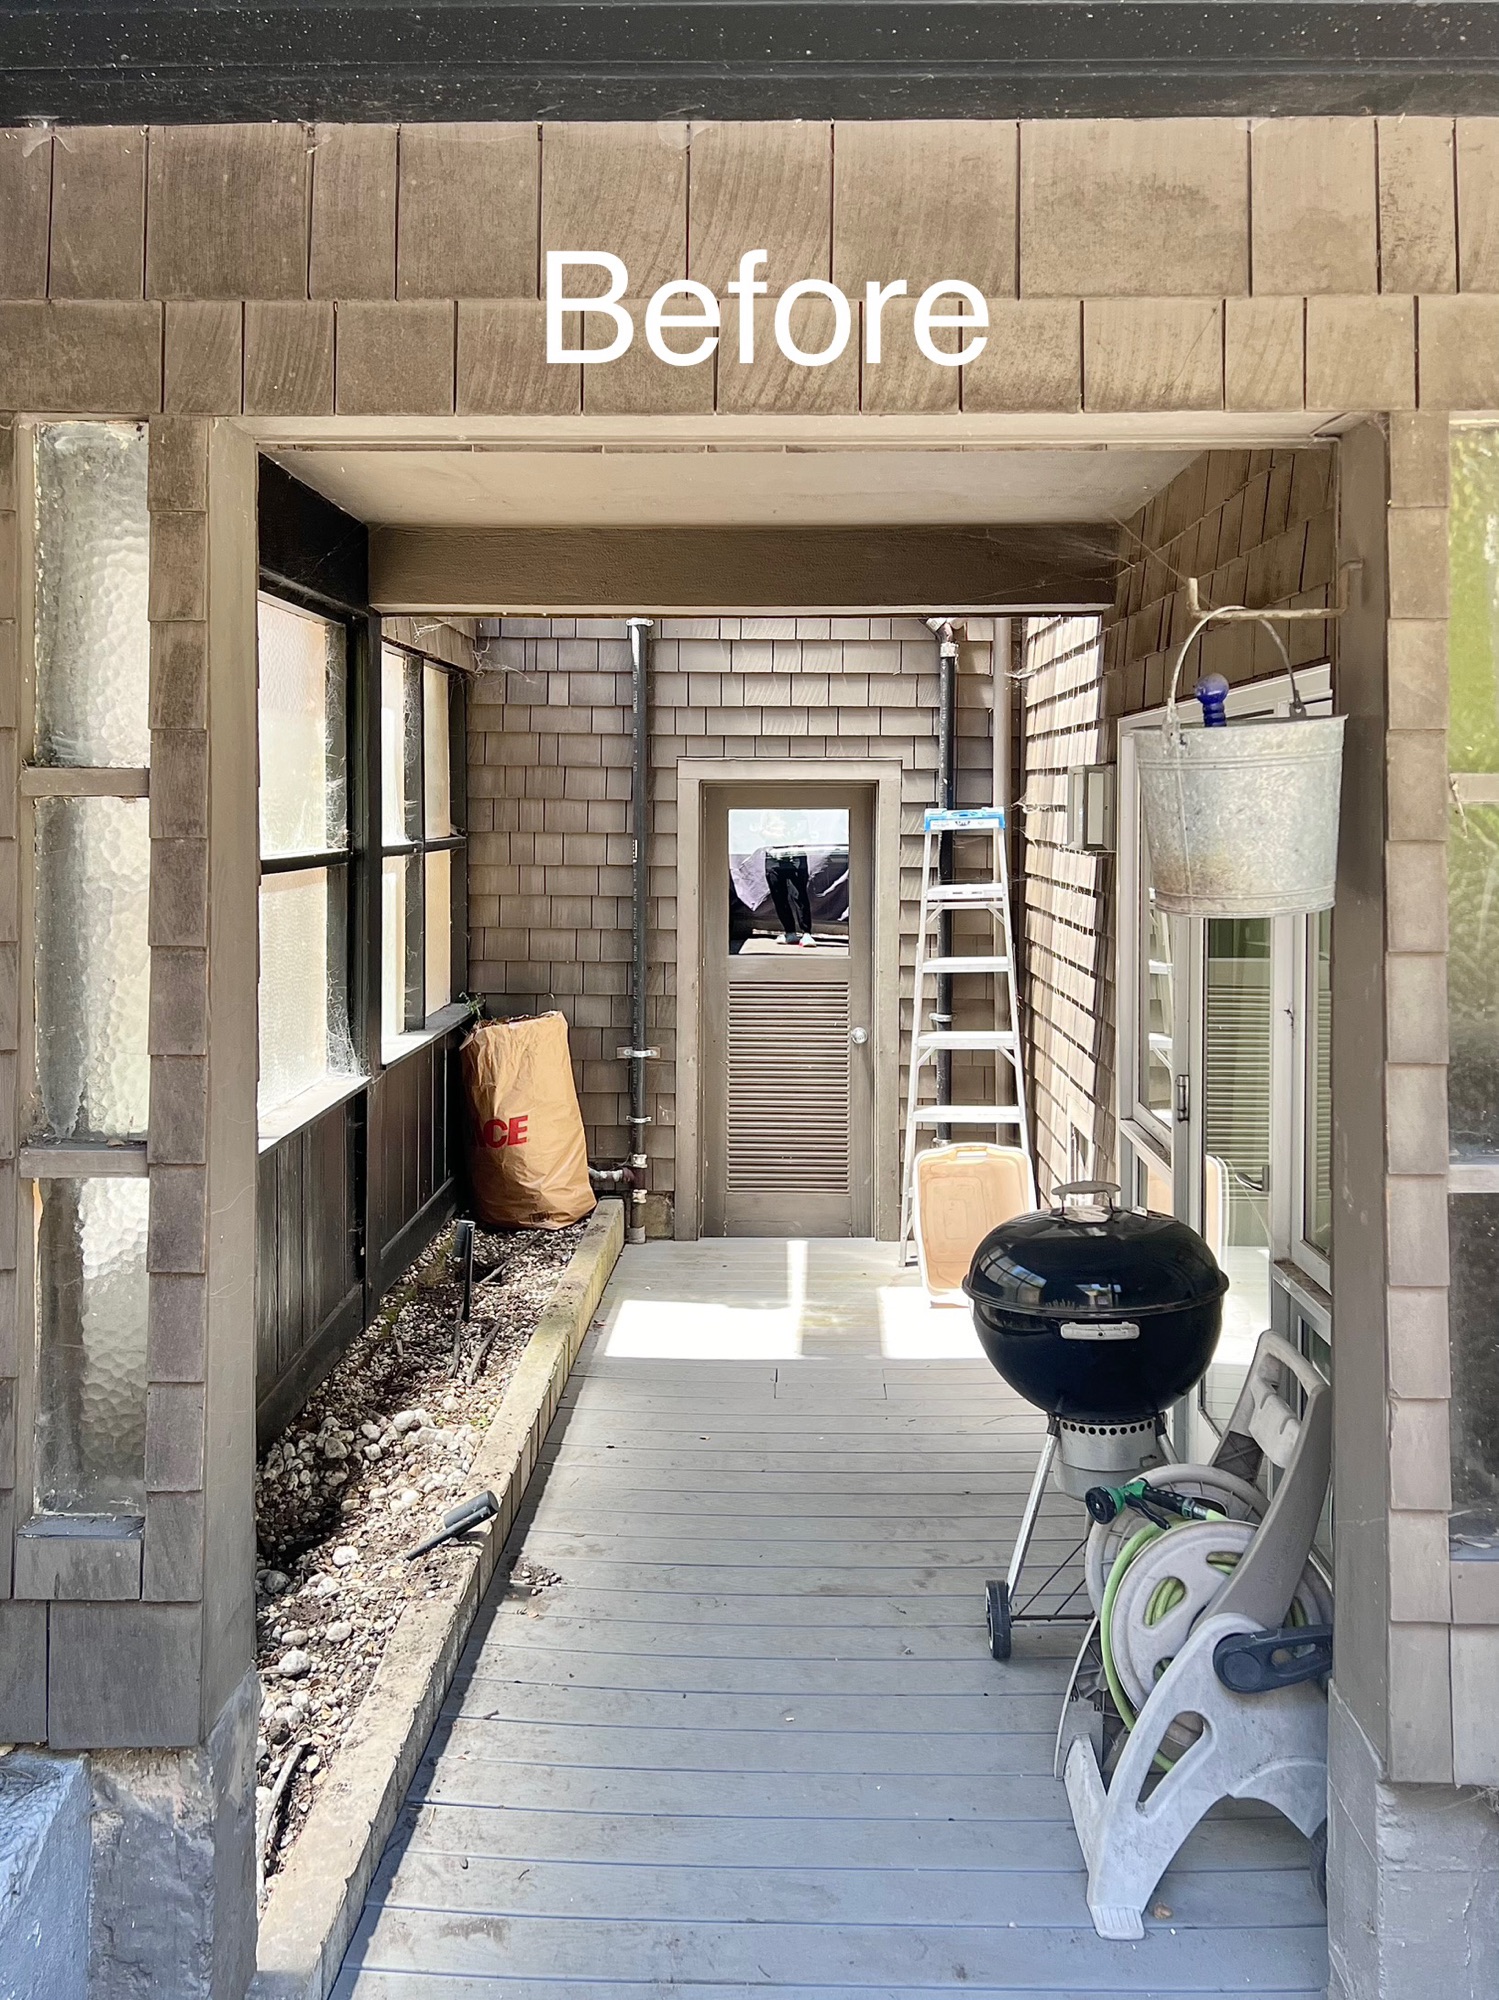
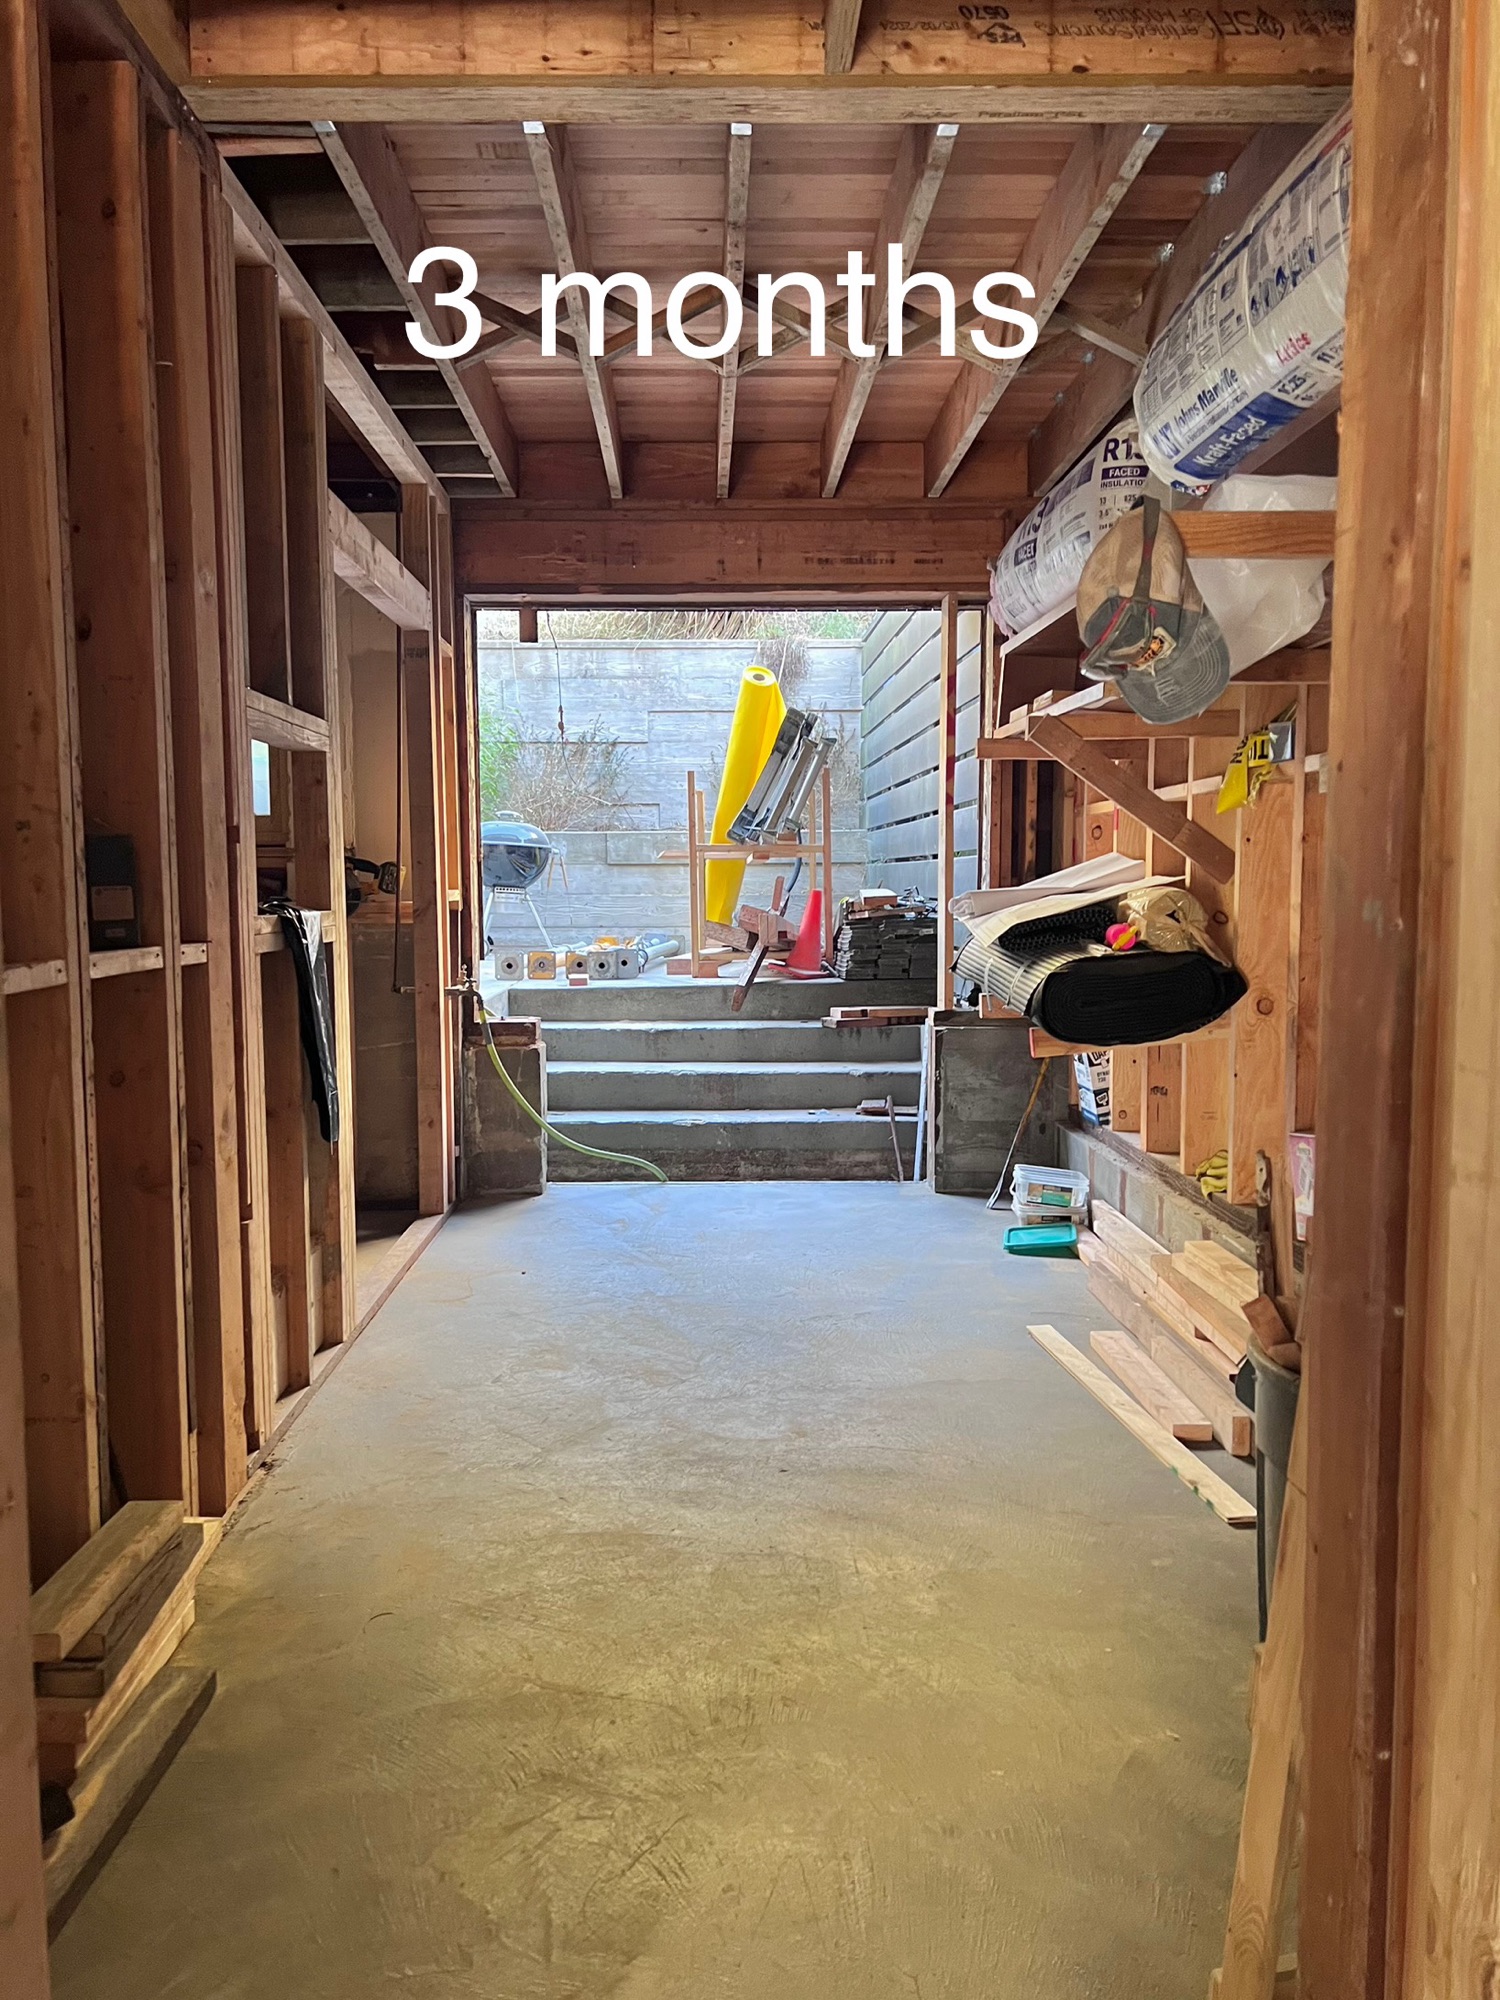
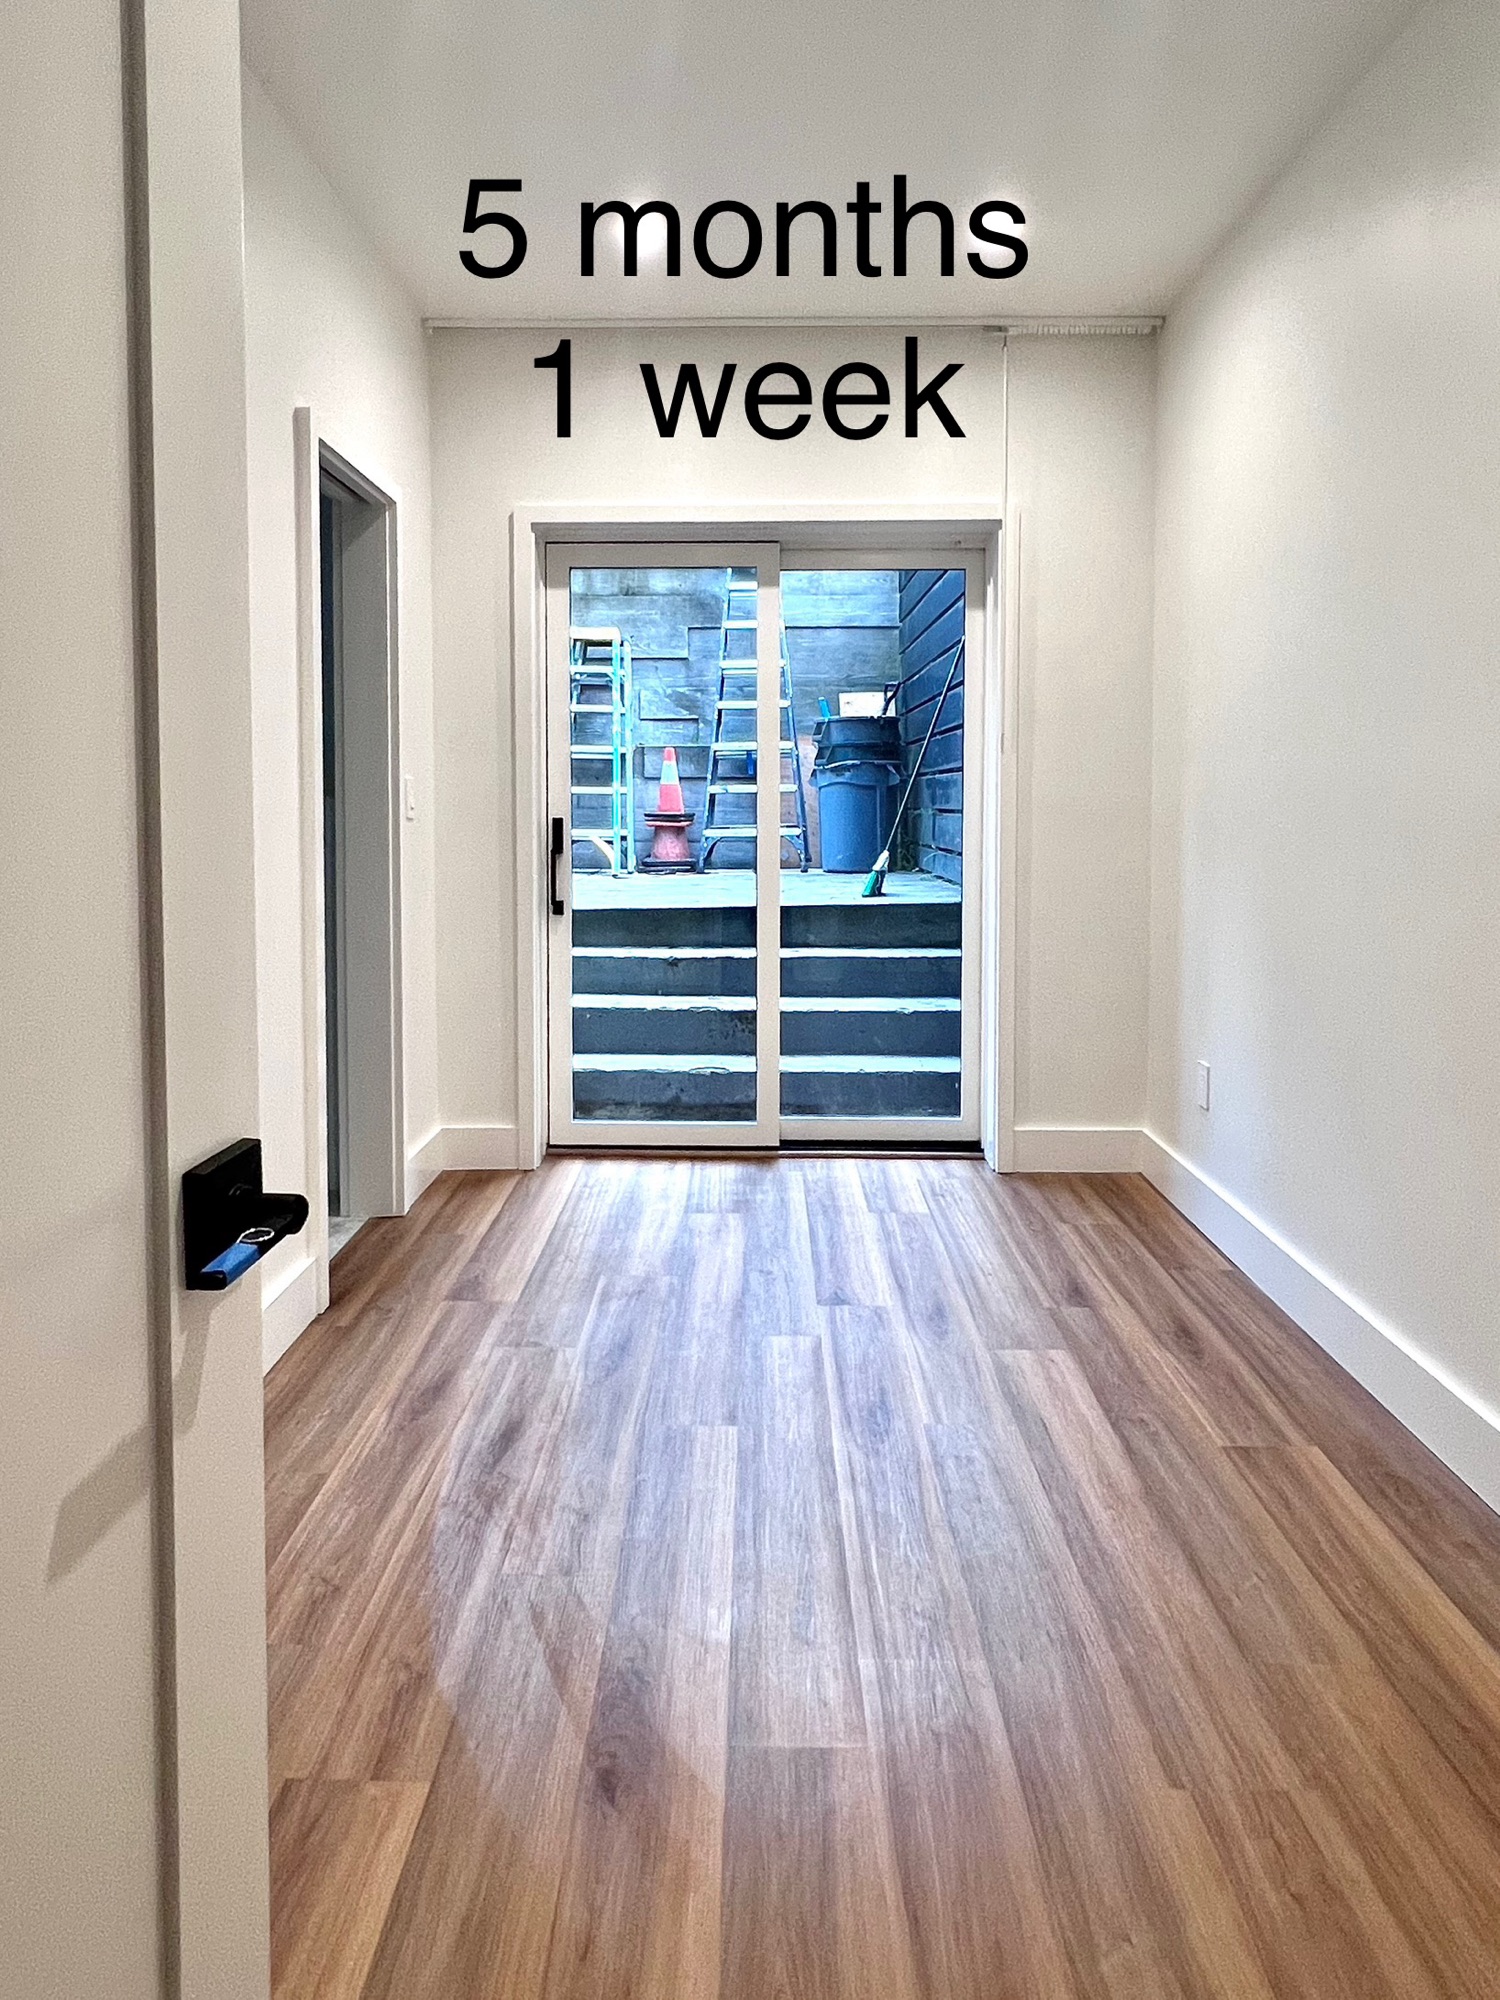
I can’t take credit for the construction work, but I will take credit for the inspiration – I very literally had dreams about finding space for just one more room in our house, to accommodate our family of five, with regular visits from my dad. After turning ideas around and around in my head, I figured out that we could enclose a little unused patio and reconfigure the adjacent rooms to make a new bedroom and bathroom. Some of us lived through the months of noise and dust, but you can just enjoy the pictures!

The result is a small bedroom and bathroom that make a big change to how we live in our house. While I couldn’t give our oldest a lot of square footage, I wanted to give him a lot of style and function in this cozy space. I got design inspiration from a lot of places, but my biggest inspirations were Designer Timothy Whealon’s living room featured by New York Social Diary and the Woodlark Hotel in Portland, where we enjoyed a stay a couple of years ago.


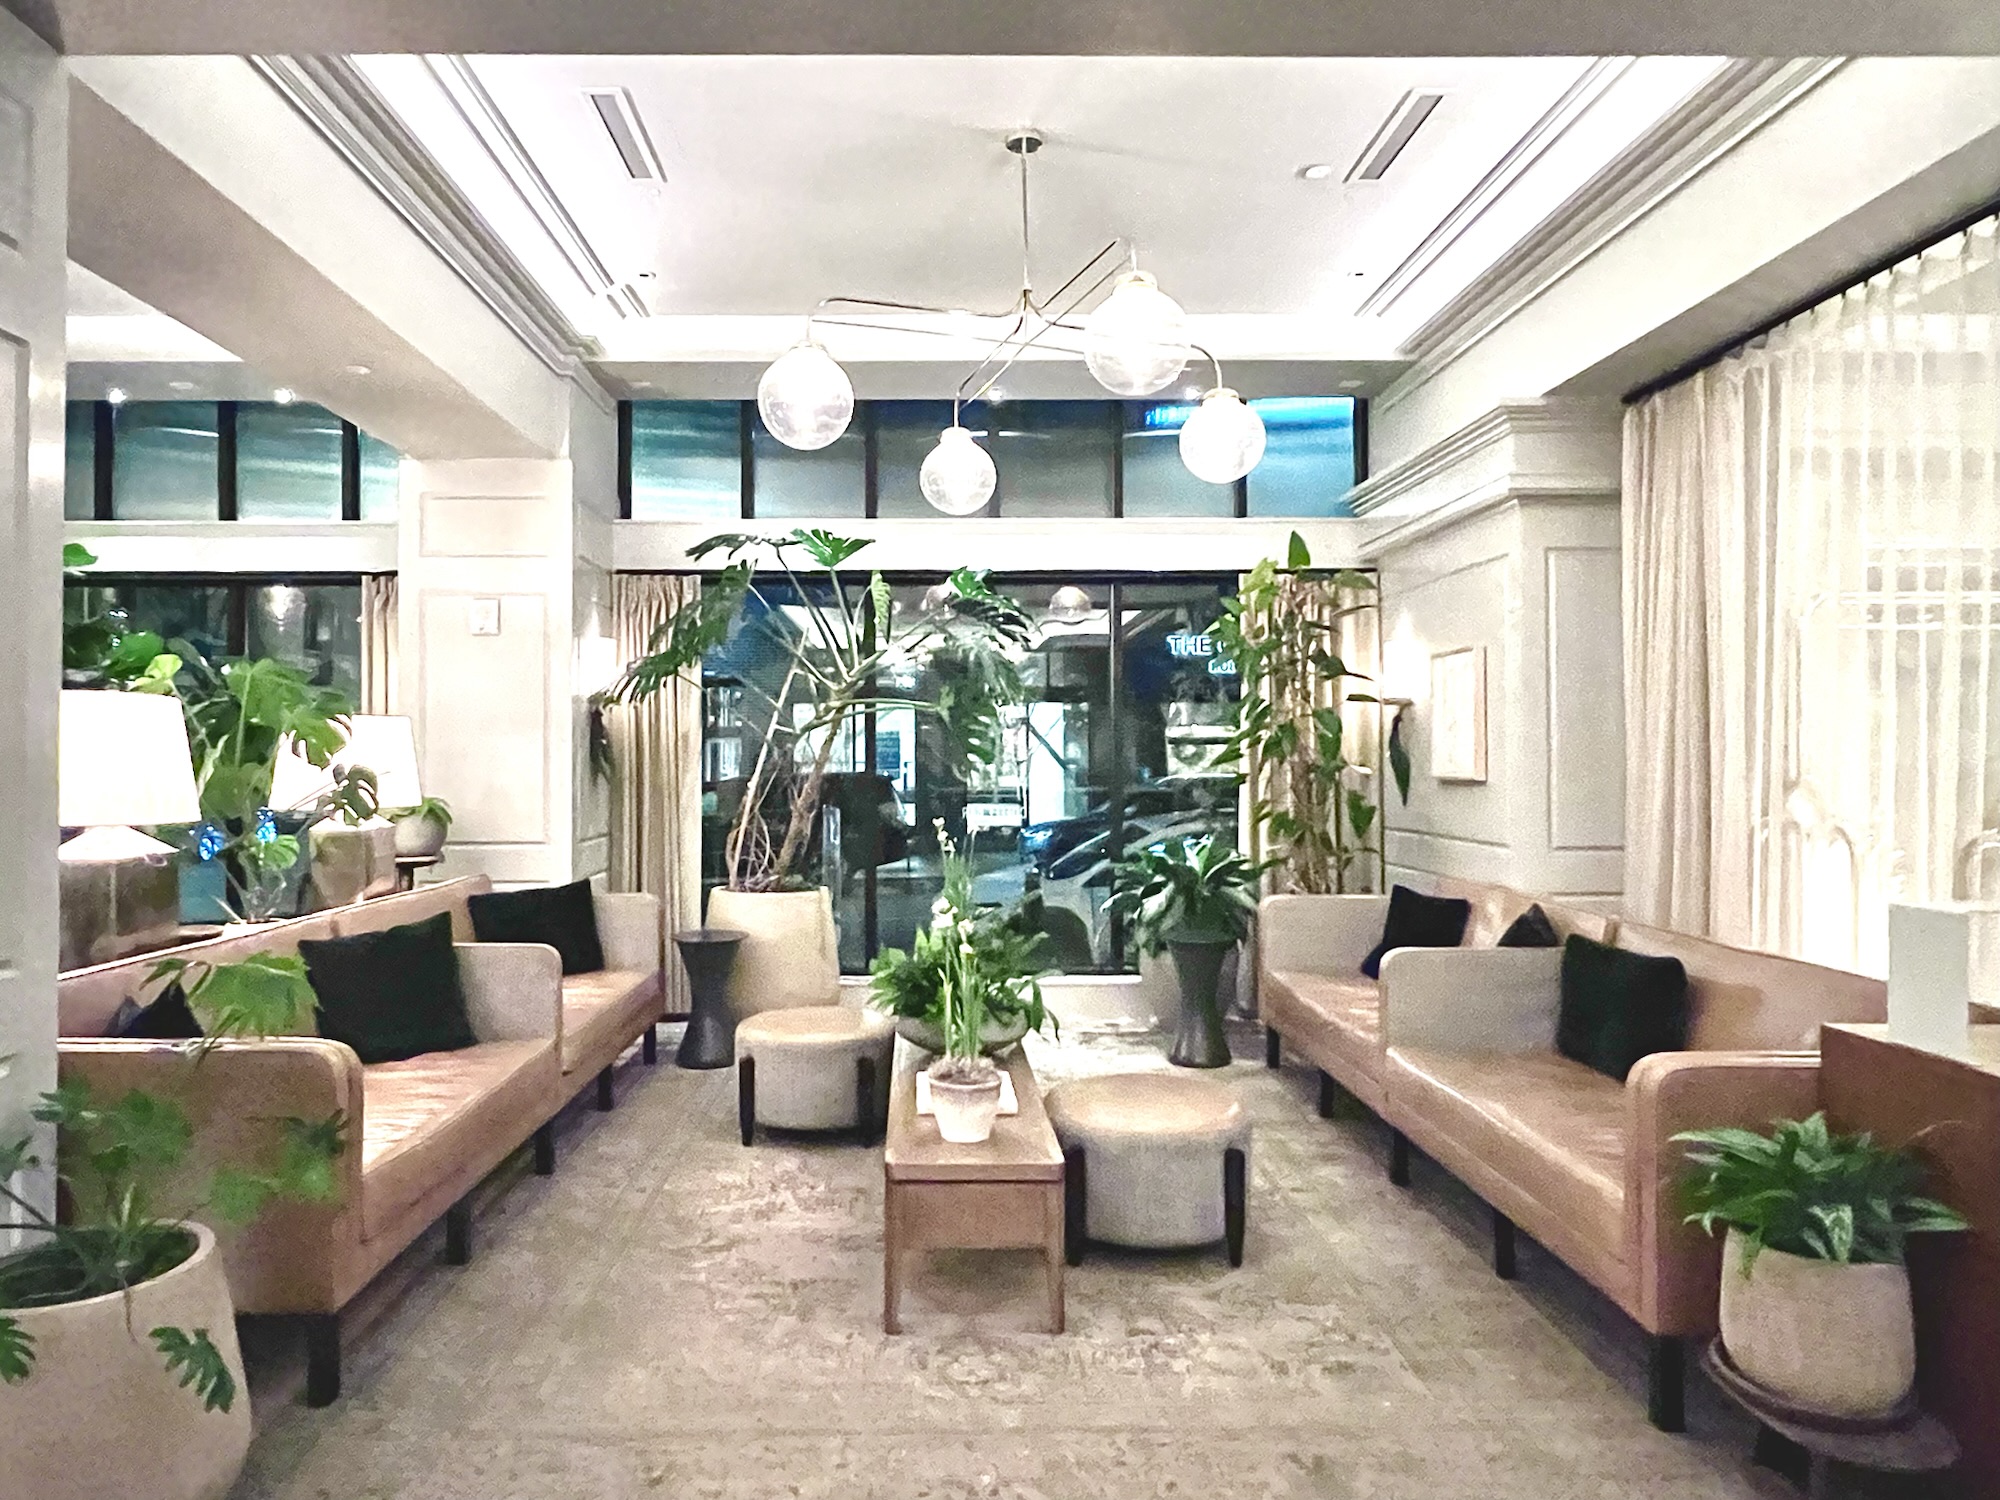

When I find a space that really inspires me, I try to describe the key elements, like a recipe, to help me recreate it. And when I am looking at a few spaces, I try to find the common elements that I love. For this project, I was drawn to:
I’m so excited (and nervous!) to tackle this project – hope you’ll follow along!

You can see all the other fun room transformations on the One Room Challenge website!
Julie AKA “Jewels”
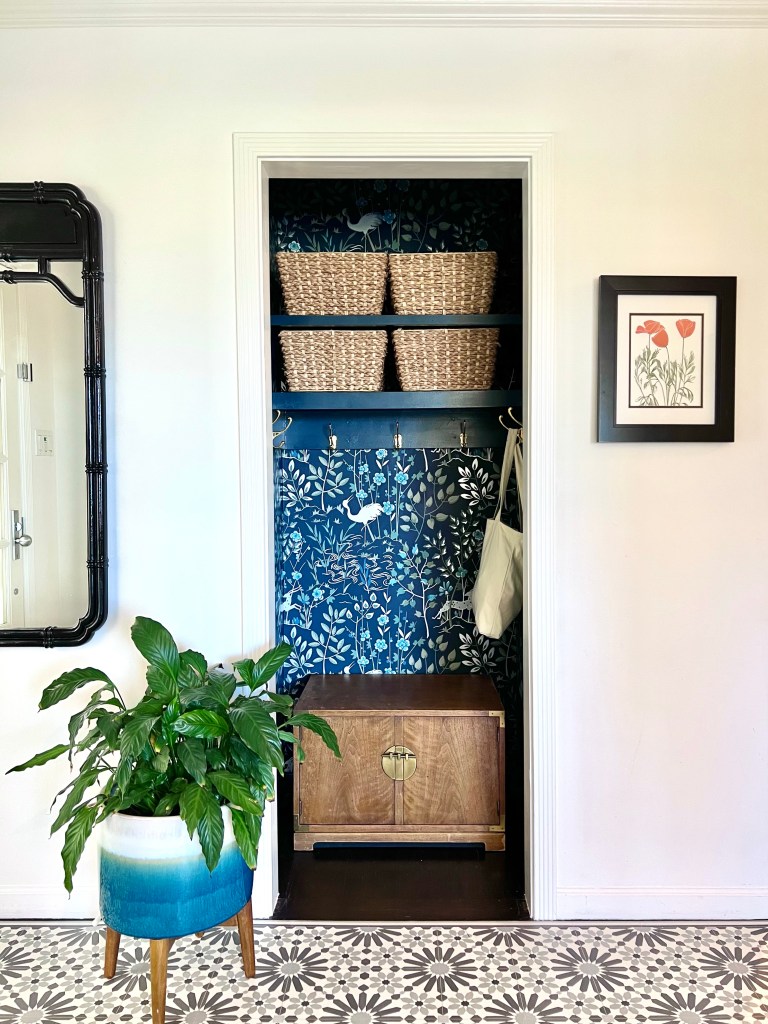
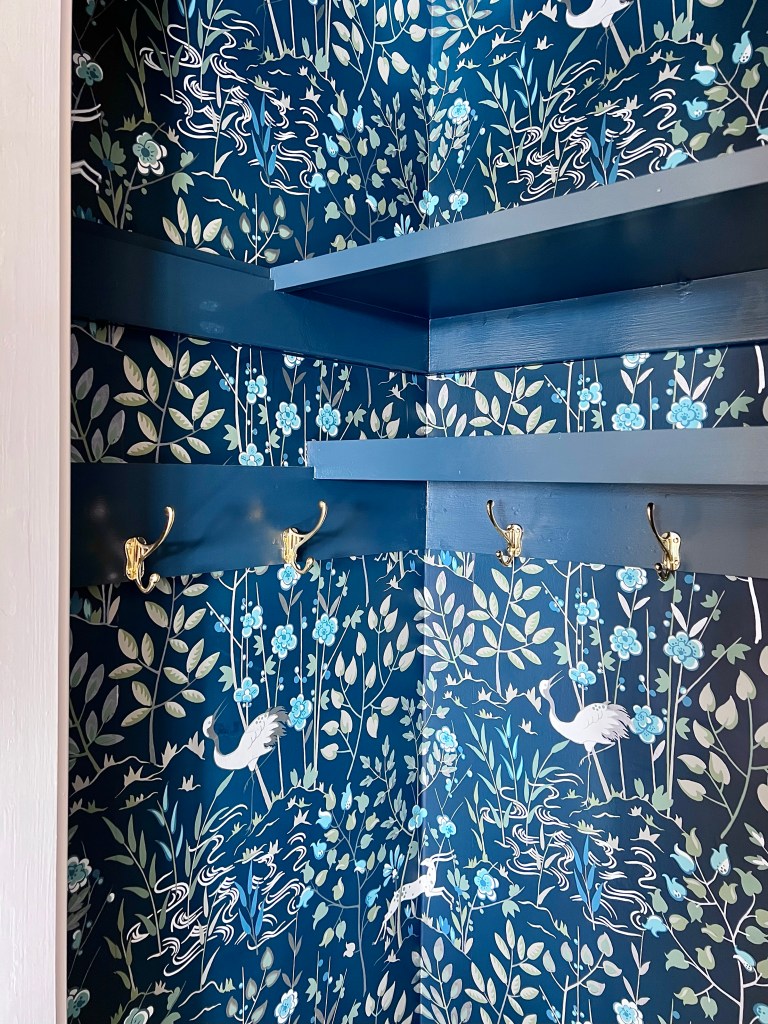
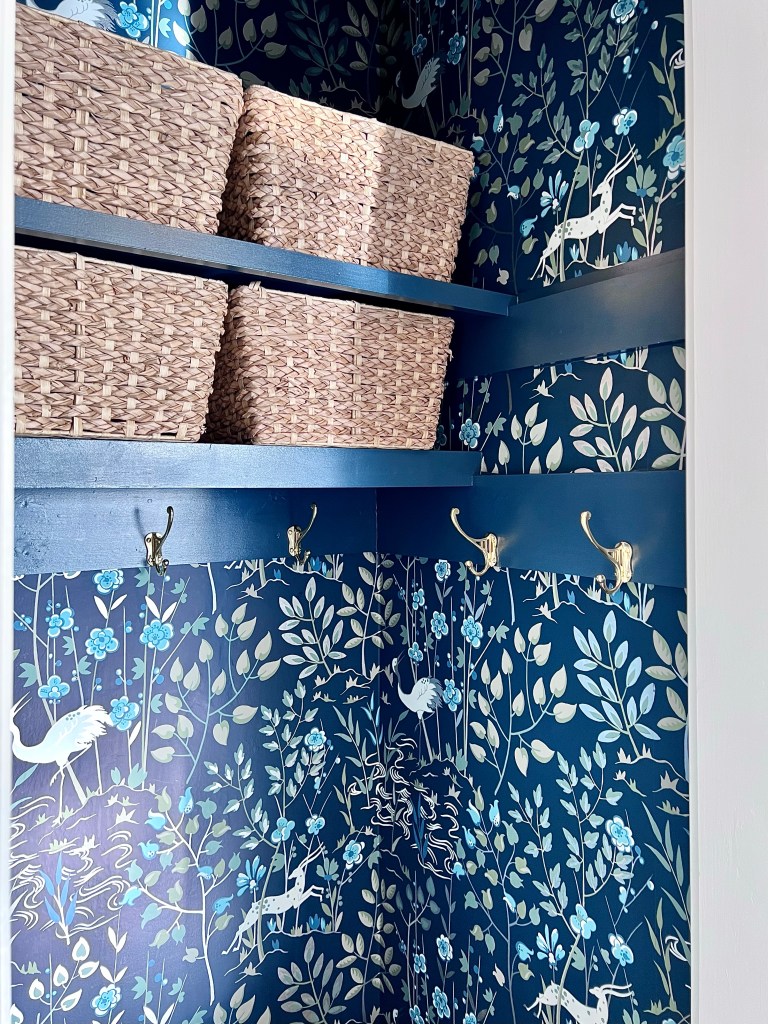
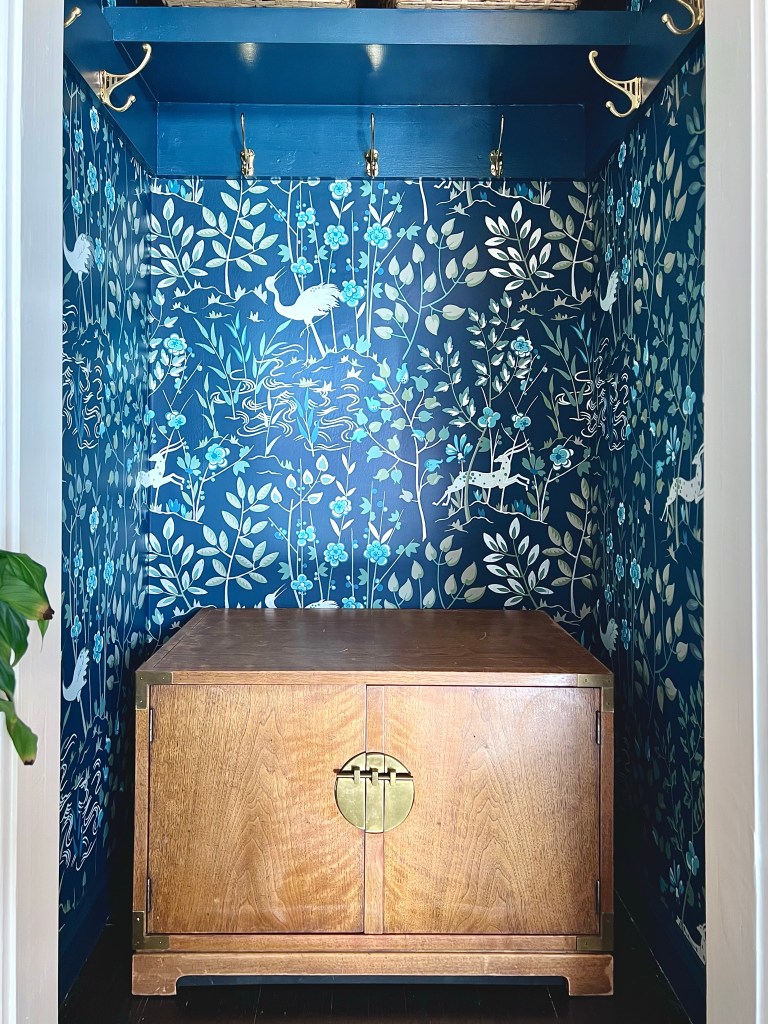
I’m excited to wrap up the One Room Challenge. It’s such a great way to motivate yourself to work on projects, and the community is already inspiring and positive. To remind you, I took this opportunity to turn our small, plain entry into a welcoming space that added function and style. I’m happy to say, mission accomplished!
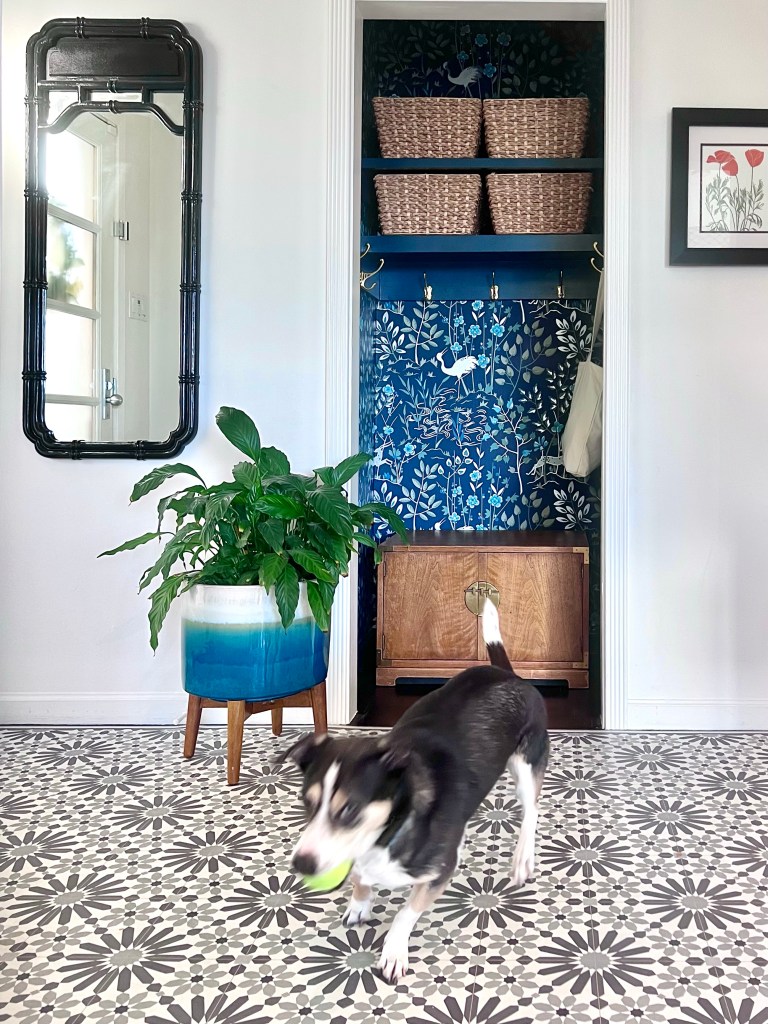
You can see details on my choices and process in the posts from previous weeks. Here are some more pictures of the finished space!


Thank you so much to the One Room Challenge team and Apartment Therapy for a great event! It’s a great motivator and the most positive community. I’m already considering a project for the fall challenge…
You can head over to the One Room Challenge site to see some more room transformations!
Julie AKA “Jewels”
I’m really excited to be a Guest Participant again in the One Room Challenge! This is a great way to get inspiration and motivation for your home. This spring, I re-decorated our boys’ bathroom. For this fall’s challenge, I’m transforming our teen’s … Continue reading
I’m really excited to be a Guest Participant again in the One Room Challenge! This is a great way to get inspiration and motivation for your home. This spring, I re-decorated our boys’ bathroom. For this fall’s challenge, I’m transforming our teen’s bedroom. His new space is inspired by an industrial loft, with an exposed brick wall and other great features! Thanks for following along!
![]()
Kai is a quiet kid who doesn’t share much or ask for much. When the boys wanted their own rooms last fall, he ended up in my former craft room, and I made very few changes when I moved him in, other than adding a bed. Although he does not ask for much, he does show his appreciation, and I was excited to do something special for him, before he goes off to college in a few more years – sniff, wah!
I know how fast they grow, so I wanted an adult space, where we could add a few personal touches. I also imagine that some day, I’ll gain this room back as a craft studio, so I kept all that in mind in choosing a simple loft-inspired design scheme. There are vintage, industrial, and hand-made touches that will allow this space to endure and adapt to our family in the years to come.

Image sources:
Are you as excited as I am?!
I created my design plan the way I usually do, looking for inspiration spaces and then identifying the elements and themes that I want to incorporate into our home. The Design Cookbook has more details on how you can use this approach to create spaces you love!
Here are two of my inspiration spaces for this project. I could not find an original source for the first picture, so please let me know if you find it, so I can give credit!
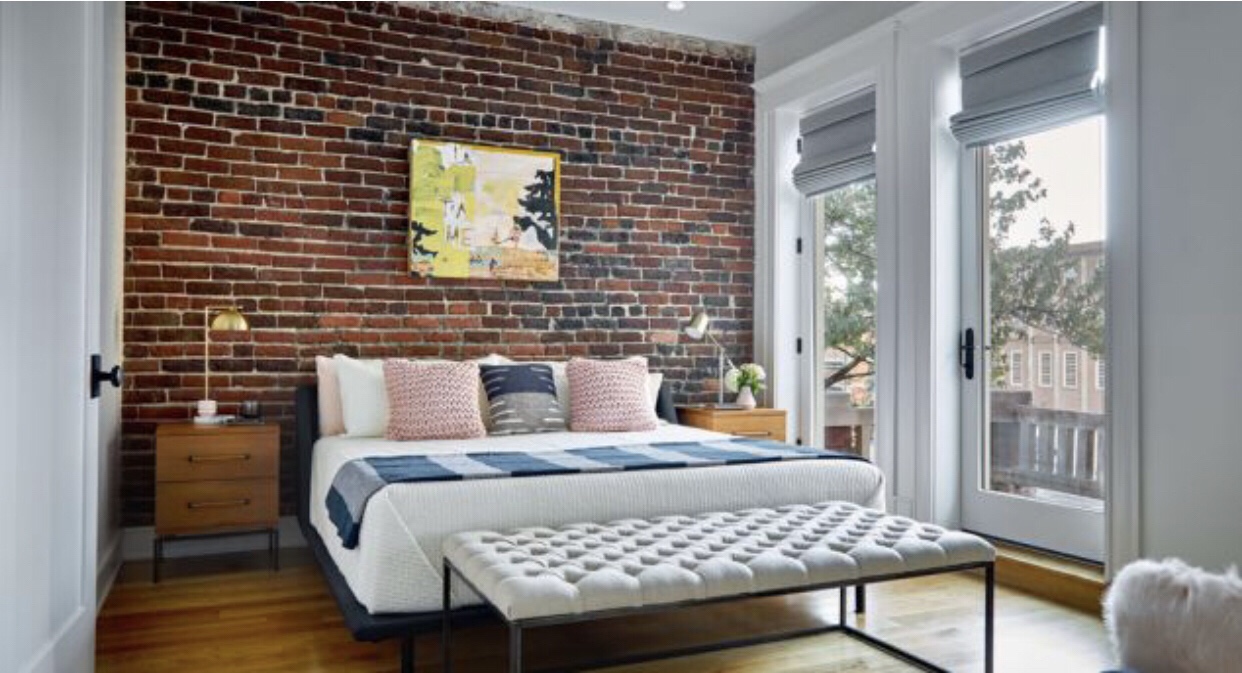
This second room was featured on the Street Easy blog.

The features I loved in both of these spaces – and that I knew I wanted to recreate – are:
I’ve done a little bit of sourcing and preparation already, but there is a lot of work left to do in the next five weeks! I can’t wait to share all the projects and see the final space!
A huge thank you to Linda for creating the One Room Challenge community, and high fives to all my fellow bloggers whose hard work and creativity were great inspirations! Be sure to go back to the One Room Challenge blog and check out all the other projects!
Julie aka “Jewels”
I’m really excited to be a Guest Participant in my first One Room Challenge! This is a great way to get inspiration and motivation for your home. For this challenge, I’ve decided to re-do our kids’ bath. It started out with a cute beach theme that seemed perfect when the boys were little, but now I am ready for it to grow up with them. Our new look features neutral colors, natural touches, and enough personality to stand up to three boys! Thanks for following along!
![]()
Recap:
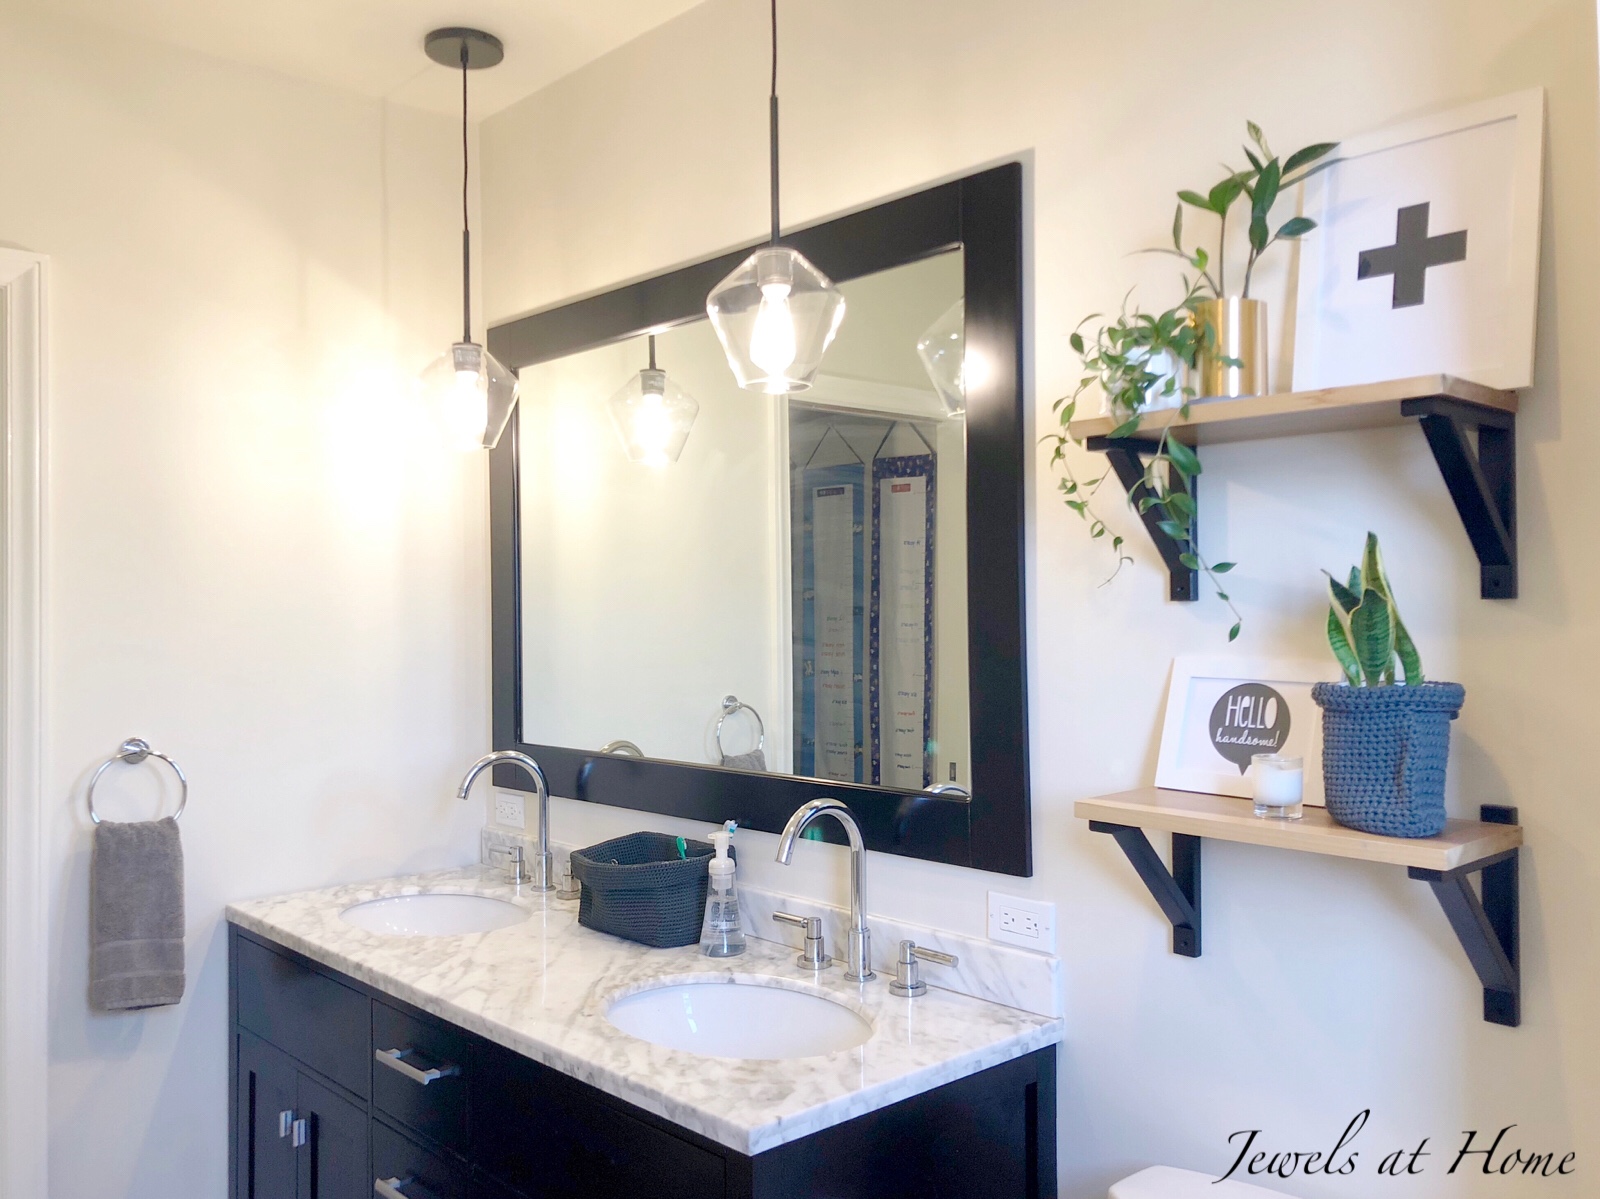
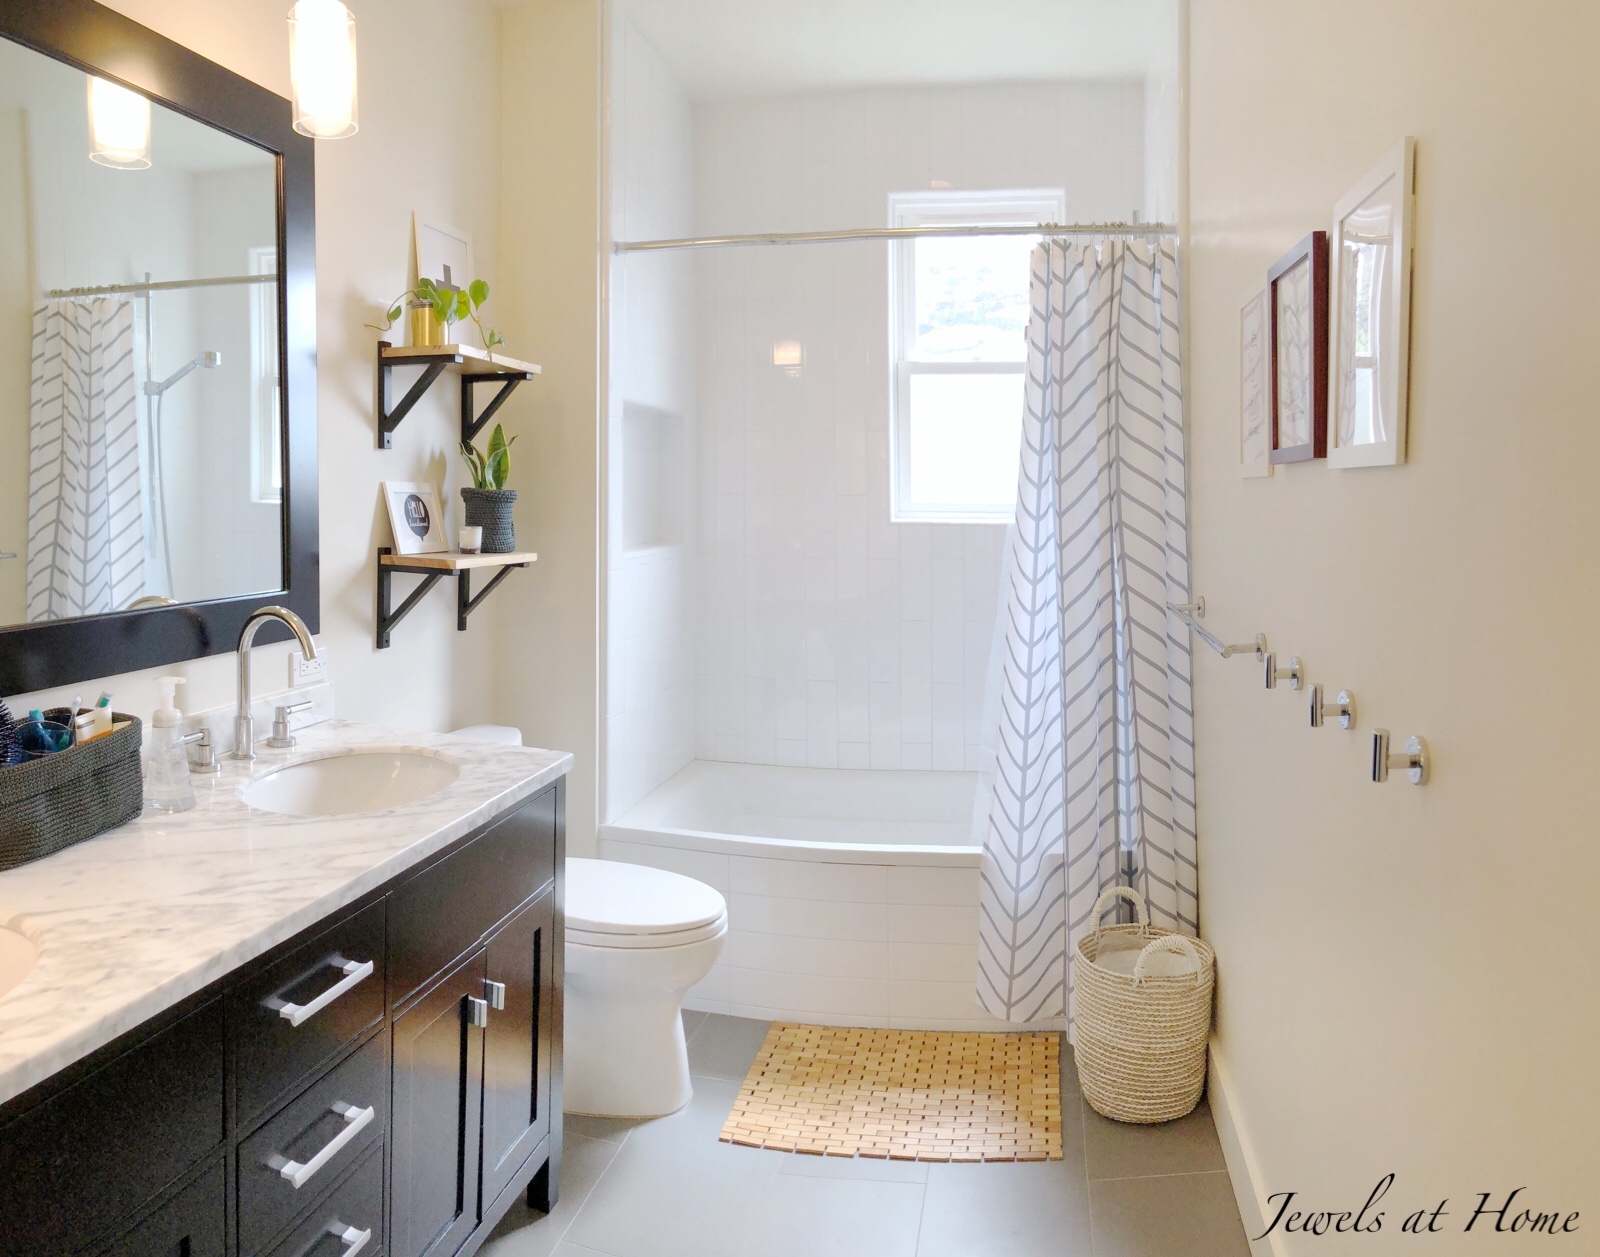
Have you noticed that I’ve only been taking pictures of this bathroom from one side? Yes, it’s a small room, but I’m not too proud to stand in the bathtub or behind the toilet to get a good picture, like when I redecorated our master bath or our powder room! The reason I’ve been taking pictures from just one side is that one of the pendant lights over the vanity was broken, and both of them were originally hung too high. Finally, almost seven years after we renovated this bath, I’m finally really happy with the pendant lights.

As you know, I’m not afraid to use power tools, like when I made the DIY shelves for this project or built these plant stands. But, I am a little afraid of electricity. Steve helped me out and hung the new lights from West Elm. They look great with these LED Edison-style bulbs!

Speaking of that, let’s talk about light bulbs! I wanted the vintage Edison-style light bulbs, but there was a bit of trial and error to get the right ones. These were the third set I ordered… I’m used to looking at the wattage, which tells you how bright the light will be, but I forgot to look at the Kelvin, which tells you how “warm” or “cold” the light will be. I started out with 5000K, which was a very bright white that didn’t feel quite natural in the space. I then (accidentally) bought 2200K bulbs, which are very warm amber-colored. I finally found these bulbs in 3000K, and the light is just right (I am feeling a bit like Goldilocks, here!).
This chart from the LED Exchange is helpful for understanding Kelvin:
Links to the products and DIY projects I used in this room are at the bottom of the post.
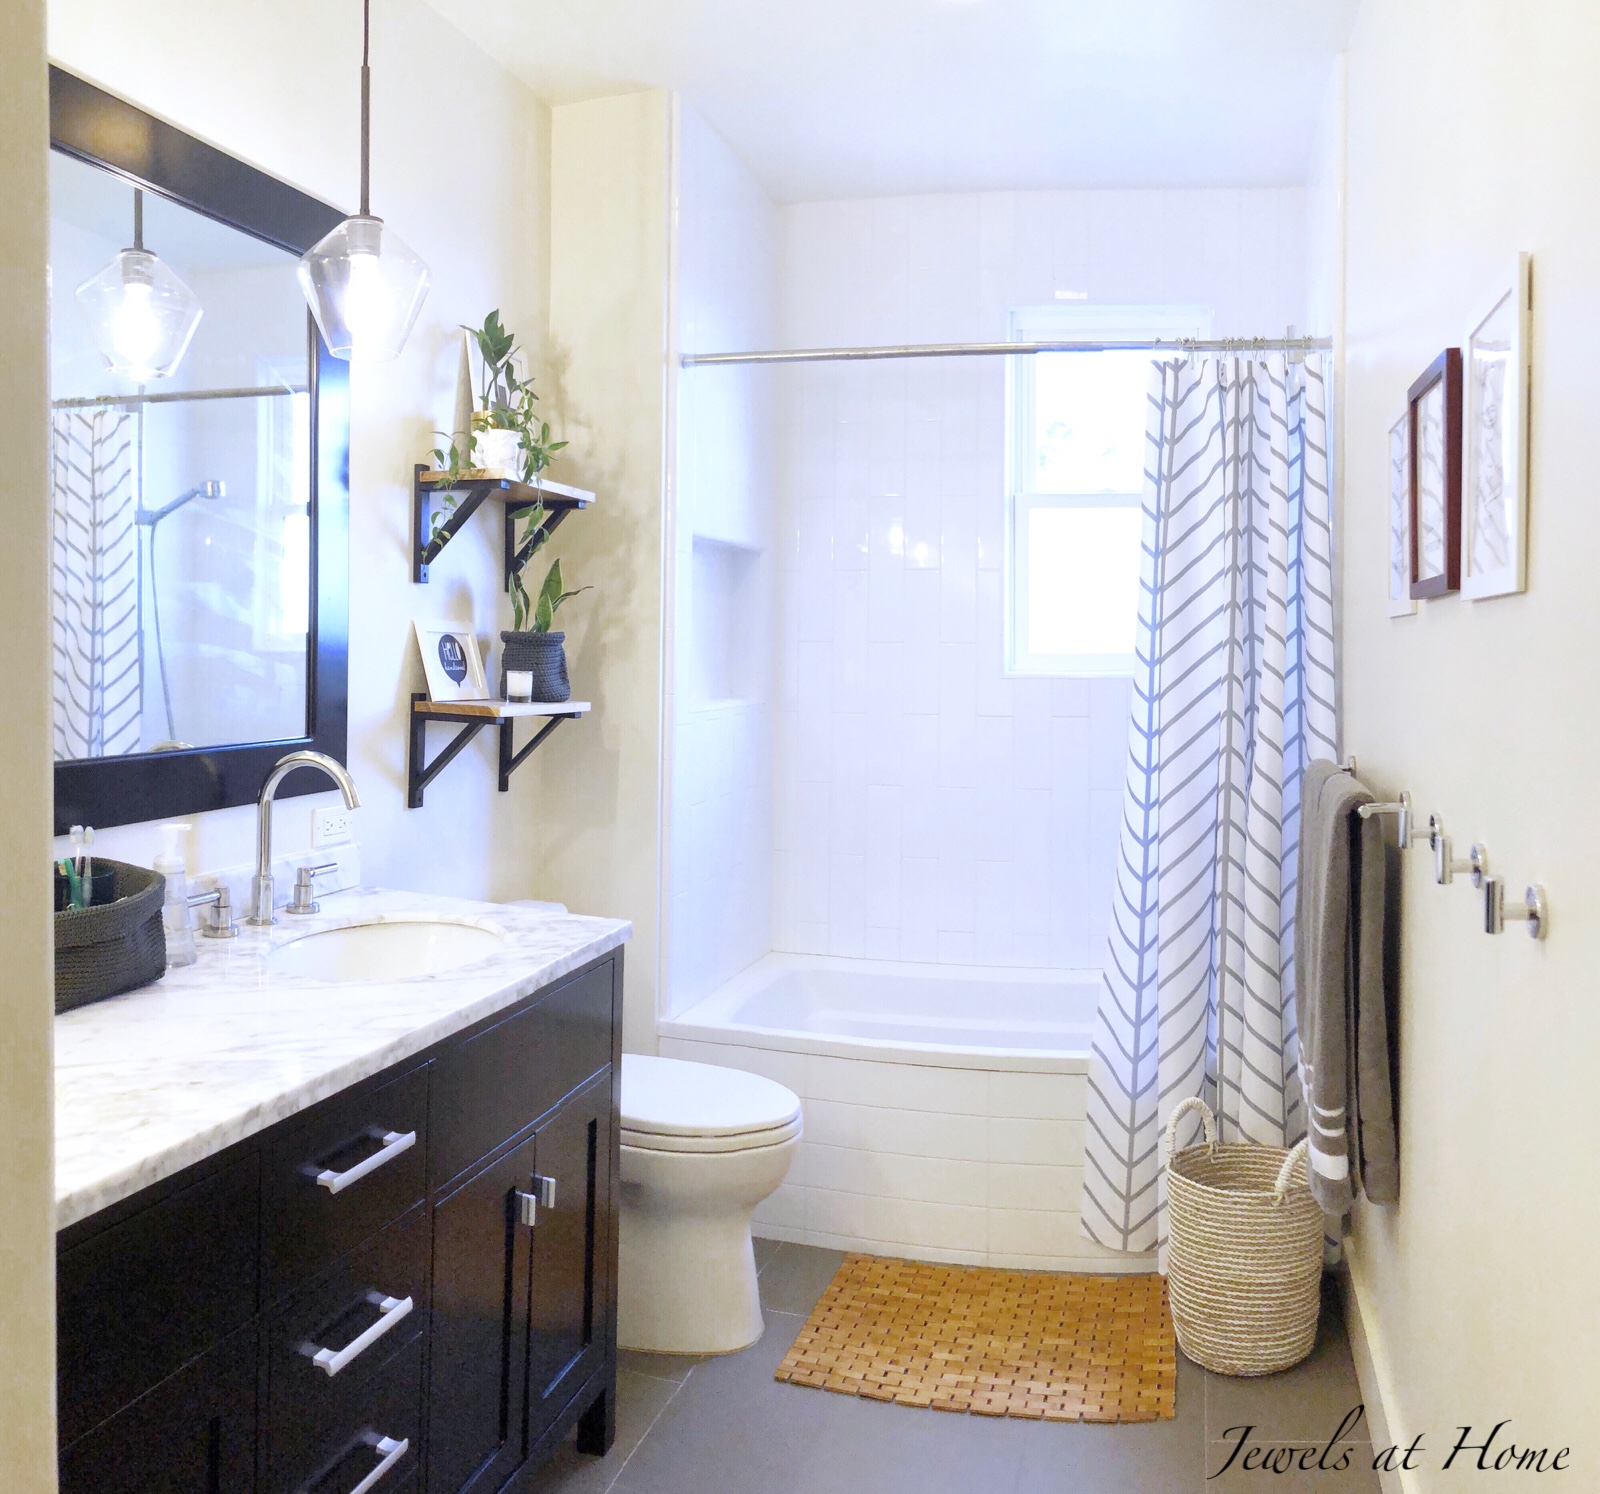
And without further ado, here are some more pictures of our finished space!


A huge thank you to Linda for creating the One Room Challenge community, and high fives to all my fellow bloggers whose hard work and creativity were great inspirations! Be sure to go back to the One Room Challenge page to check out all the other projects!
I’m already thinking about the fall challenge and wondering what room I will redecorate!
“Jewels”
I’m really excited to be a Guest Participant in my first One Room Challenge! This is a great way to get inspiration and motivation for your home. For this challenge, I’ve decided to re-do our kids’ bath. It started out with a cute beach theme that seemed perfect when the boys were little, but now I am ready for it to grow up with them. Our new look features neutral colors, natural touches, and enough personality to stand up to three boys! Thanks for following along!
![]()
Recap:
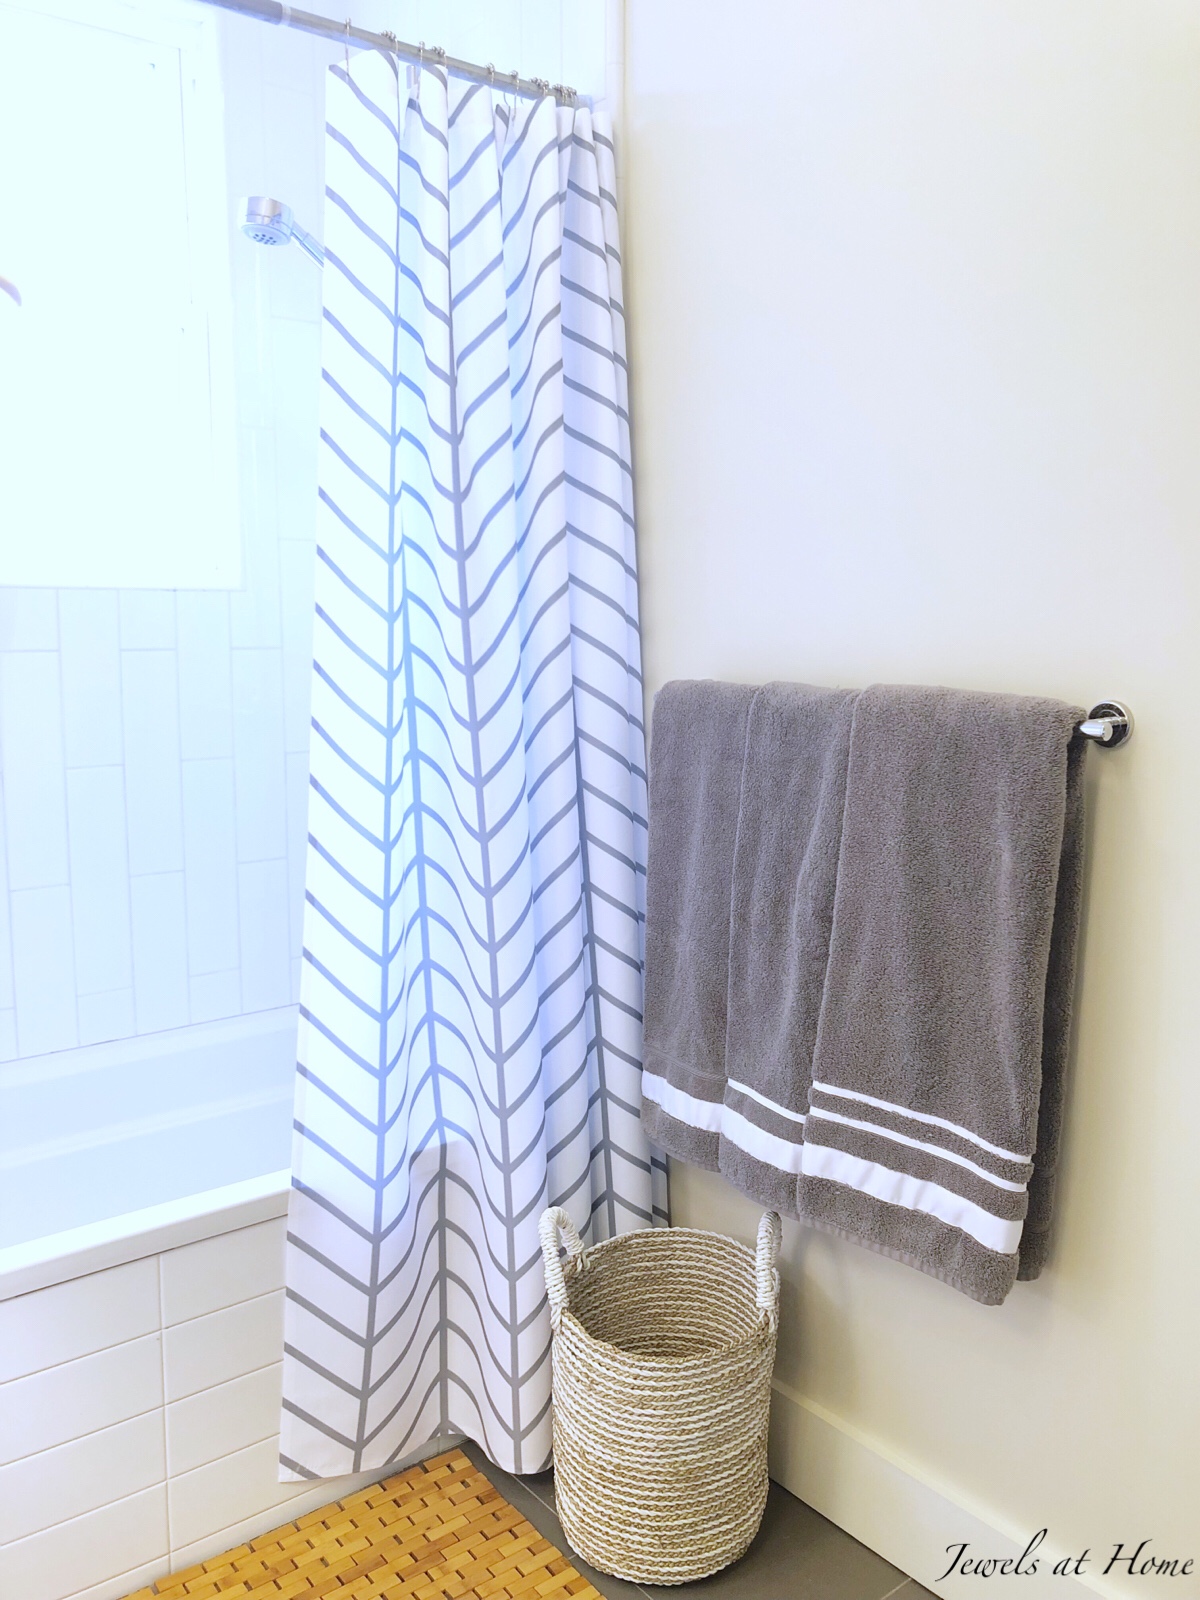
For week five, I am personalizing towels for the boys. I wanted the look of matching towels, but I still wanted to be able to tell their towels apart, because there are some things that even the closest family doesn’t want to share…
Fortunately, I remembered how I had added trim to our master bath towels, so I adapted that project for the boys. I started with solid grey towels and white grosgrain ribbon in 1.5 inch and 5/8 inch widths. I sewed on one stripe for our oldest, two for our middle boy, and three for our youngest.
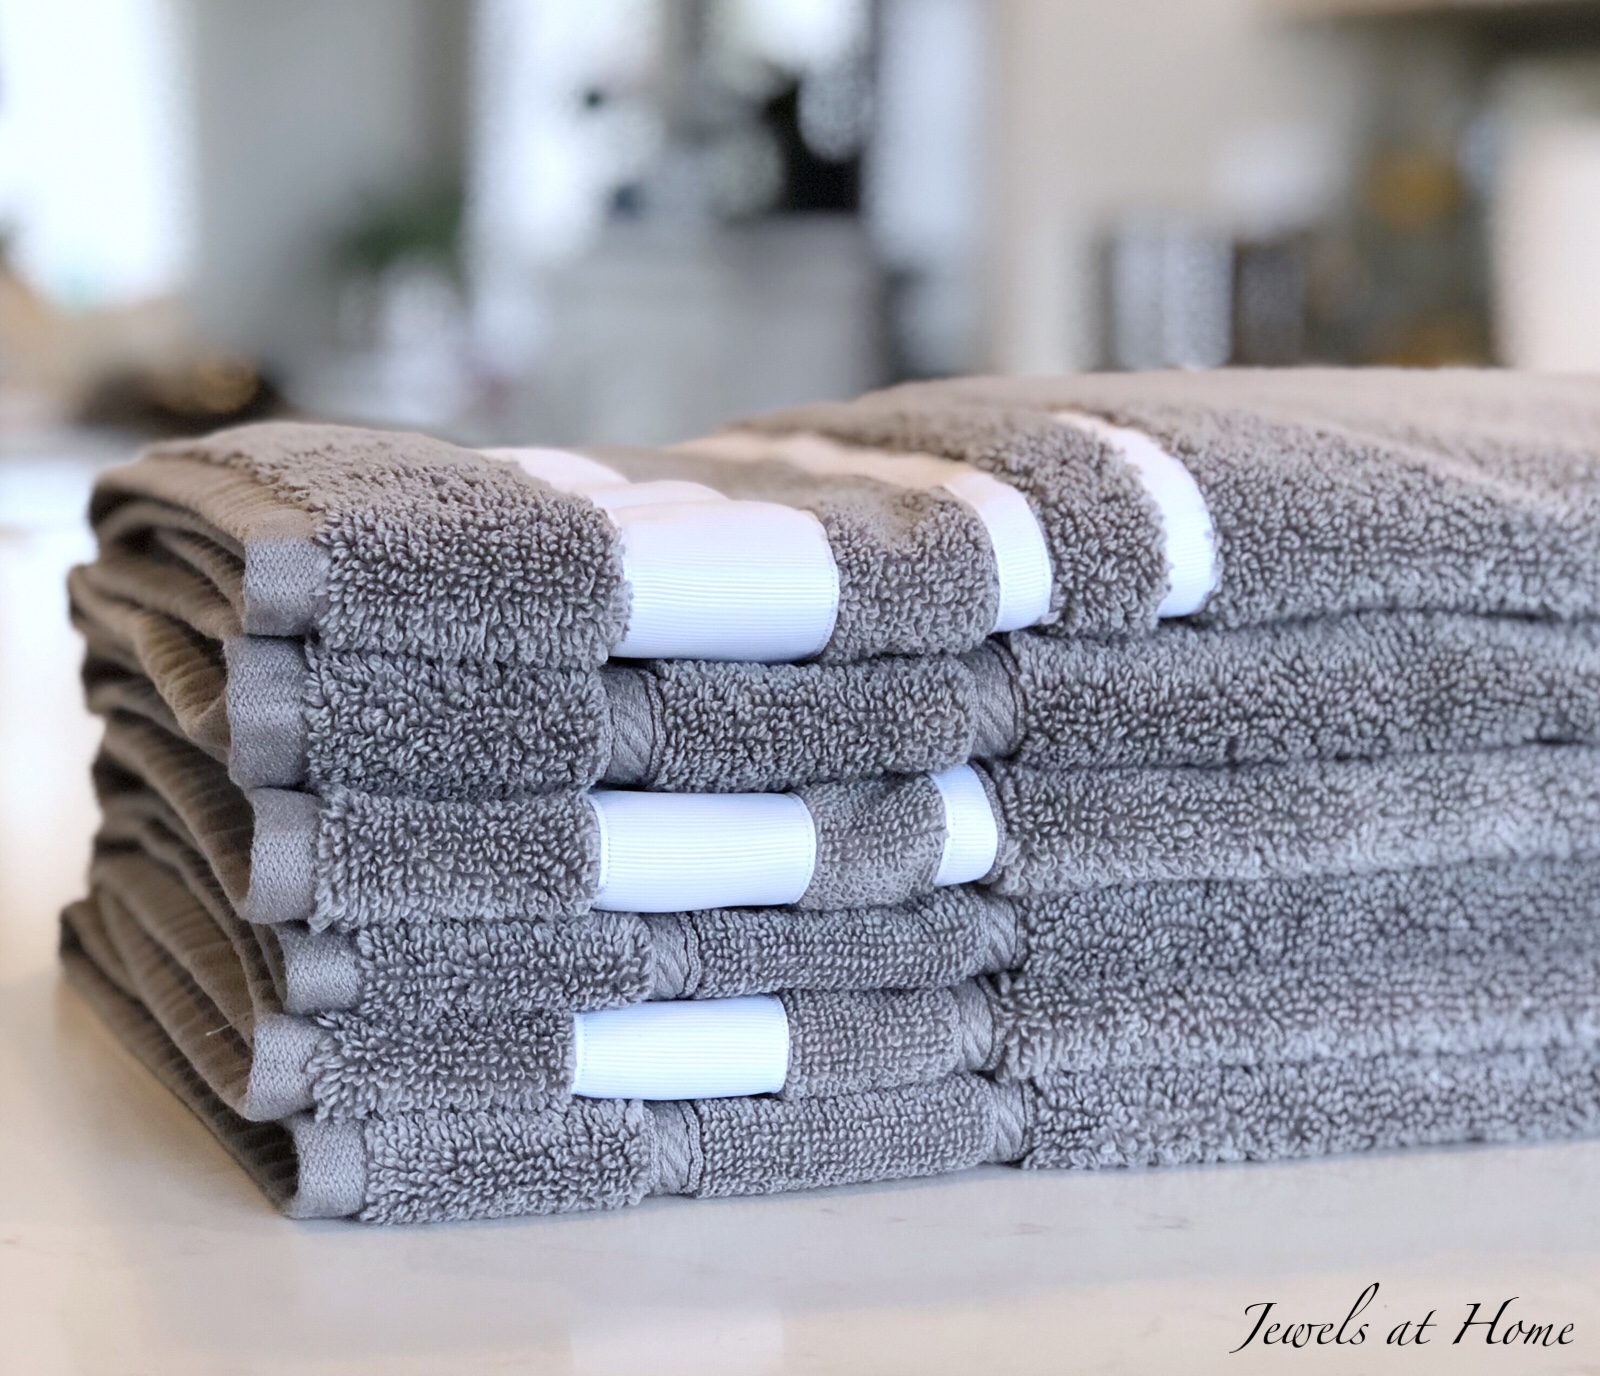

I’m showing the towels folded nicely, but I actually have robe hooks for the boys to make it easier for them to hang up their towels.
![]()
Time to head back to the One Room Challenge link-up page to check out the progress on all the other exciting projects!
Final stretch this week! Hint: I am enlisting Steve to do play with electricity!
“Jewels”
I’m really excited to be a Guest Participant in my first One Room Challenge! This is a great way to get inspiration and motivation for your home. For this challenge, I’ve decided to re-do our kids’ bath. It started out with a cute beach theme that seemed perfect when the boys were little, but now I am ready for it to grow up with them. Our new look features neutral colors, natural touches, and enough personality to stand up to three boys! Thanks for following along!
![]()
Recap:
Now that we are over the hump and into week four, it seemed like a great time to add some art. I though about creating something myself. And then I remembered I can’t draw… Etsy to the rescue! I bought downloadable files and printed and framed them for our space.
It’s amazing how art makes a room! These pieces add so much character and polish to our bathroom. Since this room has a neutral design, I like how these whimsical signs make it feel like it is still a kids’ bathroom.


Here are links (some affiliate links) for our new accessories:
![]()
There’s tons more inspiration back at the One Room Challenge link-up page. Go check it out!
“Jewels”
I’m really excited to be a Guest Participant in my first One Room Challenge! This is a great way to get inspiration and motivation for your home. For this challenge, I’ve decided to re-do our kids’ bath. It started out with a cute beach theme that seemed perfect when the boys were little, but now I am ready for it to grow up with them. Our new look features neutral colors, natural touches, and enough personality to stand up to three boys! Thanks for following along!
![]()
Recap:
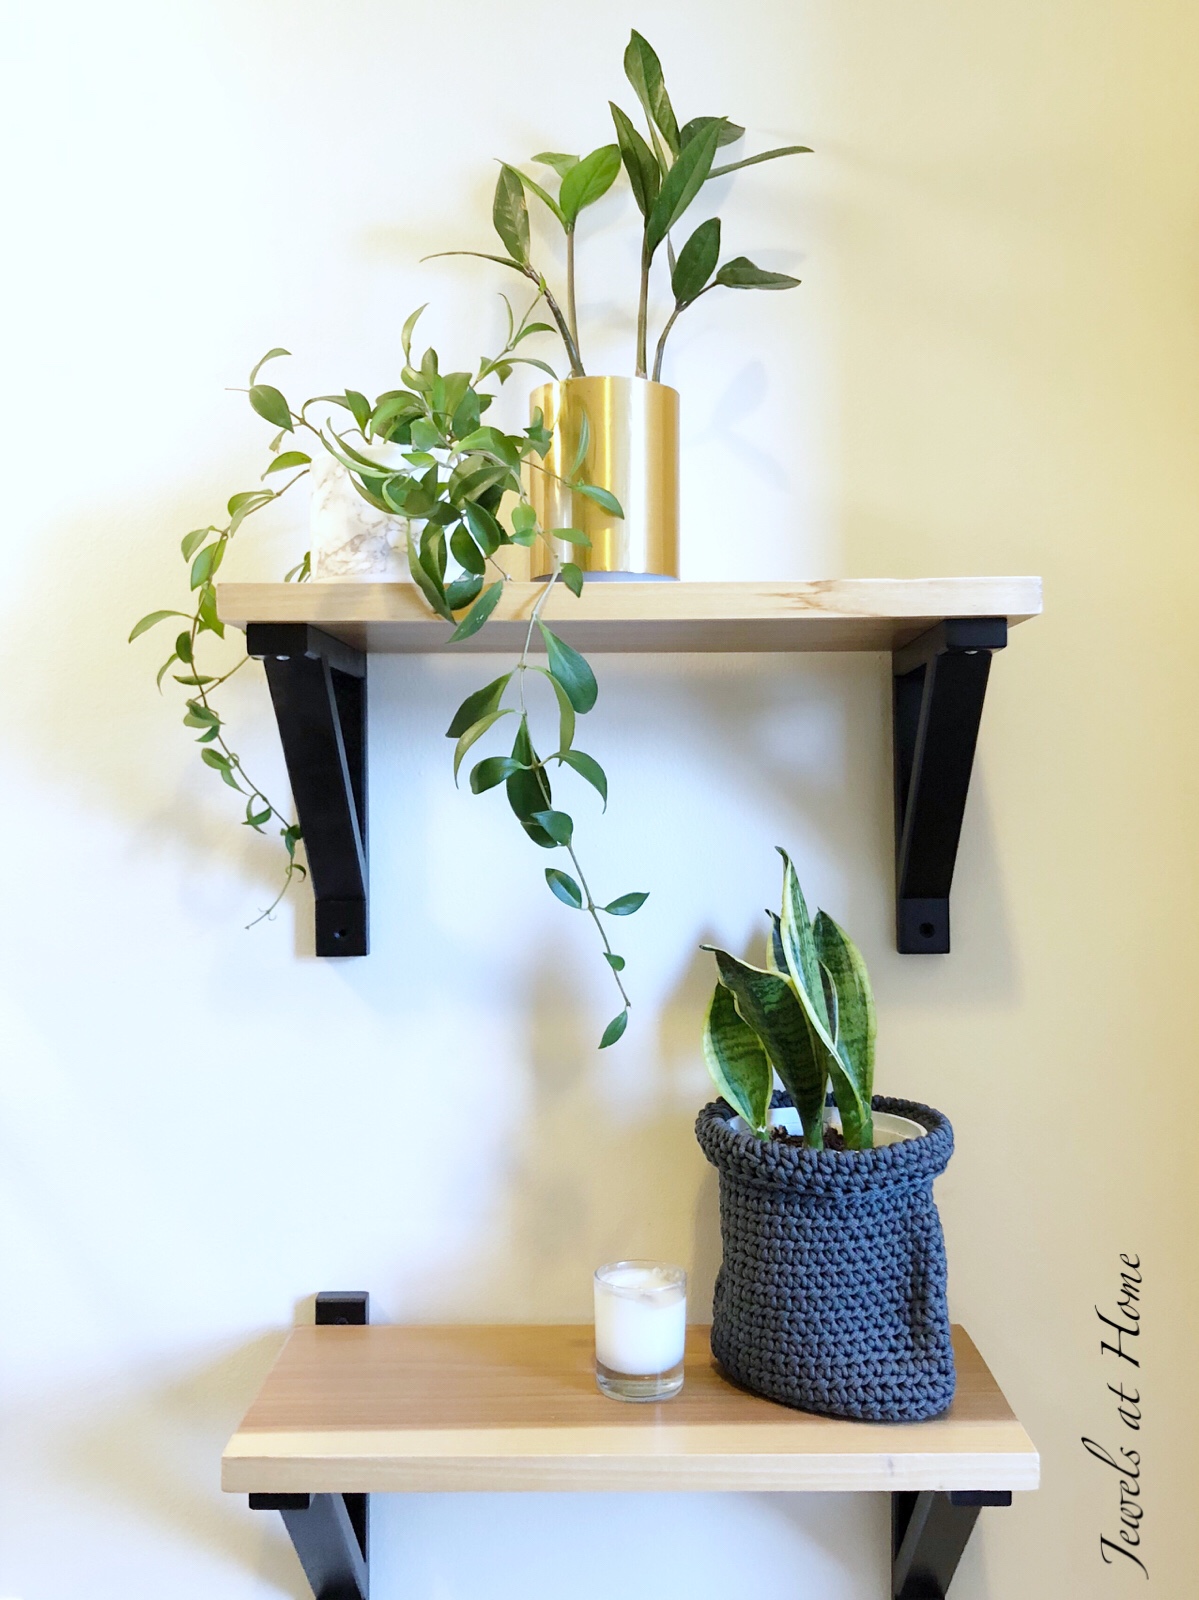
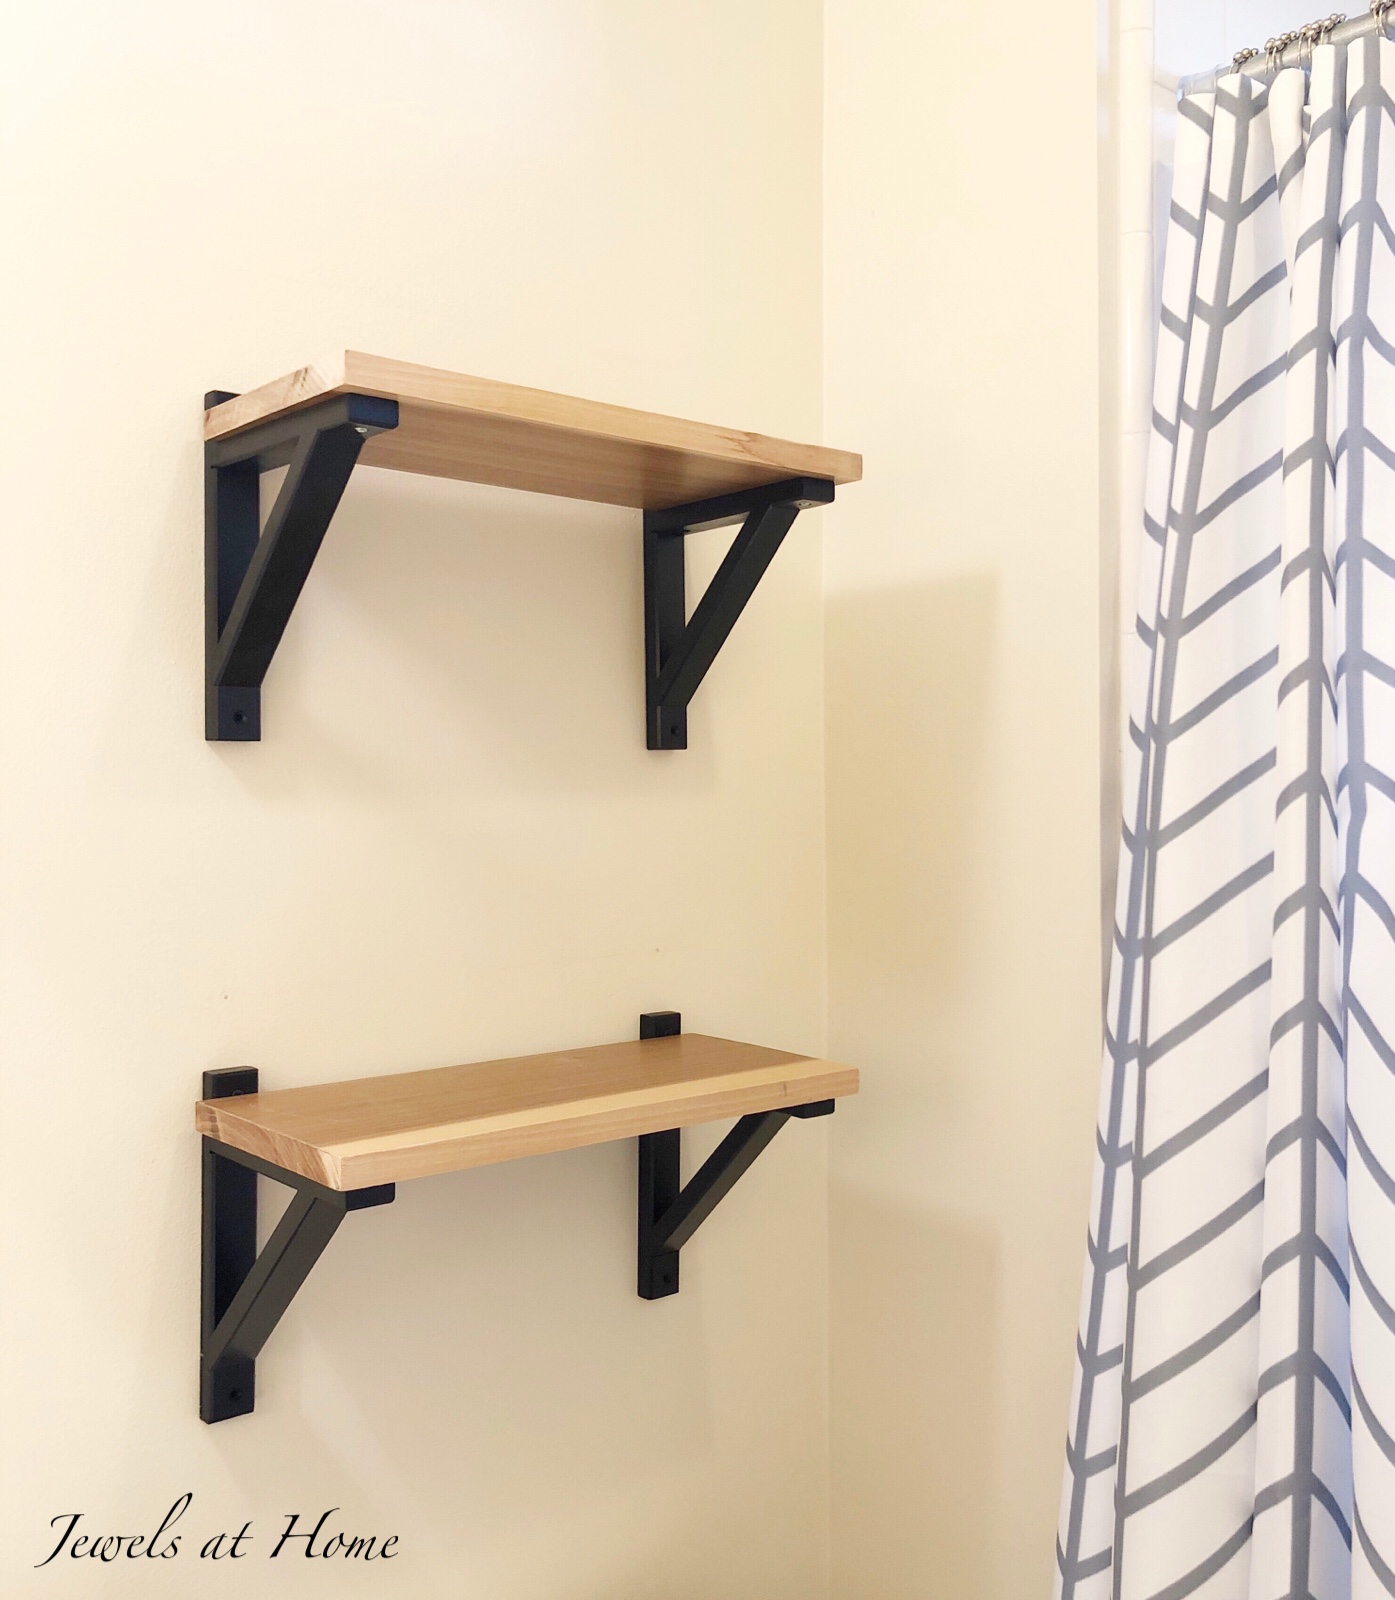
For week three, I created wall shelves using Ikea Ekby Valter wall brackets and some wood that I had left over from another project. I cut the wood to 7.5″ x 16.5″ and finished it with clear polyurethane.
If you’re looking for ready-made shelves, here is an option with a similar look..
I mentioned how I really wanted to bring natural wood into this space, and these shelves help tie things together with the bamboo bathmat and seagrass basket.
I have used these wall brackets before to hang macrame planters, and I was excited to find them in this black finish, which coordinates with our existing vanity.


Here are links (some affiliate links) for our new accessories:
![]()
Head over to the One Room Challenge link-up page to see more inspiring ideas!
“Jewels”
I’m really excited to be a Guest Participant in my first One Room Challenge! This is a great way to get inspiration and motivation for your home. For this challenge, I’ve decided to re-do our kids’ bath. It started out with a cute beach theme that seemed perfect when the boys were little, but now I am ready for it to grow up with them. Our new look features neutral colors, natural touches, and enough personality to stand up to three boys! Thanks for following along!
![]()
Recap:
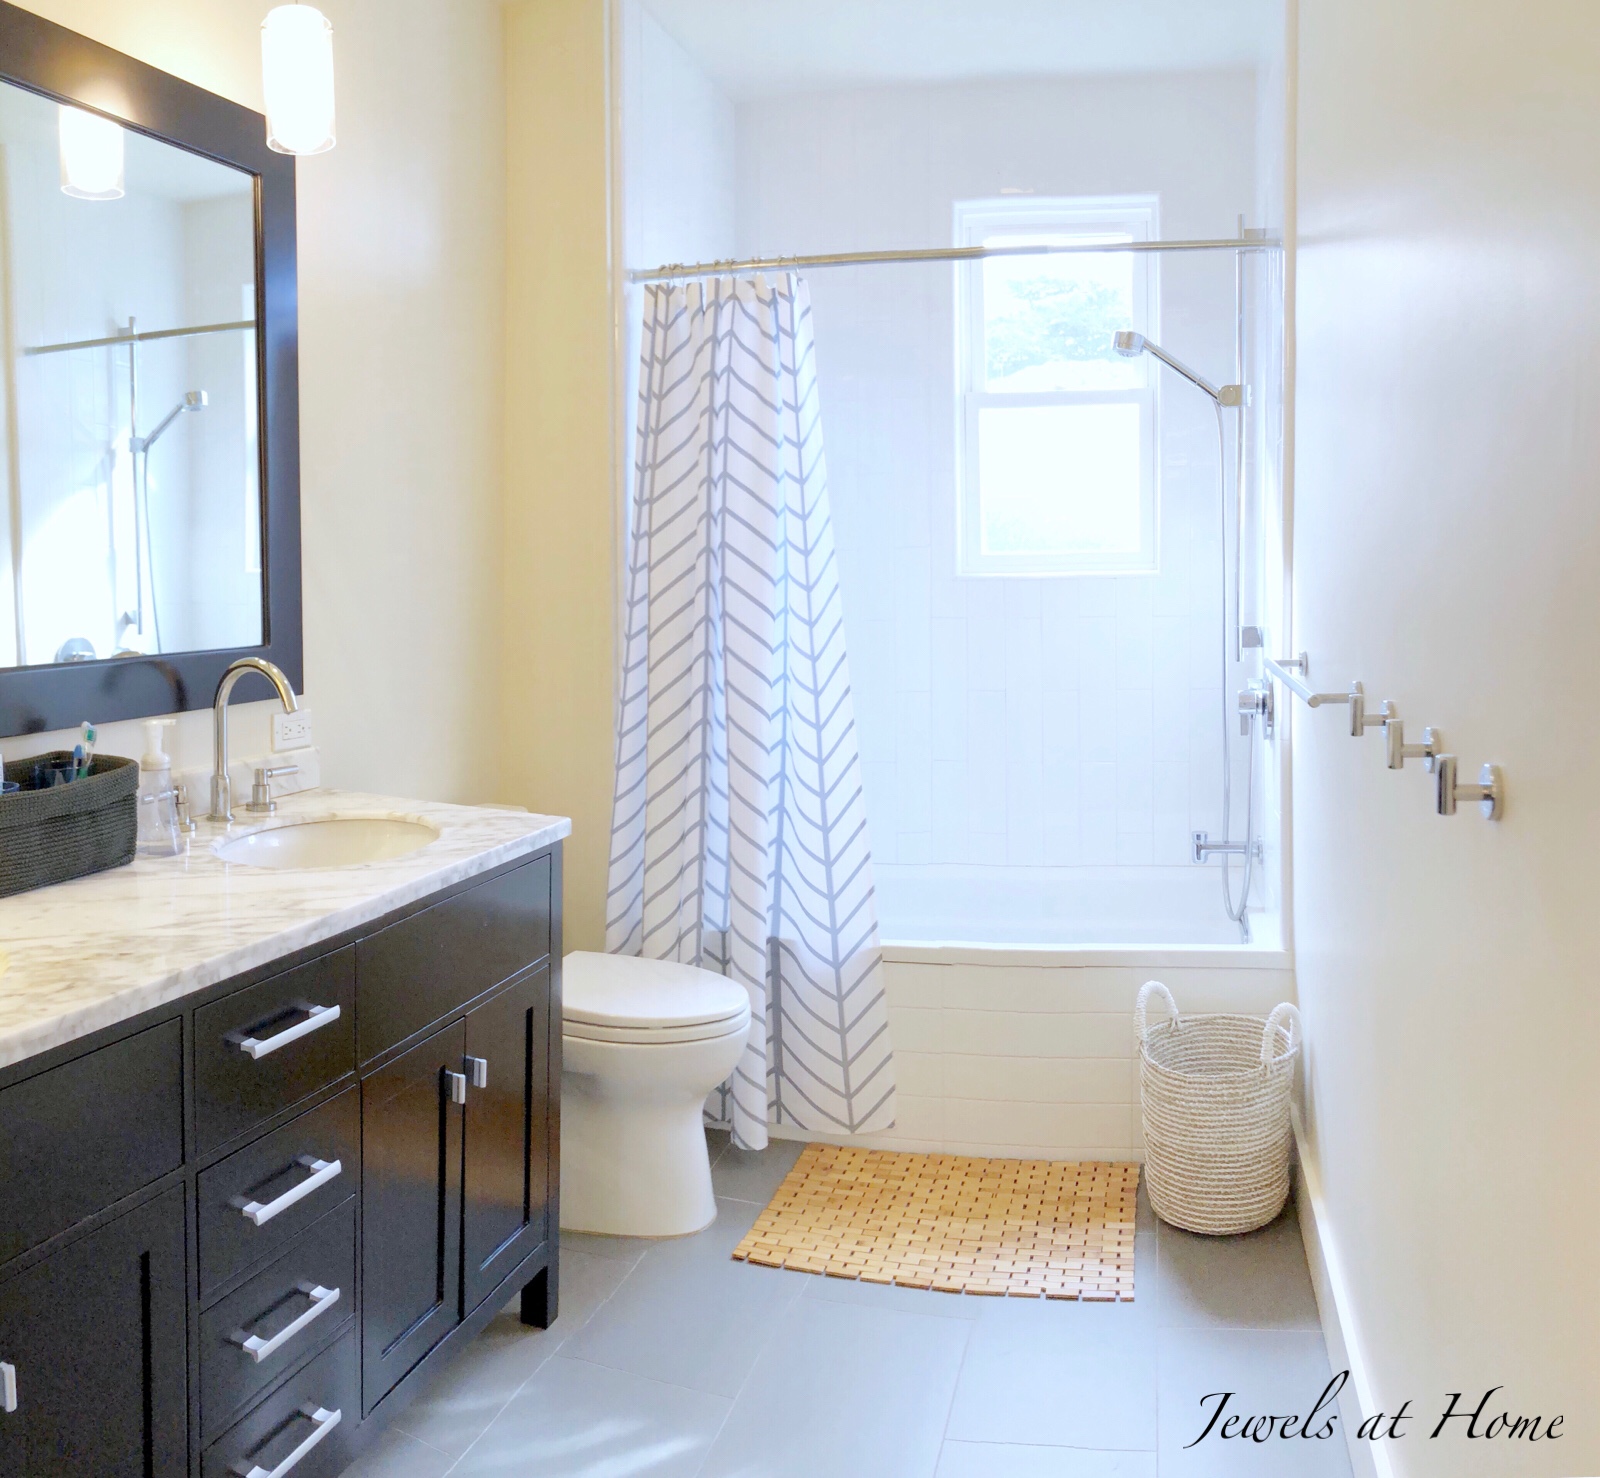
In week two, I got to have some fun decorating! I’m starting off by bringing in the practical things we need to make the room functional. I put the source list at the bottom of this post. The decorative accessories will come later, but I can already see our new look emerge.
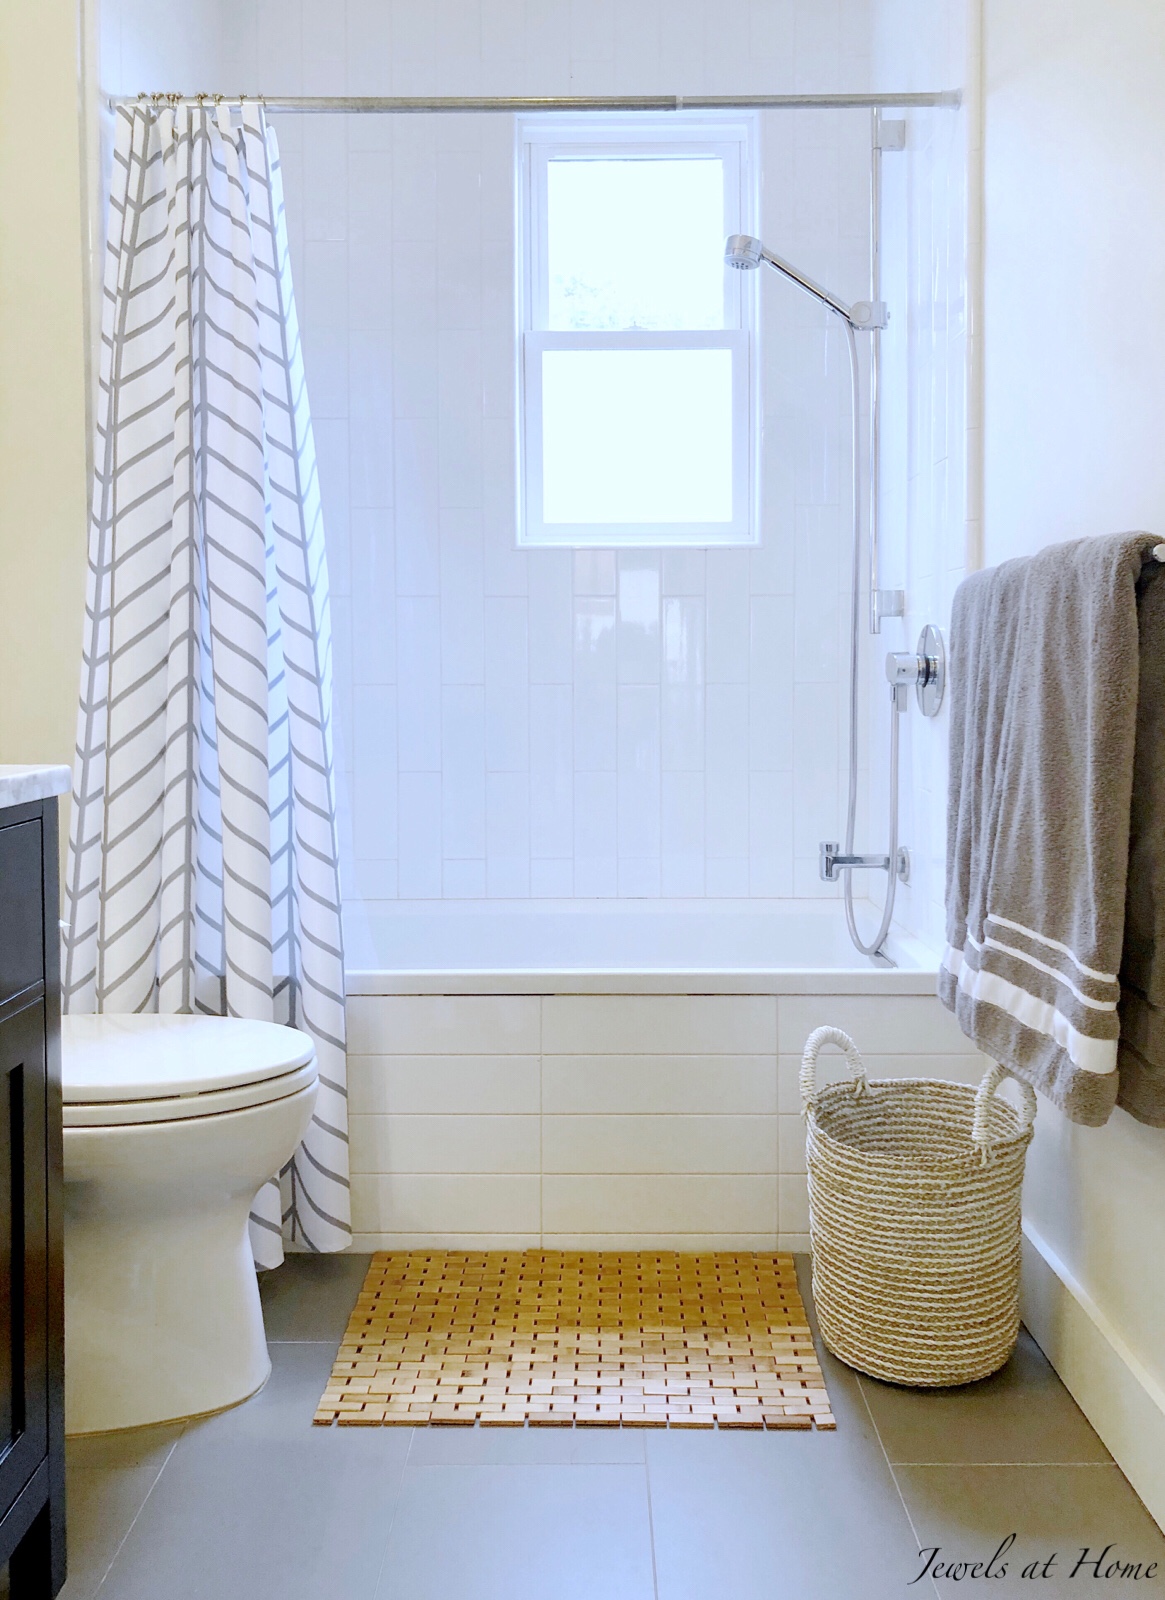
This shower curtain is similar to the feather pattern from Serena and Lily, but they don’t sell the shower curtain anymore, so I was really happy to discover a look-alike product.

I knew I wanted to bring some natural wood into this room. While I loved the spa-like look of slatted teak mats, I was afraid that the kids would stub their toes in the middle of the night, because our bath mat sits right in front of the toilet. I settled for this low profile flexible bamboo mat, and I’m happy with the results!
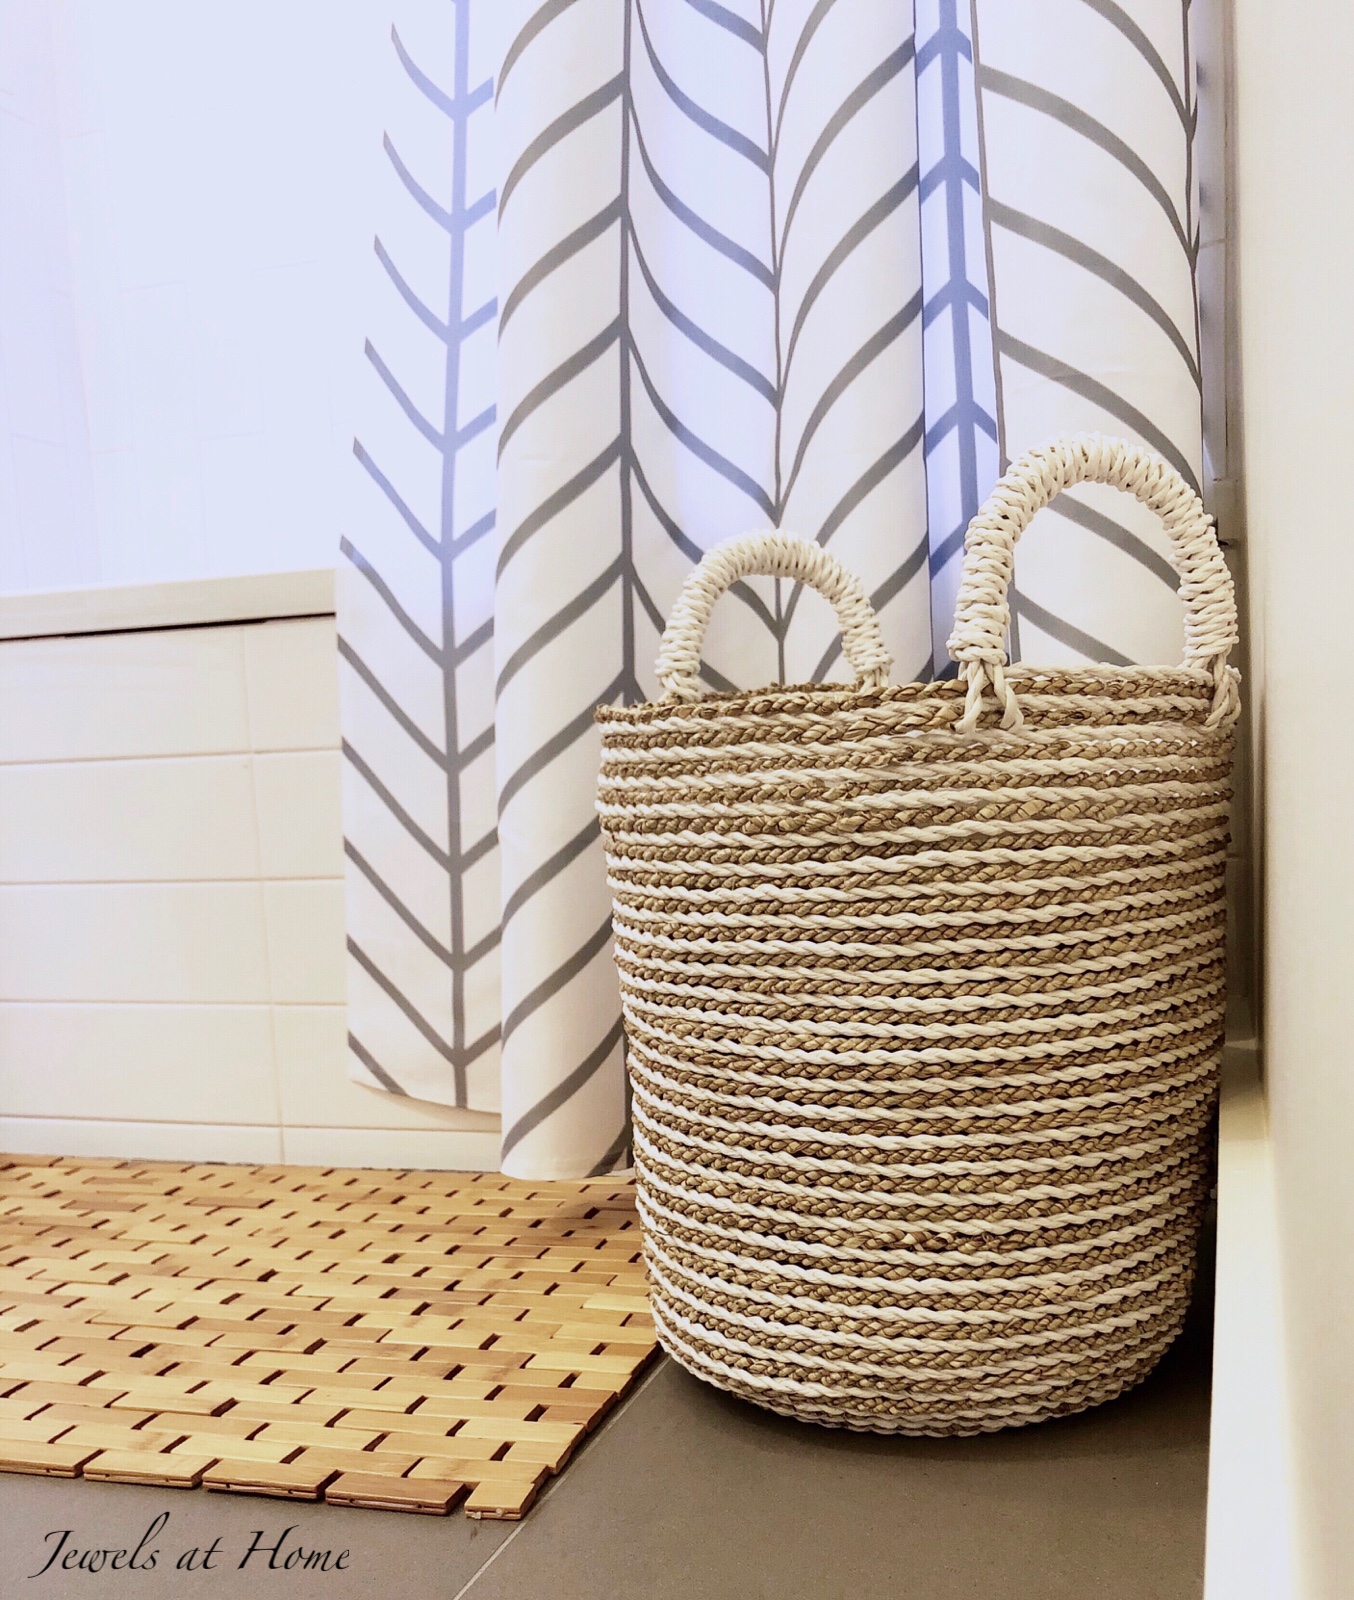
Another bathroom essential is a wastebasket. Because this is a small room, ours has to sit in full view, and I wanted to find something more attractive than your average trash can. I was so excited when I figured out I could disguise our wastebasket by hiding it in this decorative basket! I reused a plastic nursery pot that fits neatly inside.
The kids’ toiletries used to be (kind of) corralled in a plastic bin on the vanity, and I wanted to find something that looked more sophisticated. At the same time, I saw how that plastic bin got encrusted with toothpaste and hair gel, so I did some searching to find this cute crocheted basket that is machine washable – yes!


Here are links (some are affiliate links) for our new accessories:
Now, I can get the boys out of my bathroom and back in their own! Hooray!
So far, my One Room Challenge experience has been so encouraging. What a great community! Please go check out week two of all the amazing makeovers!
“Jewels”
![]()
