I’ve mentioned before that we use our formal dining room for most of our meals. This was a tradition my mother started when my sister and I lived at home, and I enjoy continuing it with our family.
I’ve posted about durable tablecloths and table runners to give your dining room a more formal look while still holding up to the kids. Recently, I have been debating about adding a dining room rug. I never even entertained (ha) this idea until the last few months, now that the kids are older and (a little) less messy. I really wanted the finished look of a rug, but I need to keep things practical as well.
I’m going to share my inspiration rooms, our current space, and the rugs I’m considering. There are literally thousands of options out there, and I’ve narrowed them down to my favorites.
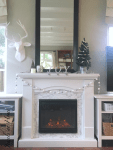
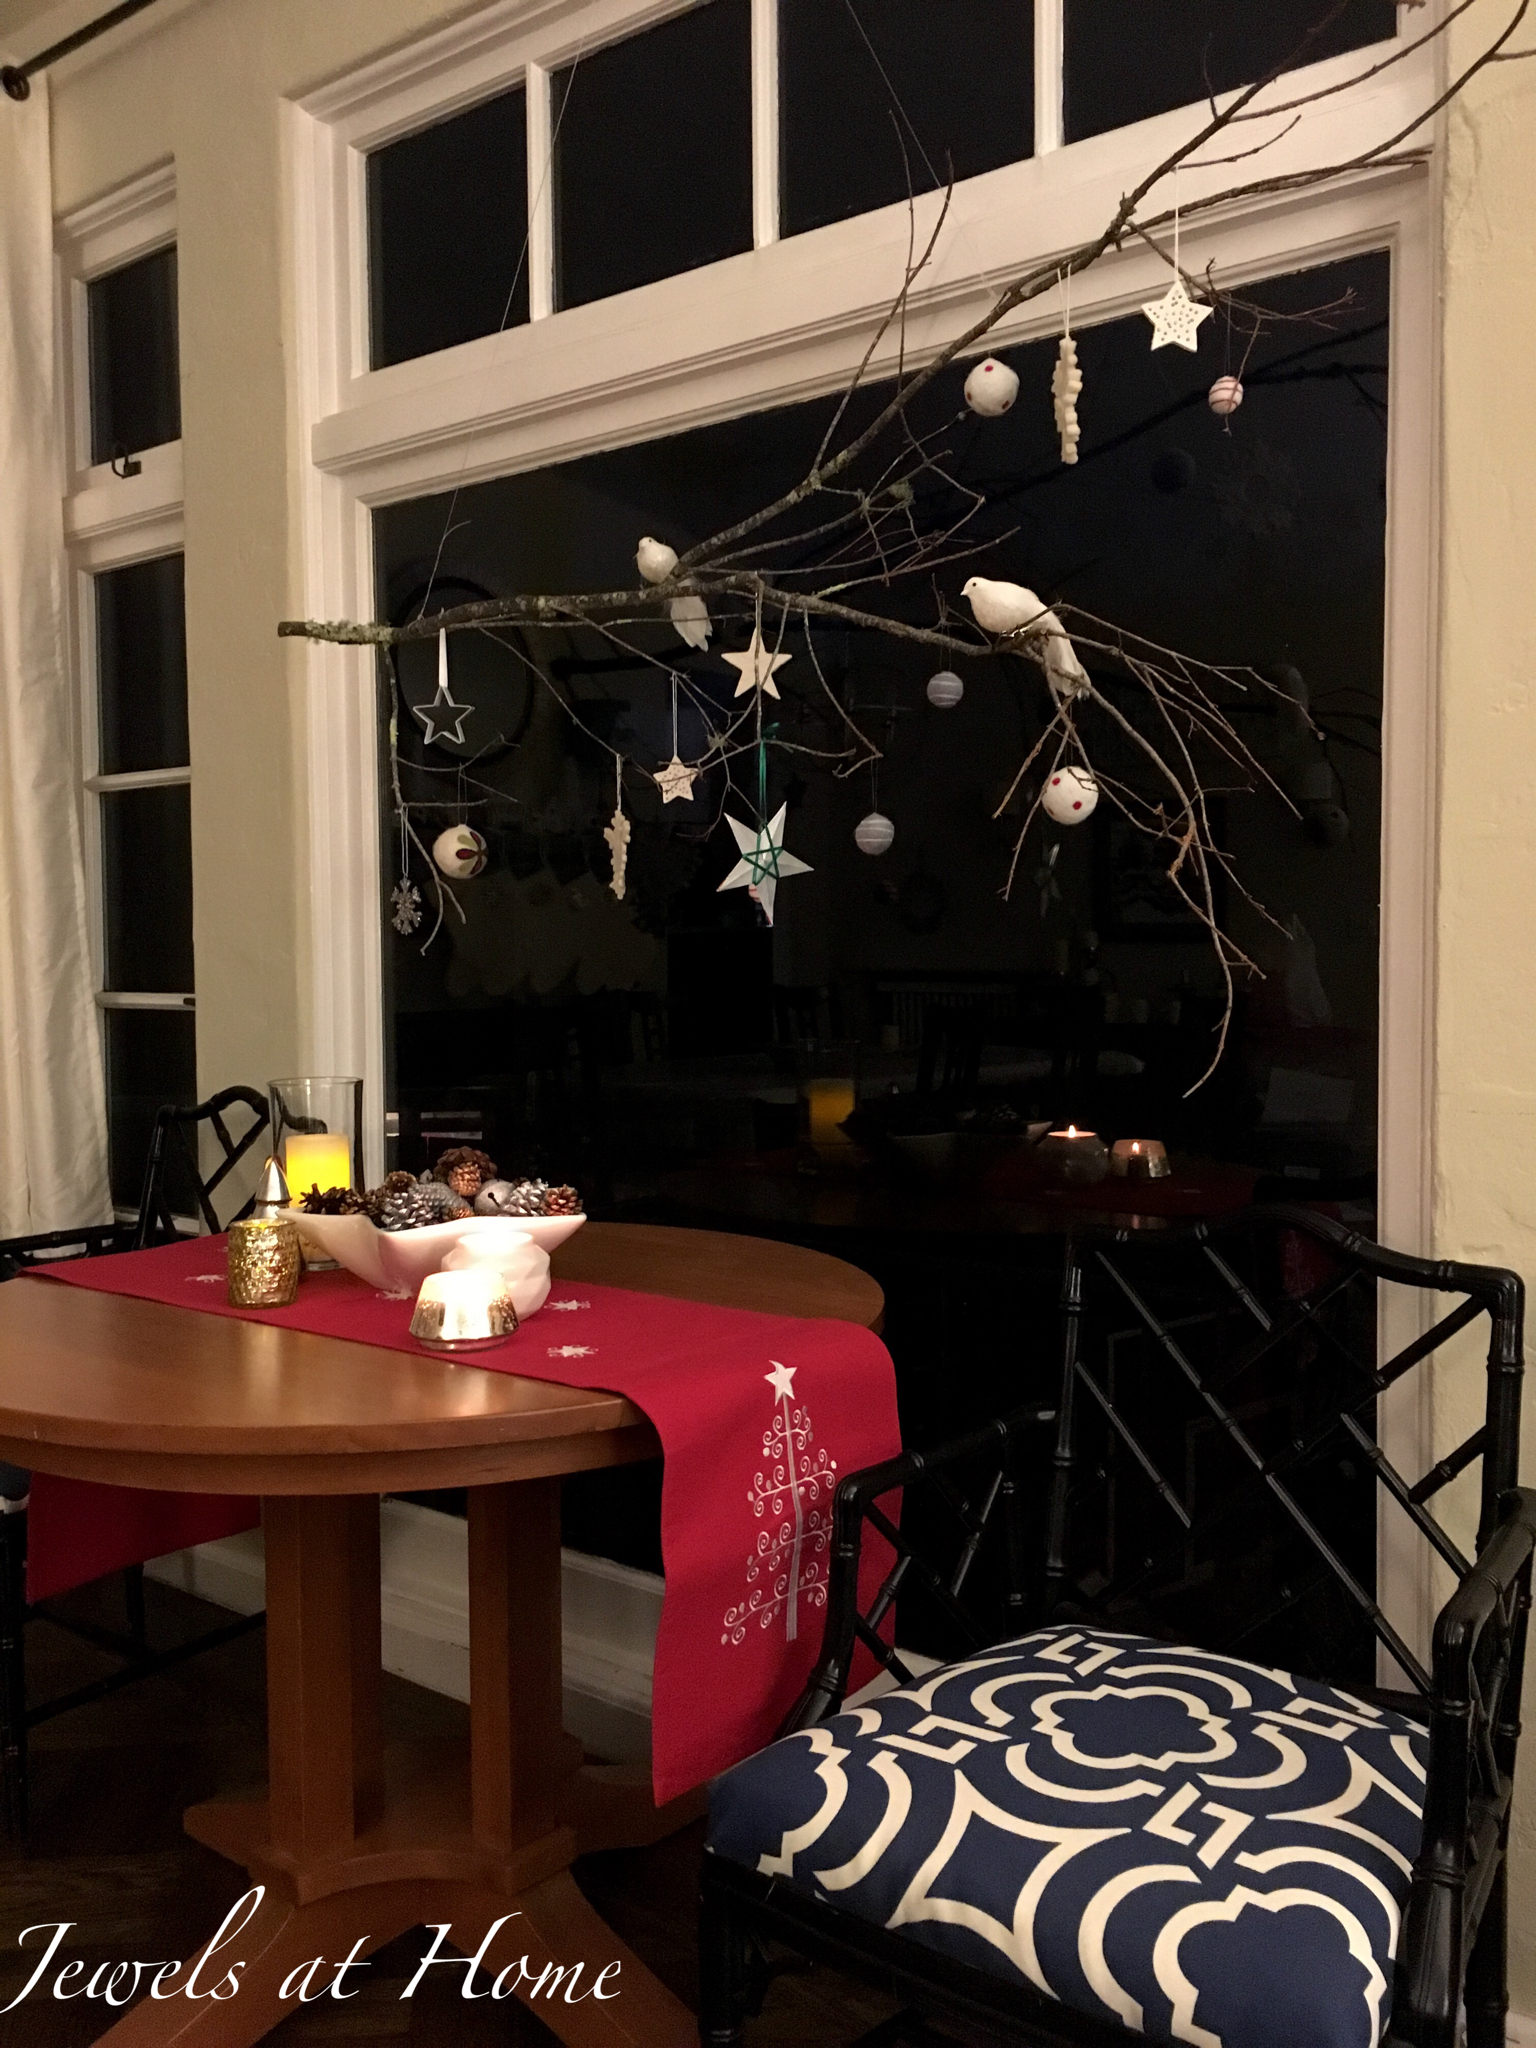
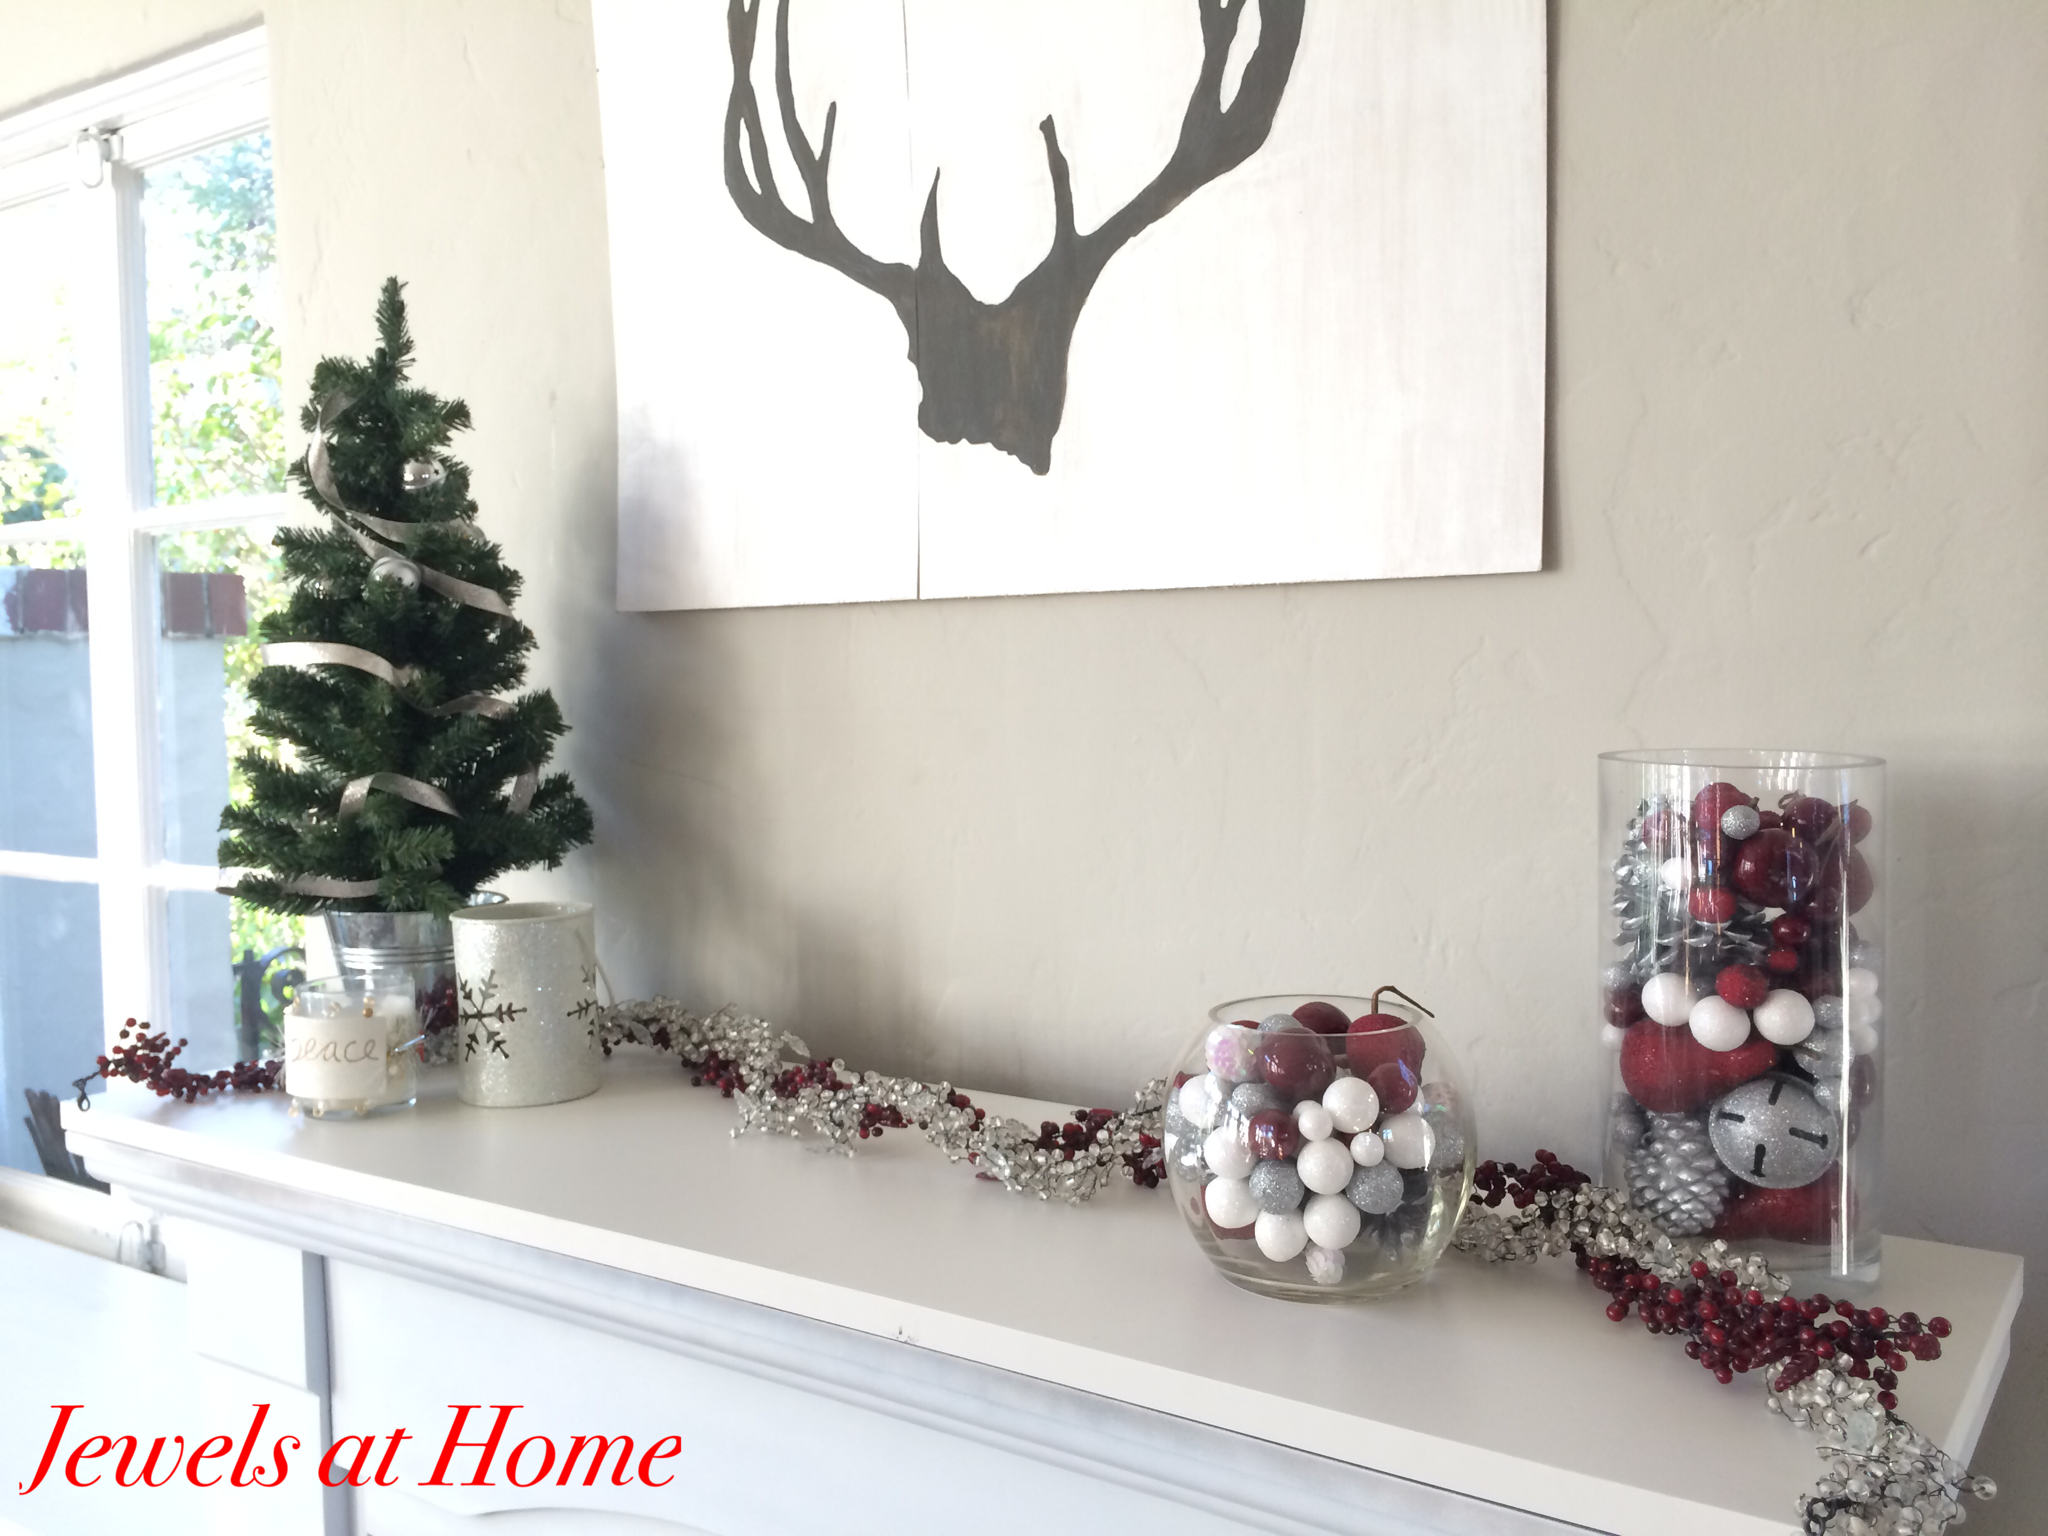
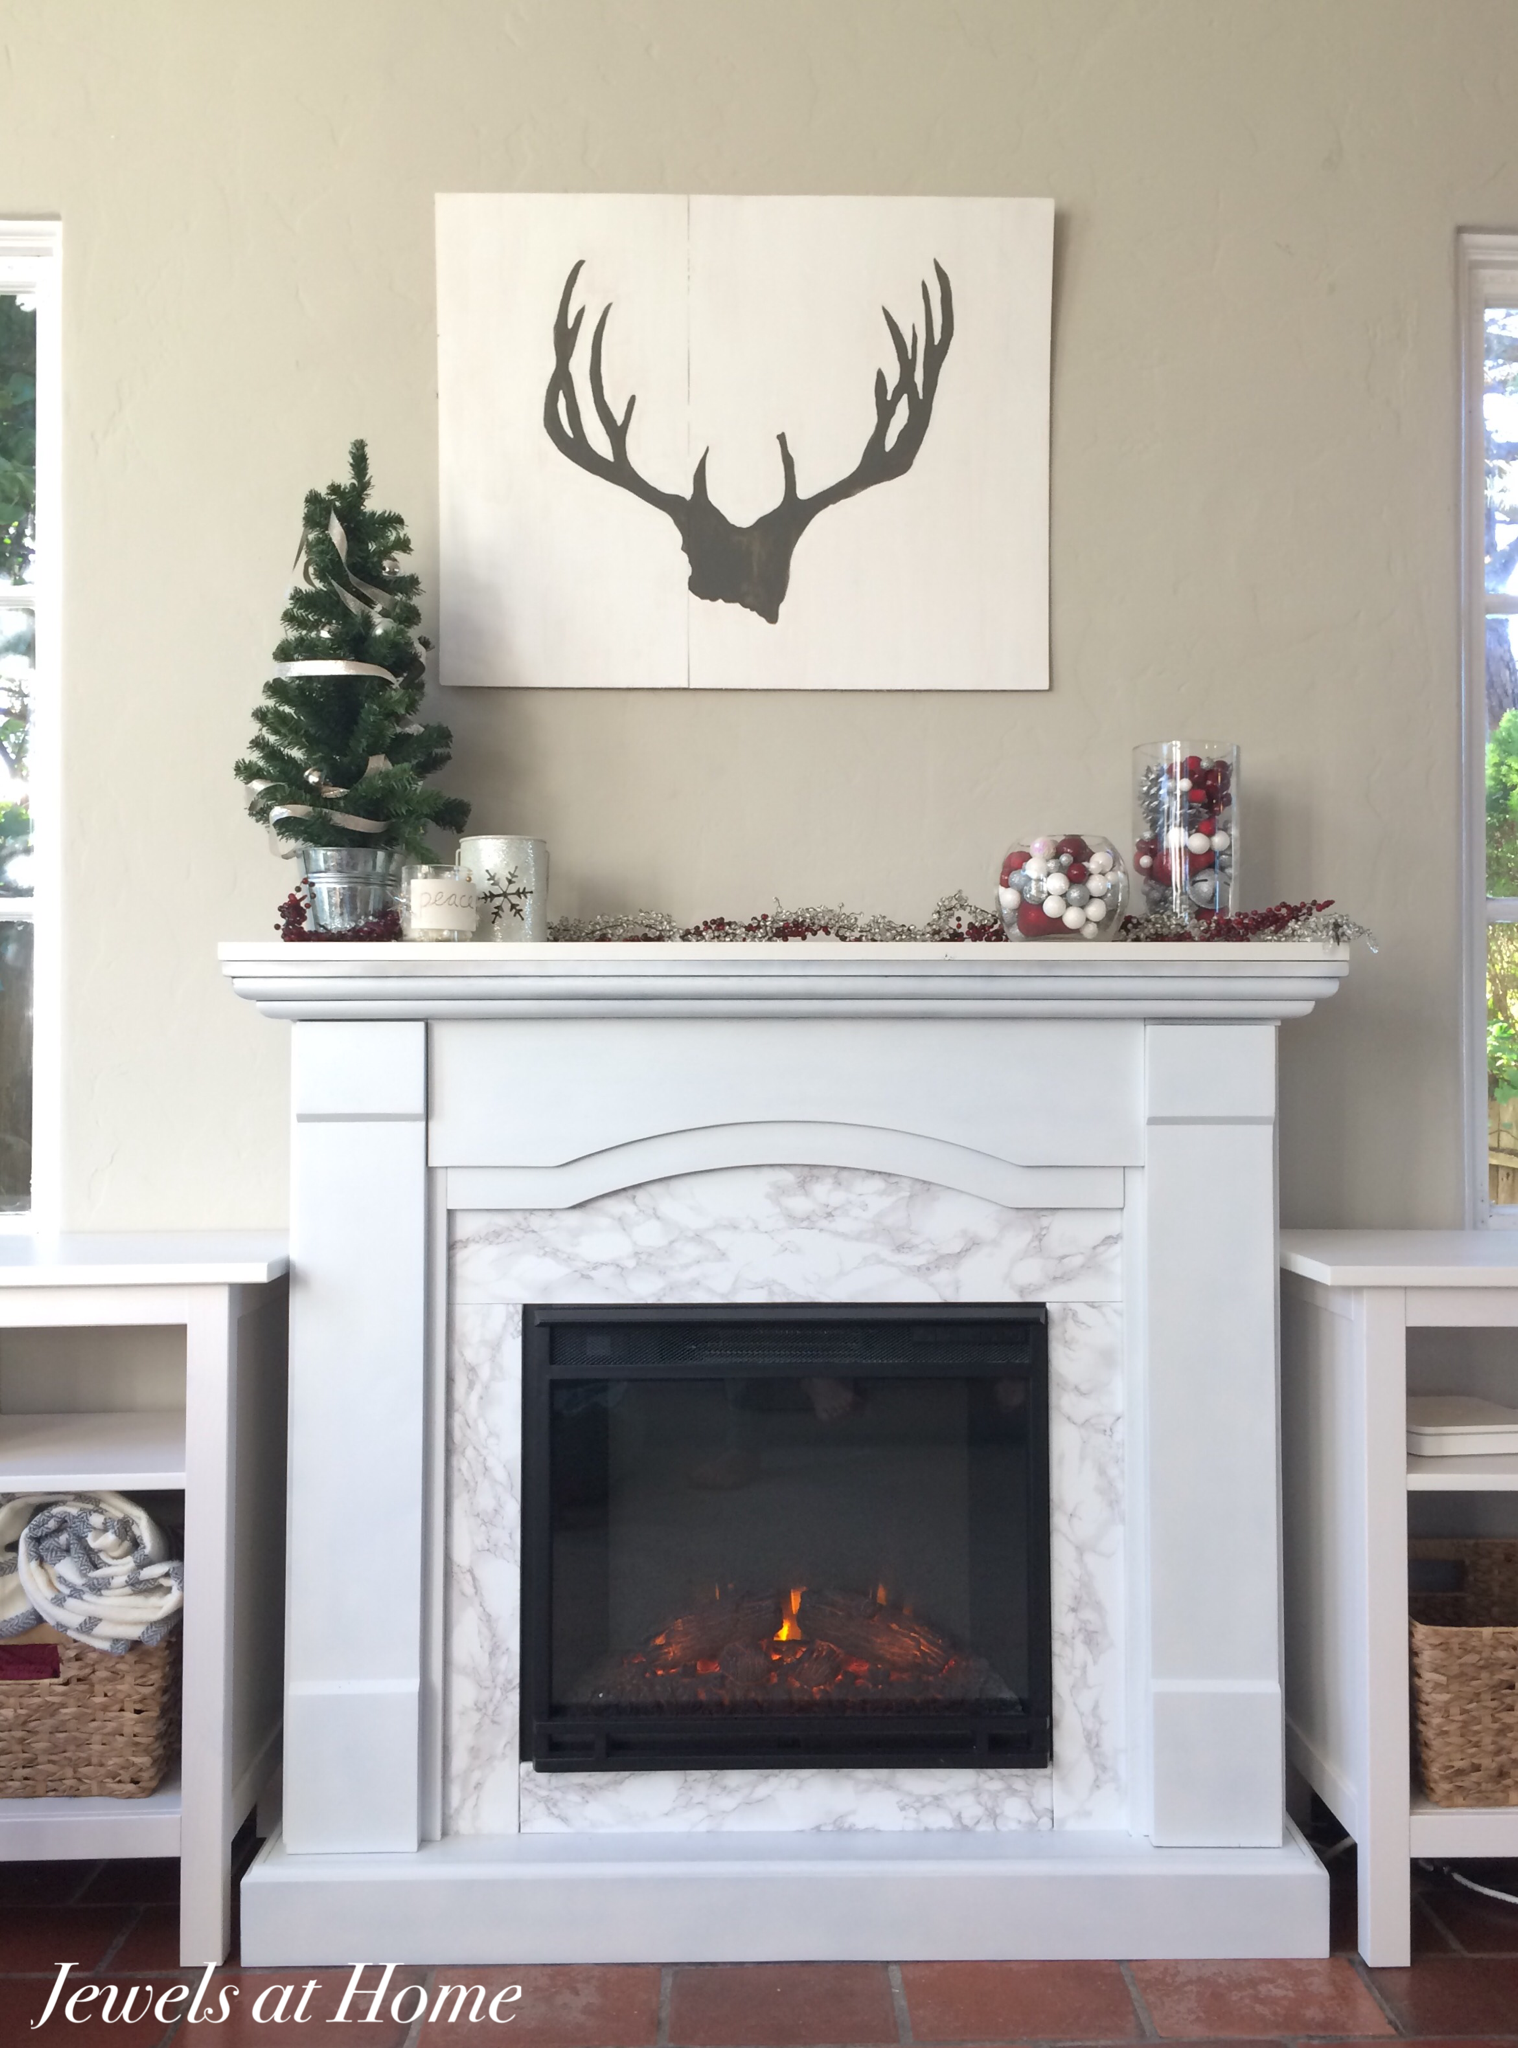
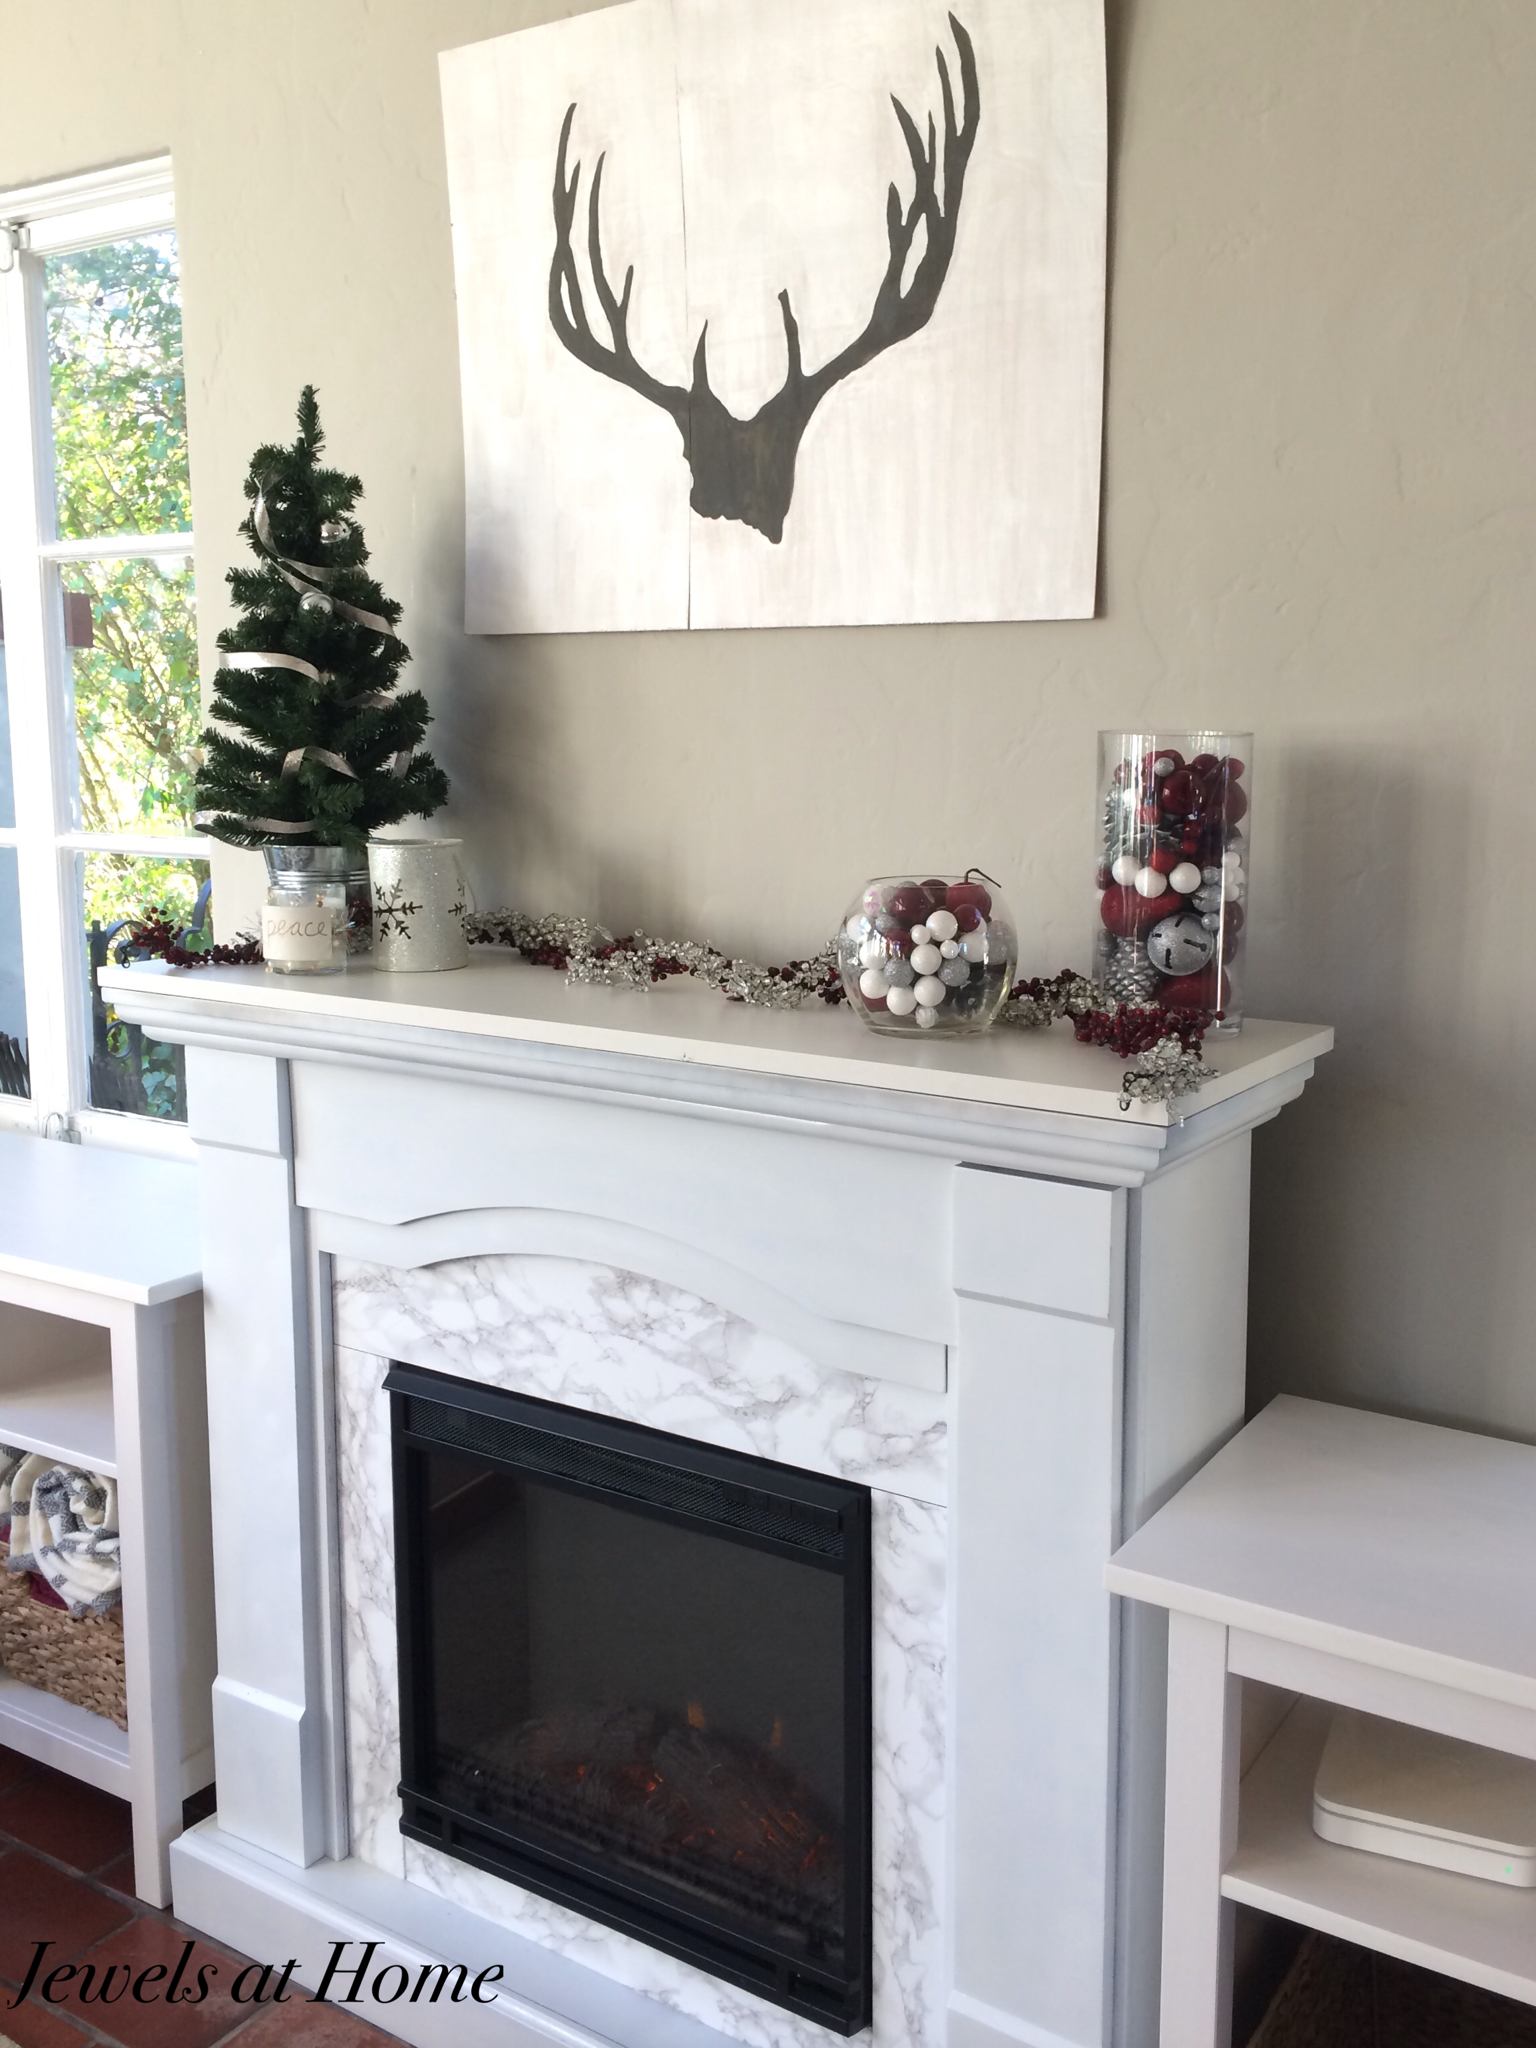
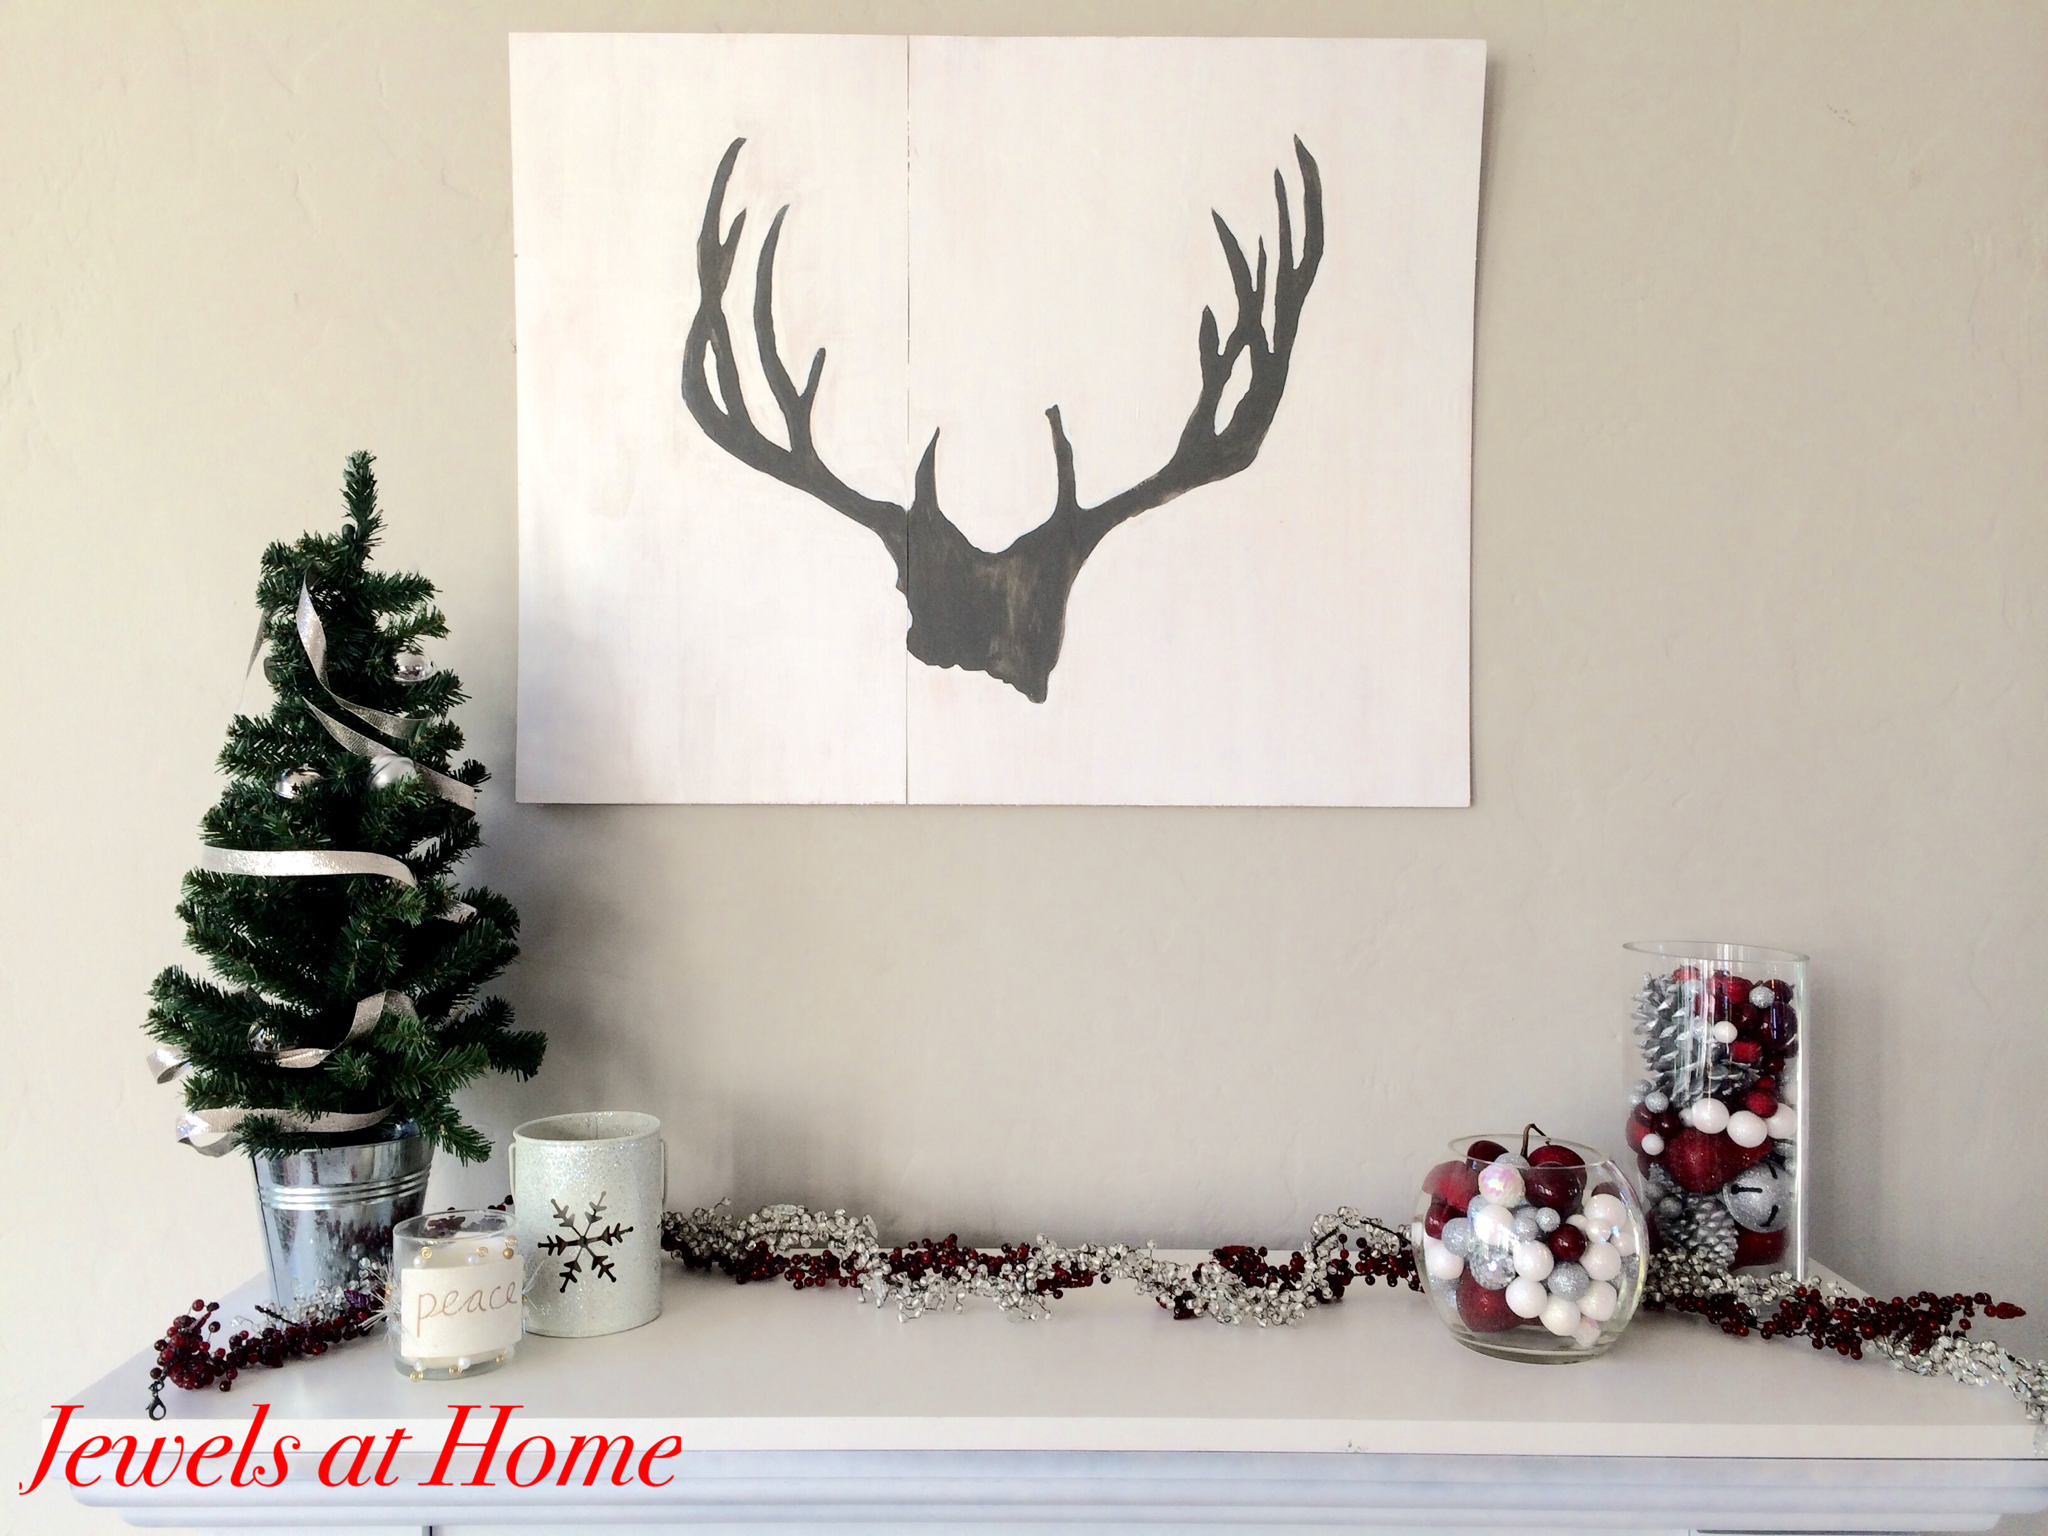
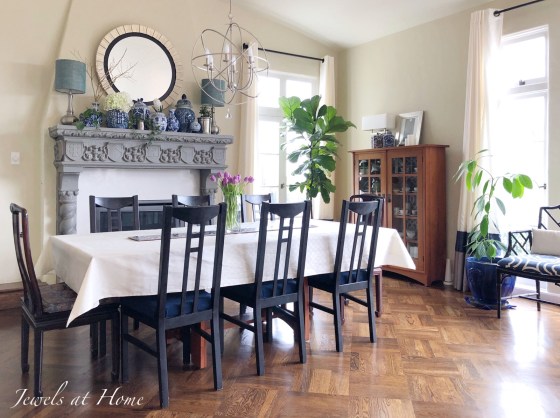
First, here’s how our dining room looks now, without the rug.

So, you know I have a design crush on Amber Interiors. These are a couple of my favorite dining rooms designed by Amber Lewis and her team.


The vintage rugs in these rooms feel accessible, because the complex patterns will hide small stains. This set me on a hunt for a vintage-style Persian rug for our dining space. While part of me would love to find a gorgeous high-quality wool rug, I am just too chicken – or too smart? – to put a few thousand dollars under my table for my kids to drop food on and my dog to lick… so, at least for now, I decided to look for an inexpensive synthetic rug that won’t make me cry every time something falls on it.
Here is my short list of rugs. My color scheme is greys and blues, and I was looking for something that had pattern but was still muted enough to feel neutral.

1 Unique Loom Rockwell Berkshire Area Rug
2 Safavieh Evoke Vintage Oriental Silver/ Ivory Distressed Rug
3 Freetown Distressed Vintage Inspired Gray/Ivory Rug
4 Willoby Vintage Oriental Charcoal Area Rug
And I have more rug ideas and inspiration rooms on my Pinterest board.
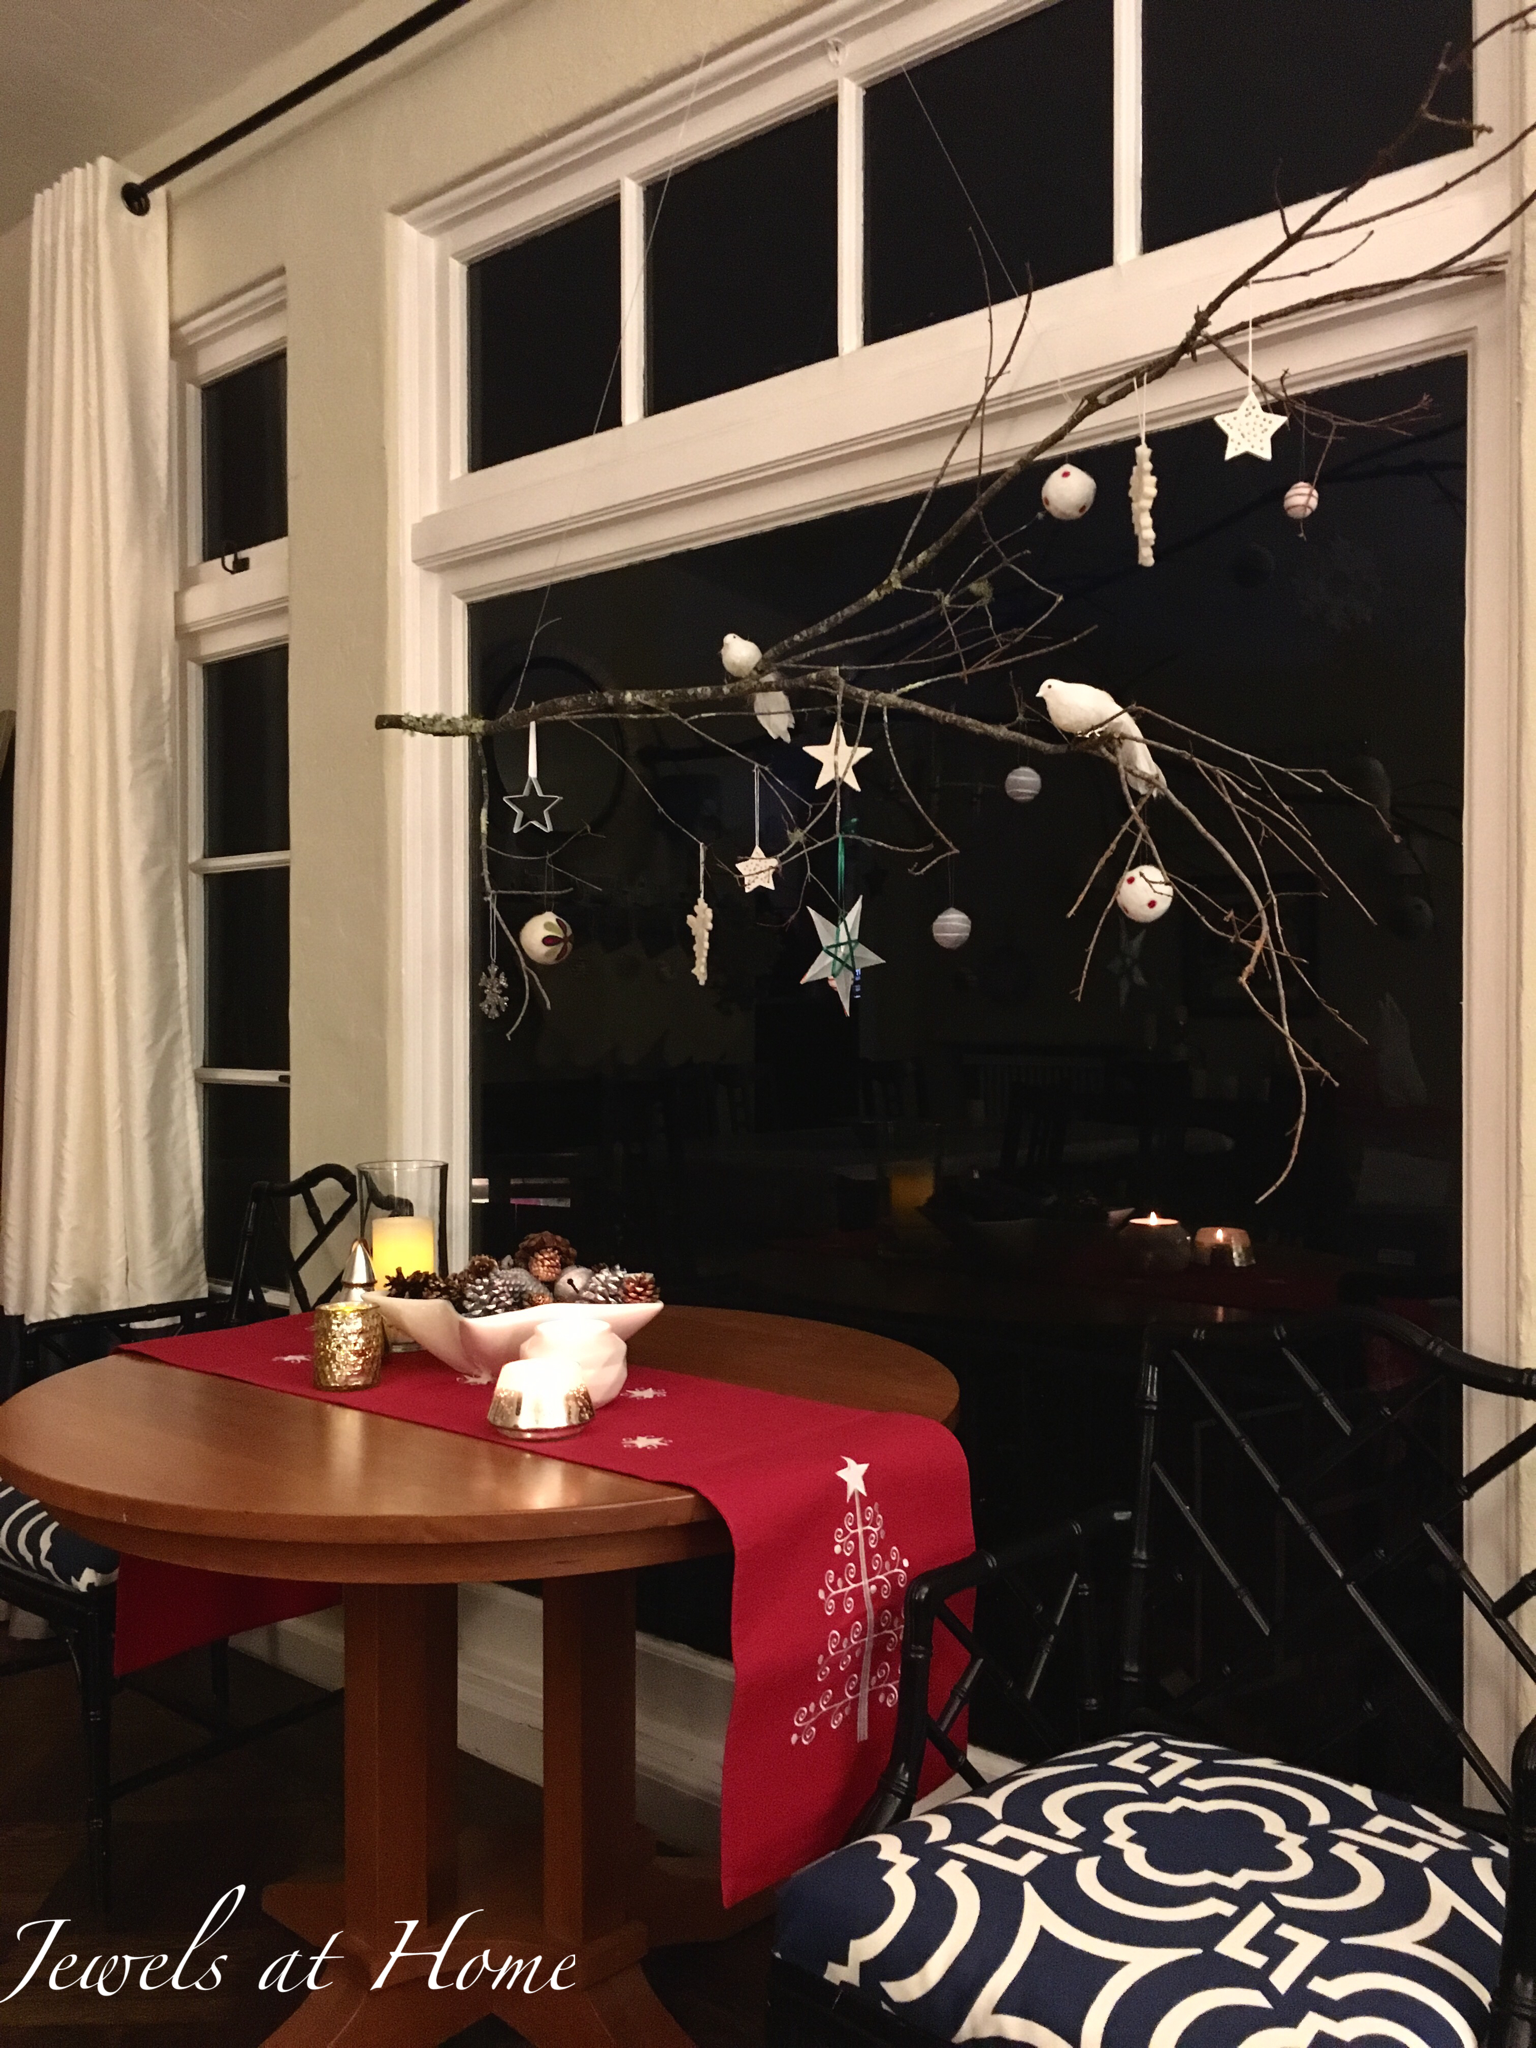
So, what do you think? Here’s another picture of the room currently. Our mantel is pretty busy, so I don’t want to add more busy-ness to the room, but I think it would really define the space and also show off the base of the table, which is a lovely Craftsman design.
I haven’t made a final decision yet, and I like all these rugs so much, that I might by more than one and put it in the living room or upstairs hallway…
So, whadya think?
“Jewels”